4 Projects
These are 4 mono-printing projects to follow and show how to explore the techniques shown in many of my YouTube demo videos. There is a detailed look at creating texture and use of materials that you will find useful. There are 4 project templates to download and print and a video that guides you through the full process of Project 1.
INCLUDES VIDEO & 4 TEMPLATES
£5.60
Monoprinting
This section includes the 4 projects that are included with the monoprinting kits. These are step by step photographs that take you through all stages of the projects.
New Project templates to download
FREE Project templates. For a new series of projects I will be working on, each will have a demo video and a downloadable template for you to print out and use.
Working with acrylic paint using one of the project templates, this shows how you can create variations of the same design.
Working with acrylic paint
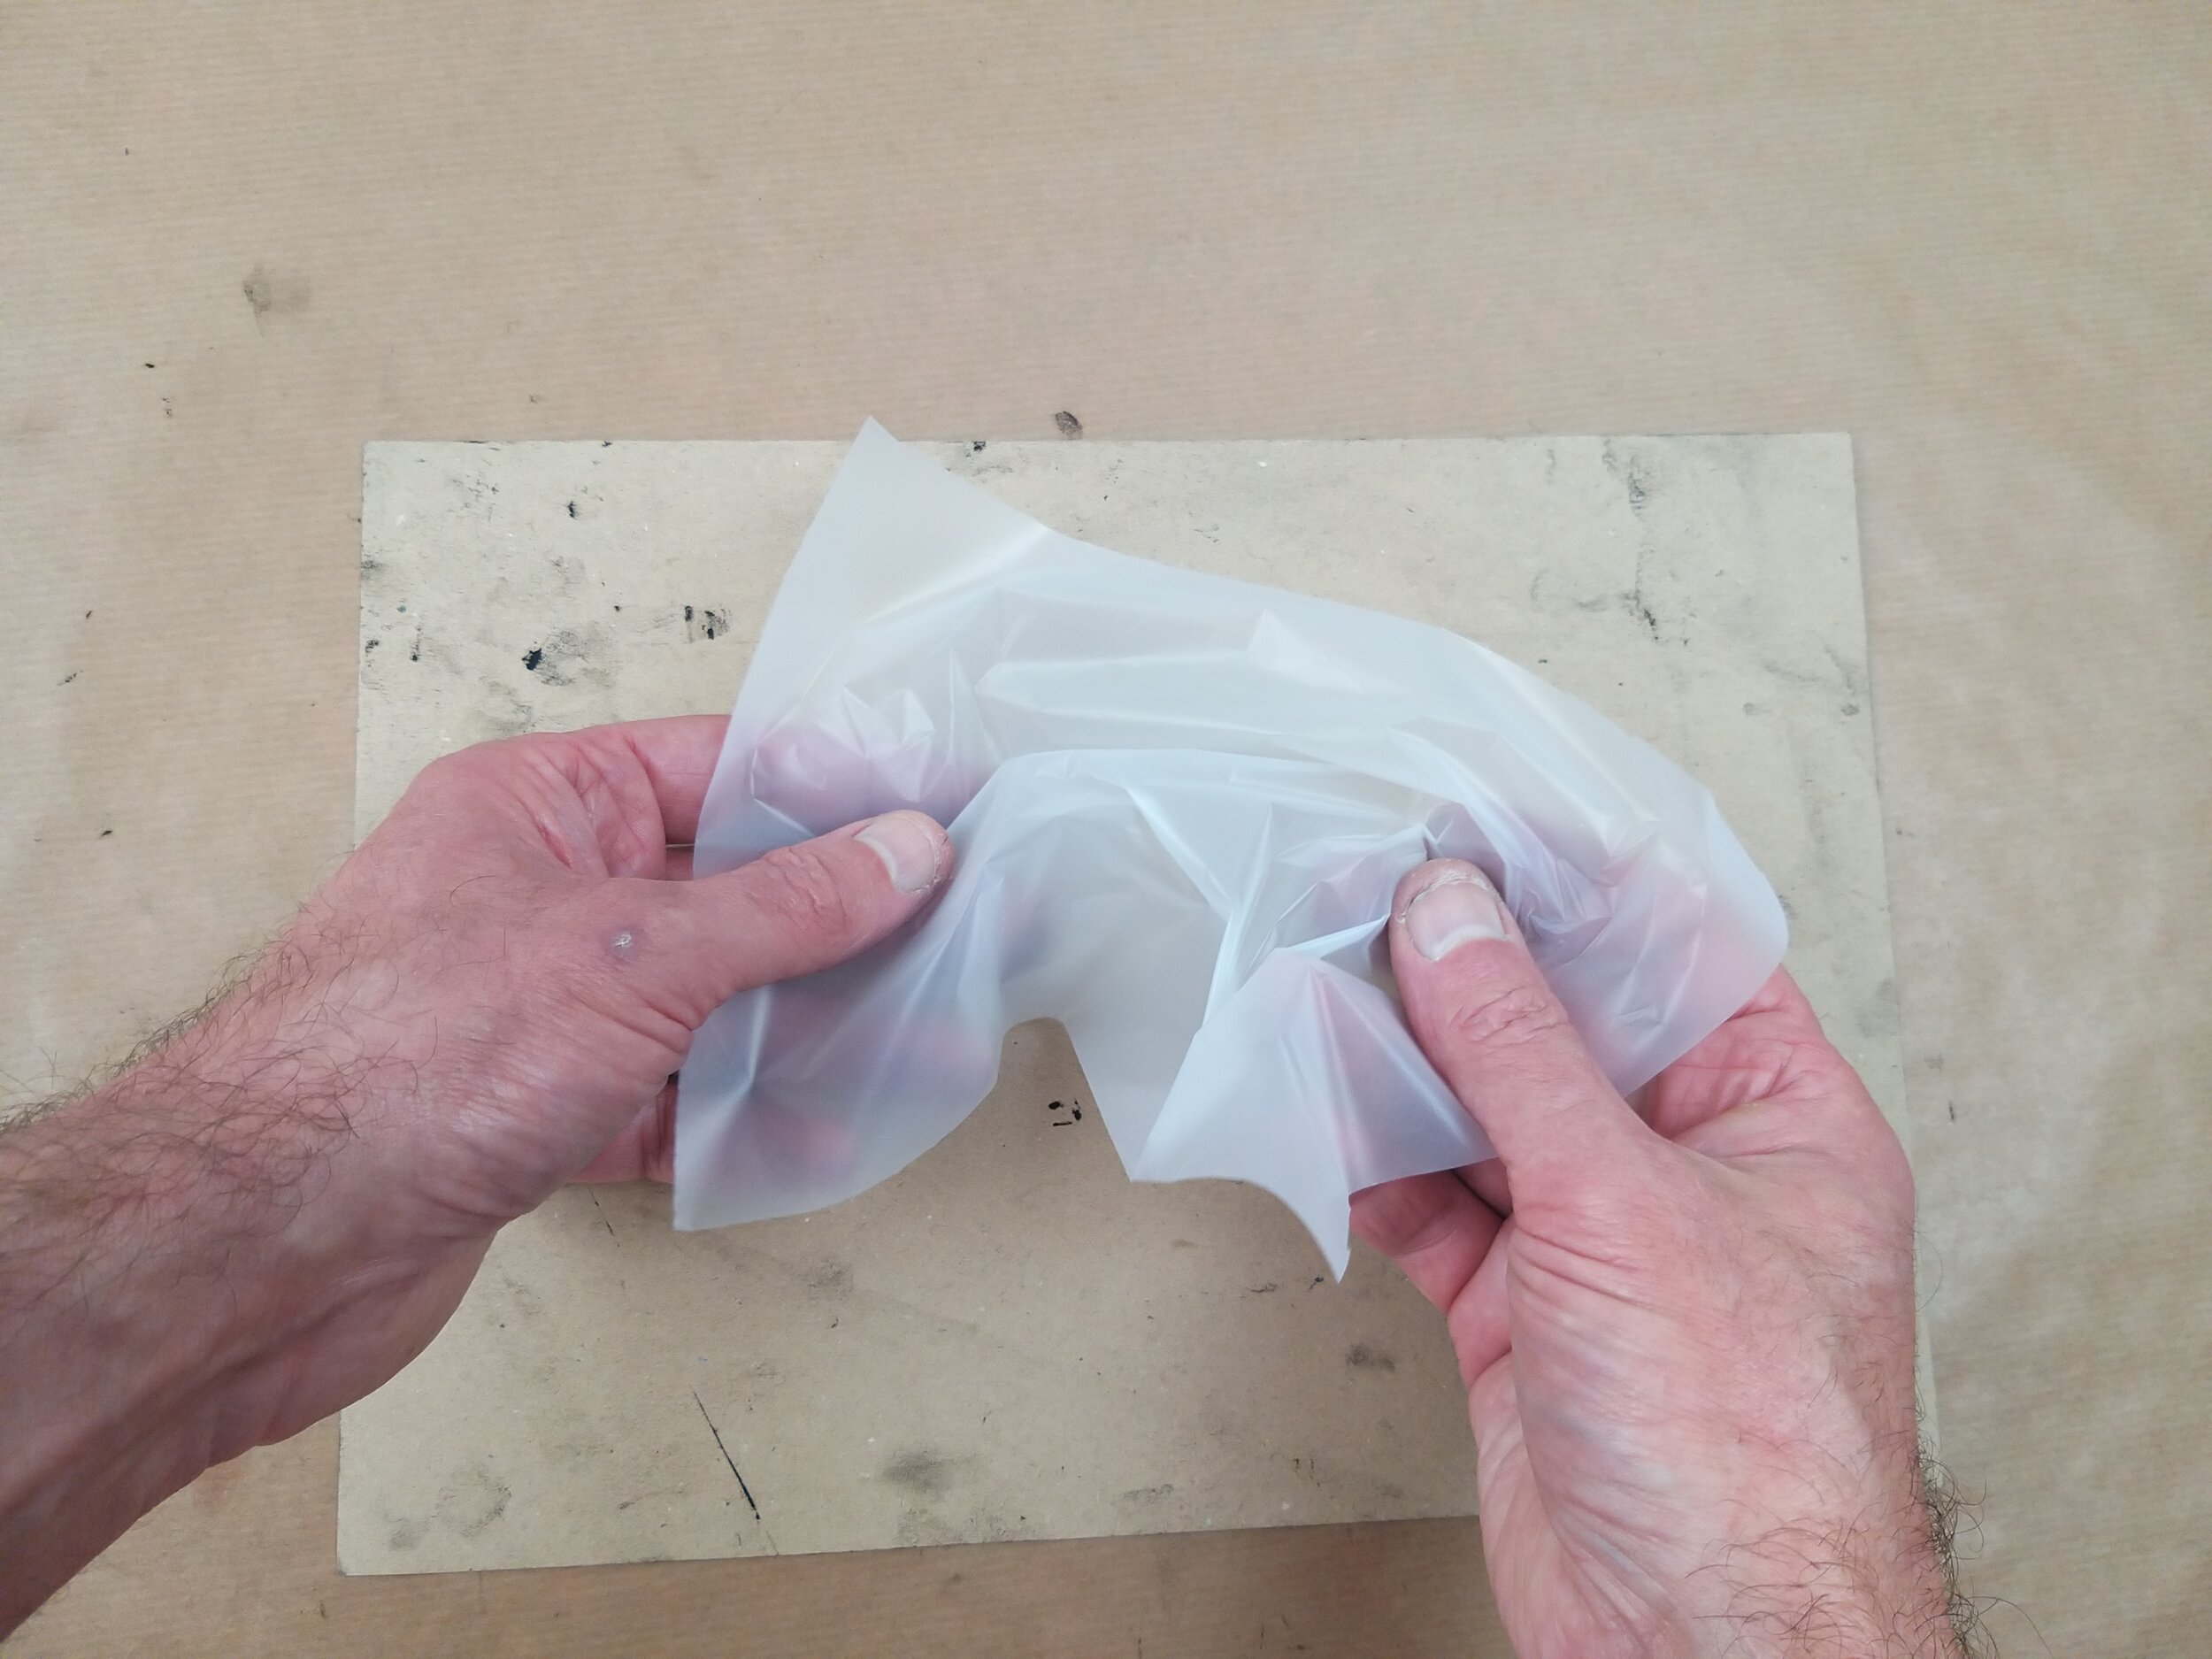
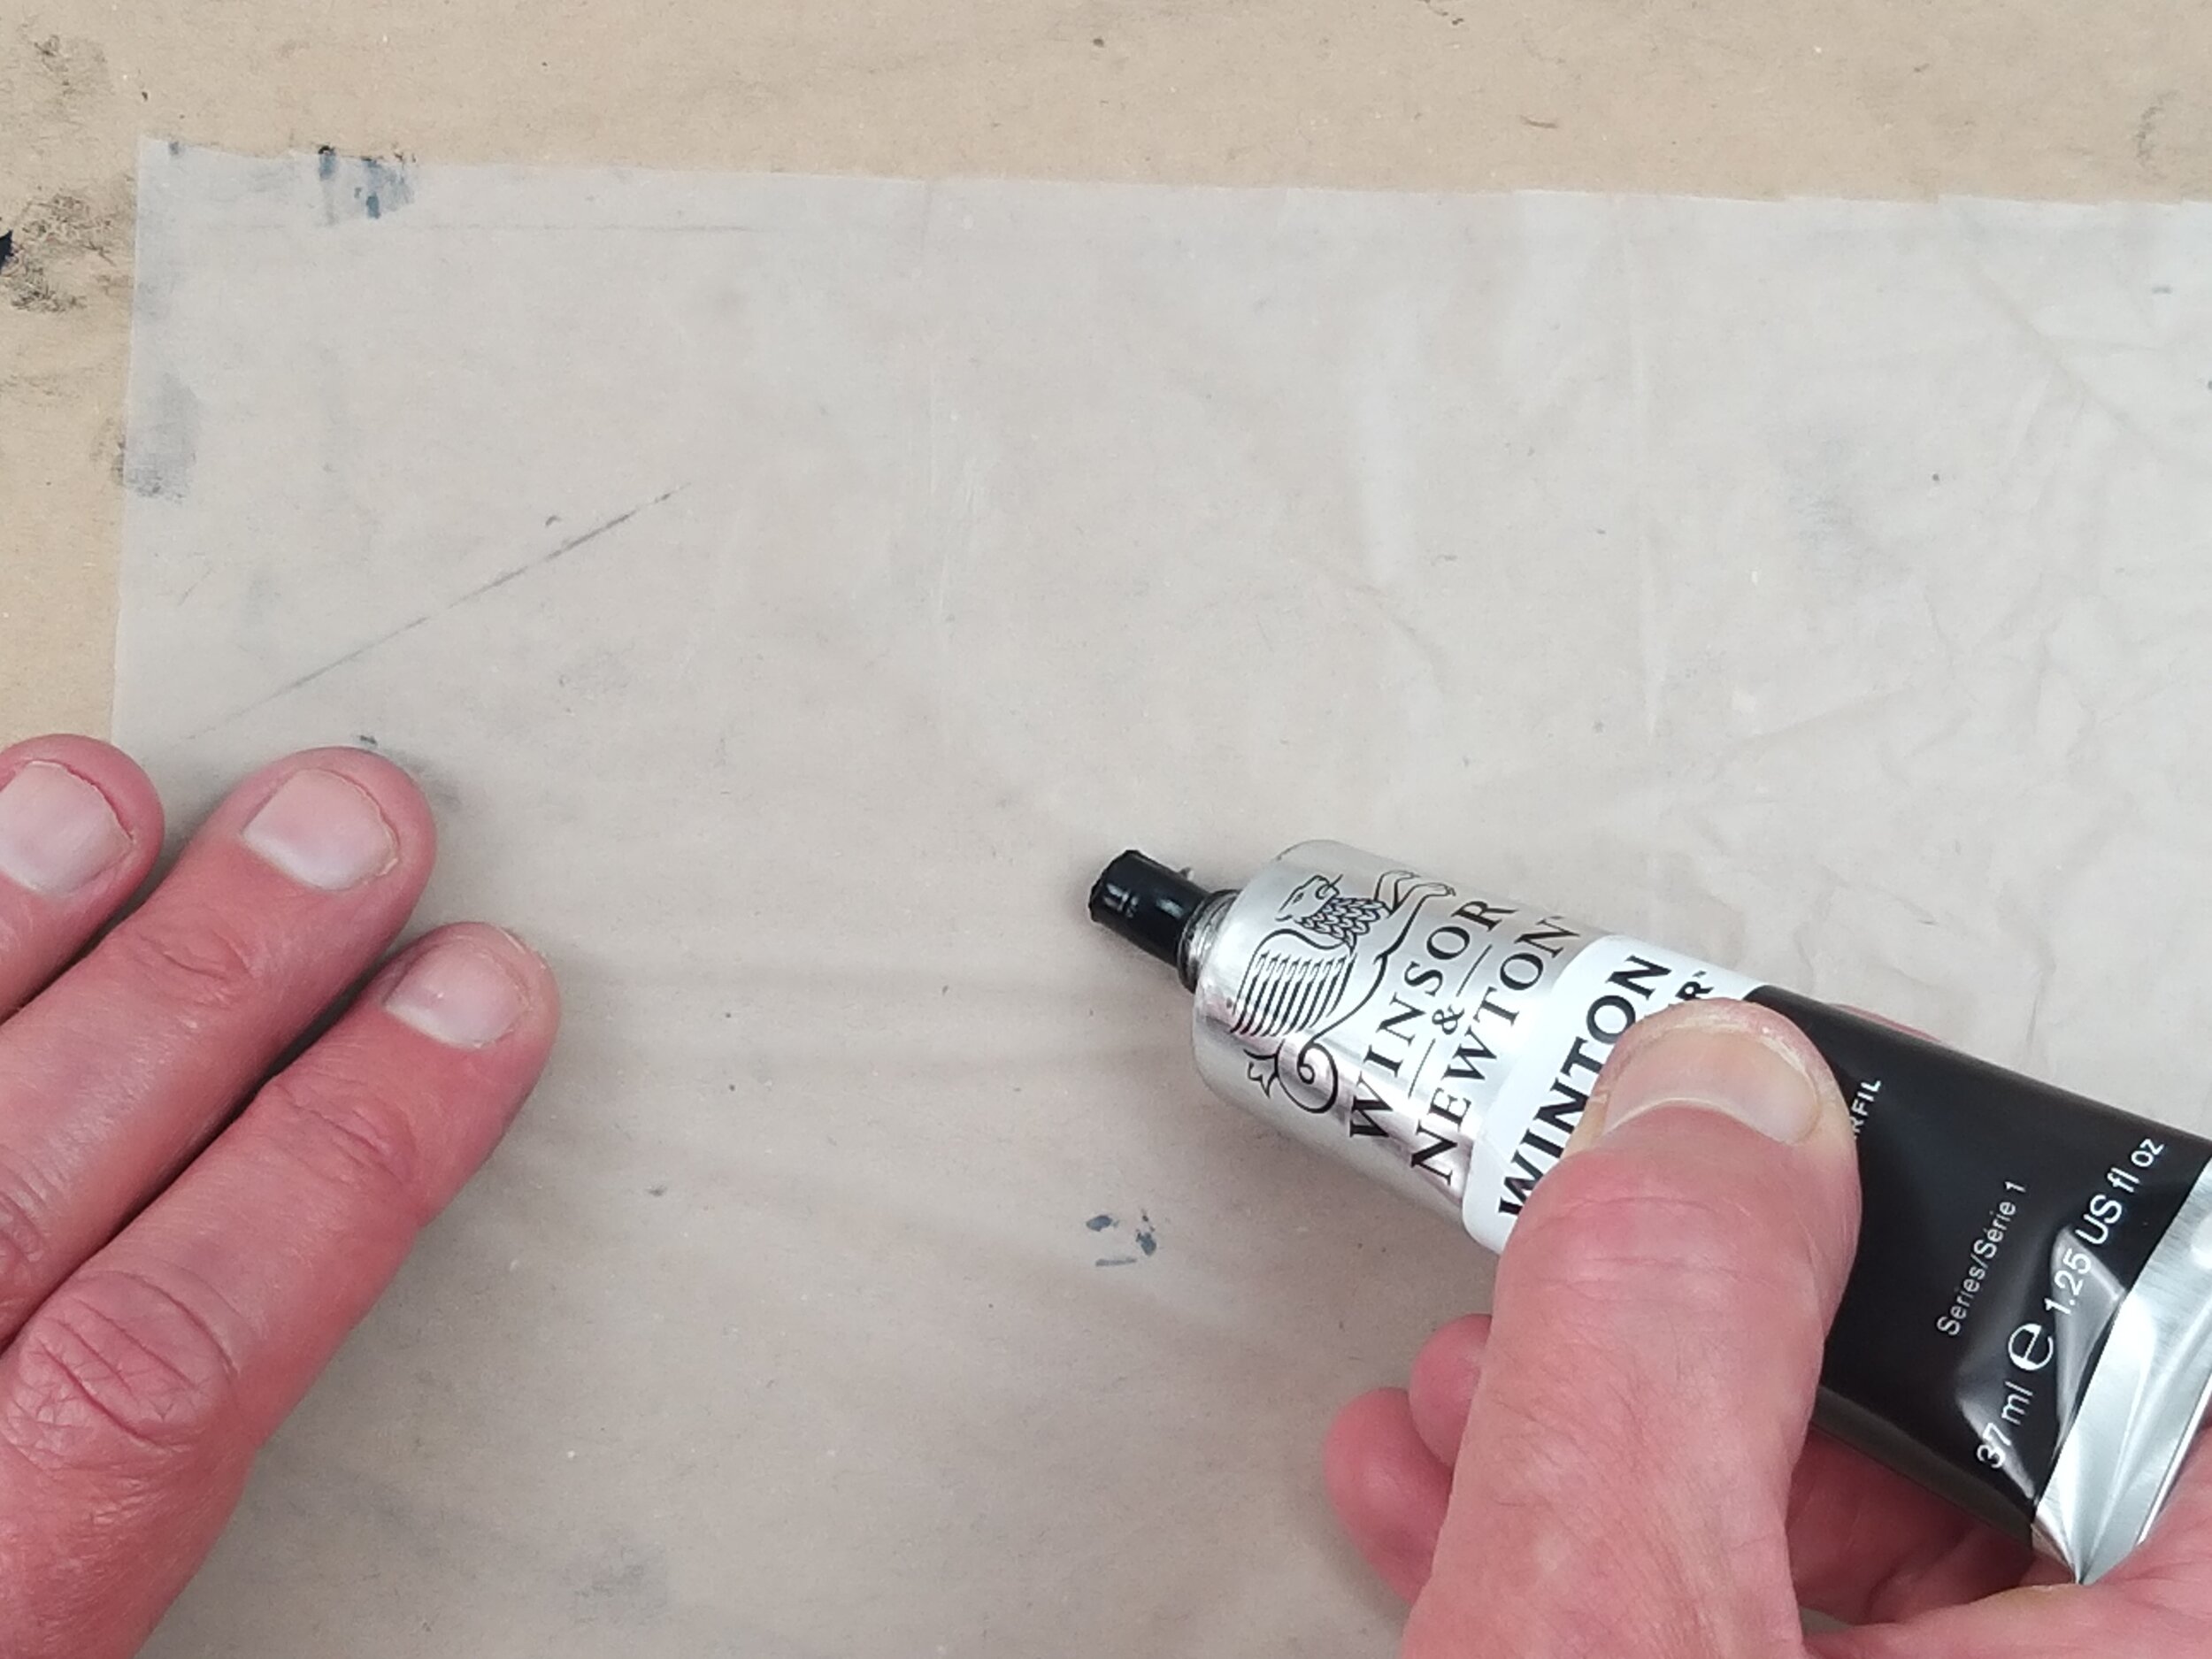
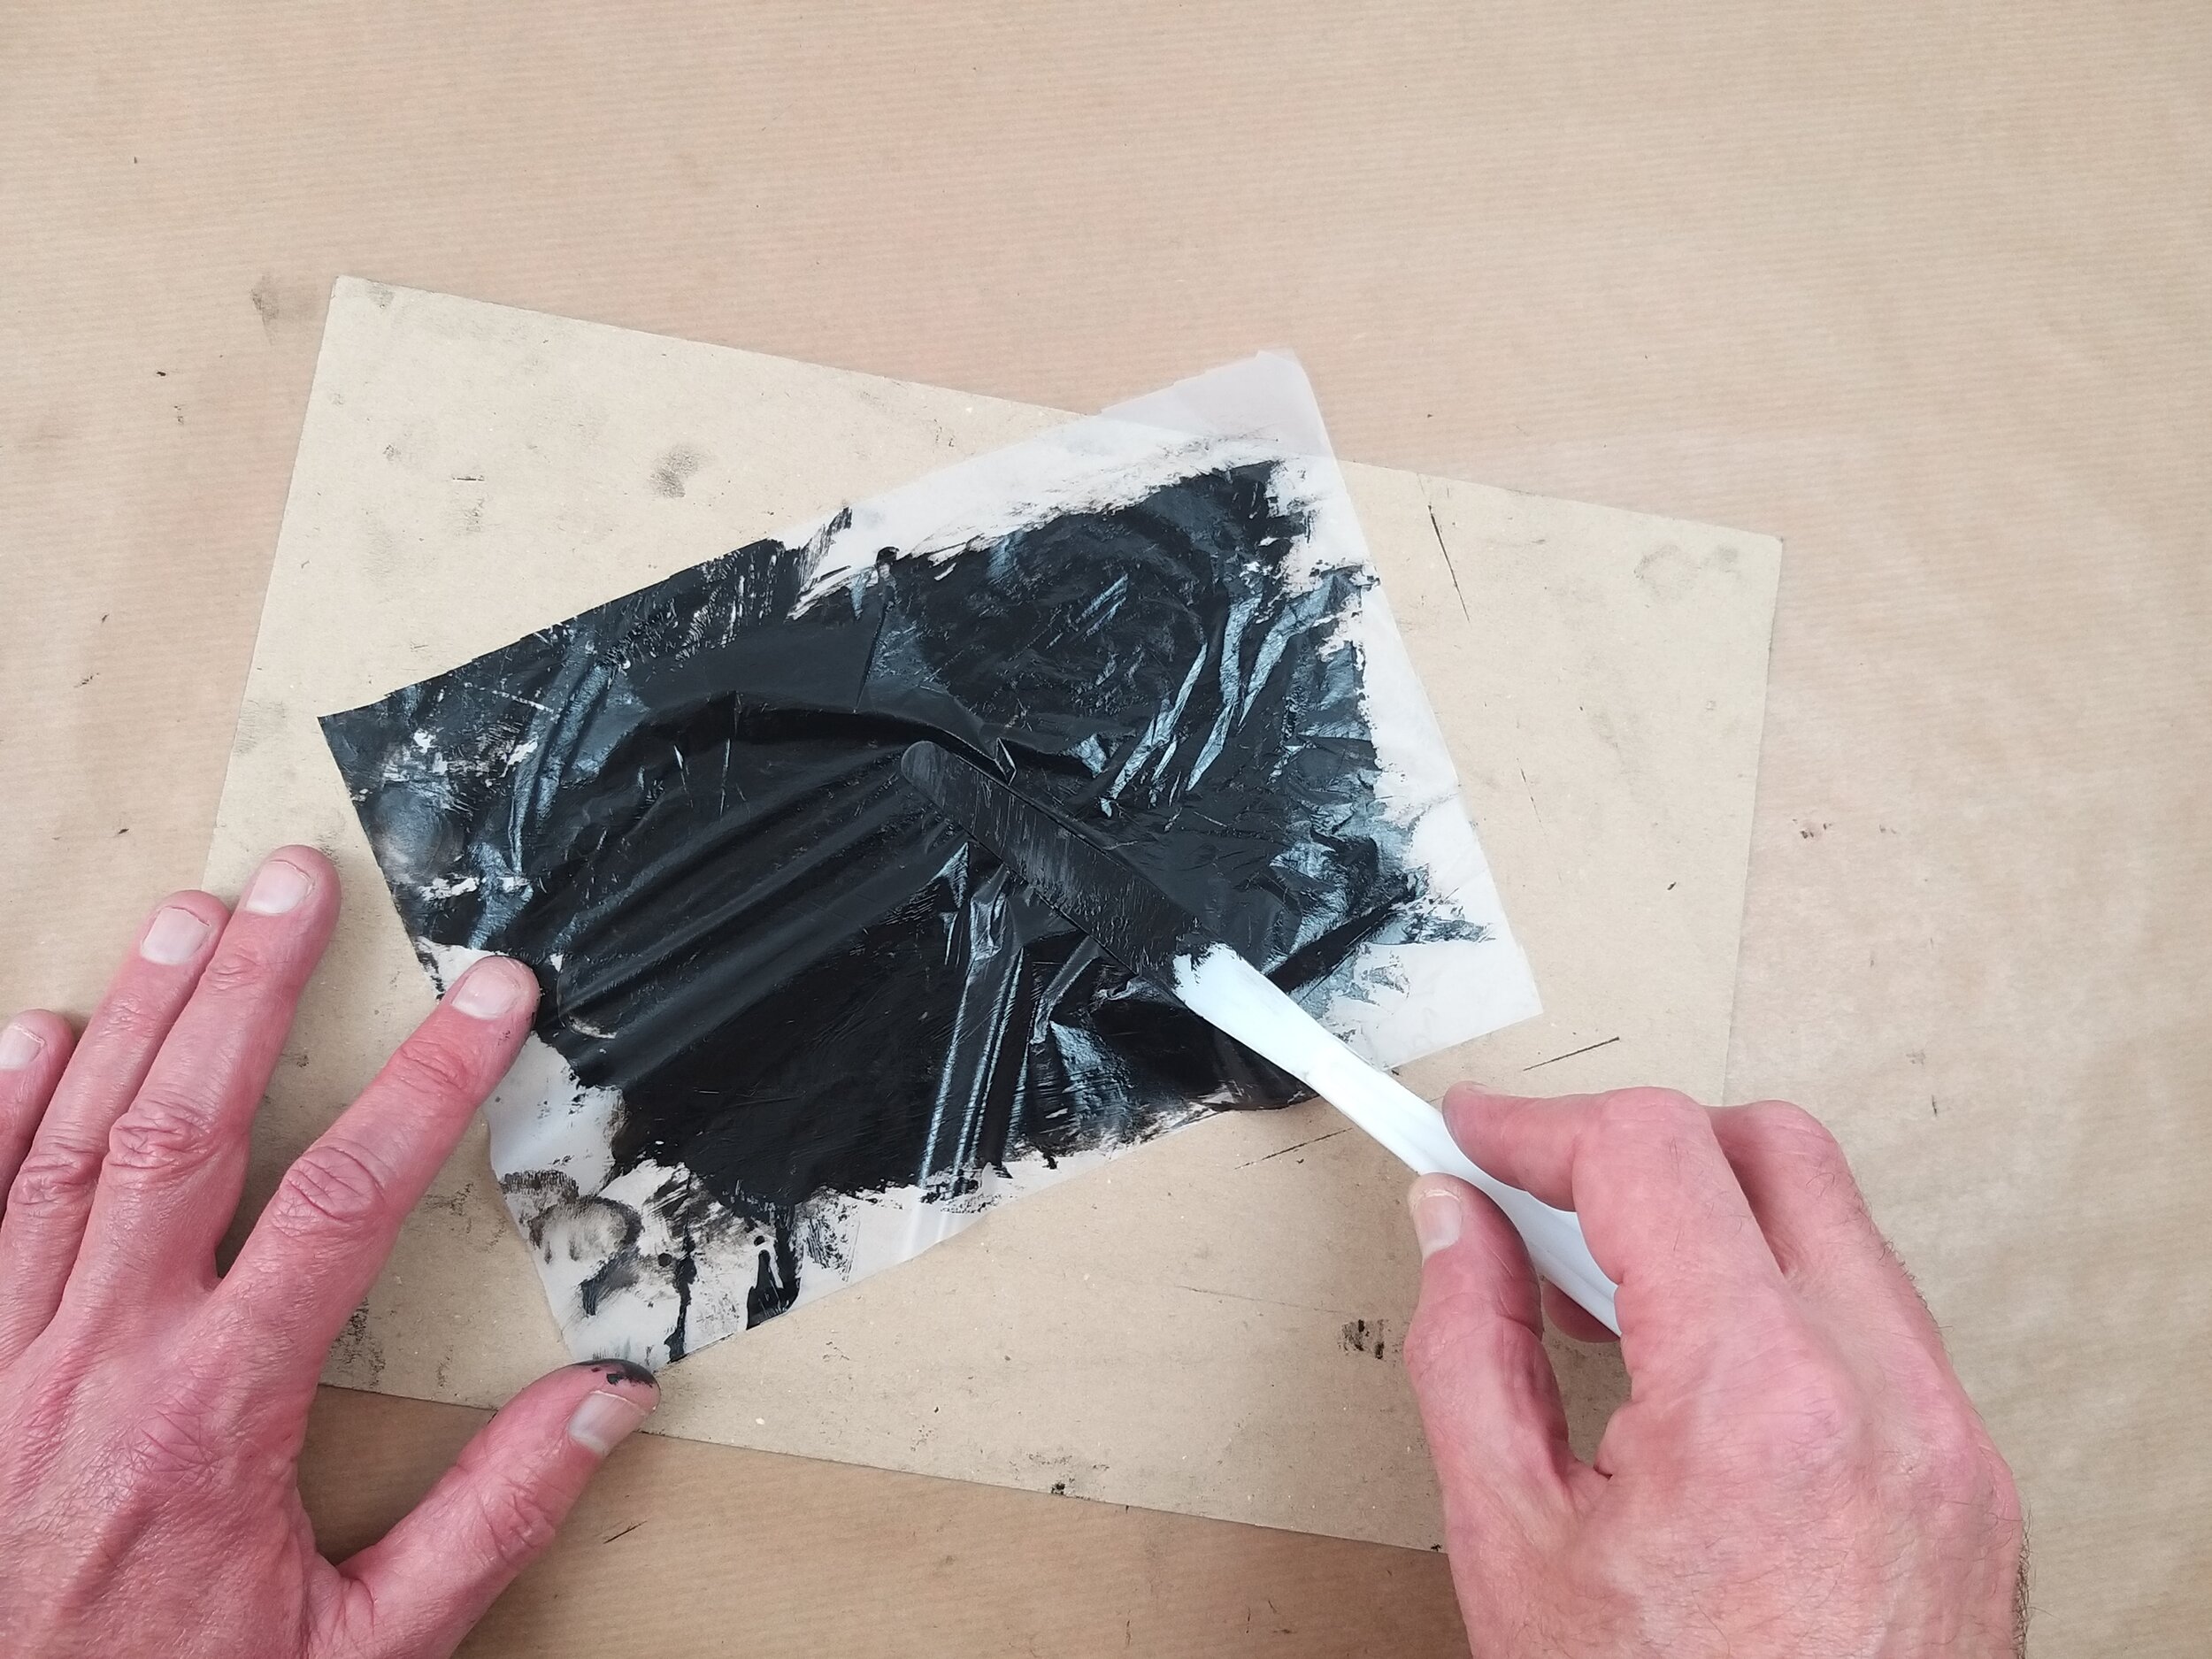
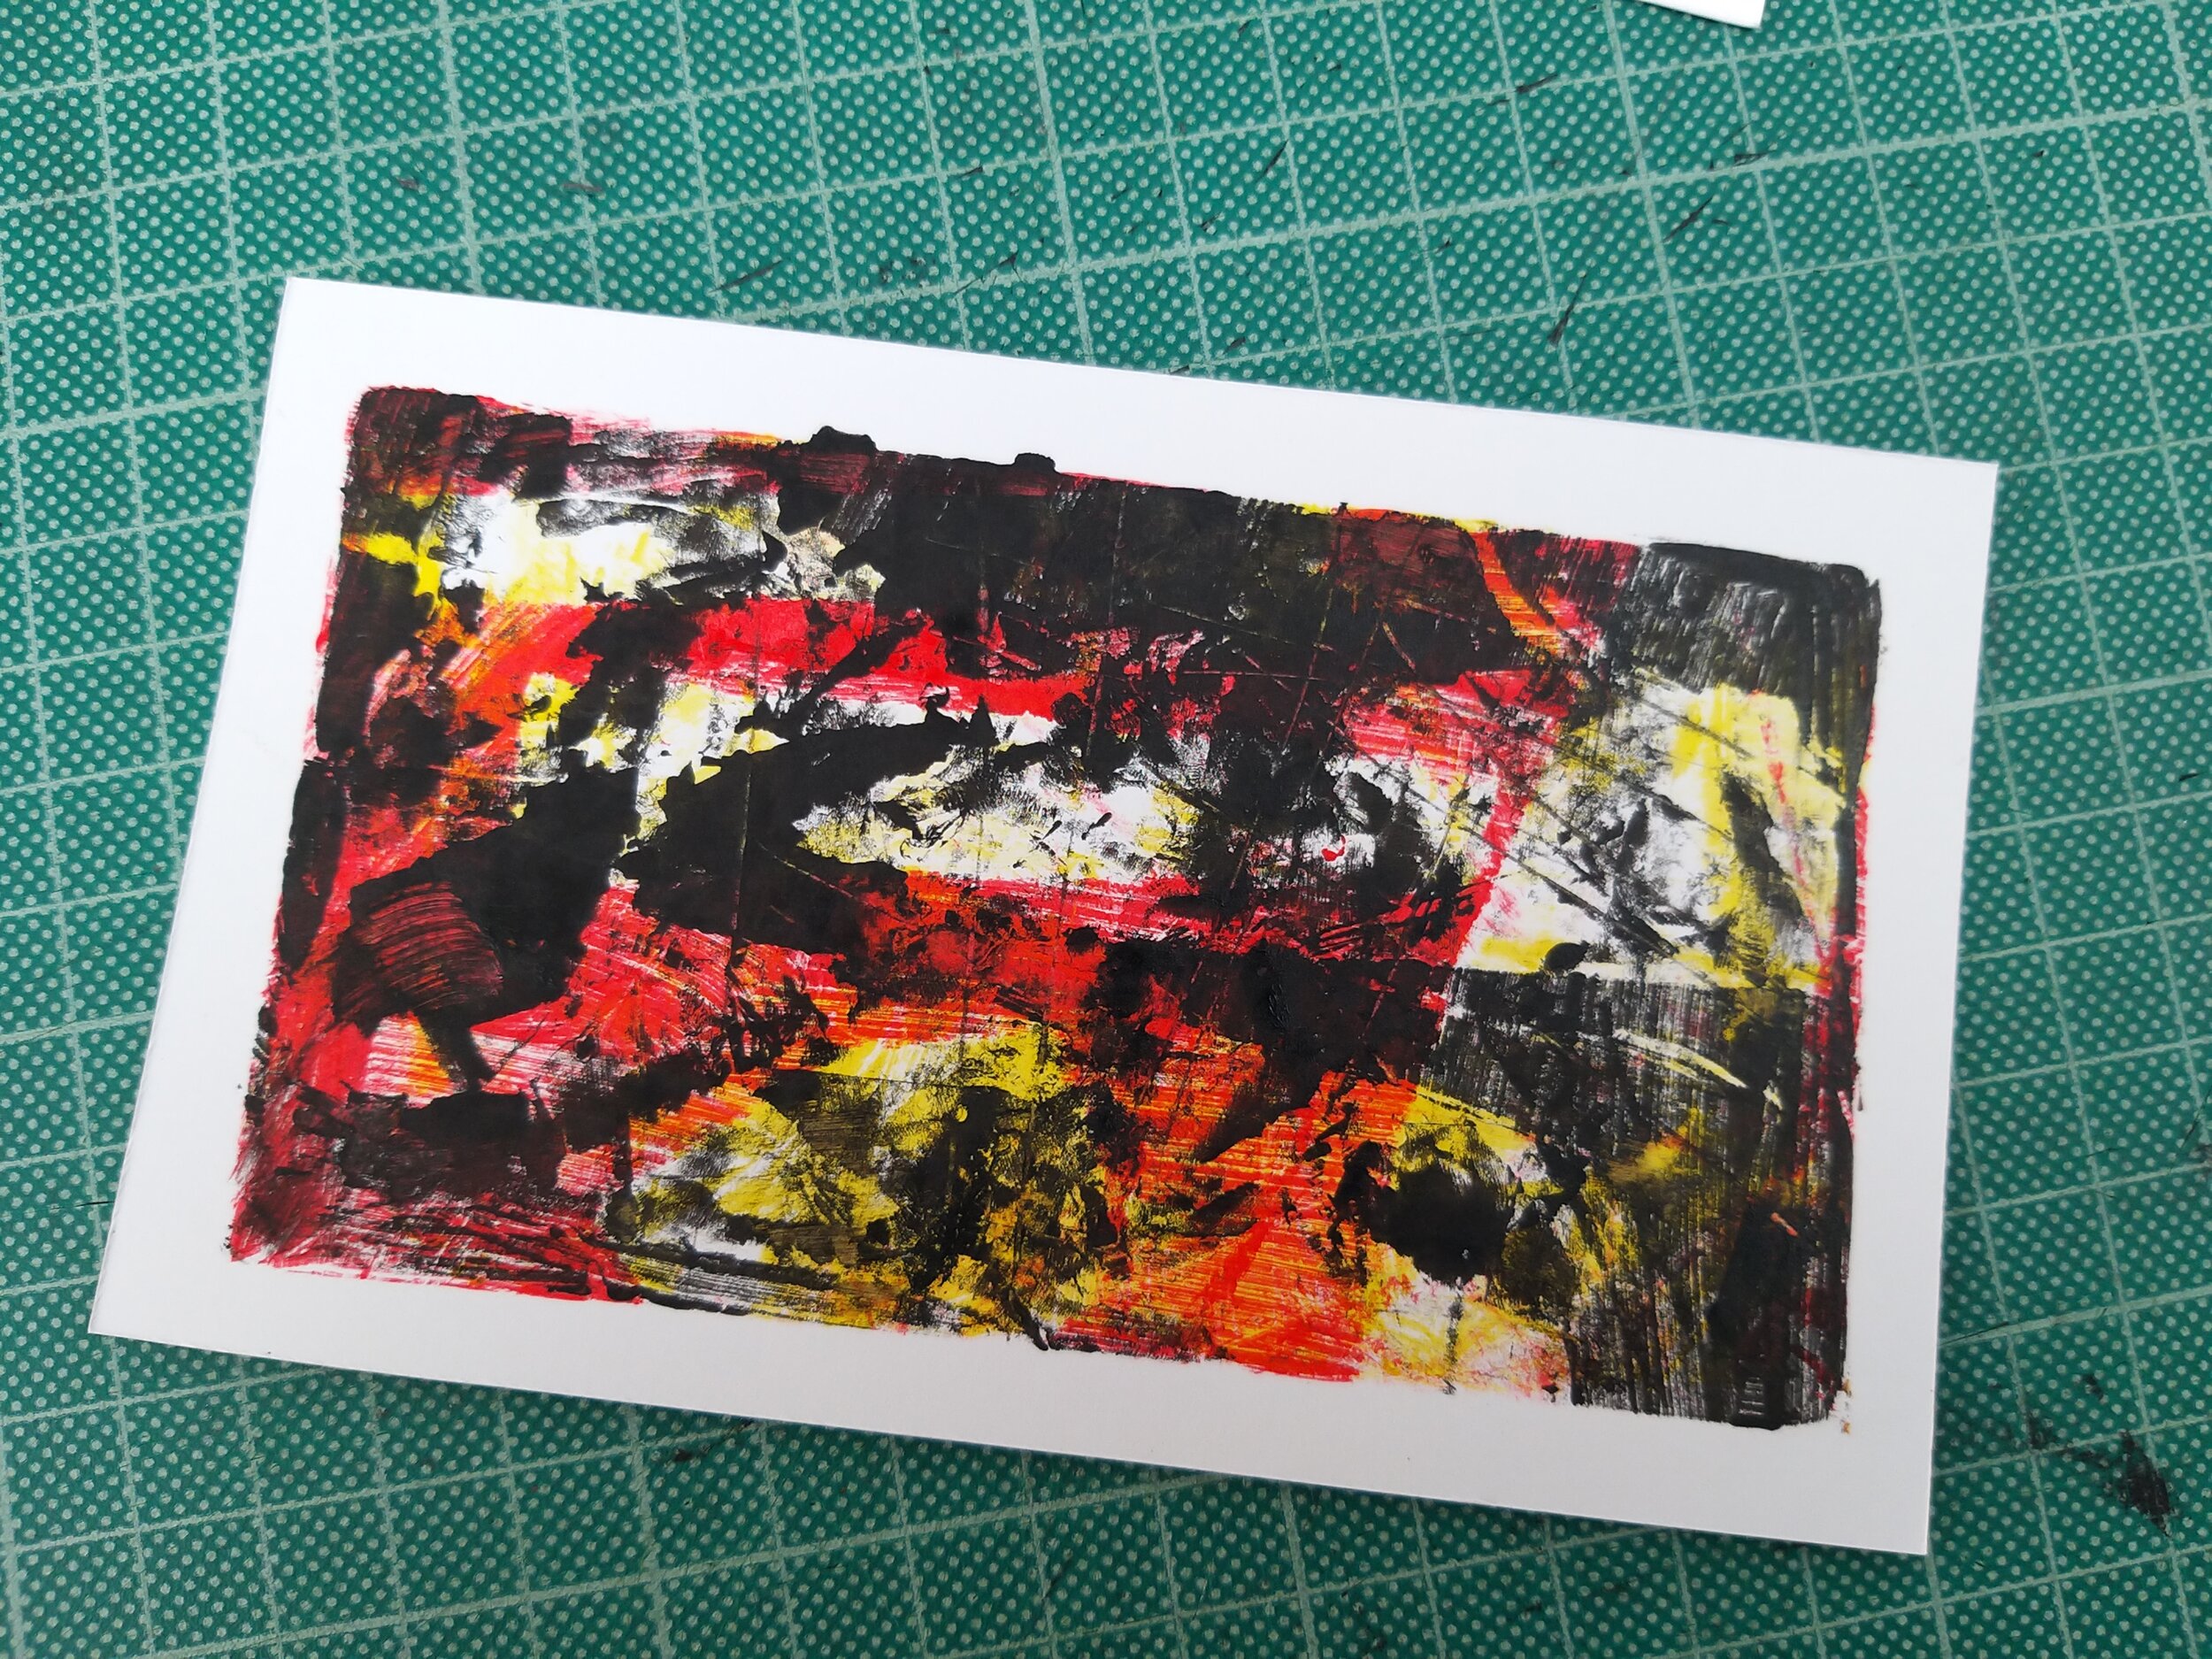
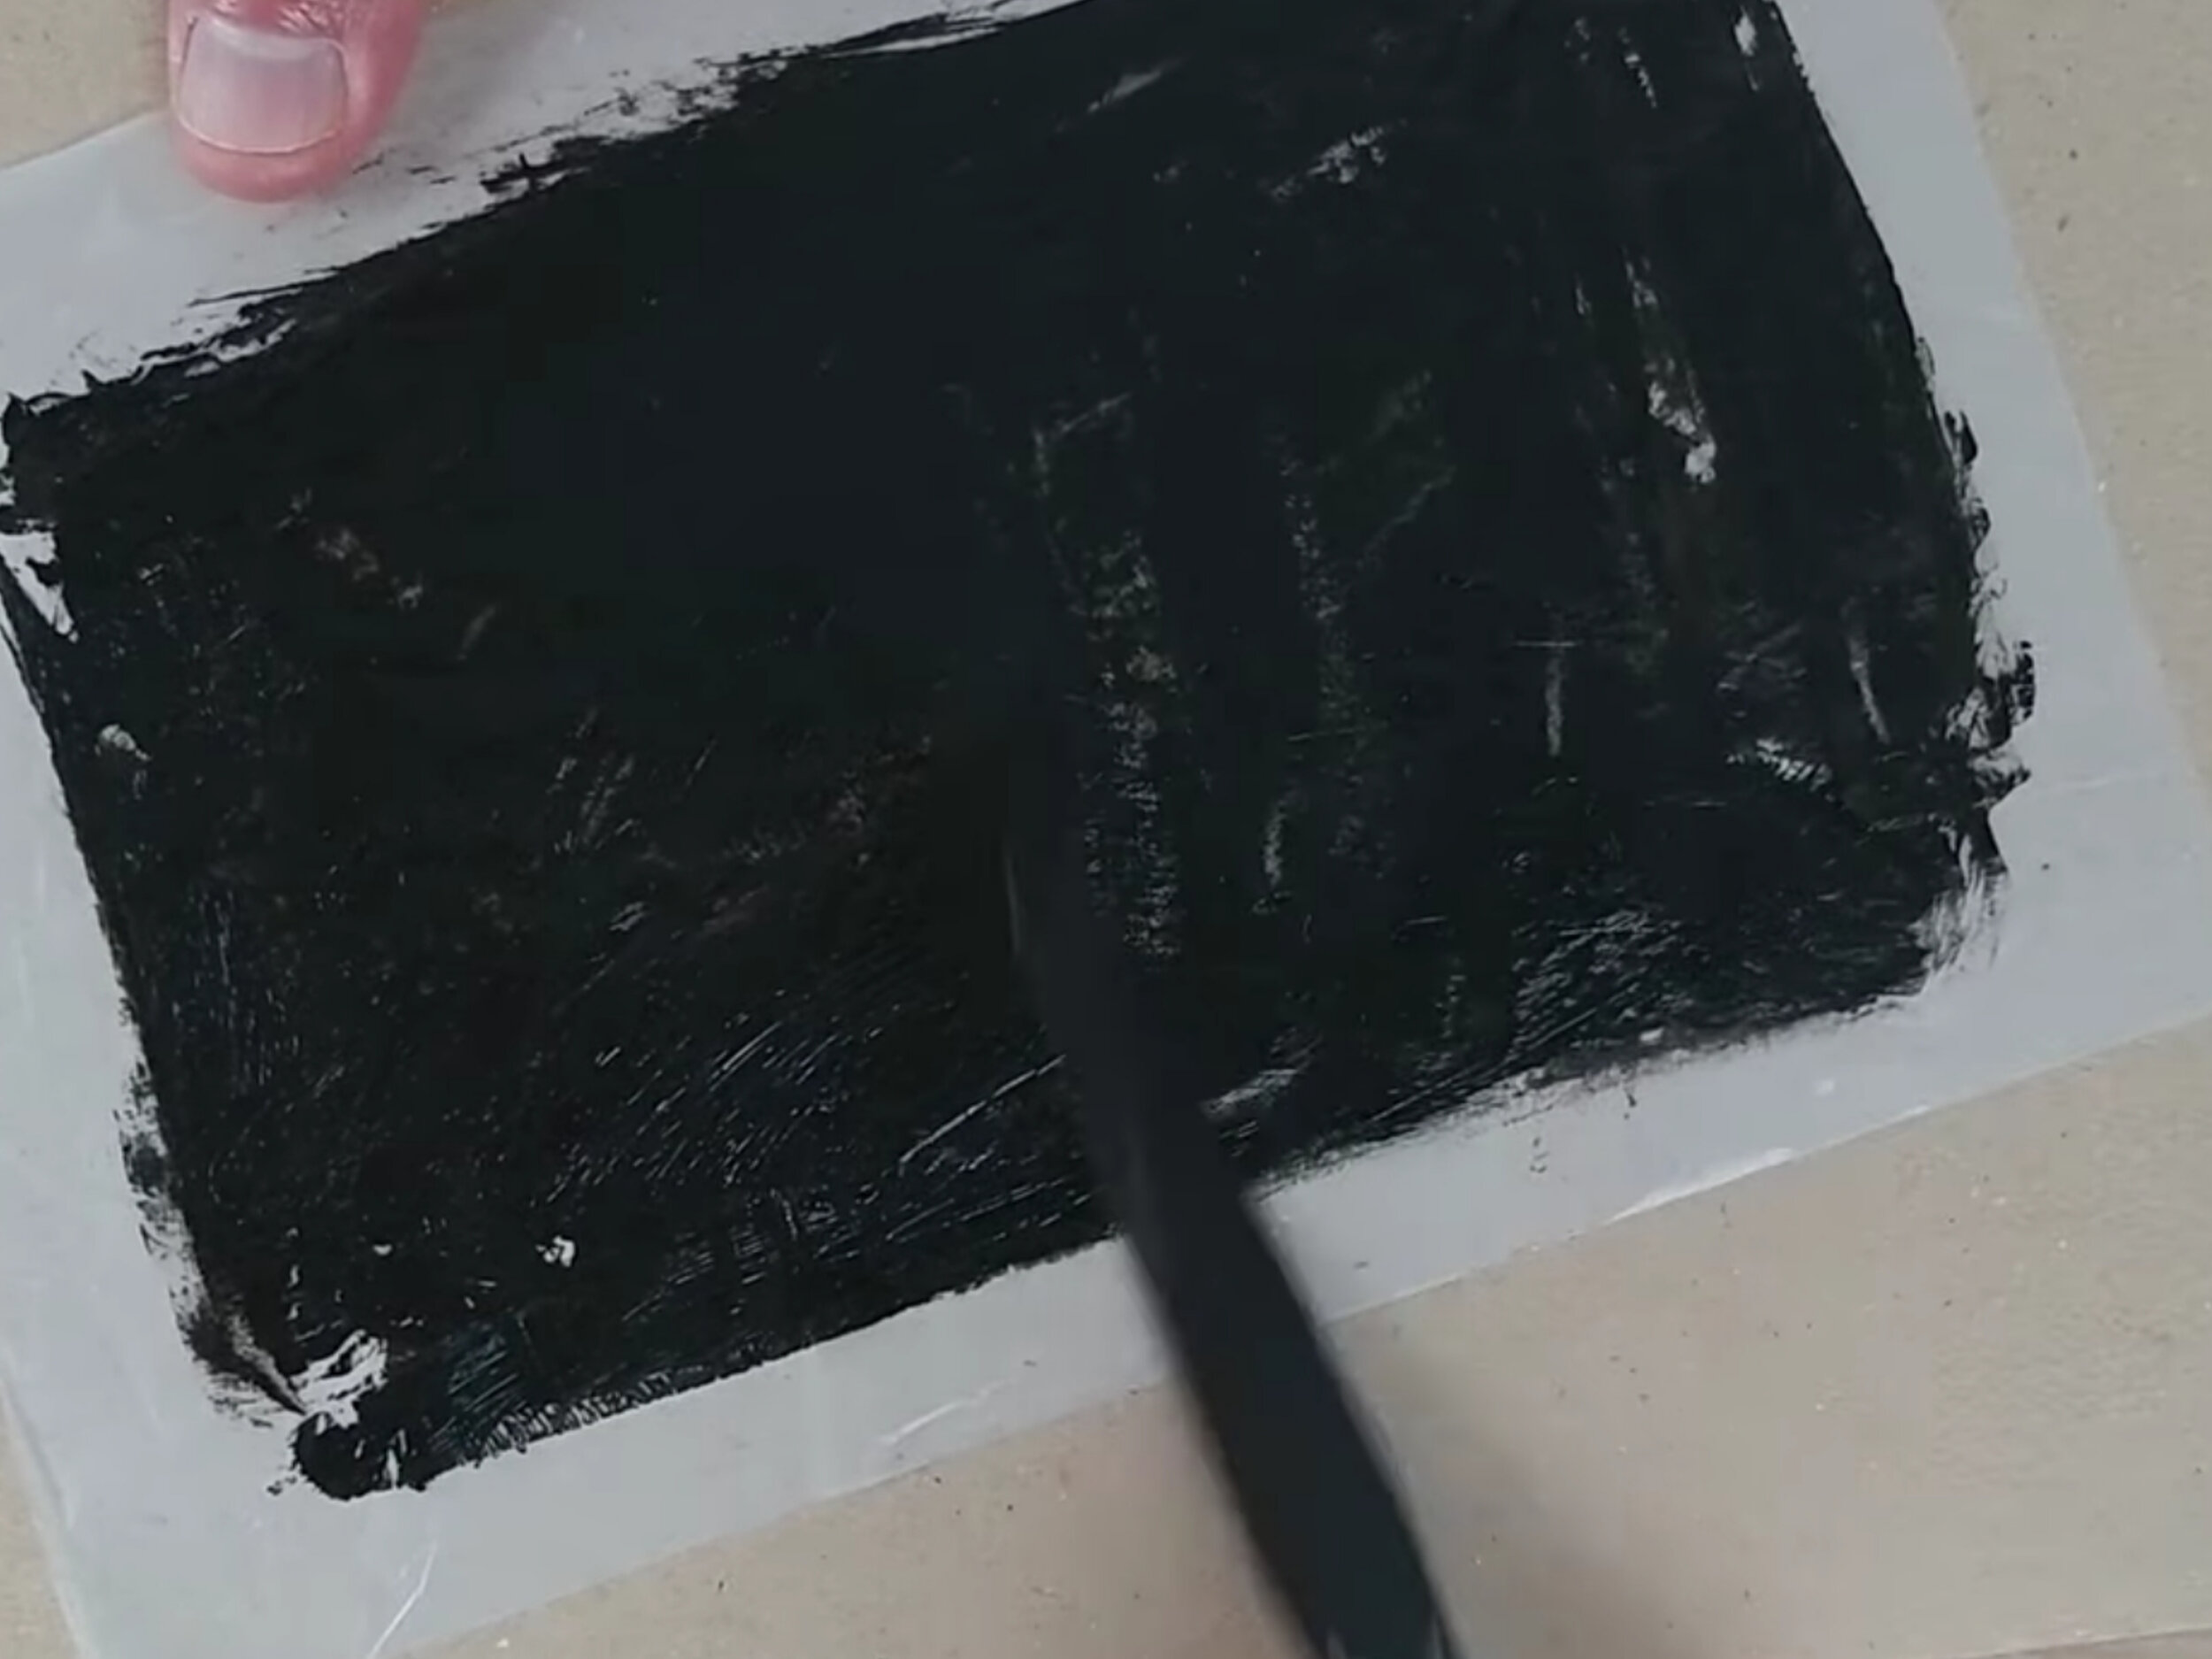
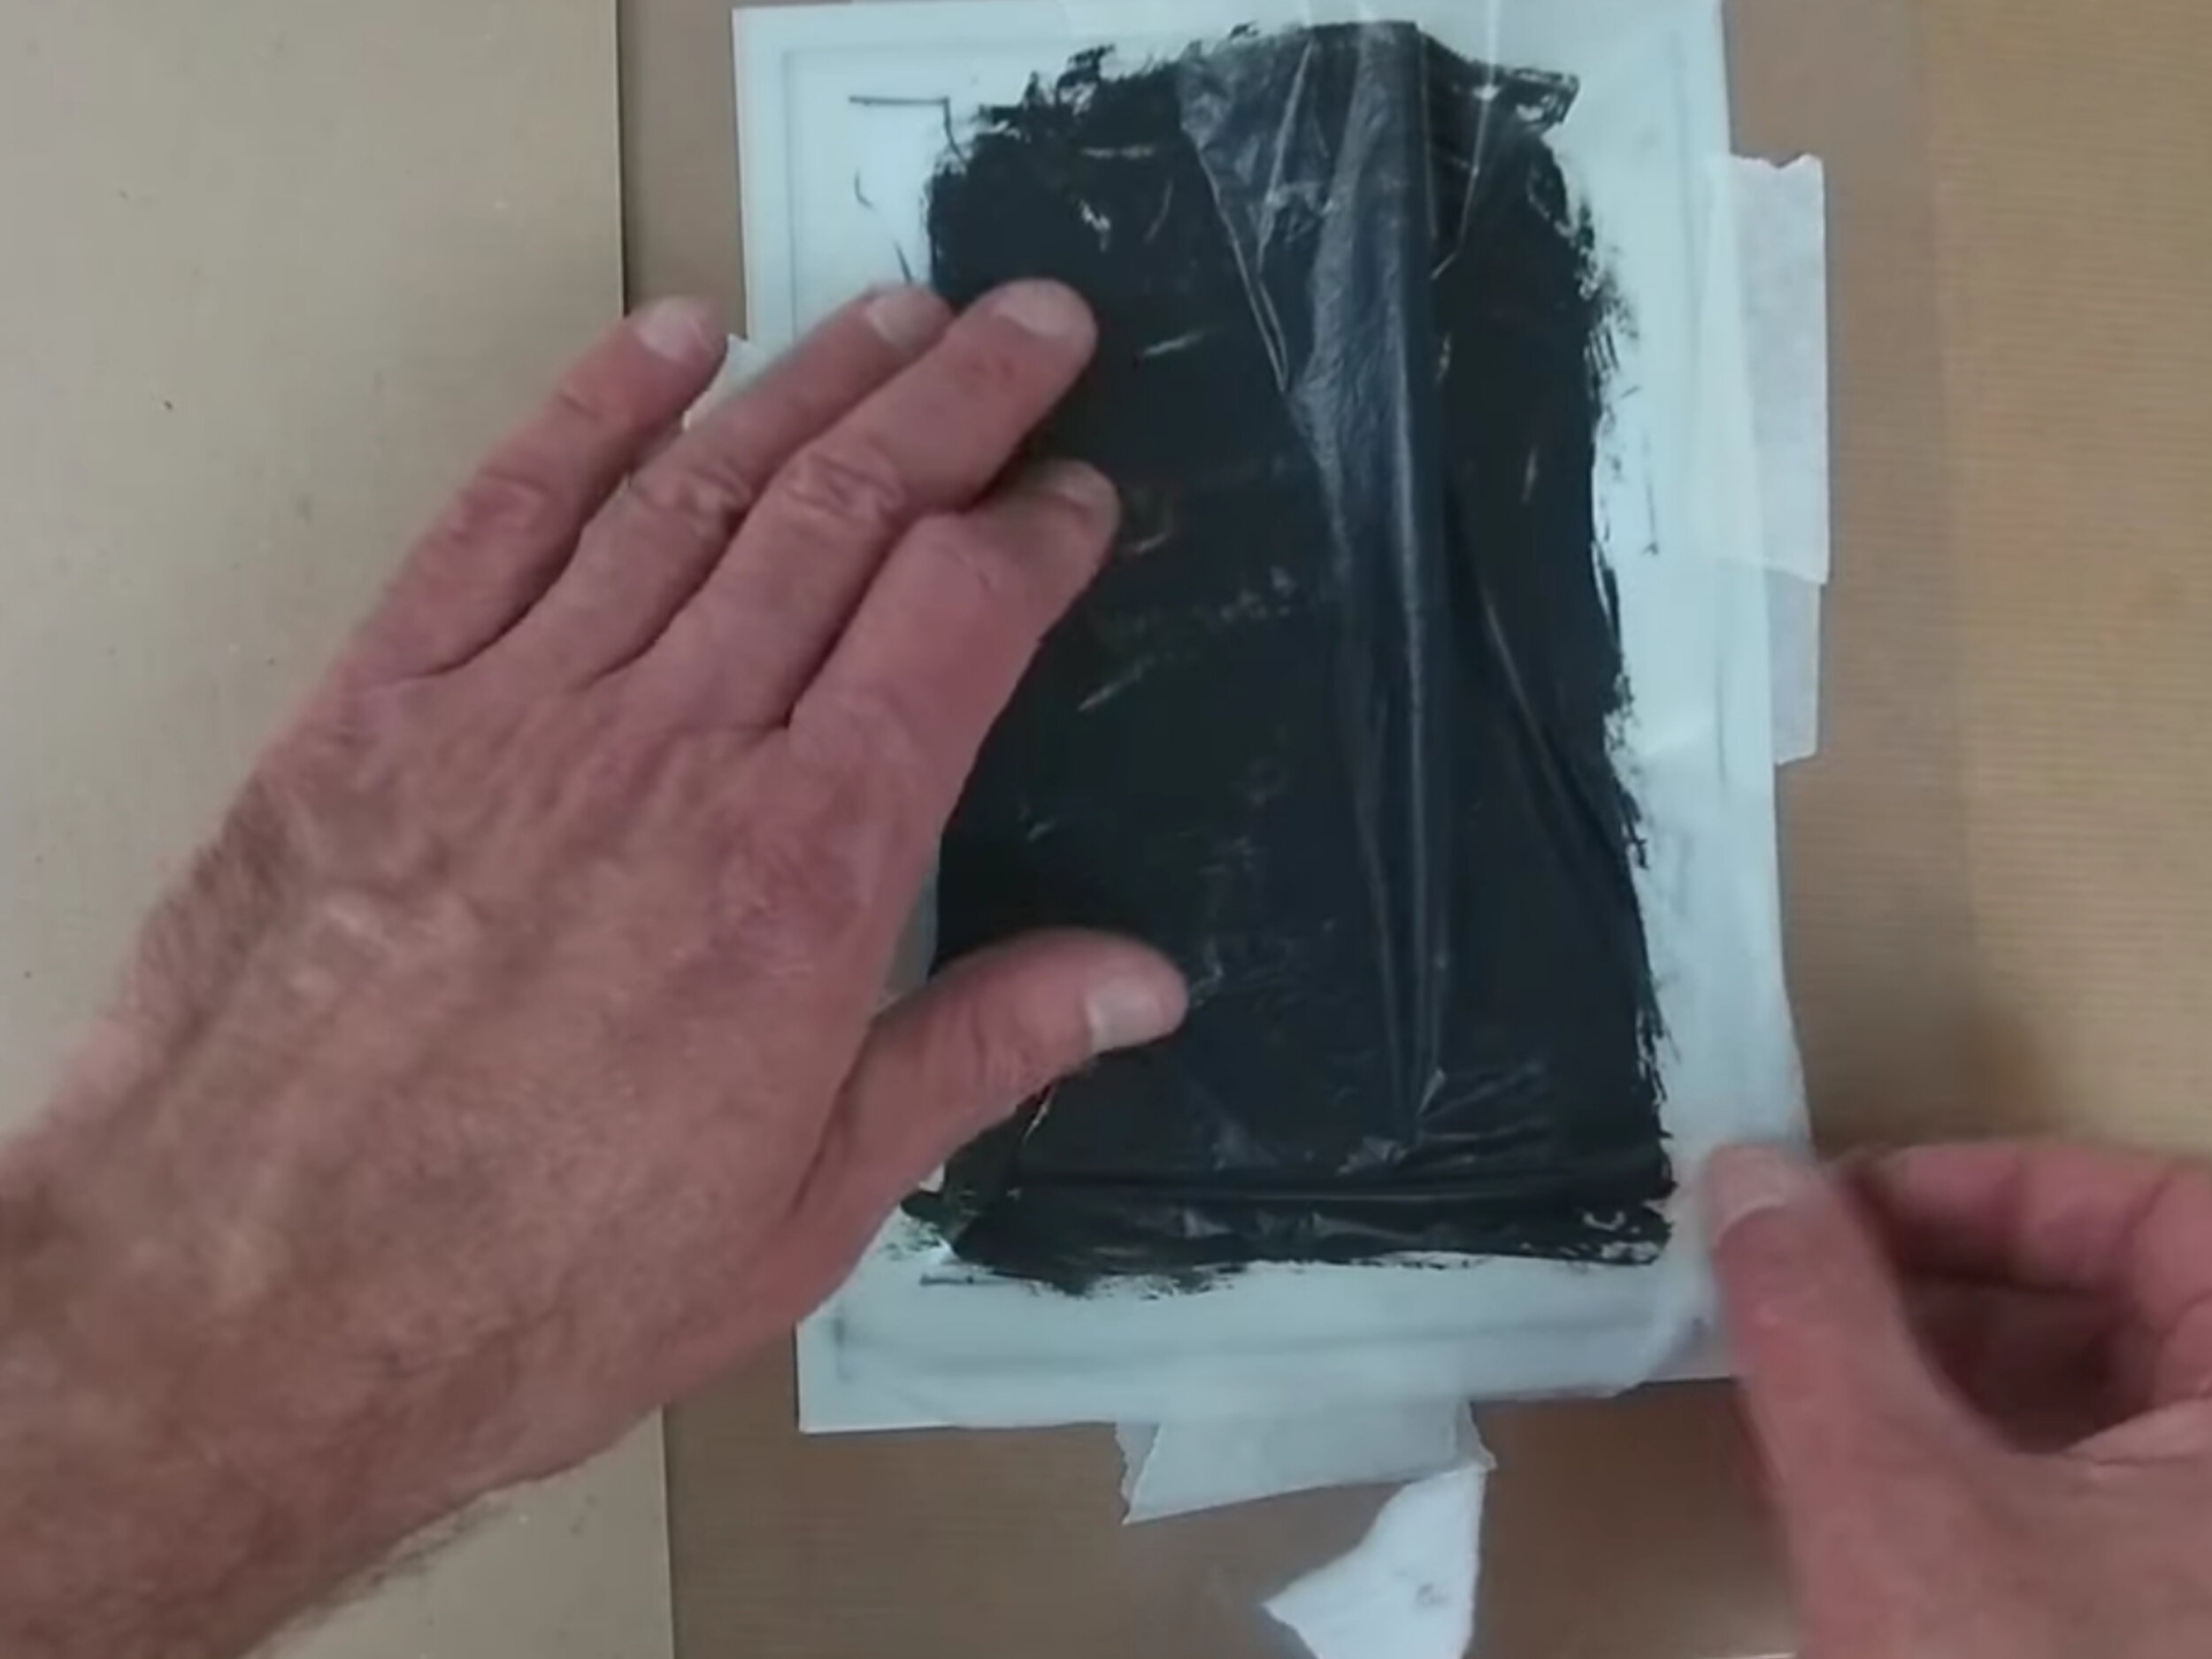
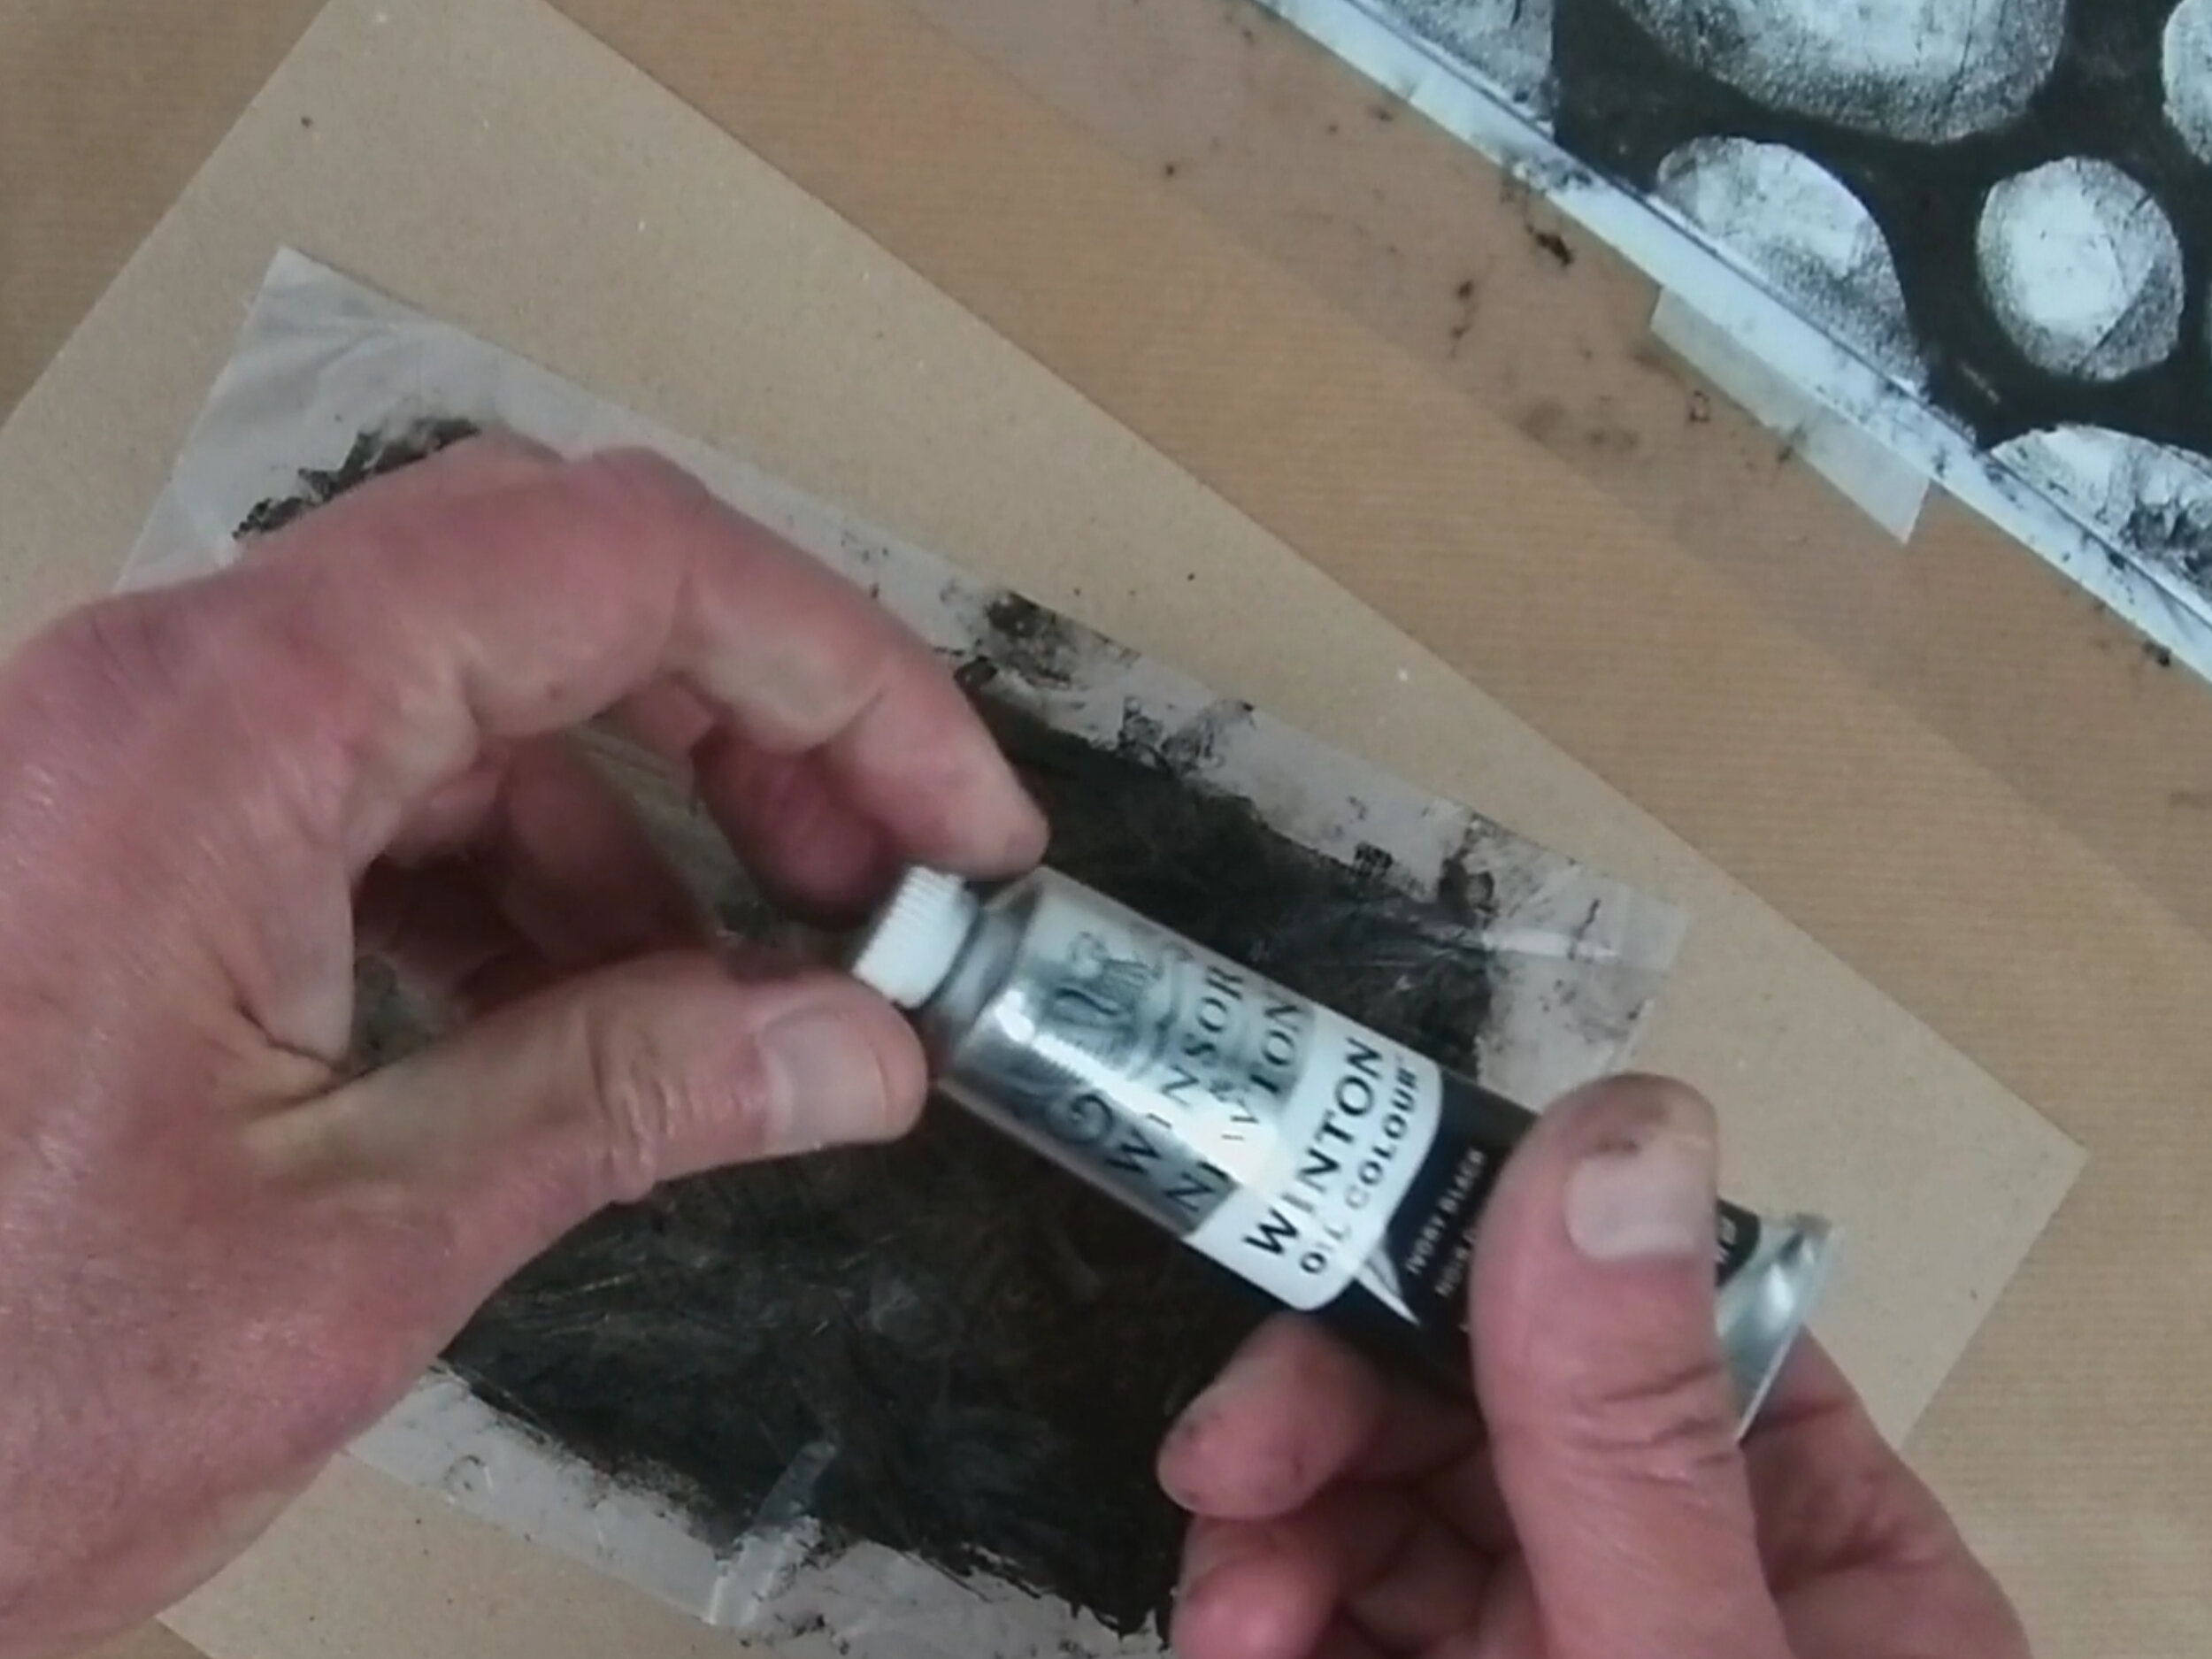
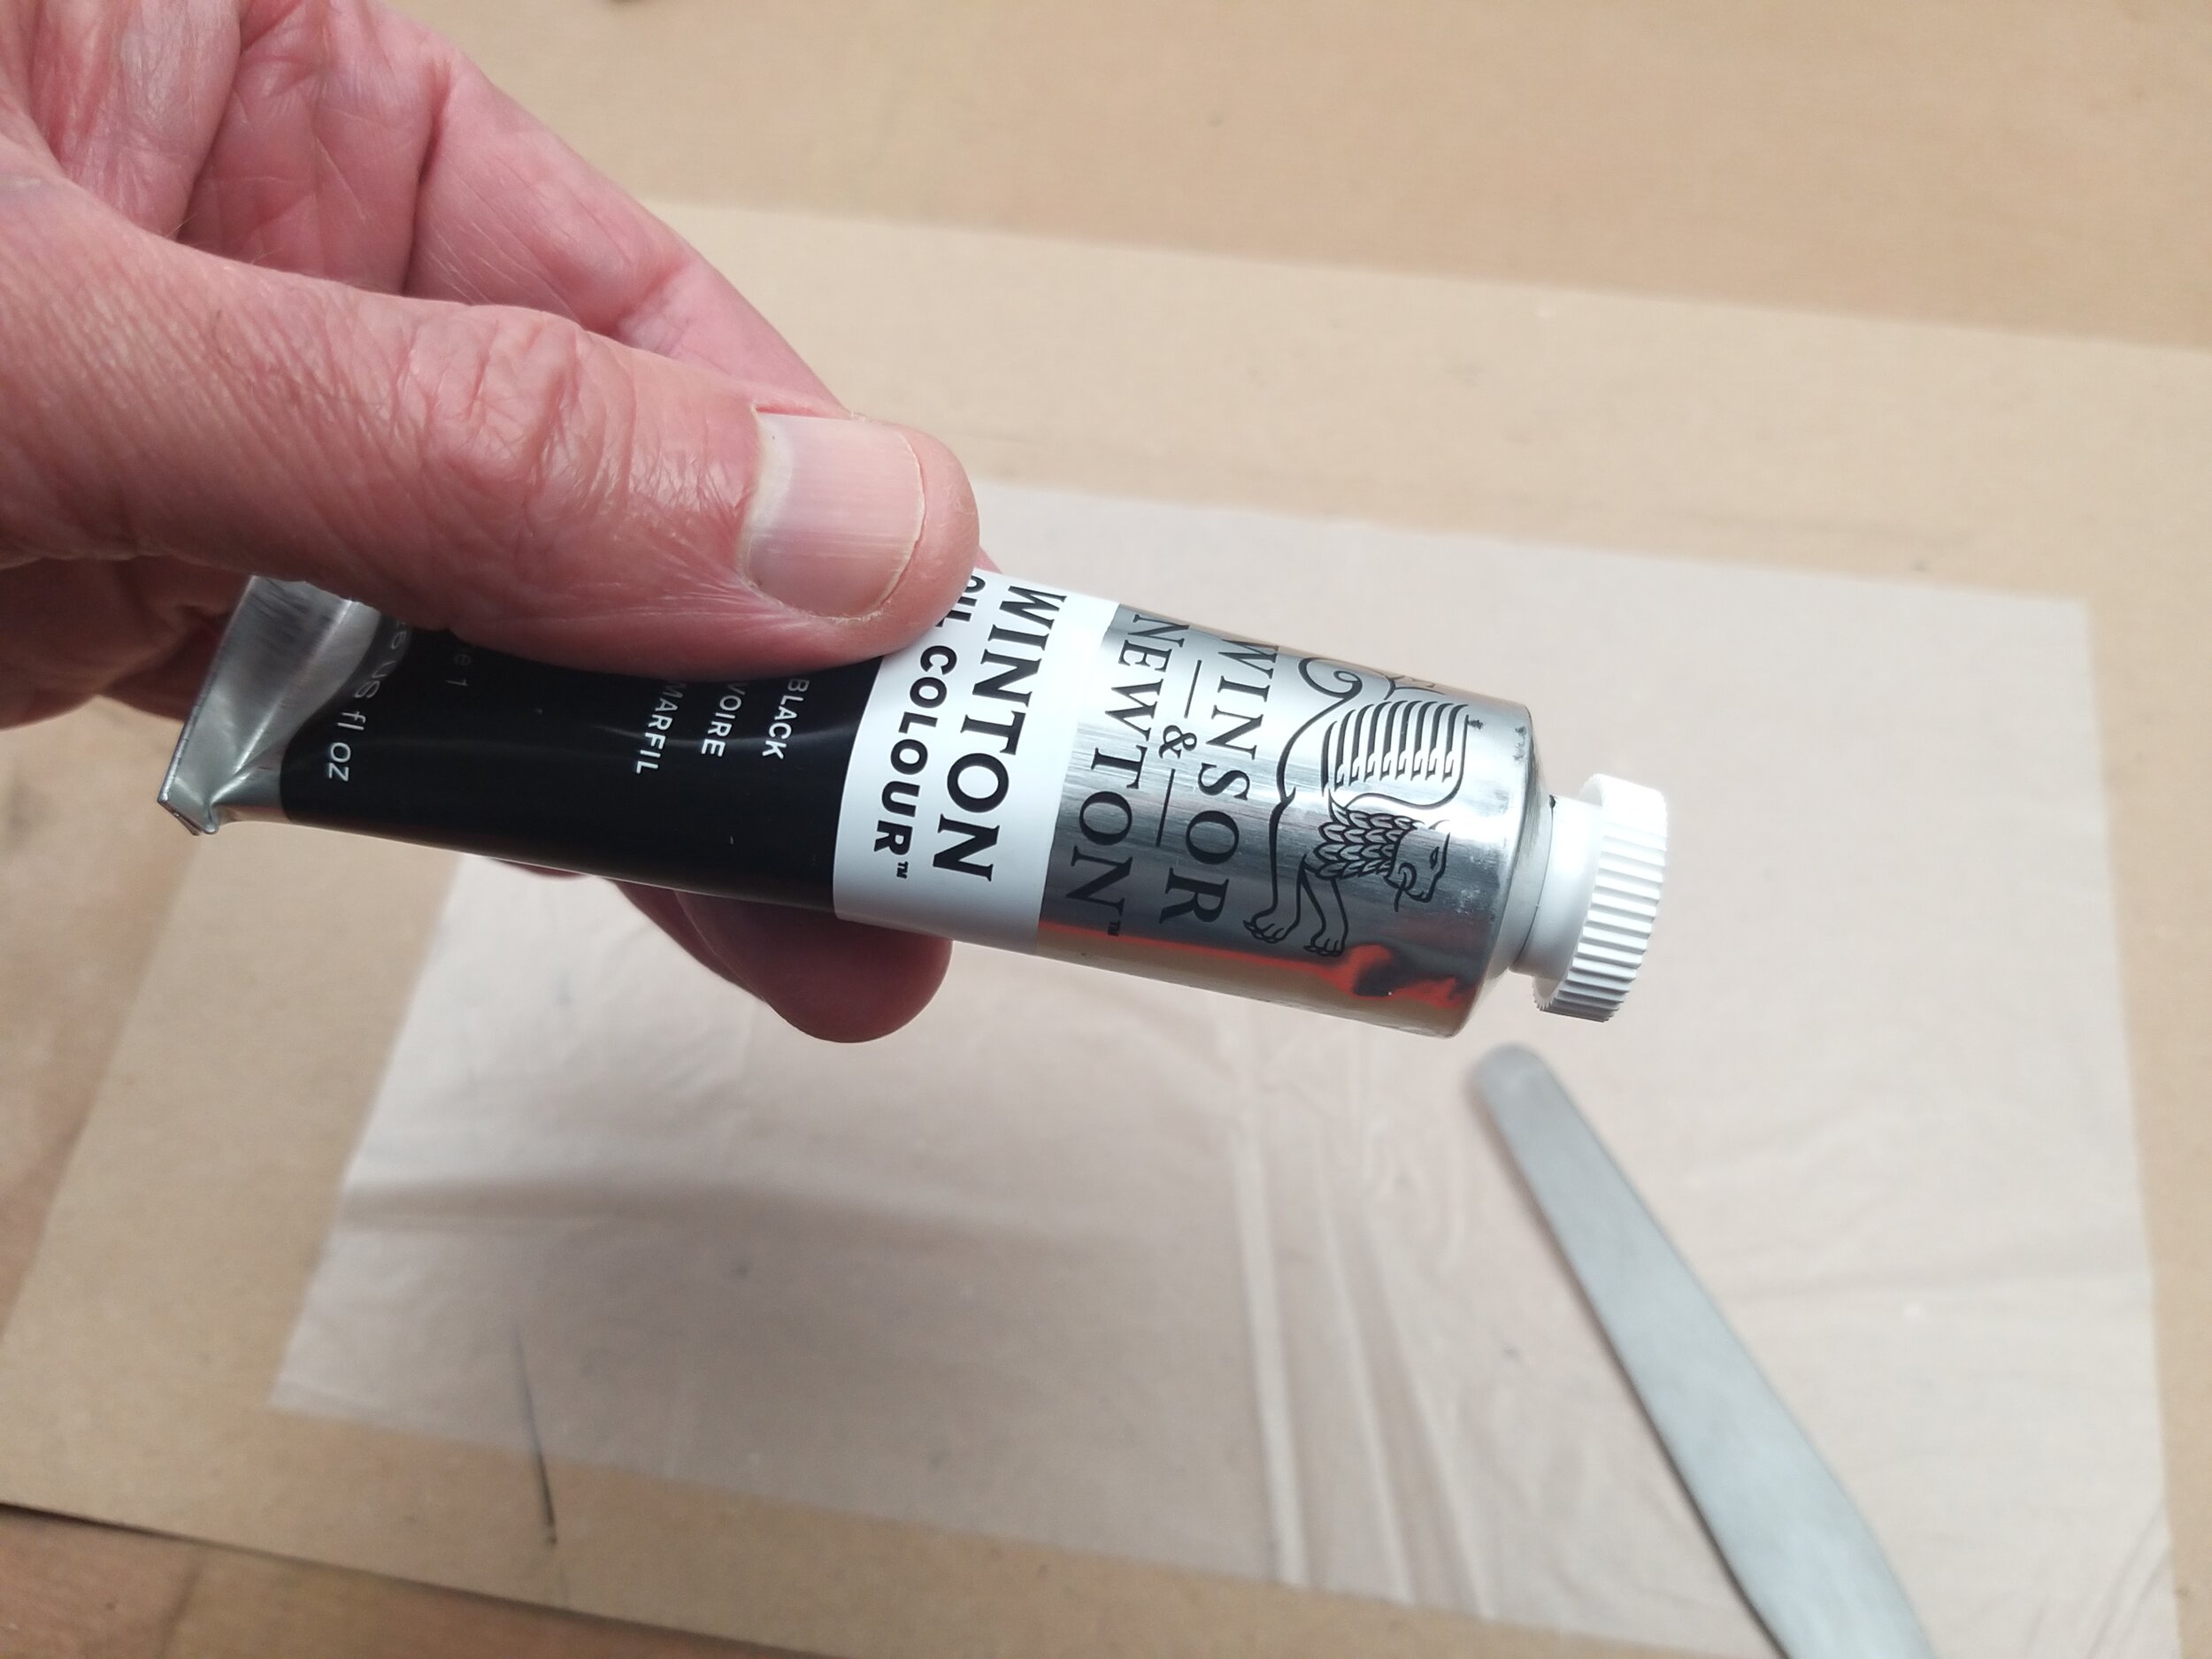
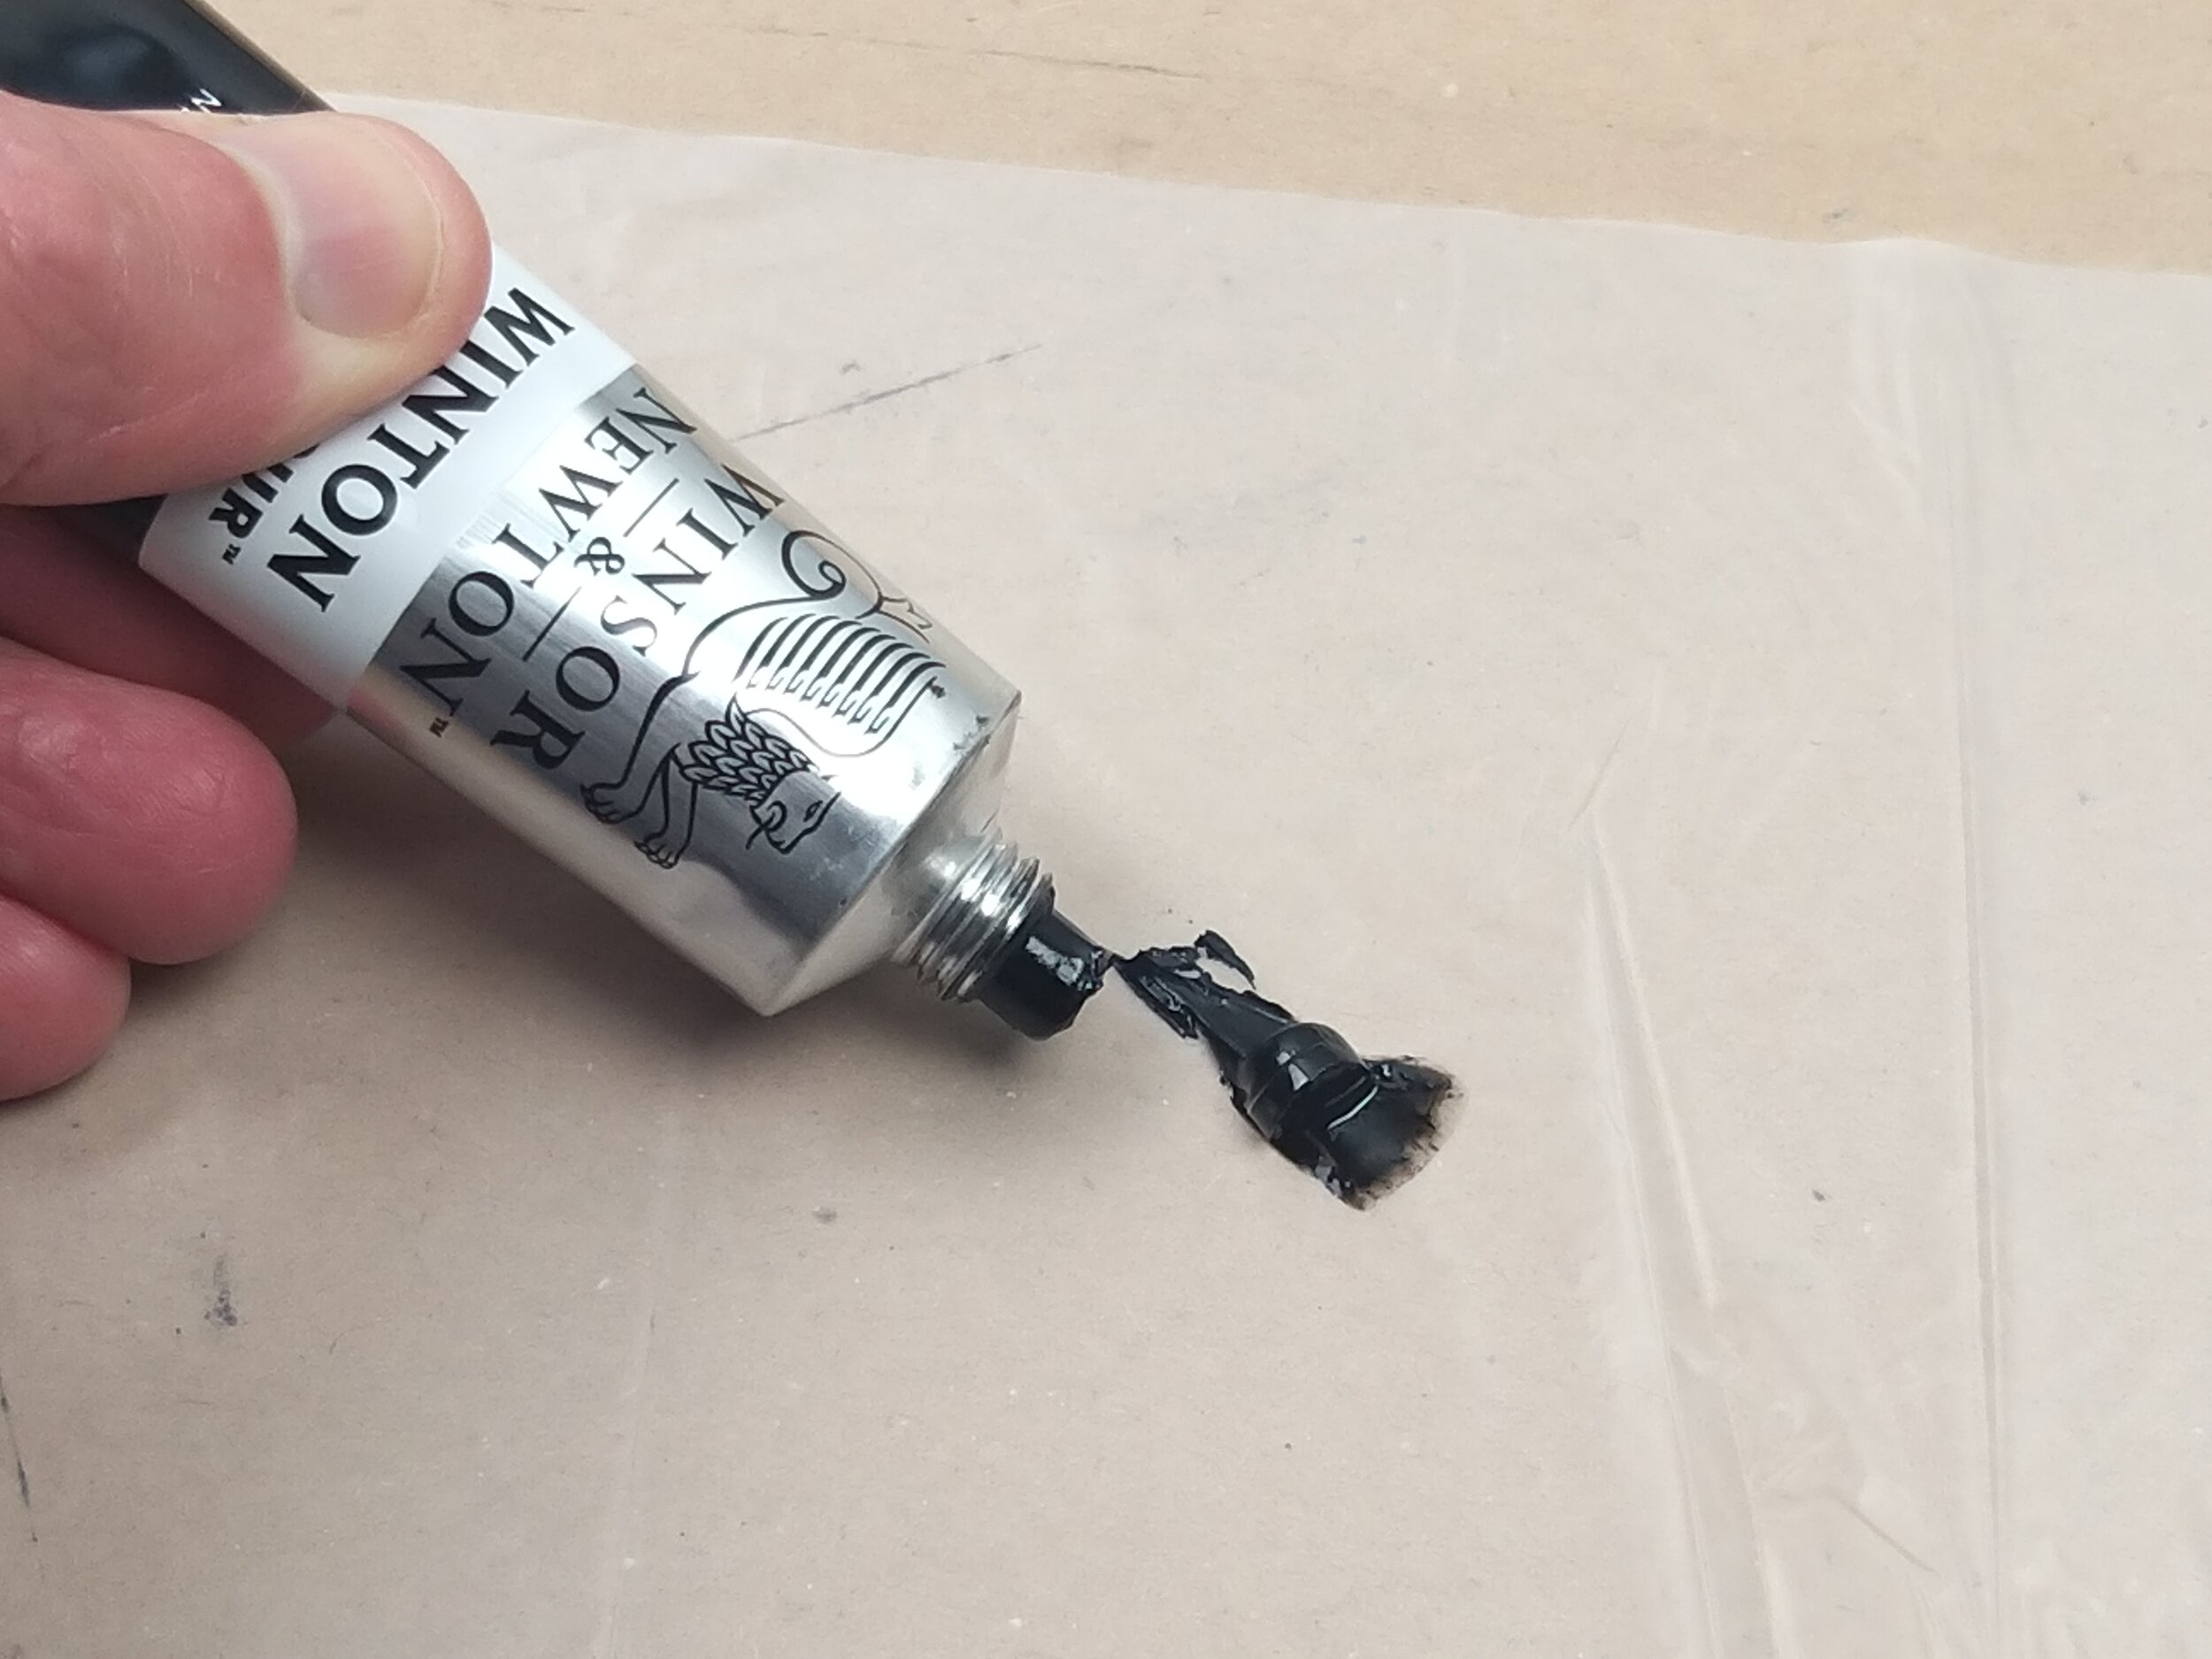
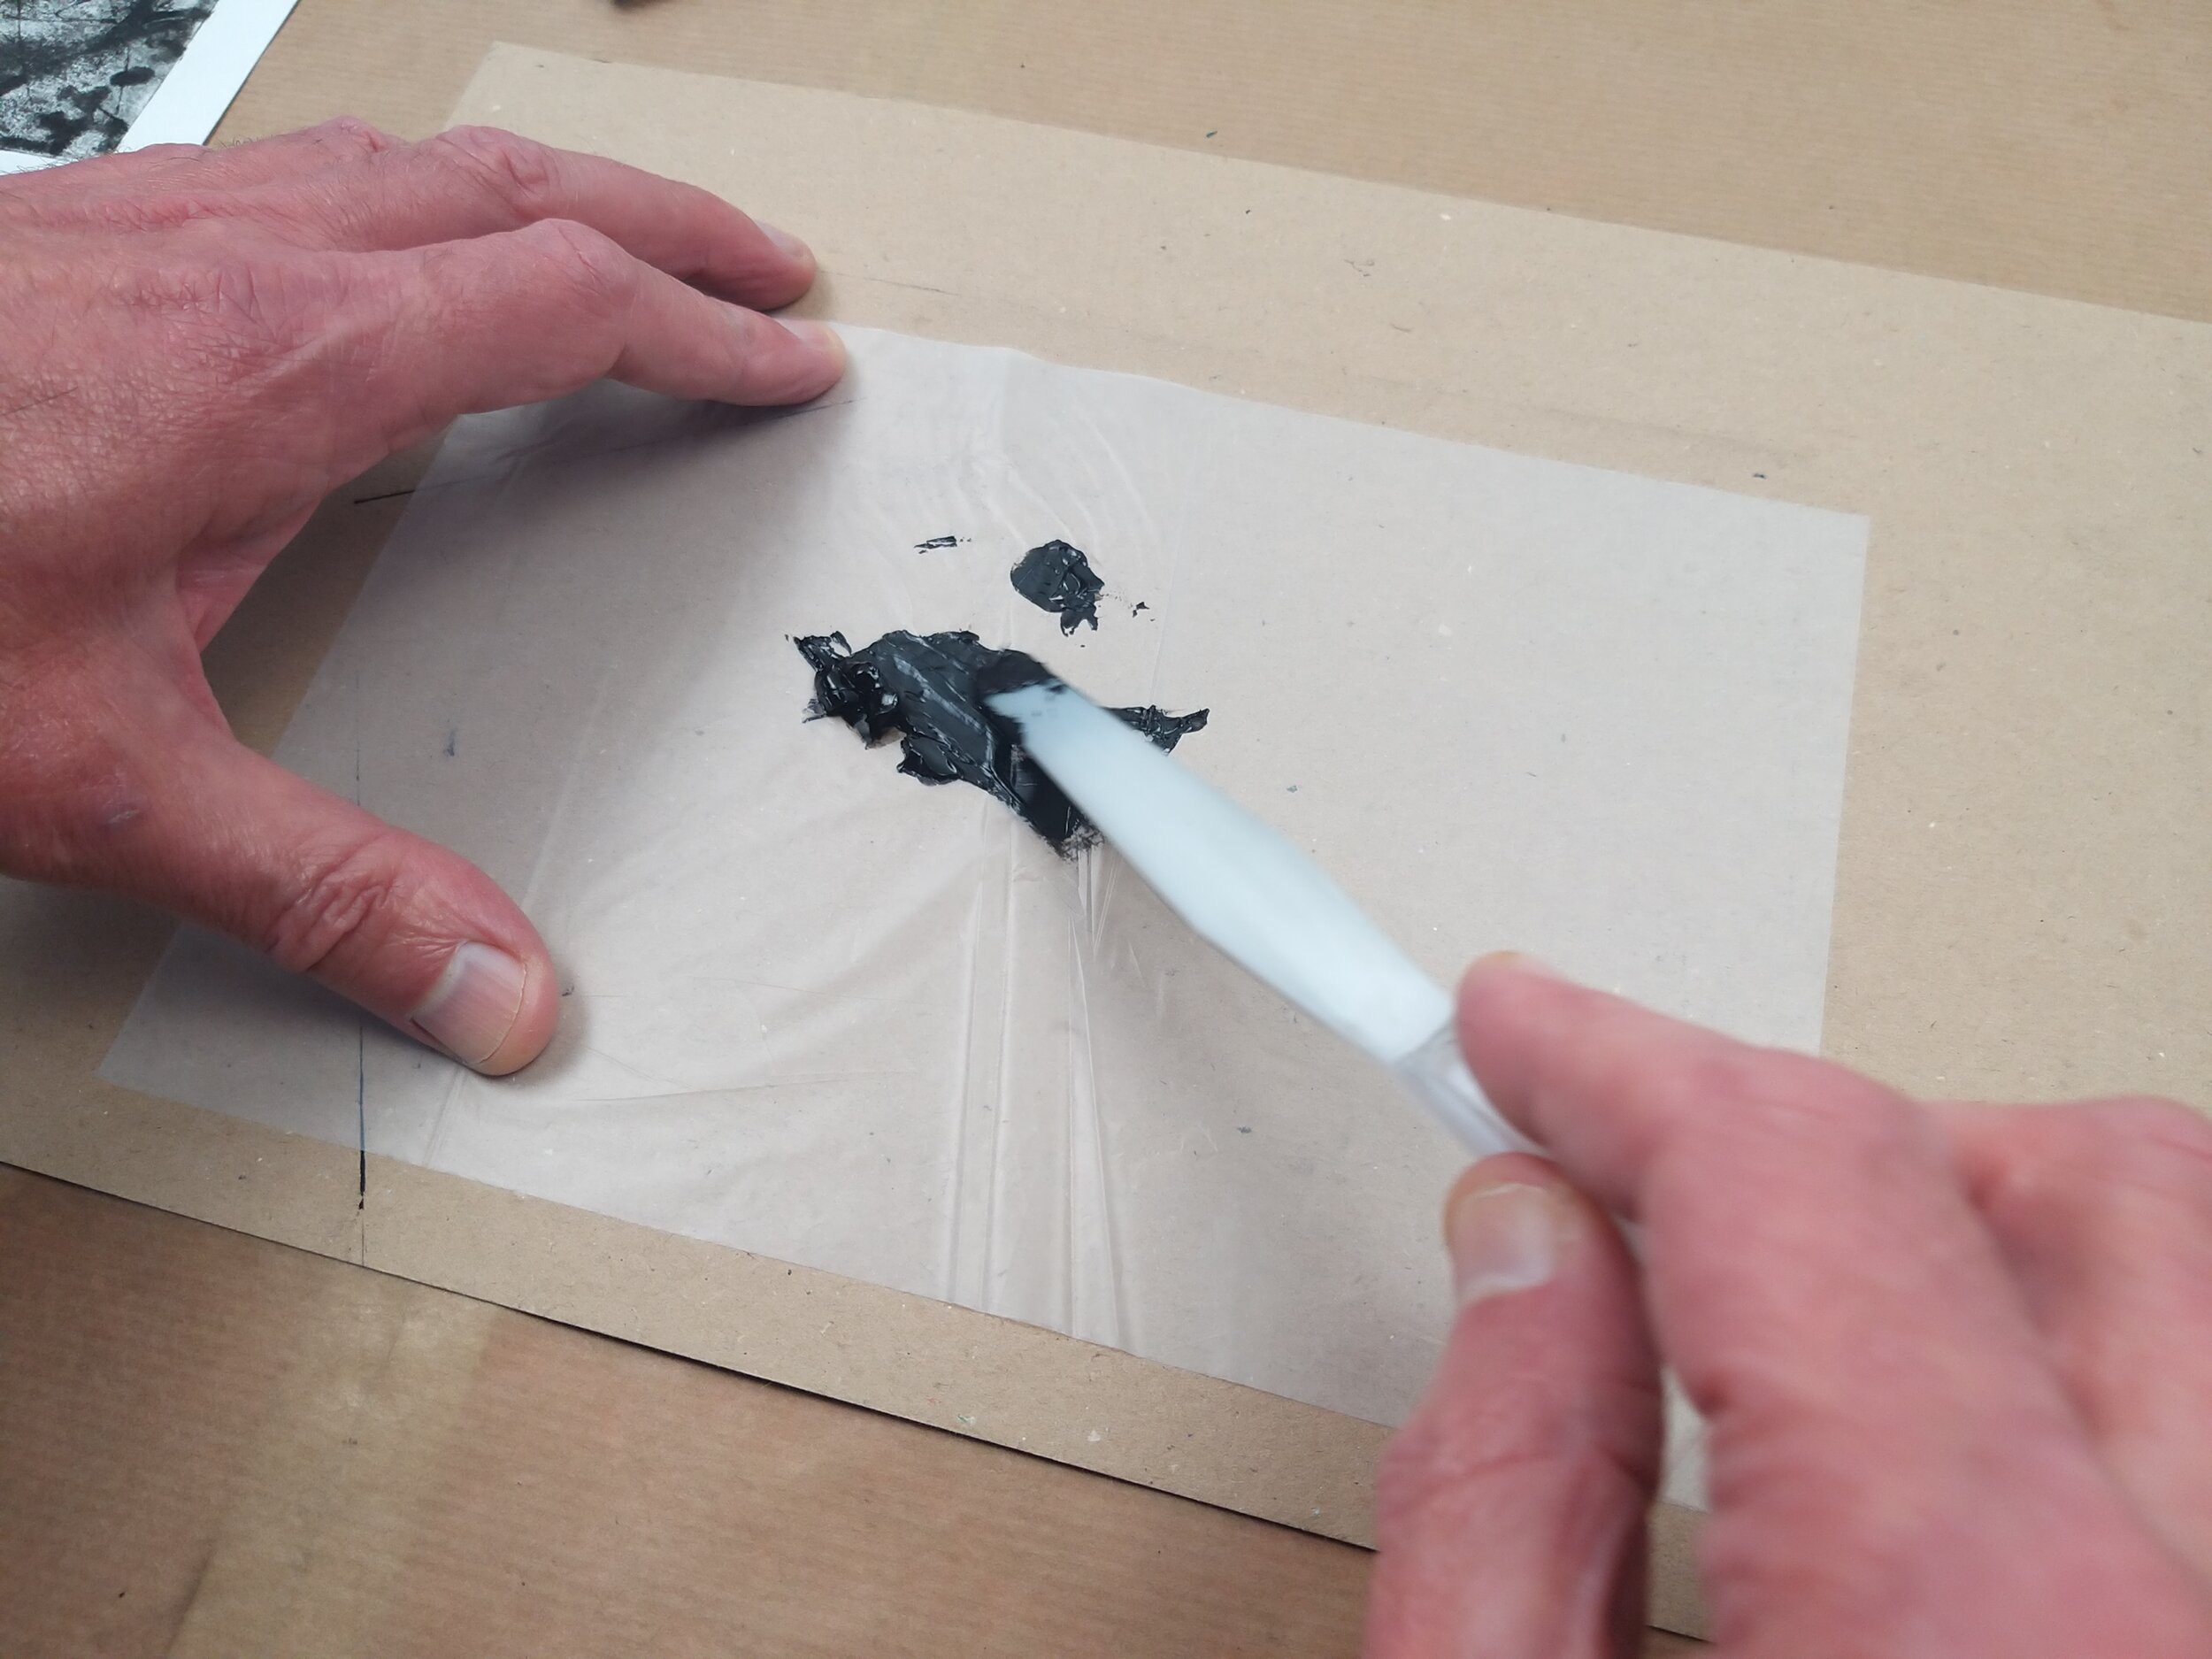
Demonstration video using acrylic paint. This simple easy to follow exercise shows how you can build up layers of colour to create some interesting textures. As with all the monoprinting exercises it is really important to use small amounts of paint when using the transfer sheets, it is easy to add more paint later but applying too much results in overworked dark compositions. Creating masks out of torn newspaper is a good way to compose a design, protecting those areas of the paper.
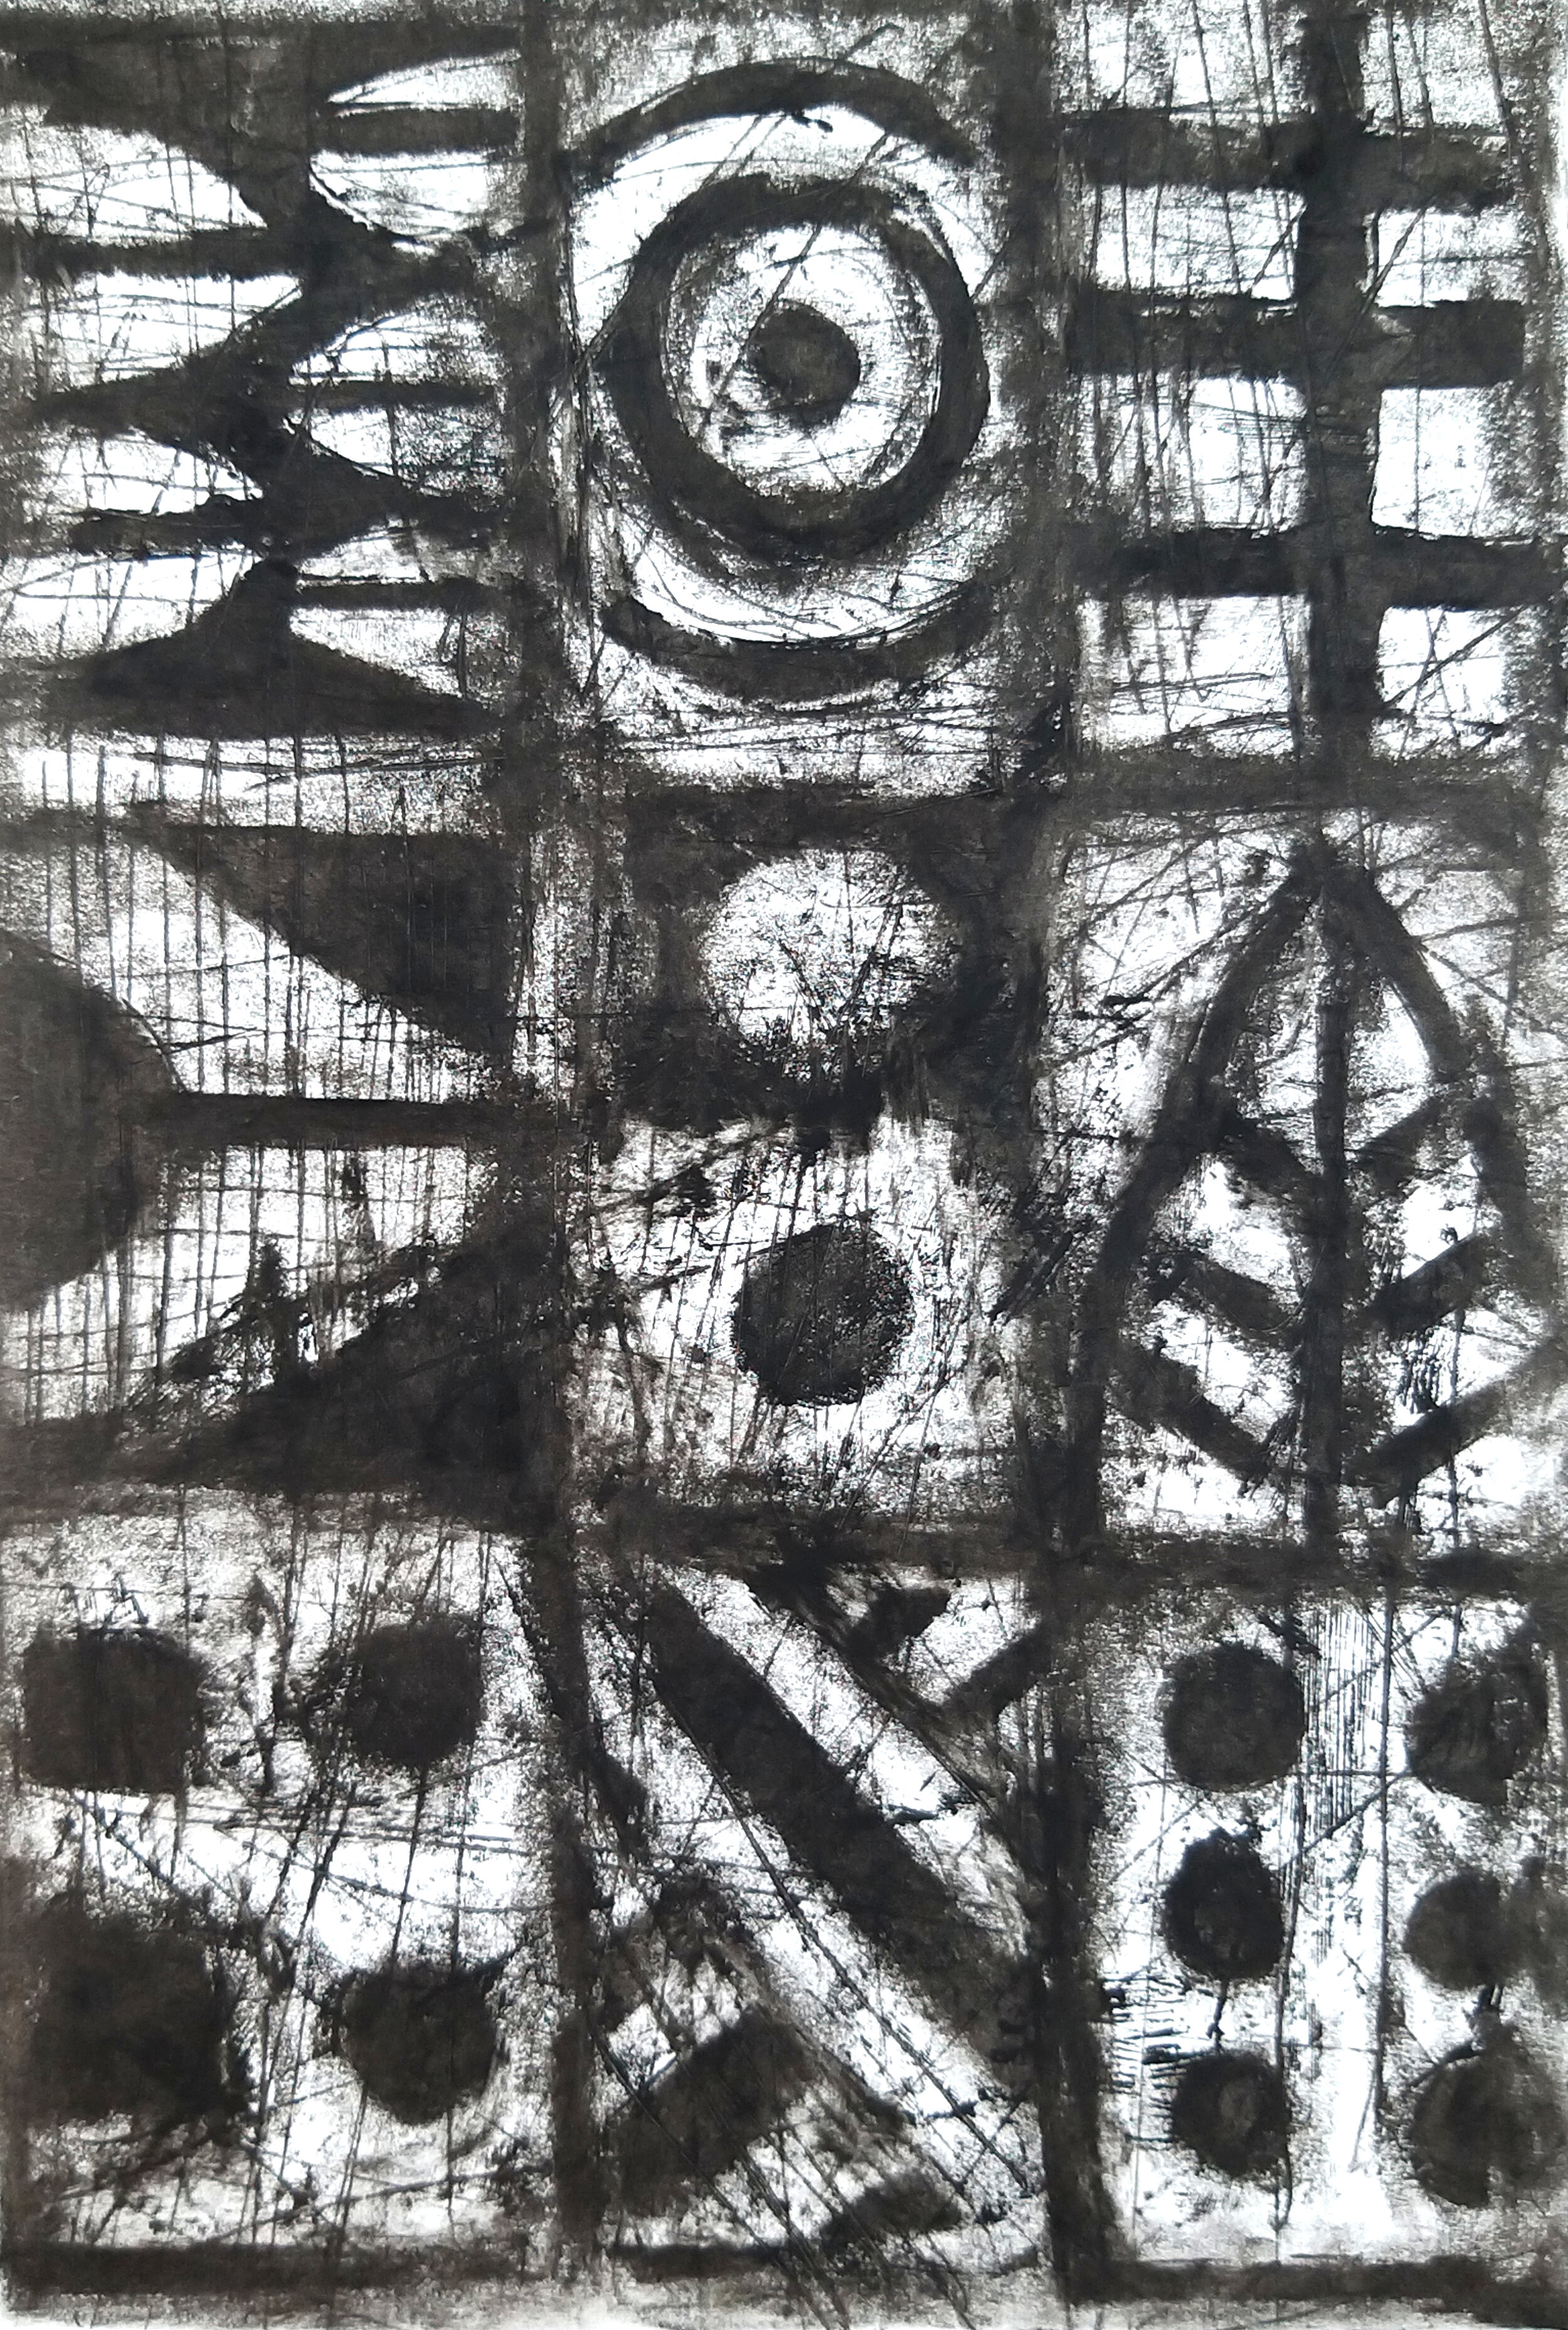
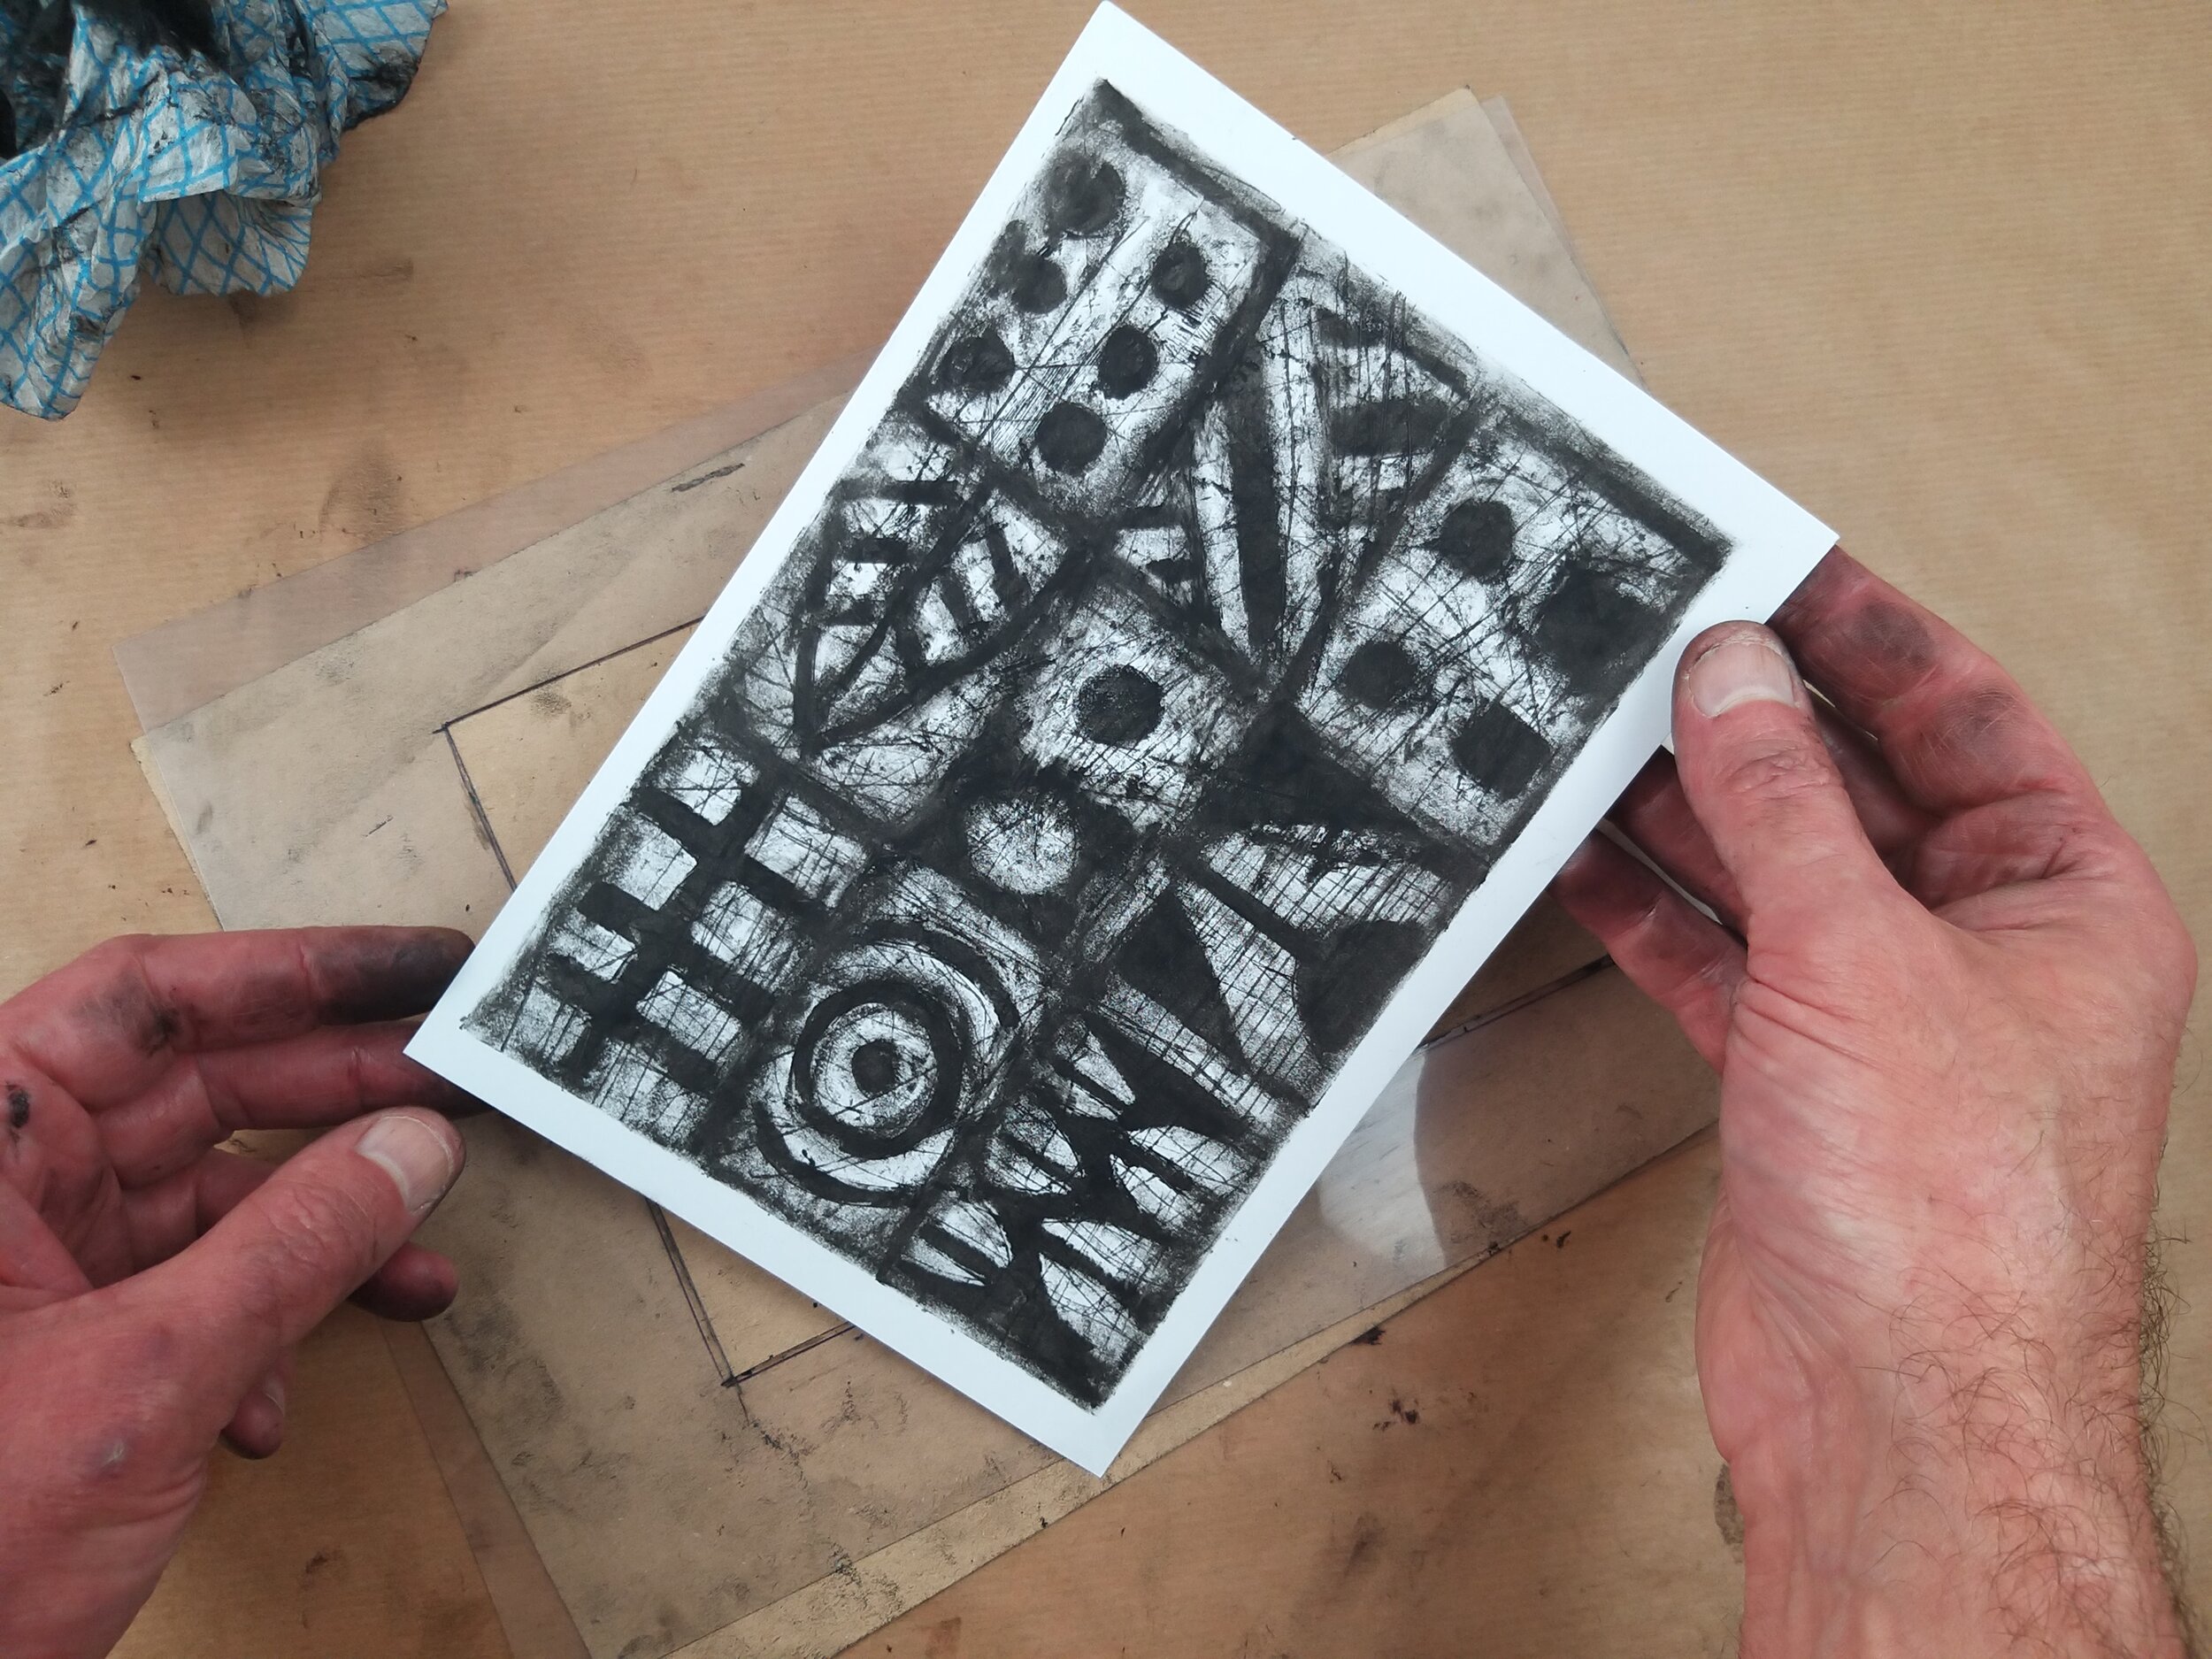
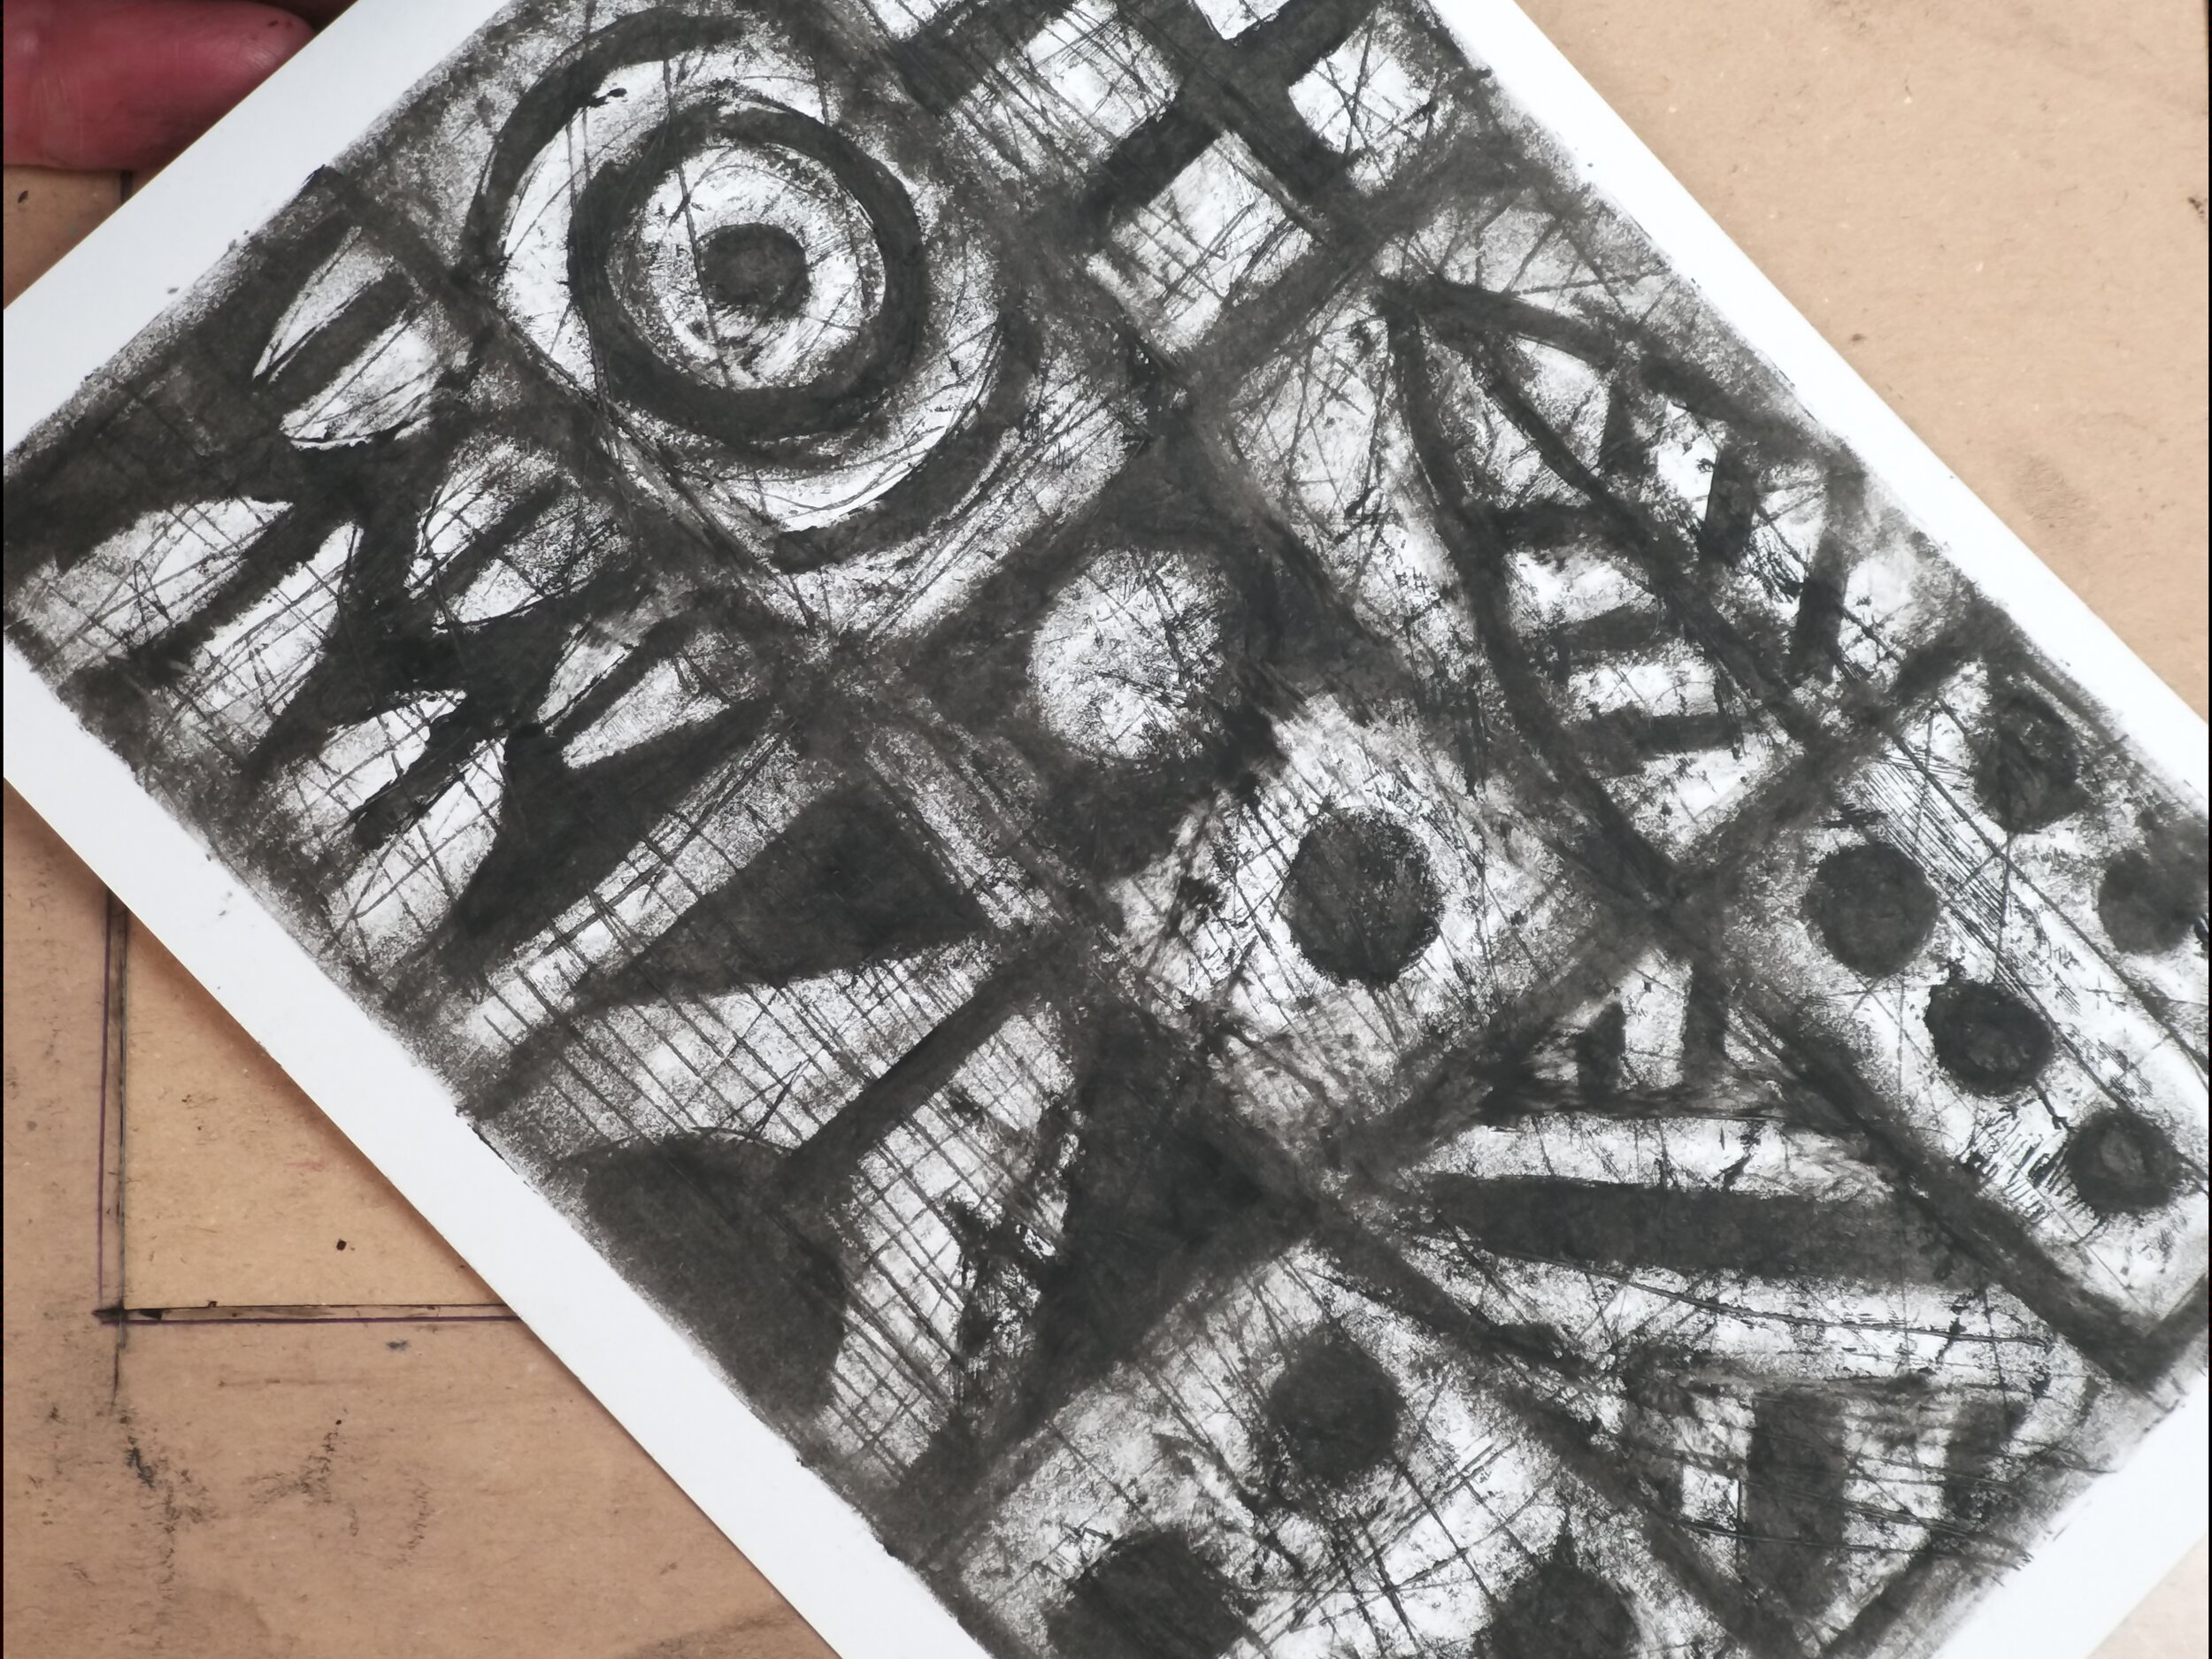
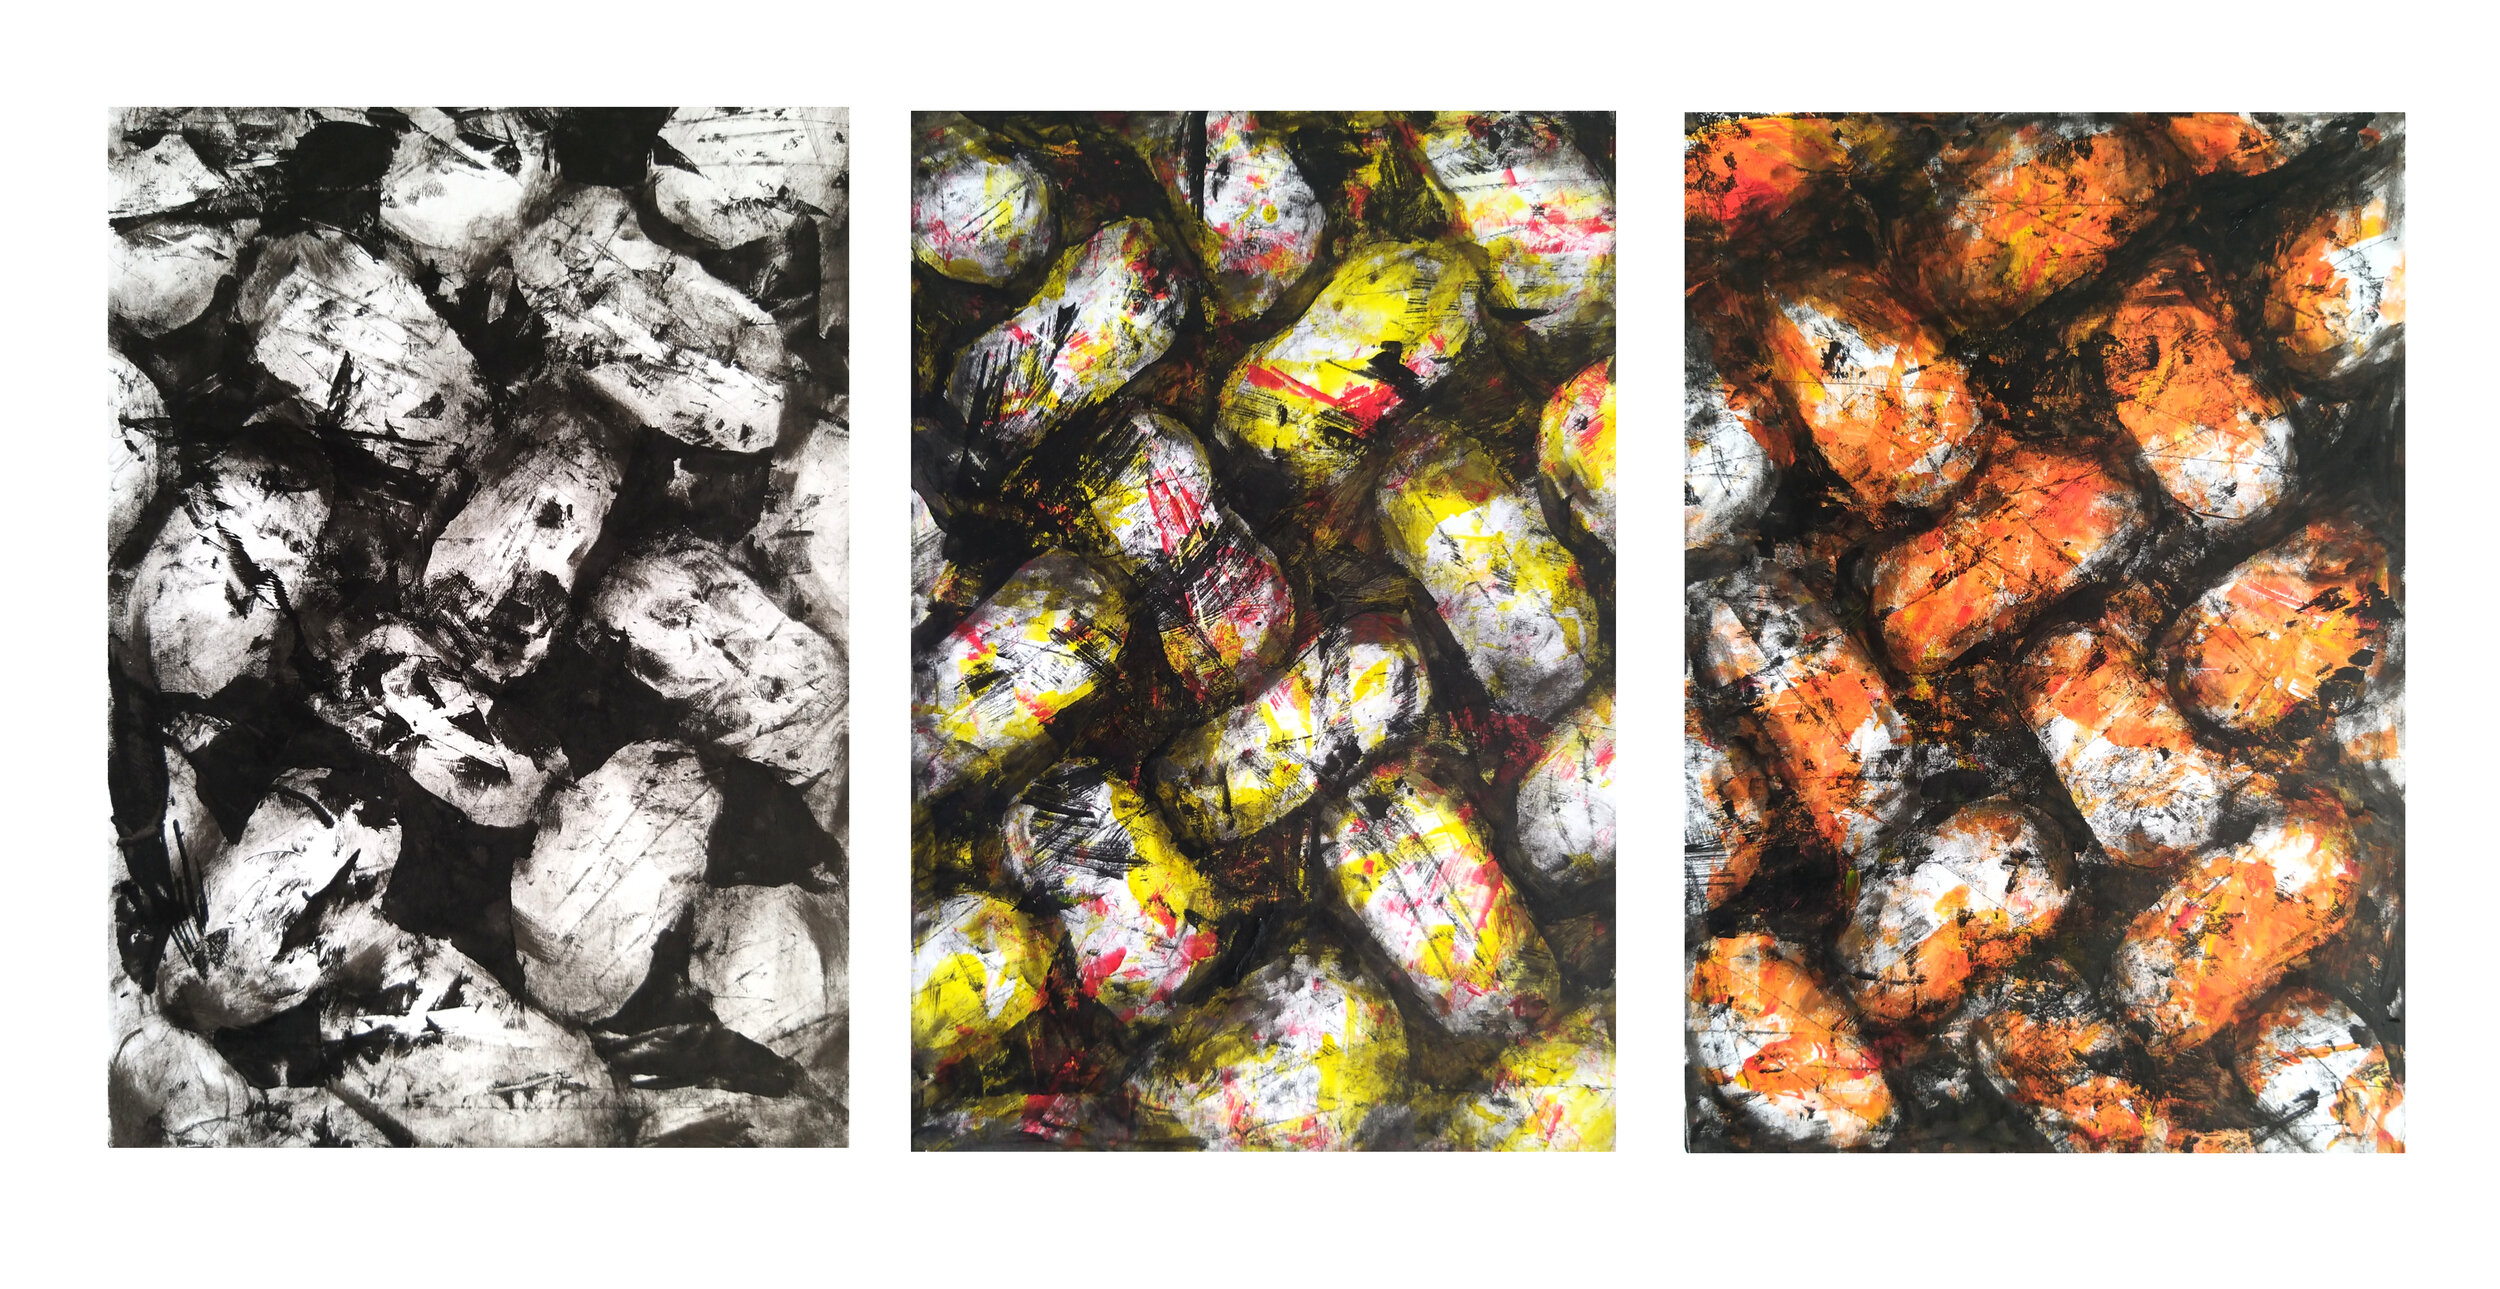
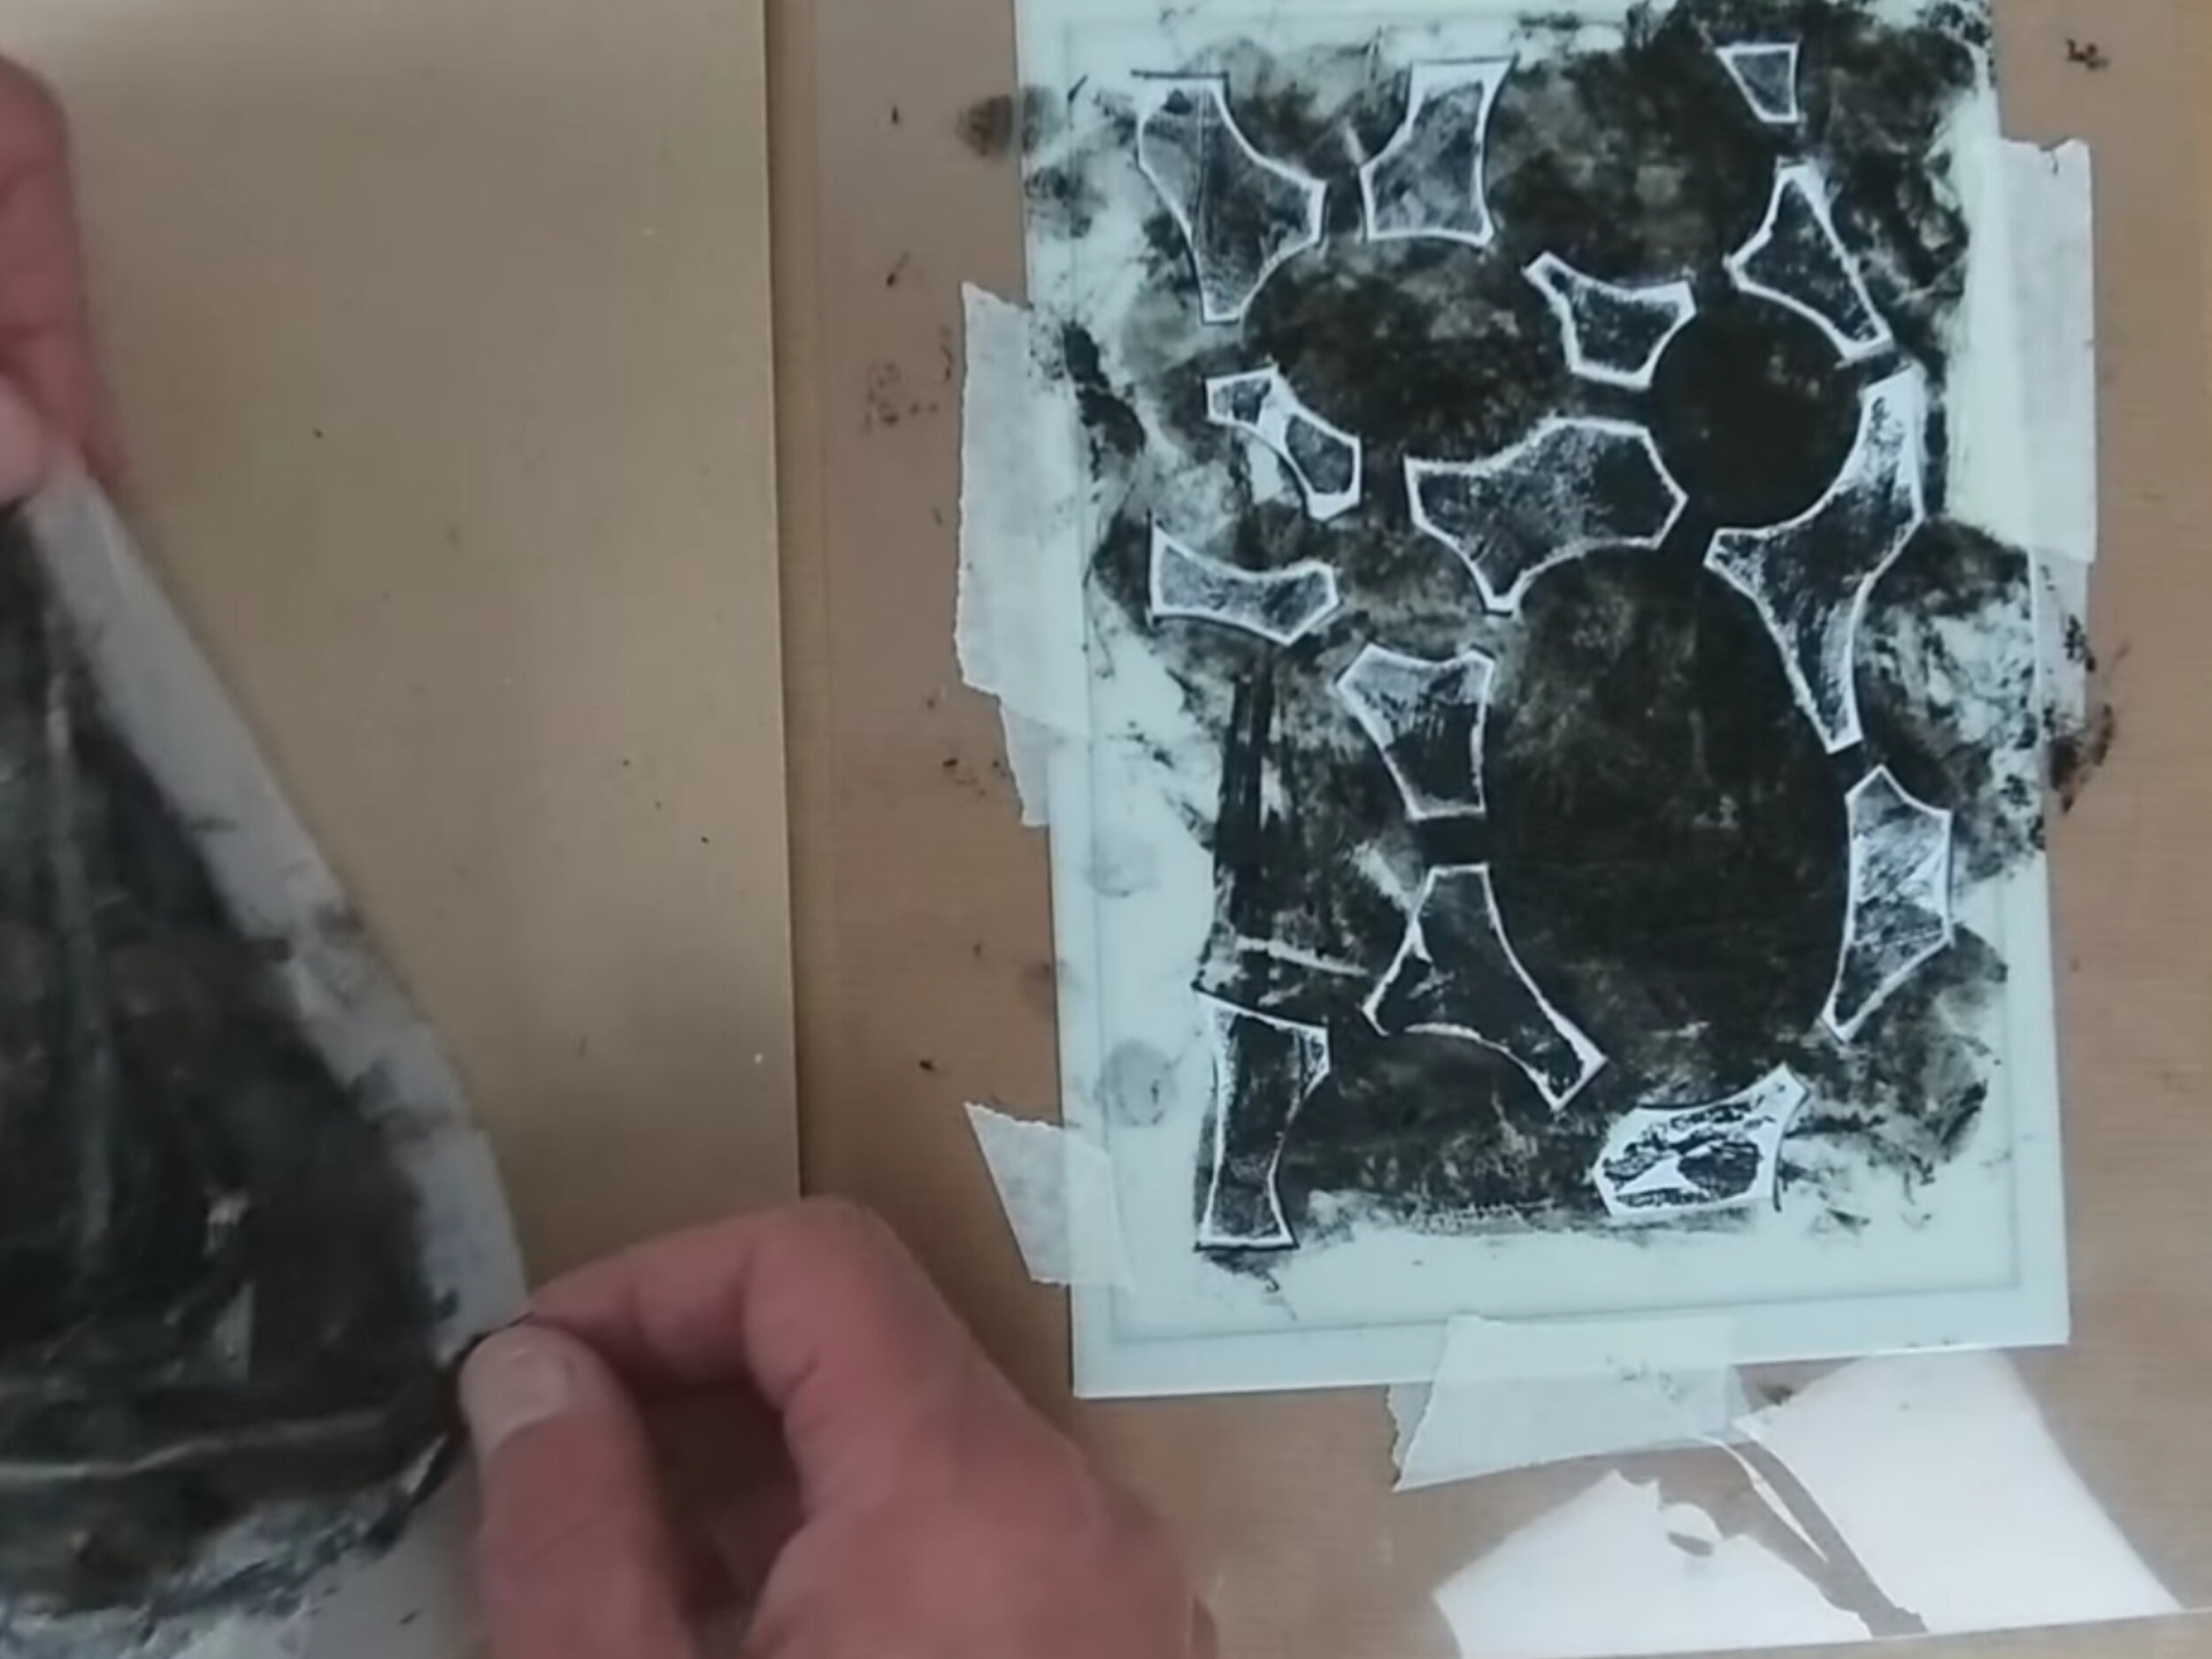
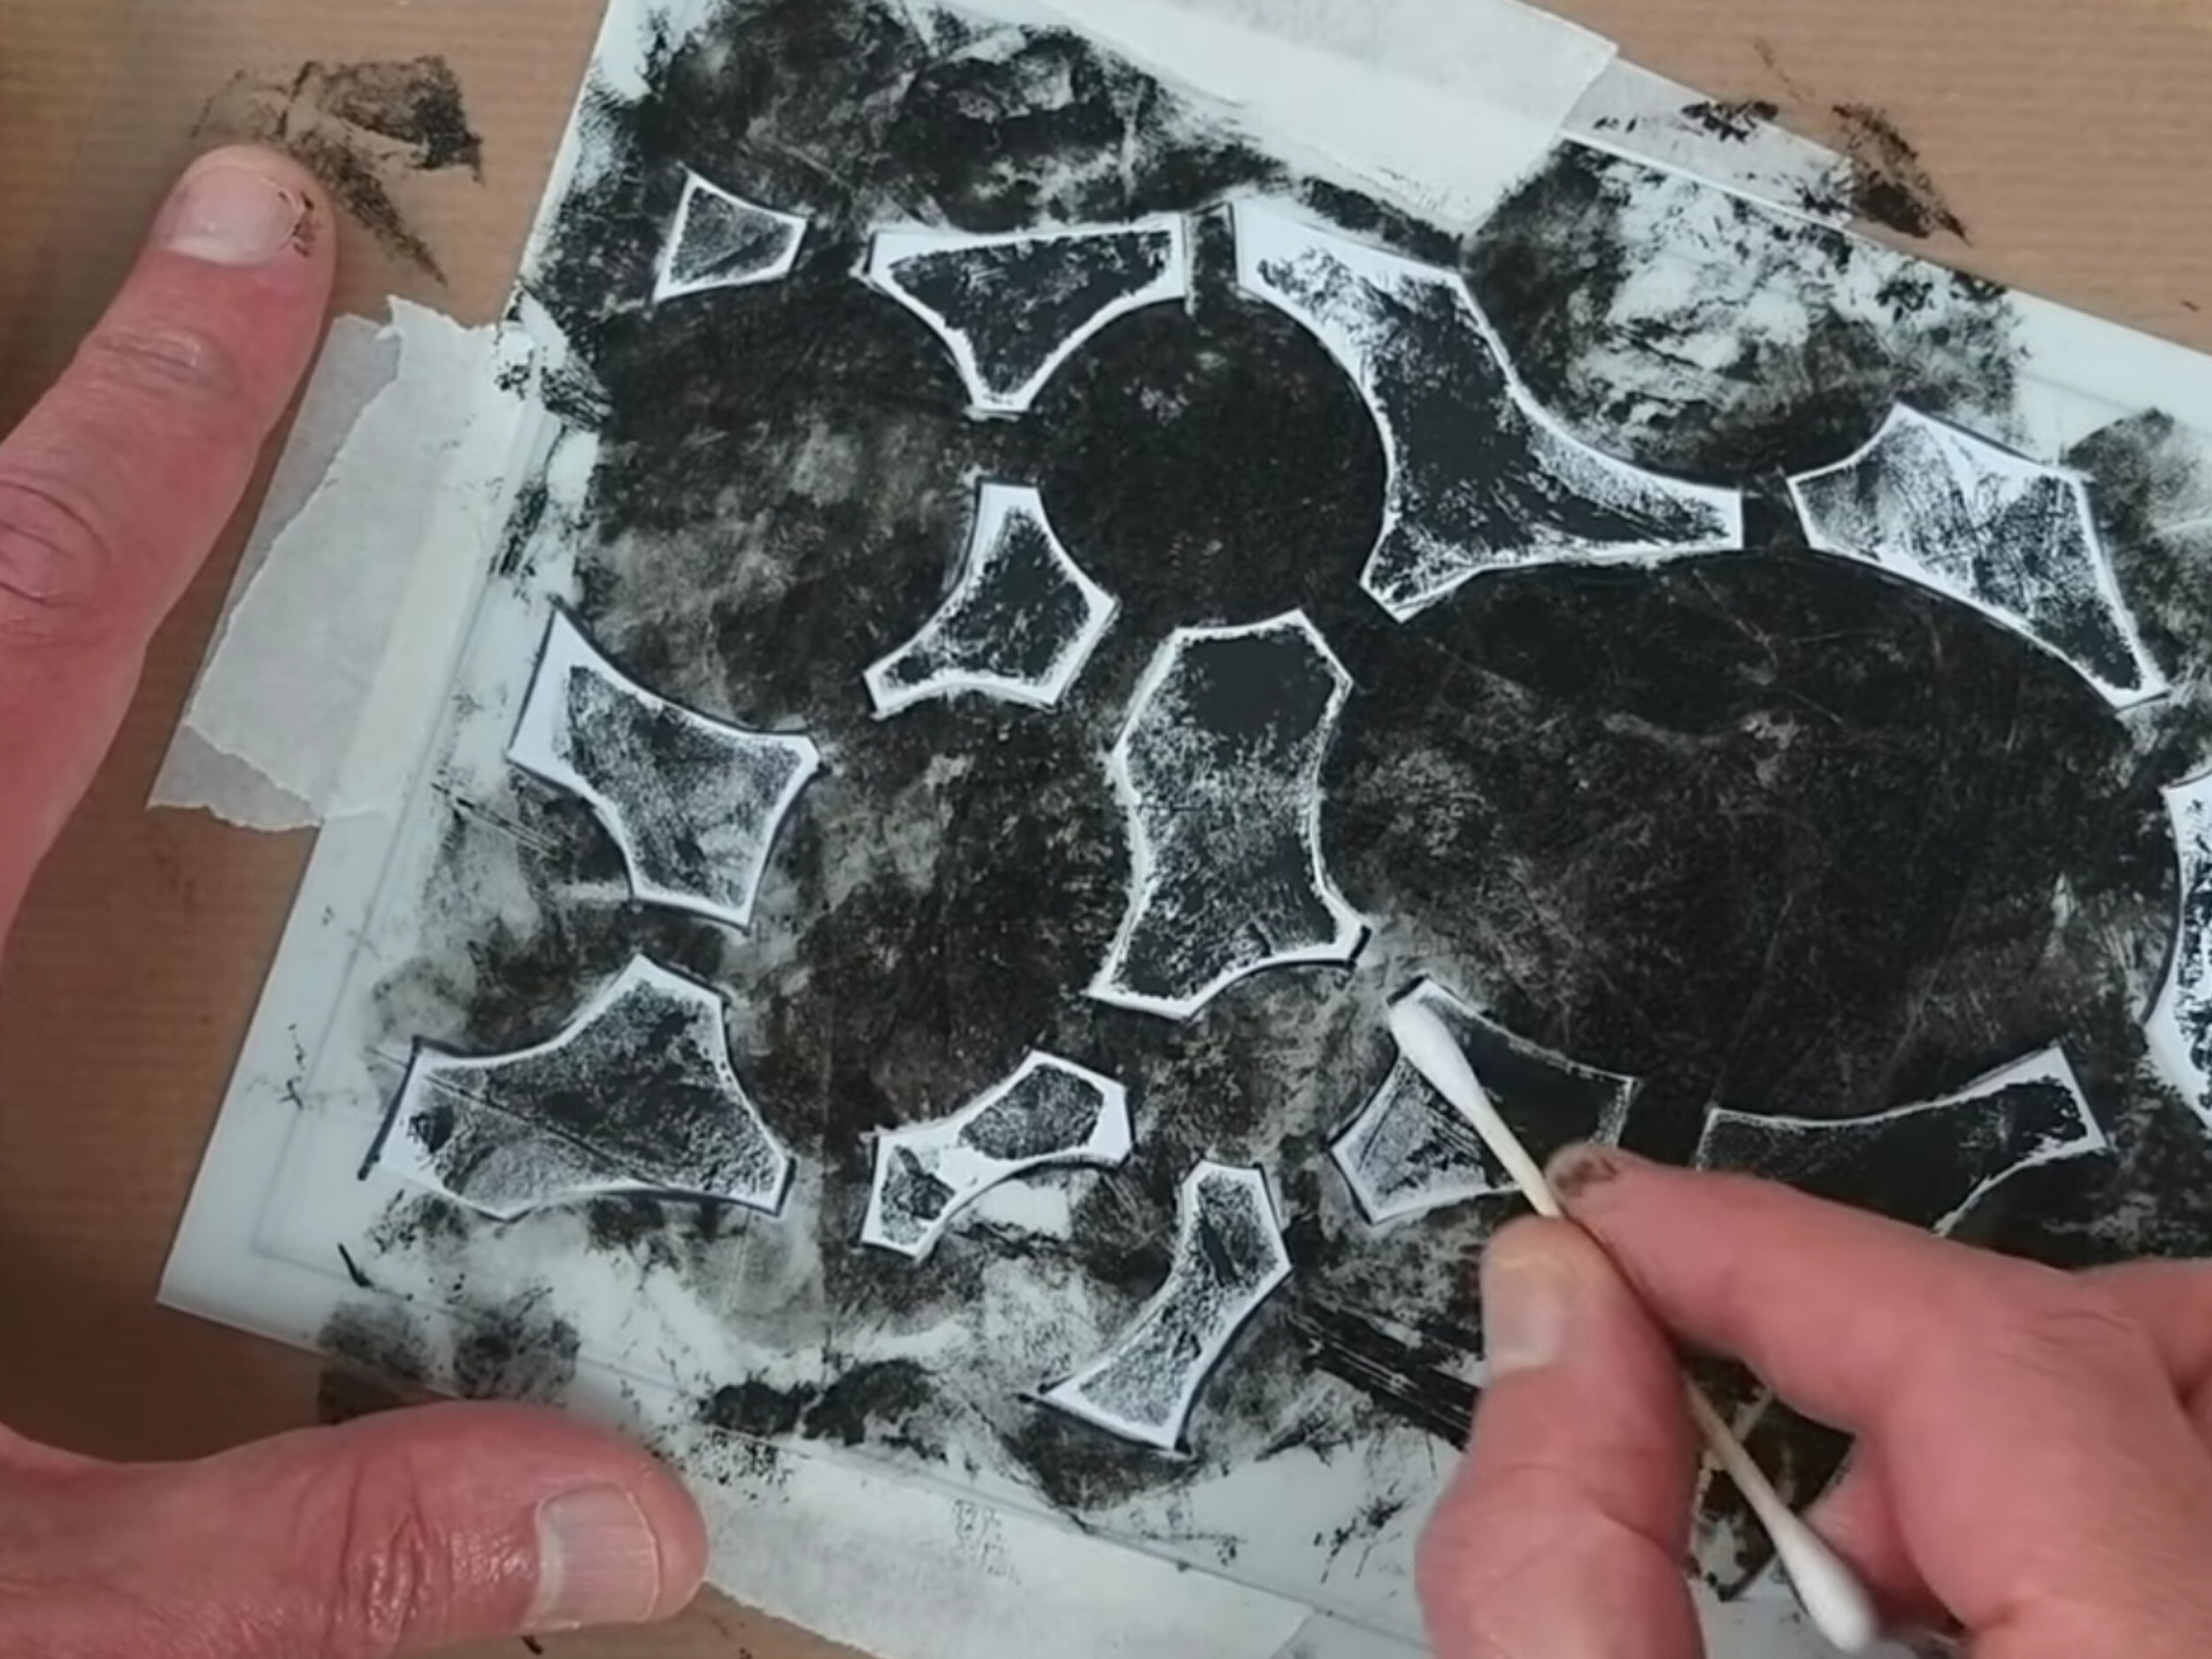
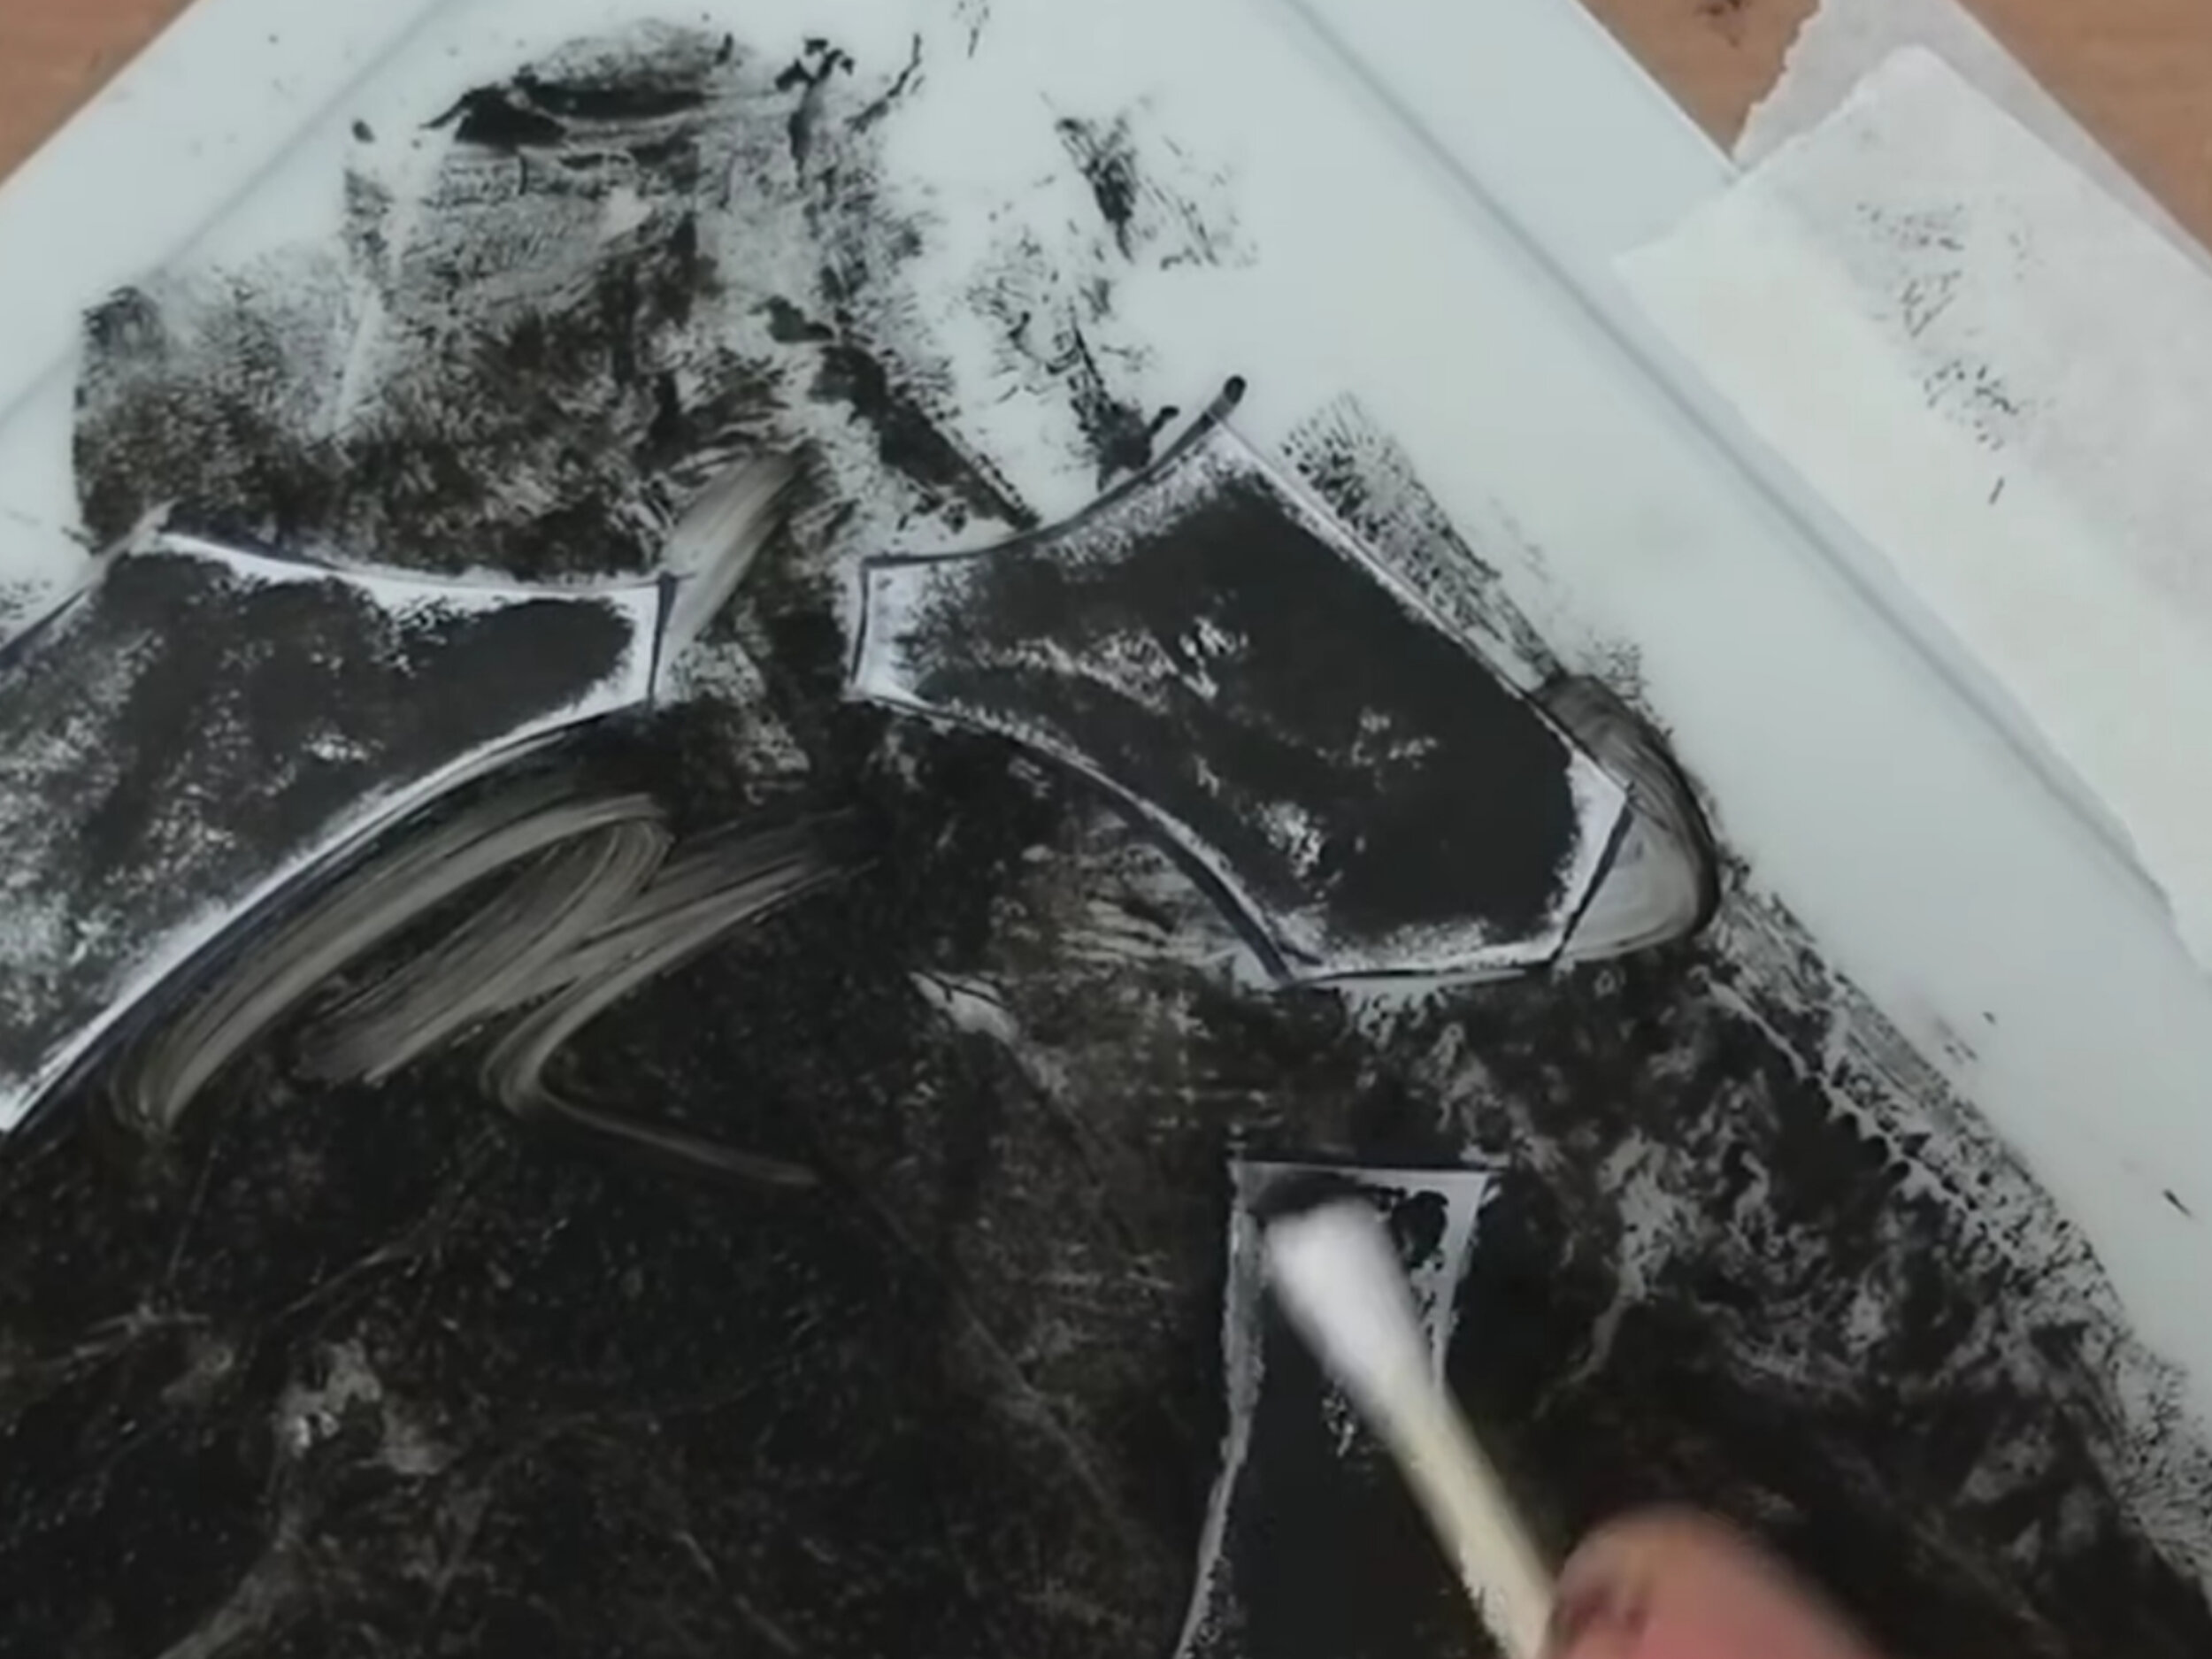
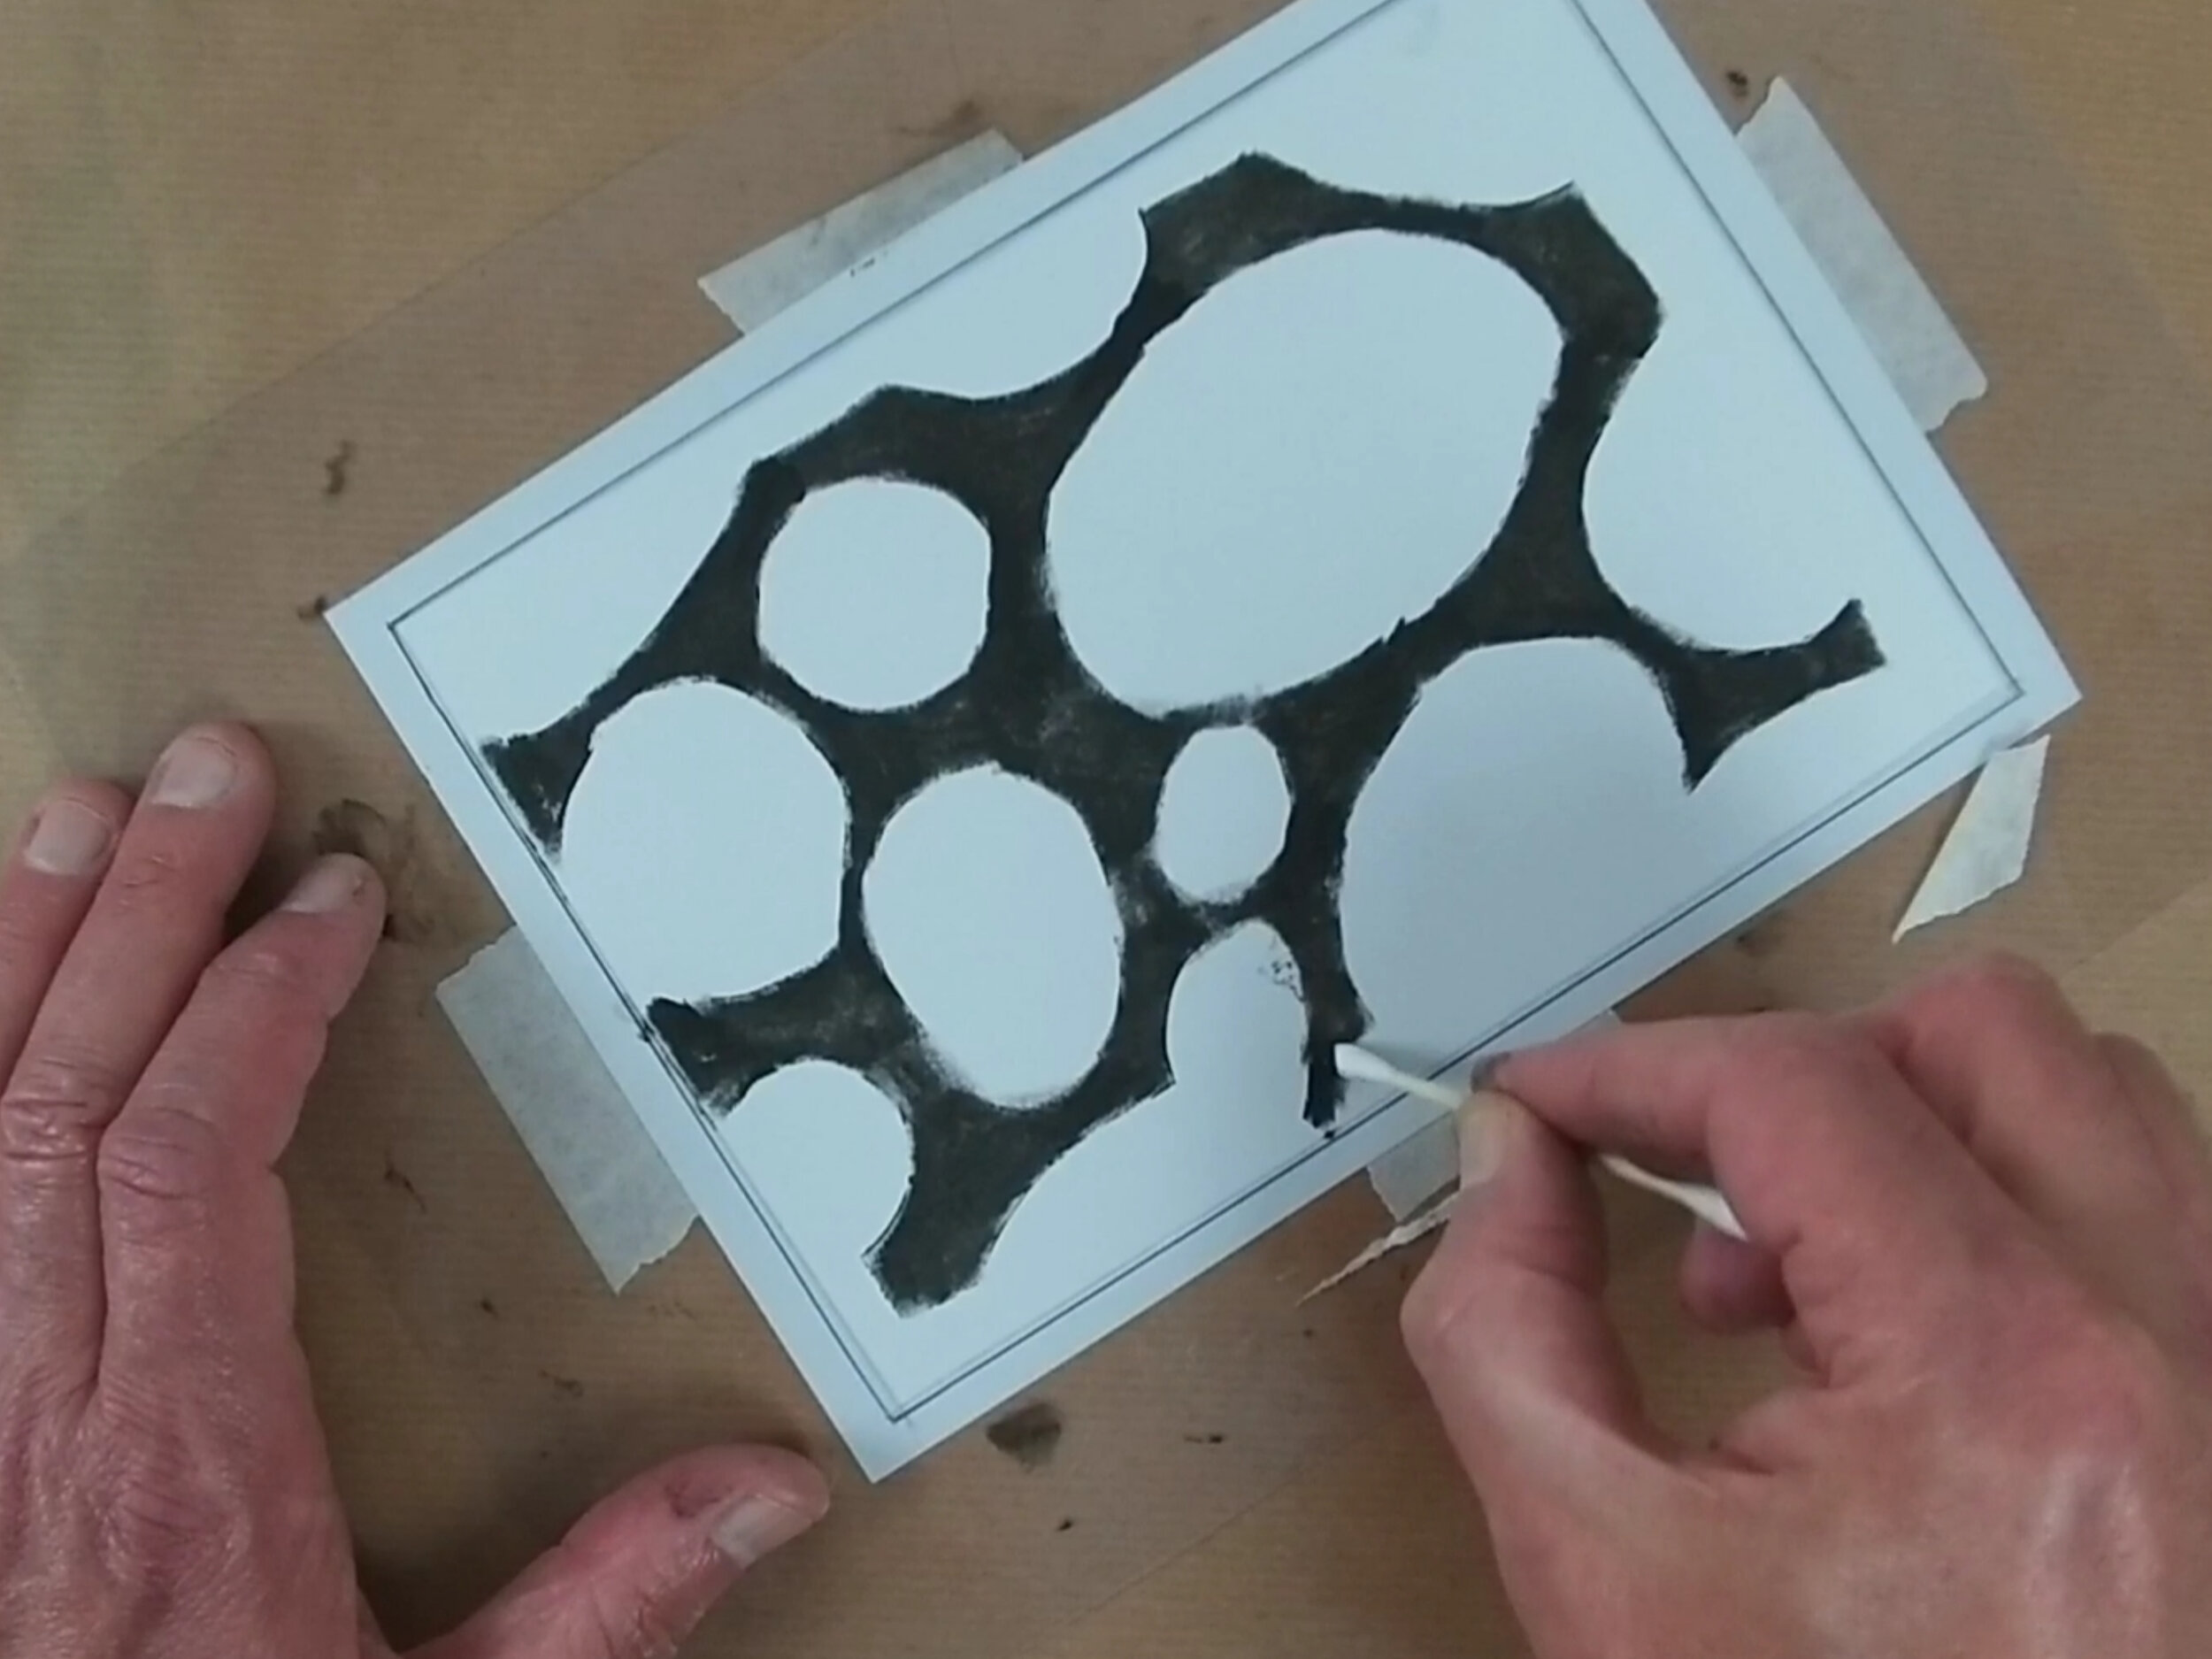
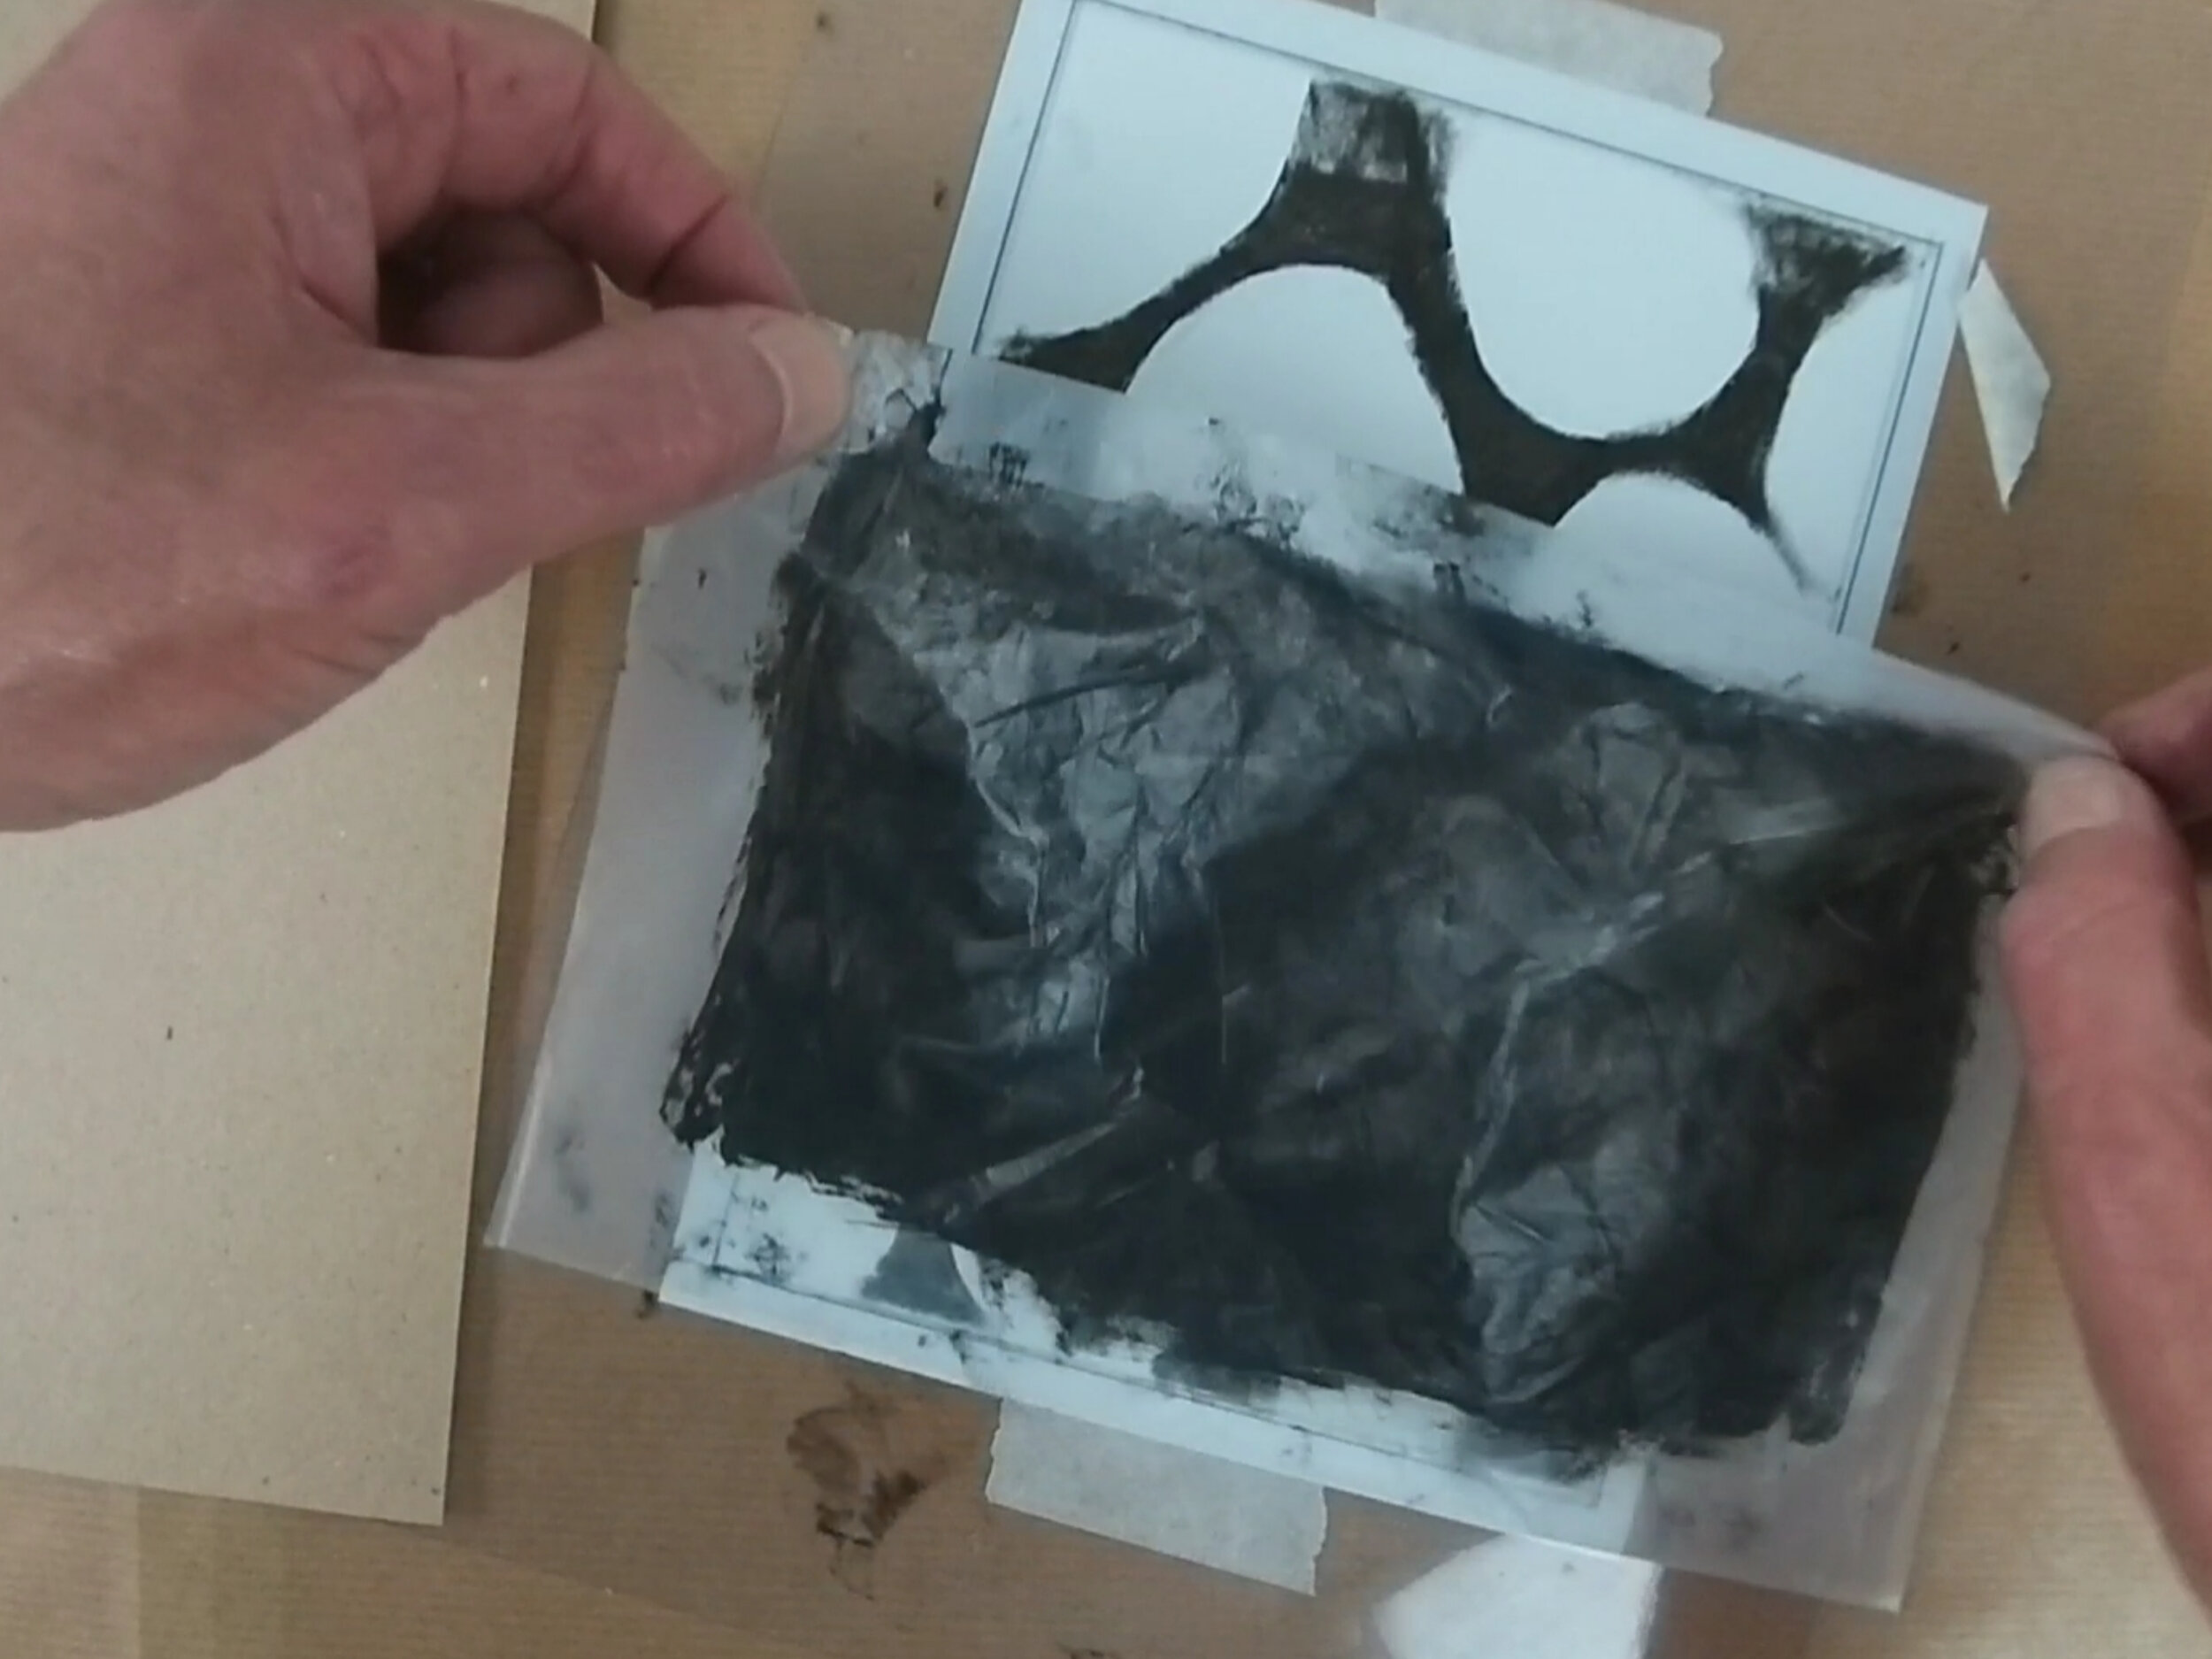
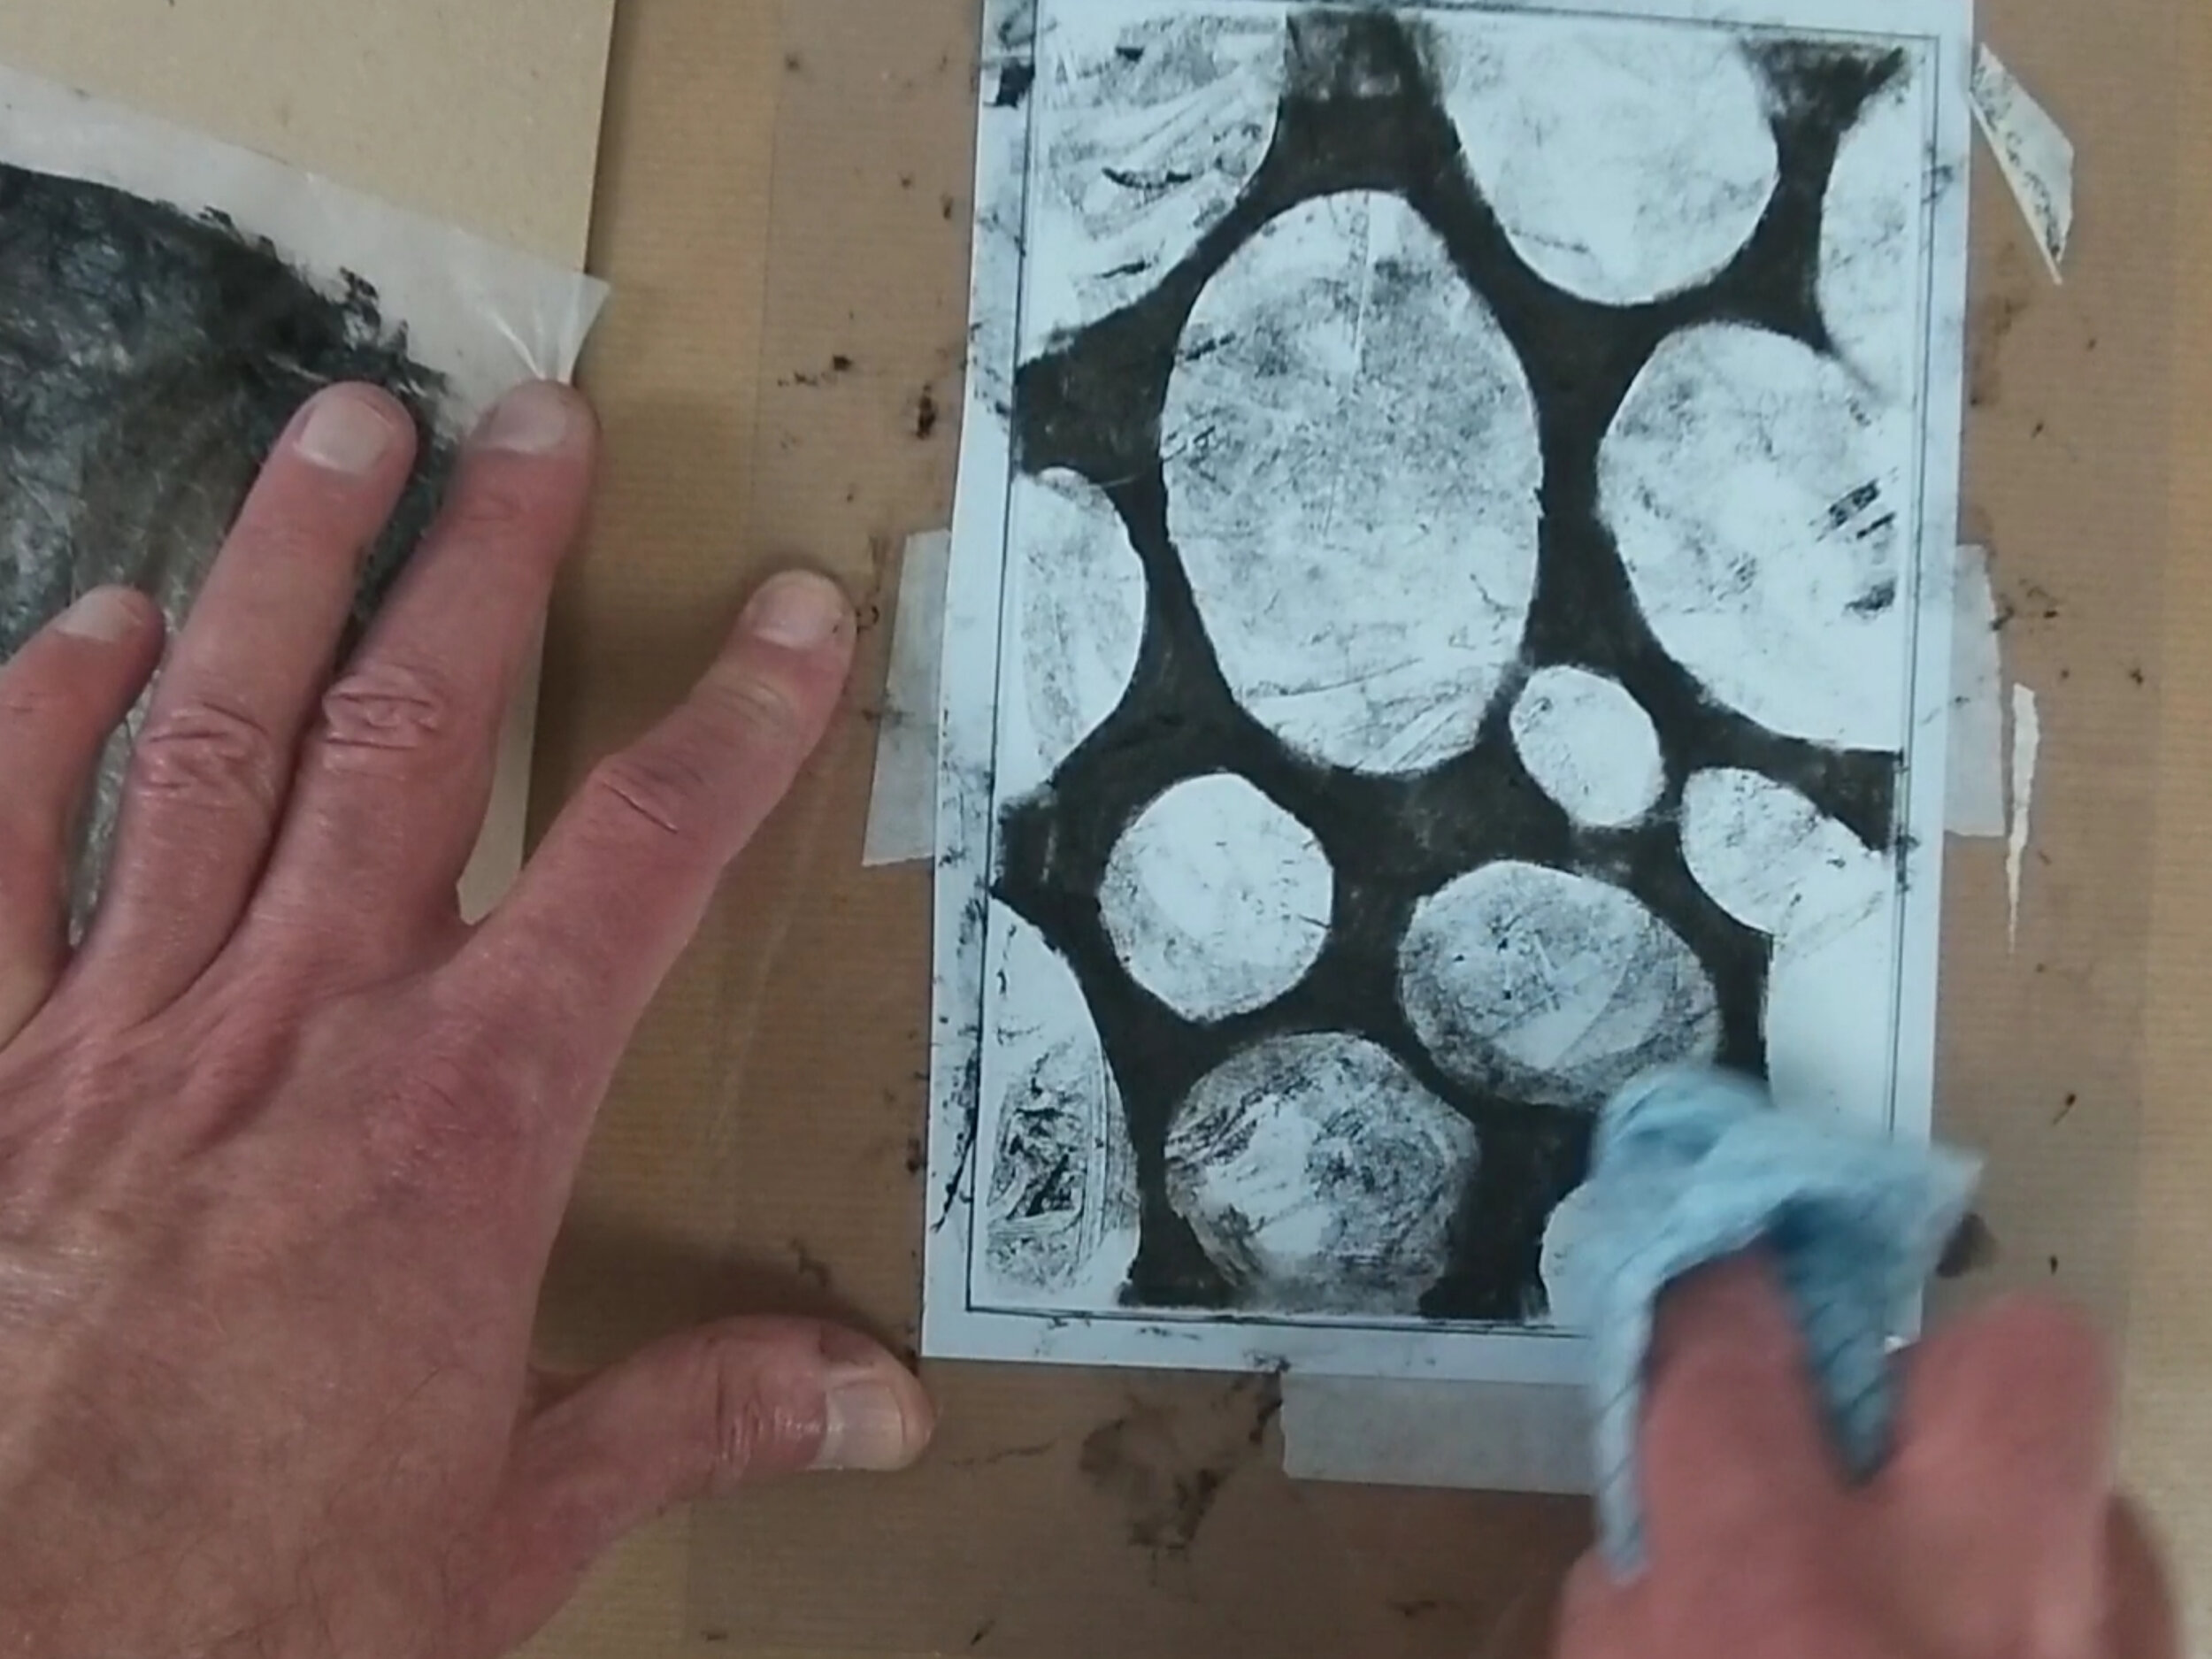
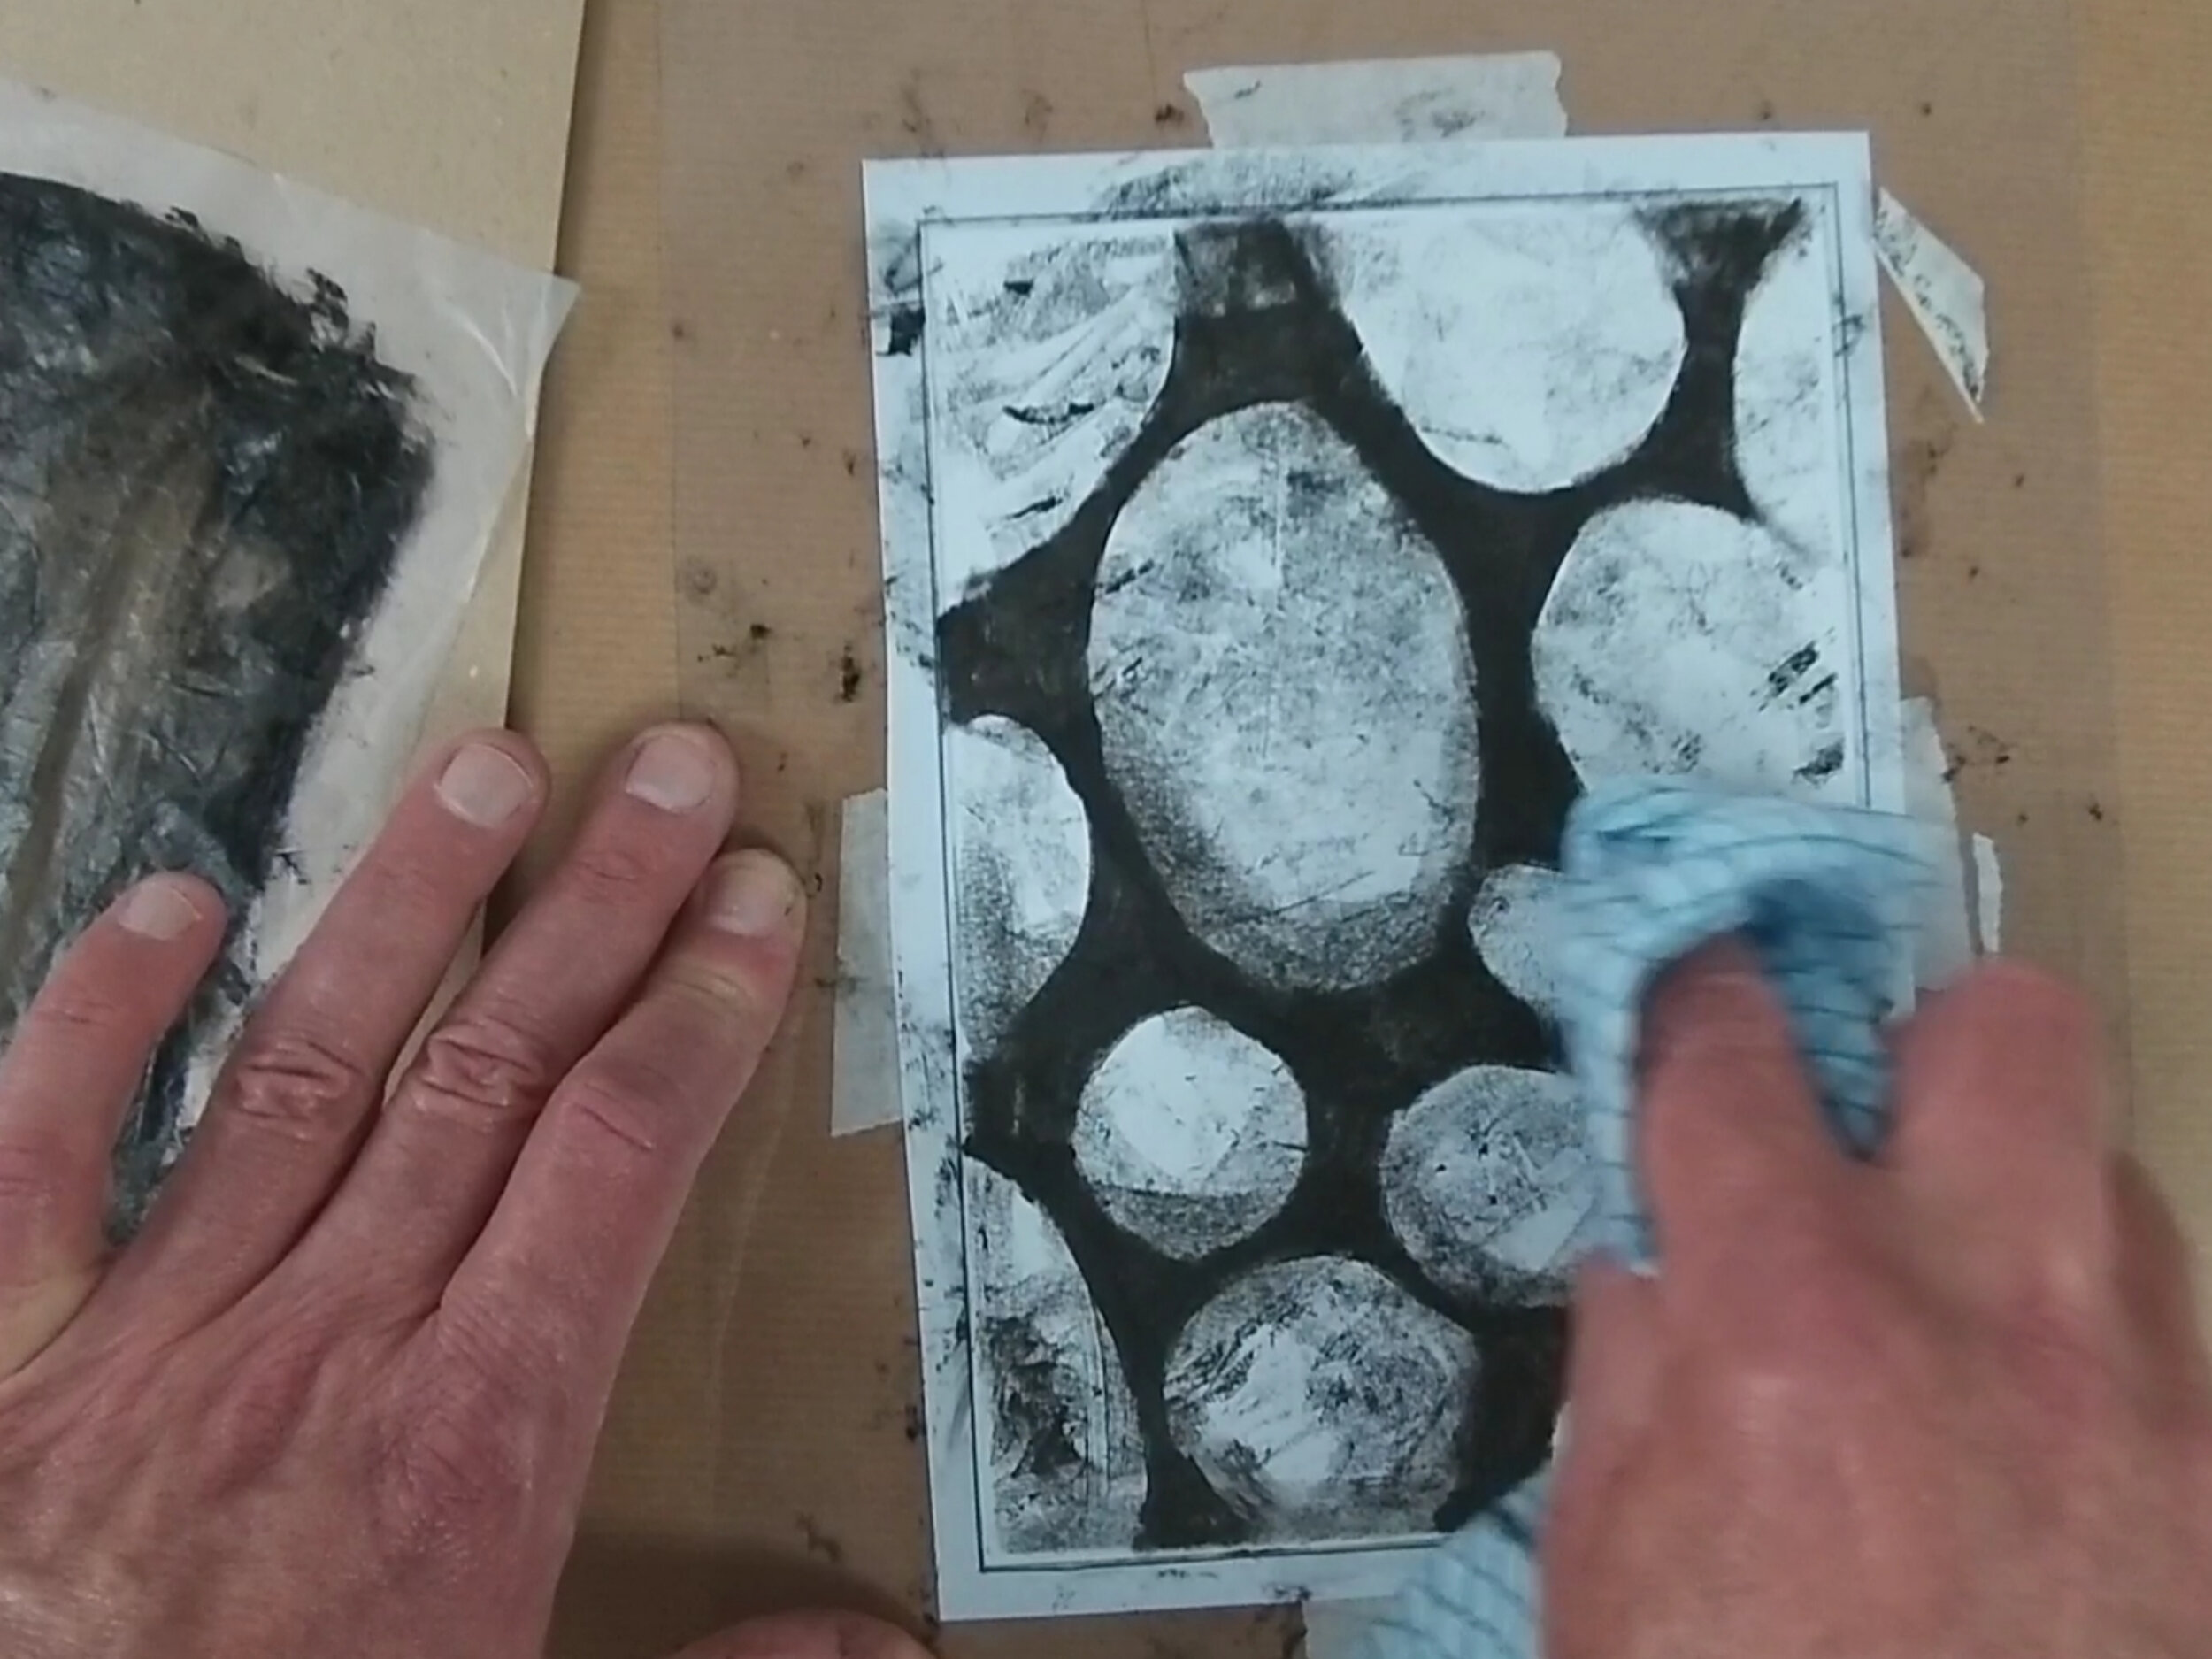
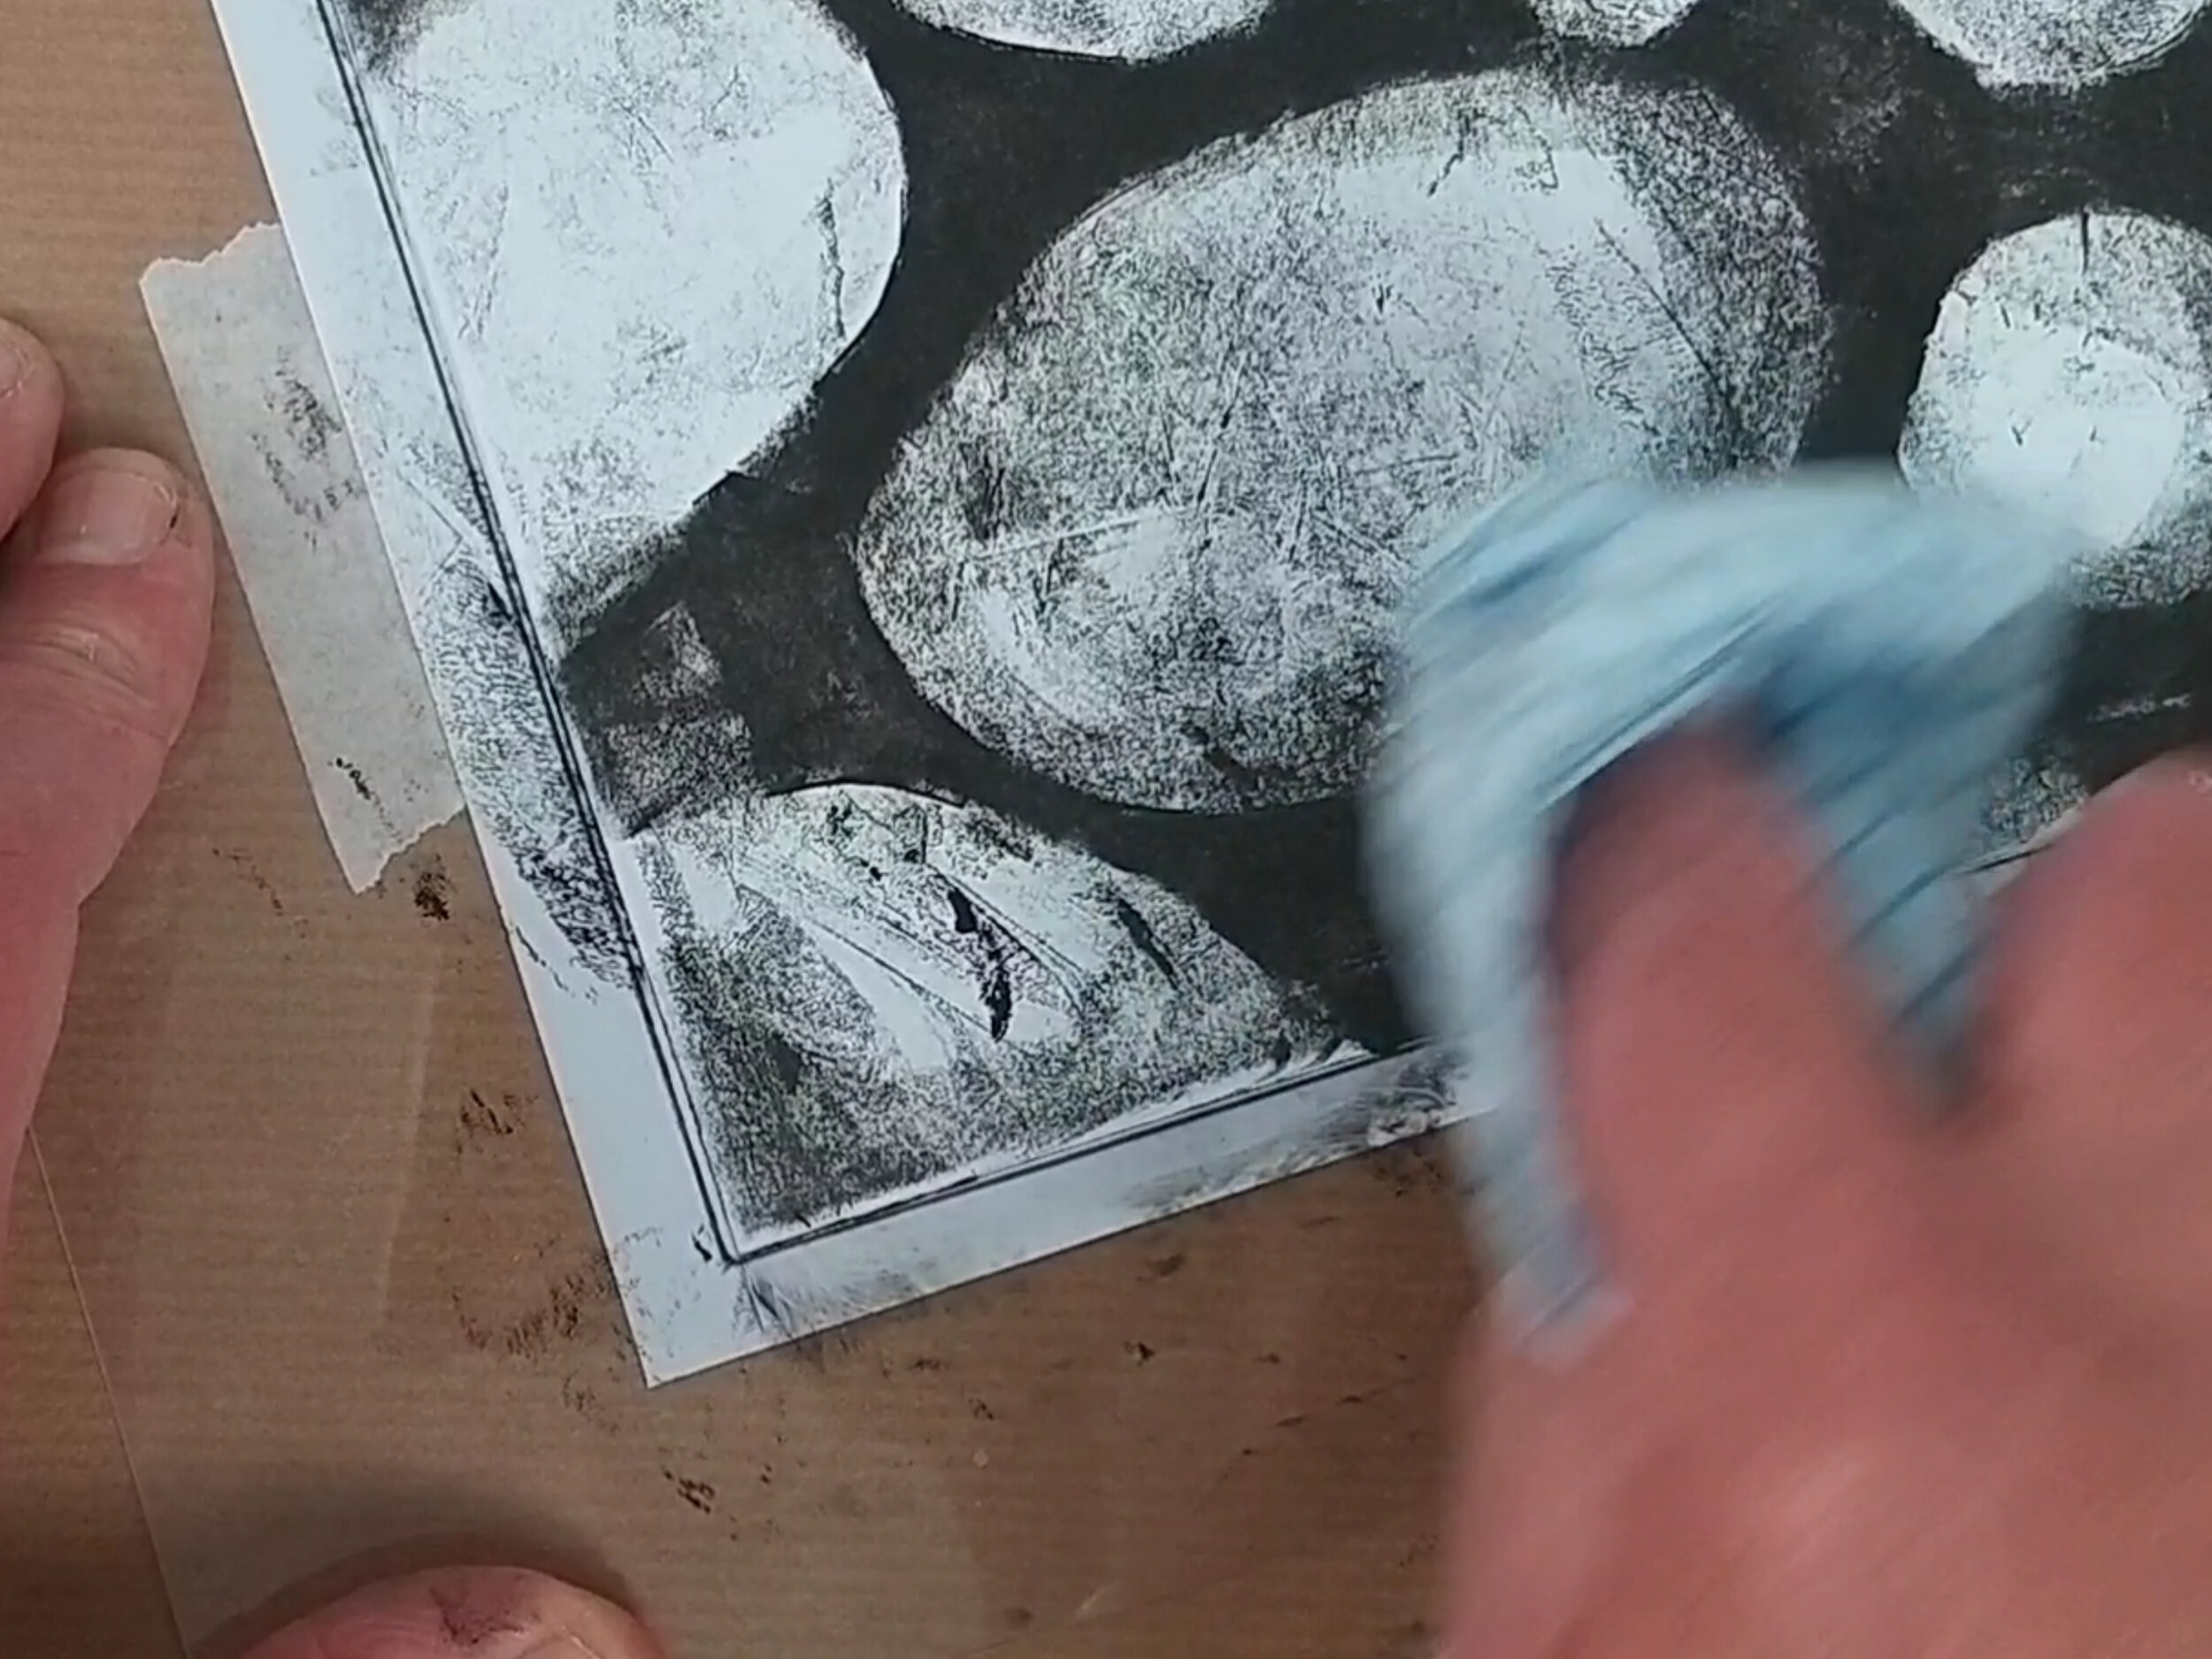
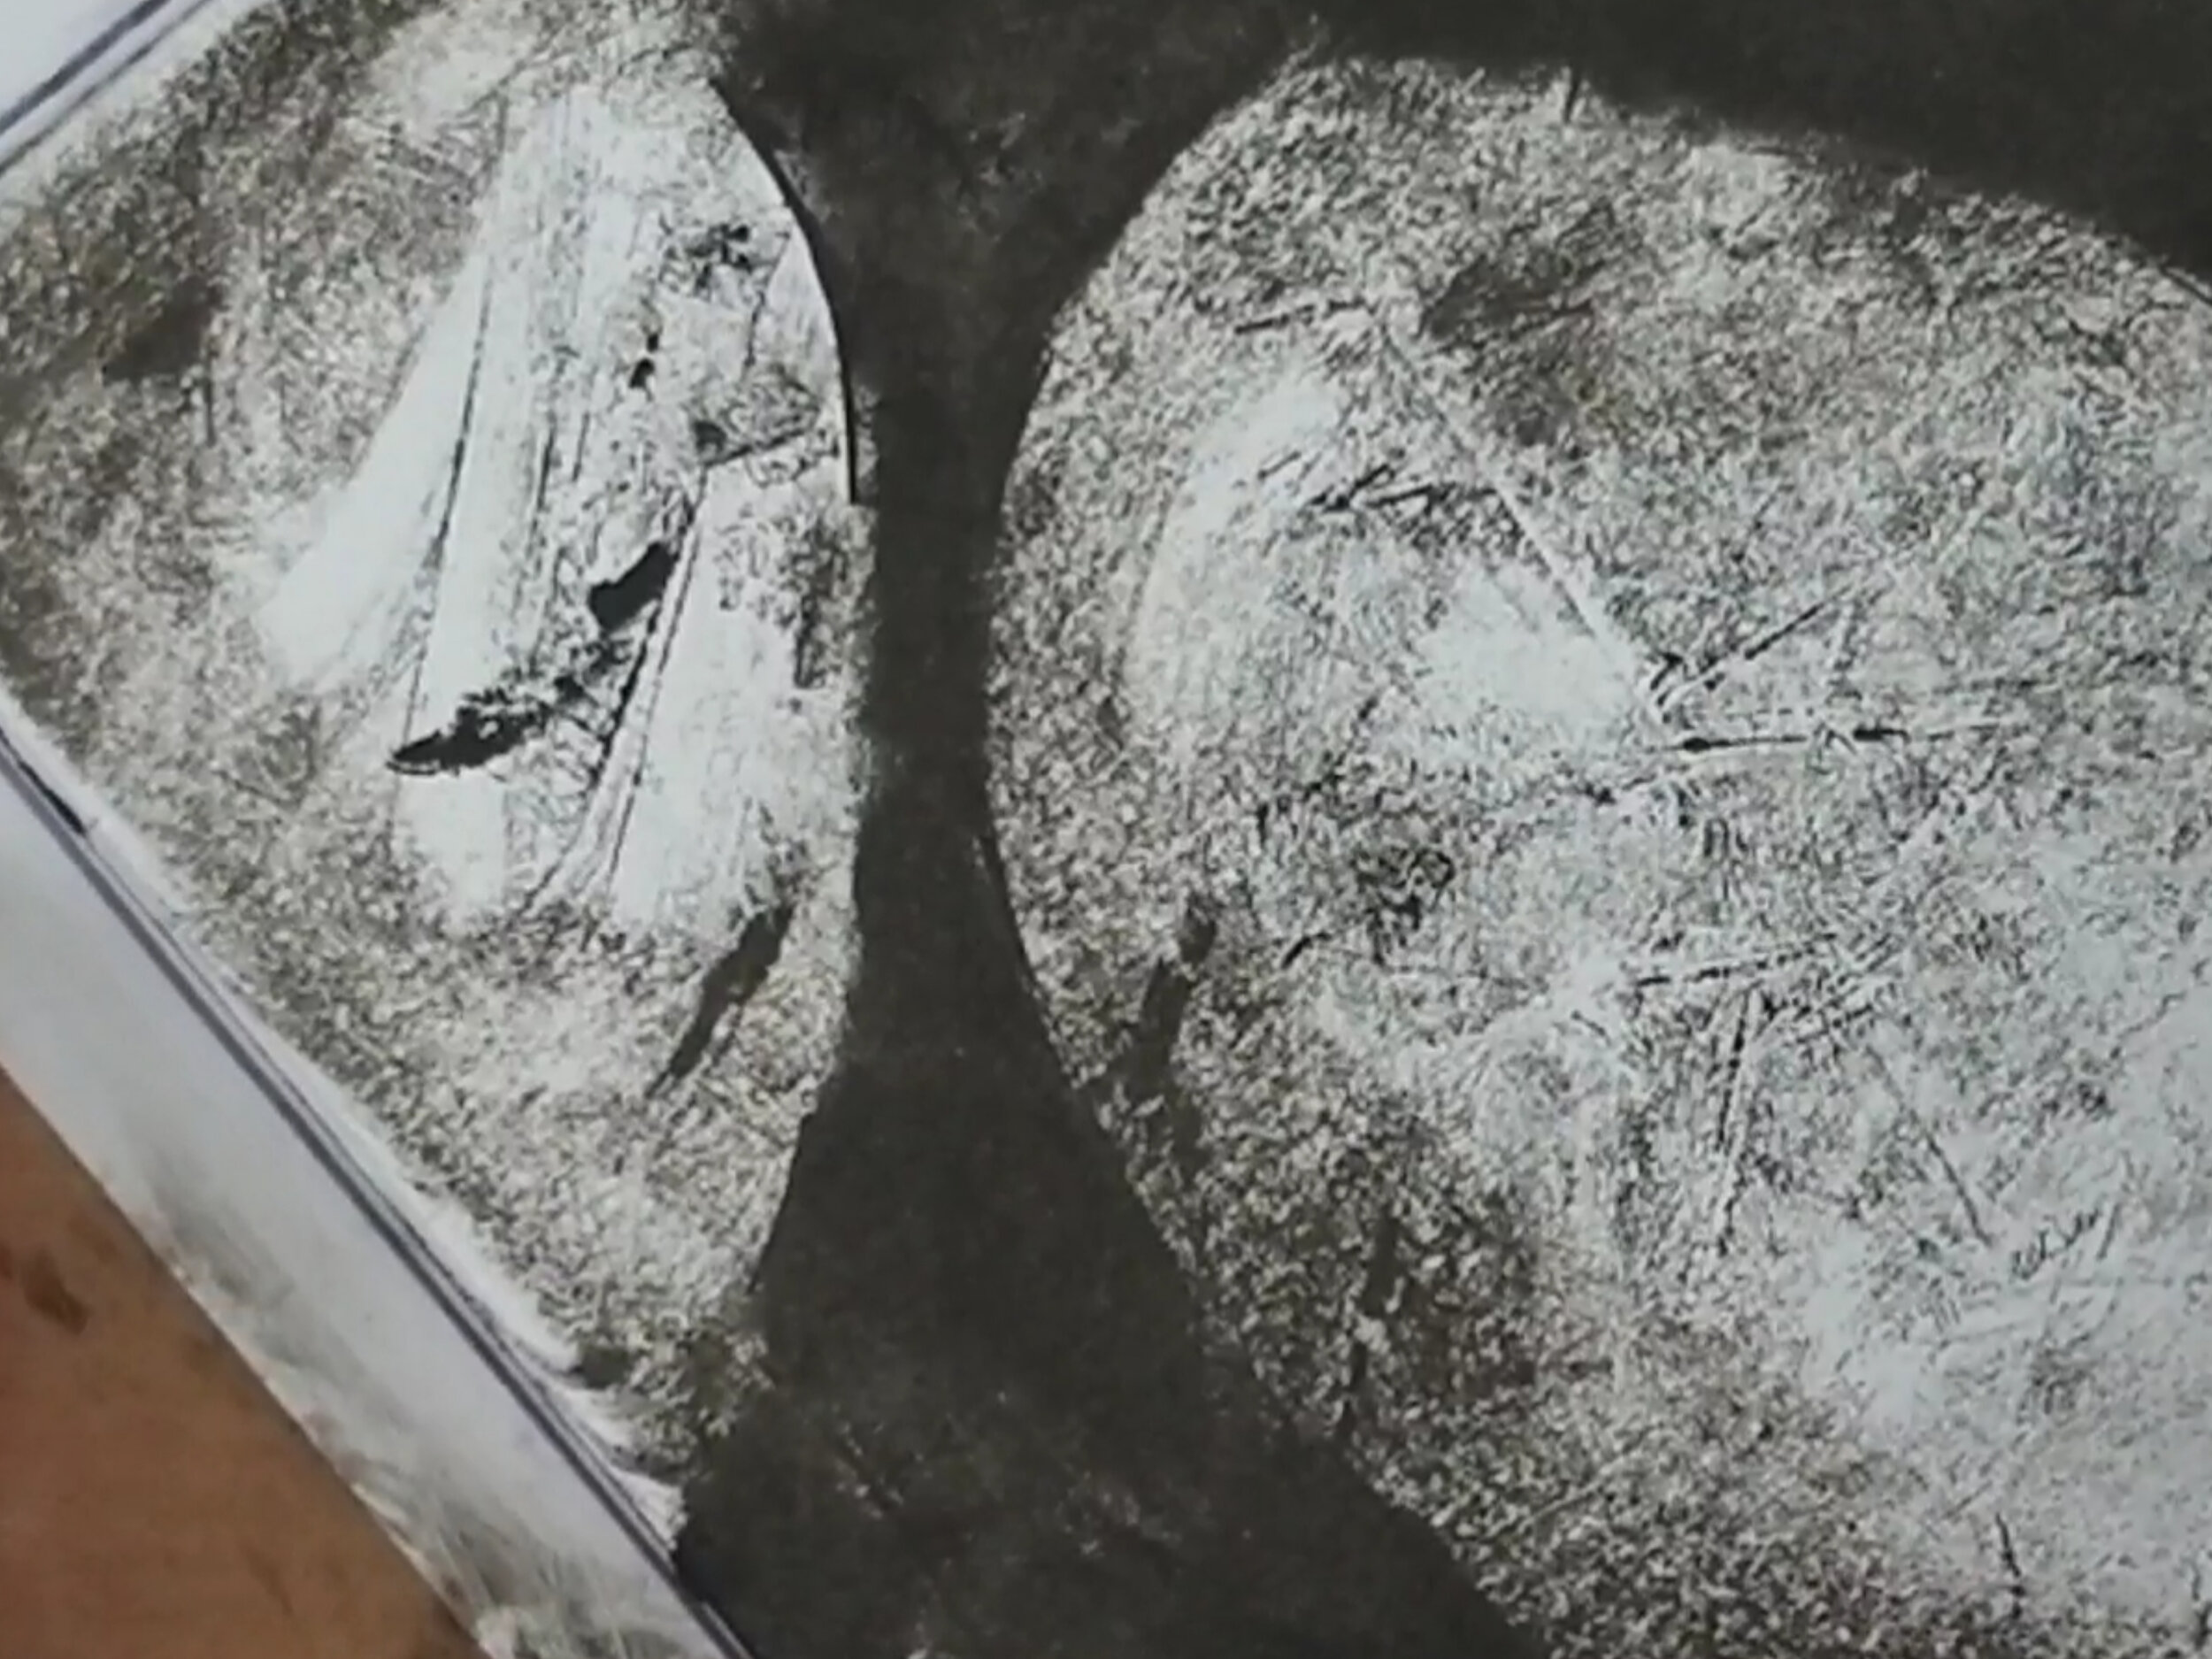
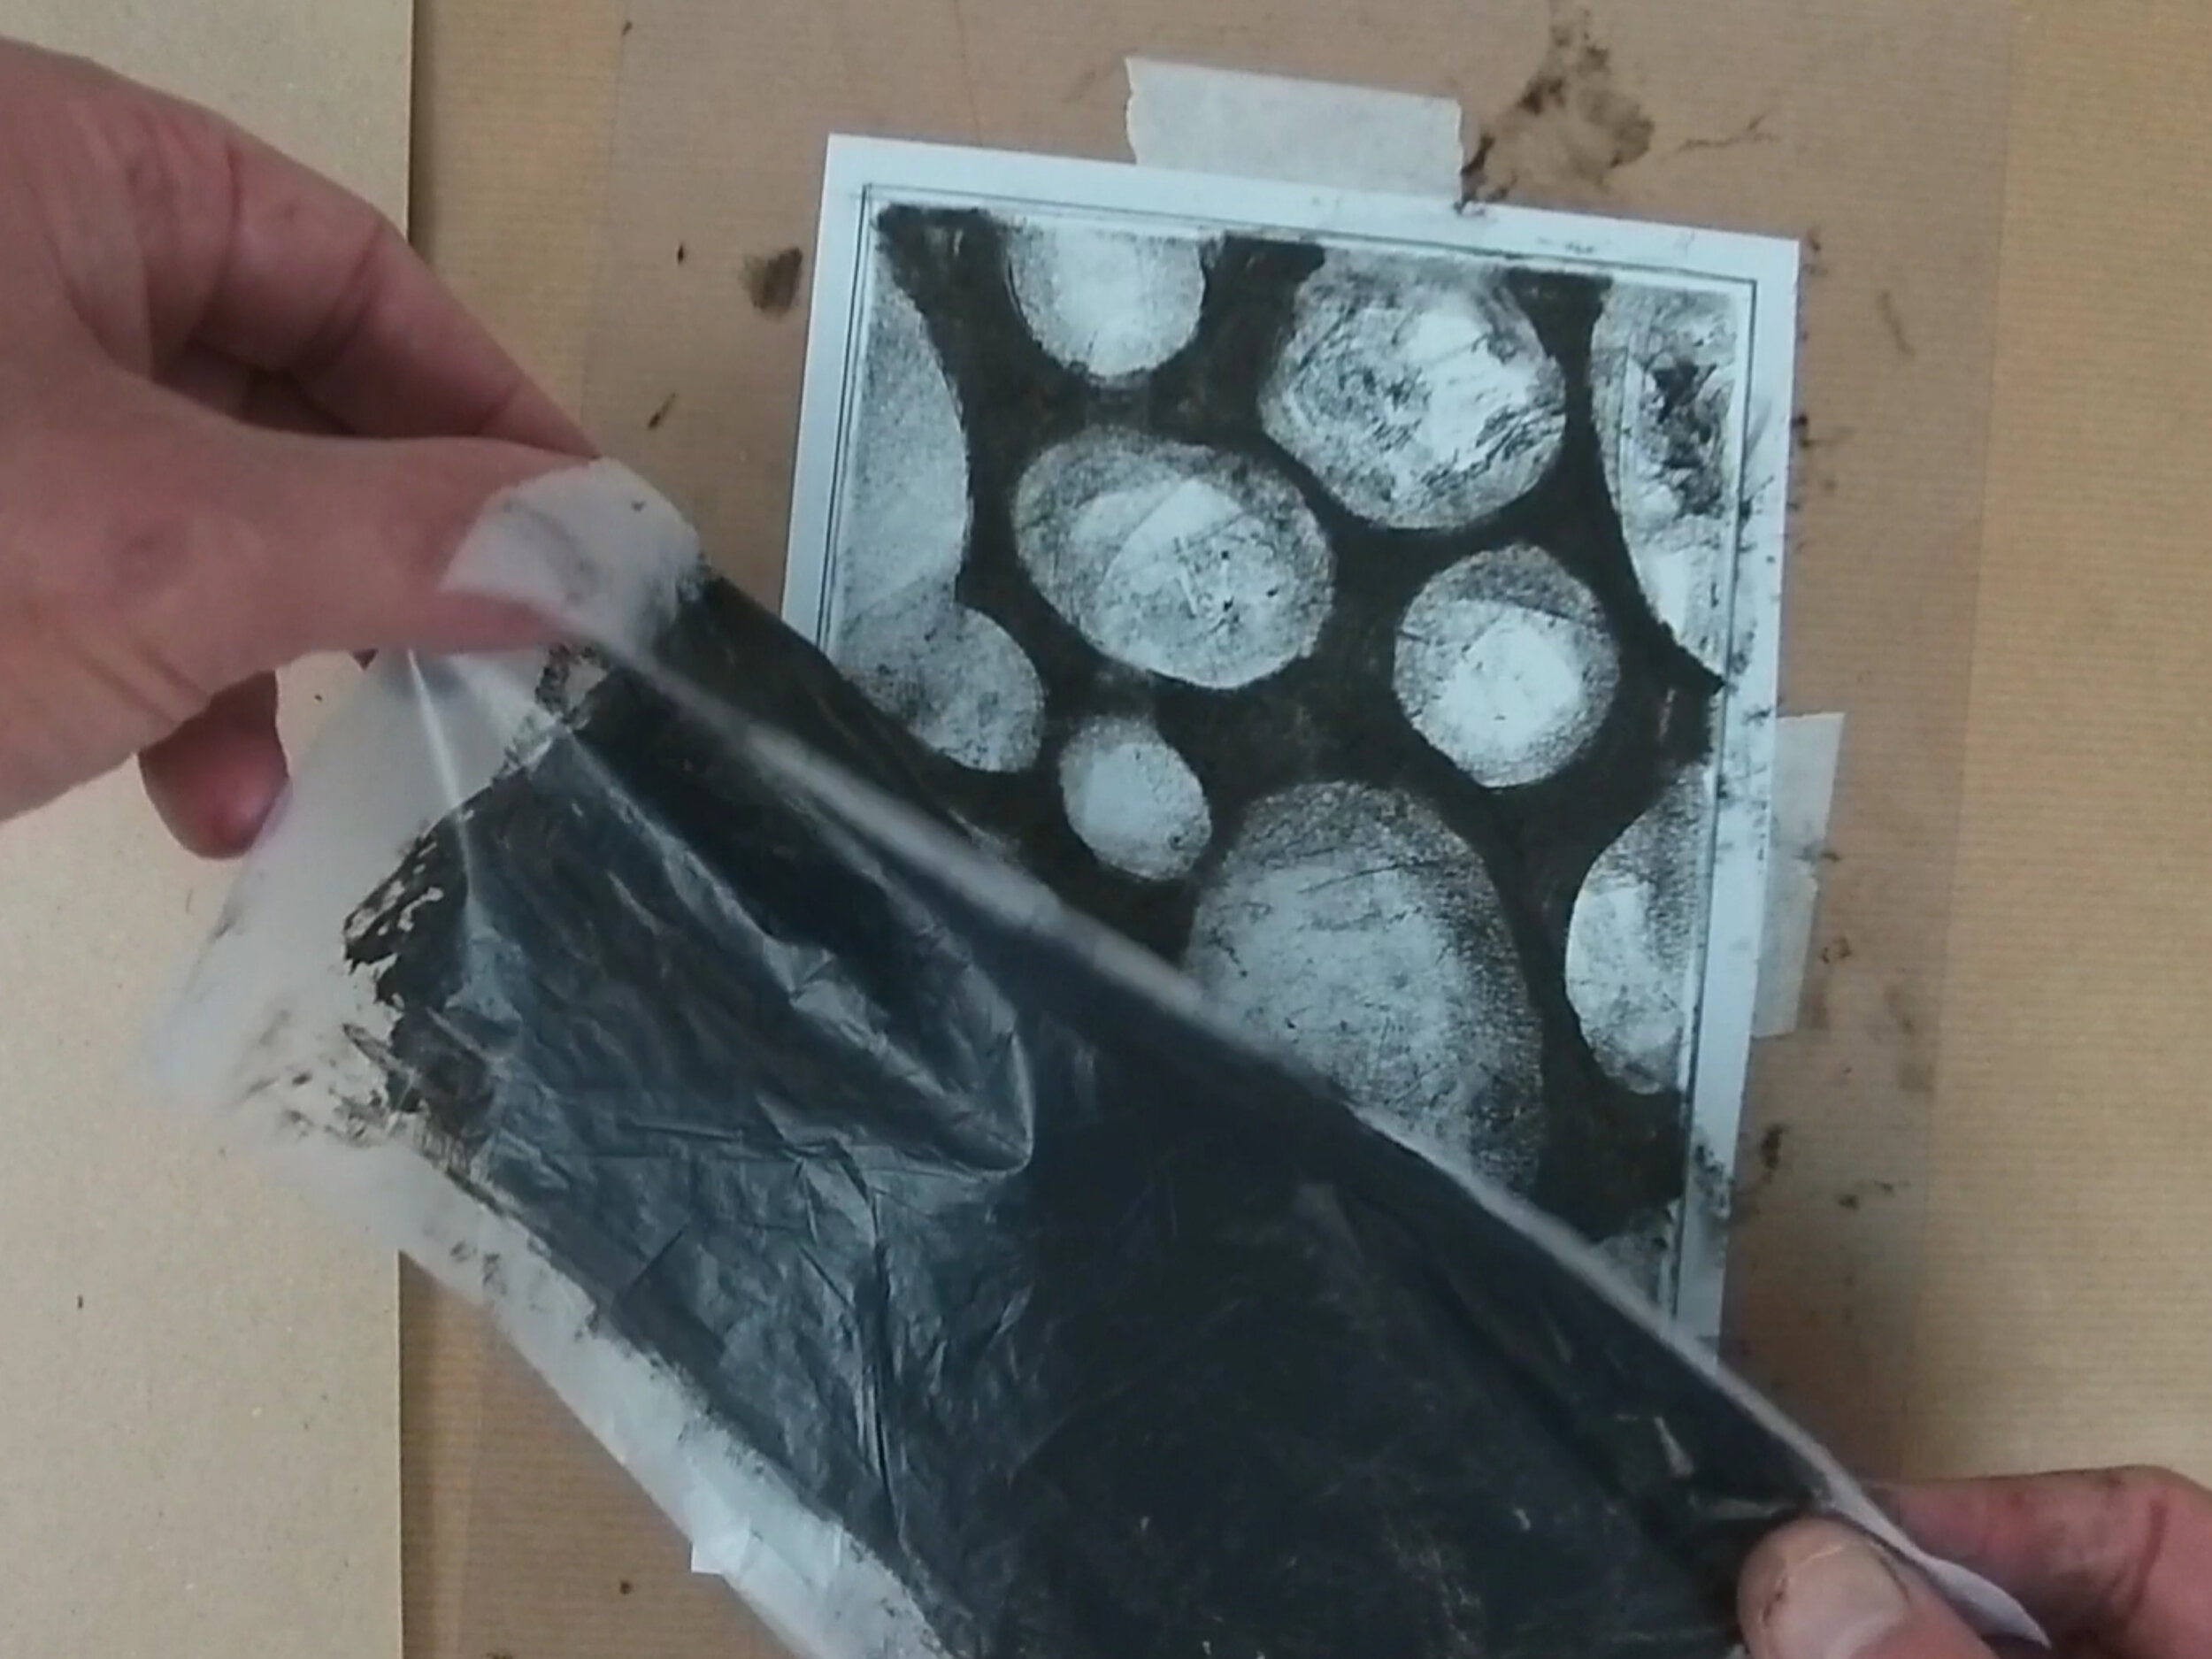
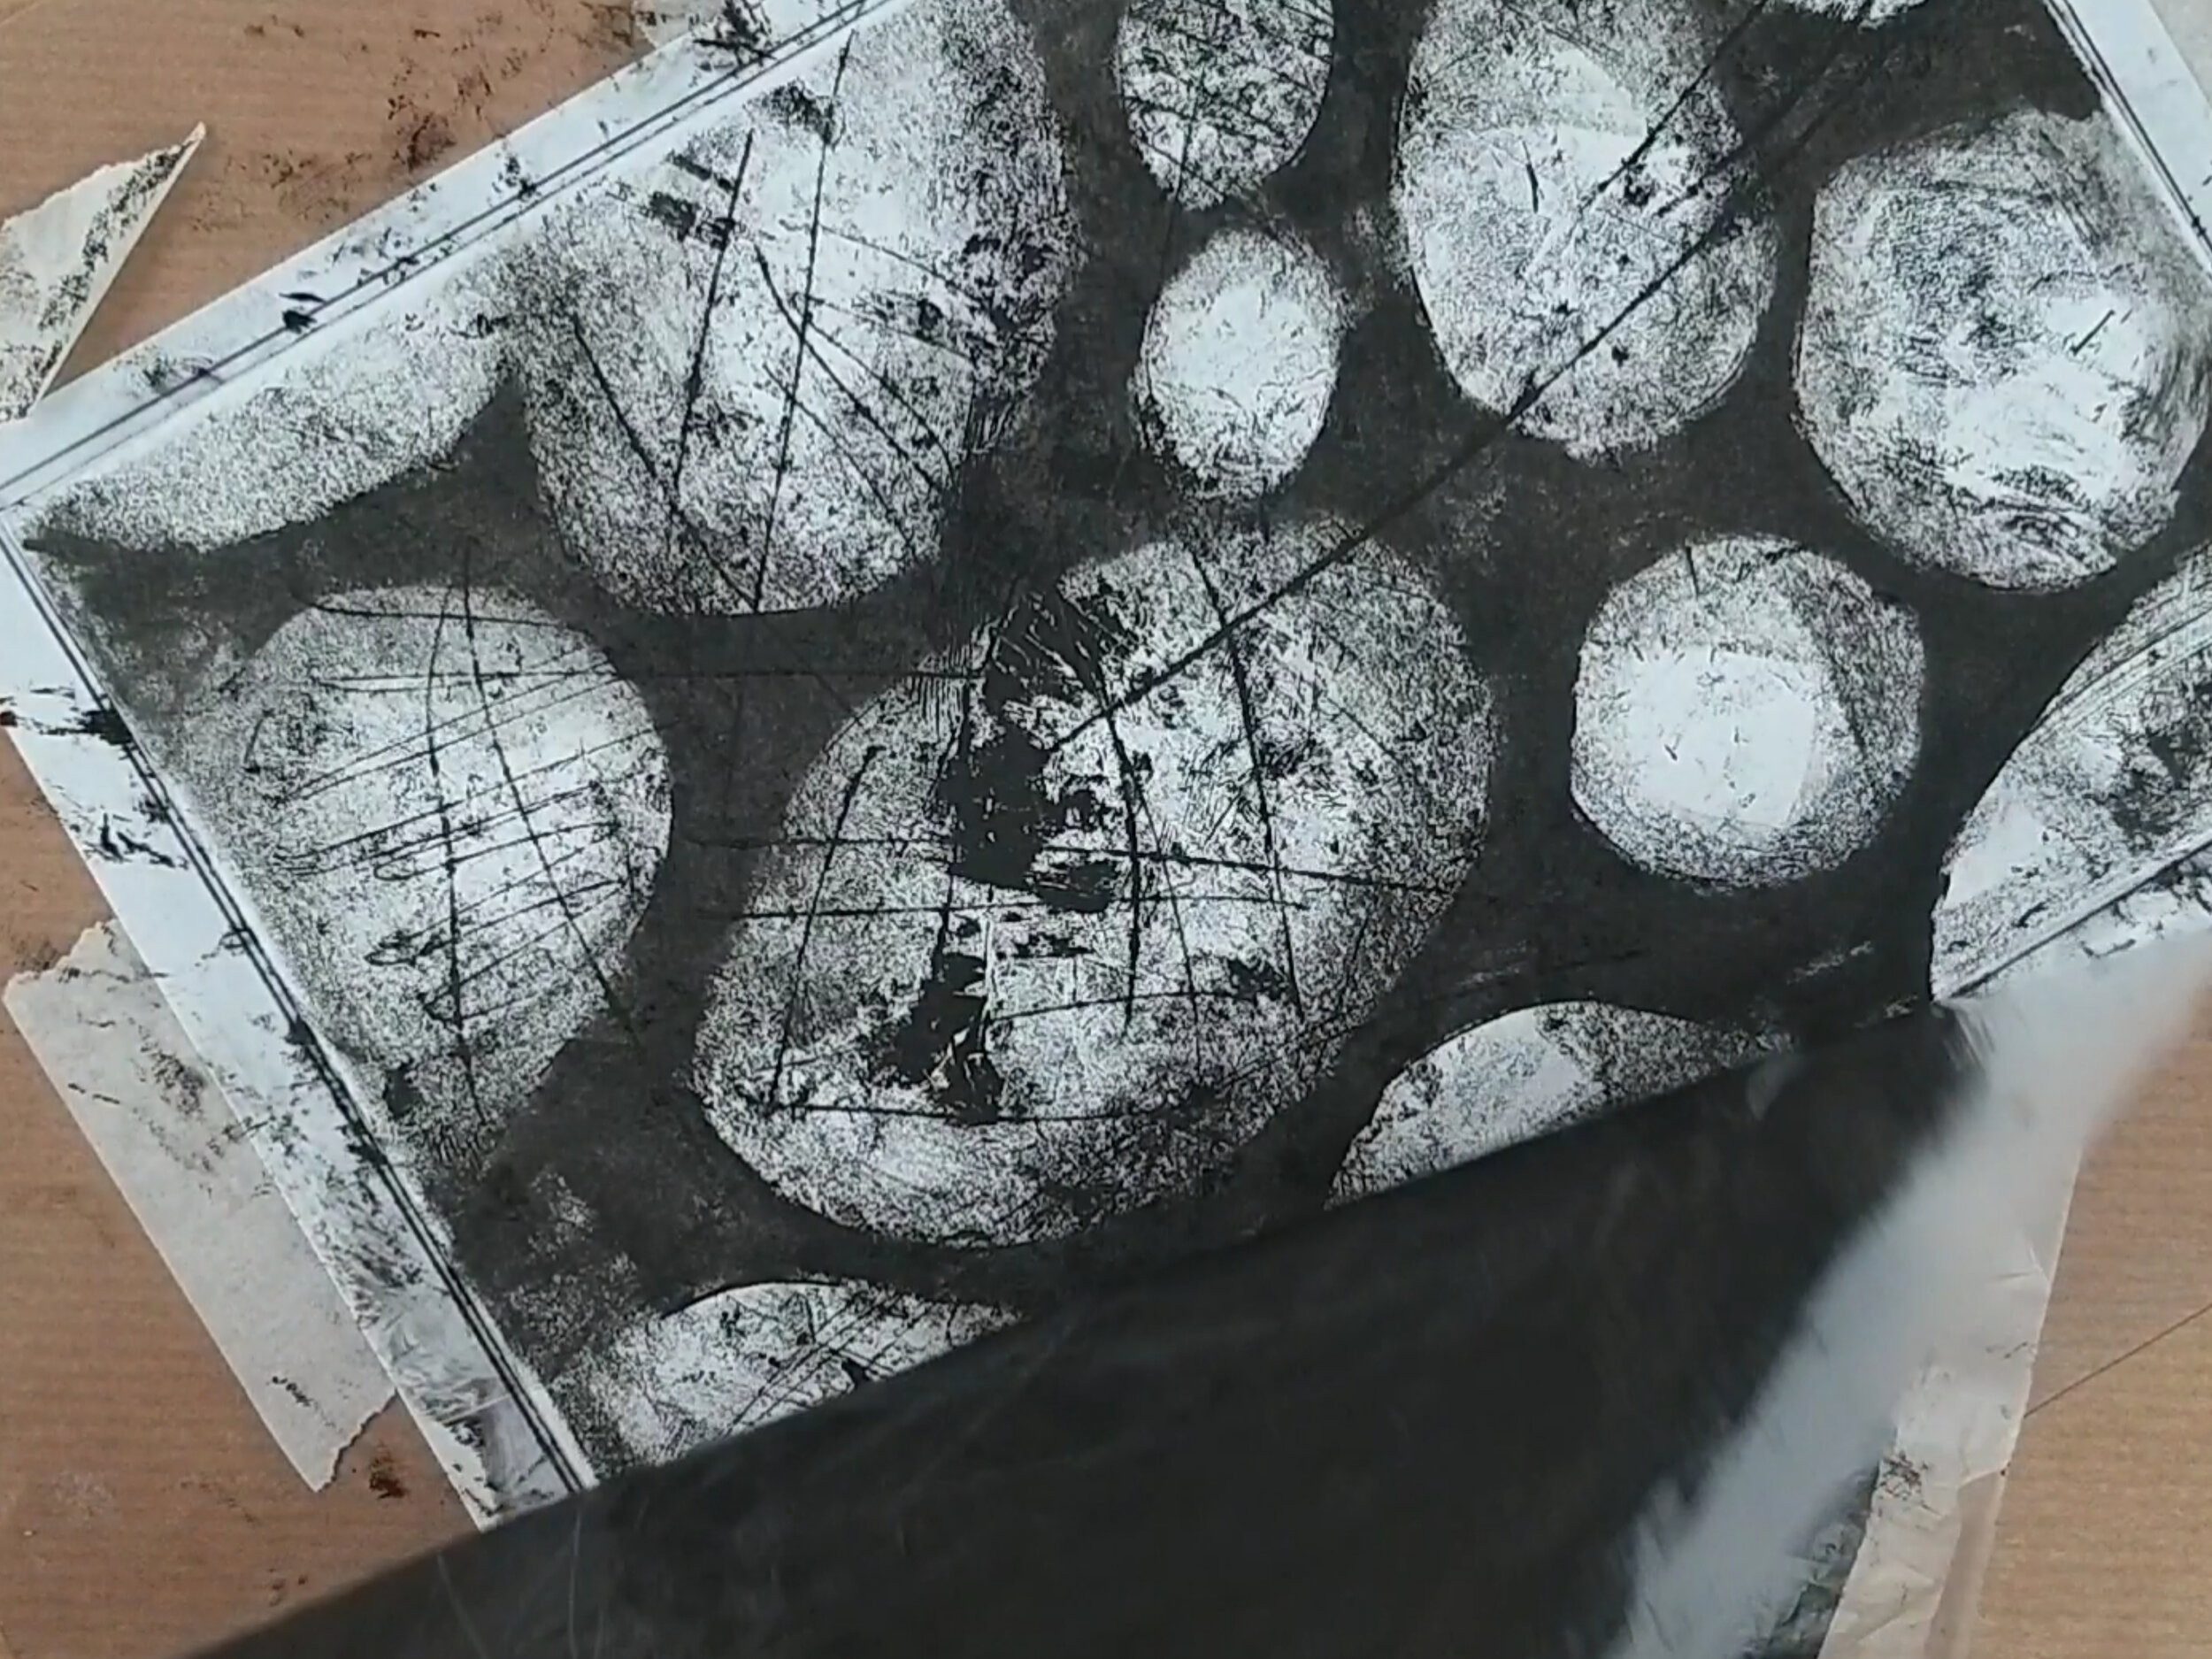
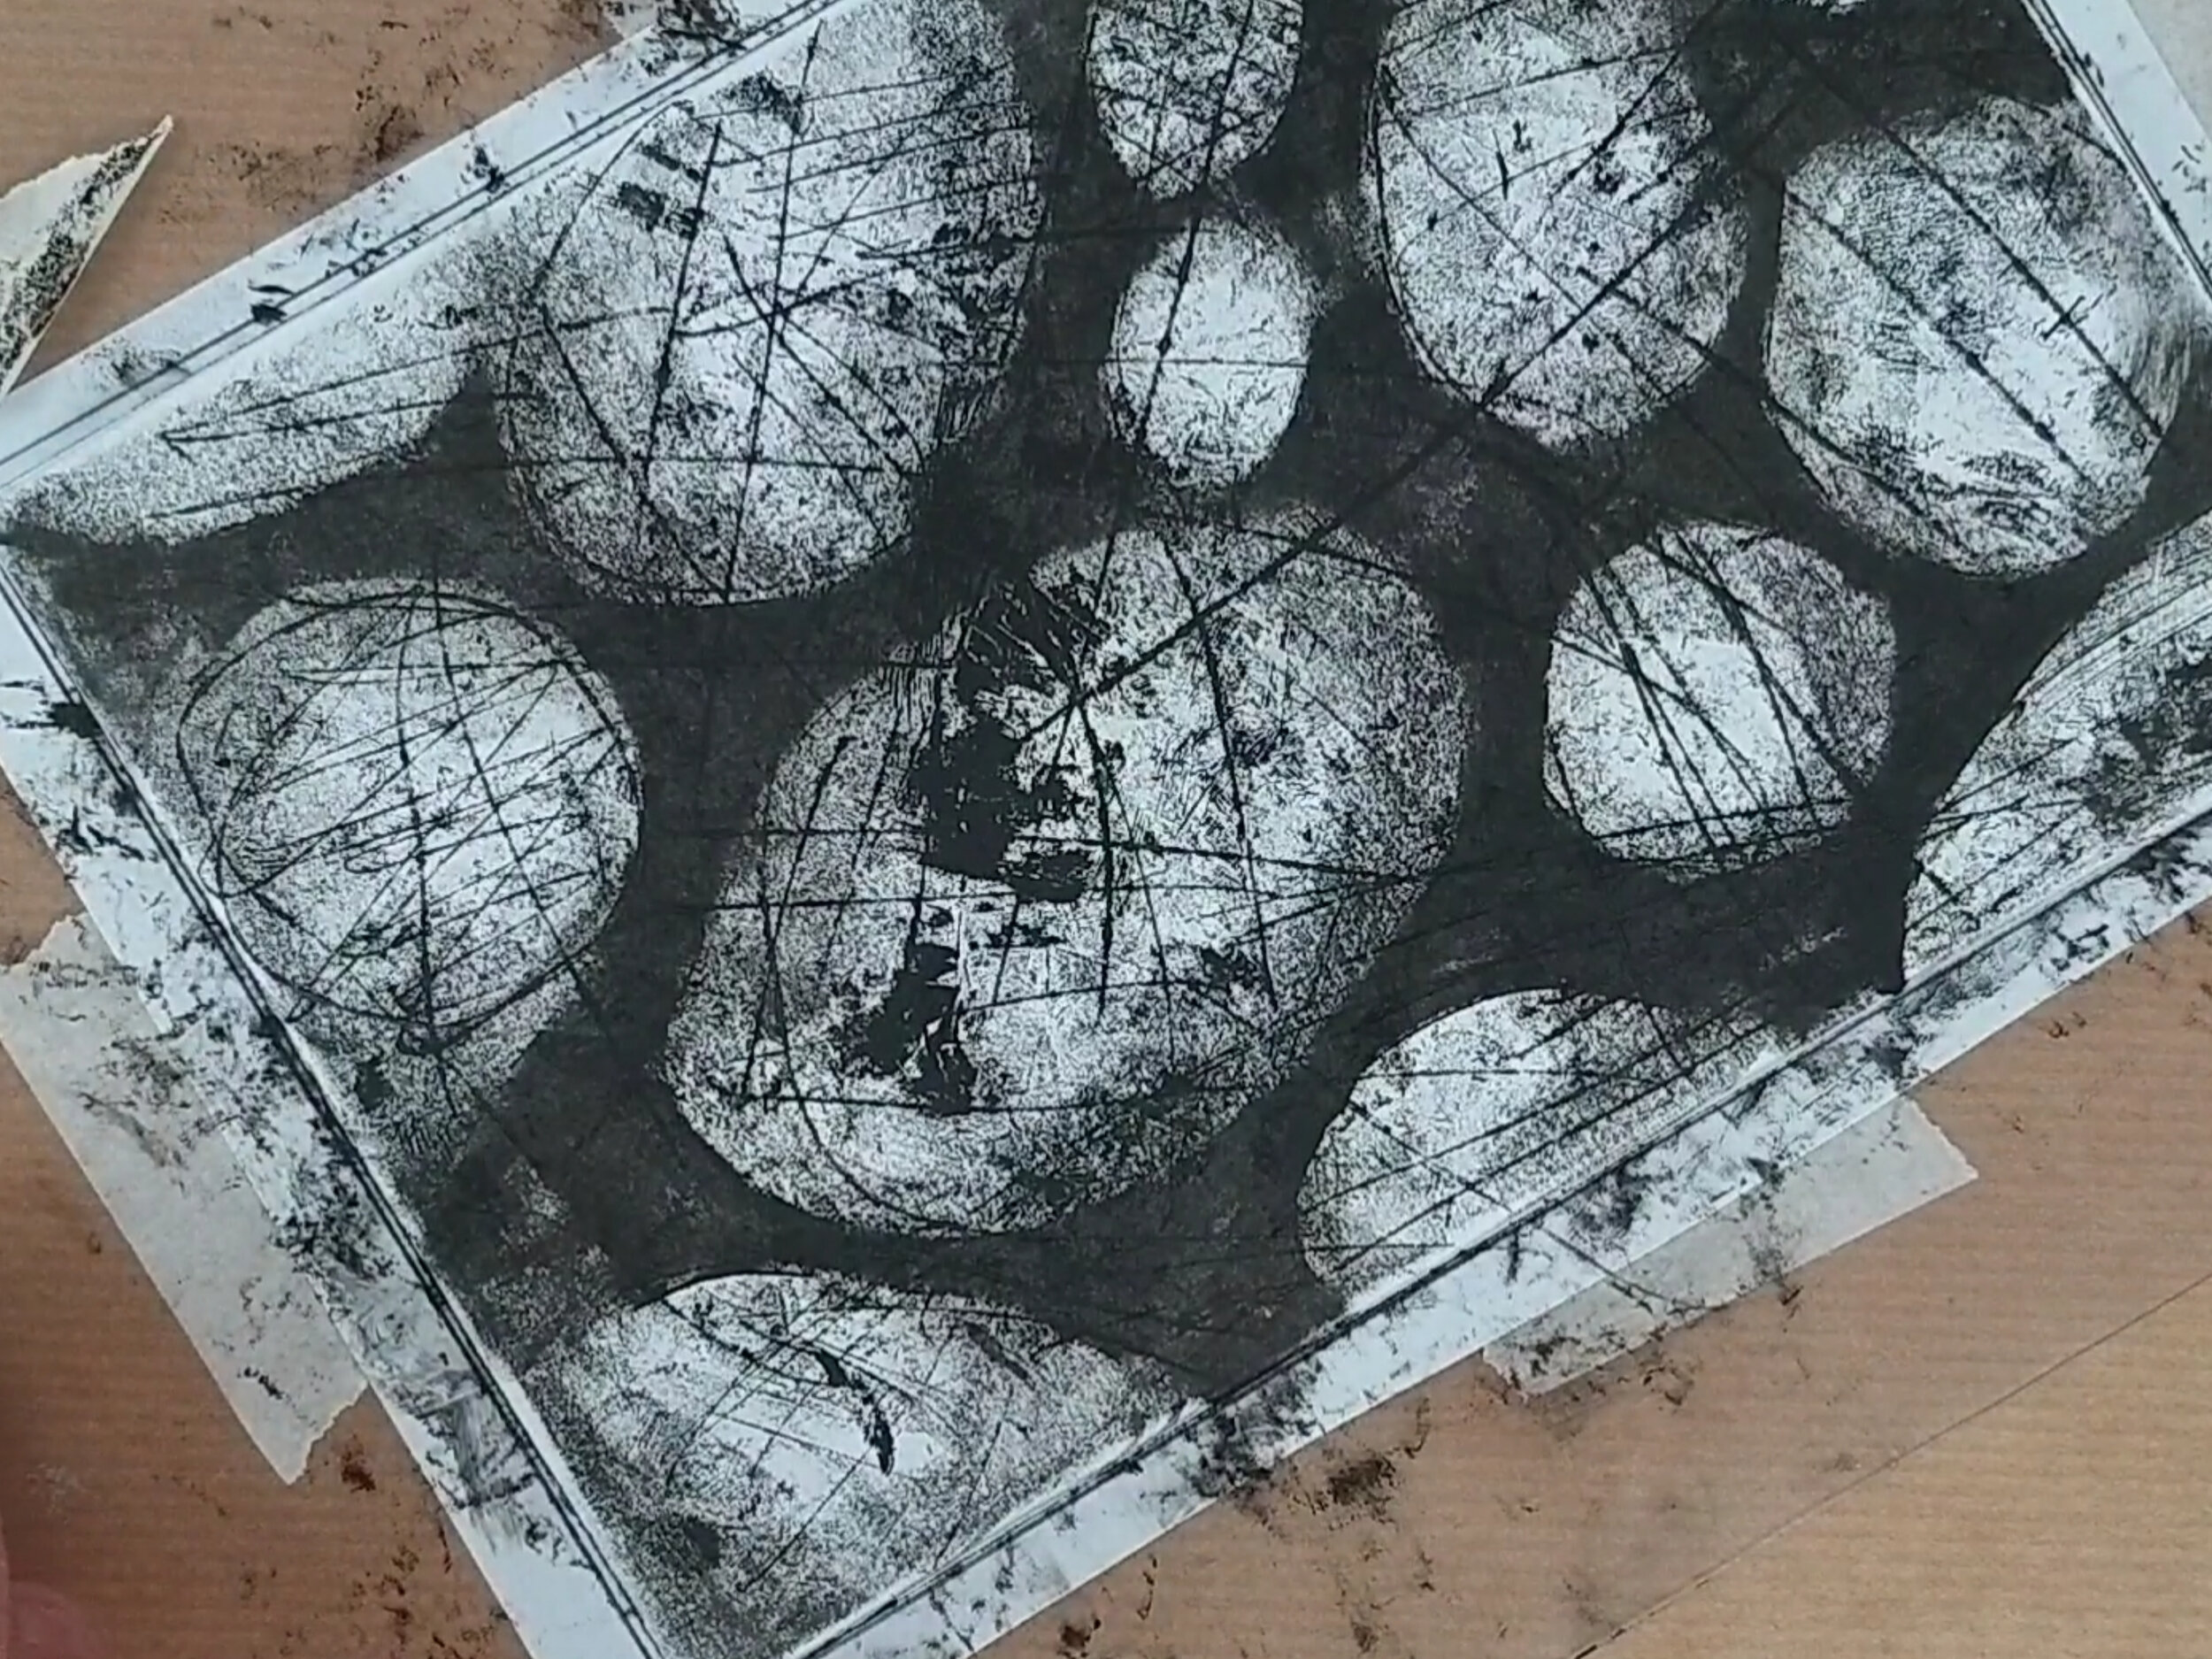
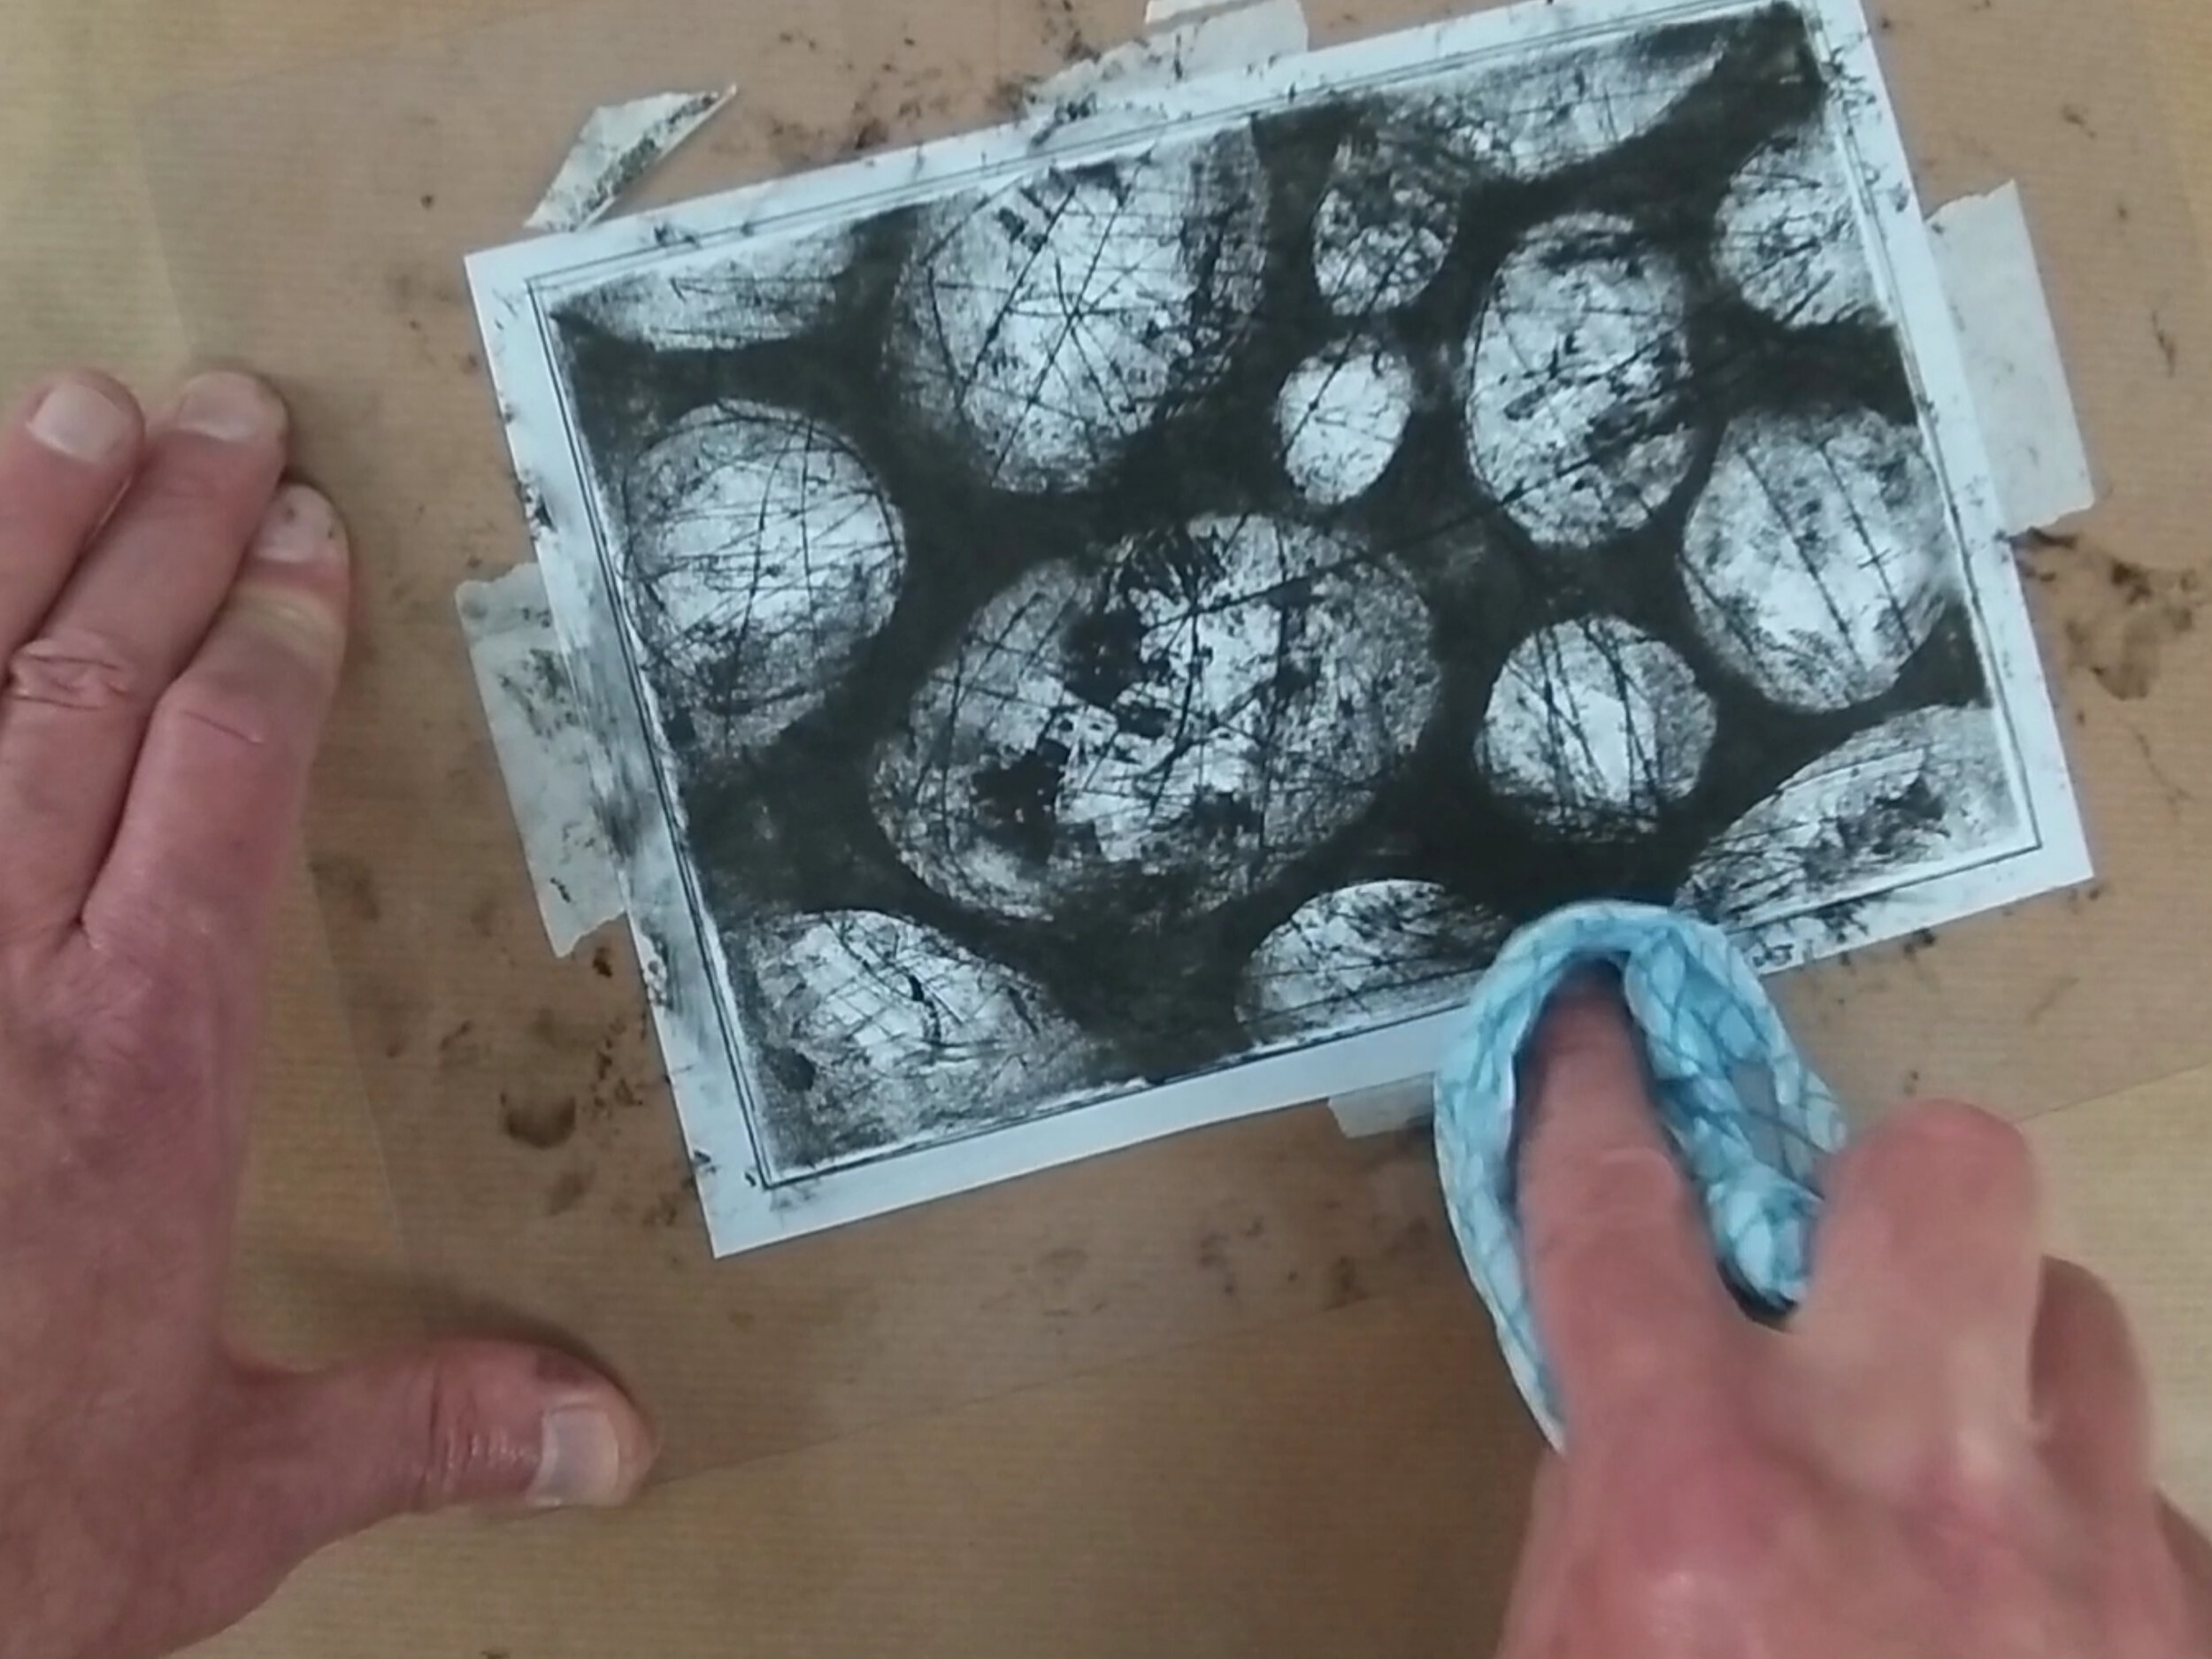
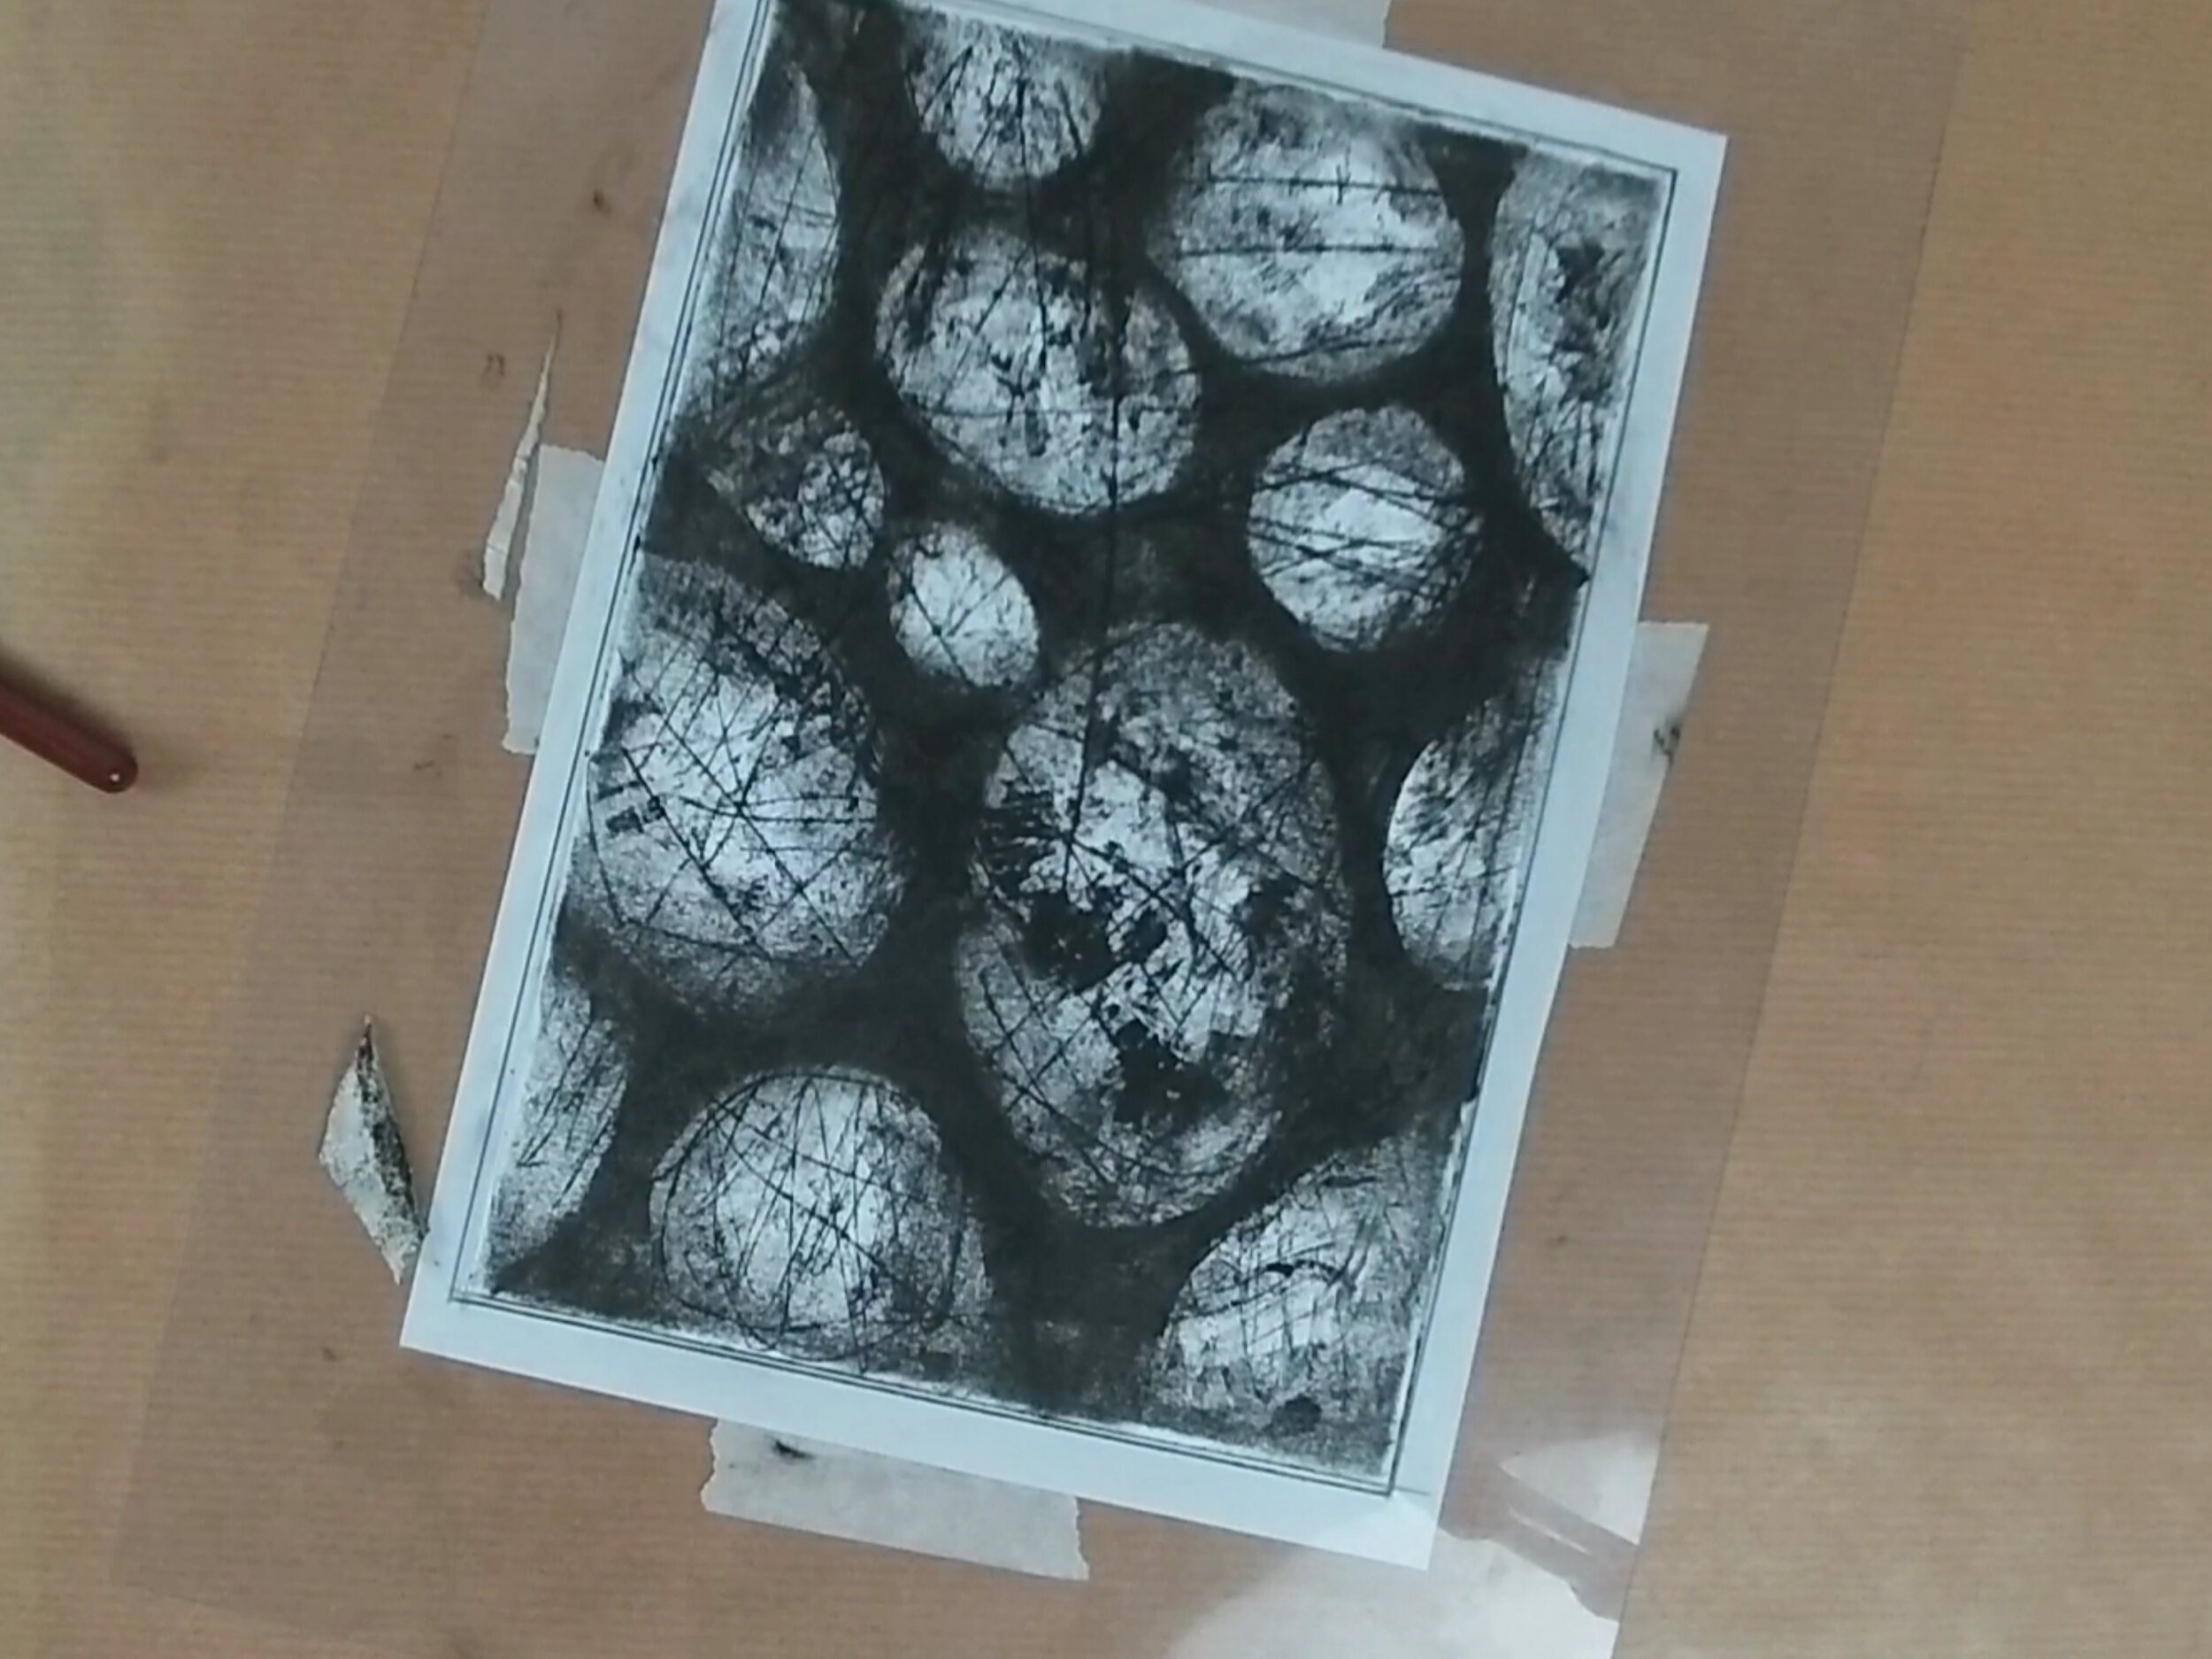
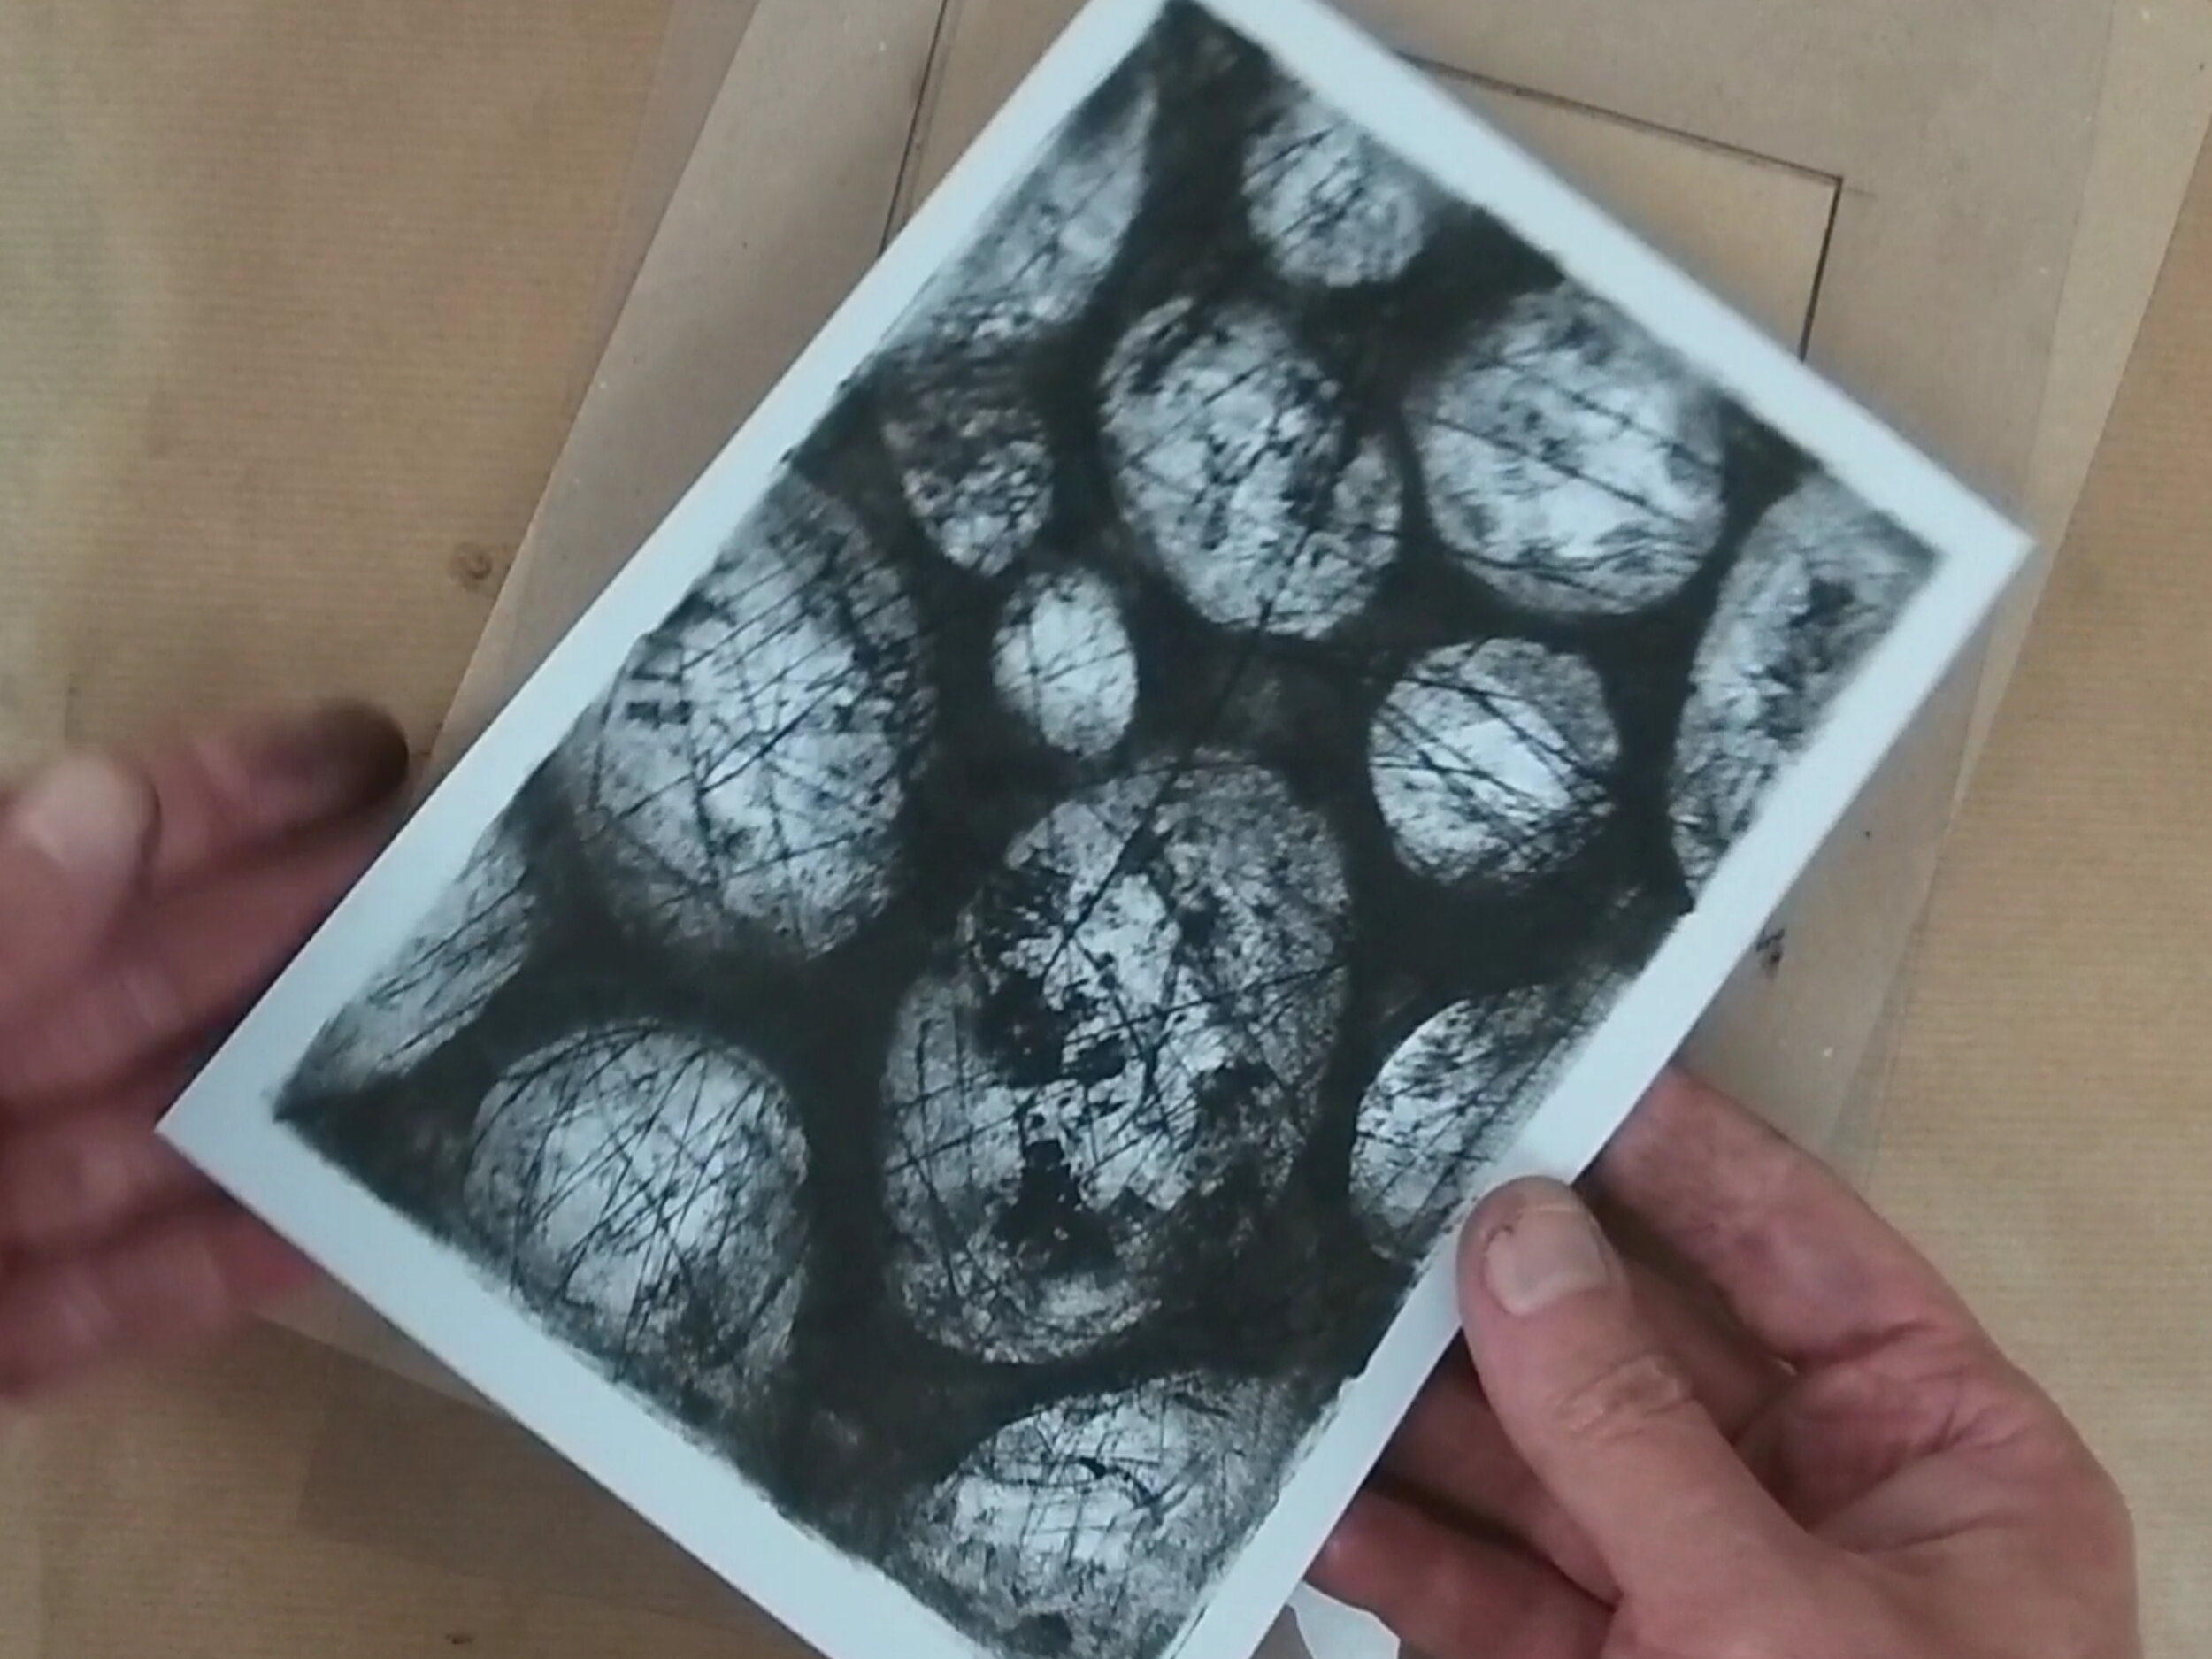
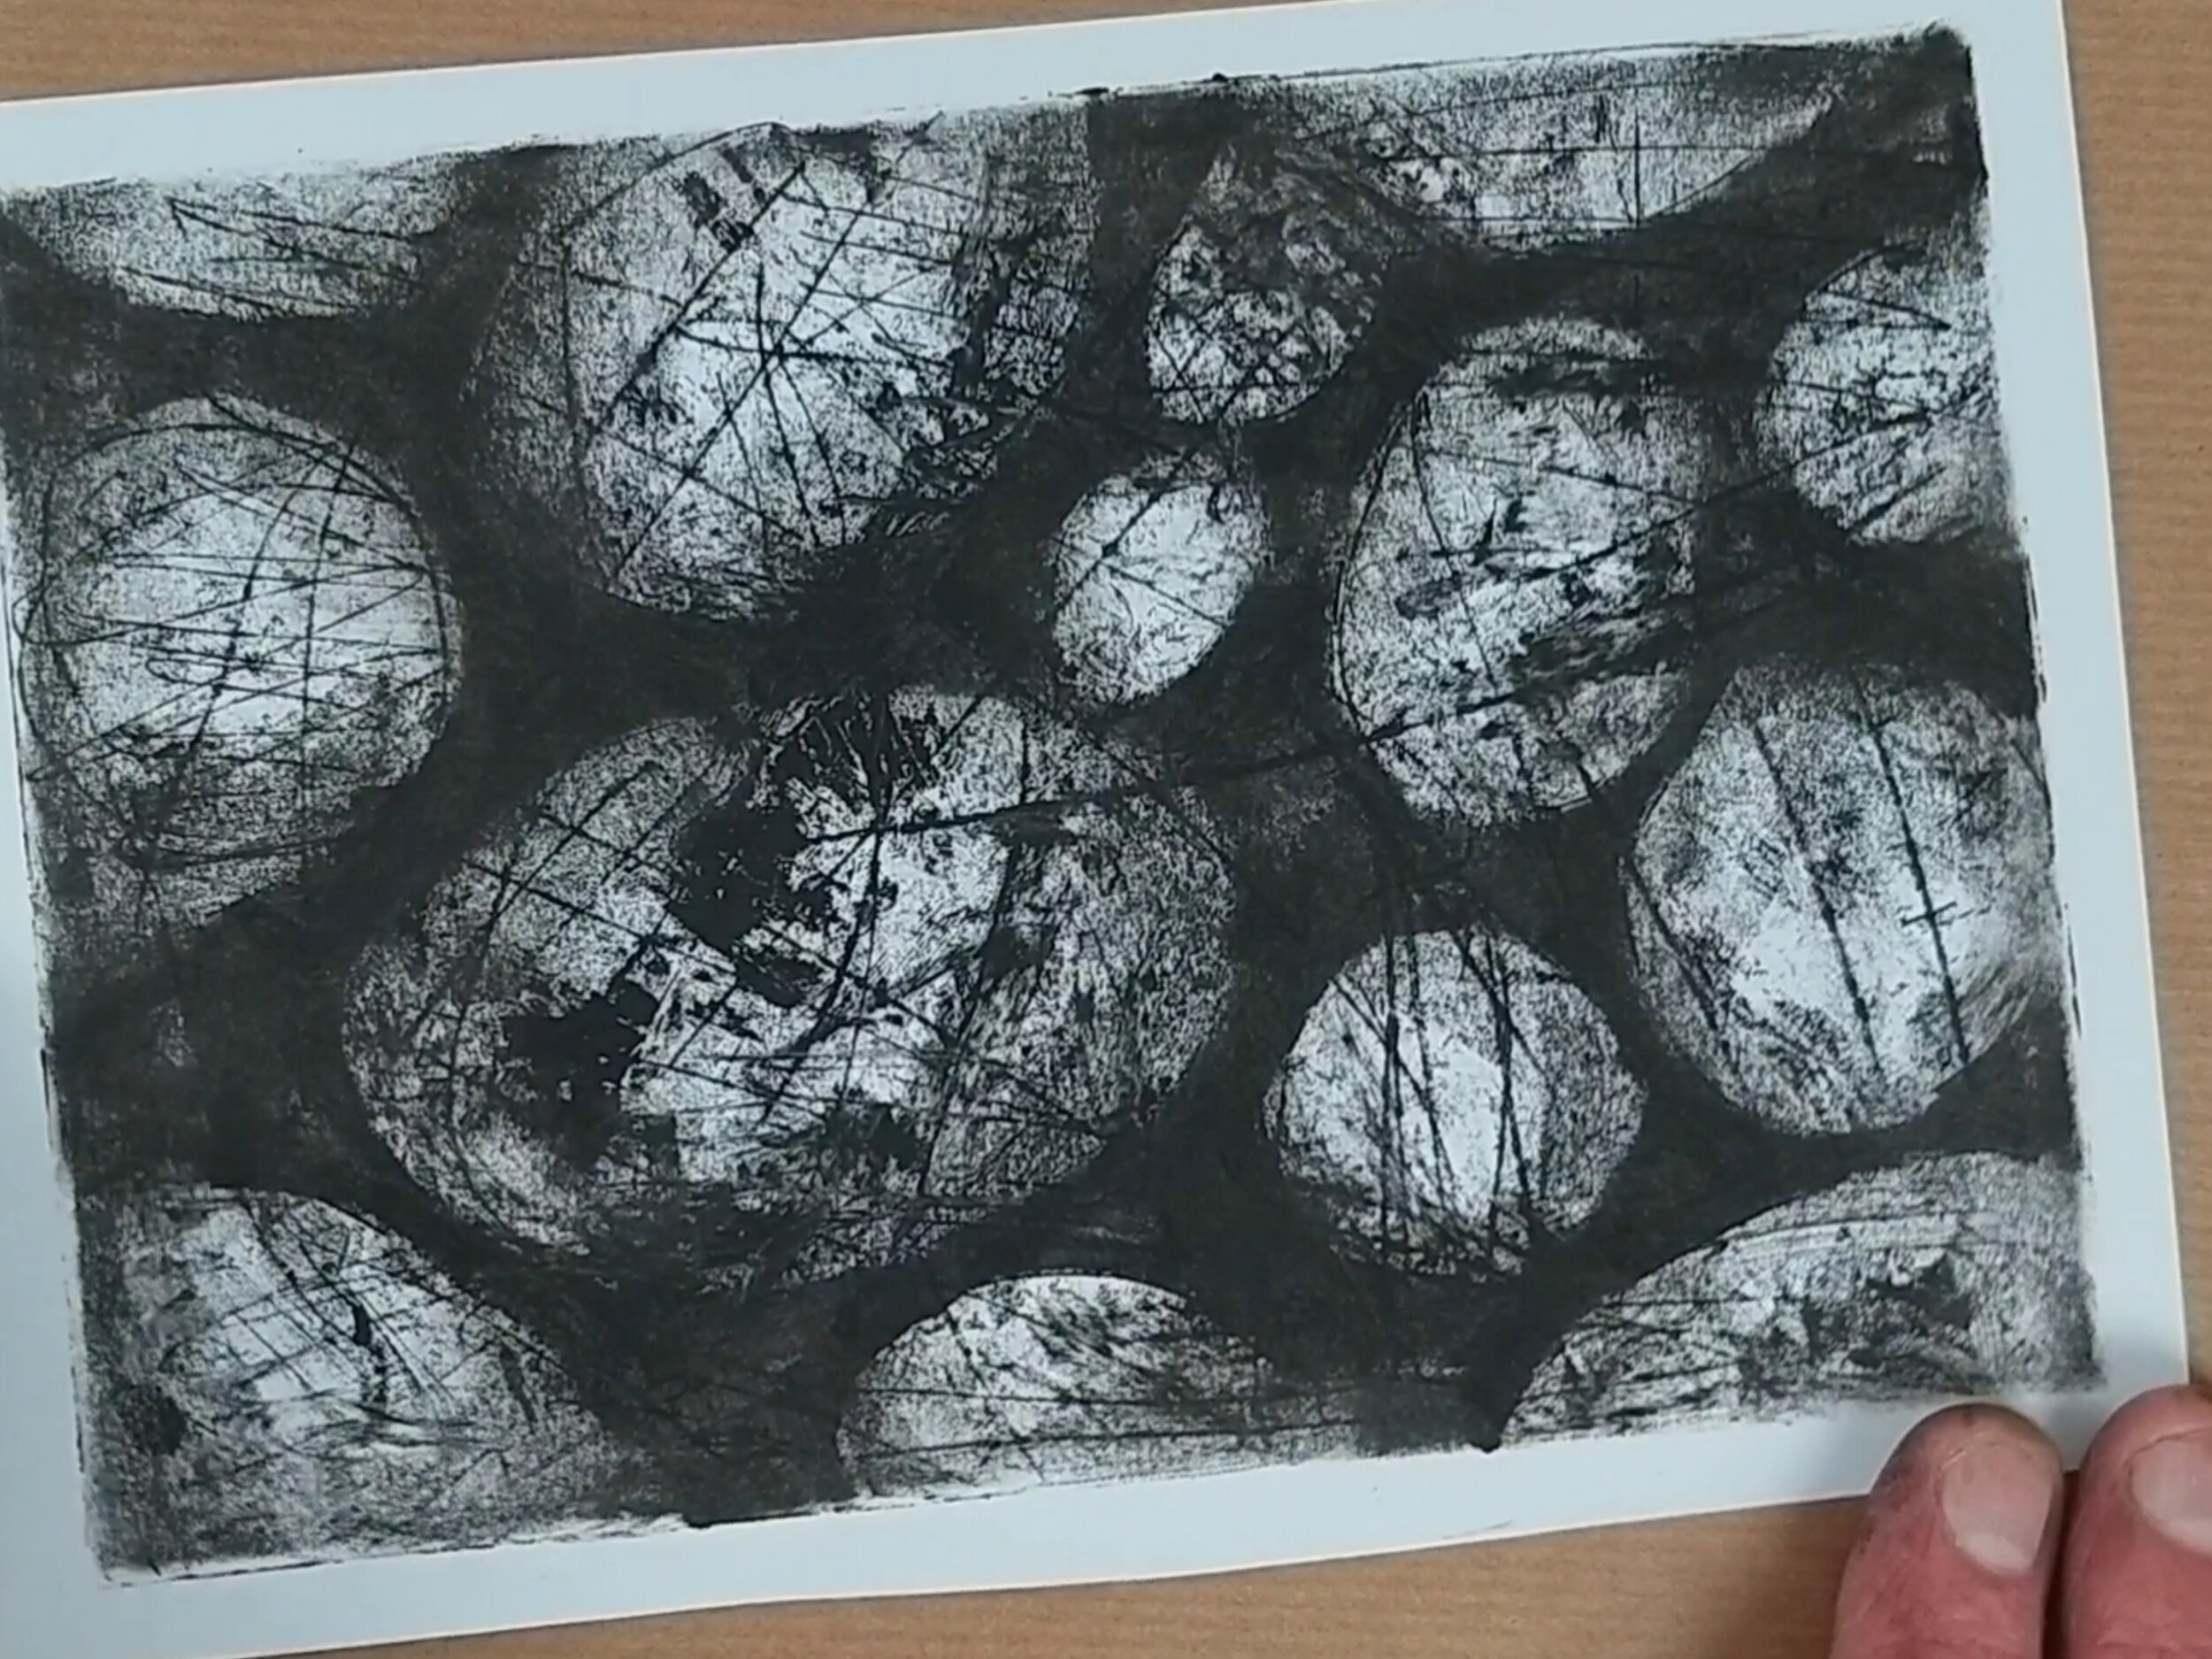
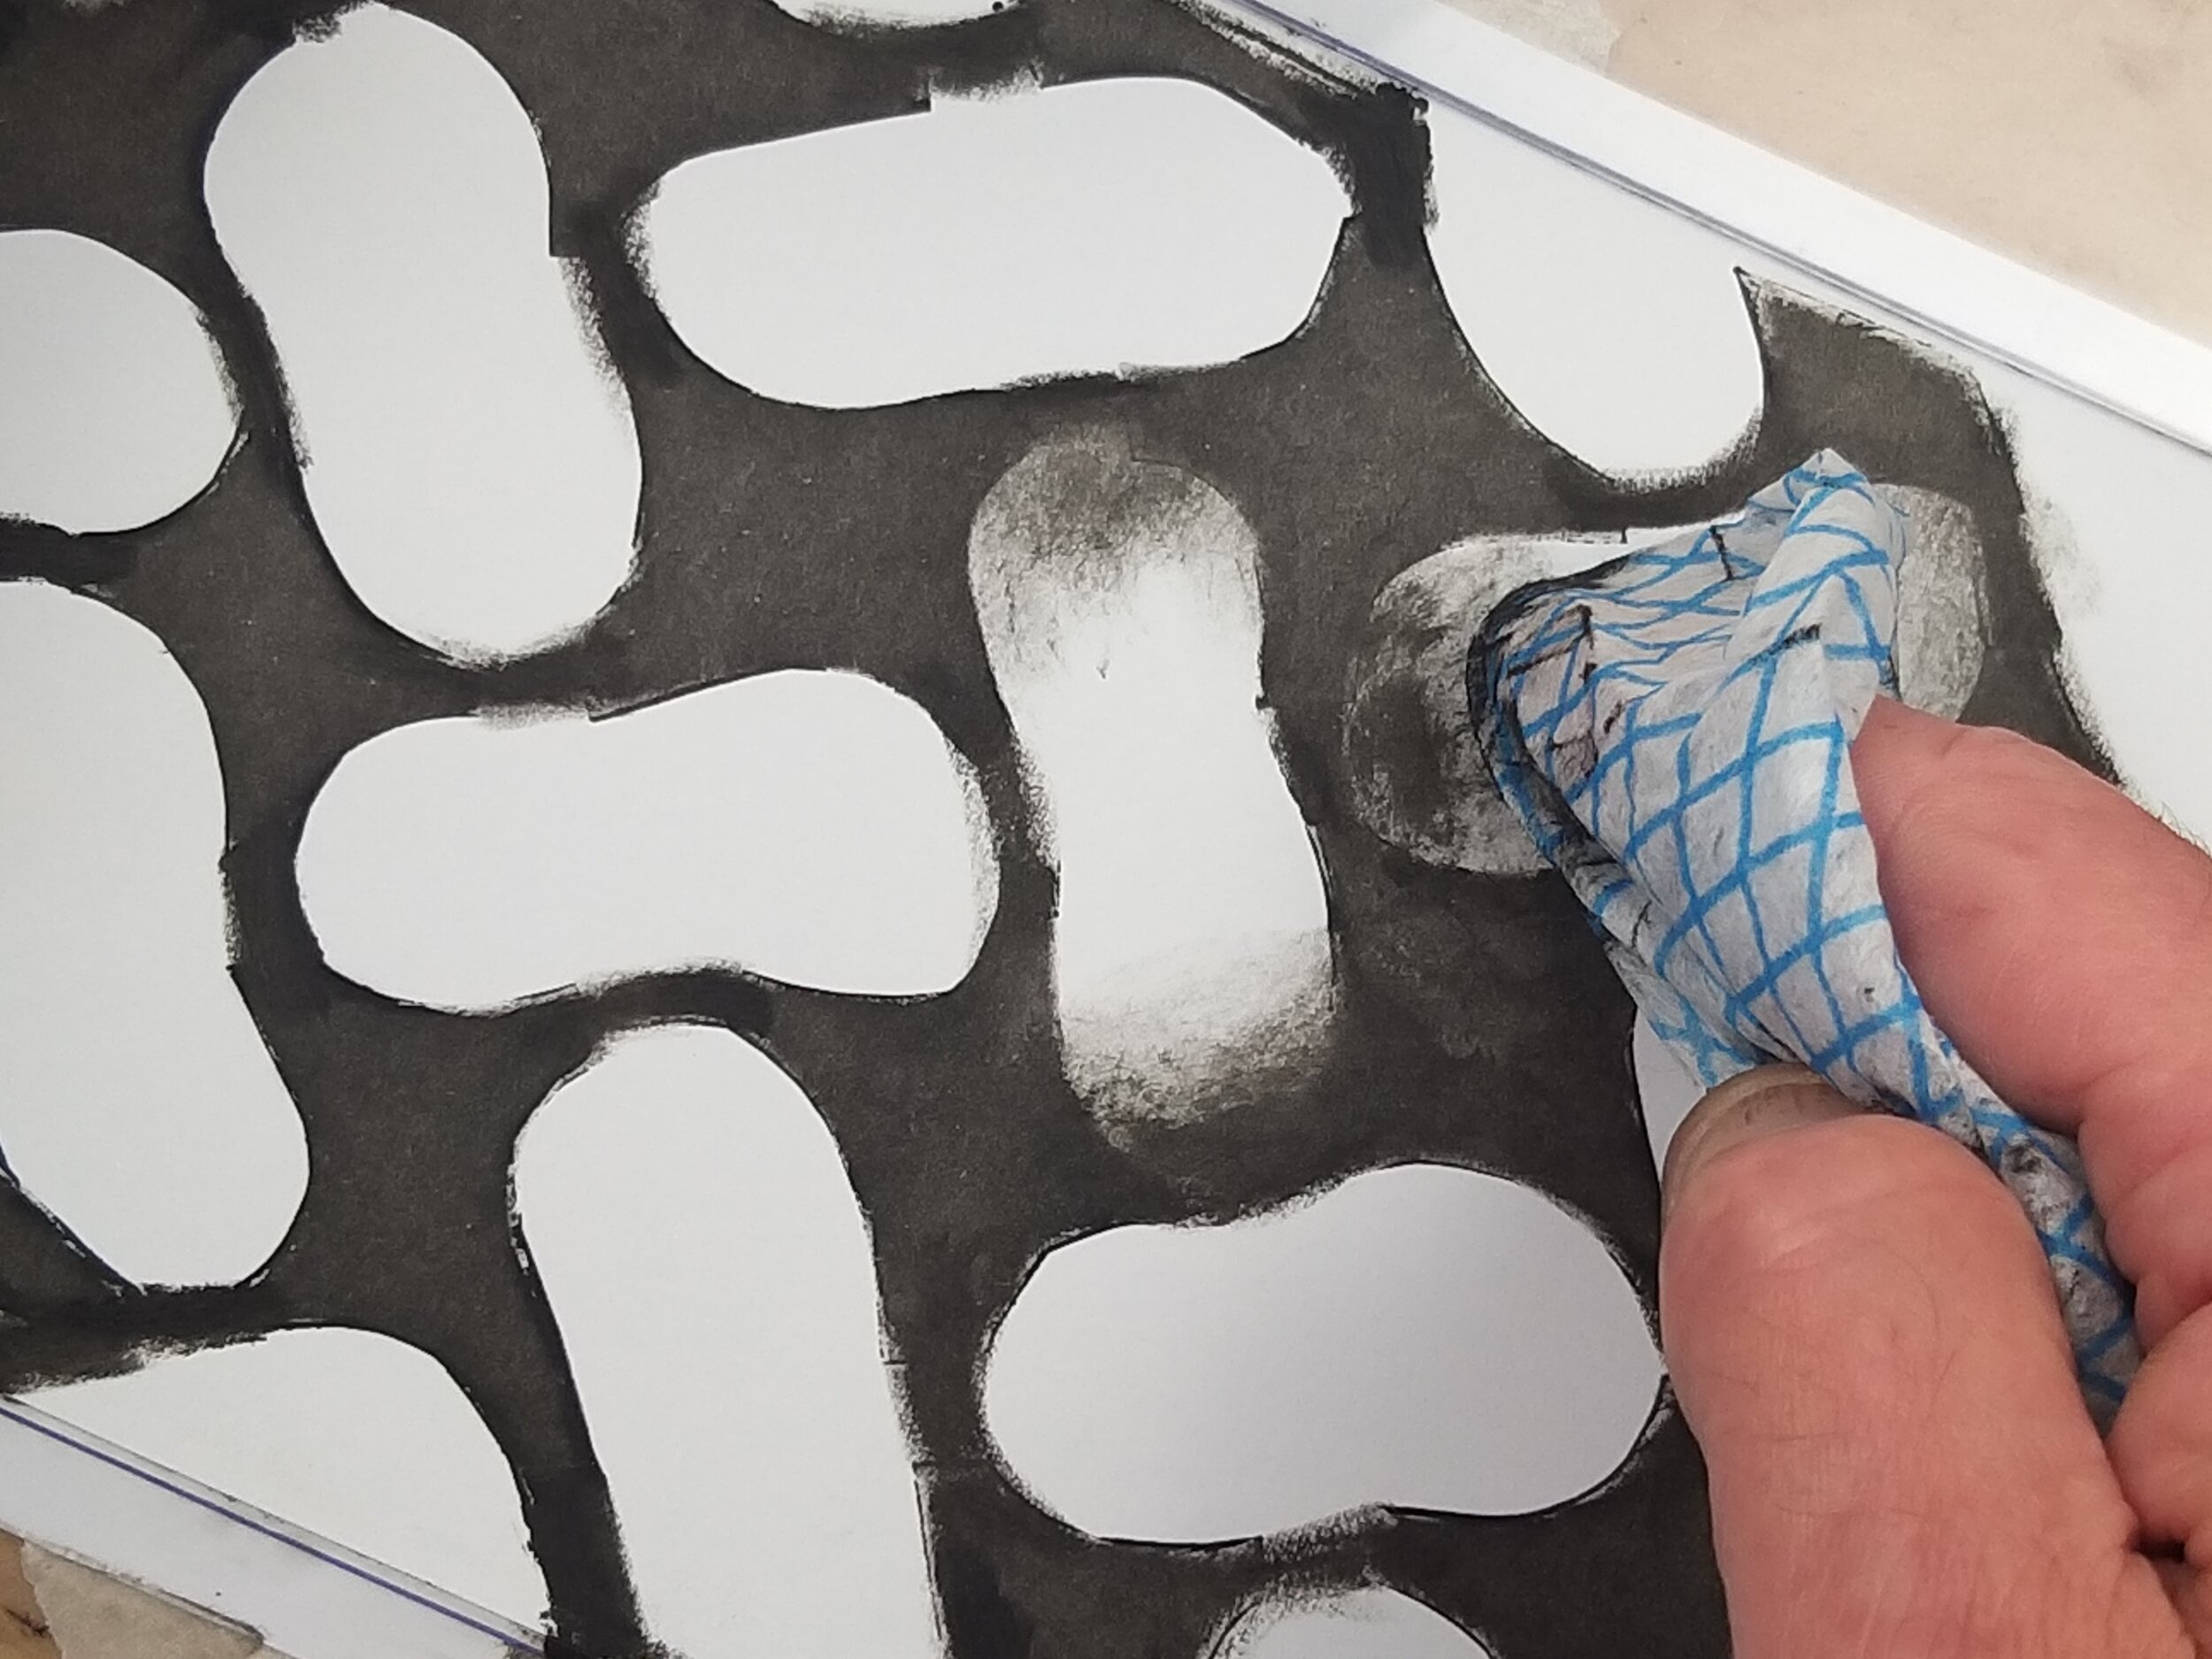
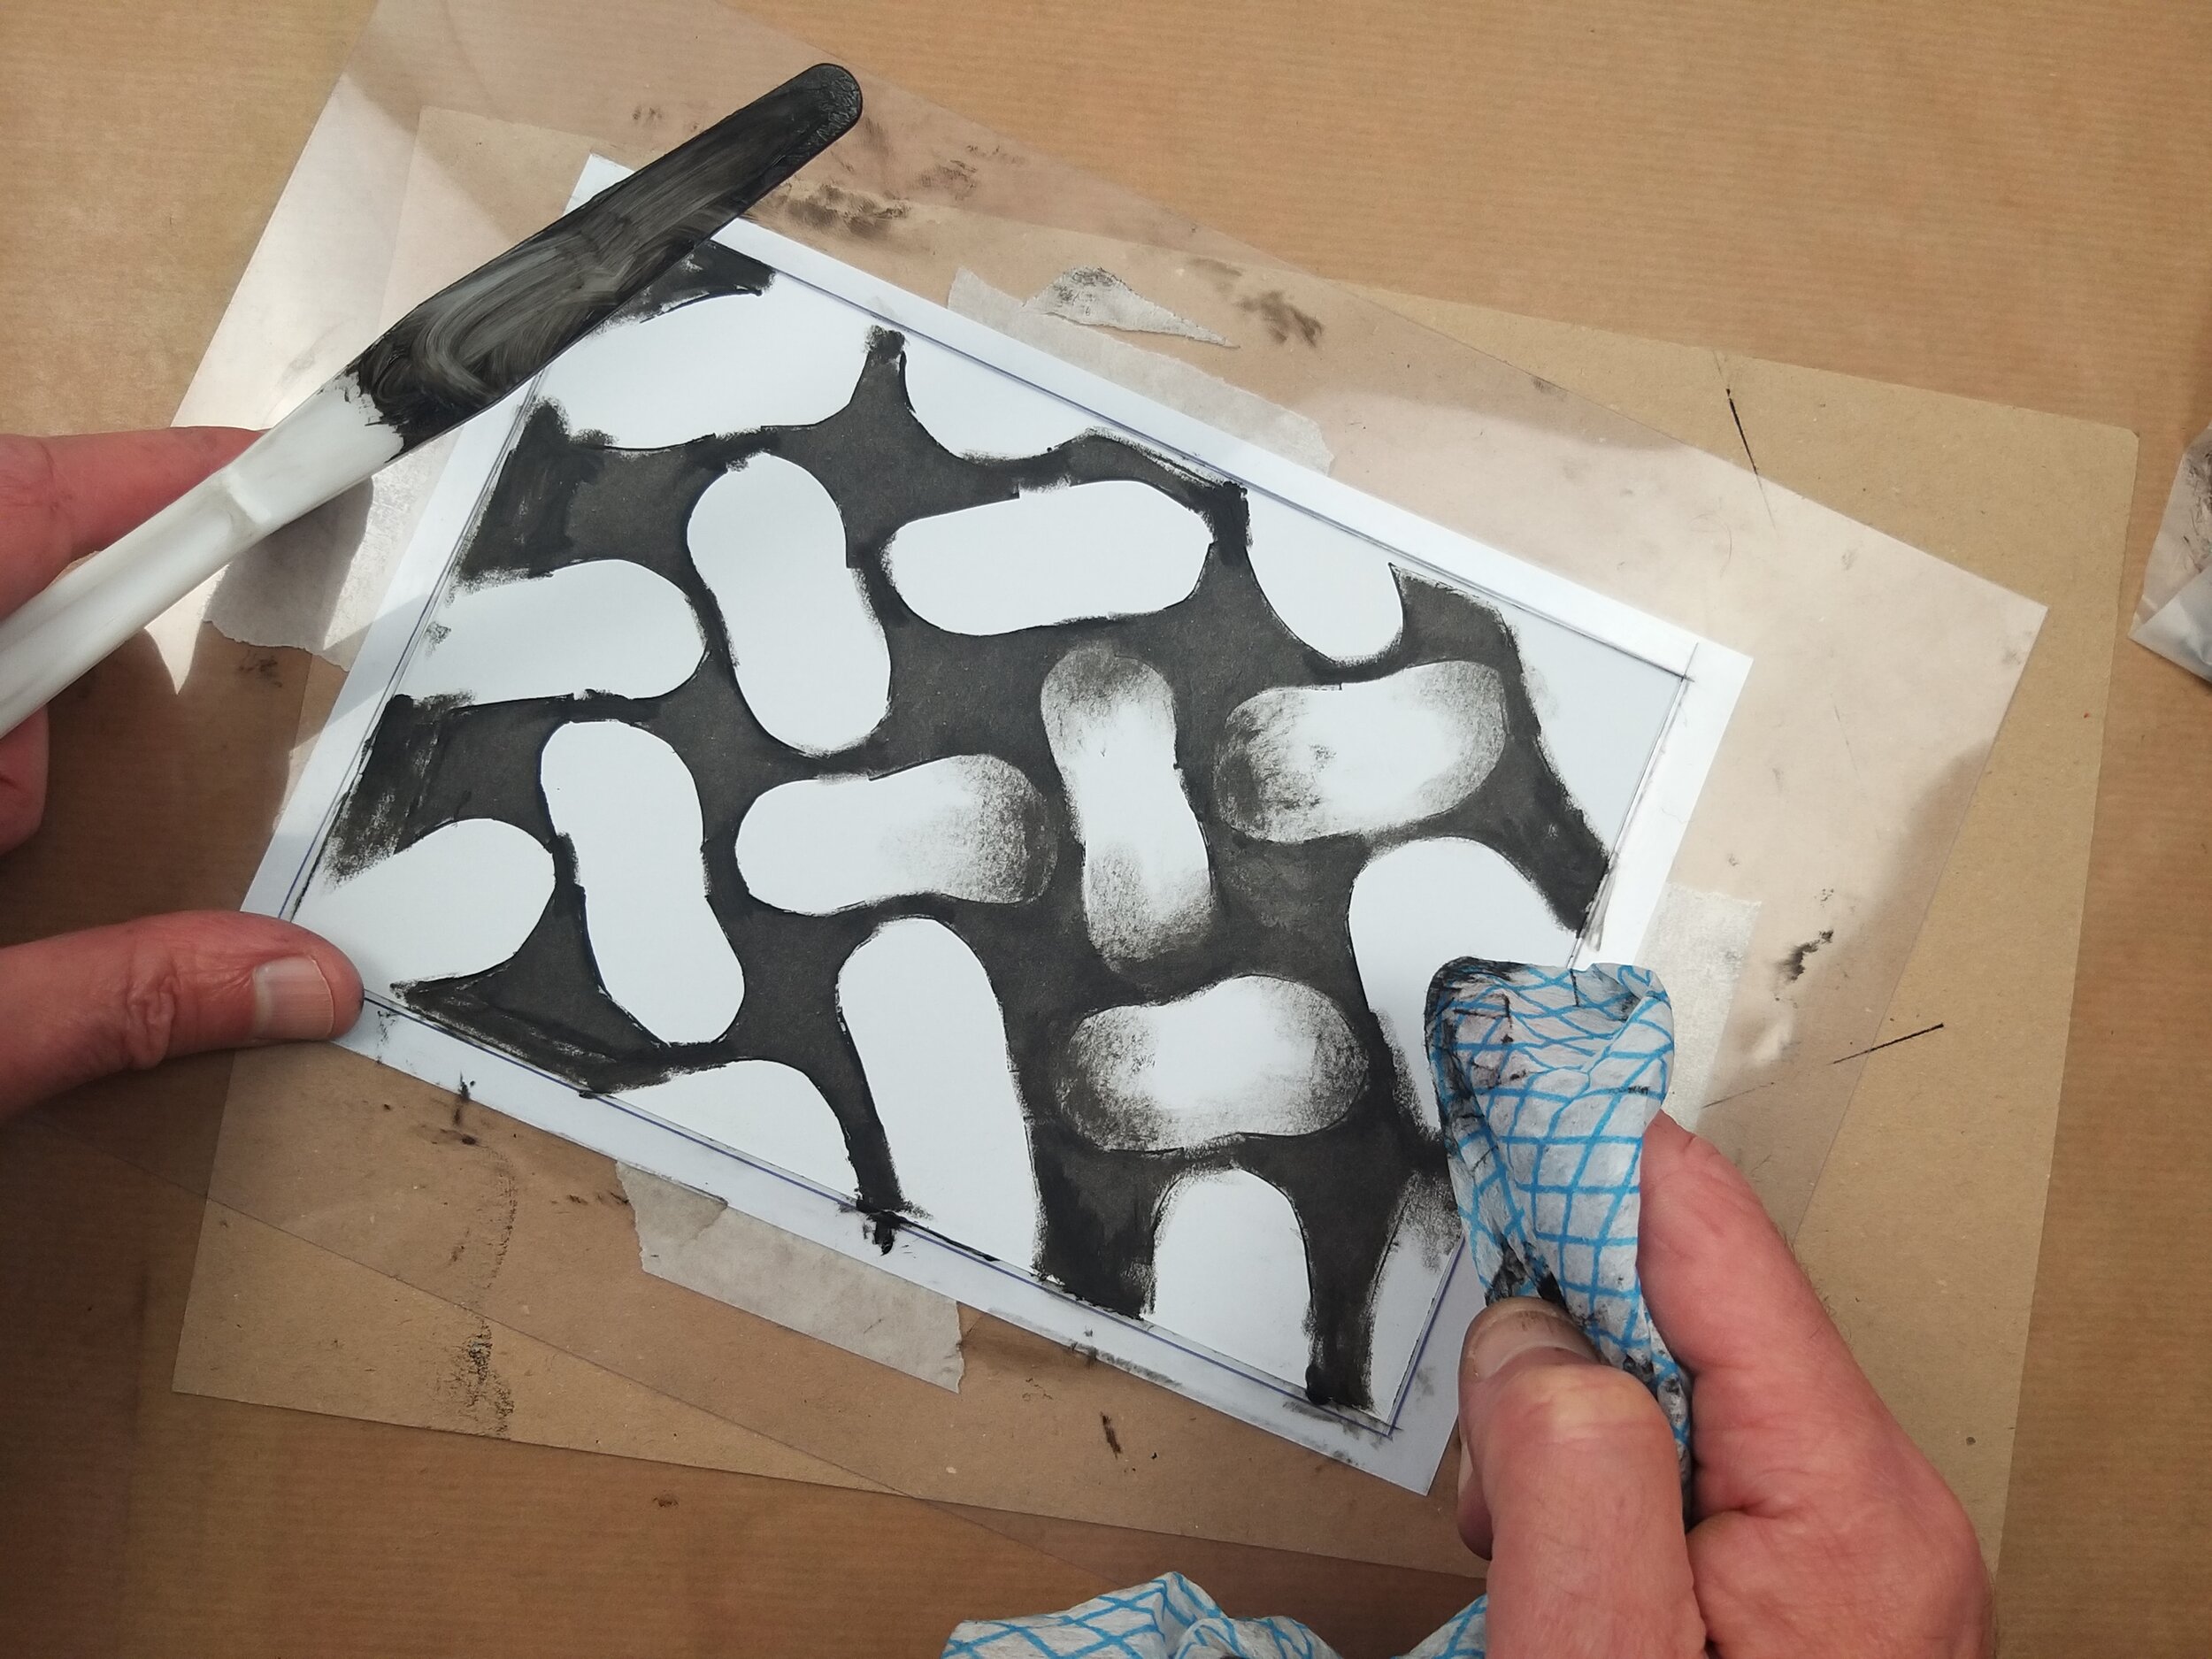
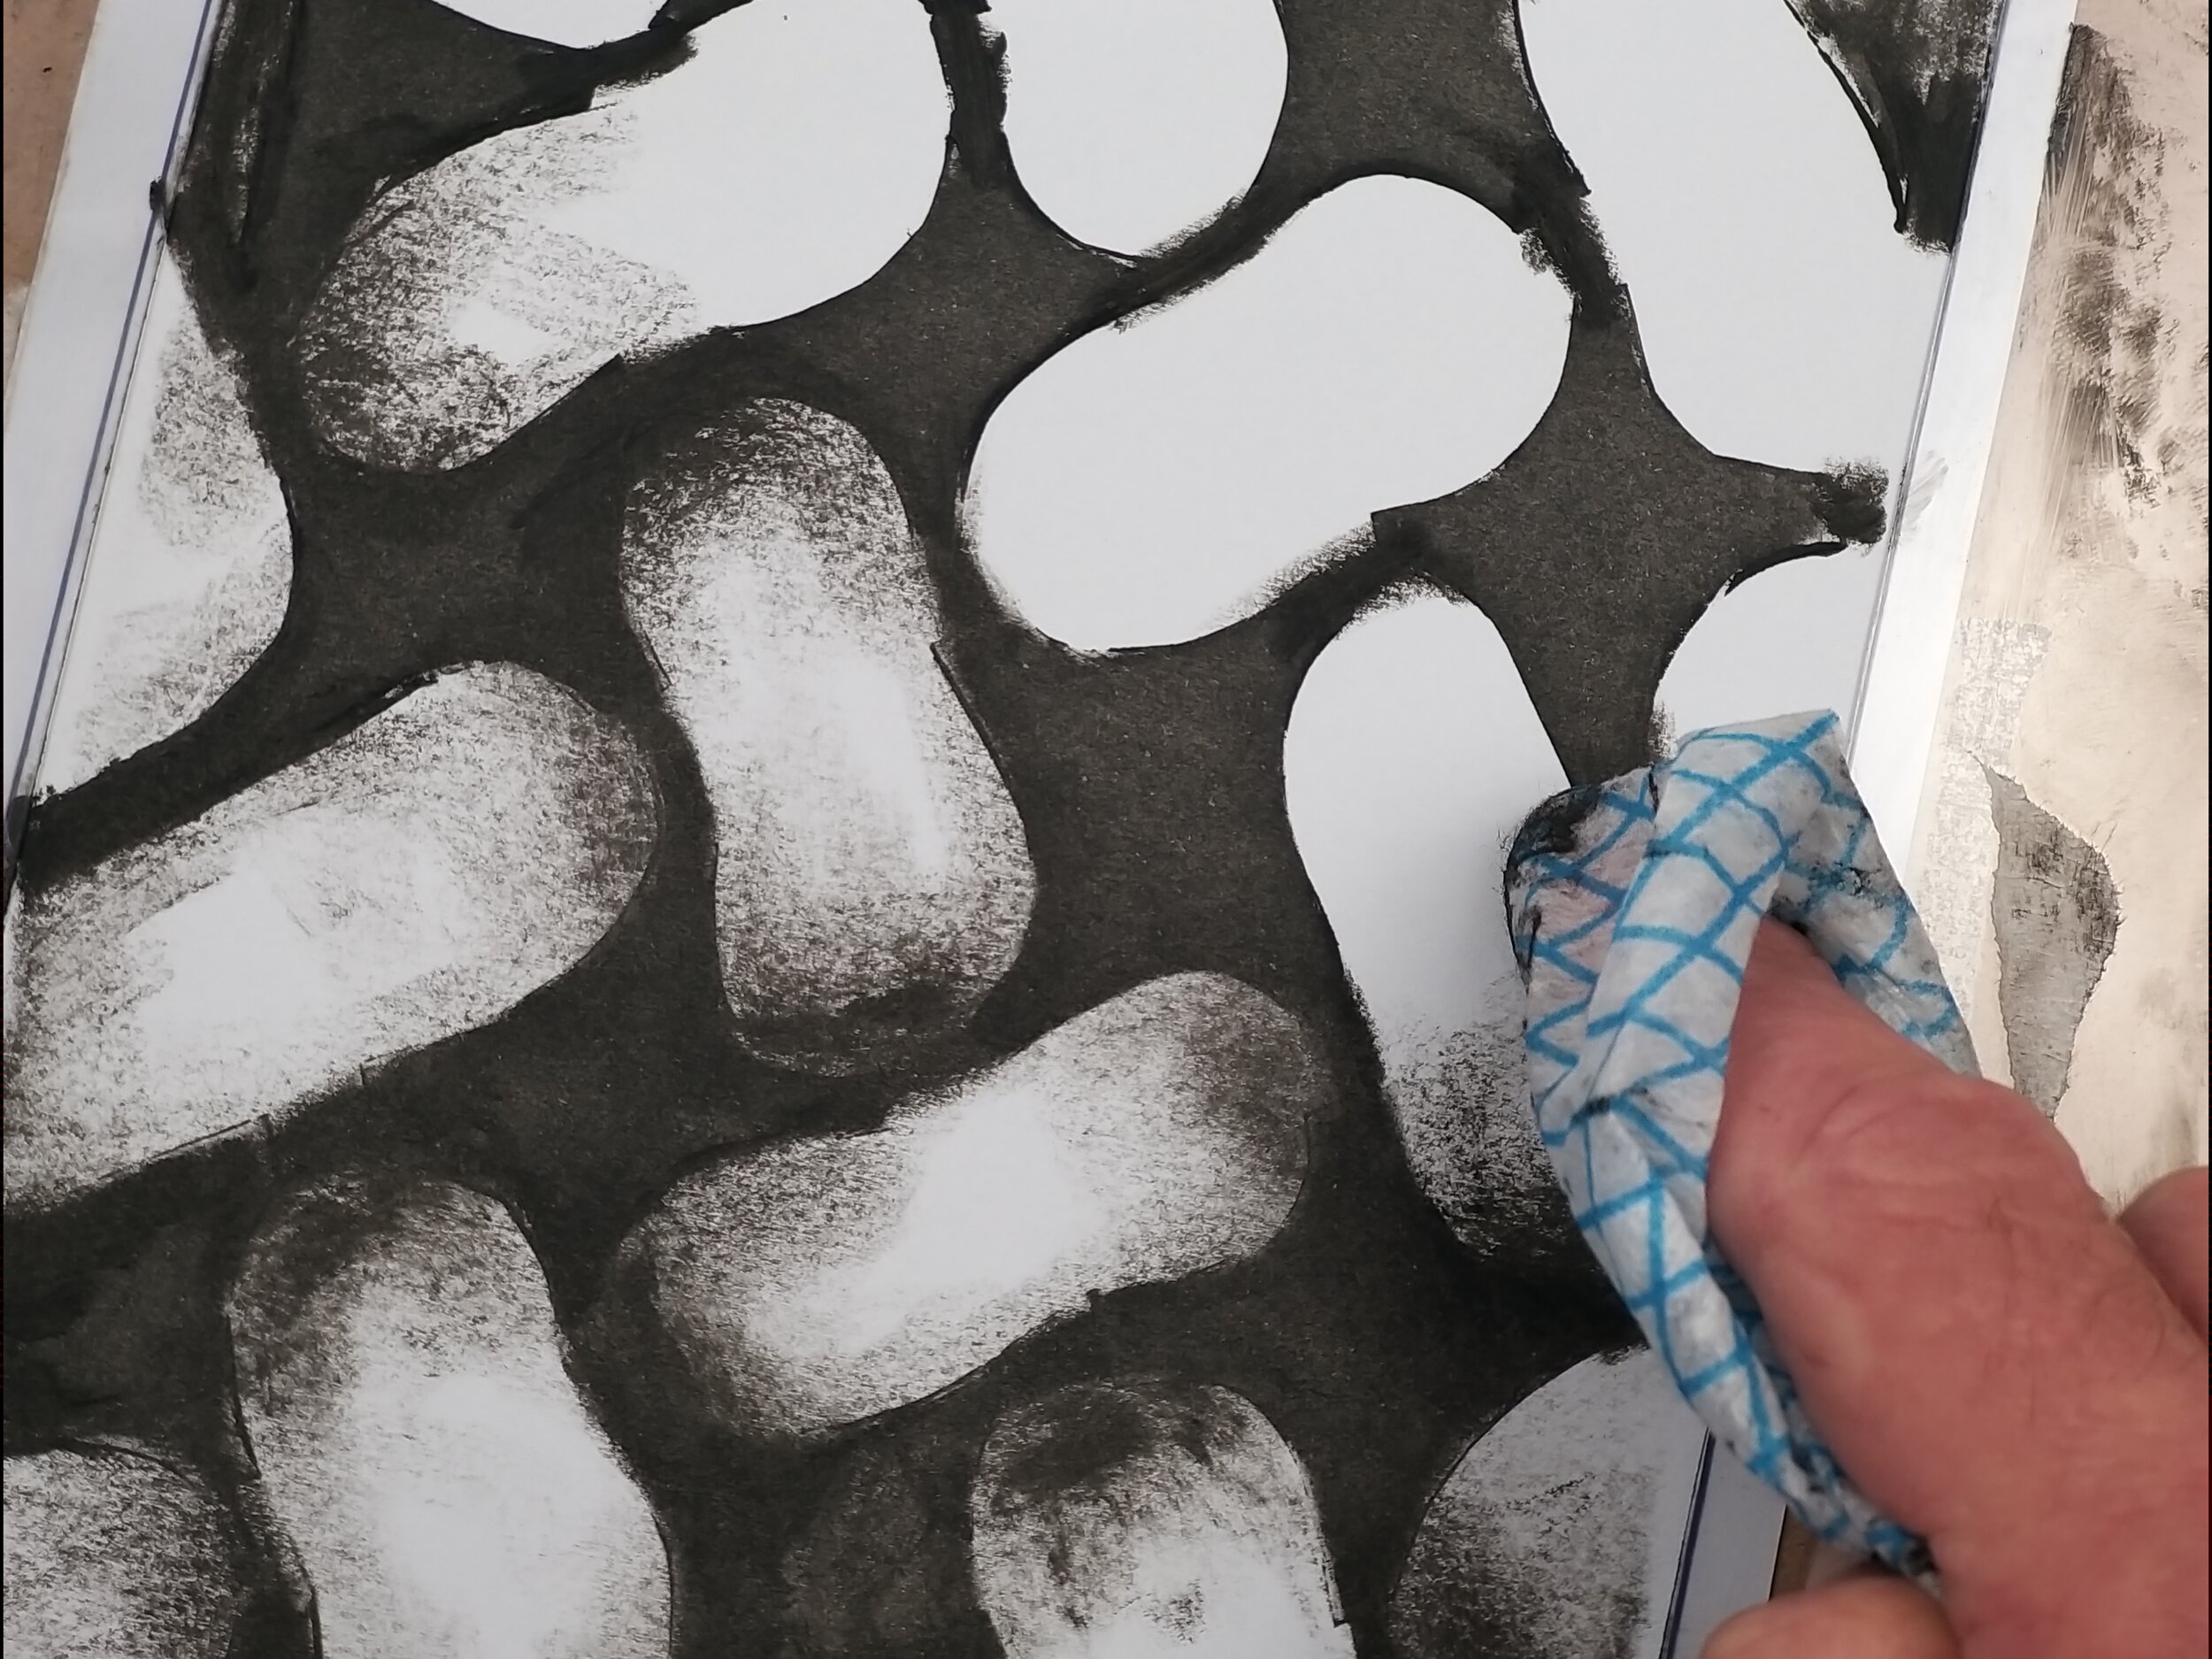
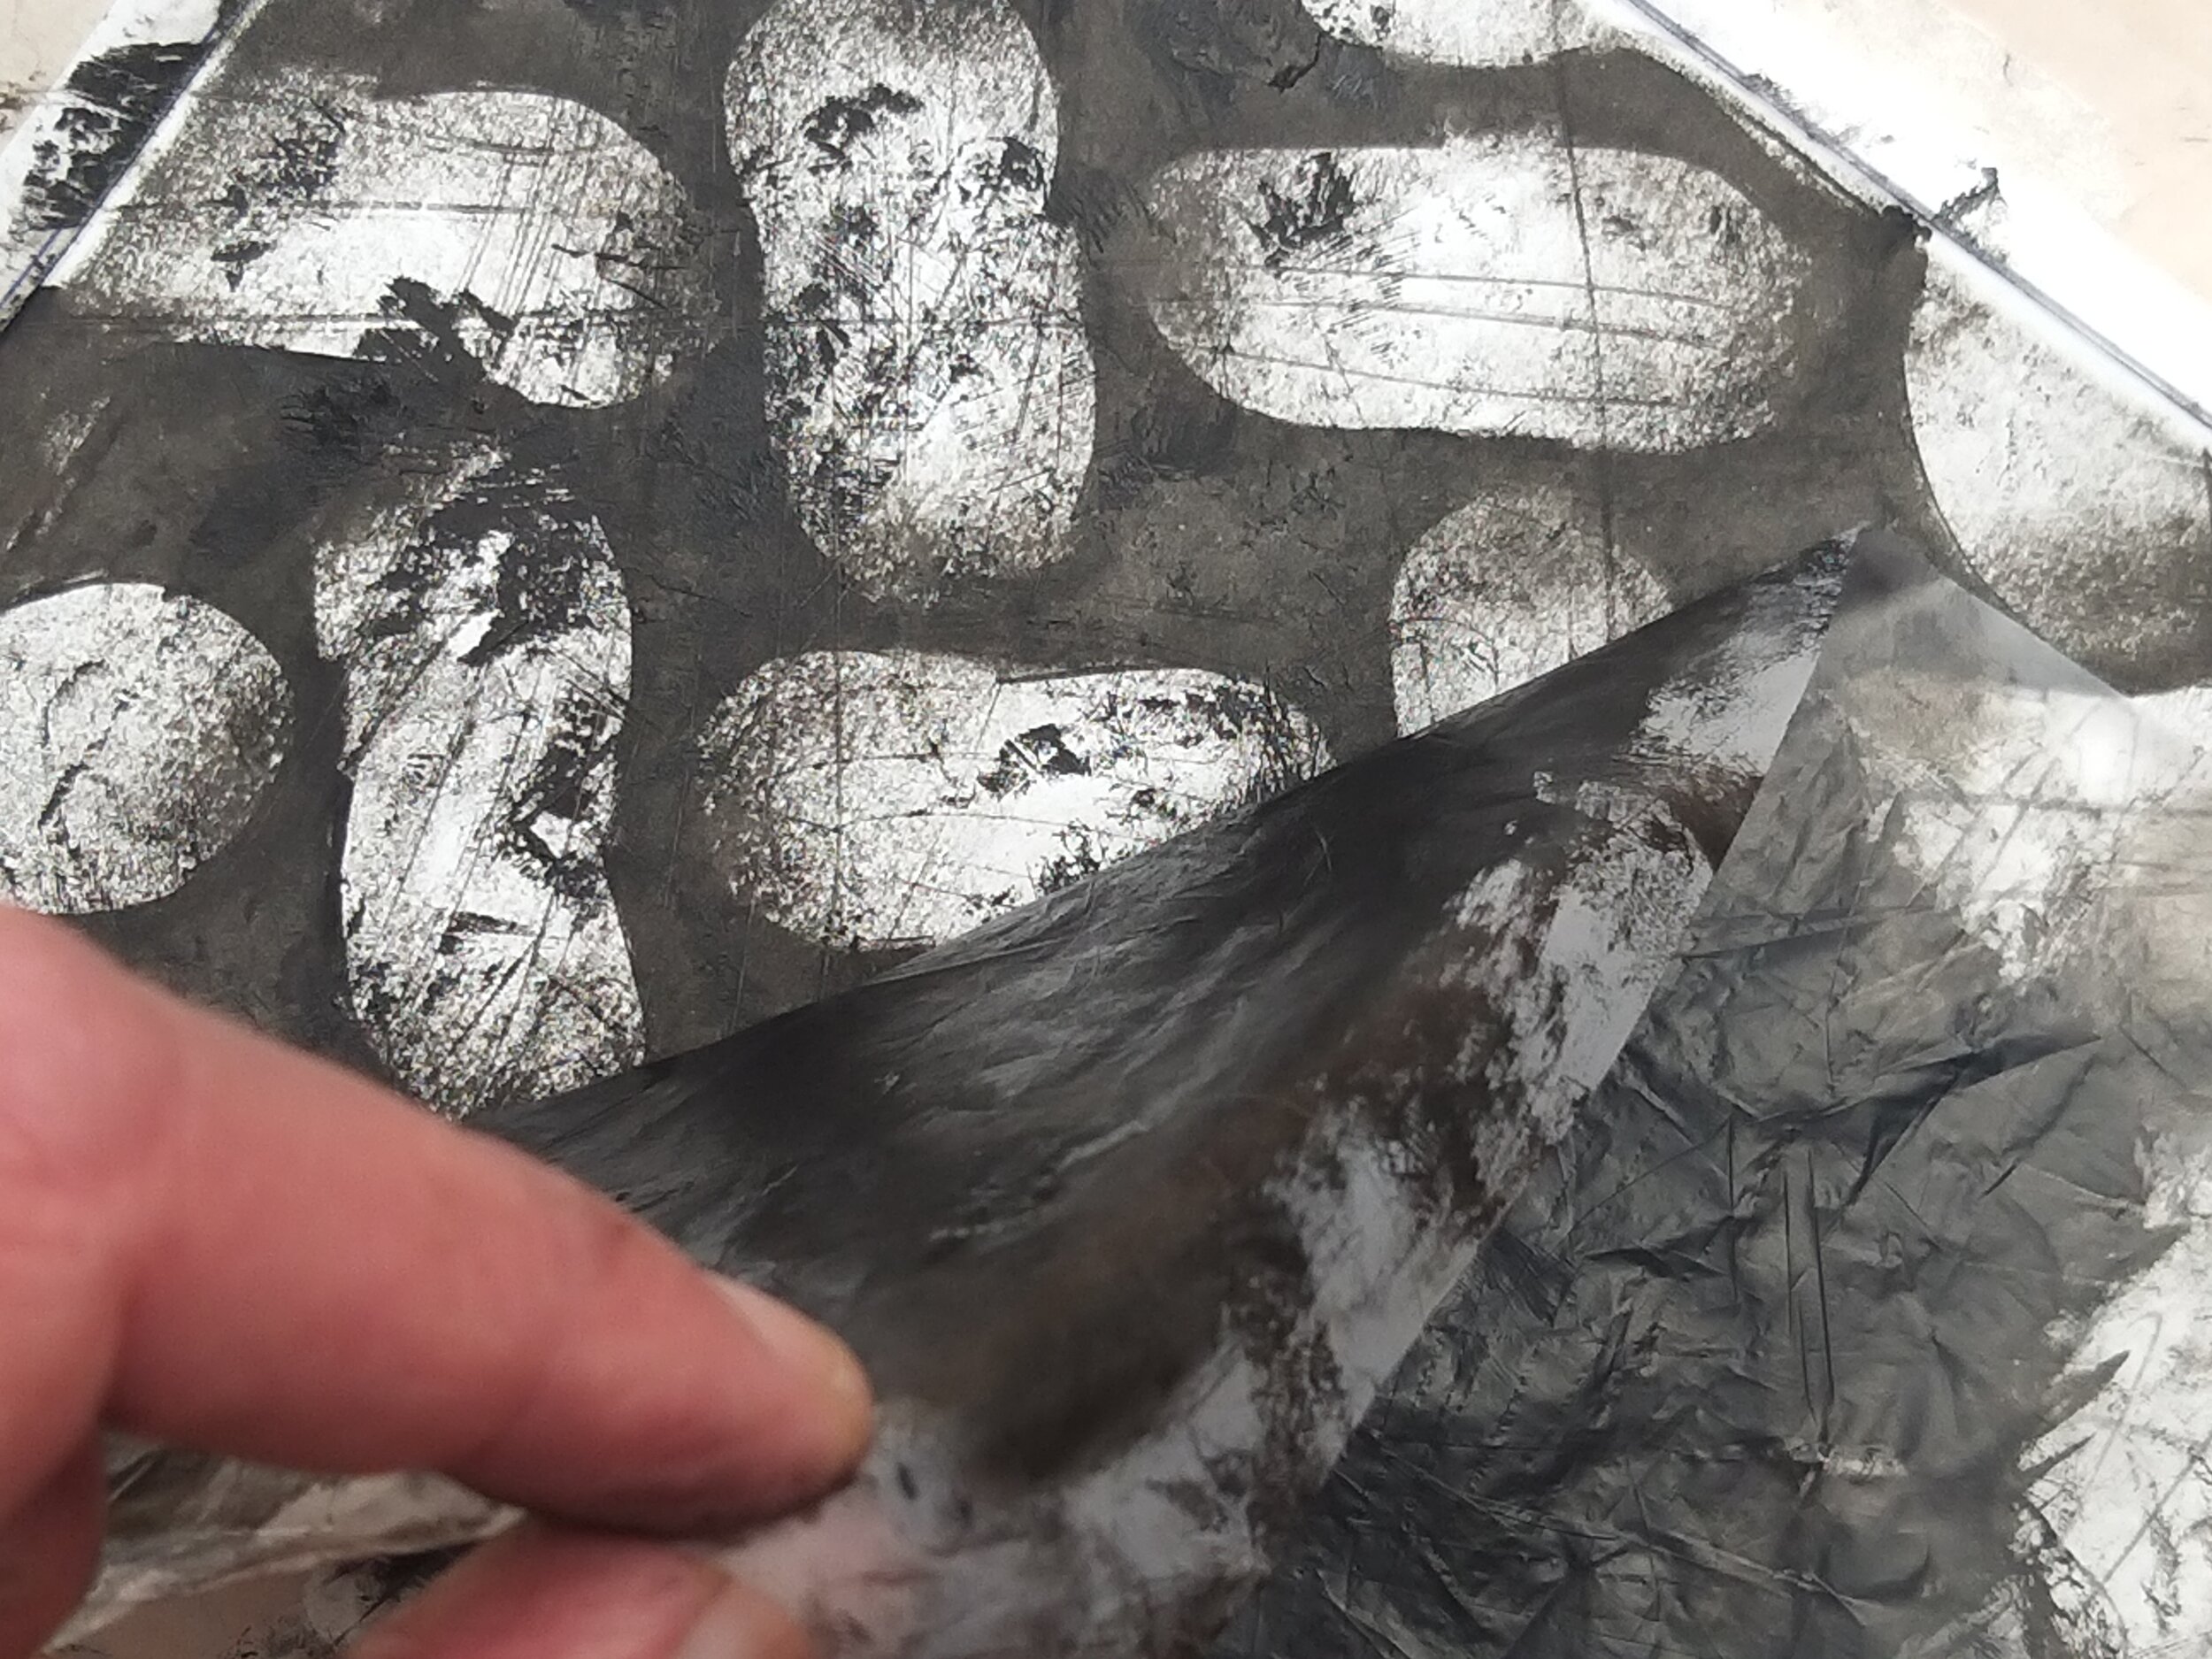
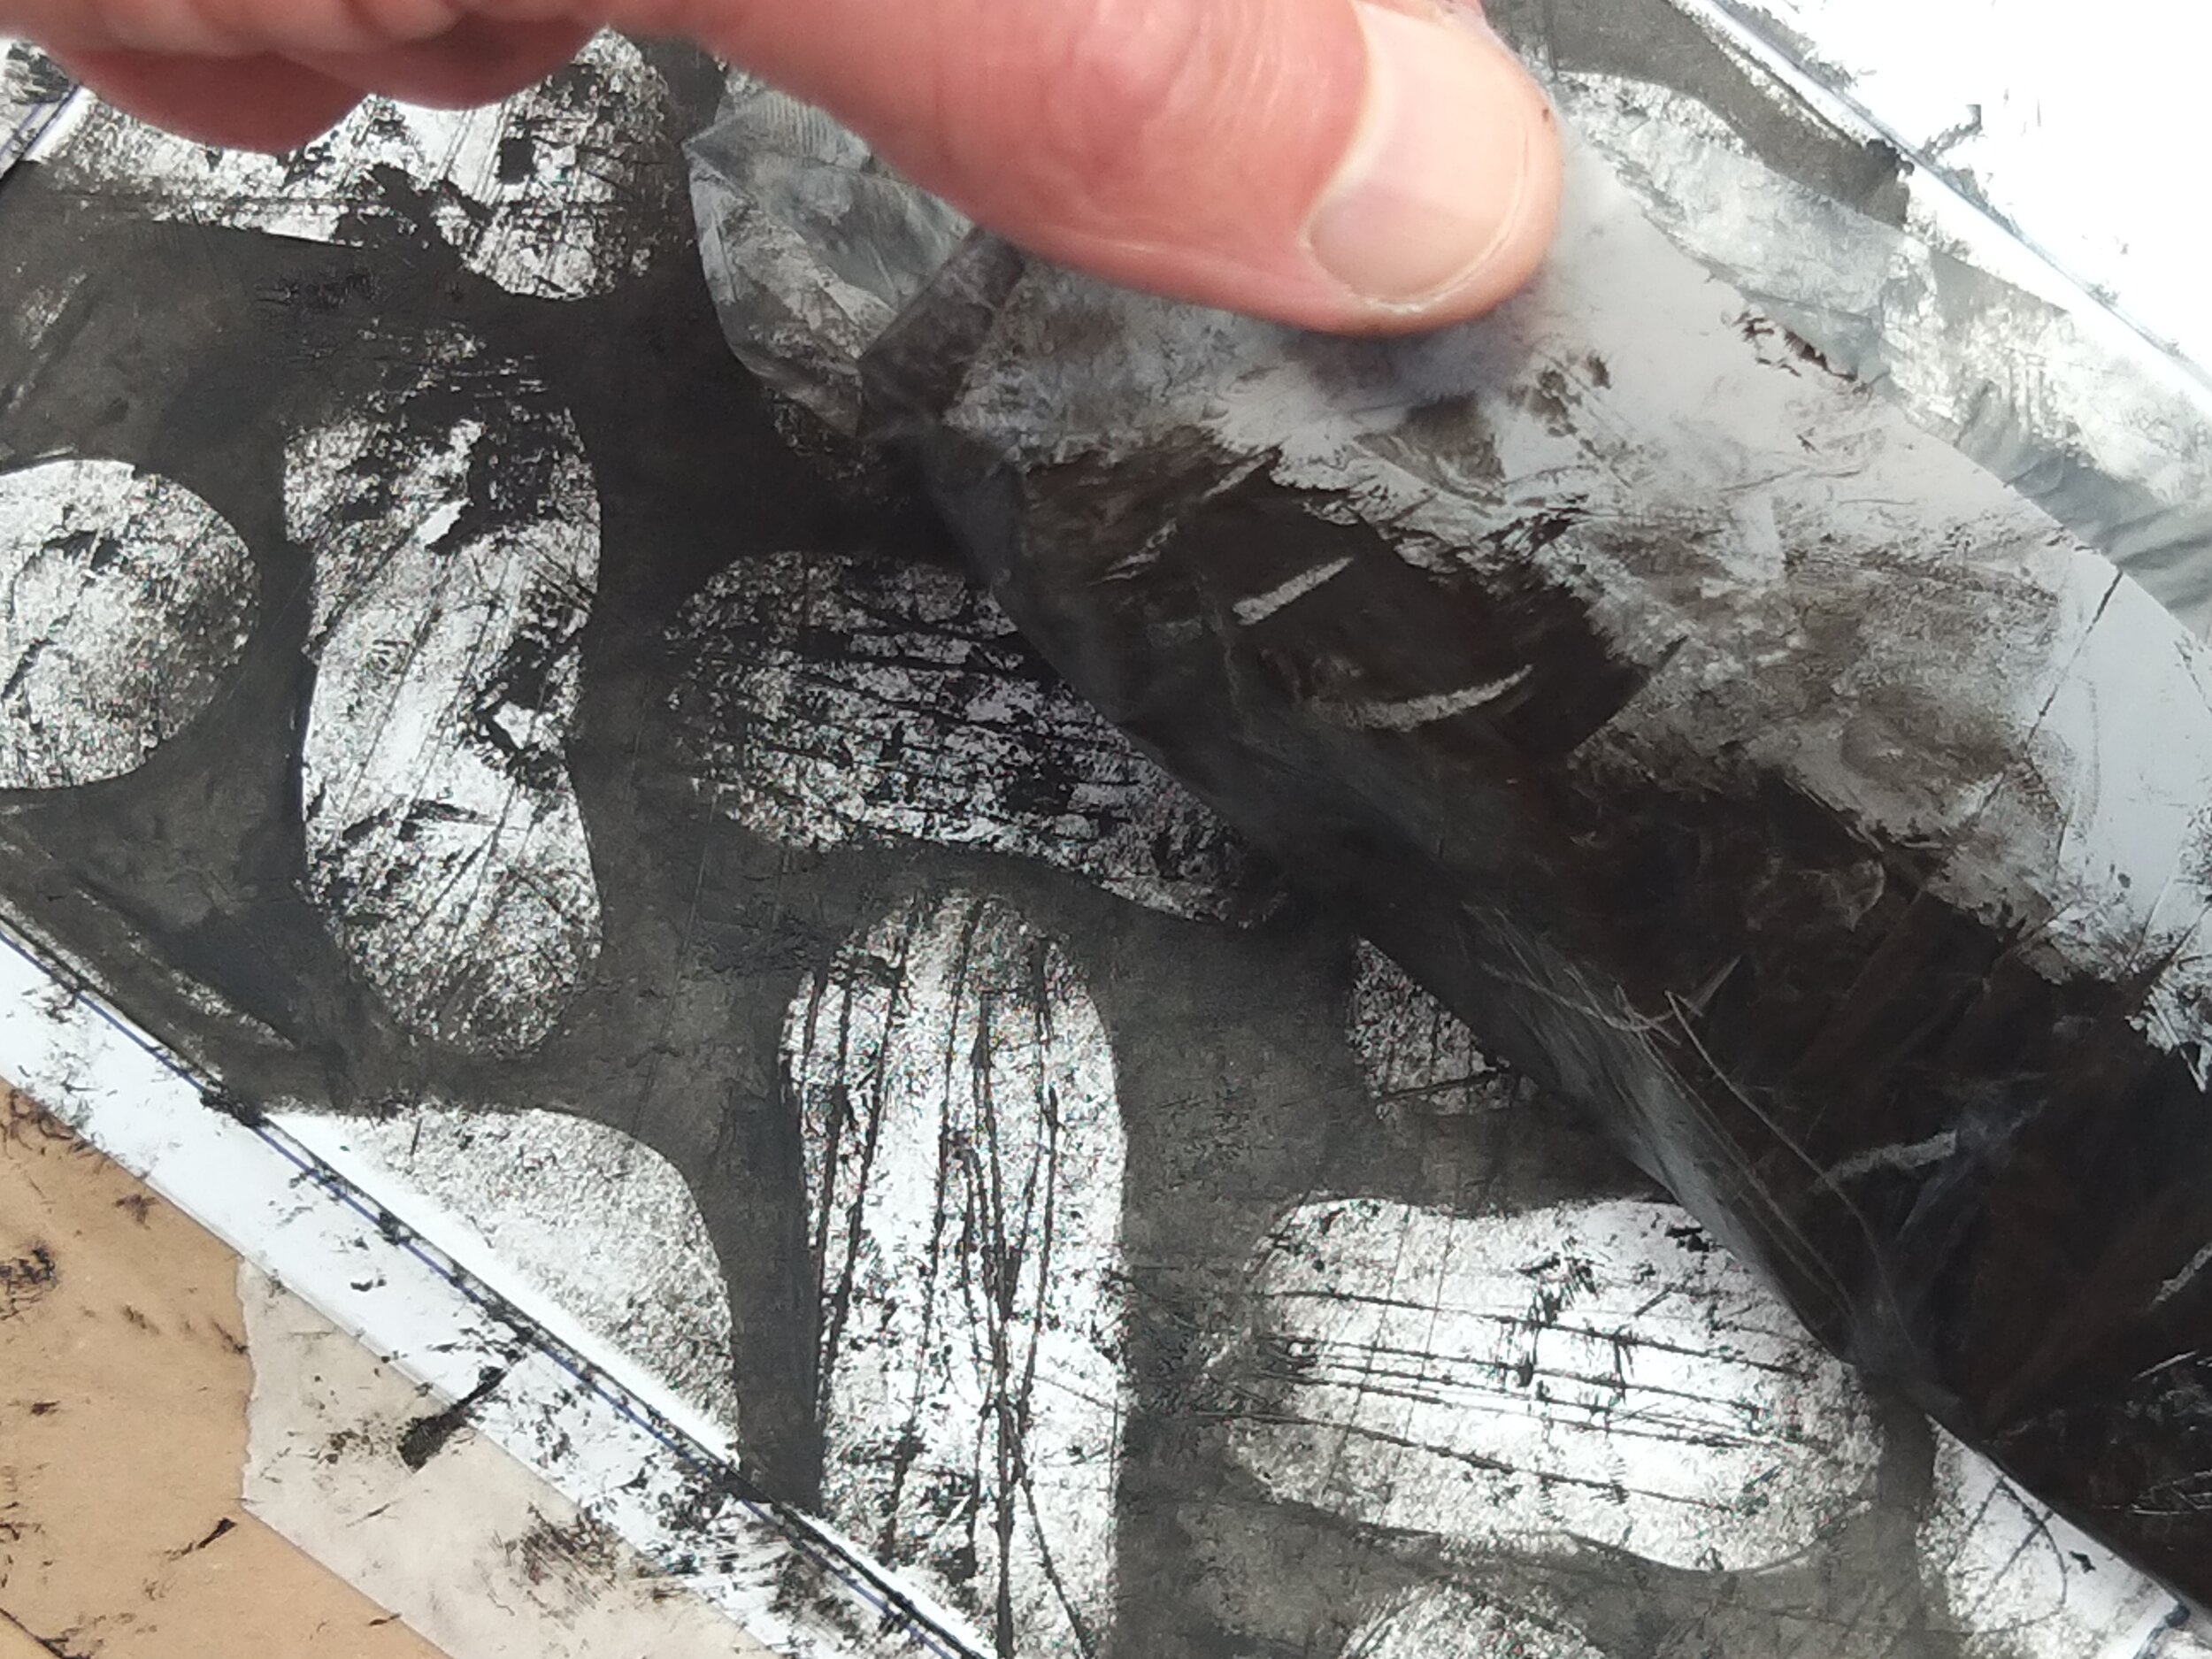
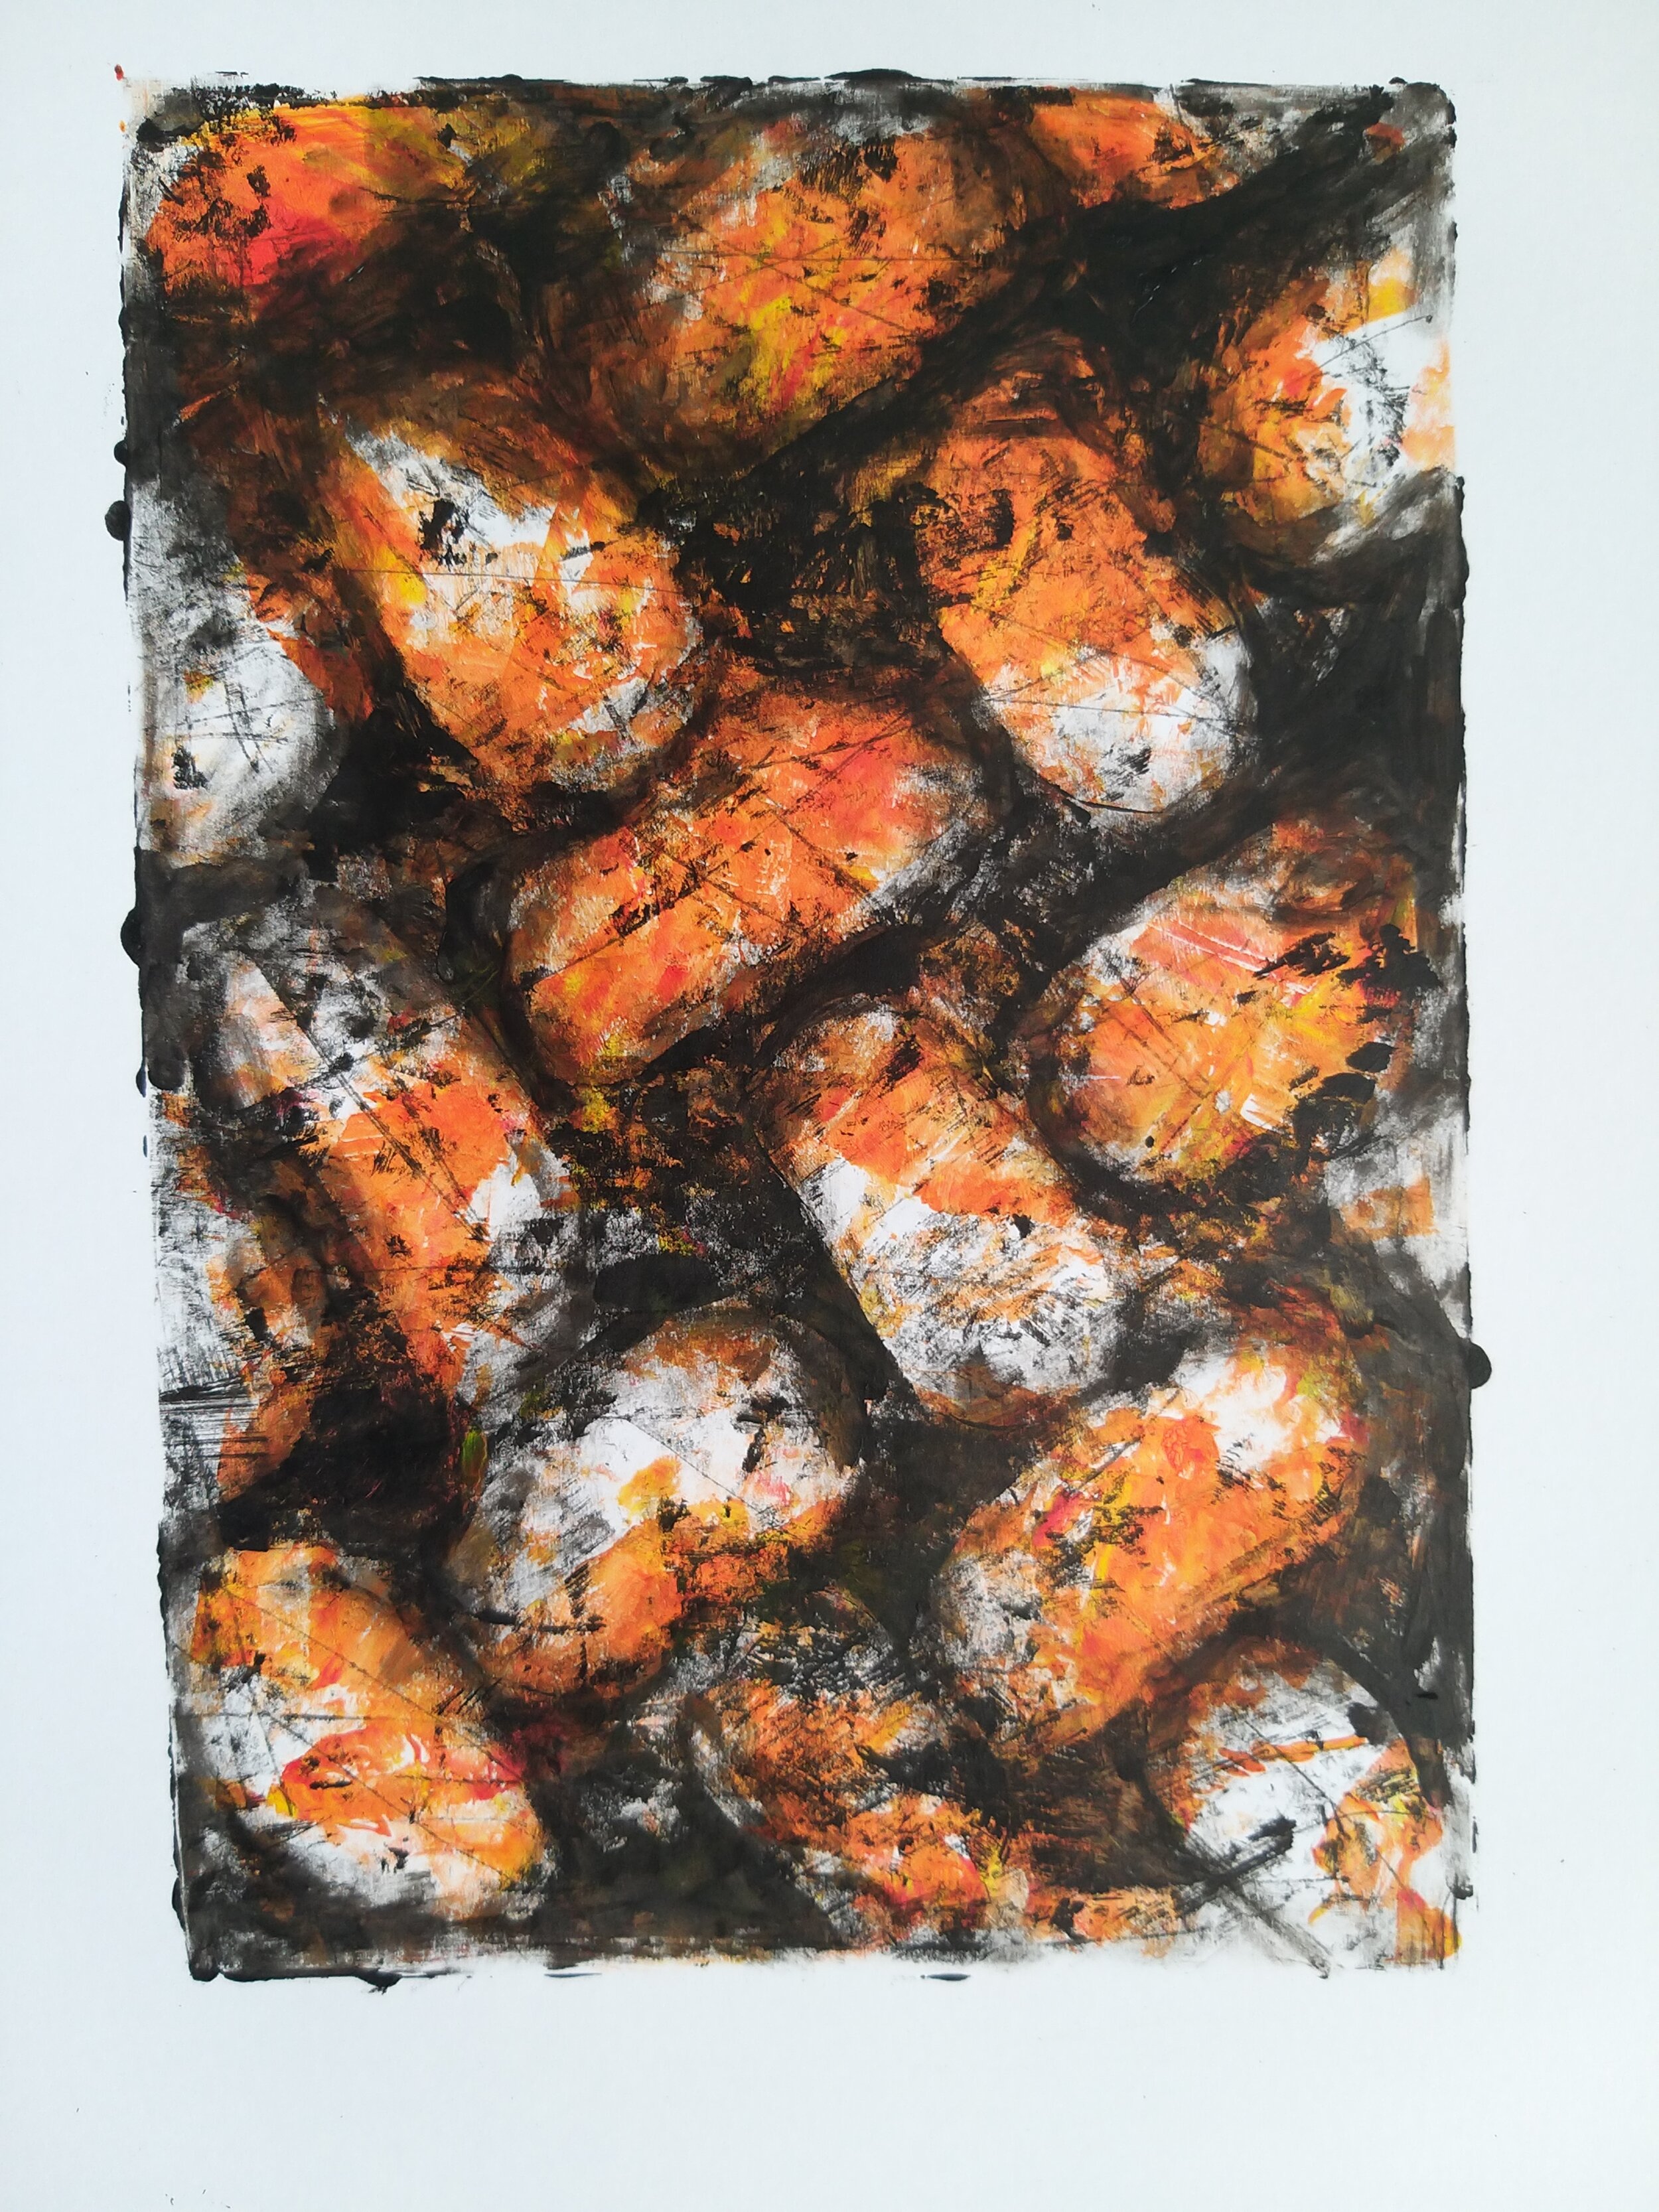
Project 1 : STONES
I have tried to design each of these so that you can build up your confidence with the process, take your time and try to work on the projects in sequence as they will increase in difficulty as you progress.
For this project I have filmed a demo video which you can watch below, a gallery of step by step photographs is also included here. I have tried to film the projects as detailed as possible and I hope by watching the video and taking time to follow the sequence of photographs it should make it easy to complete each stage of the monoprint. If at any time you have a problem just use the contact link at the bottom of the page and I will try to advise you as soon as I can.
This stone composition allows some improvisation and you can begin to play with texture and even colour.
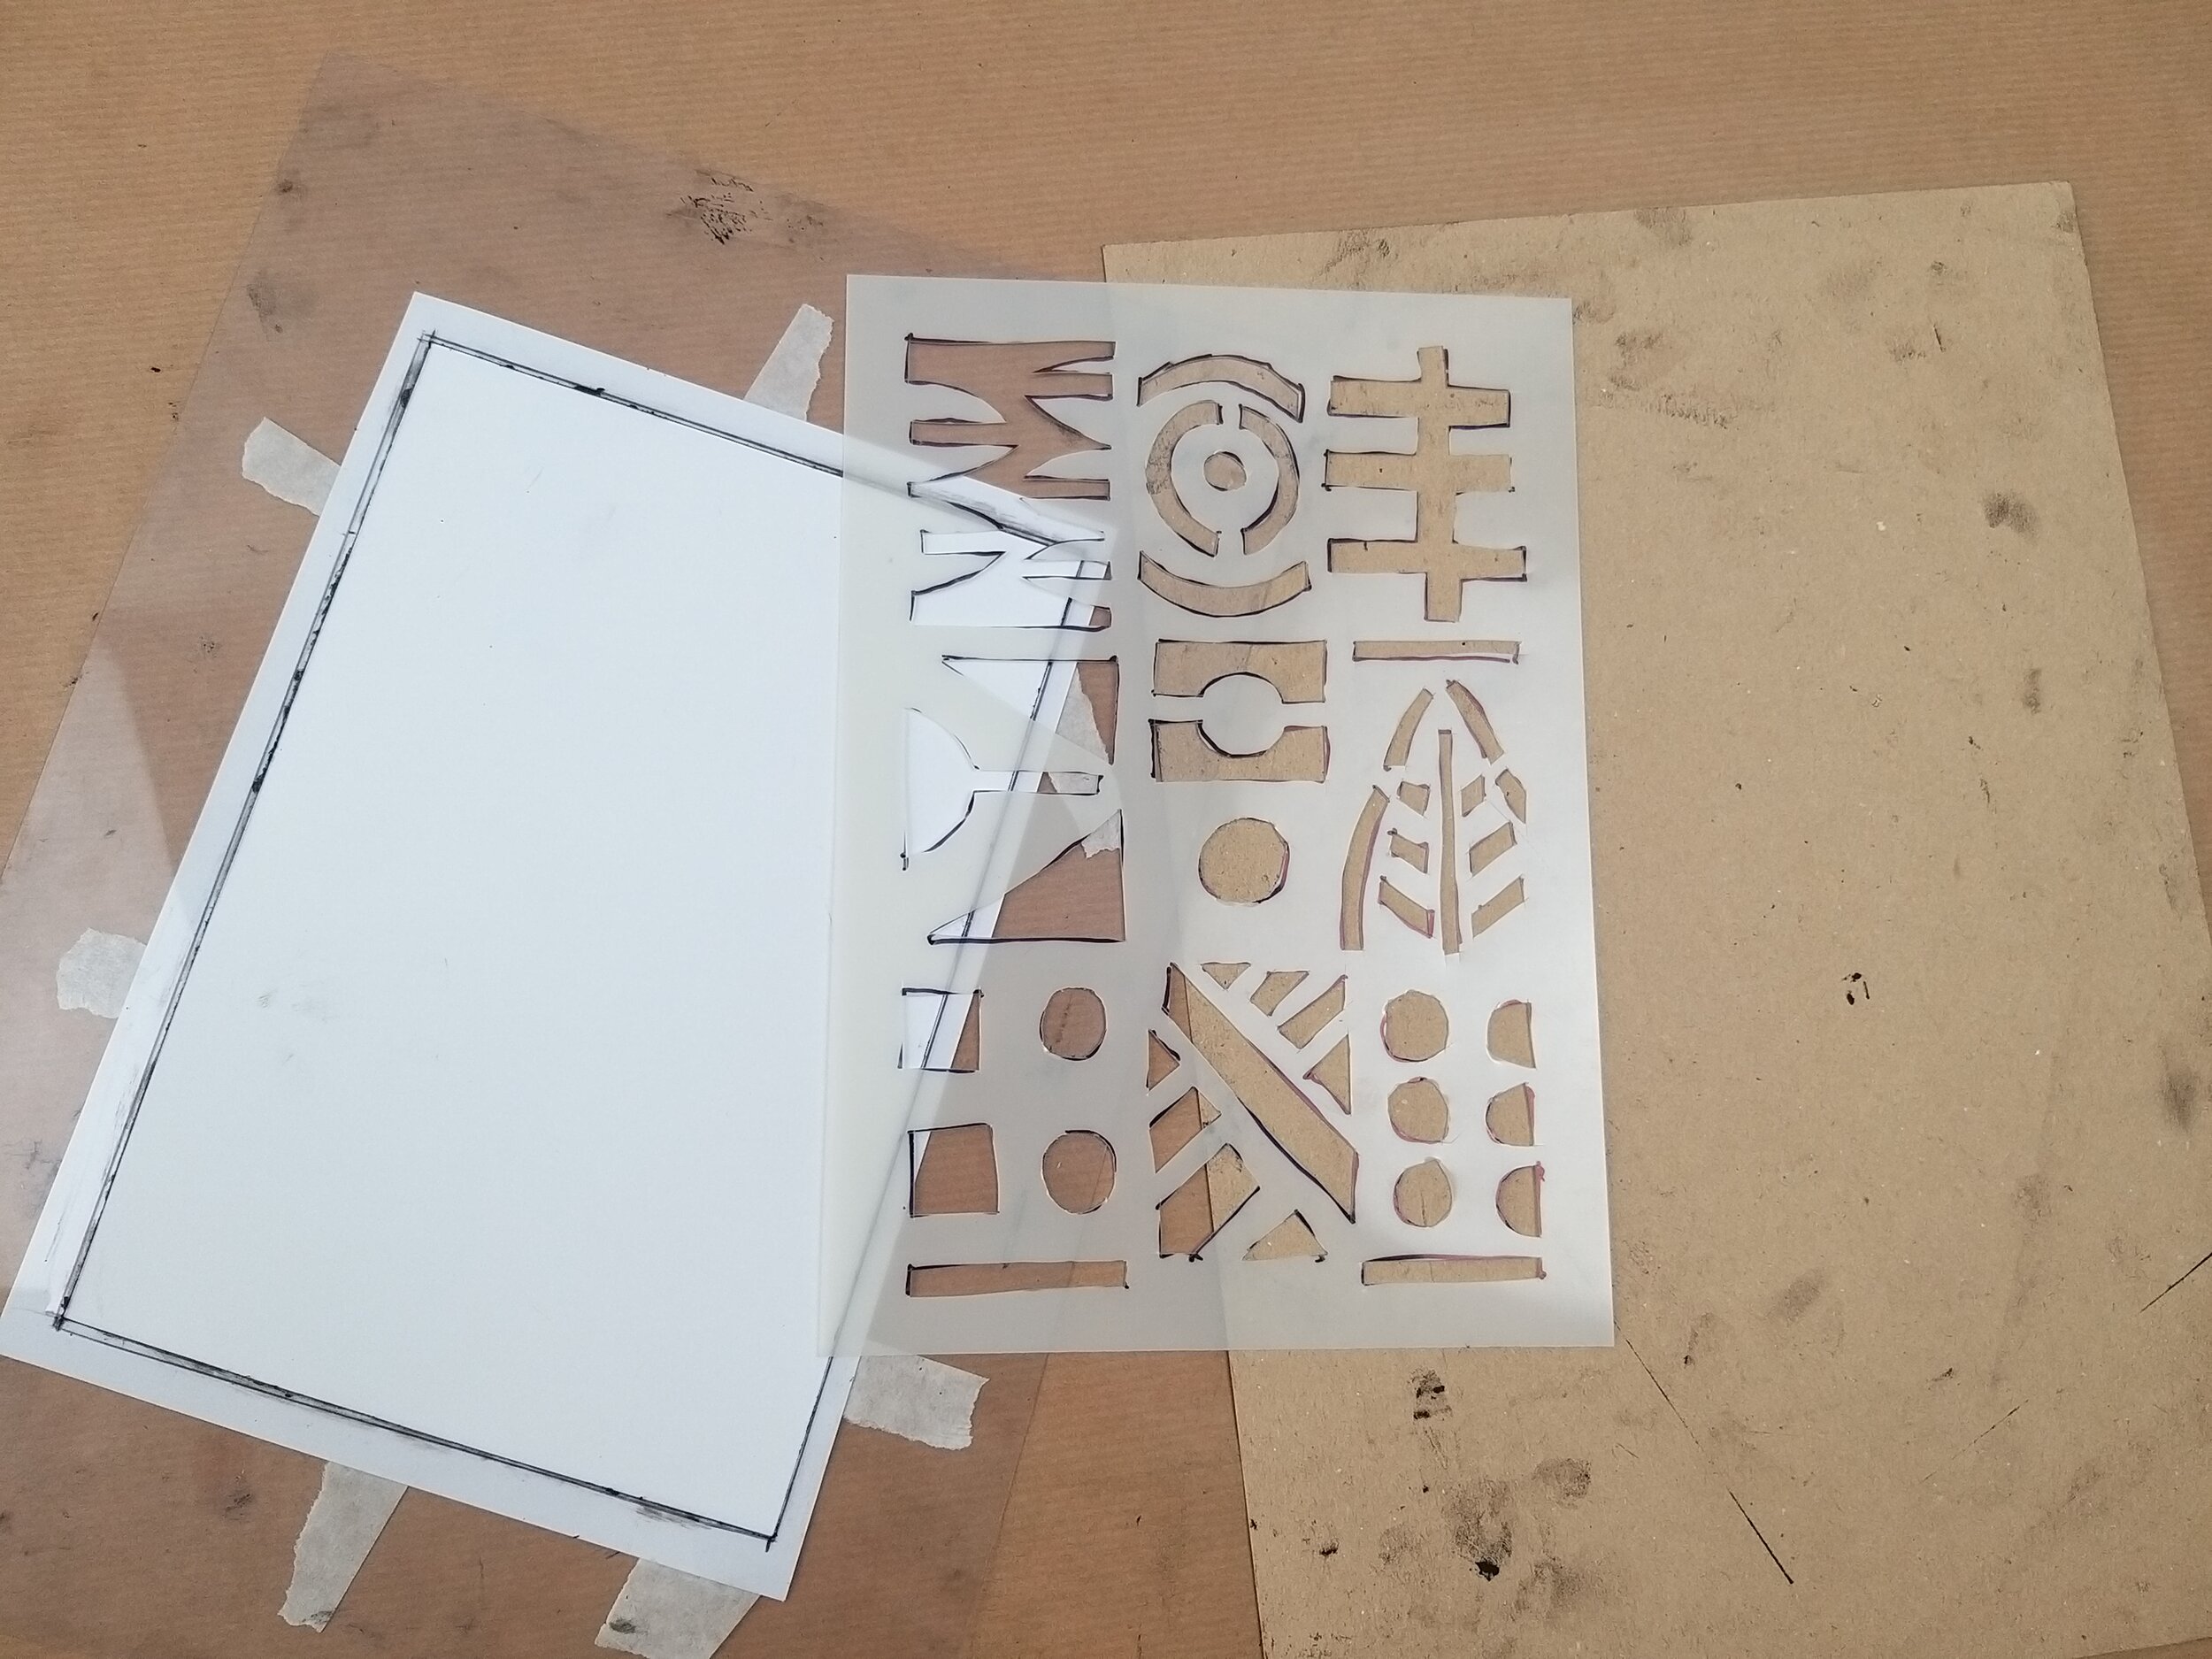
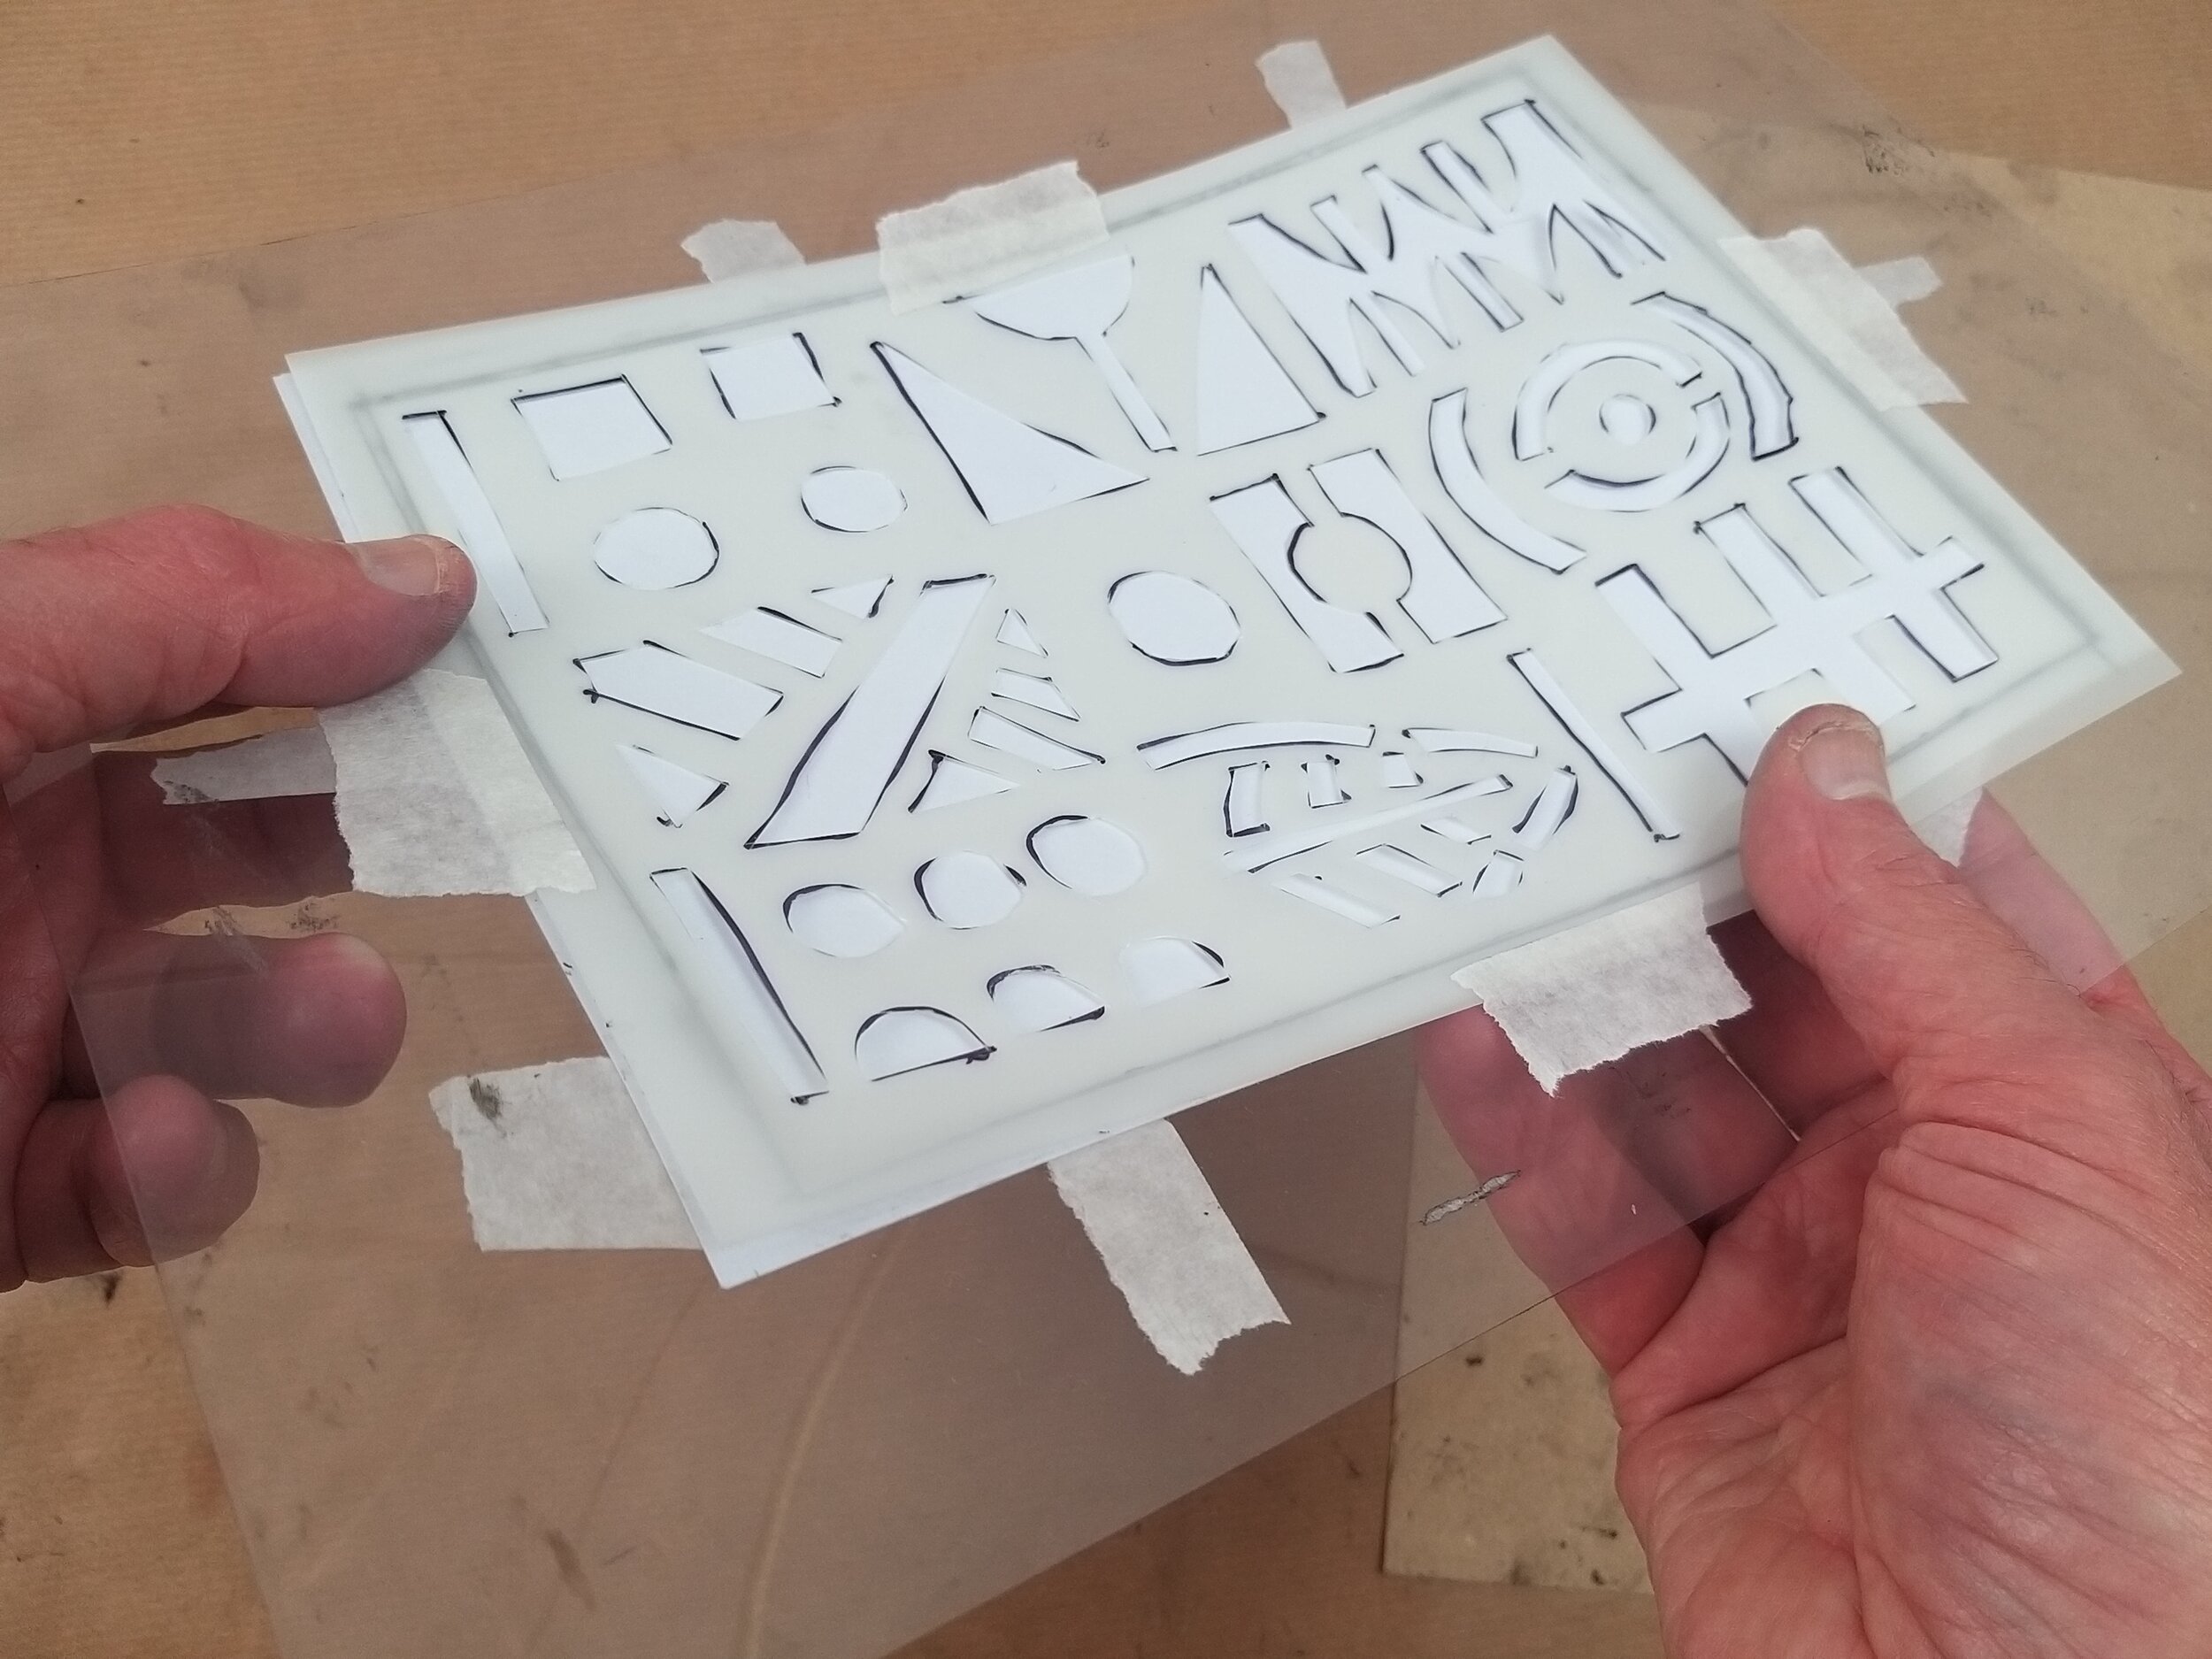
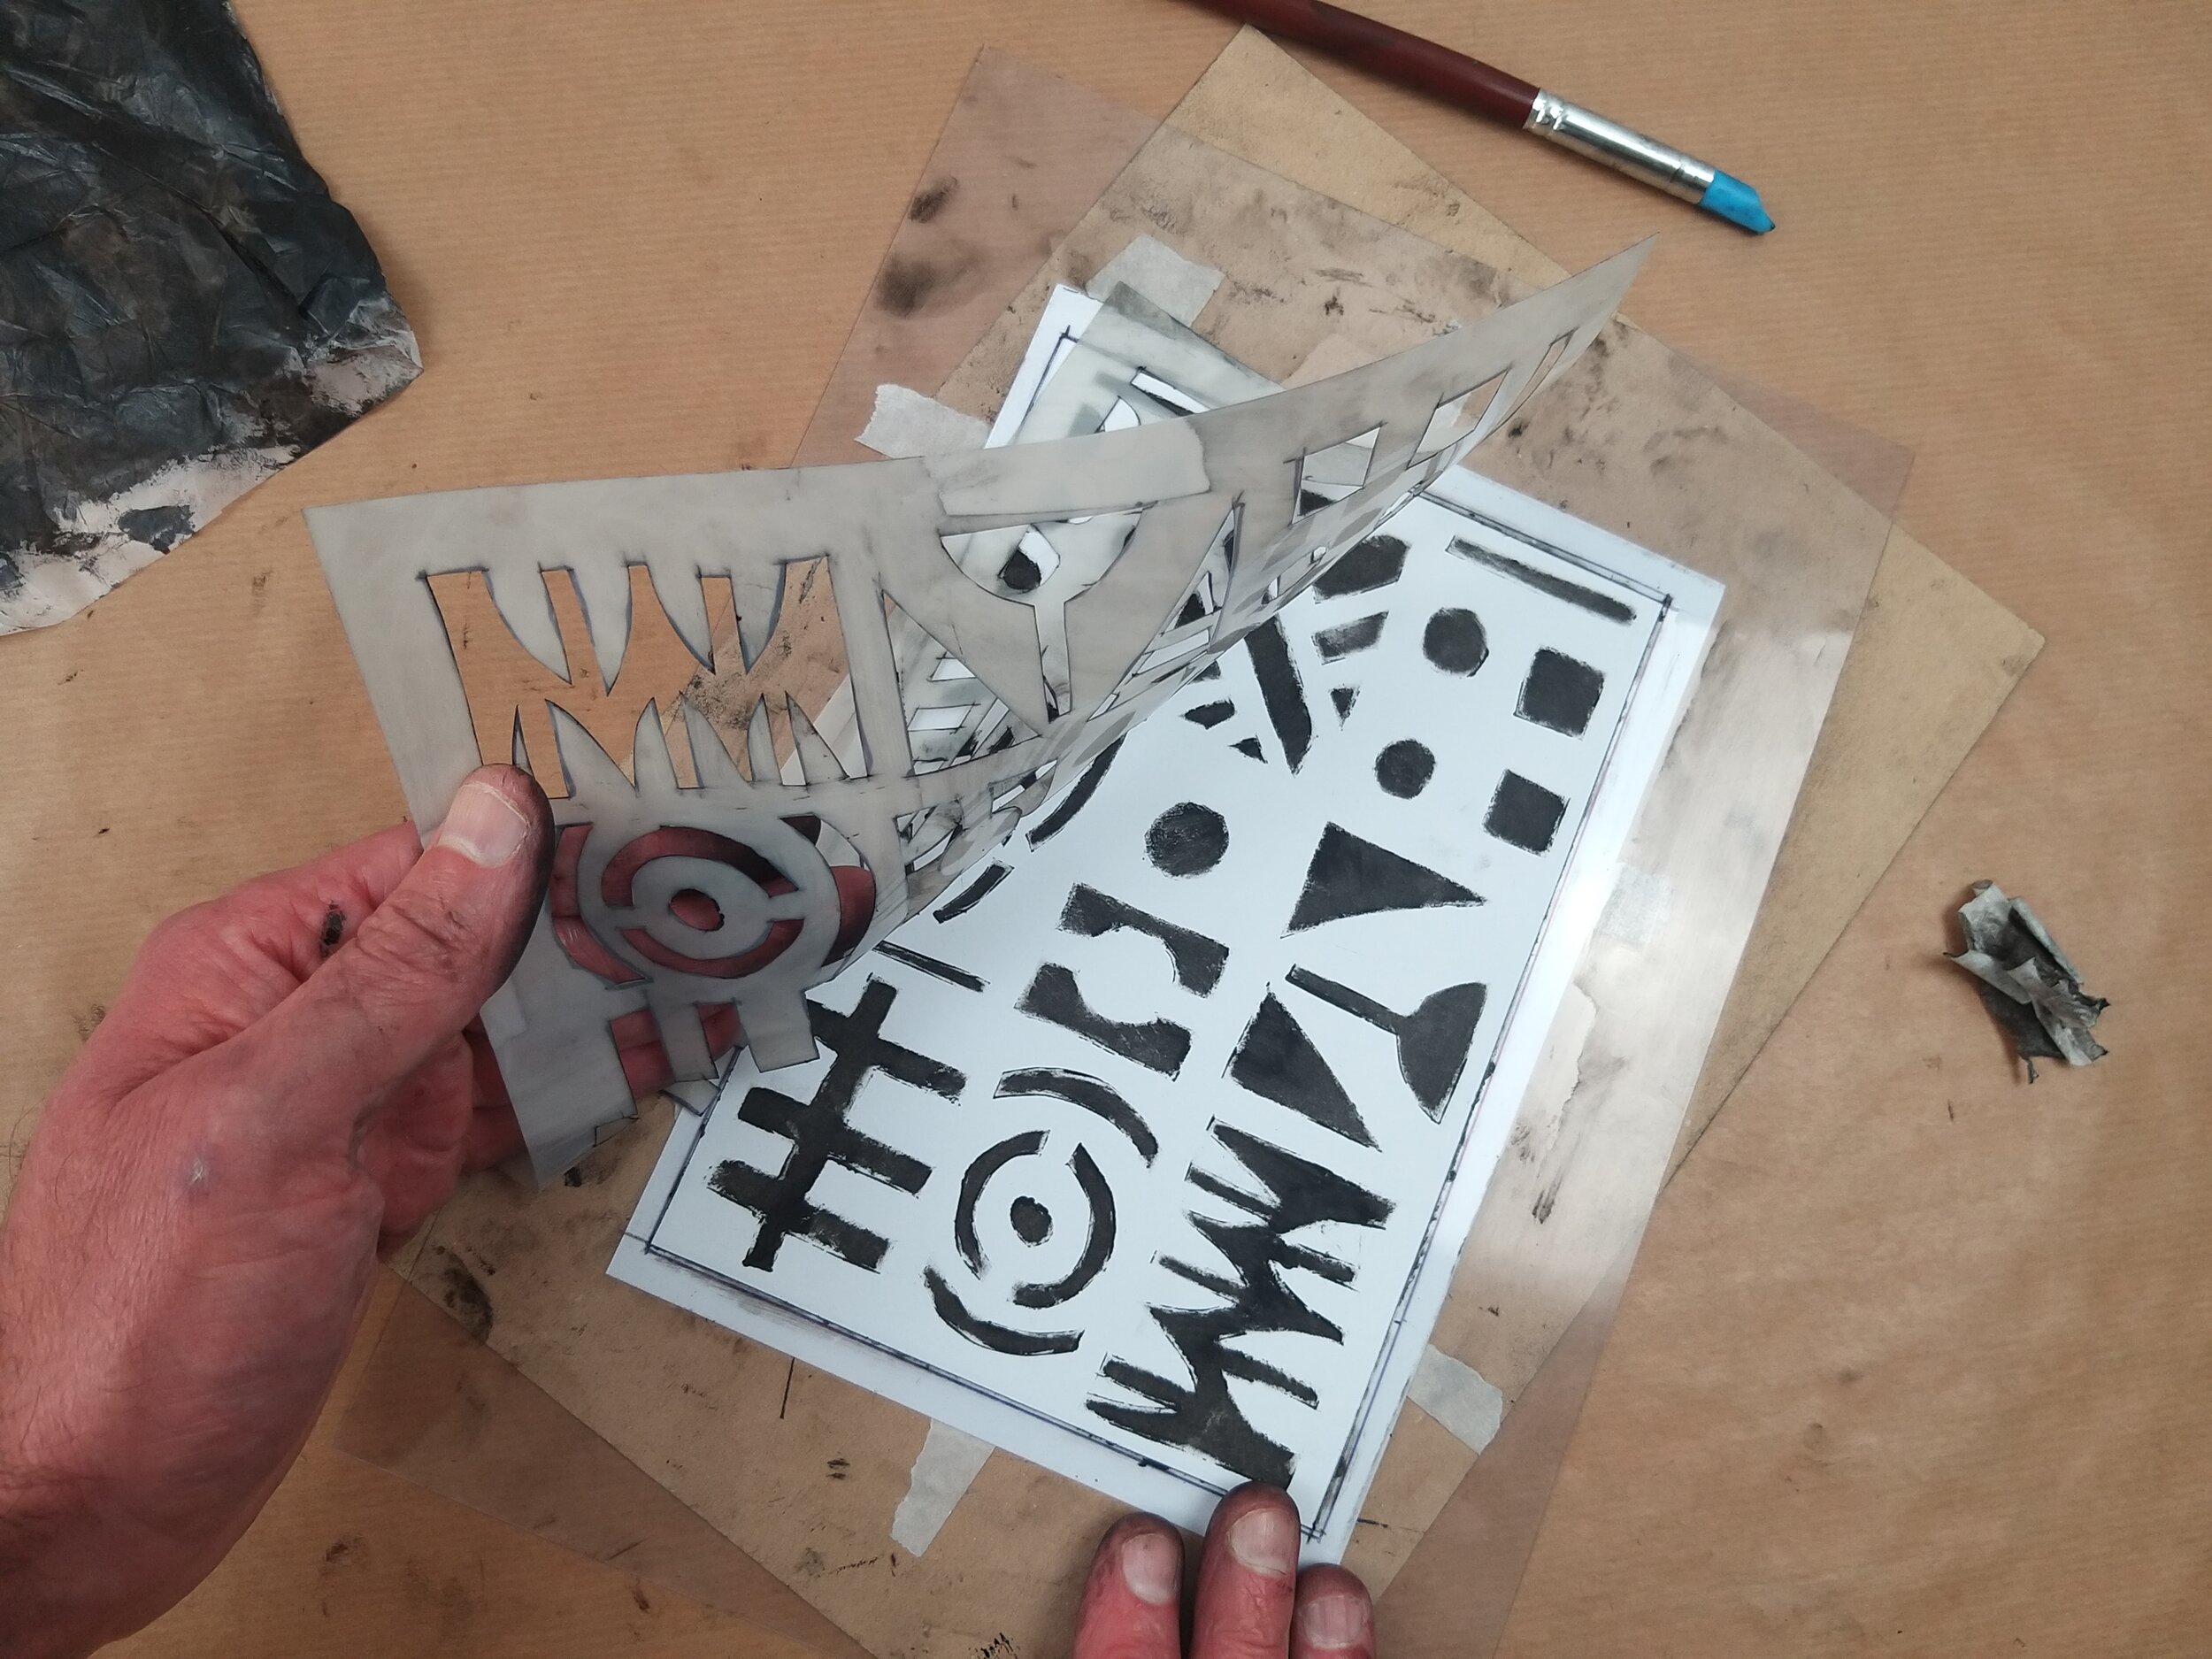
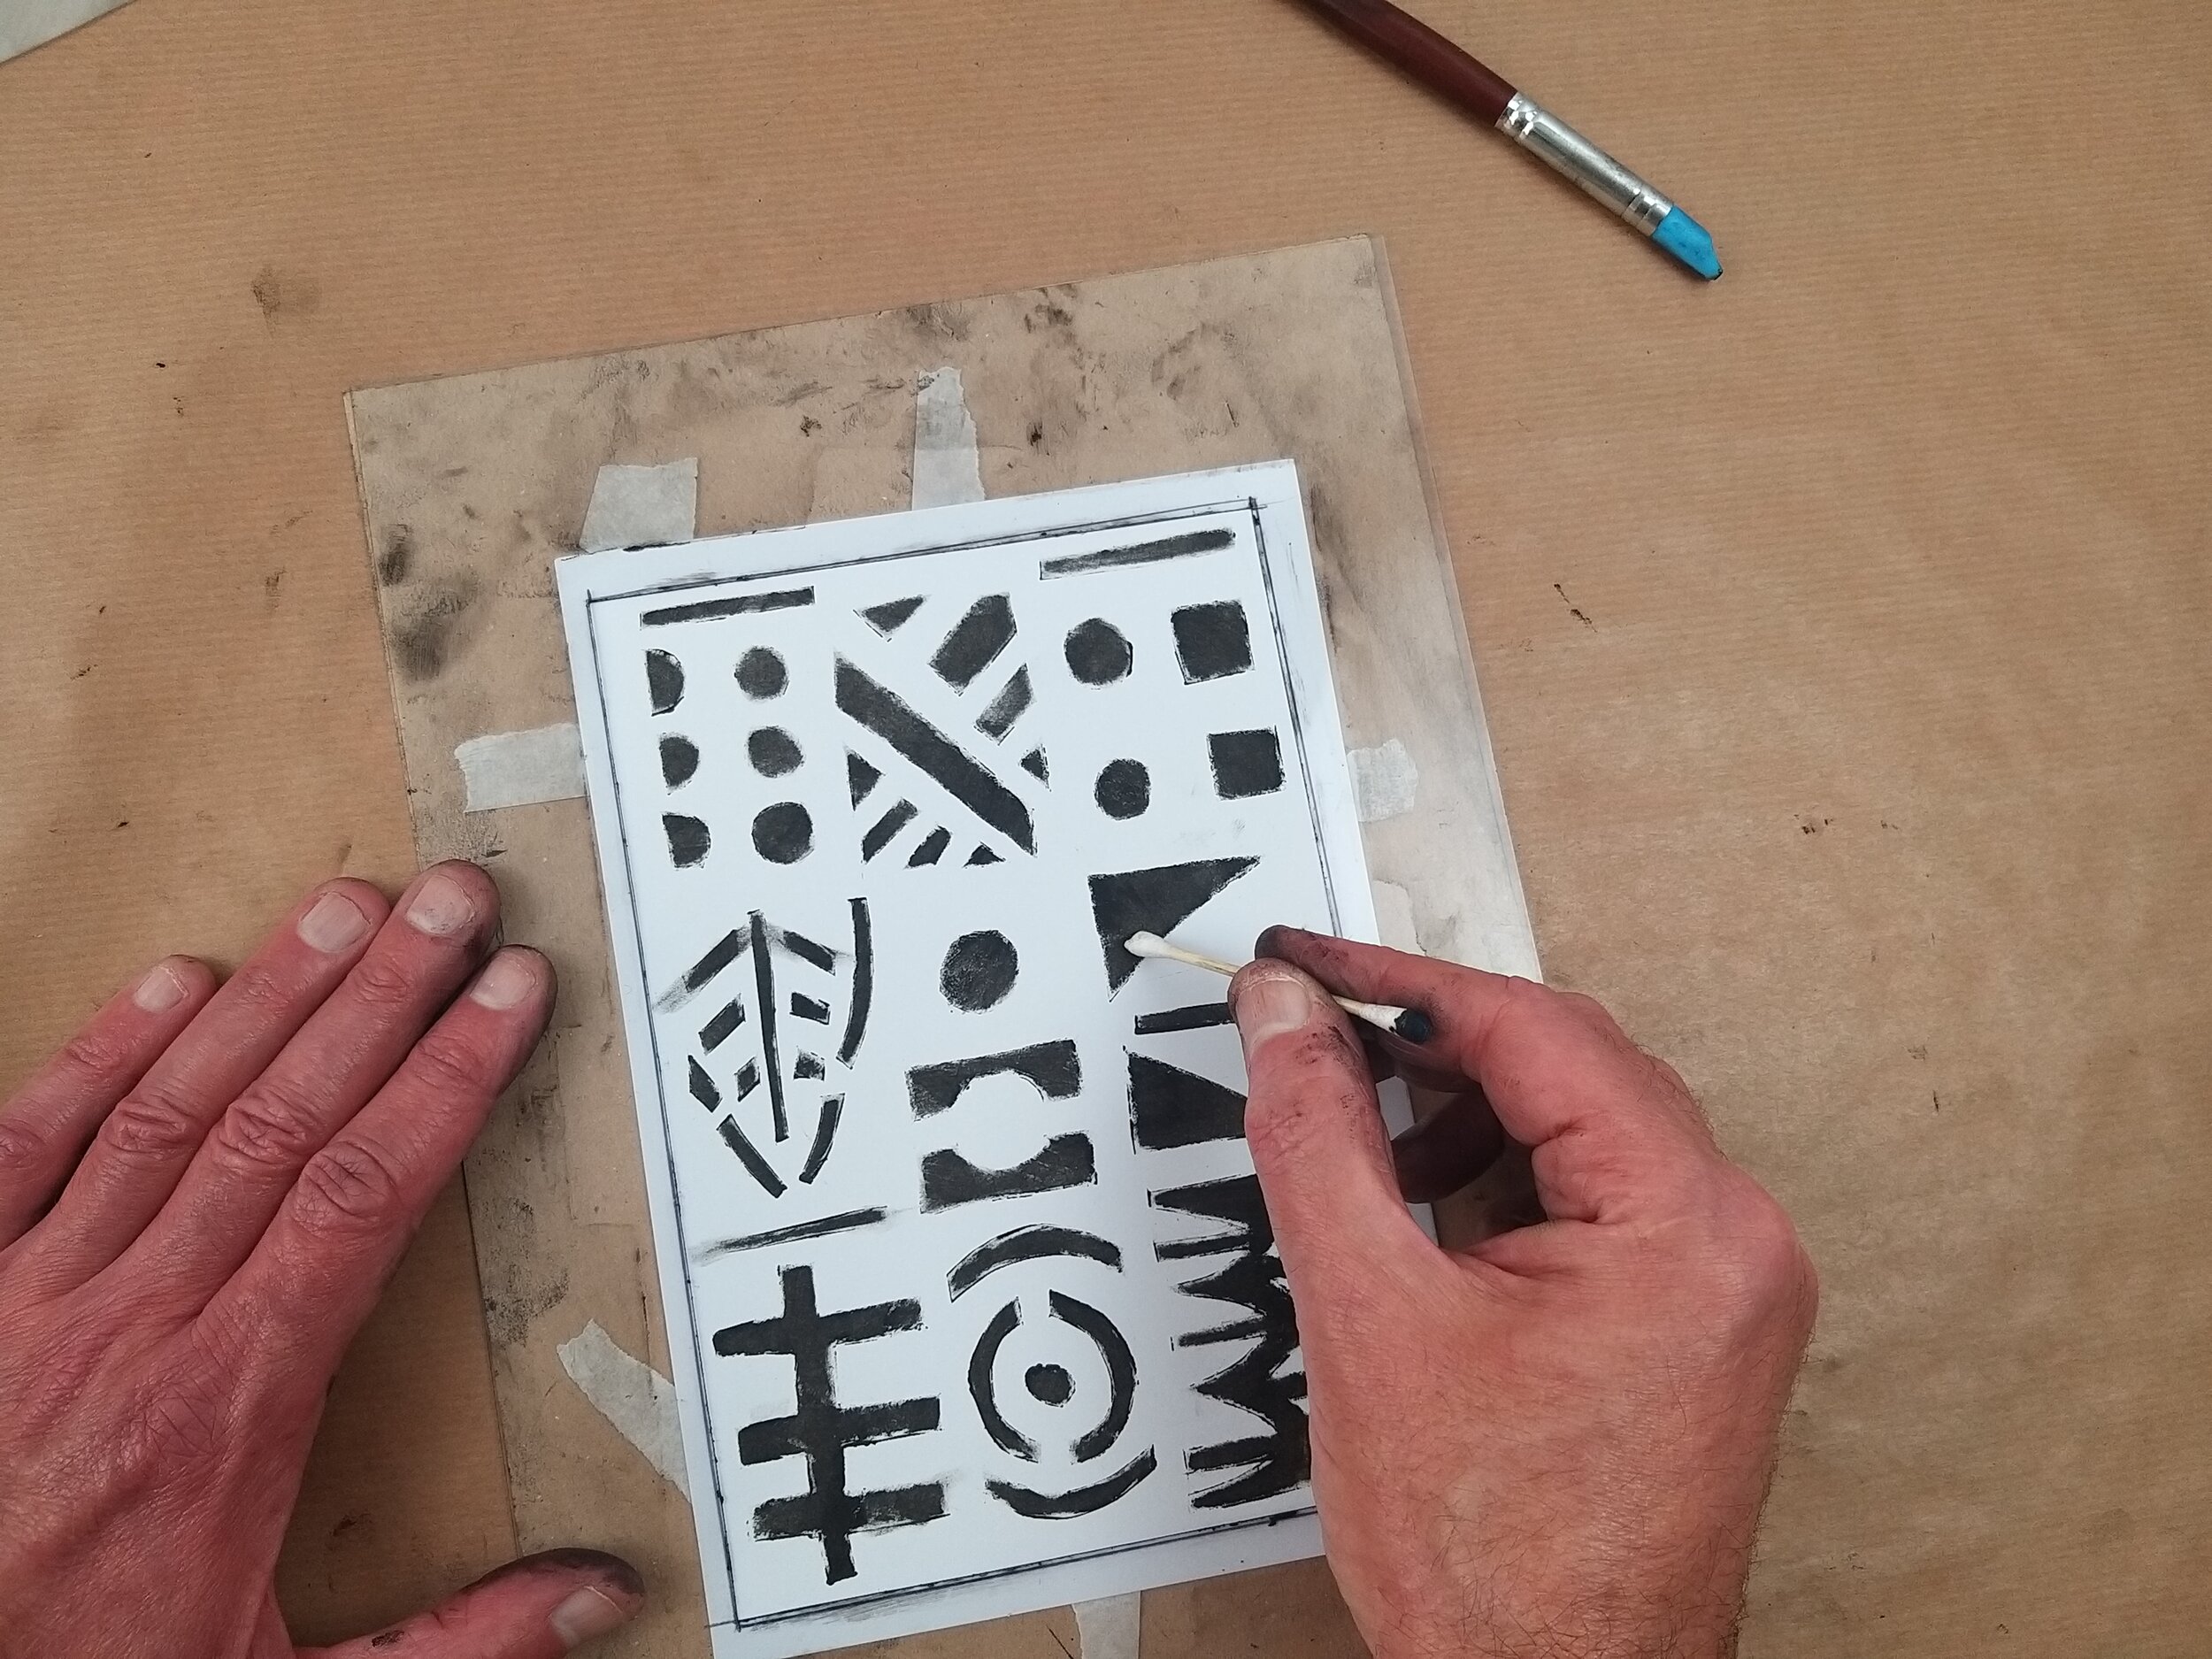
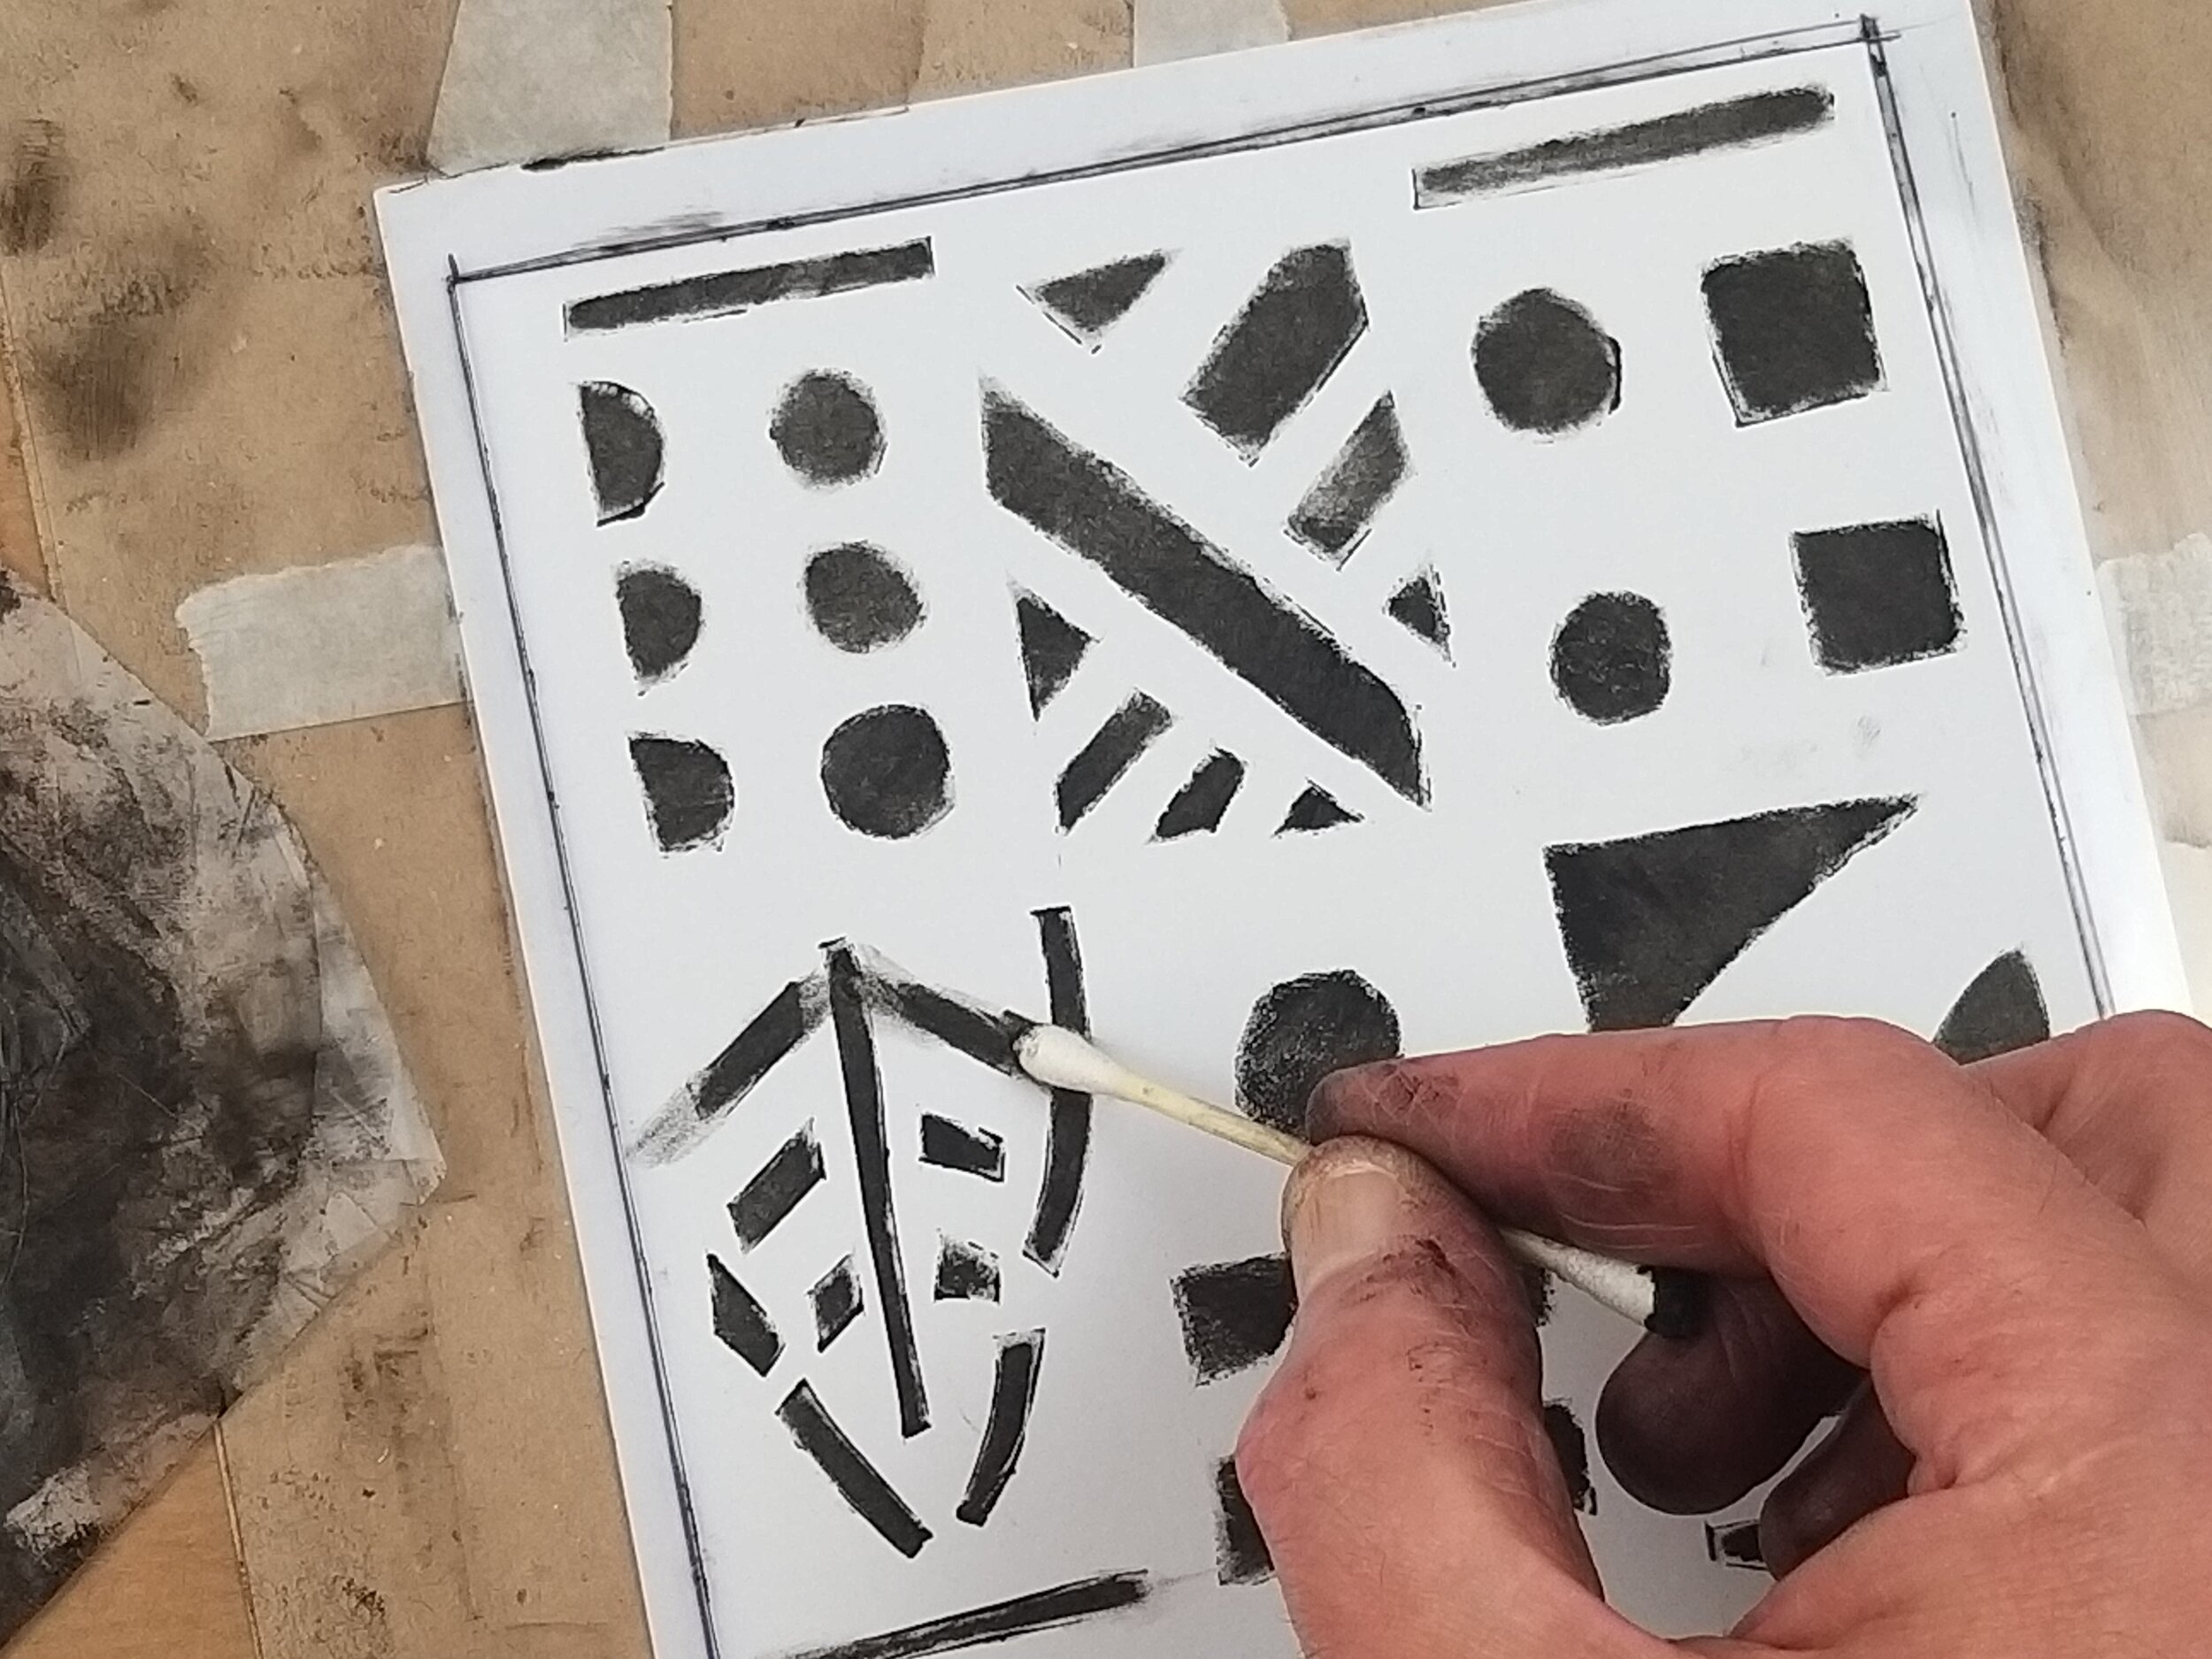
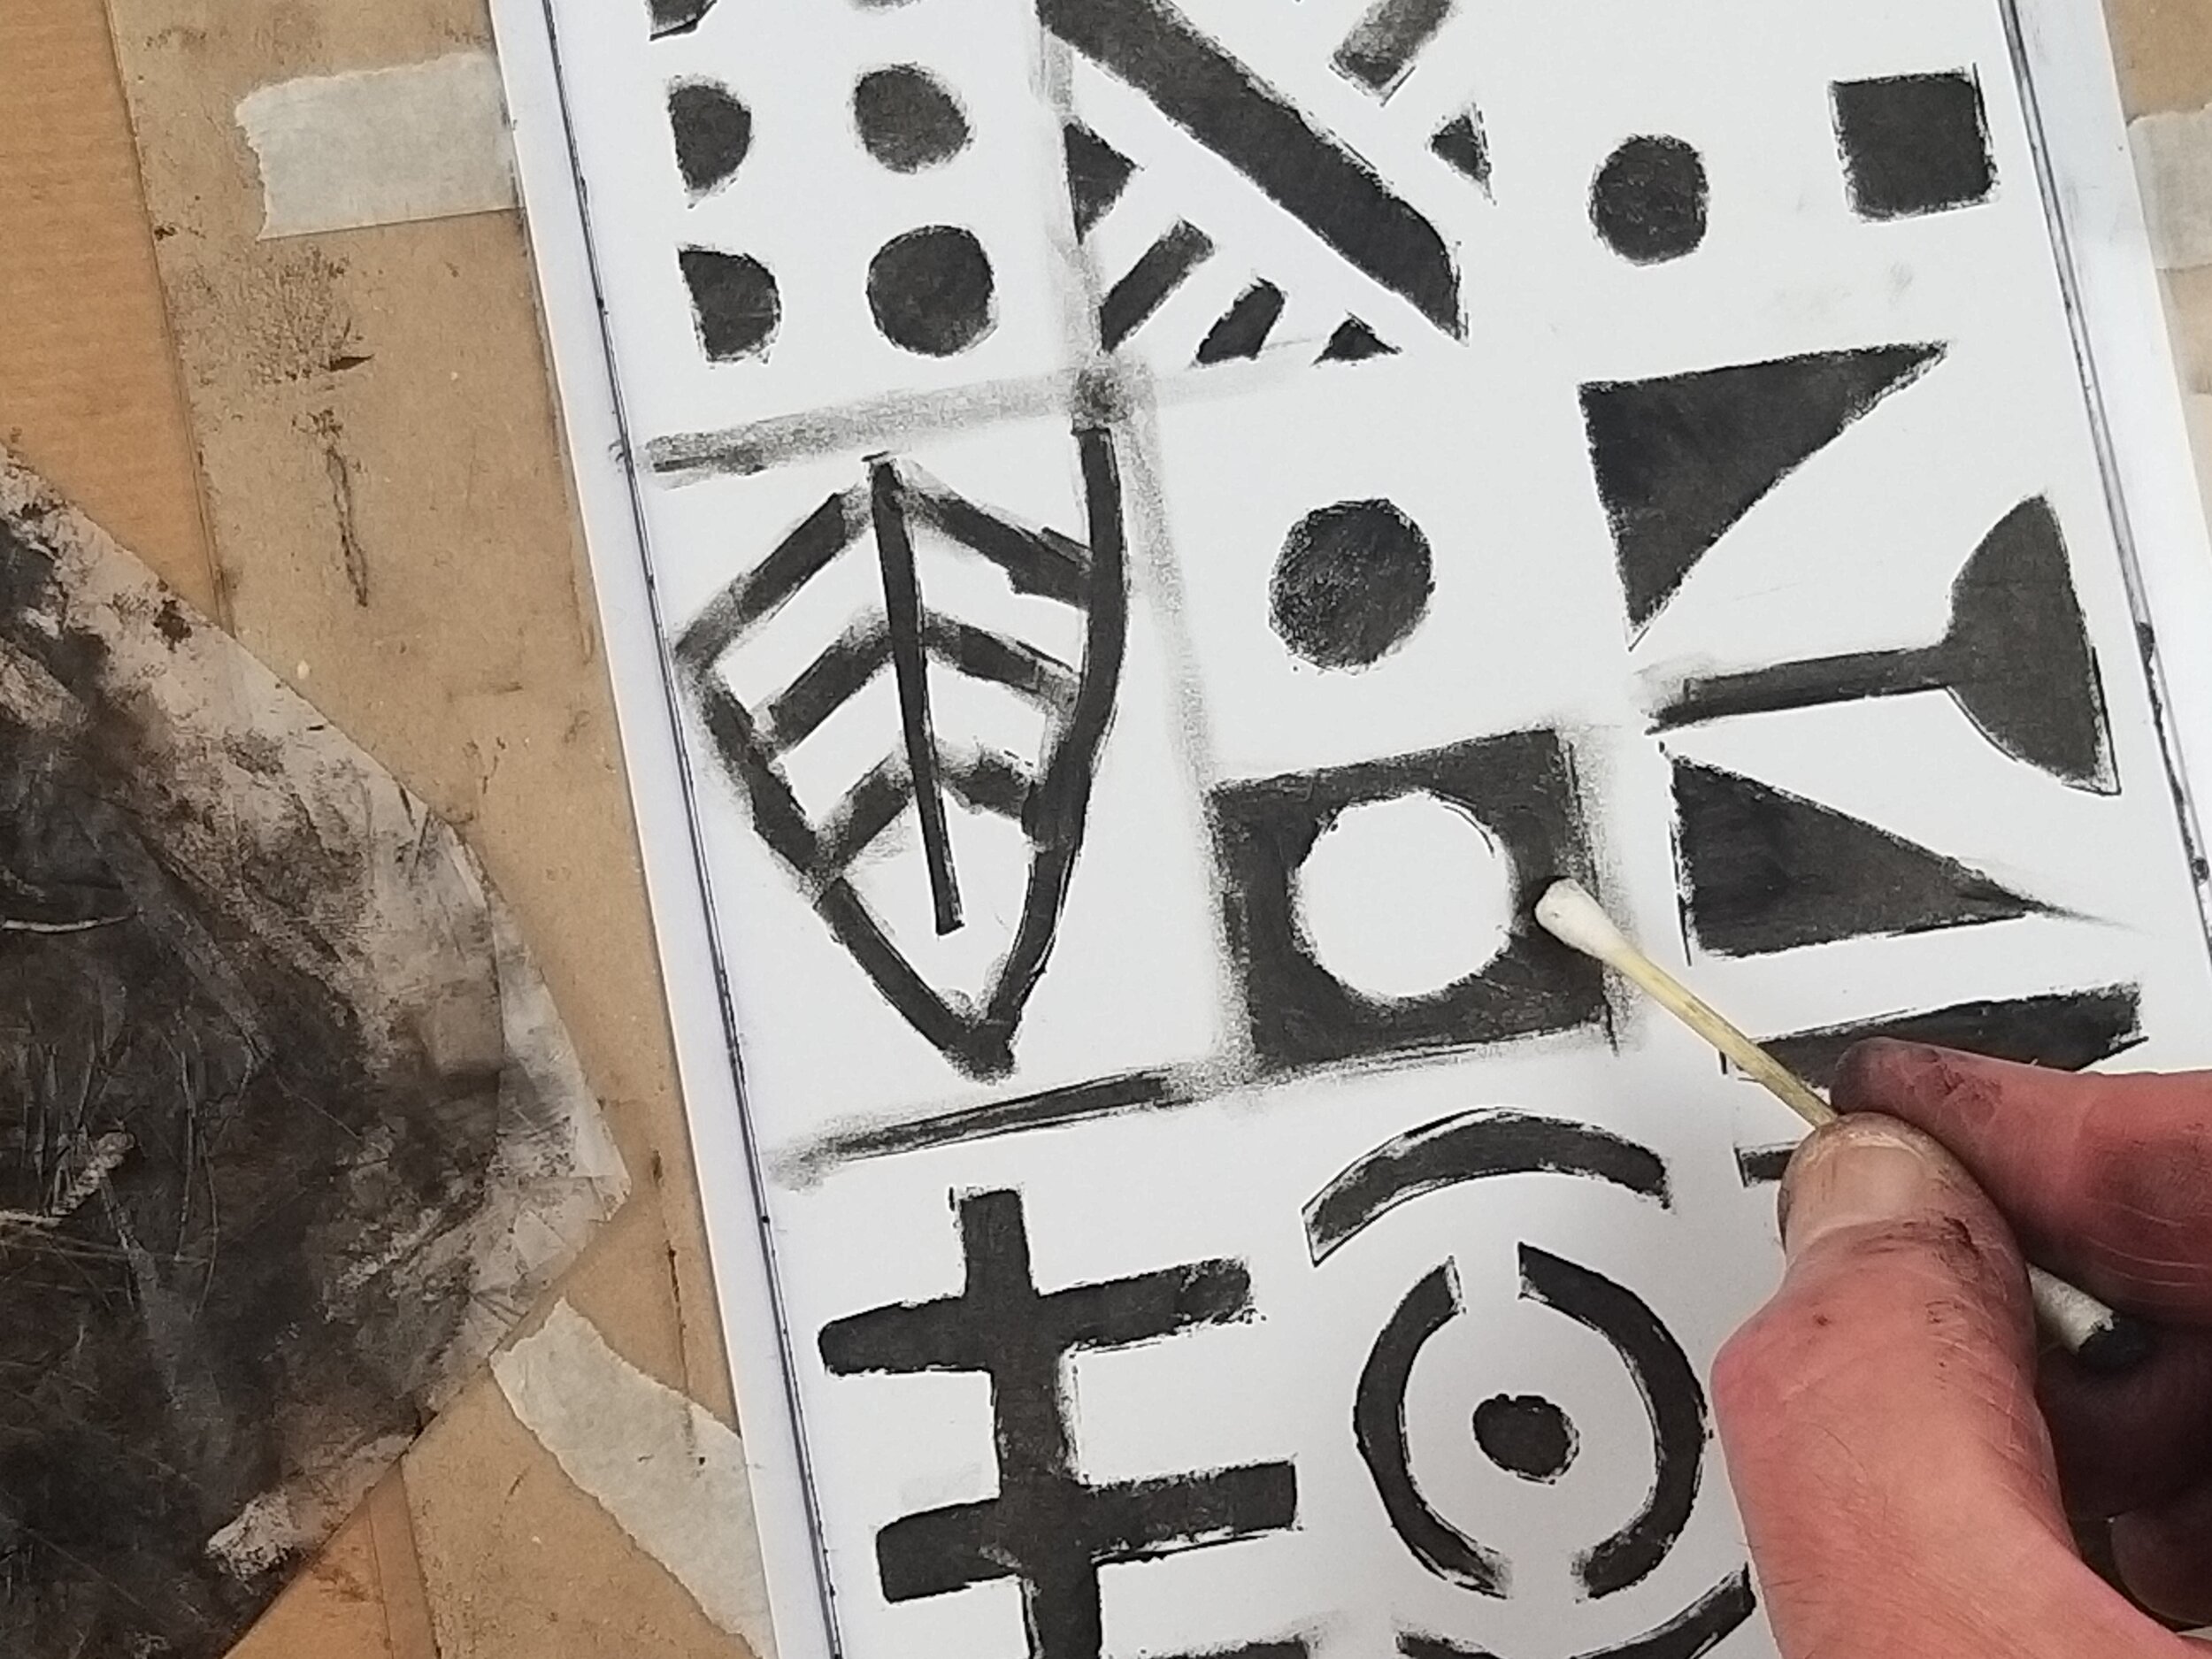
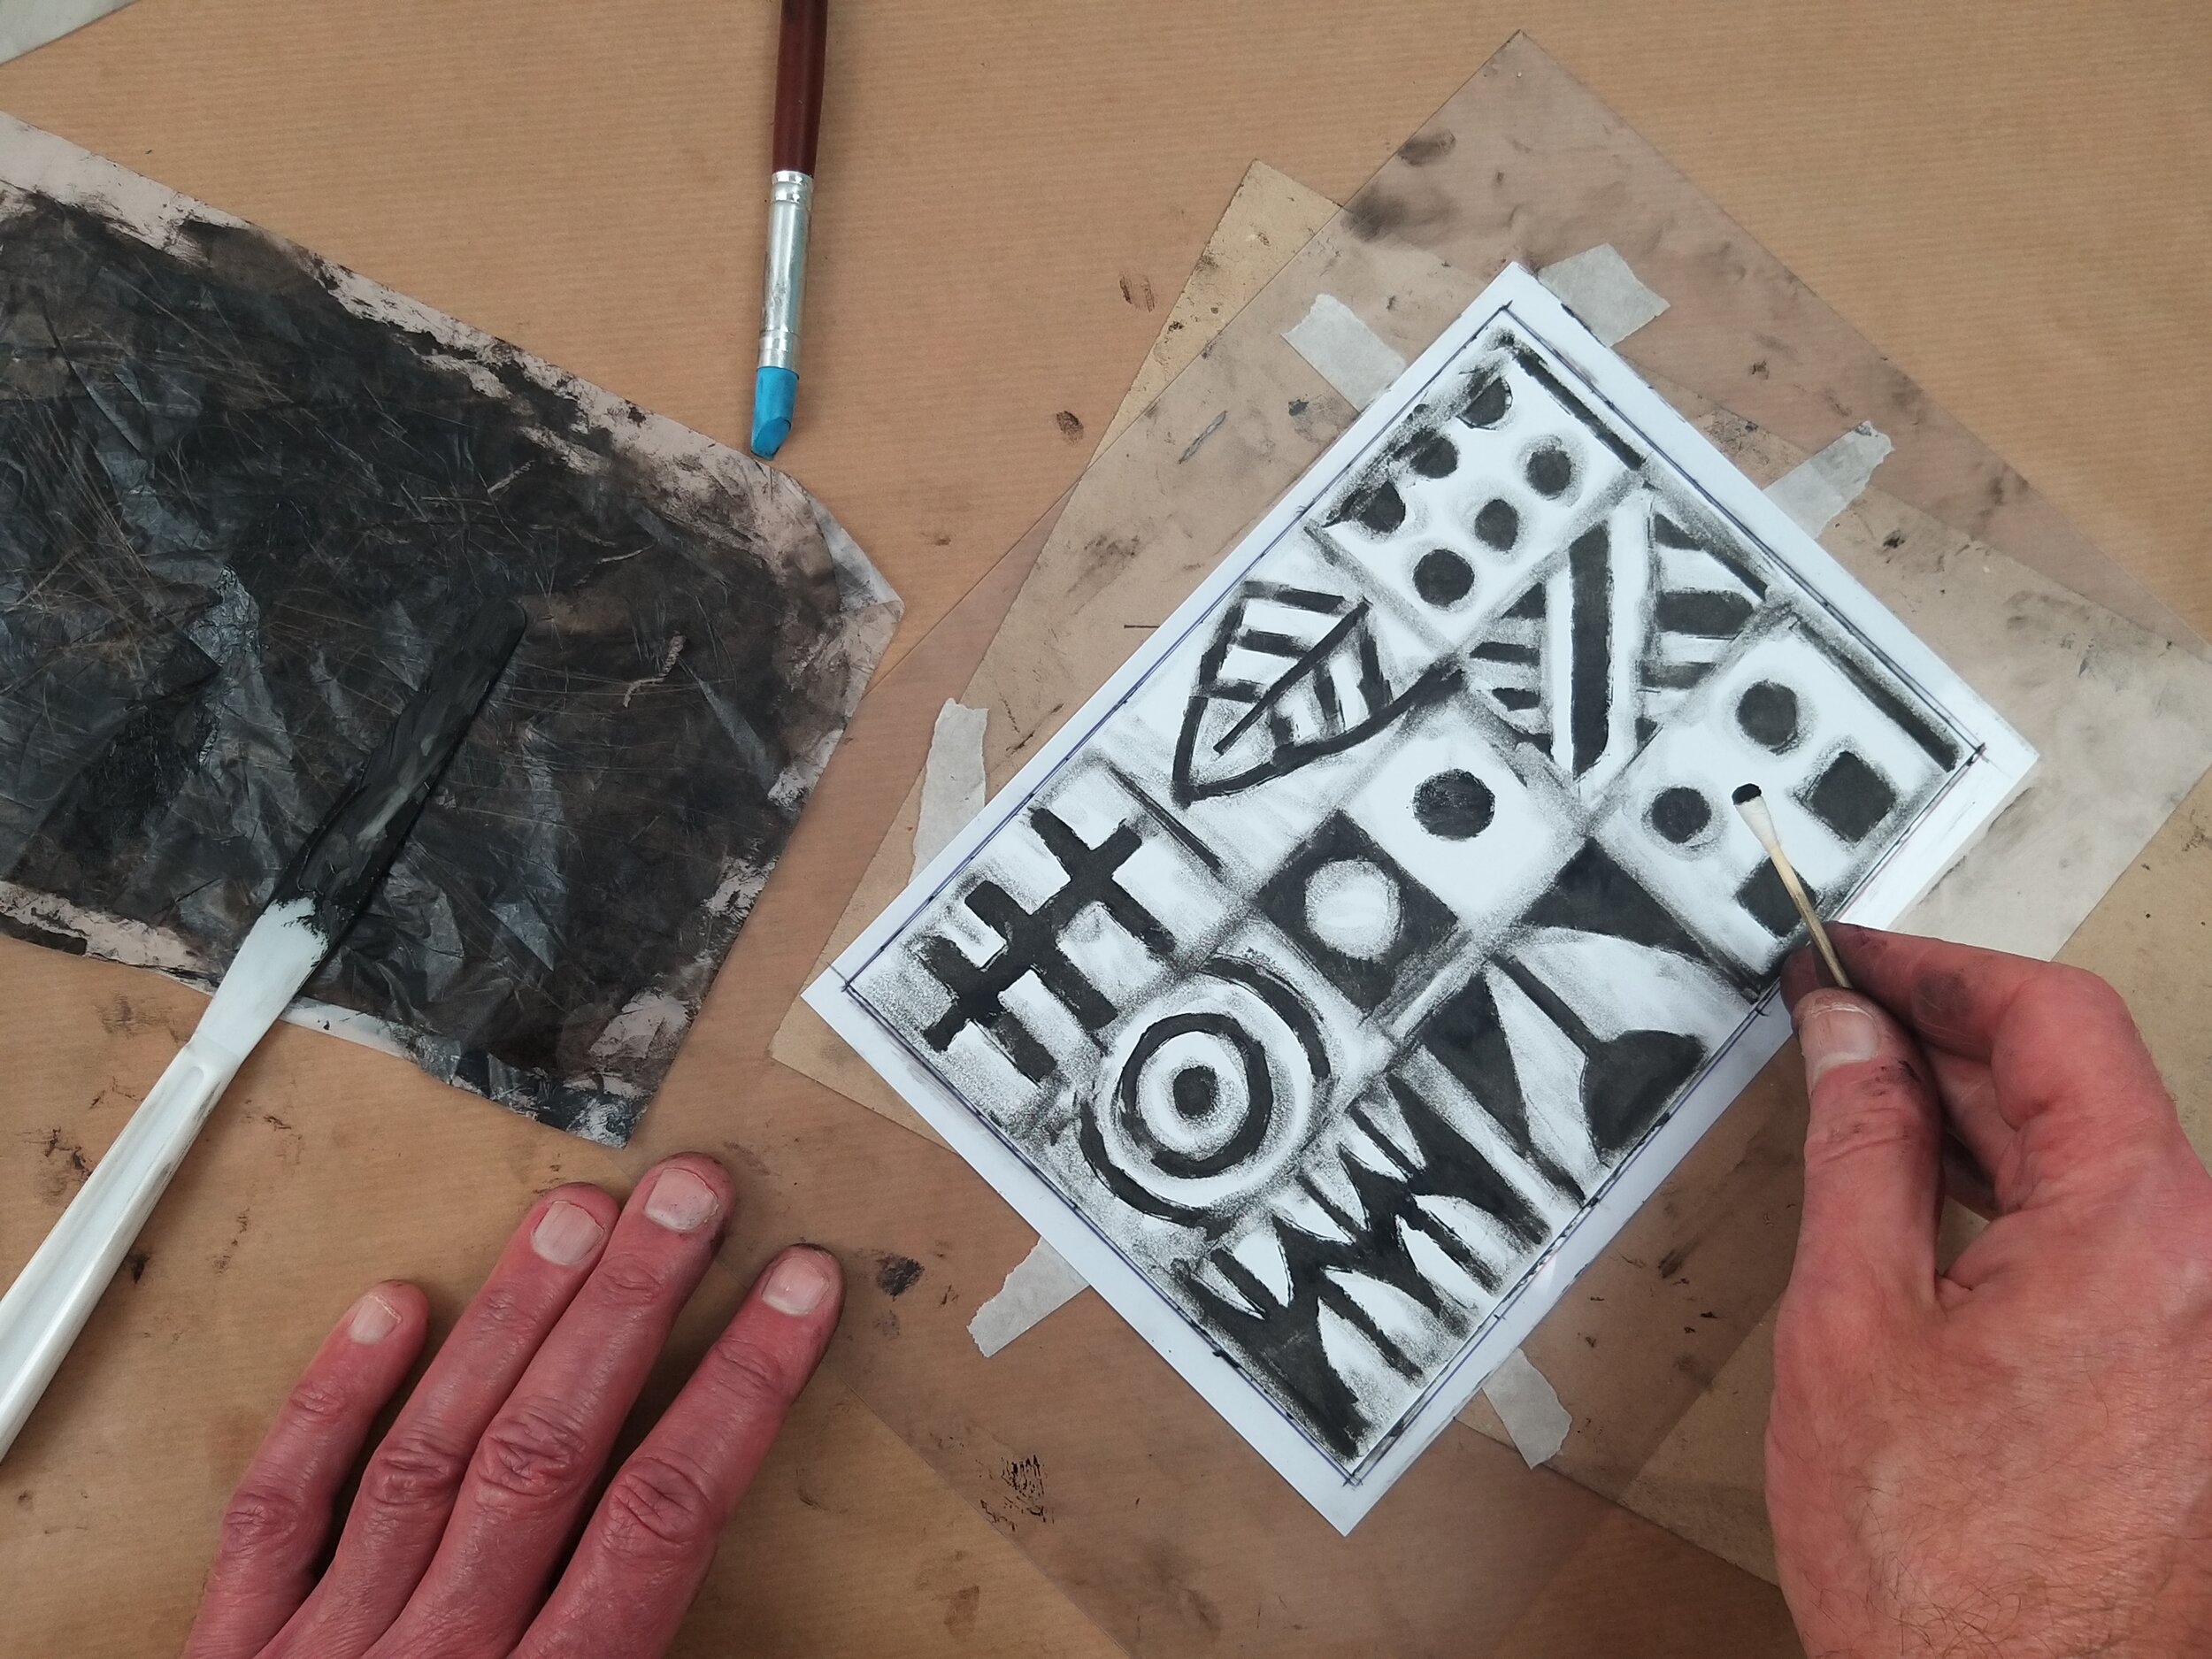
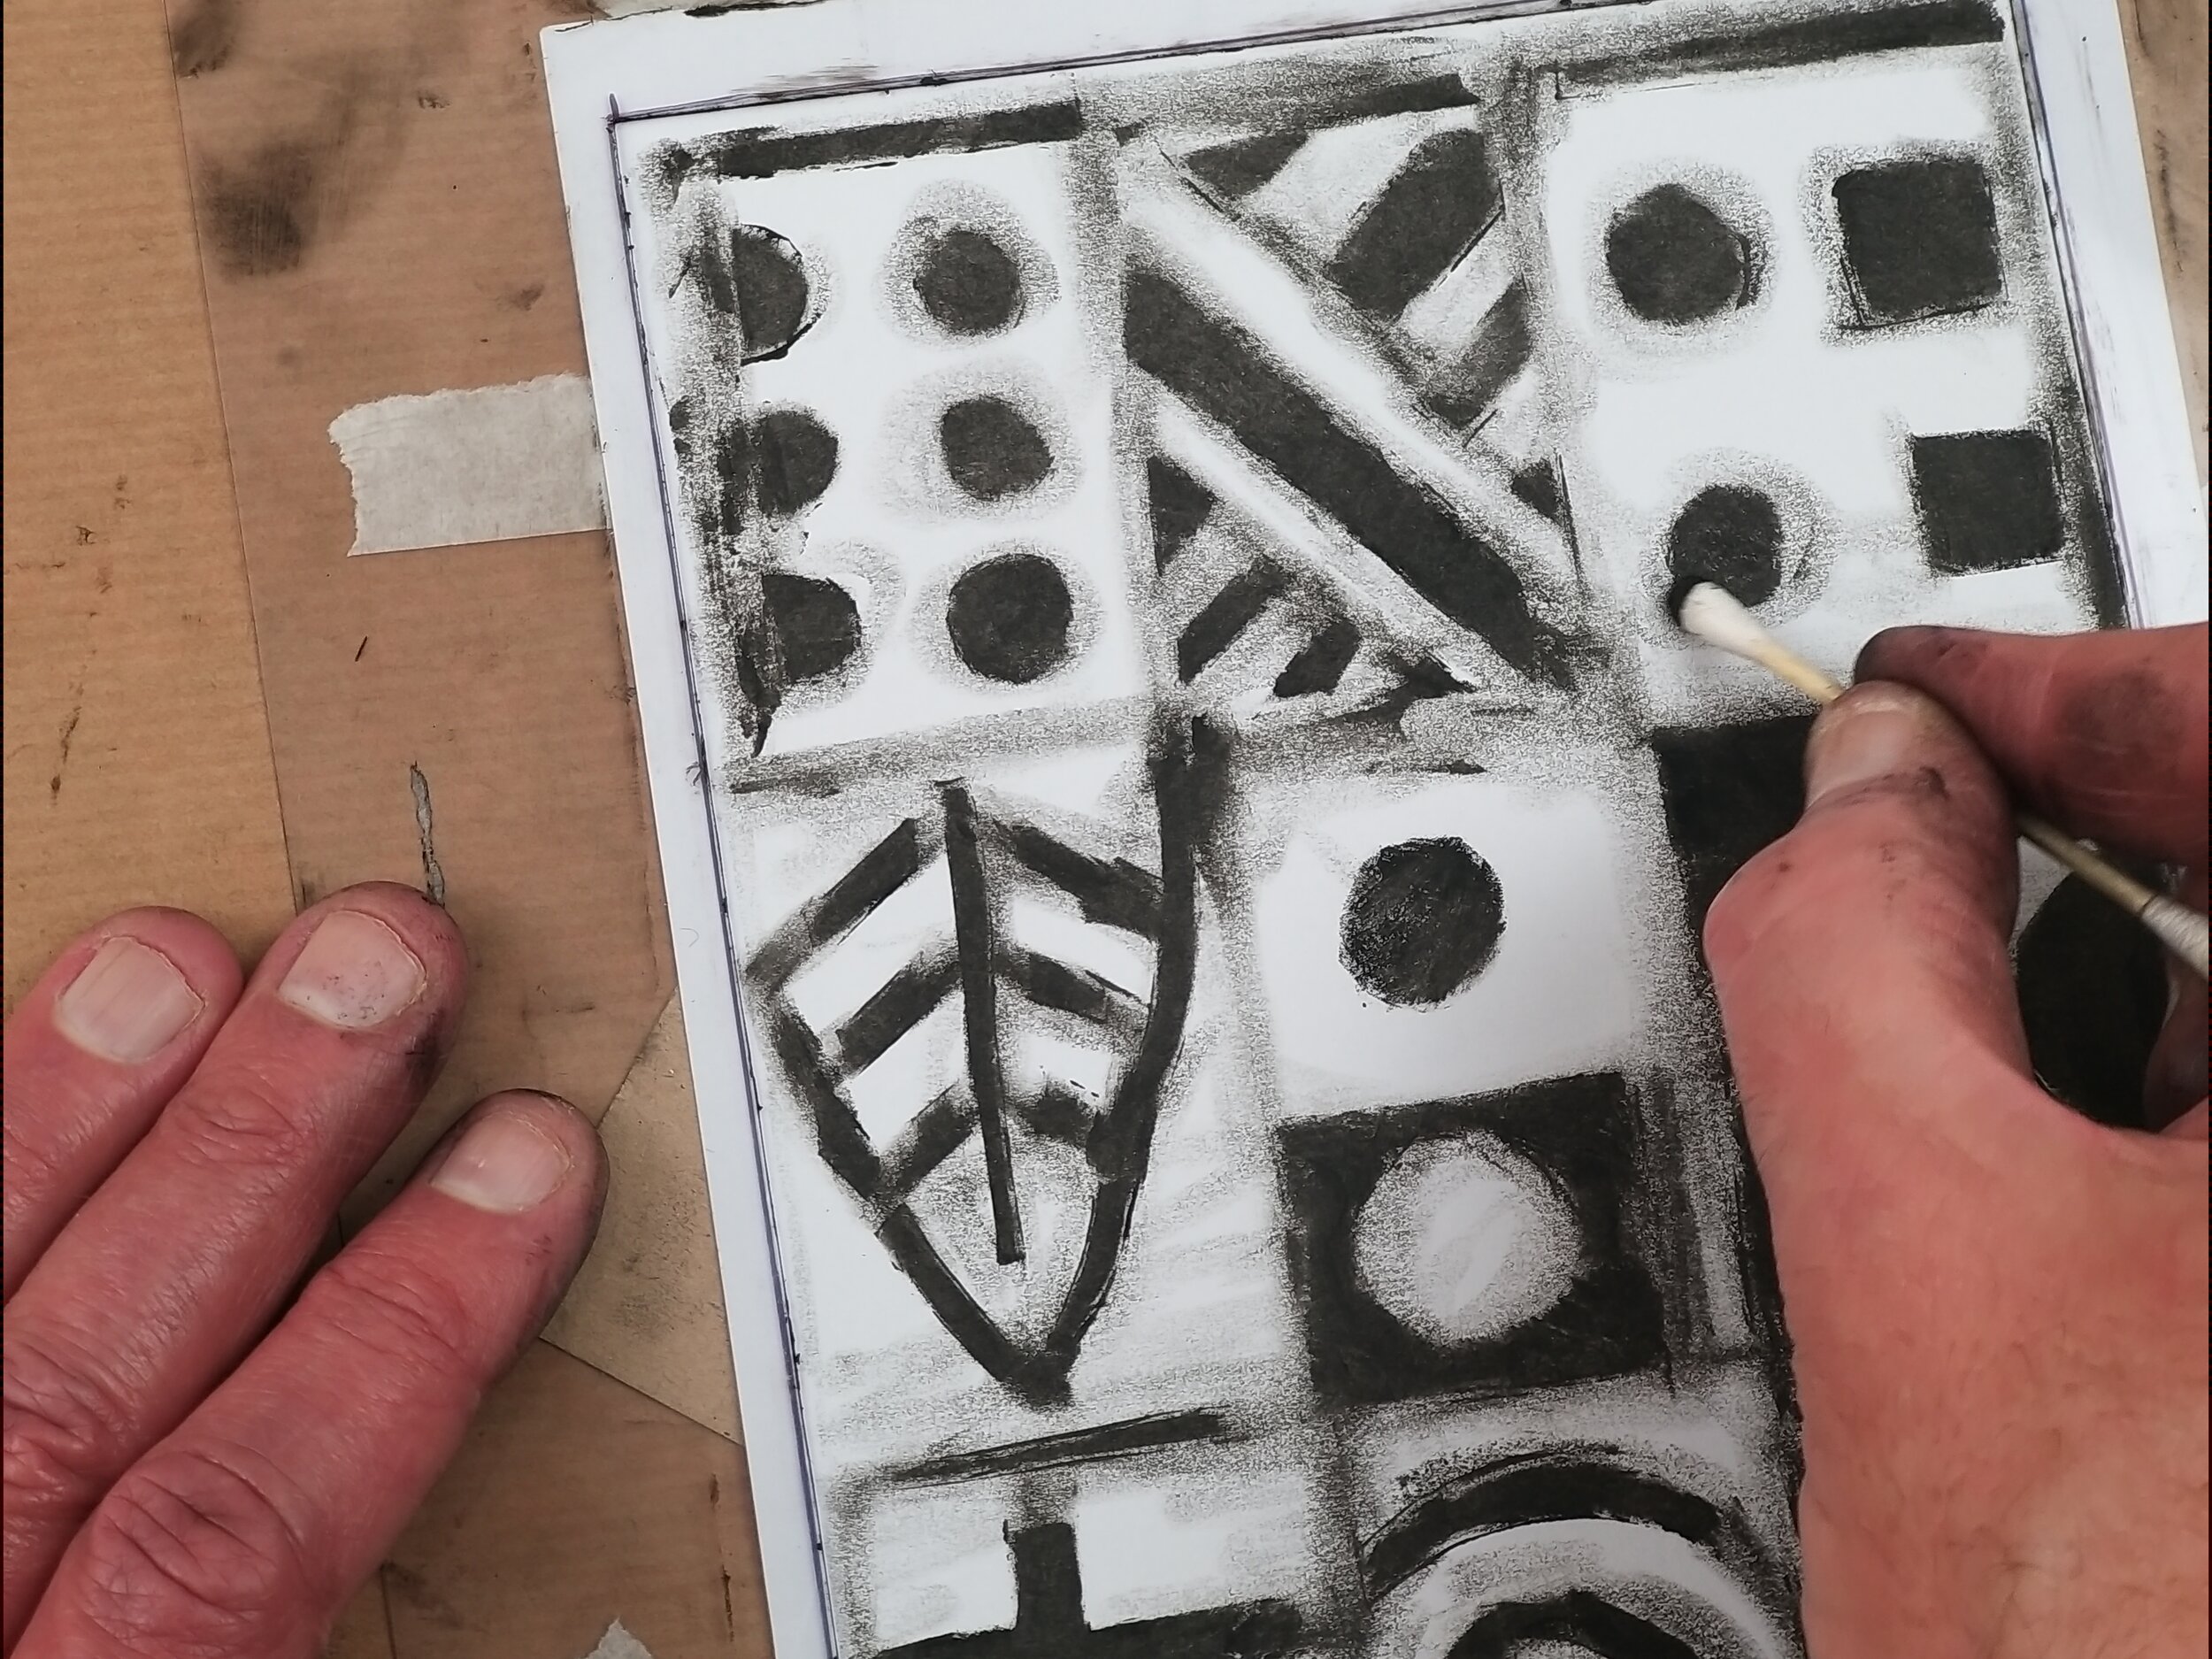
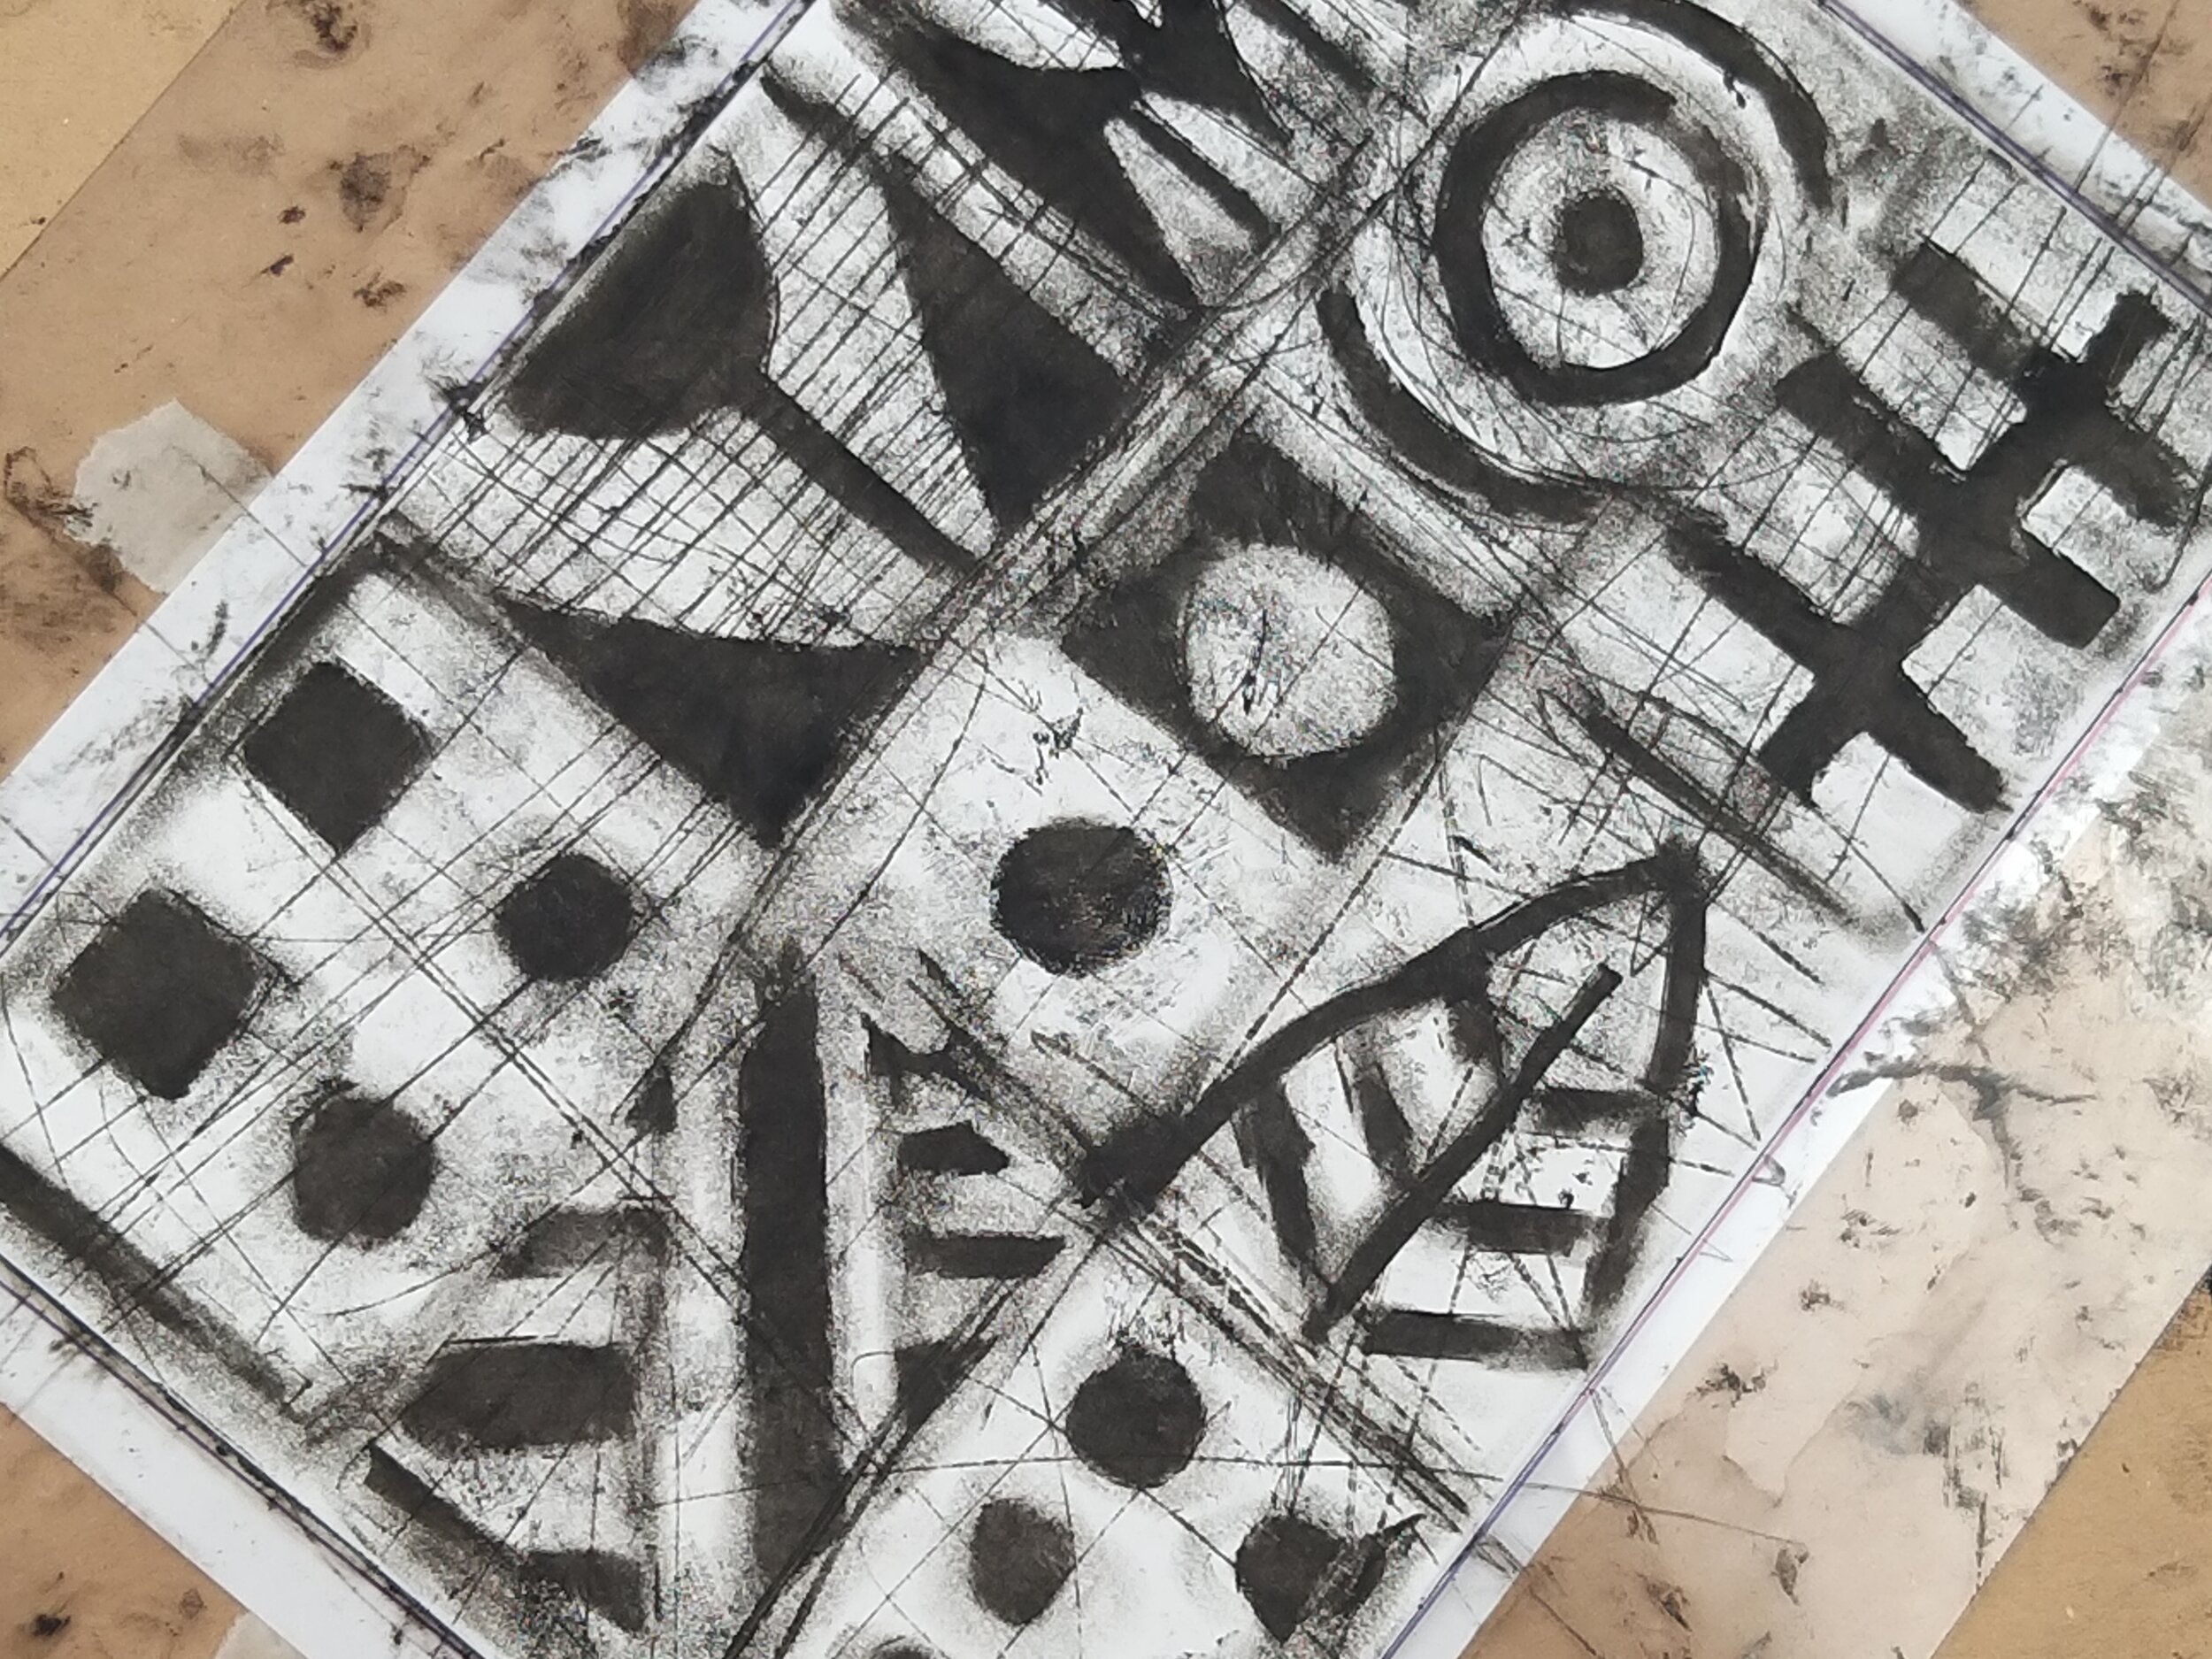
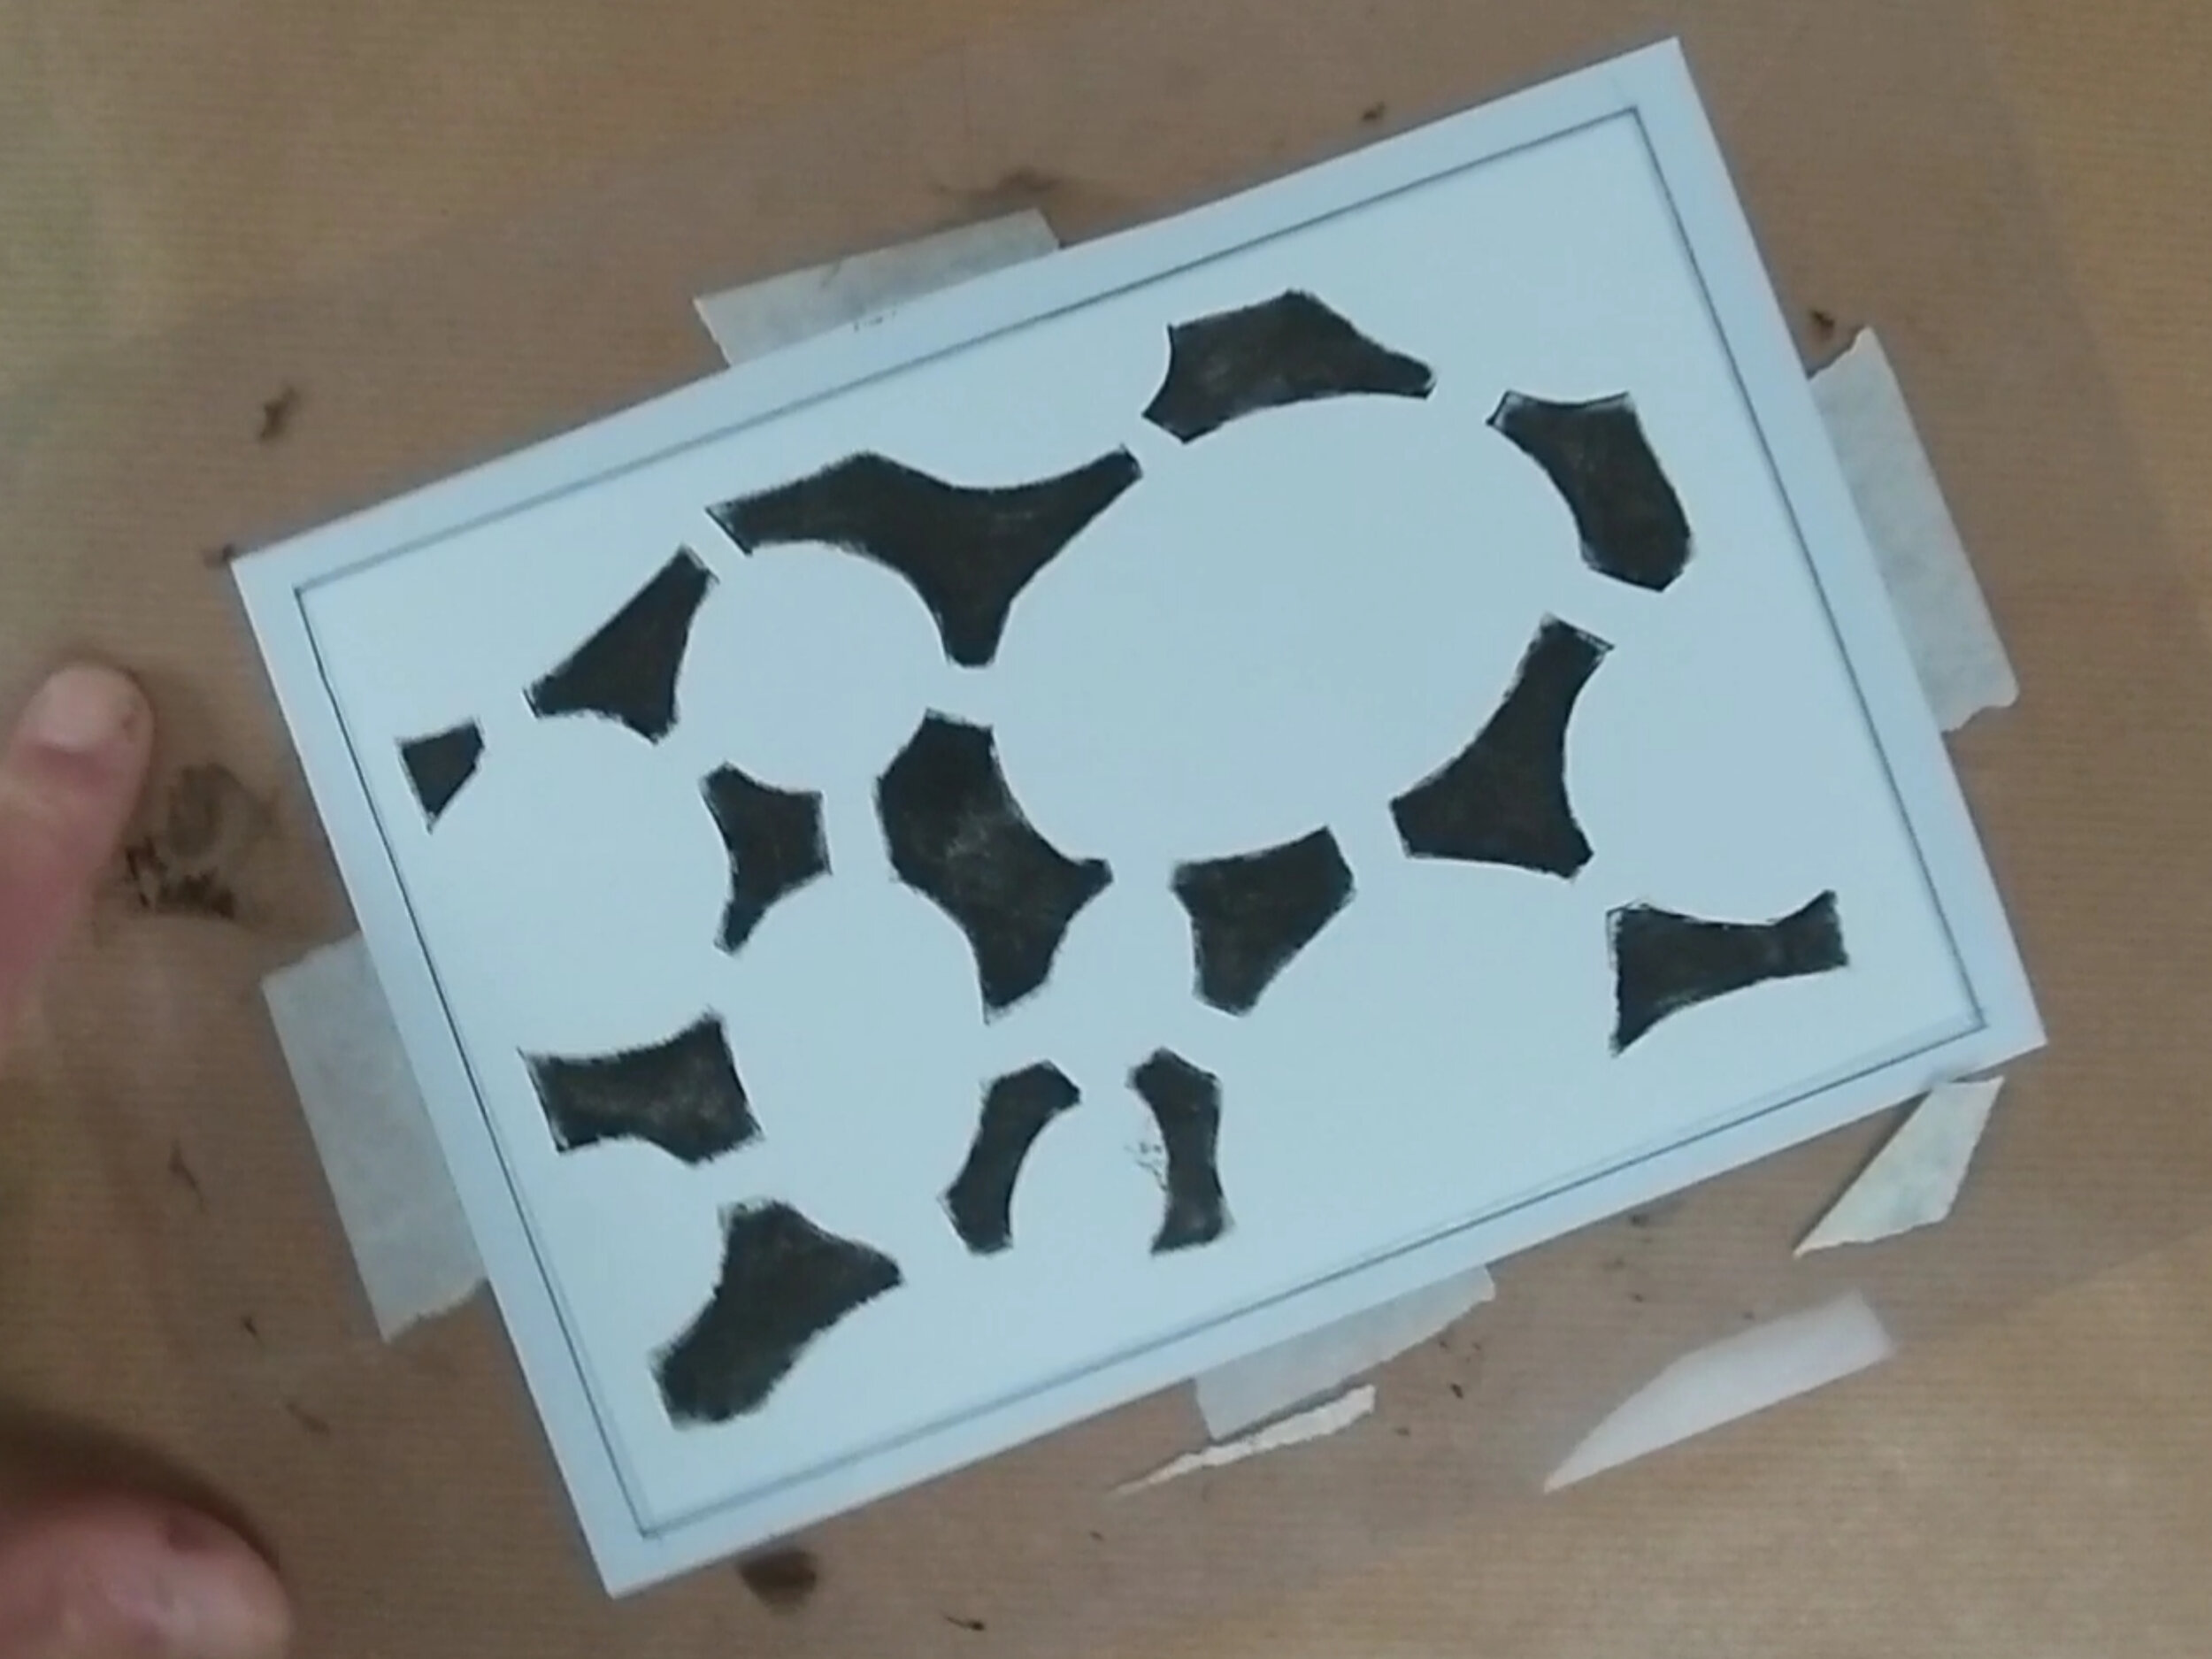
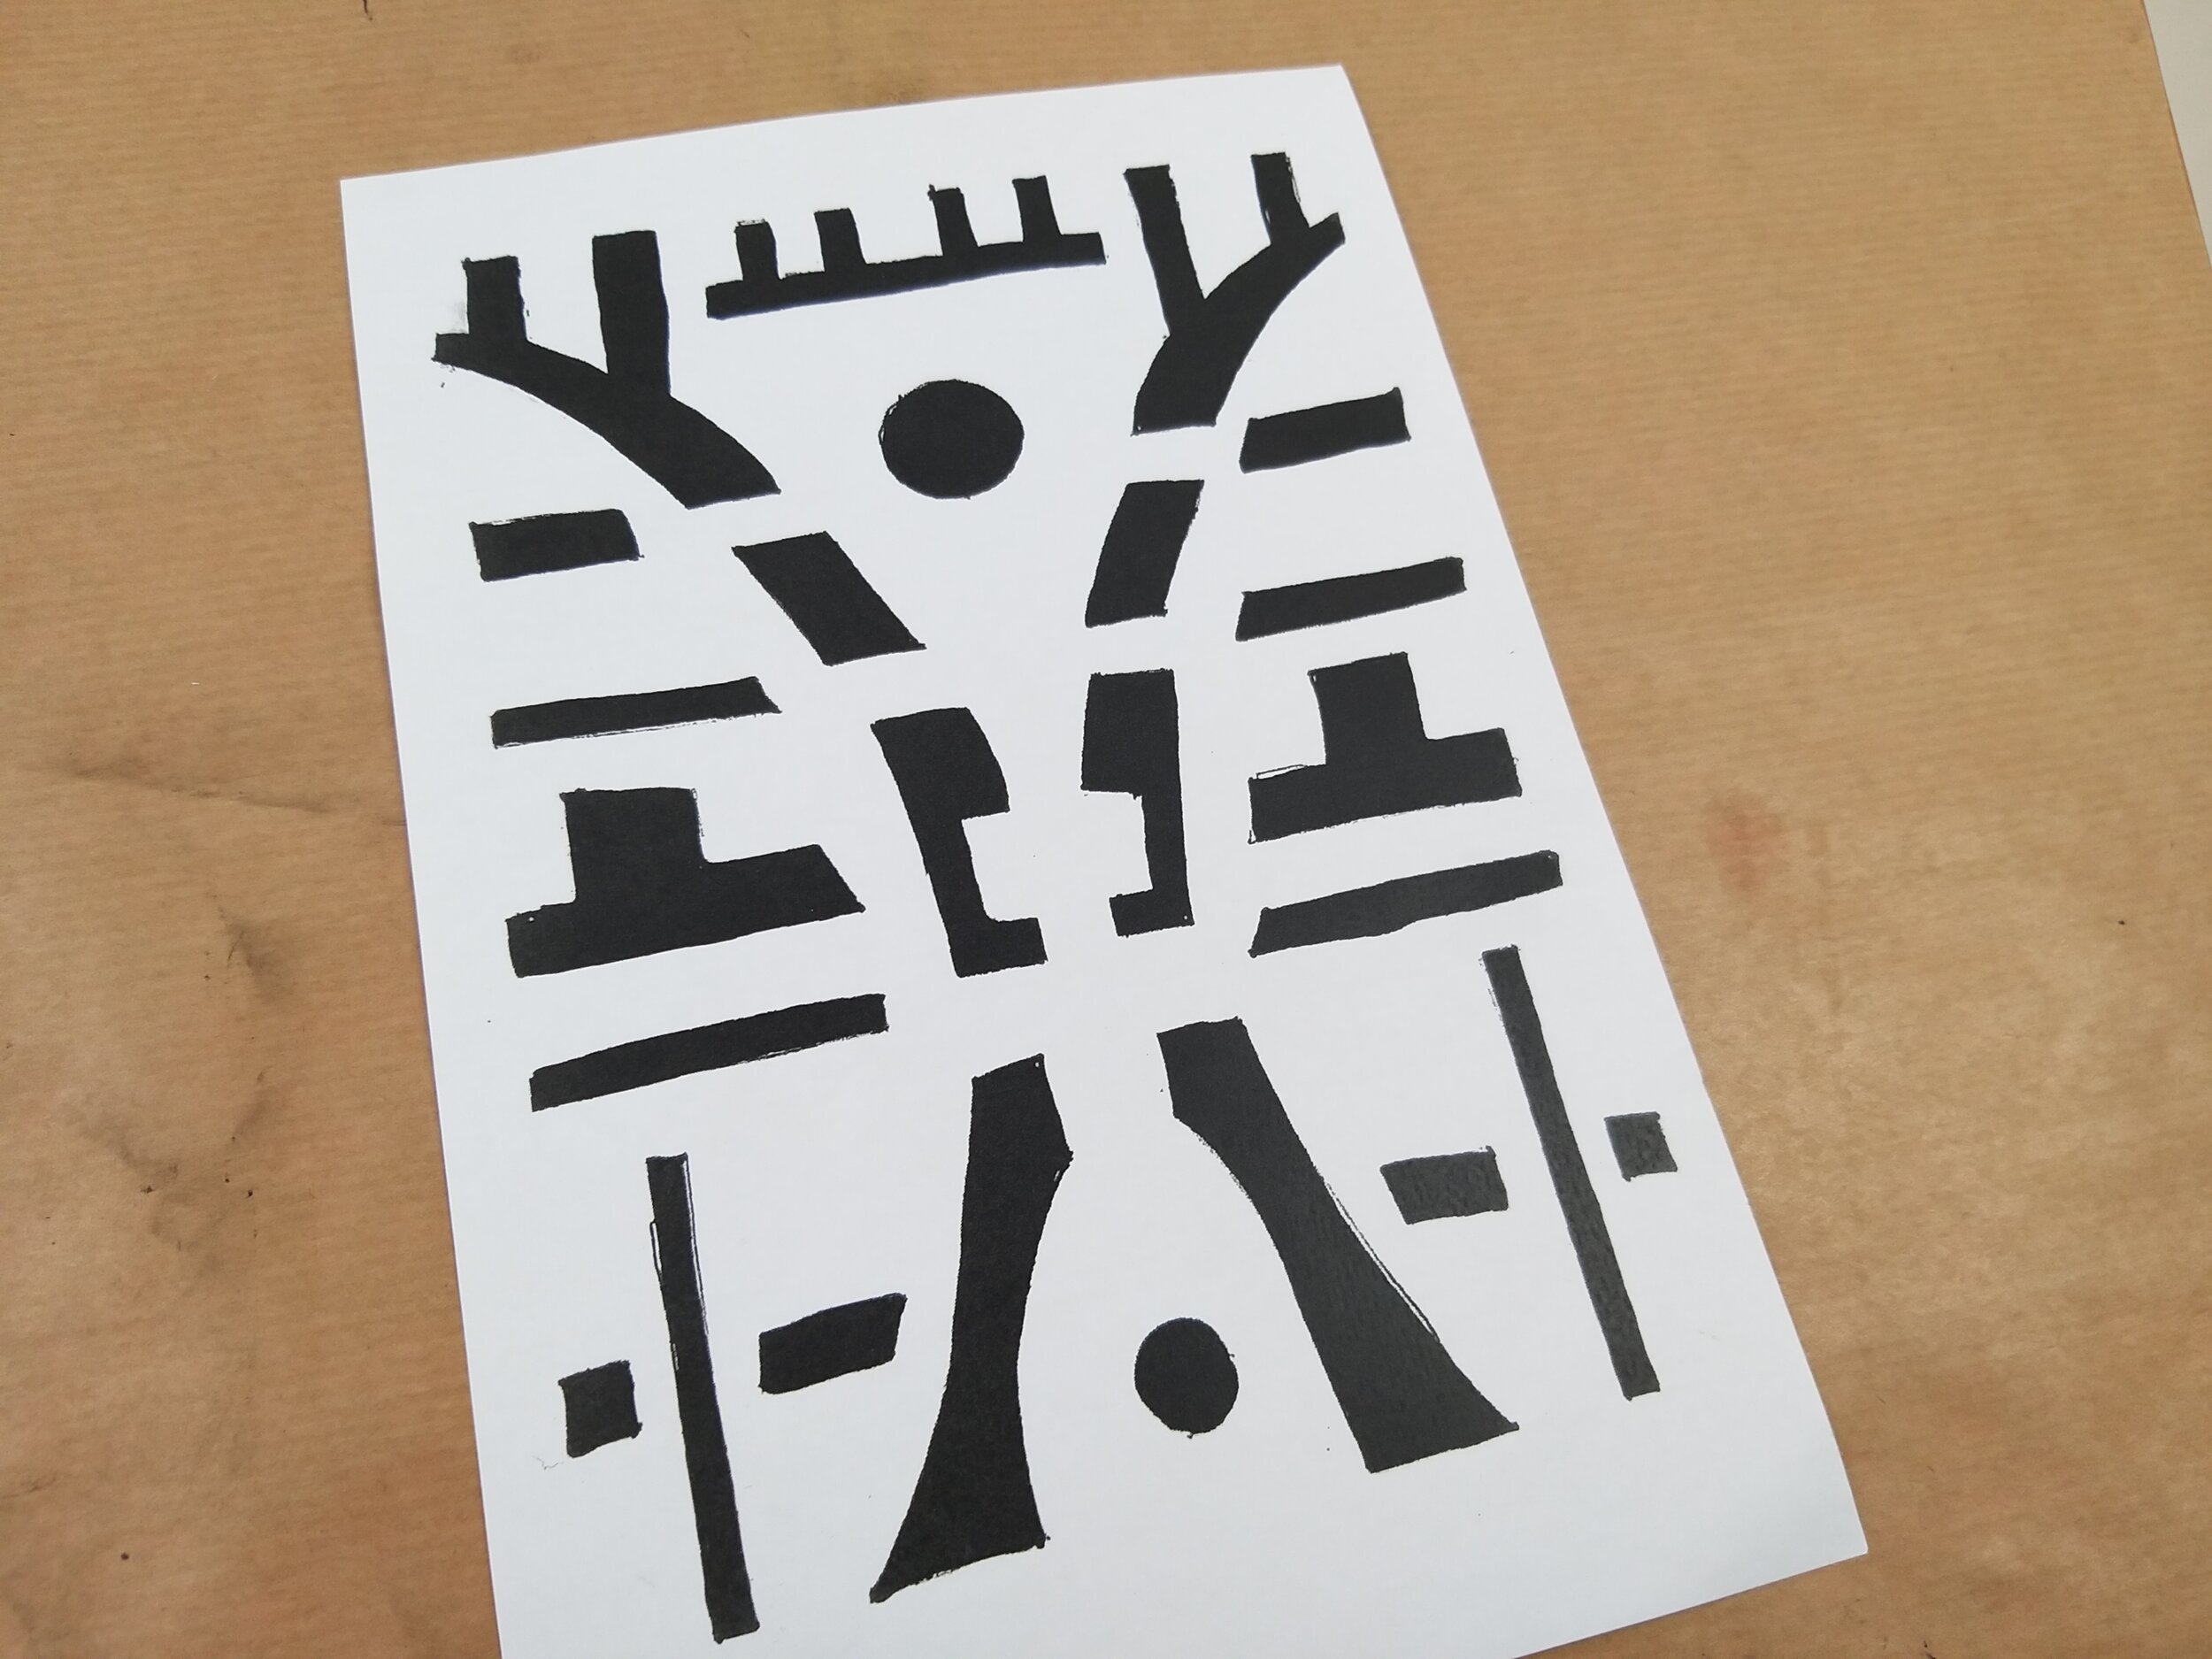
I. STONES Use this image as a guide to completing the project.
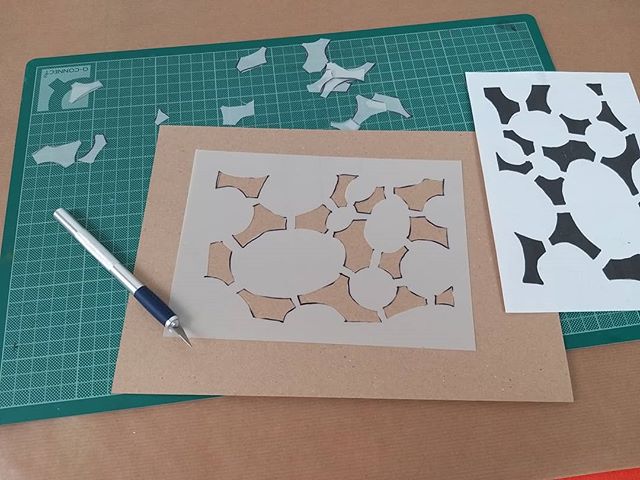
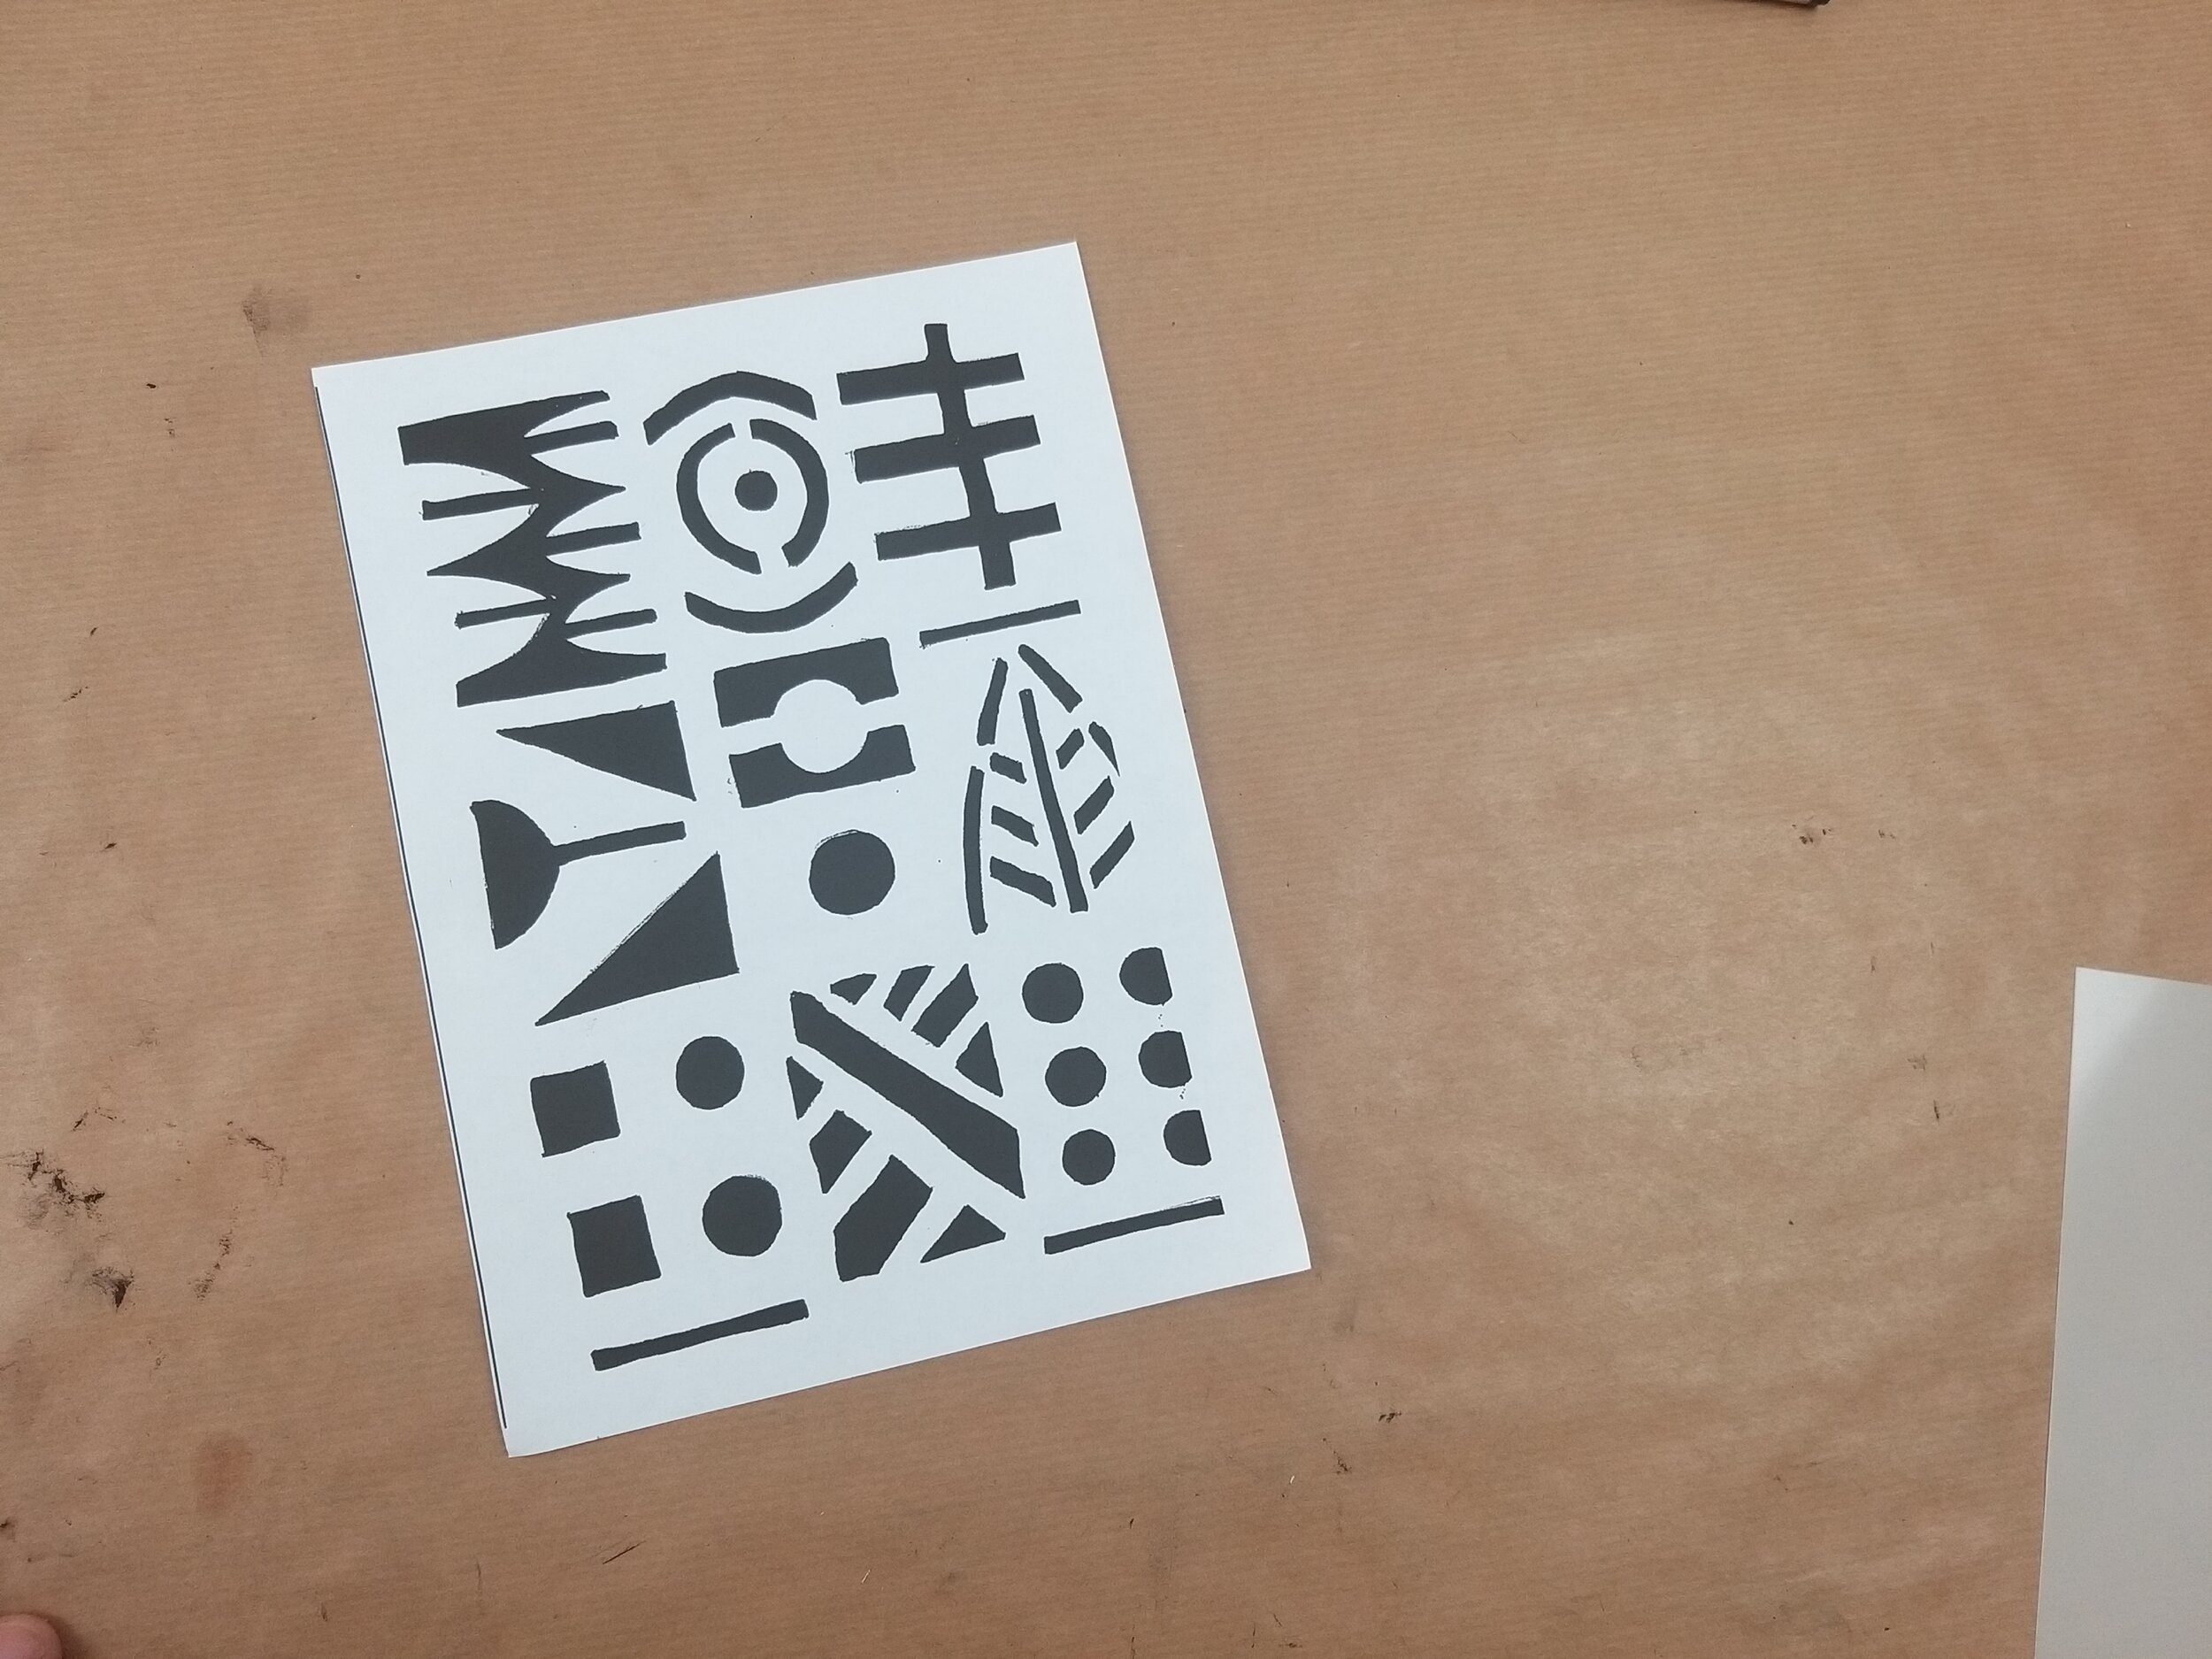
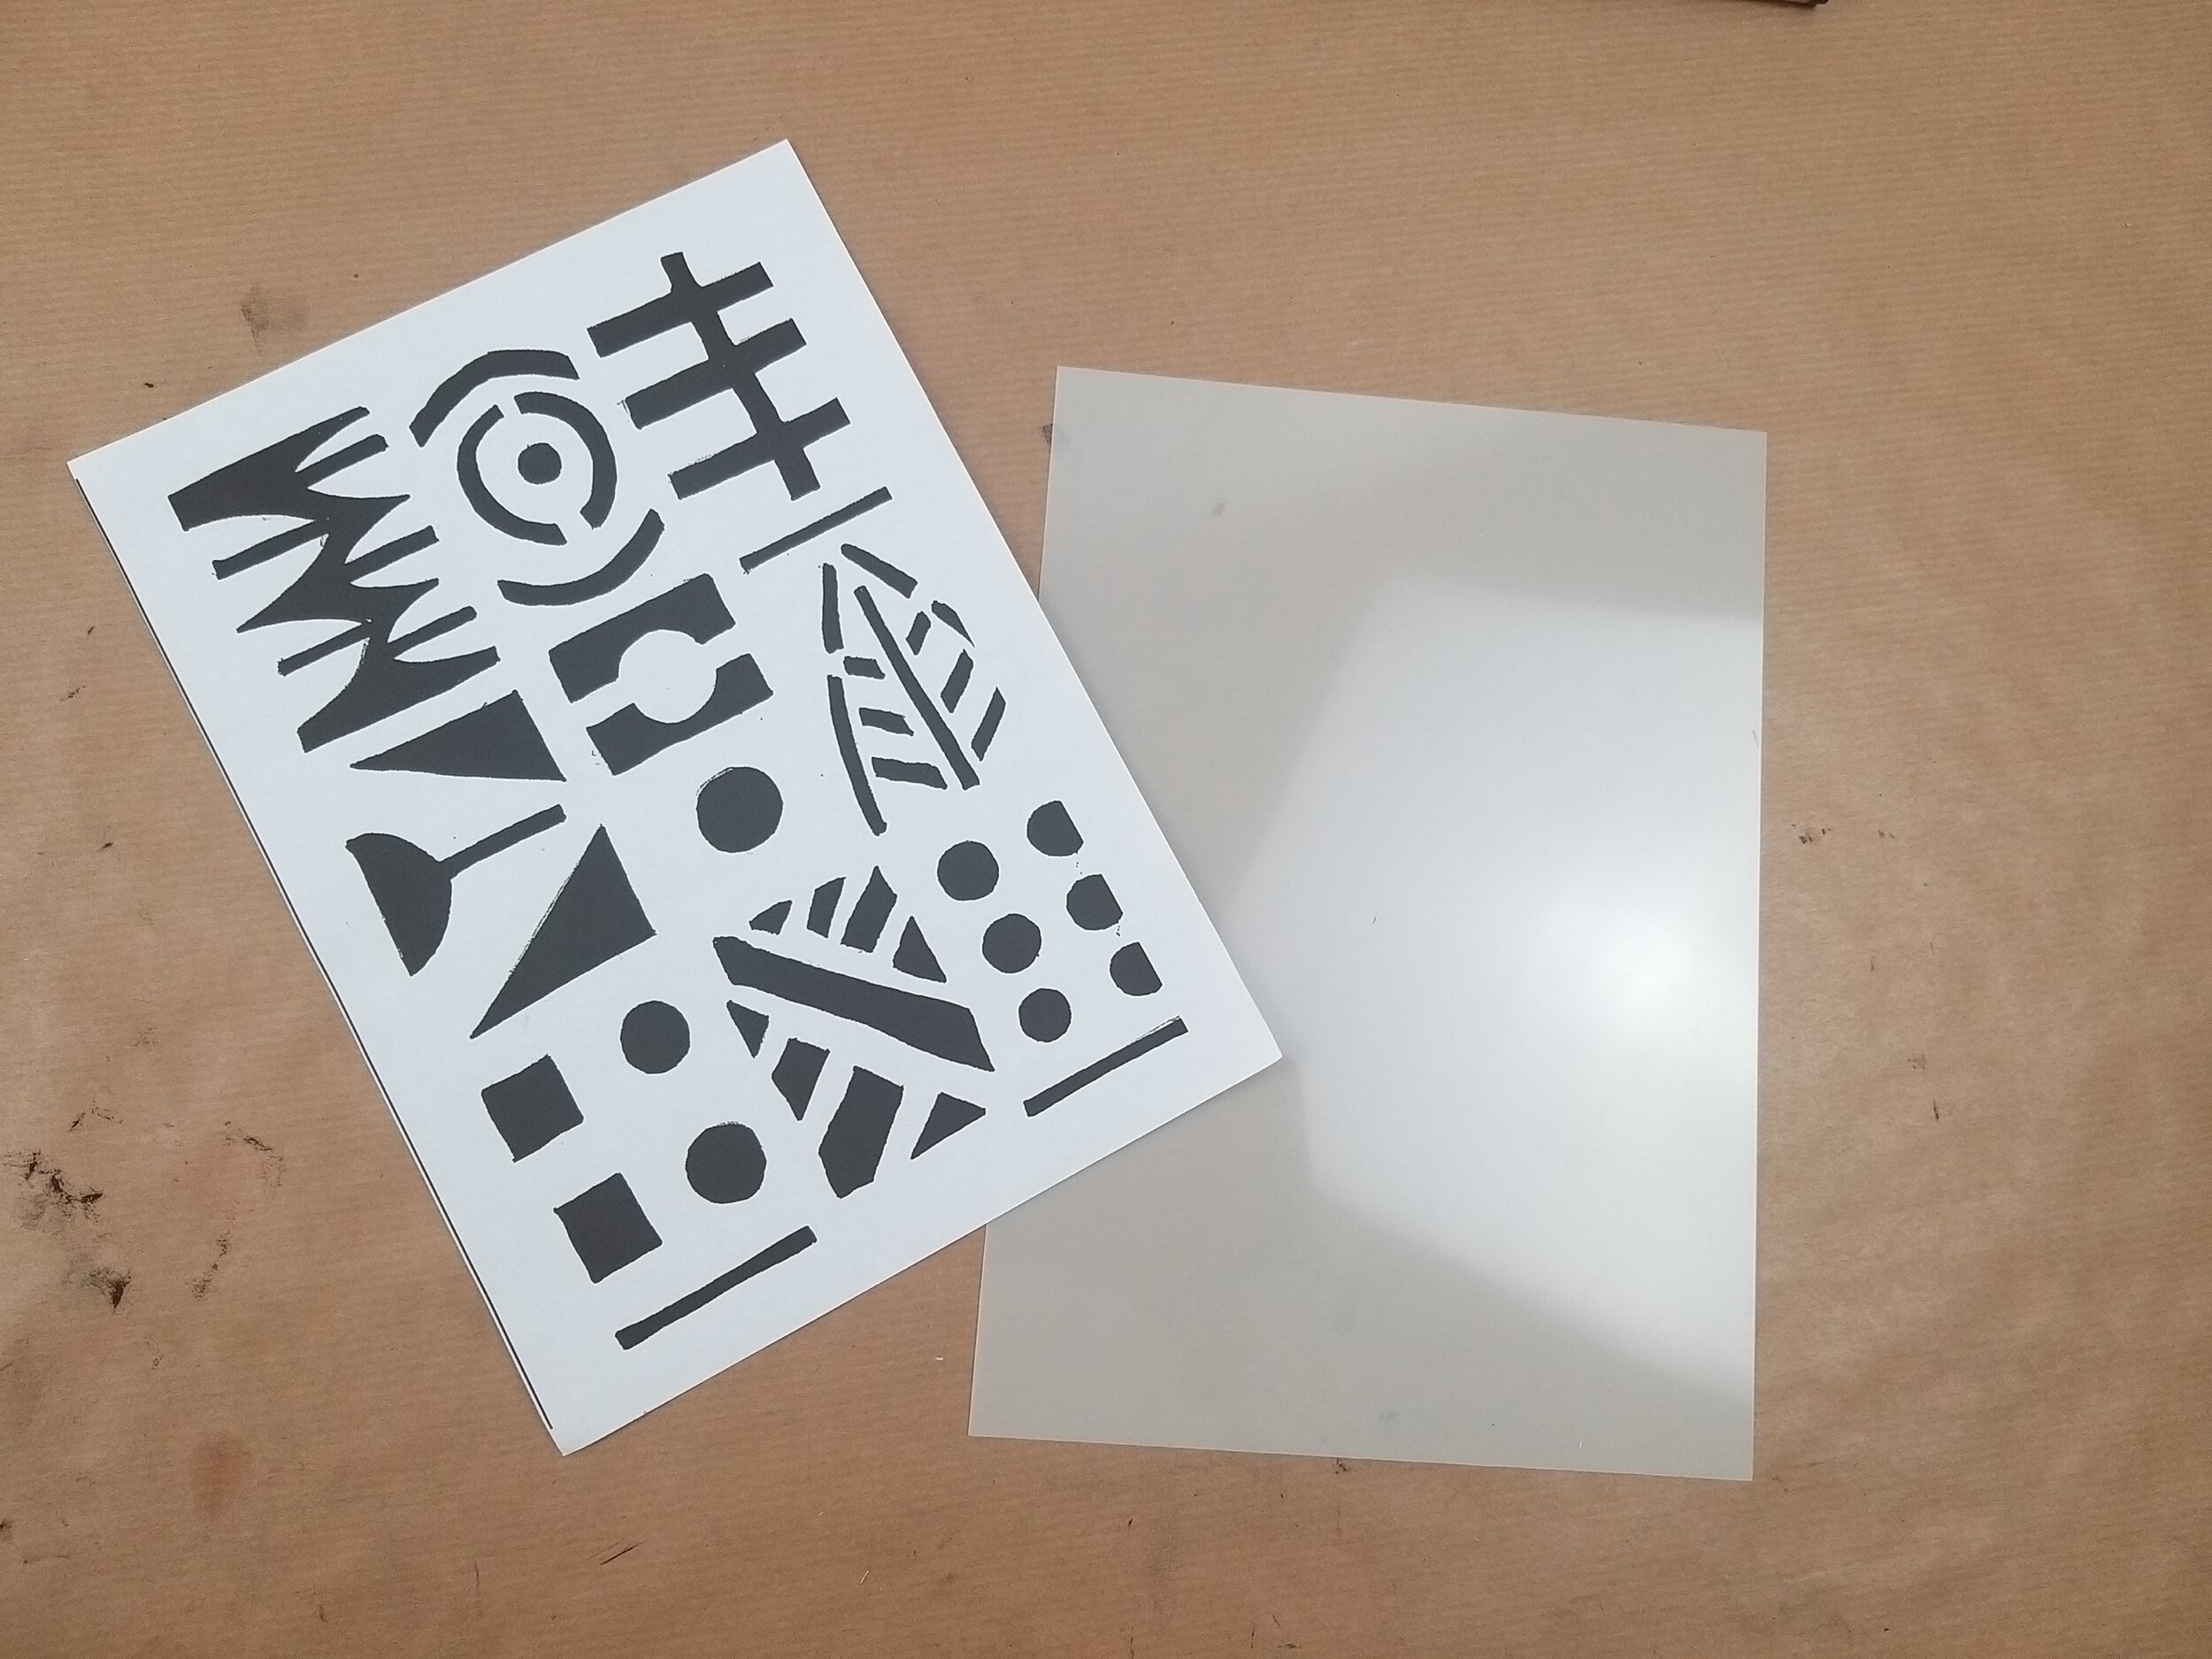
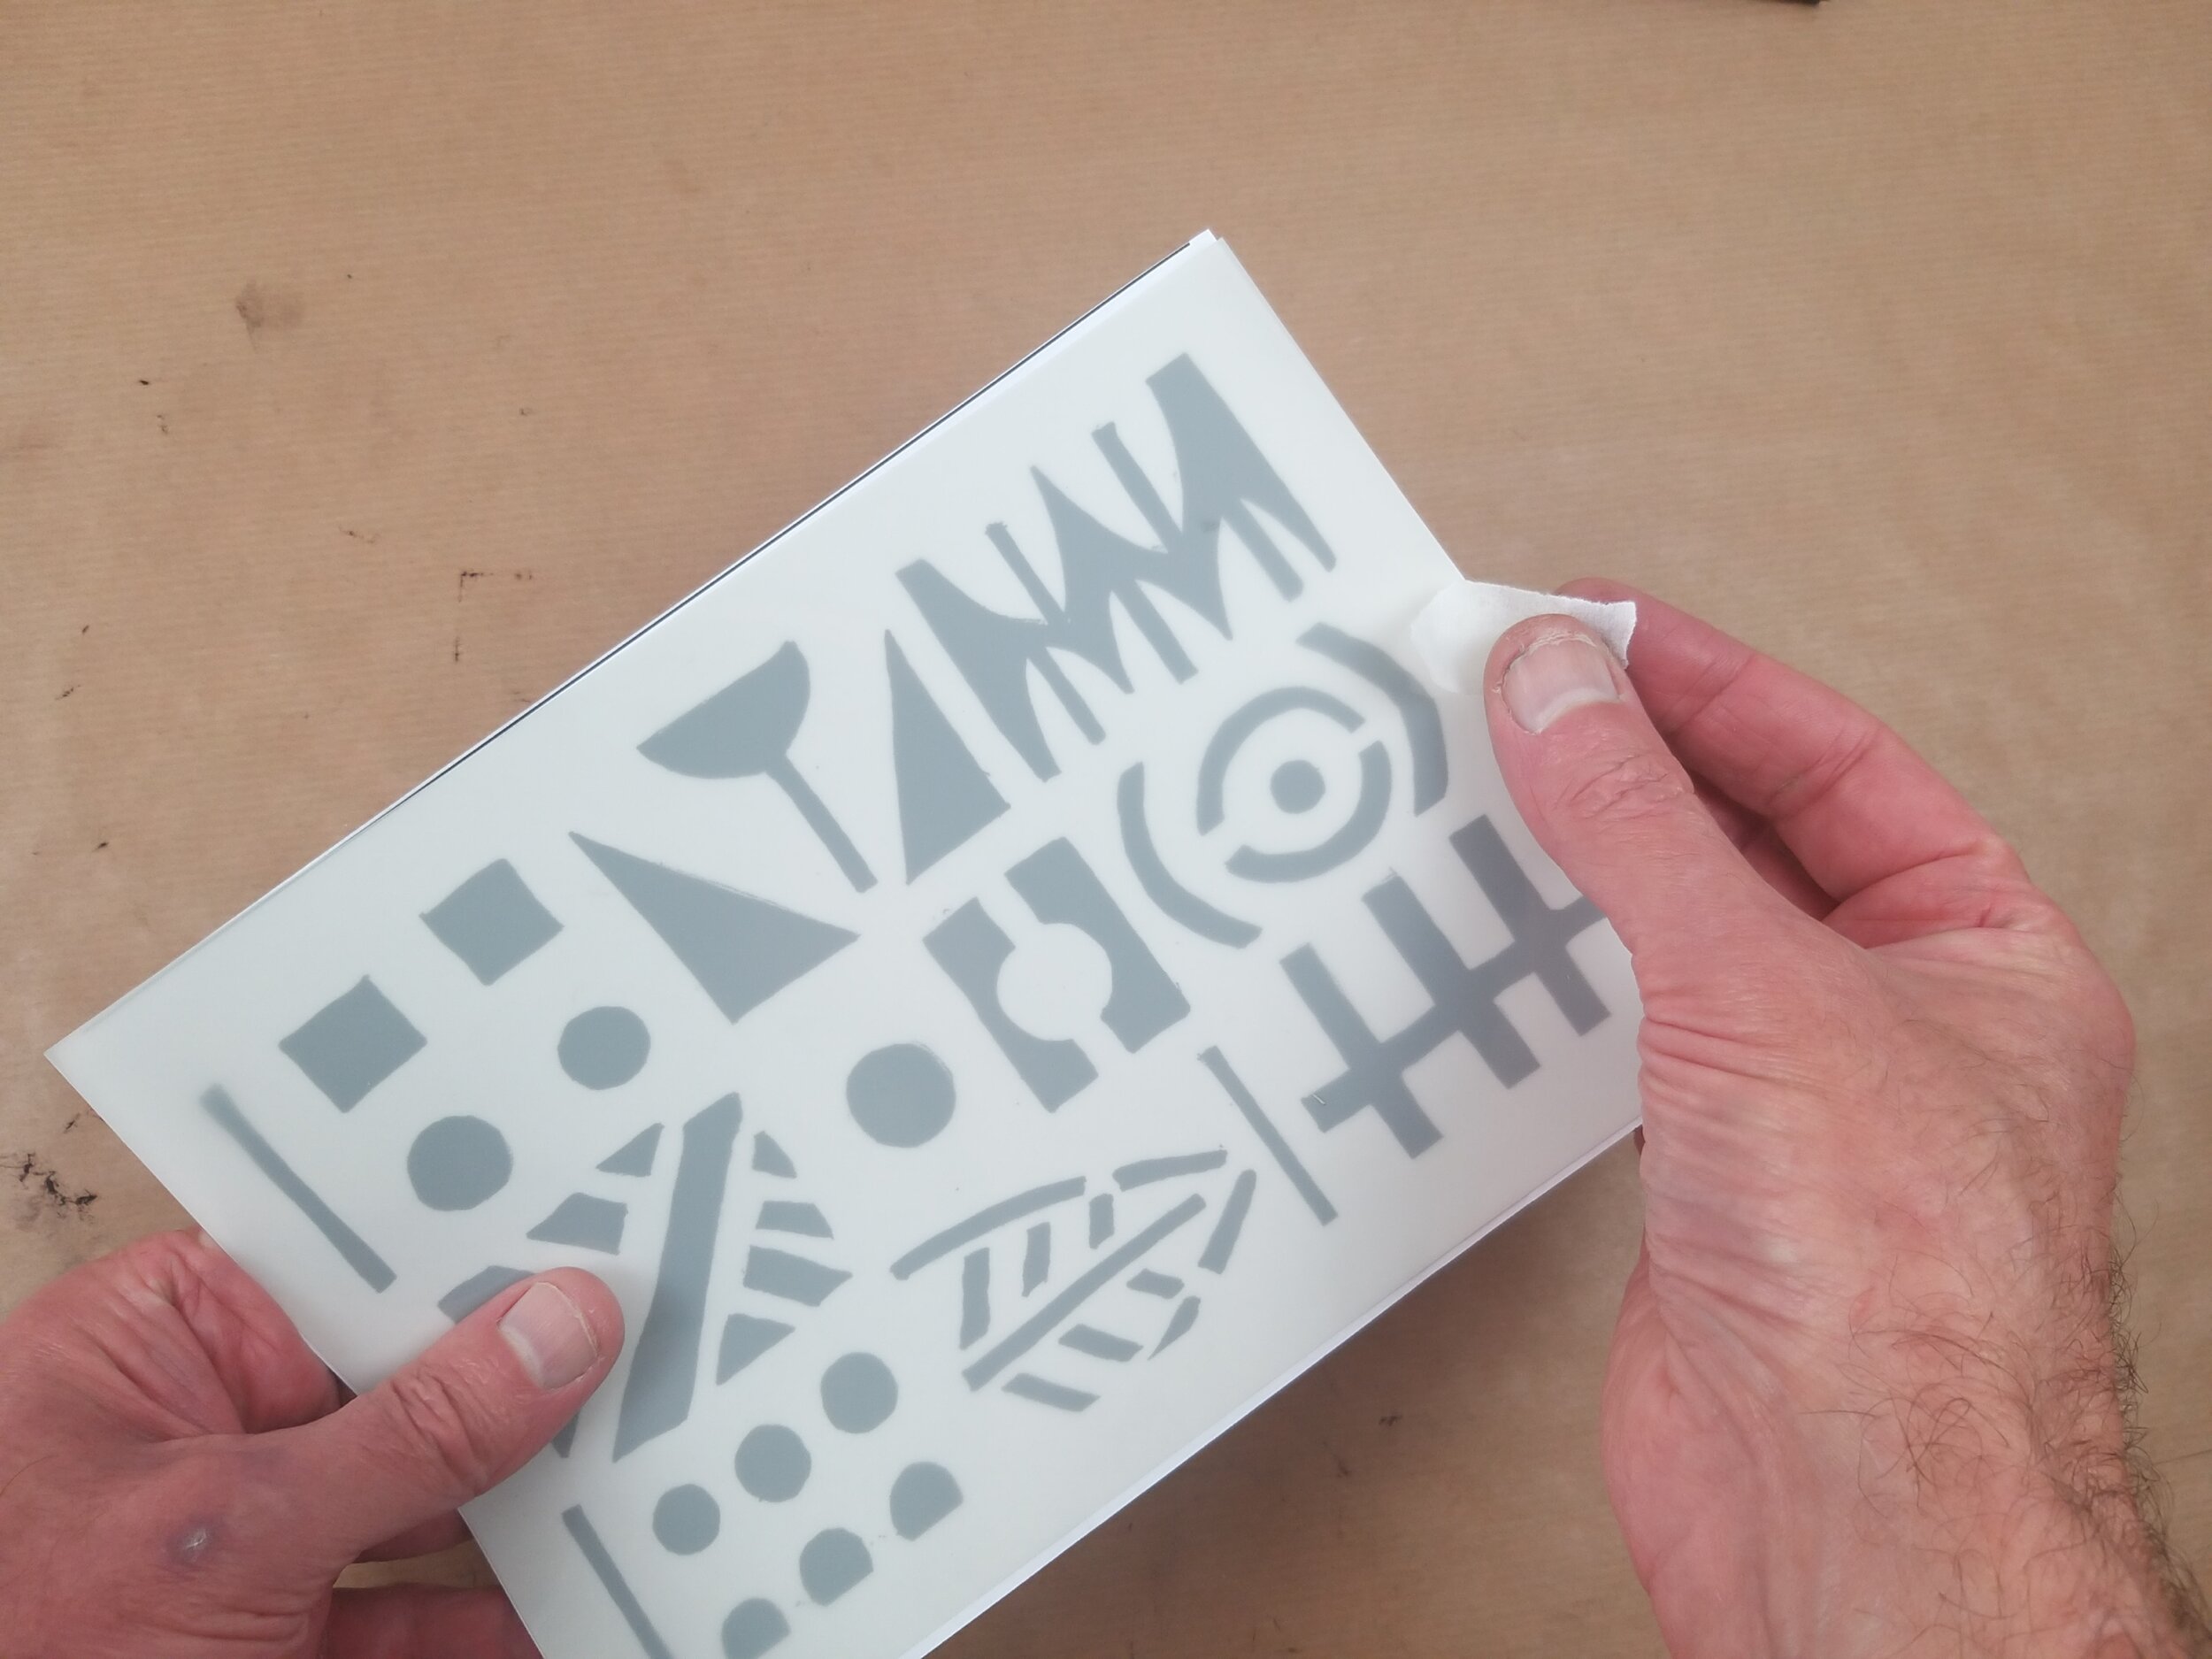
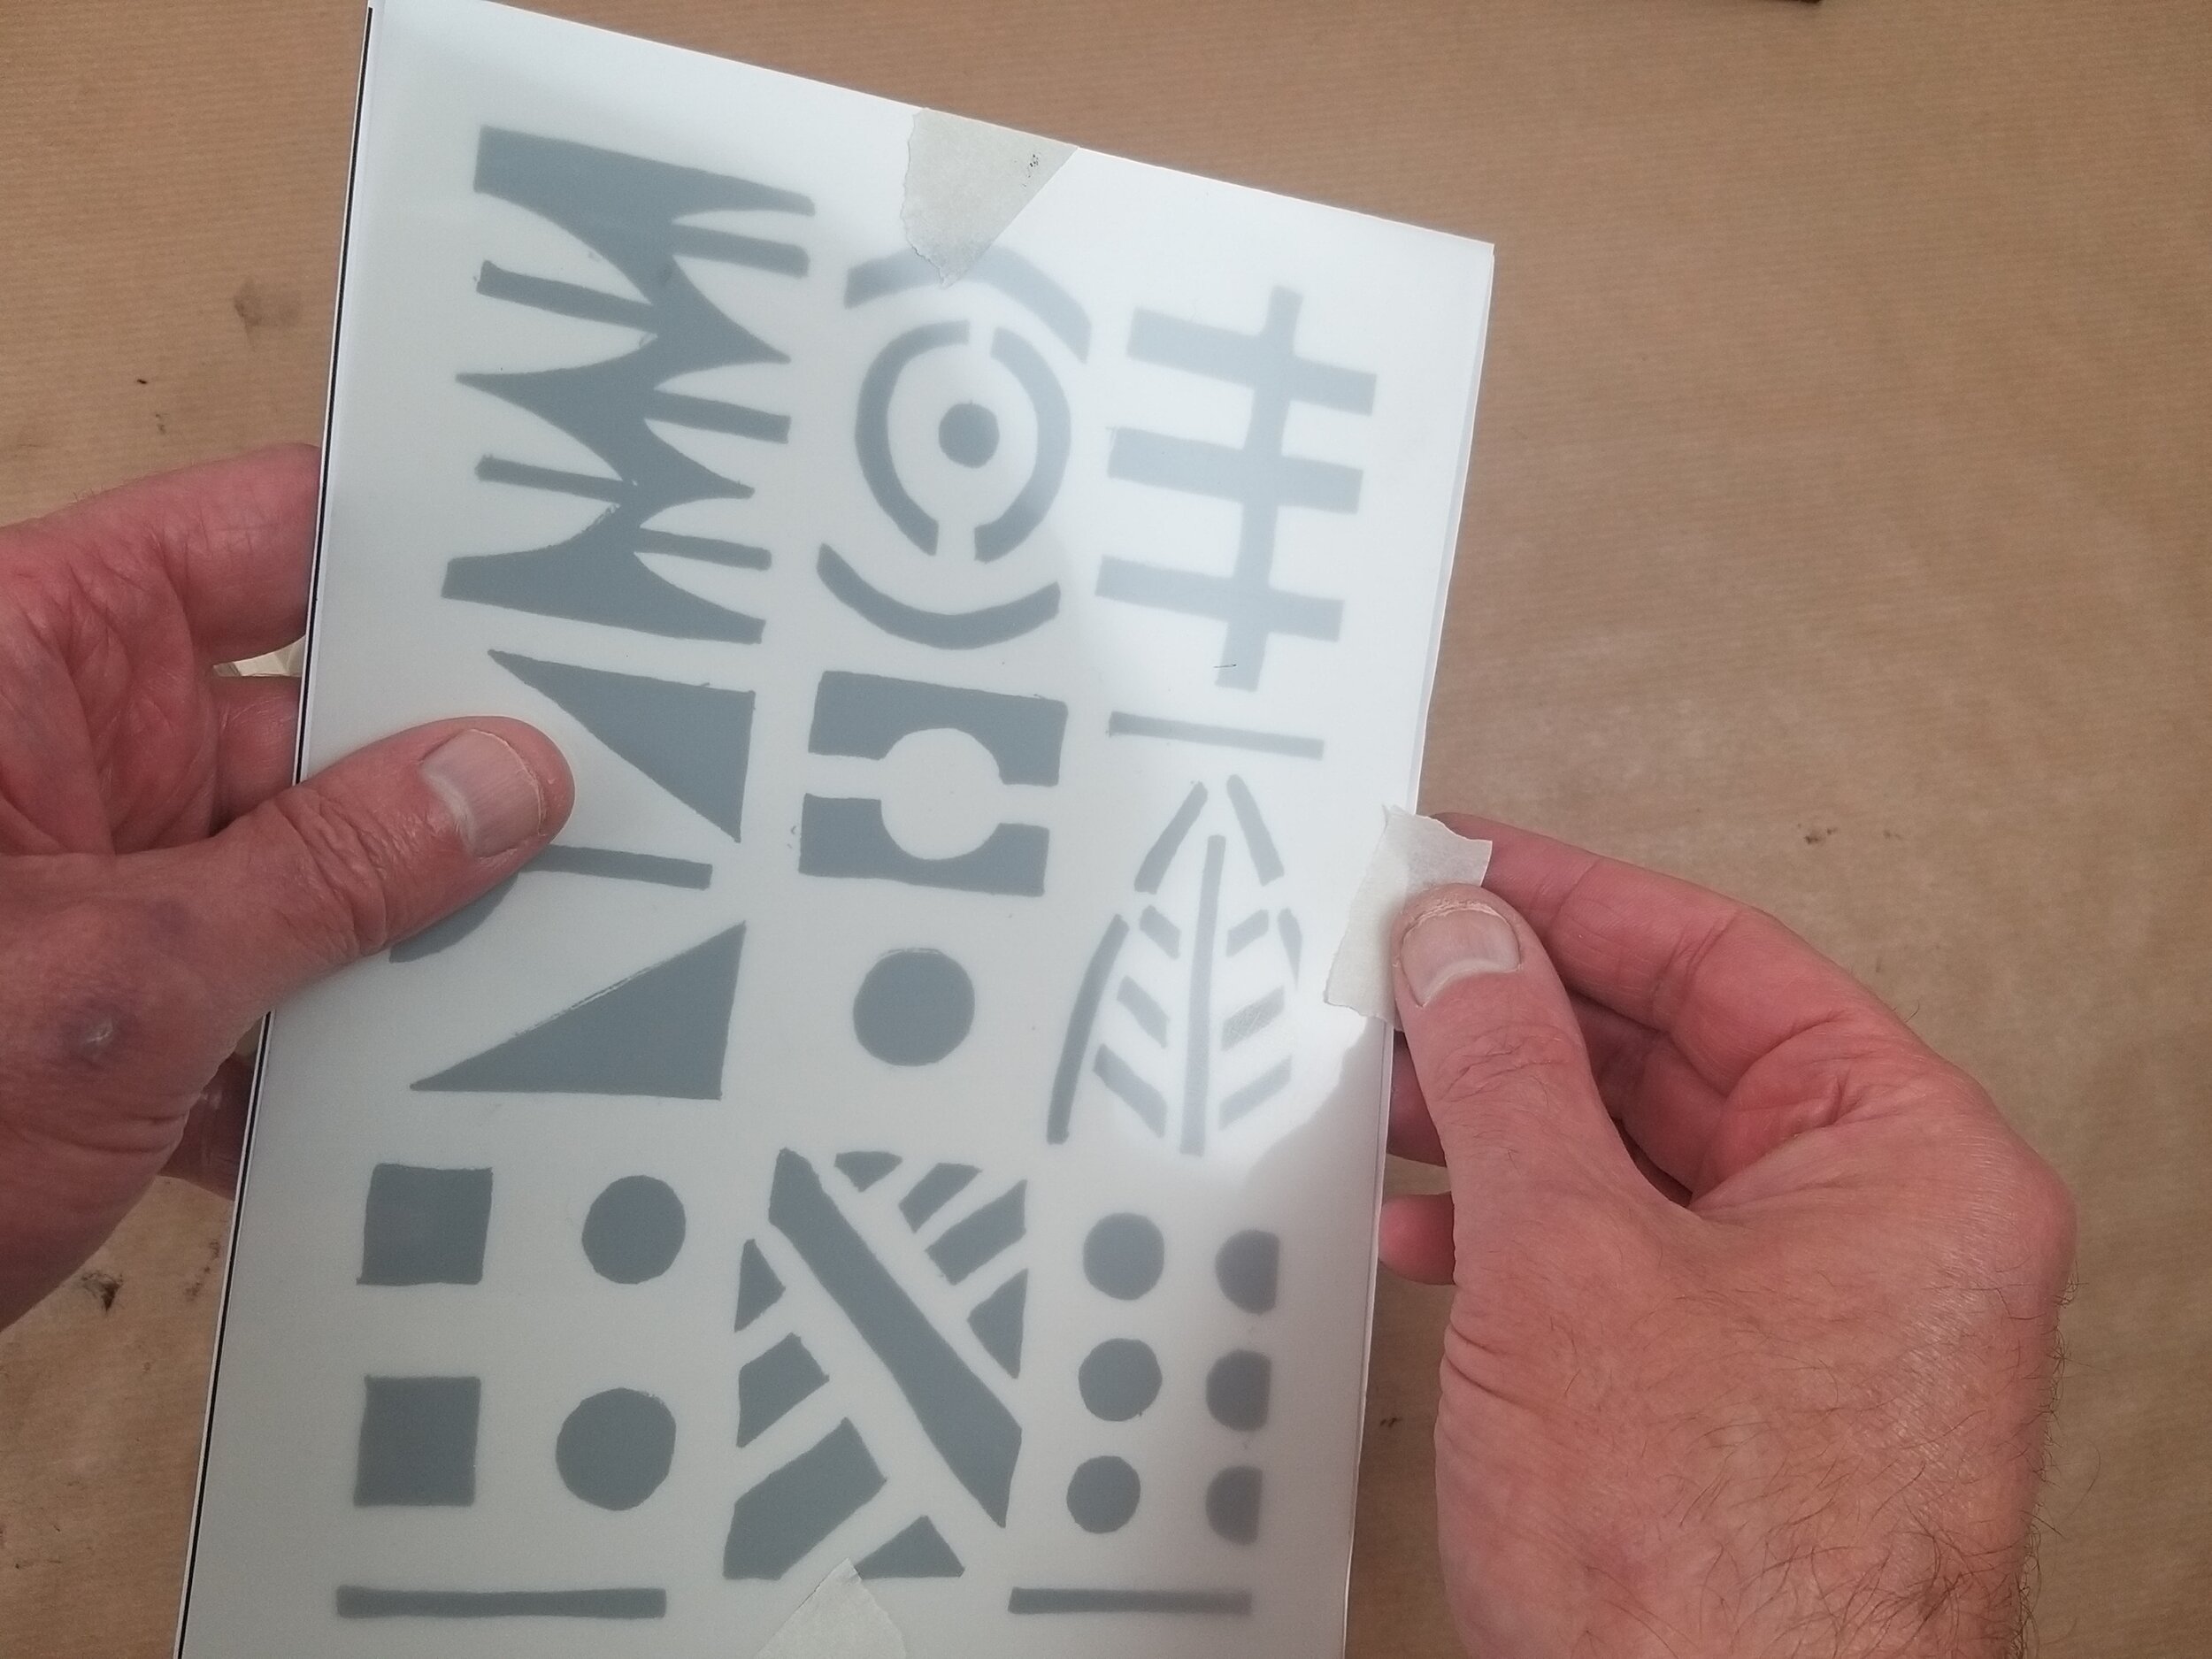
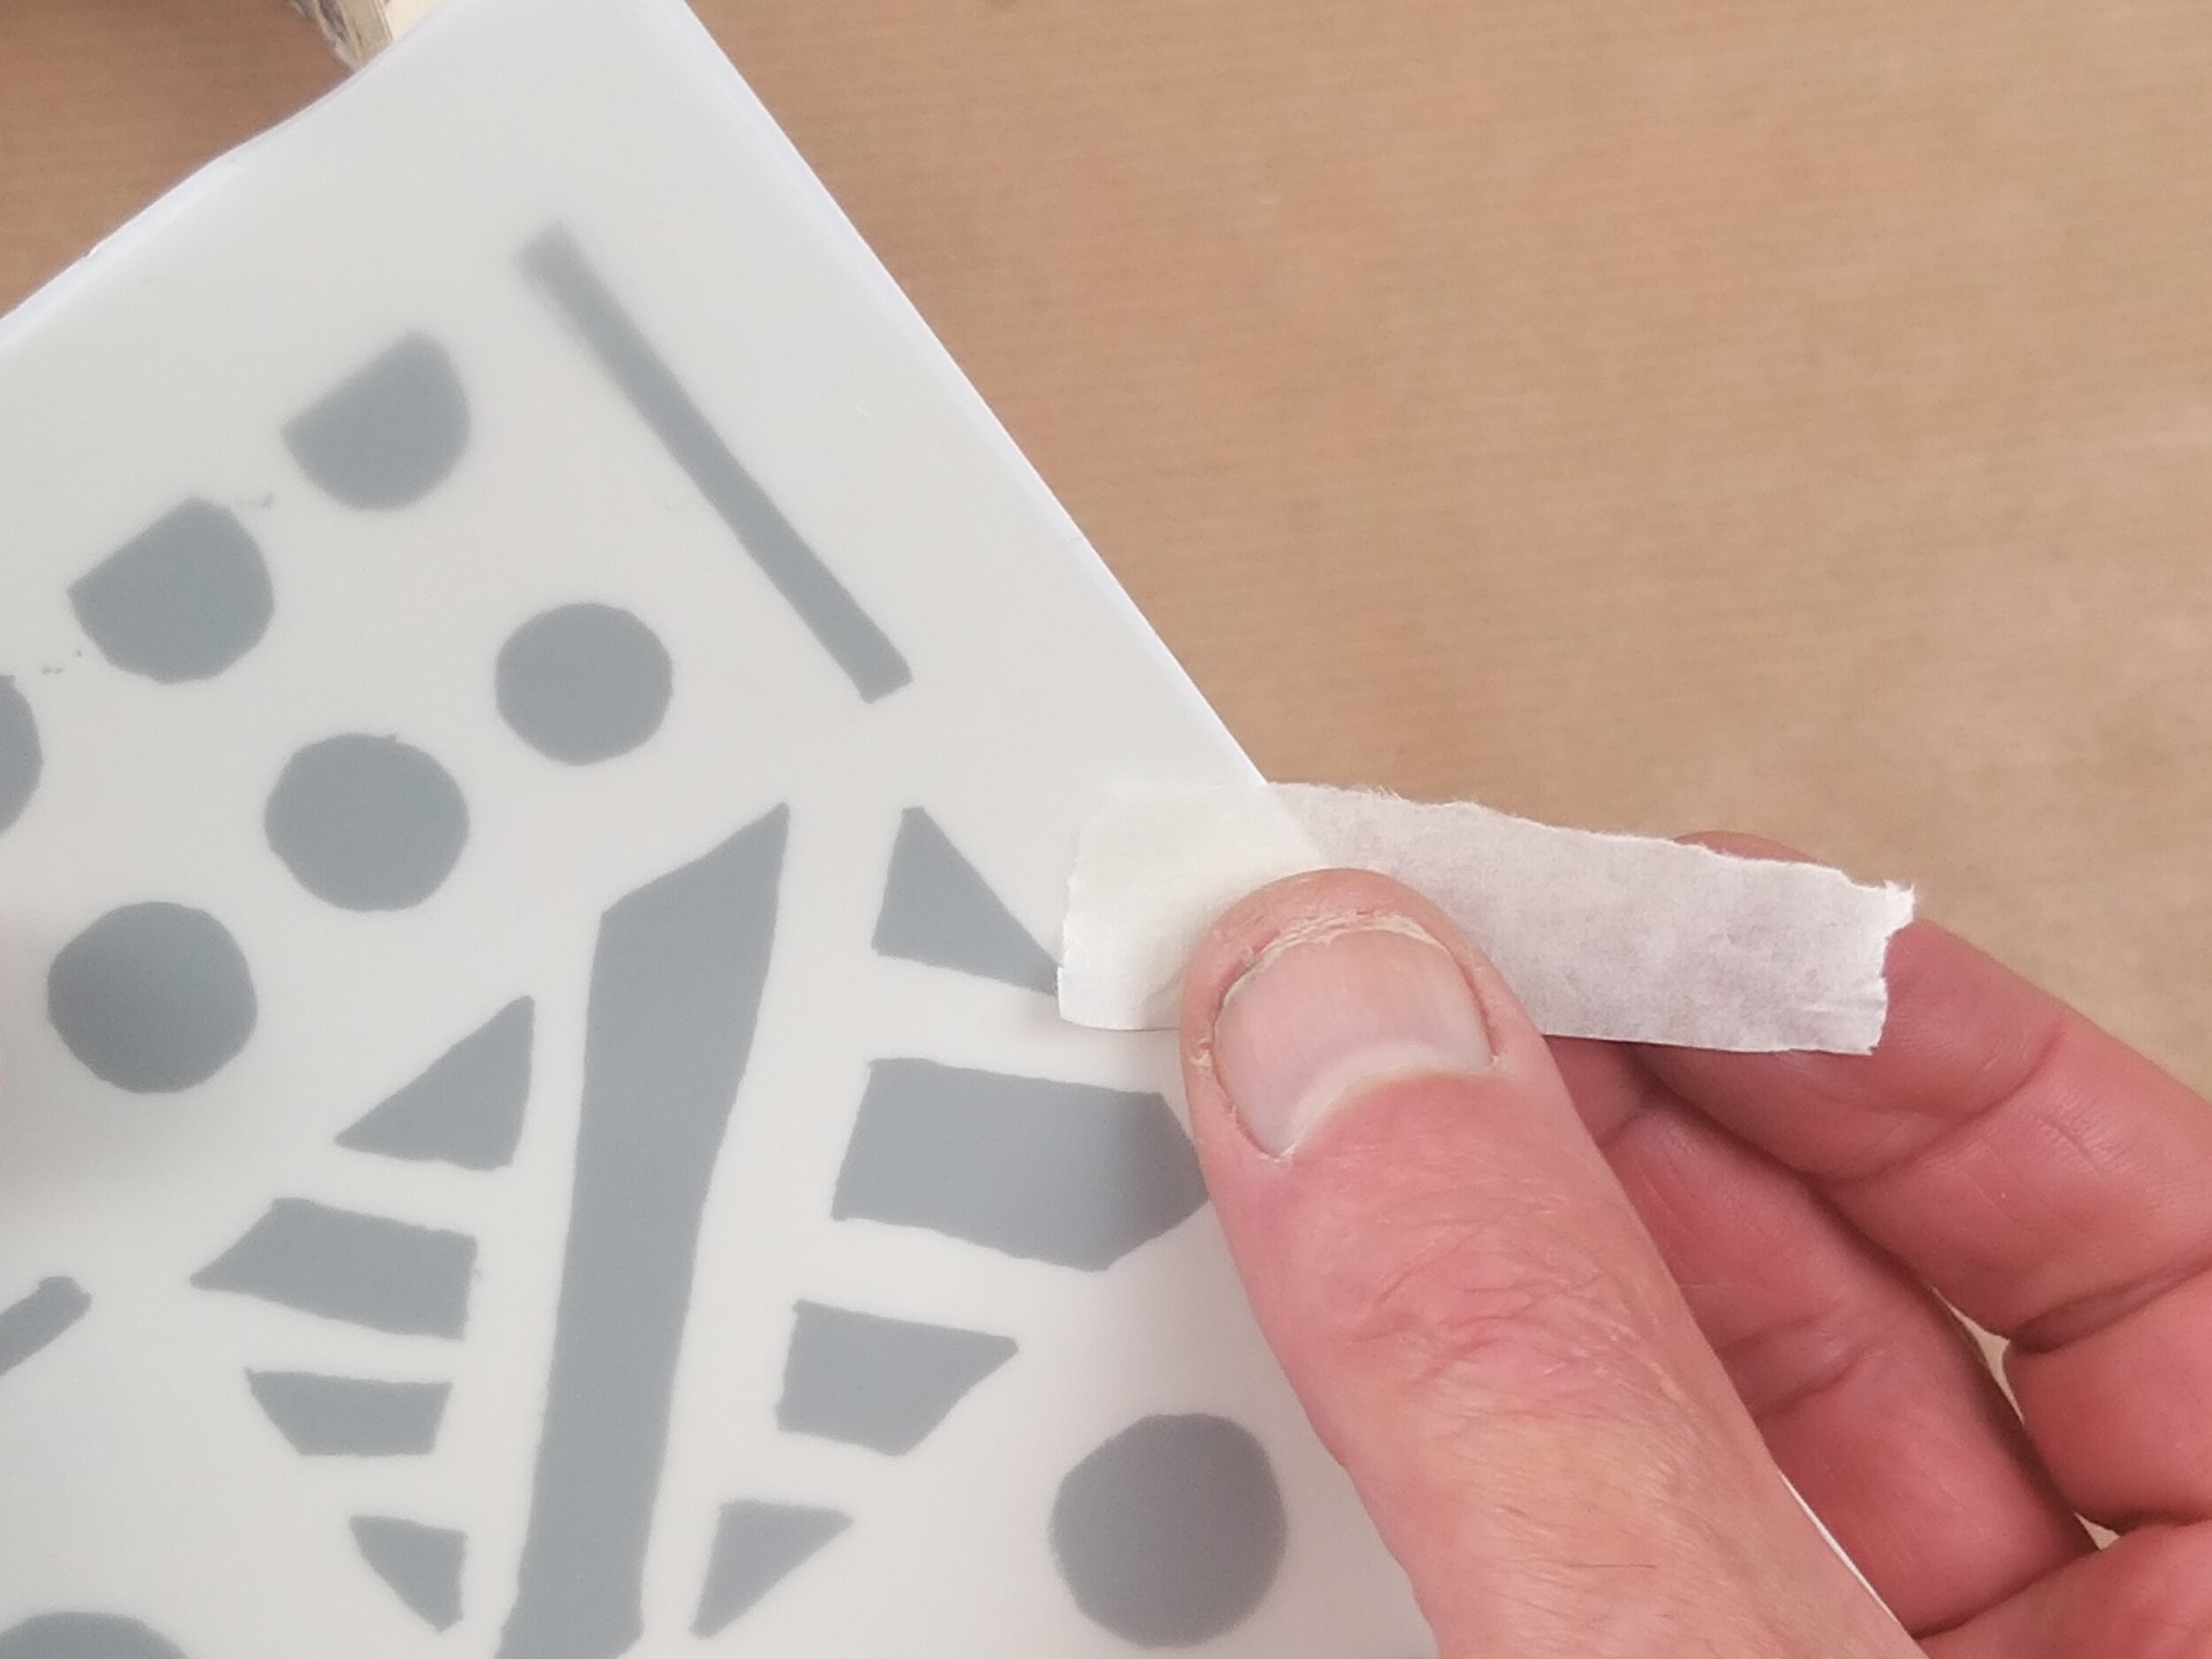
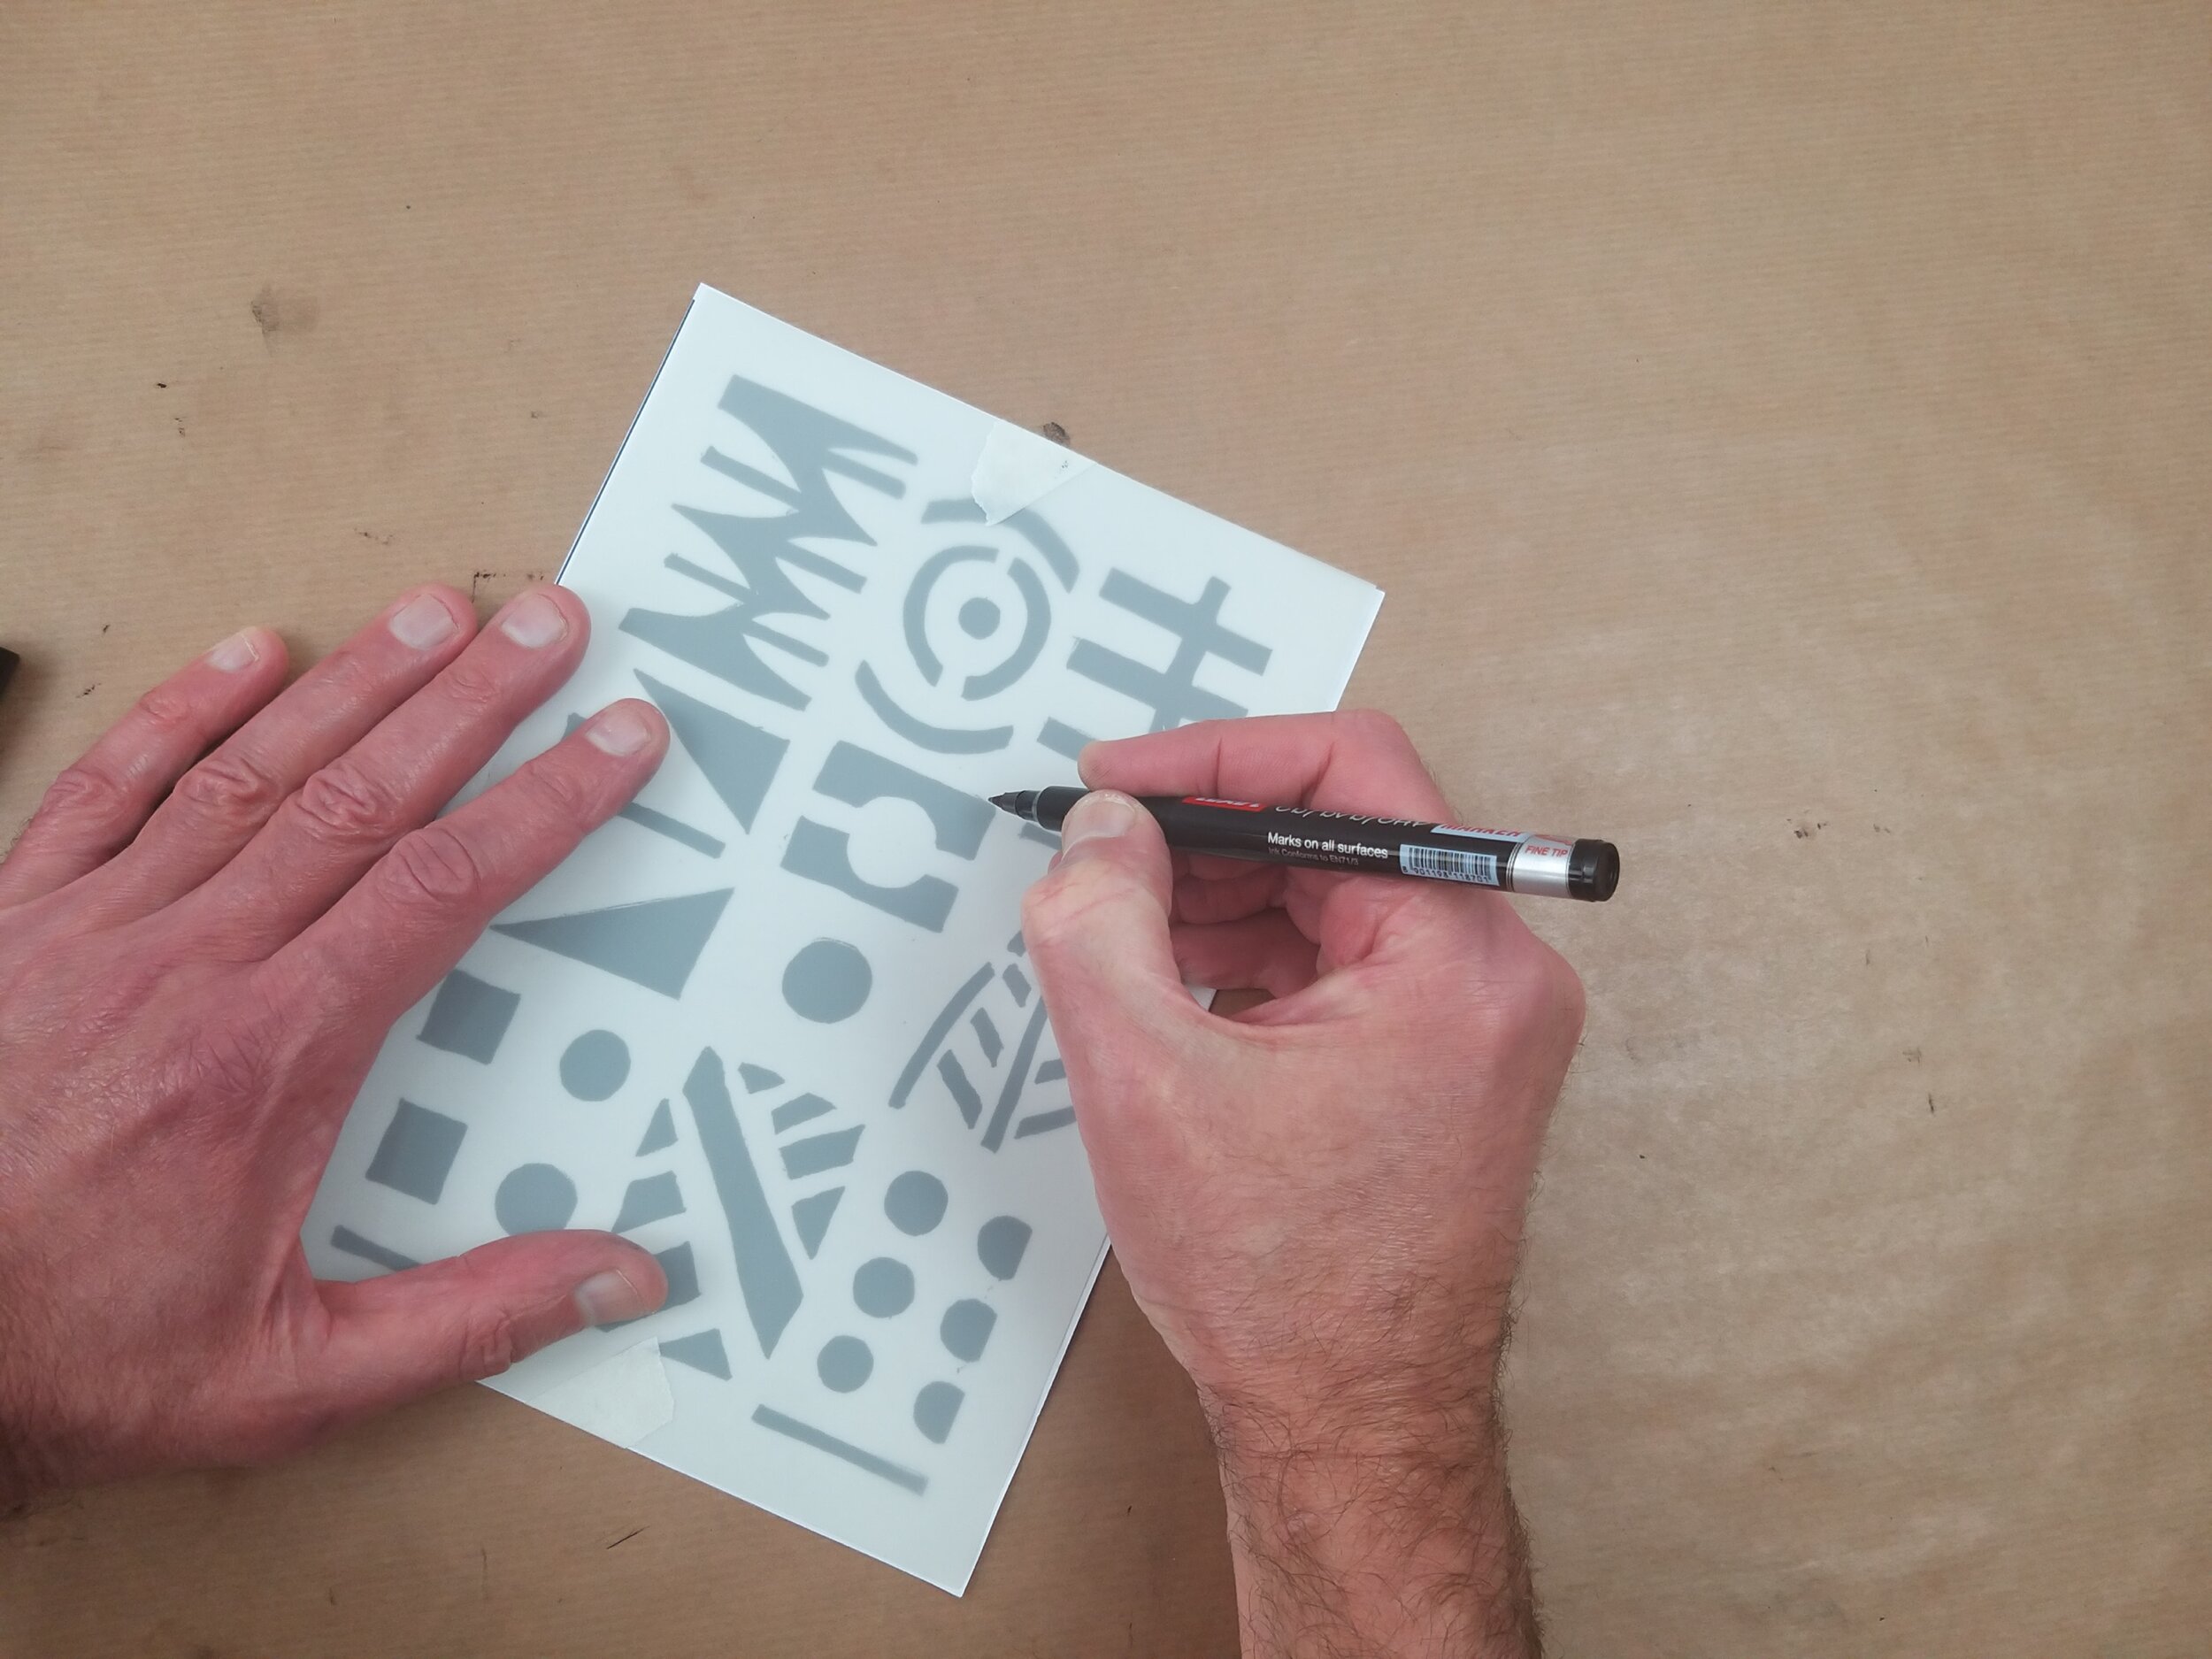
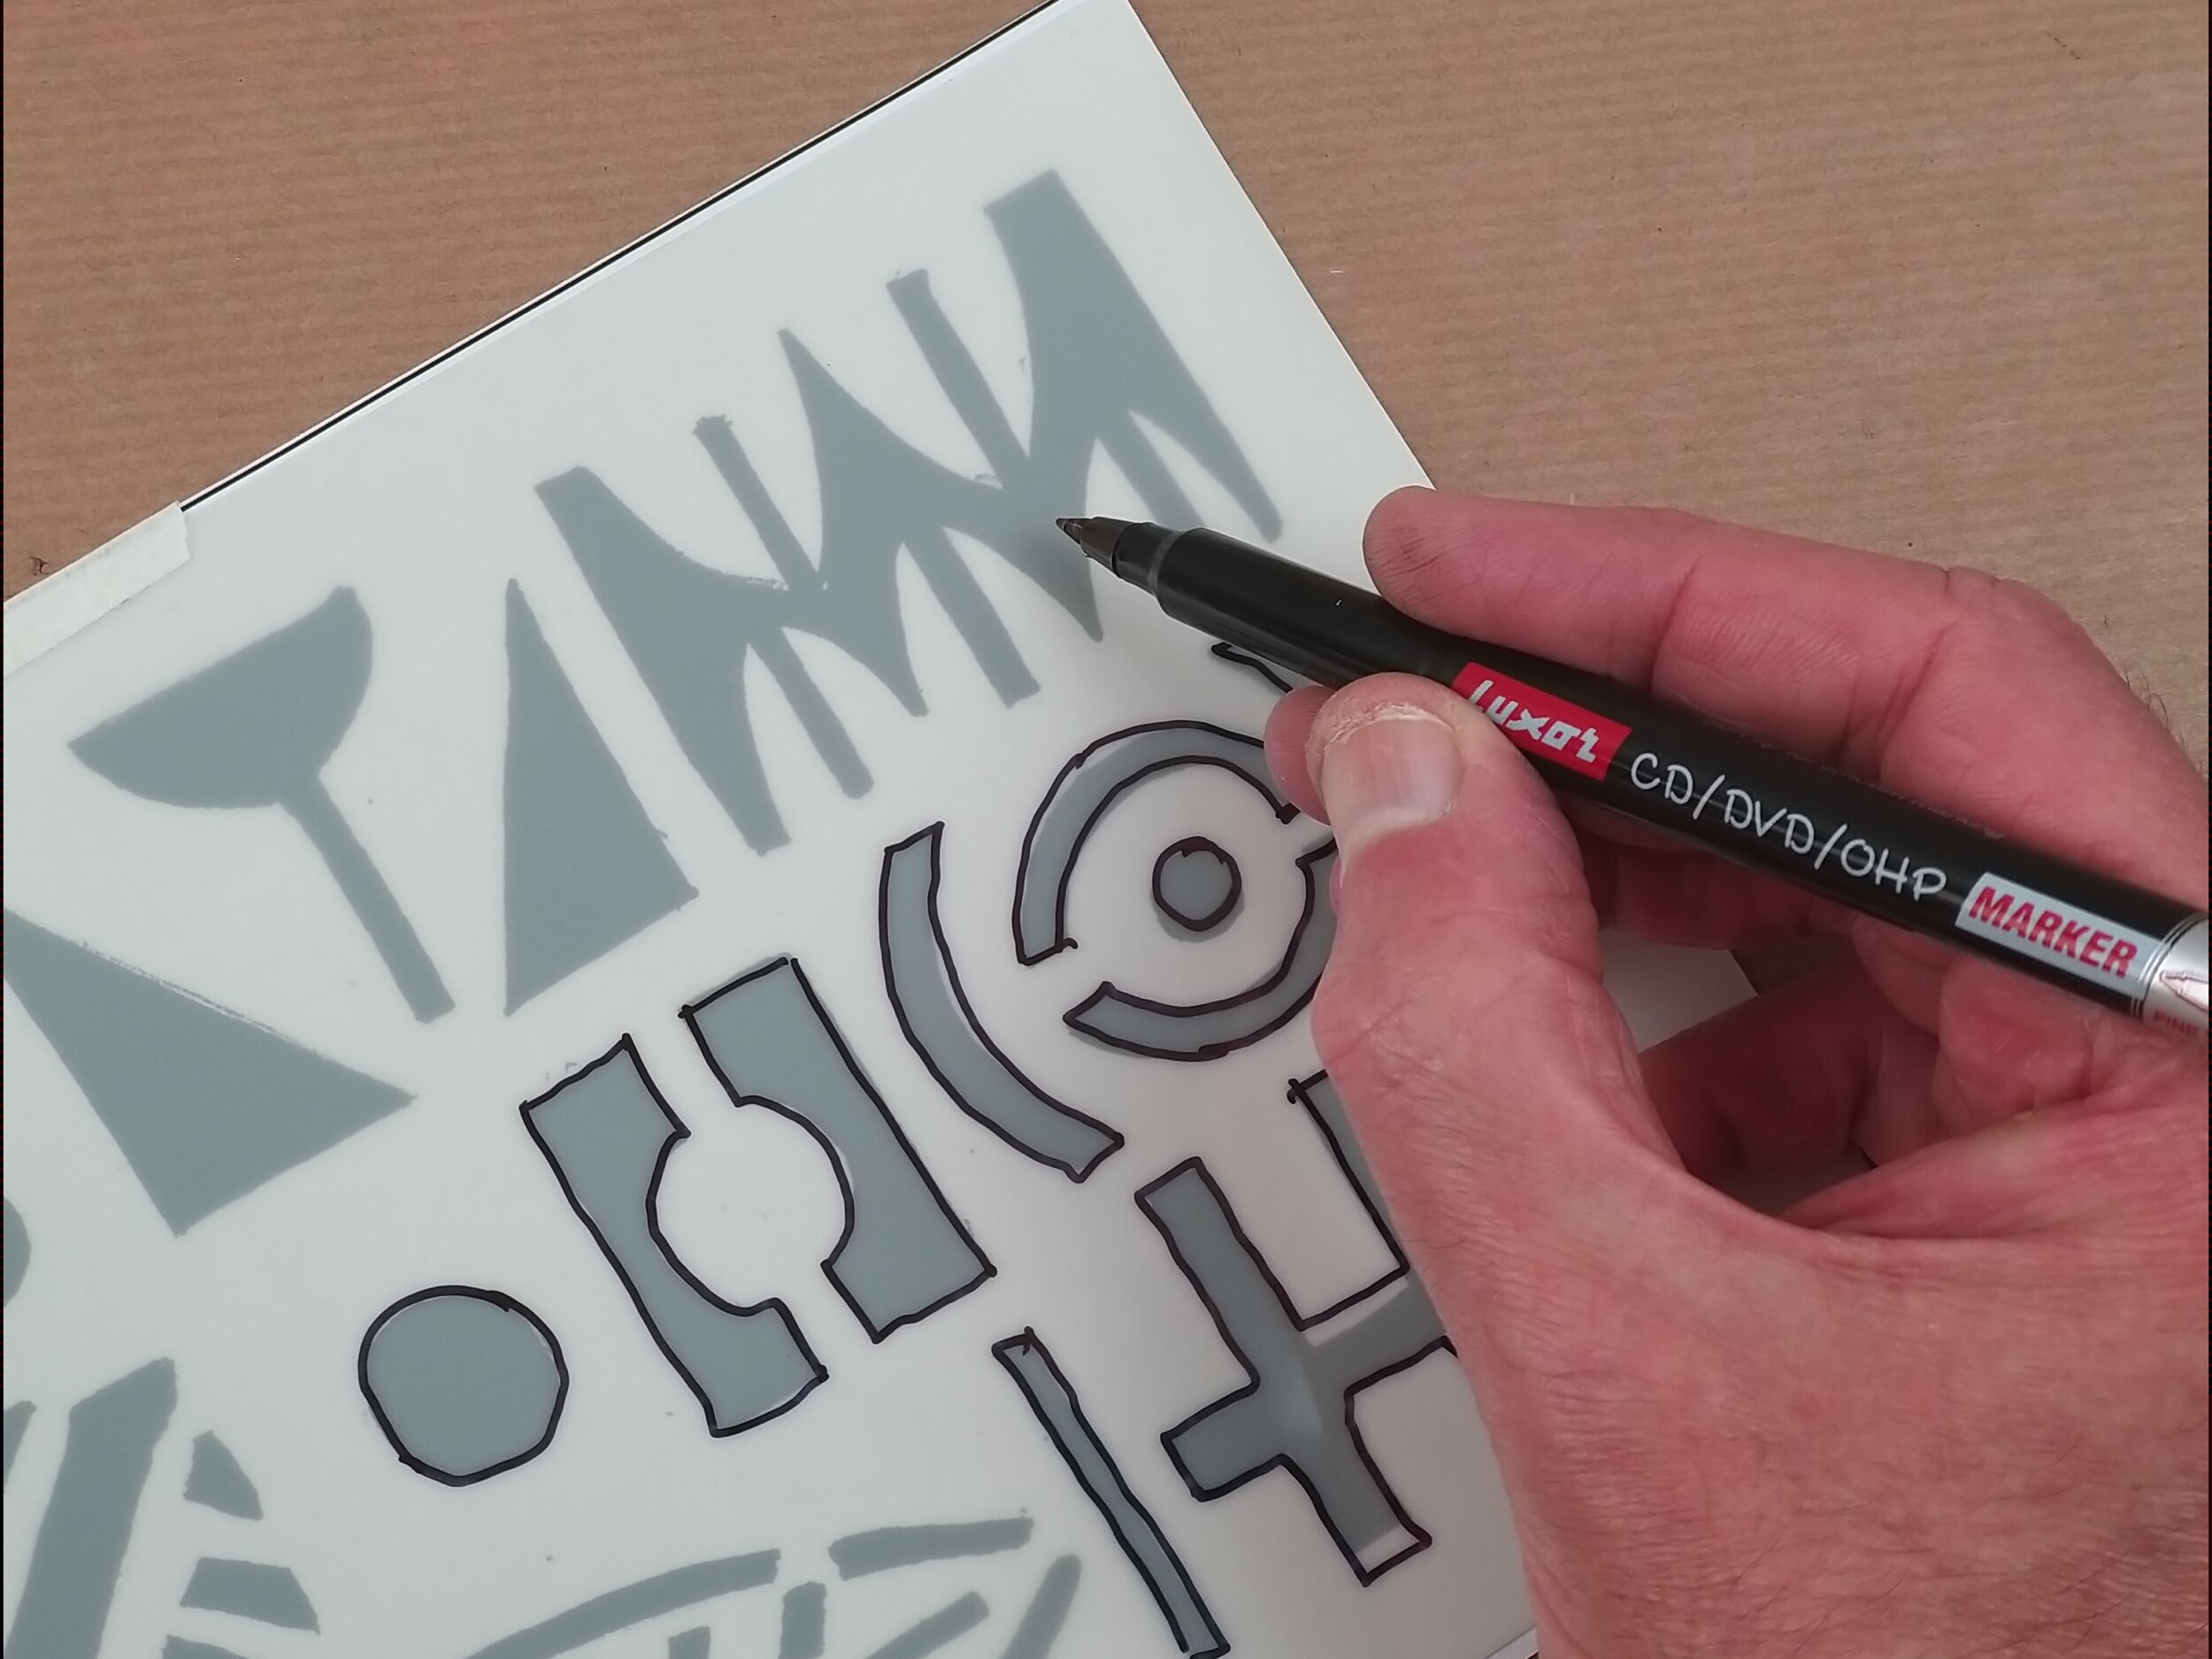
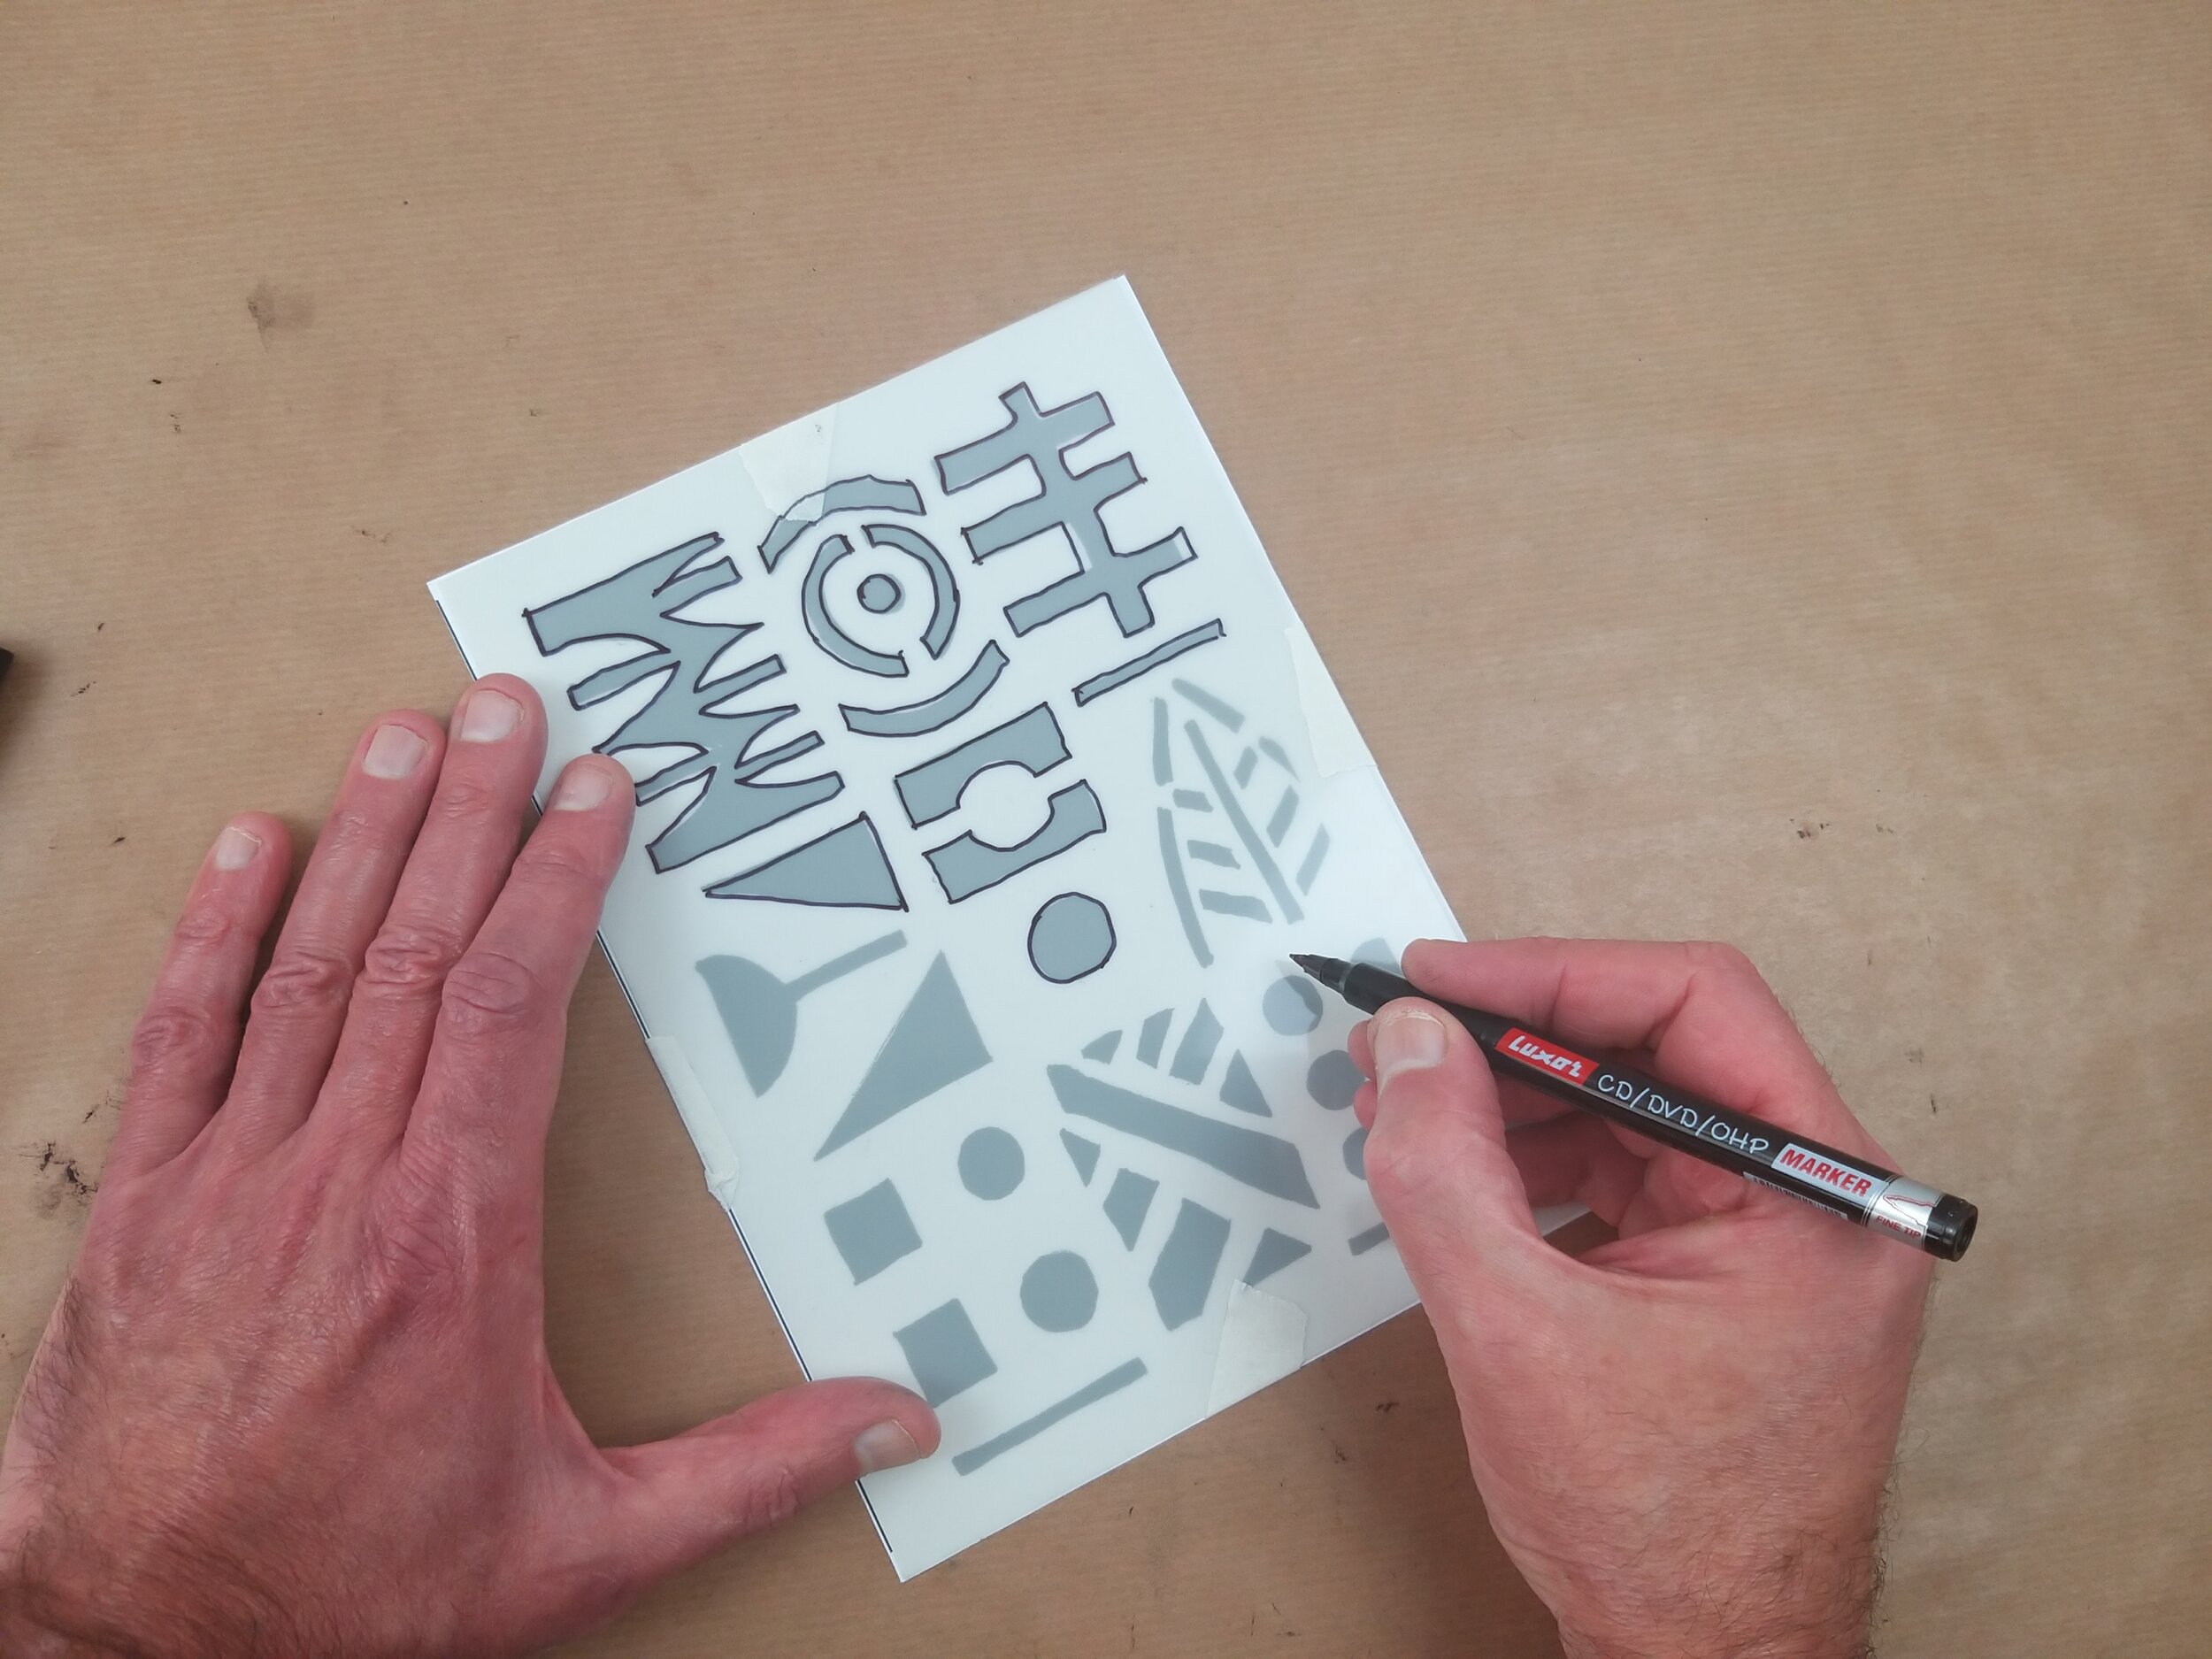
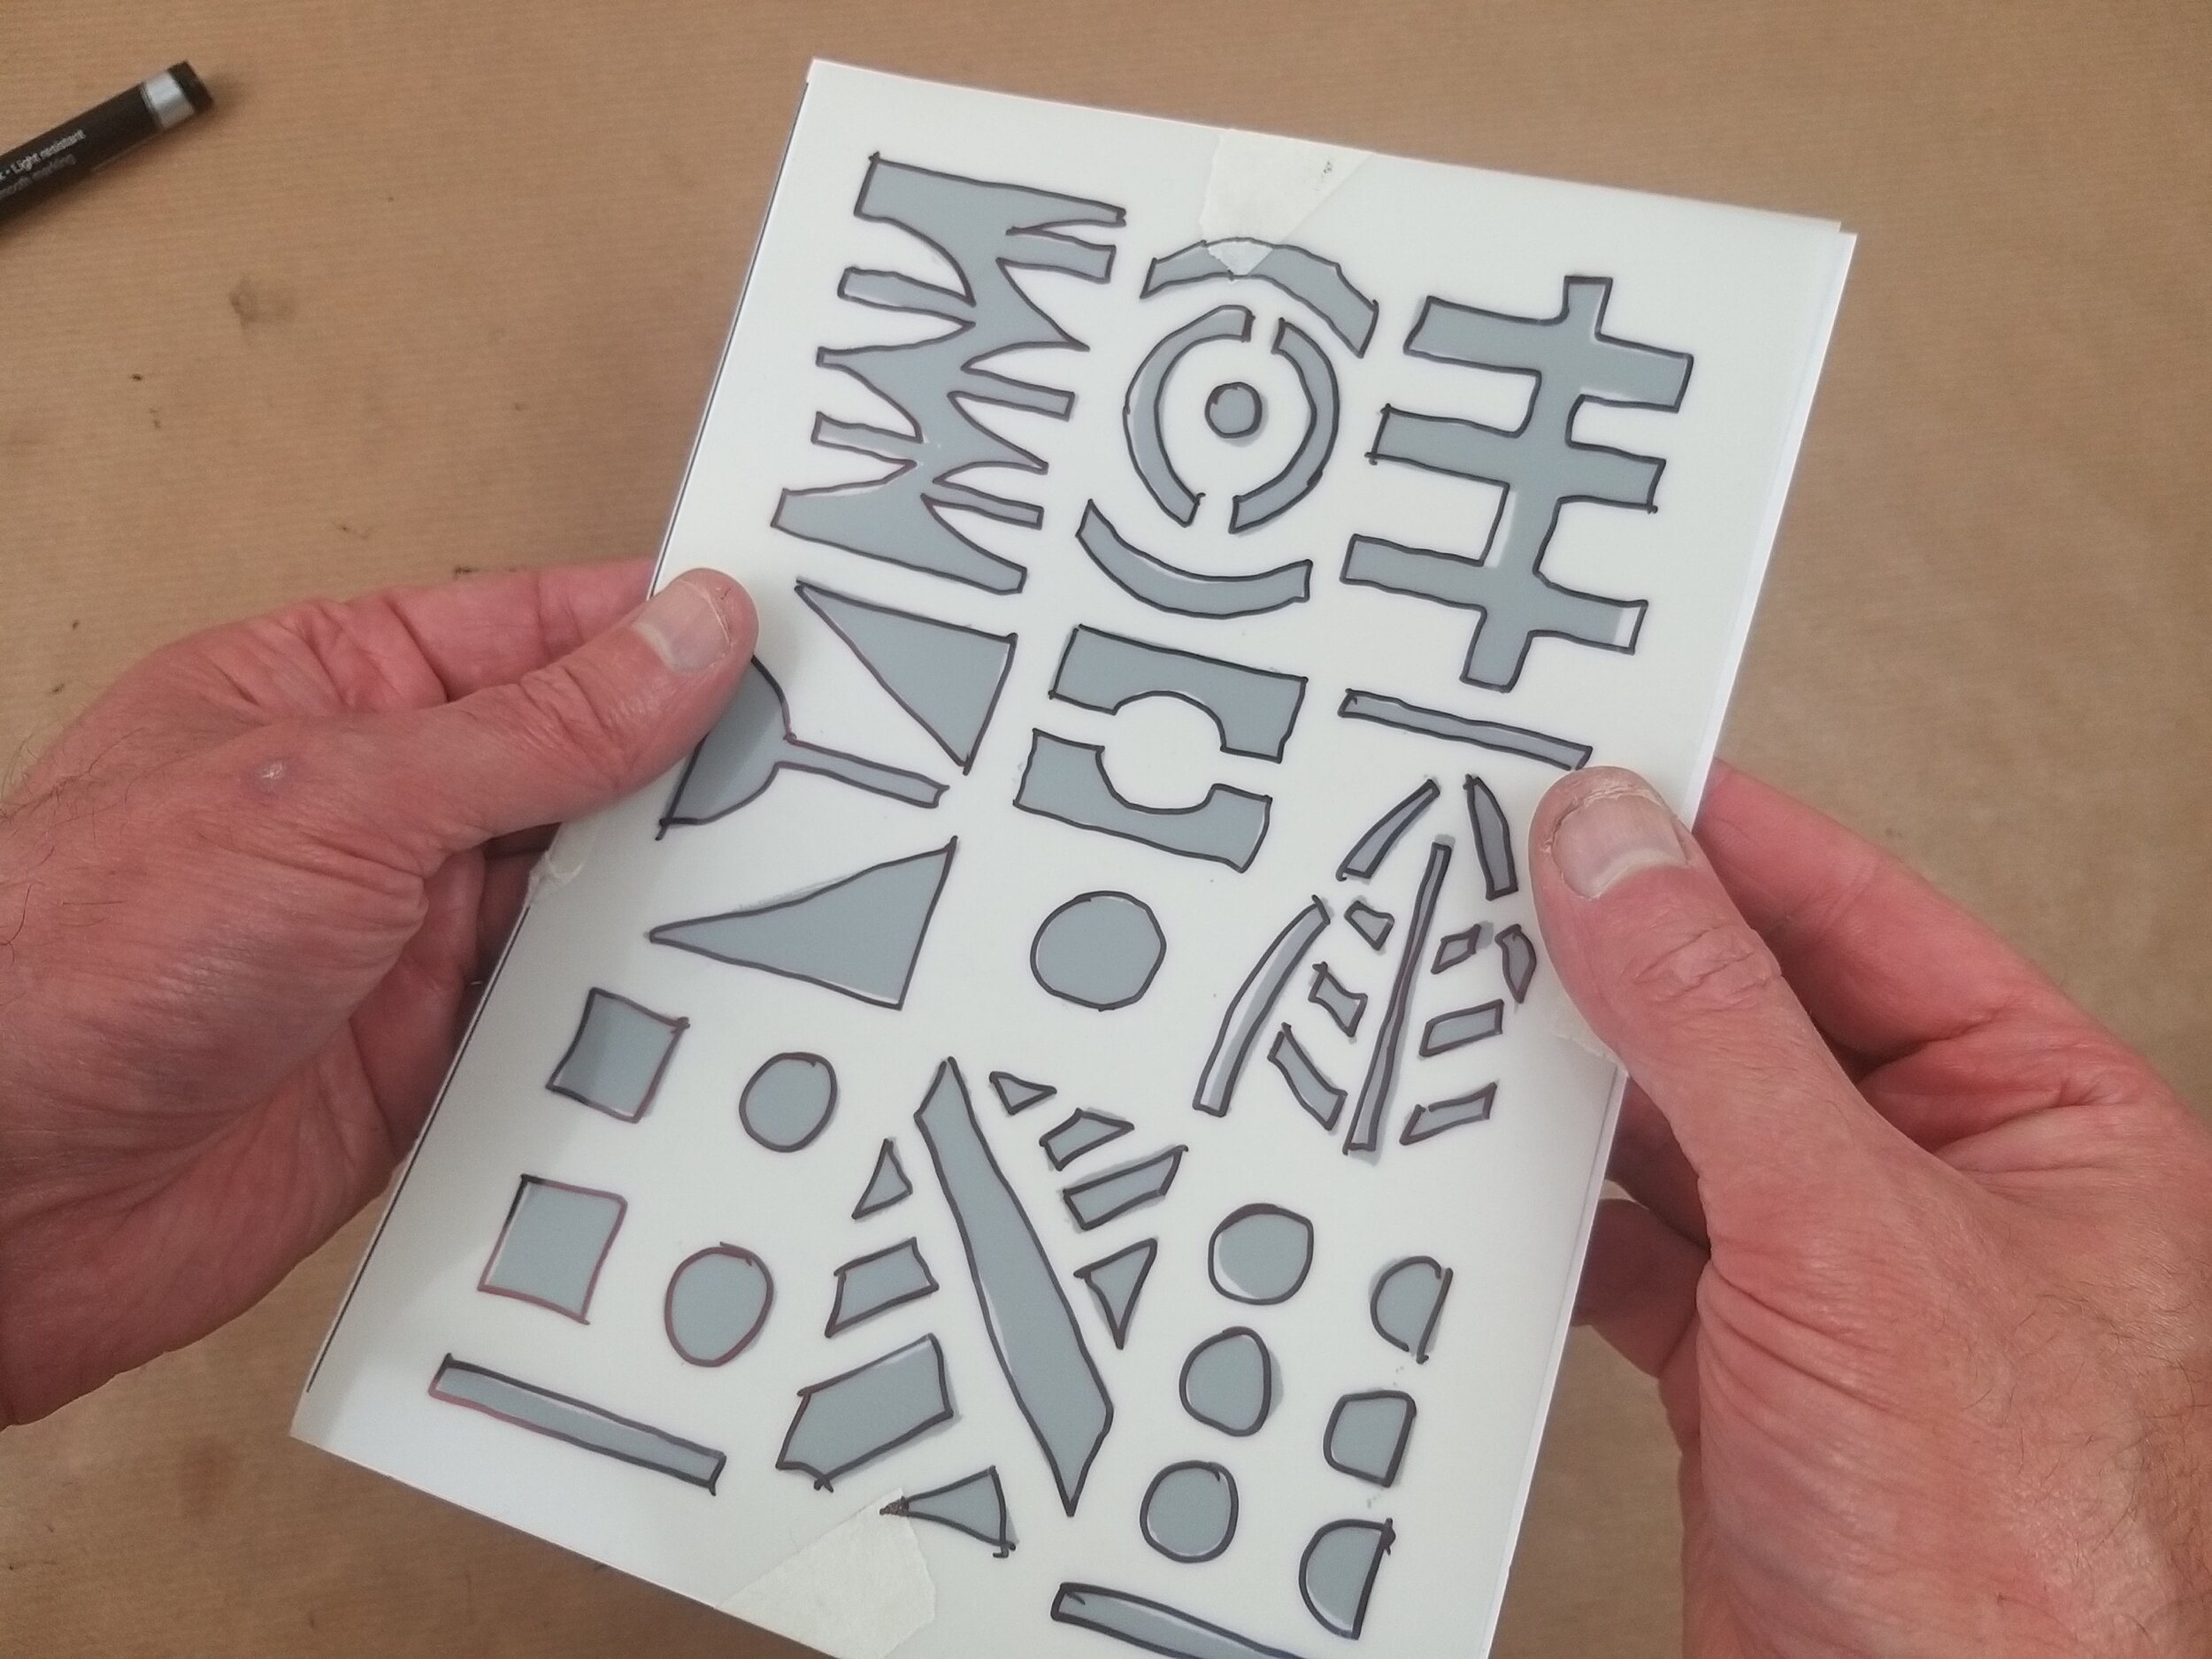
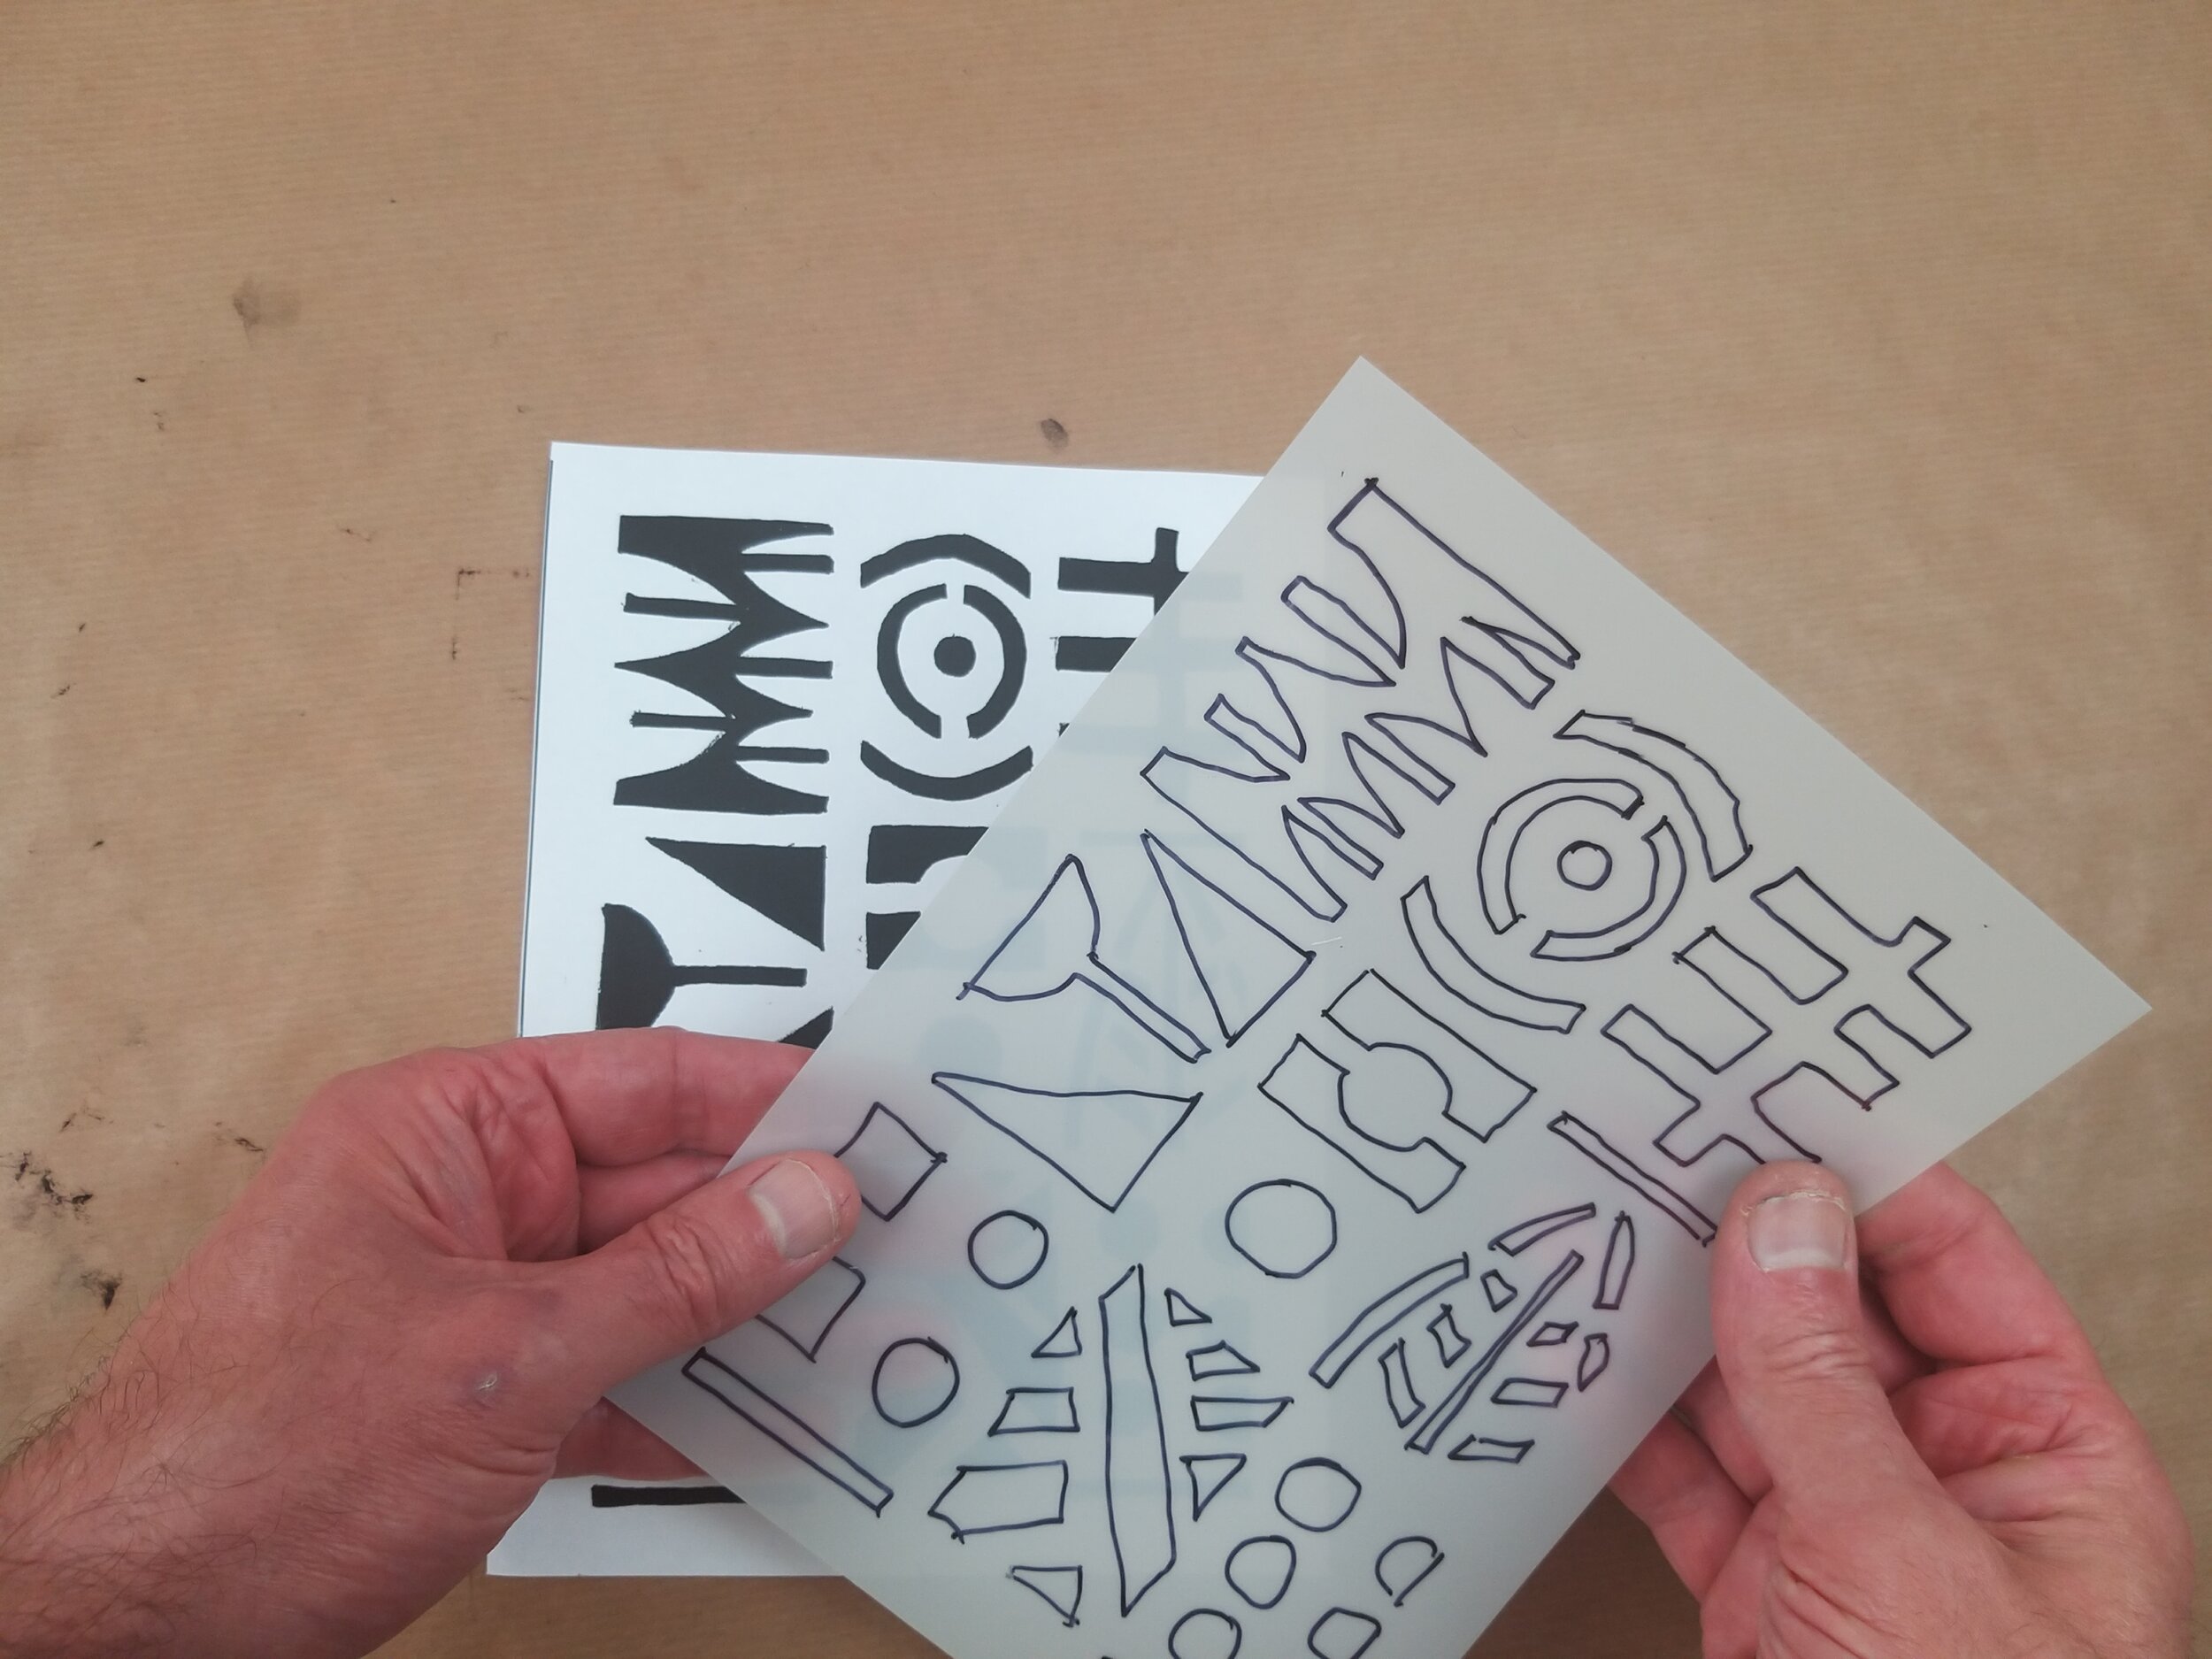
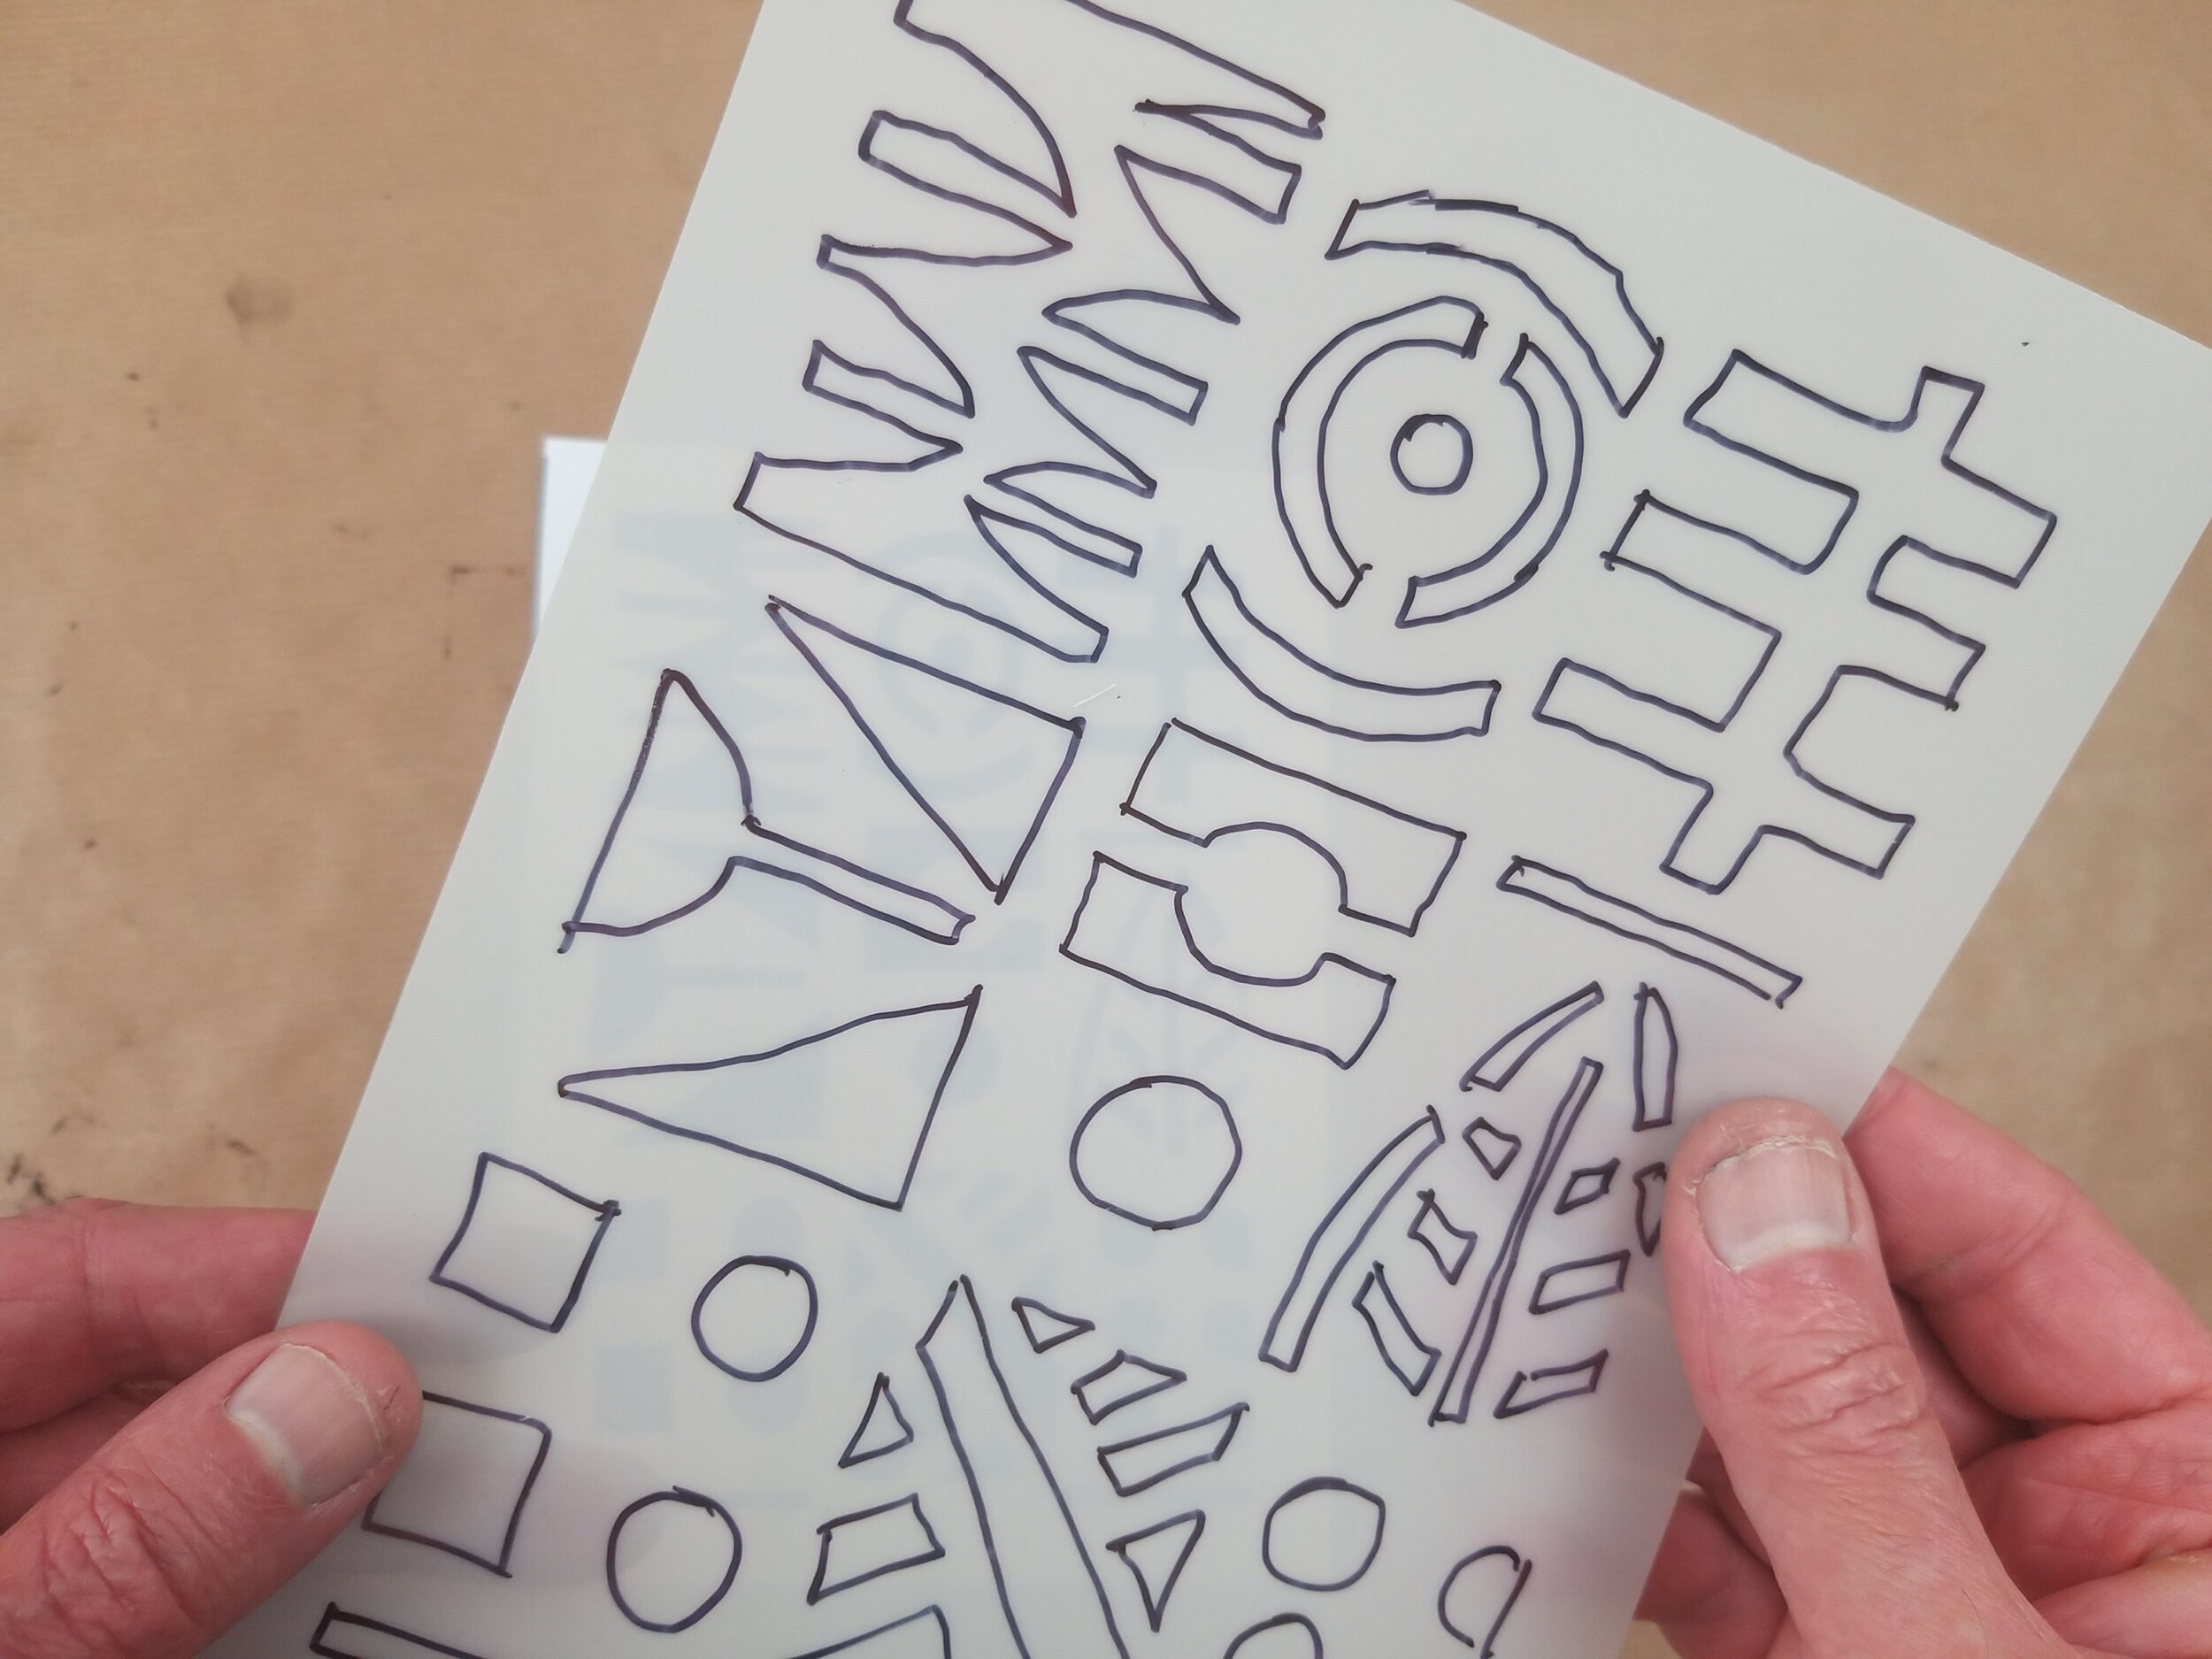
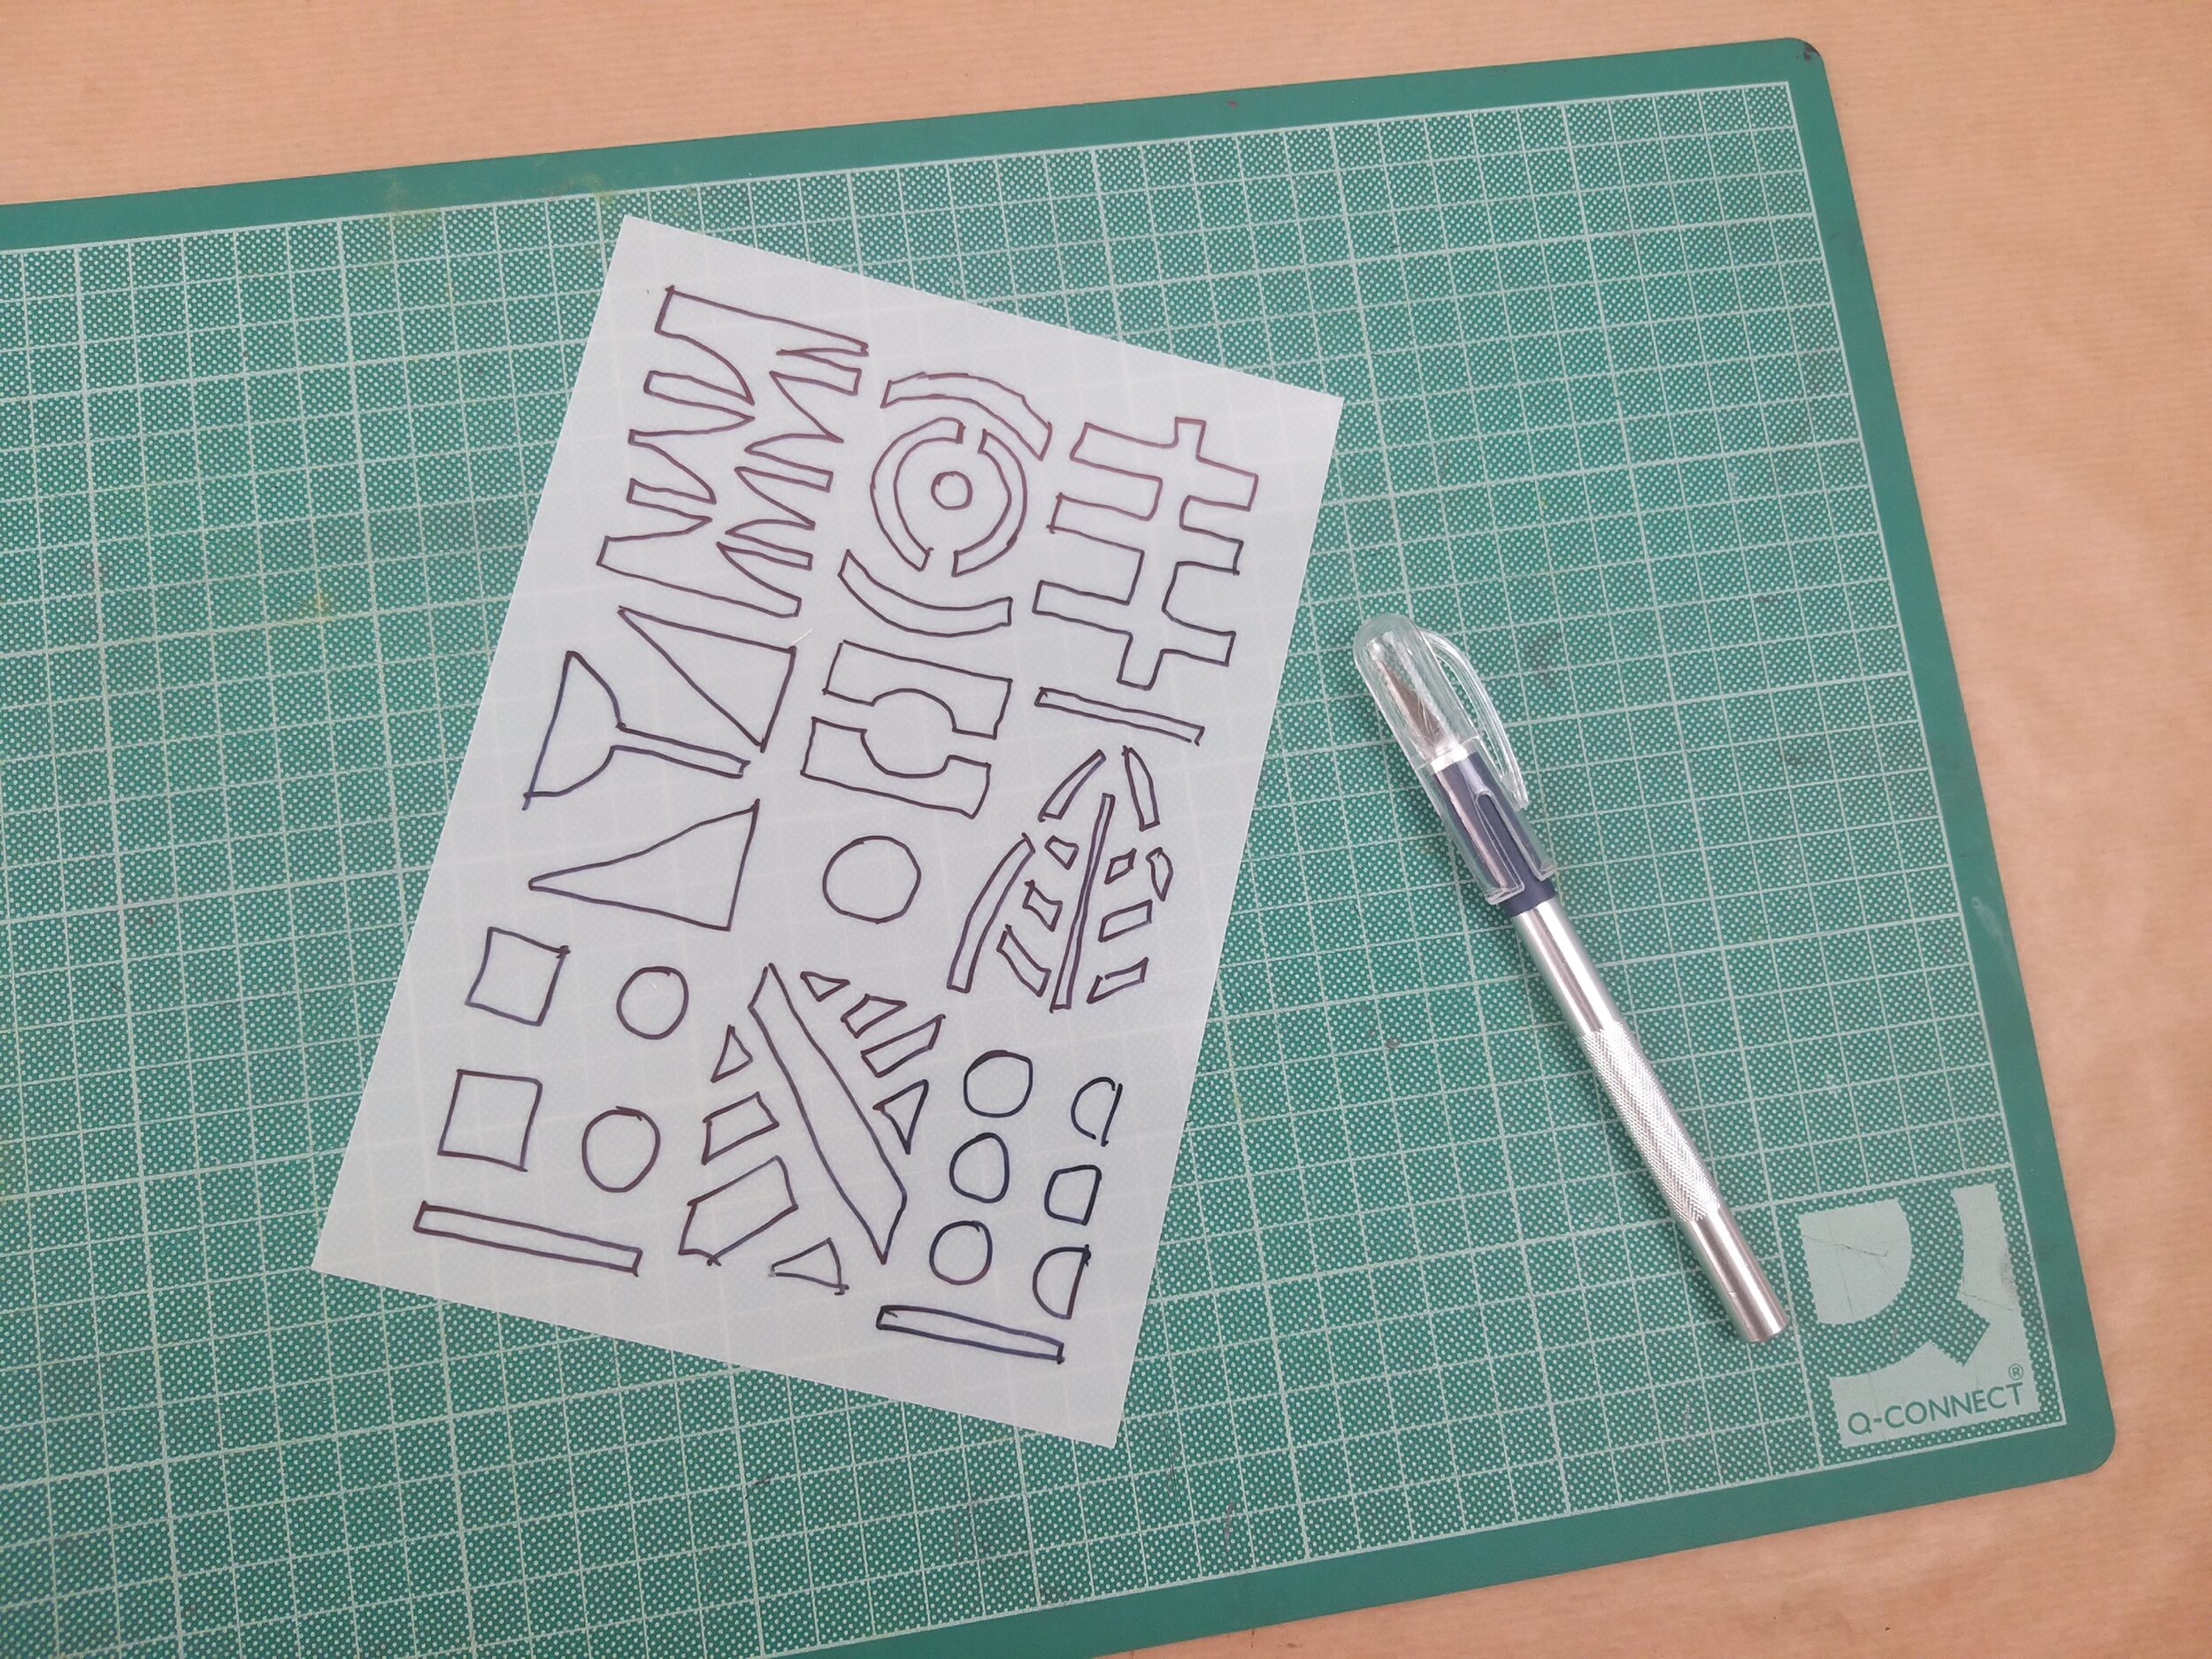
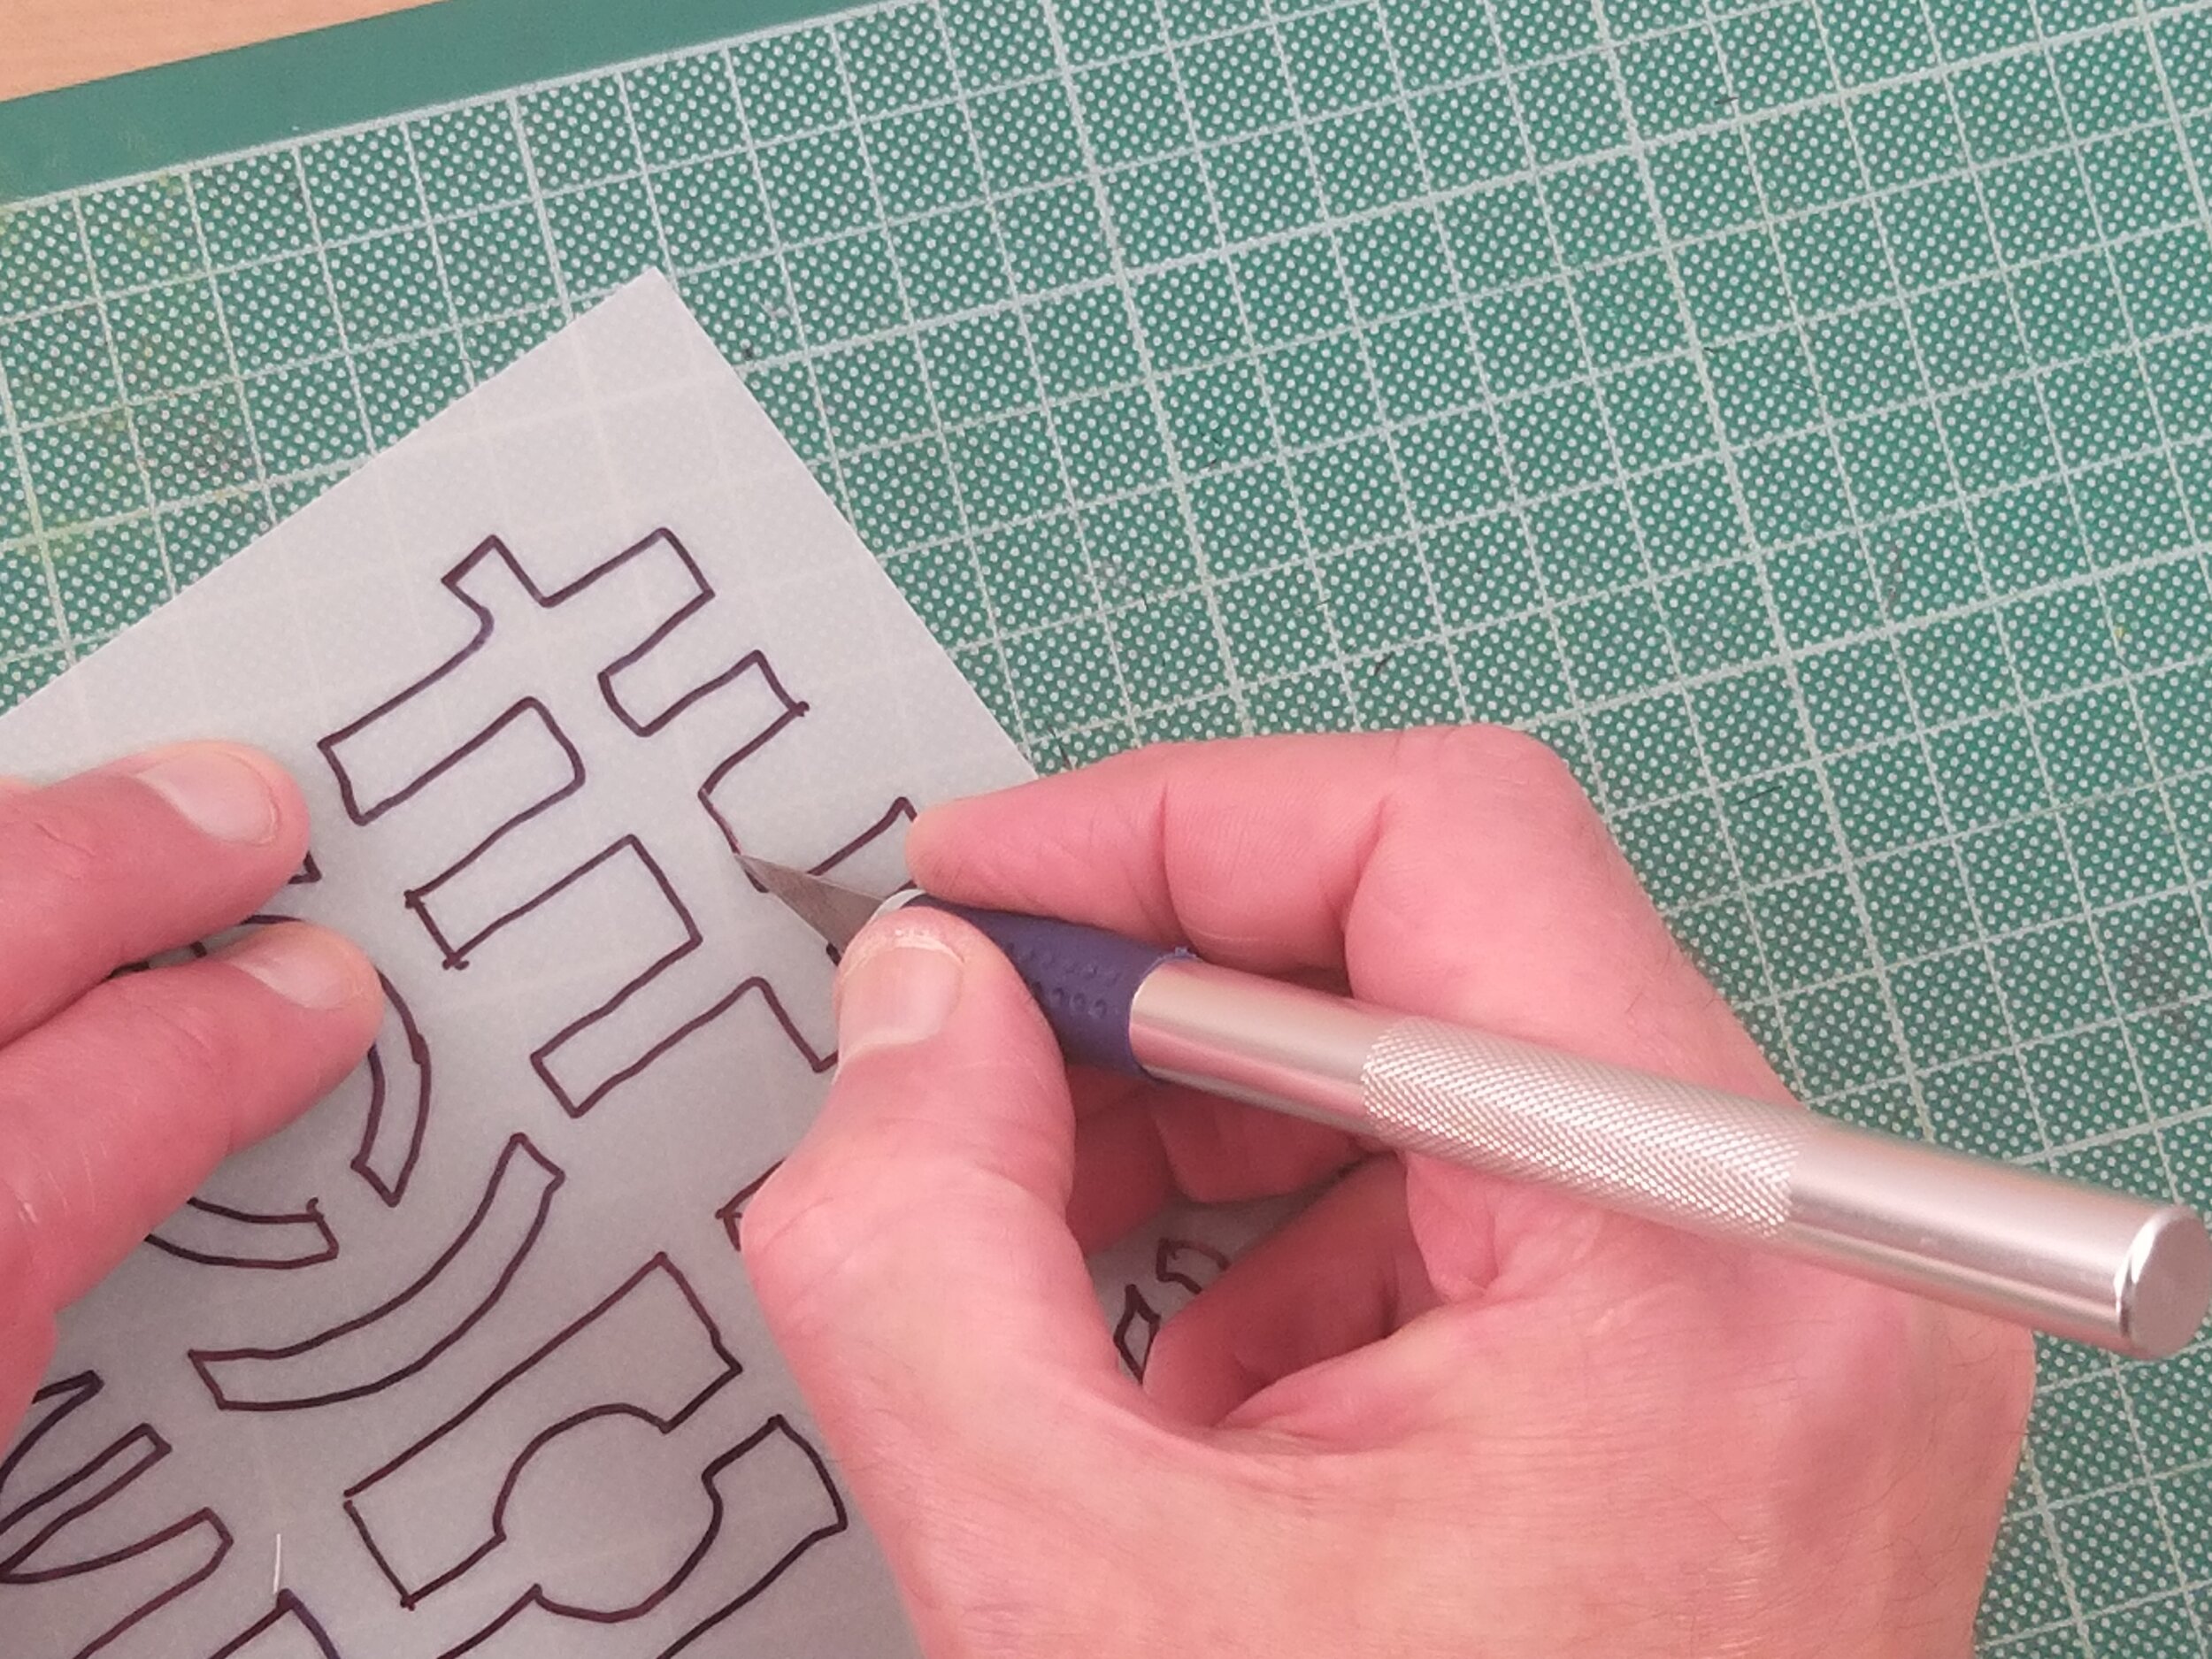
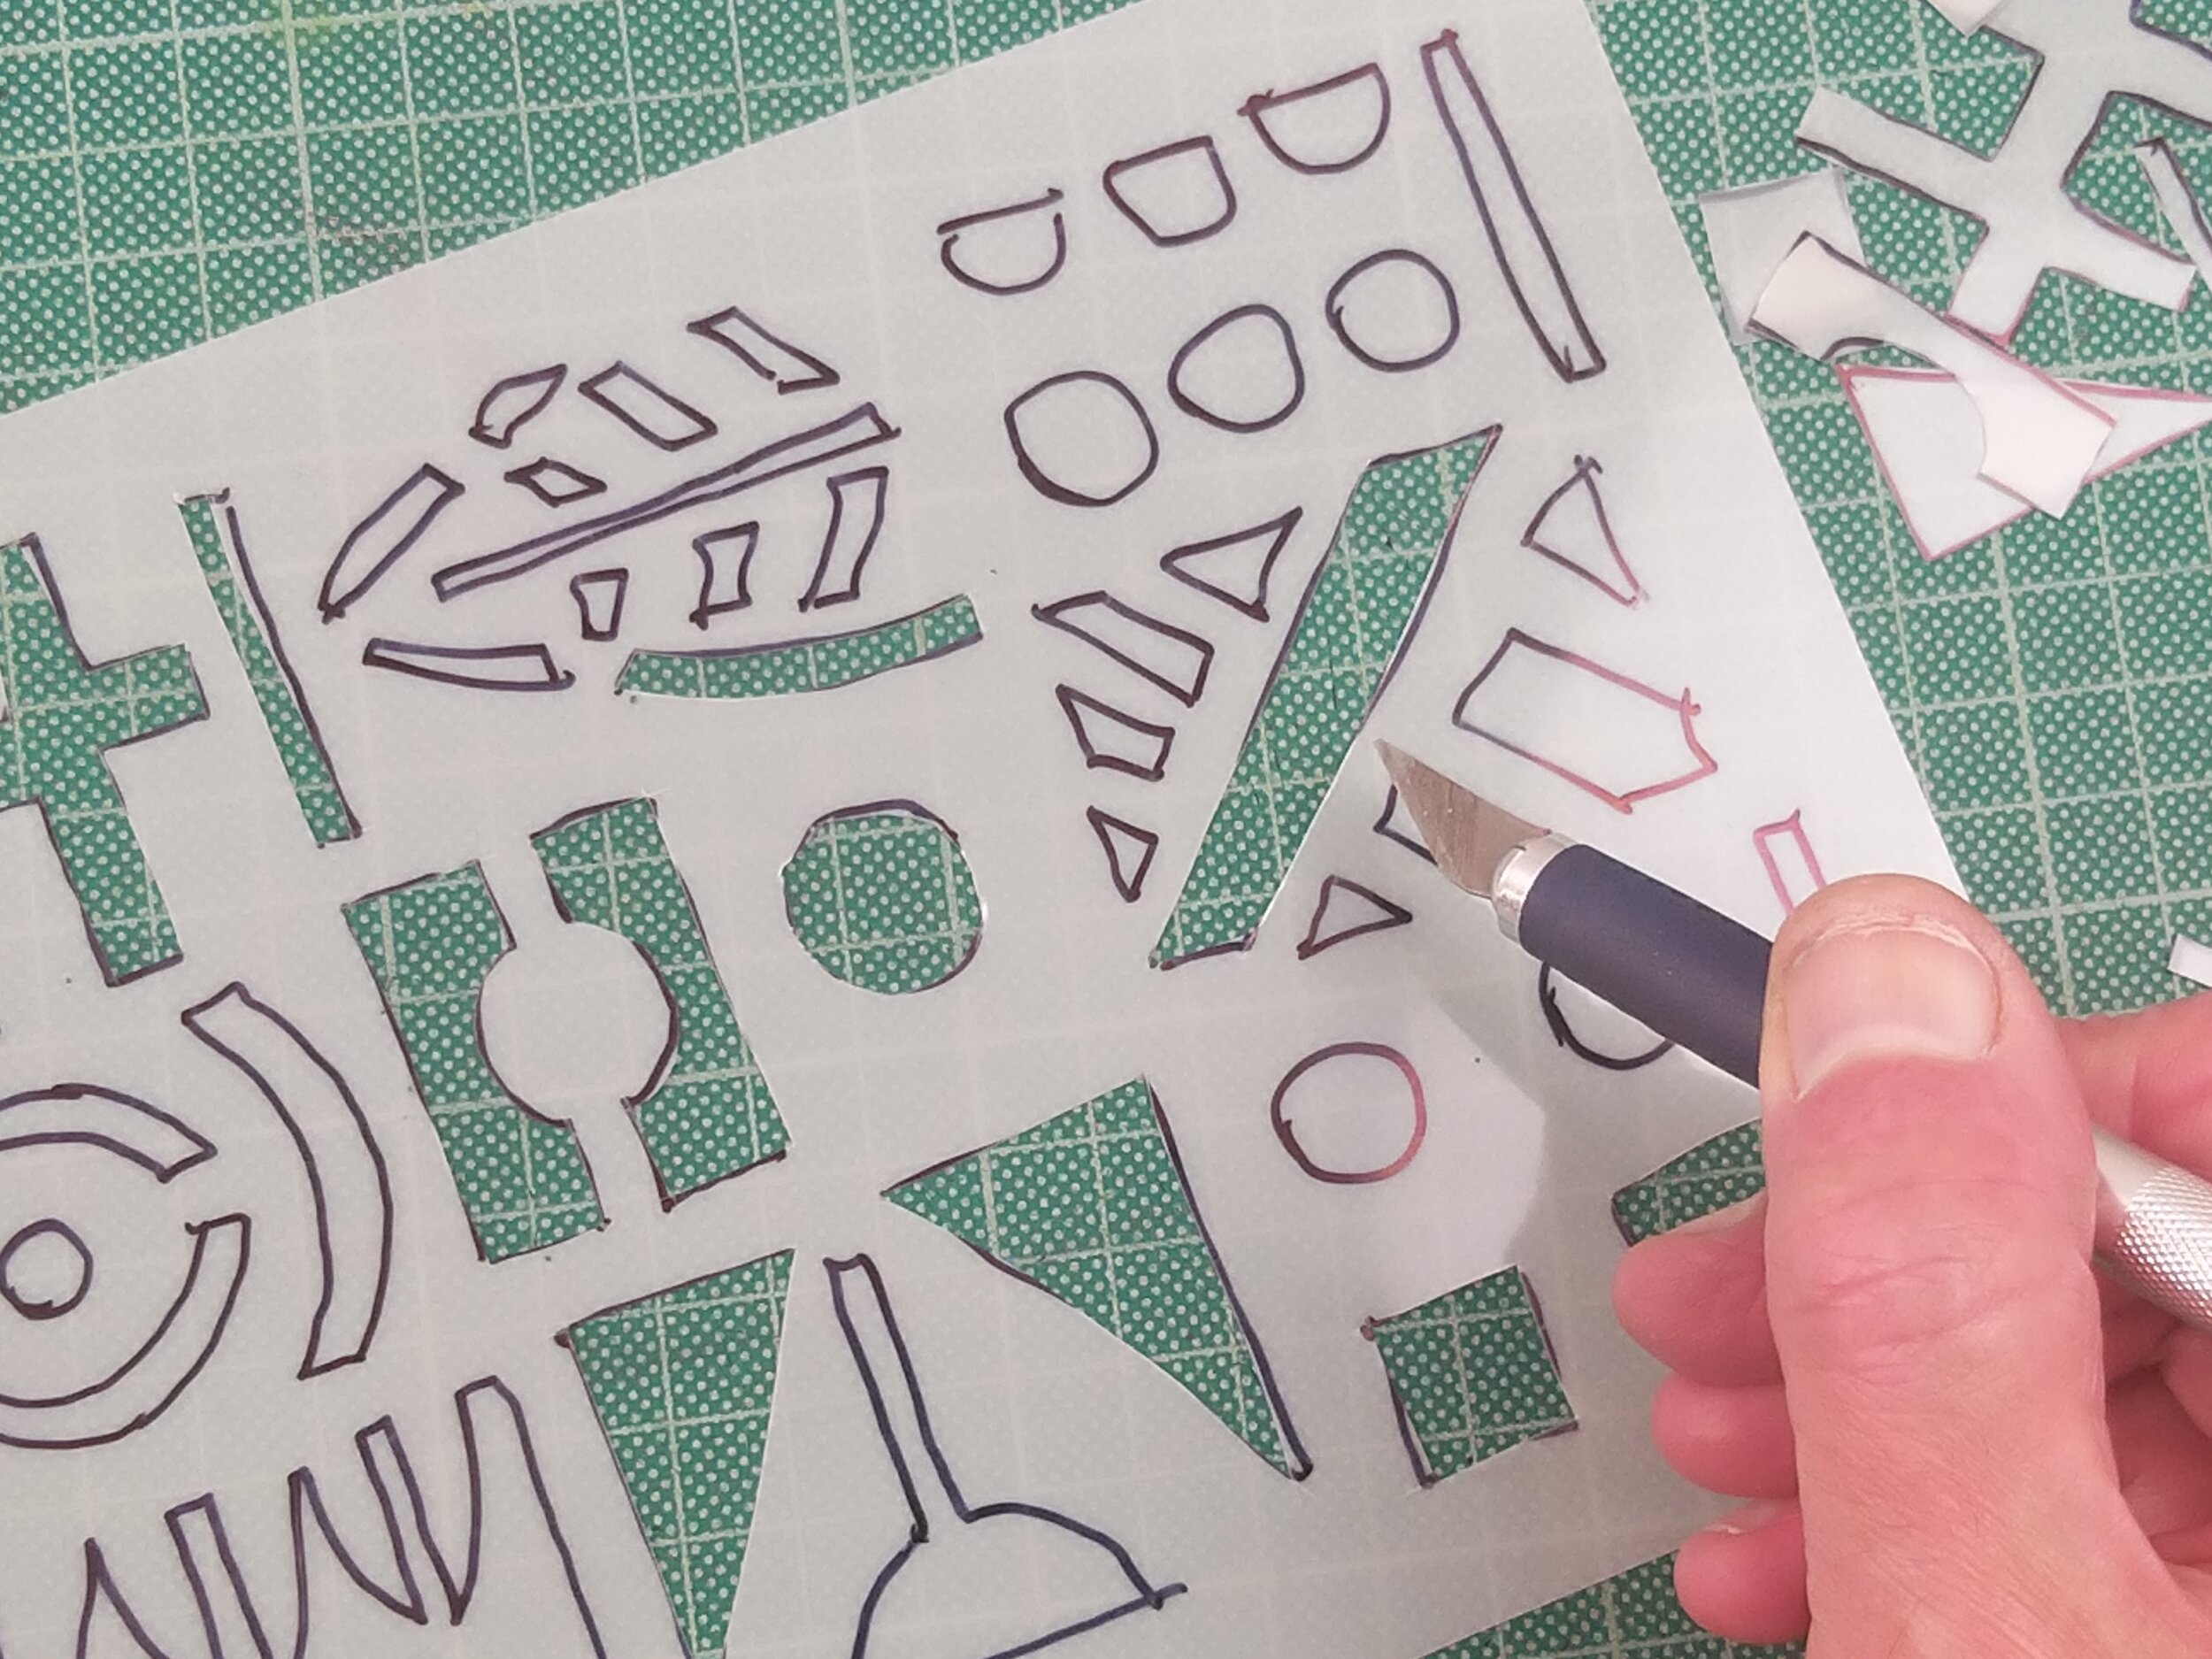
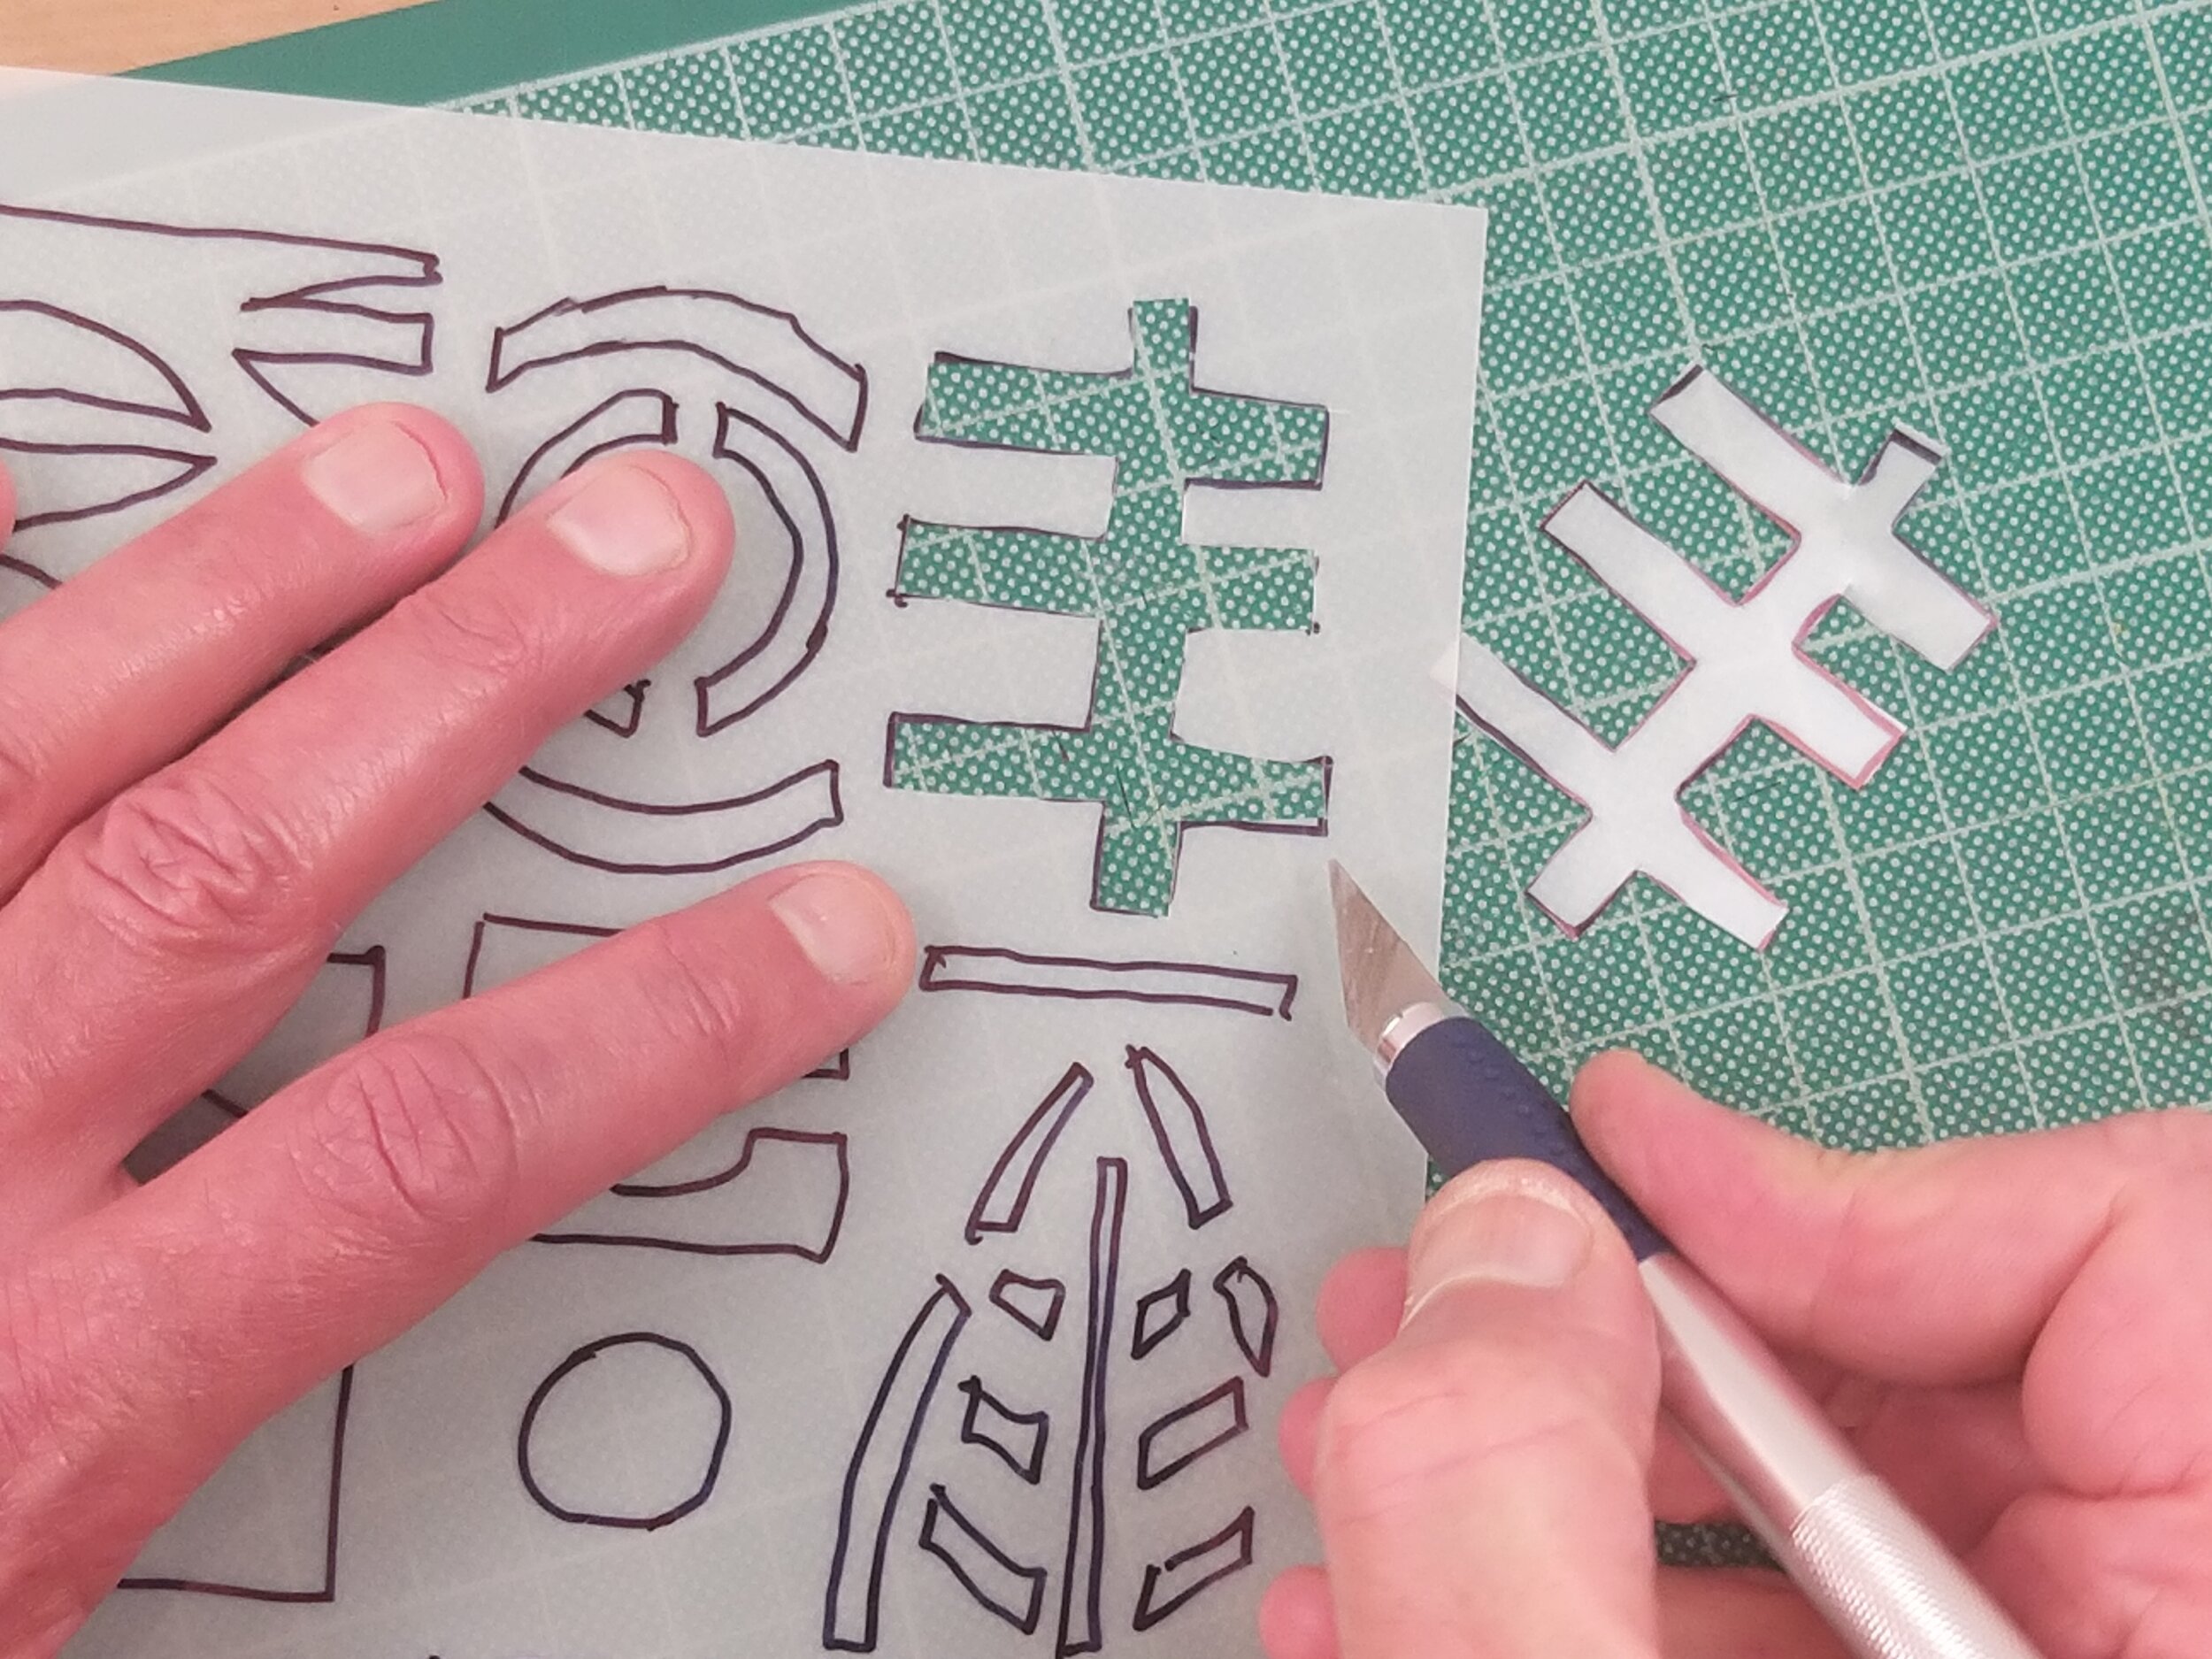
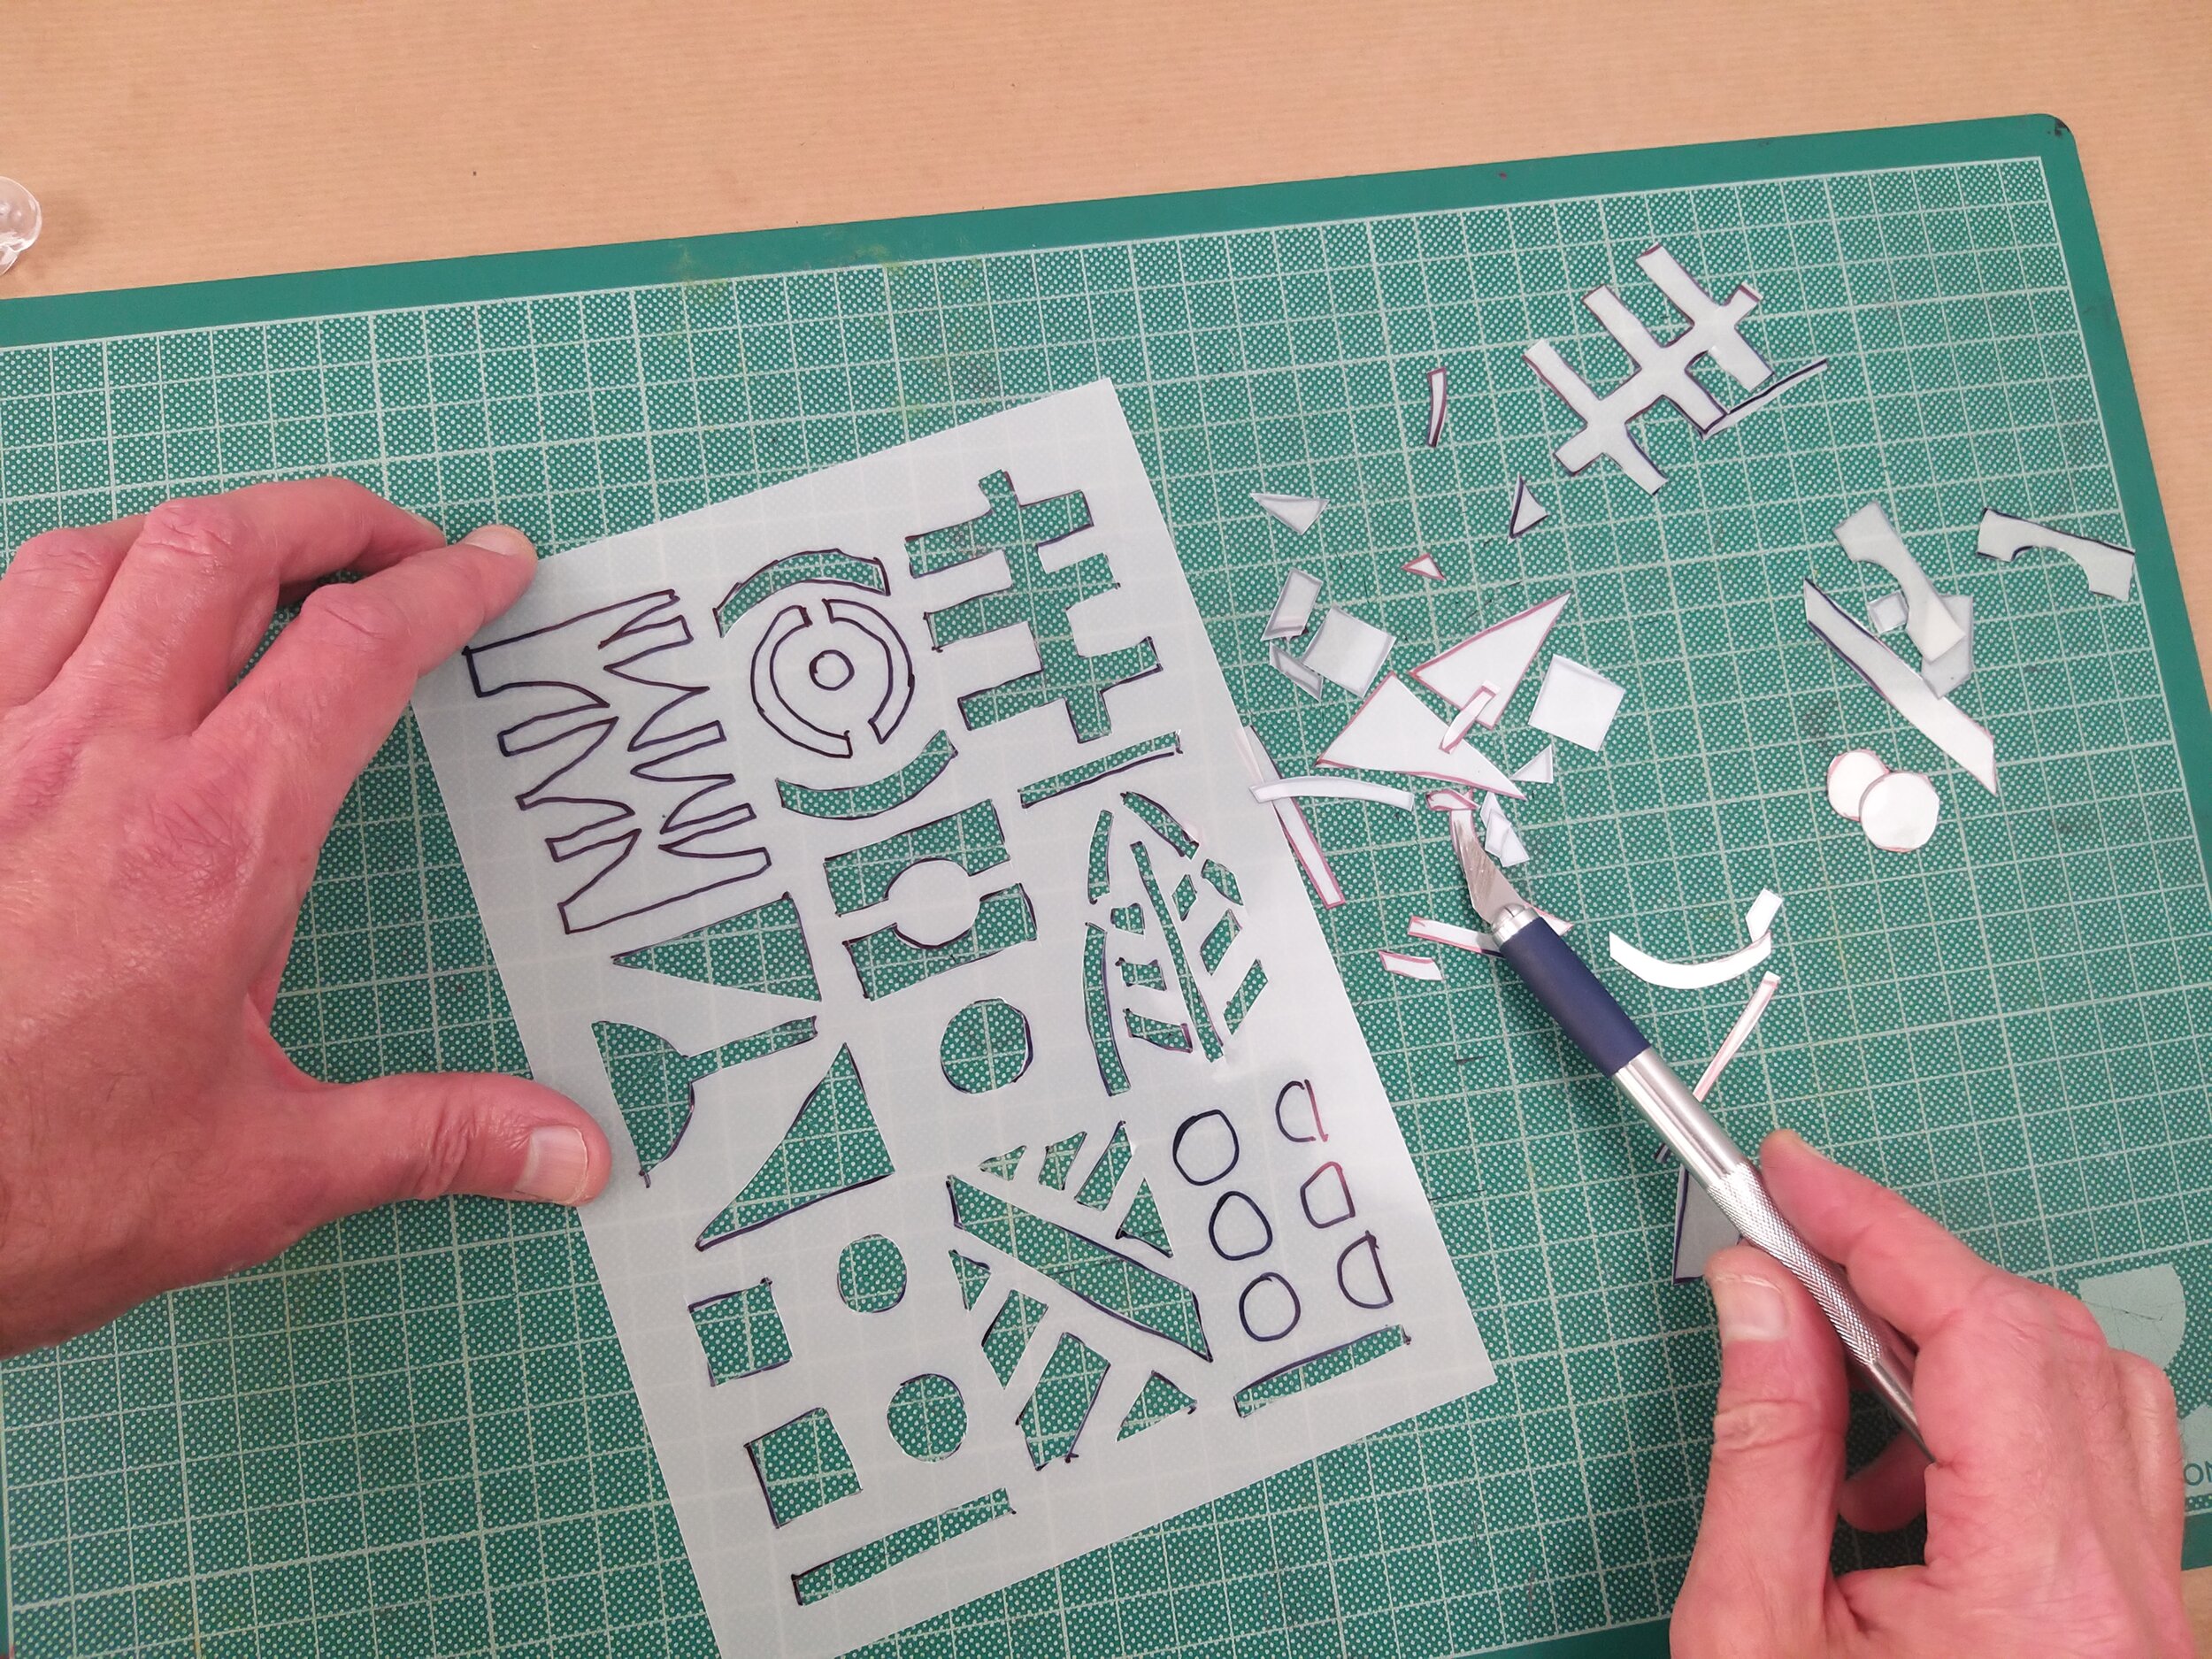
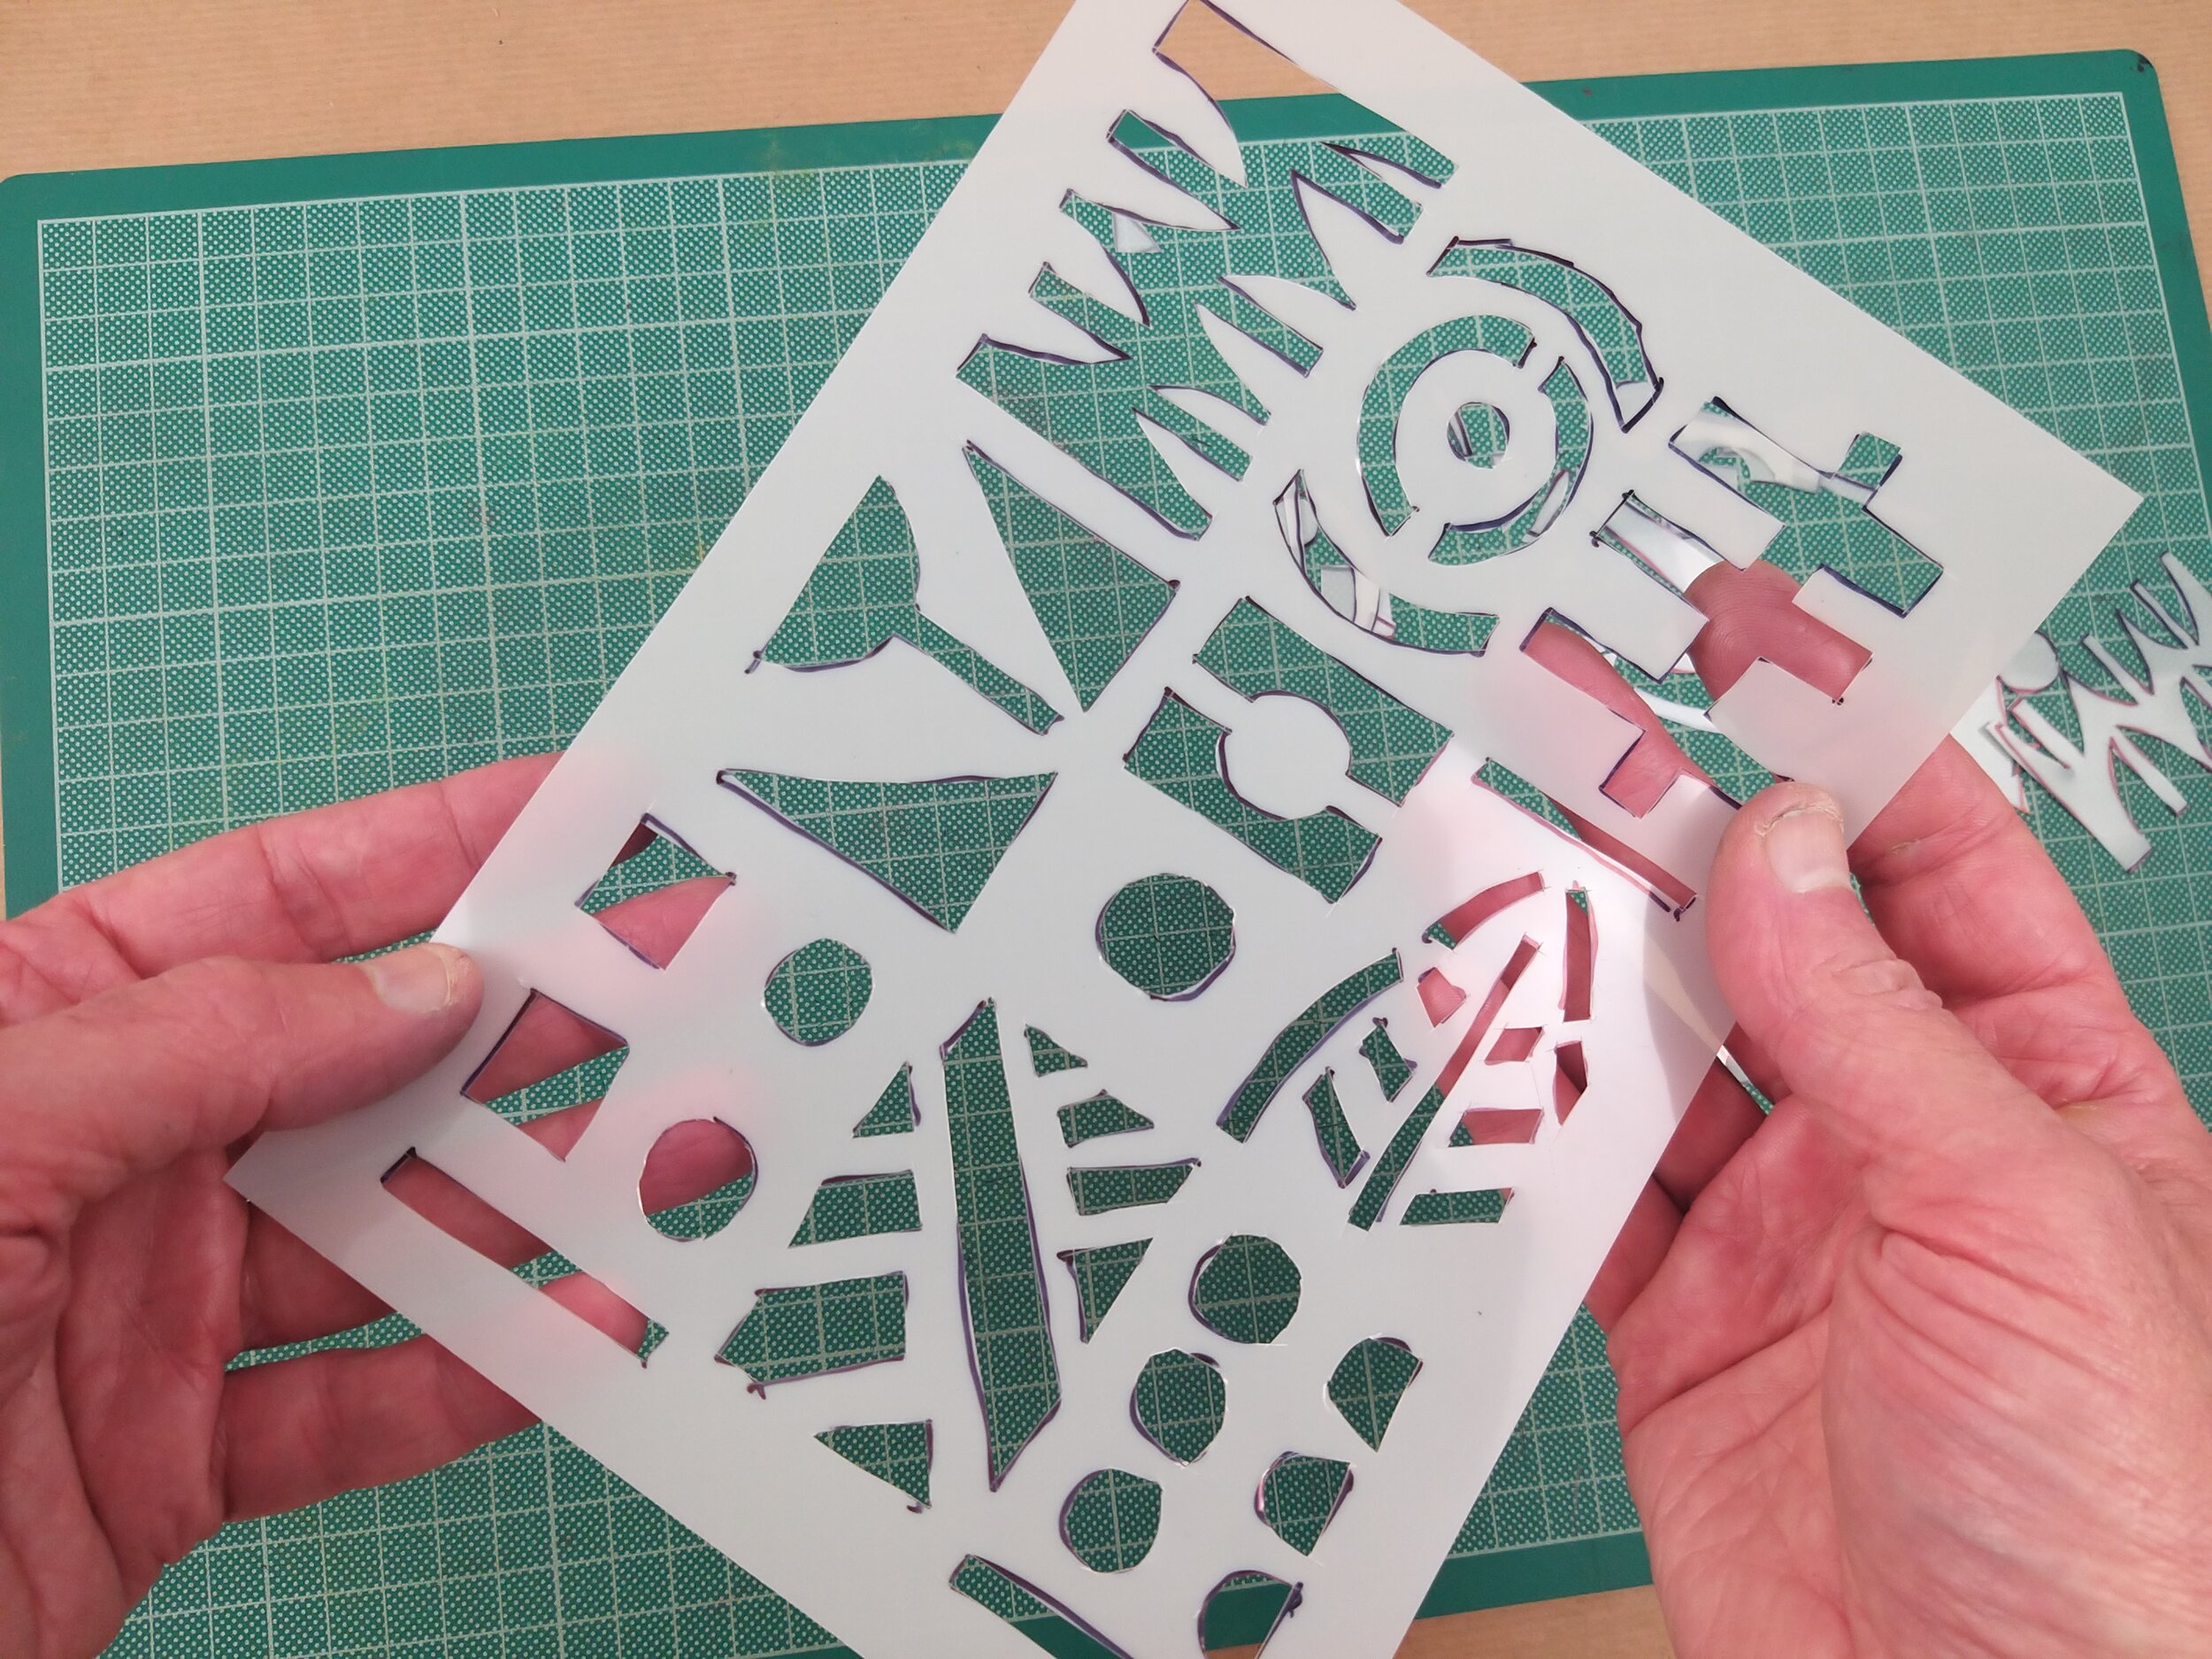
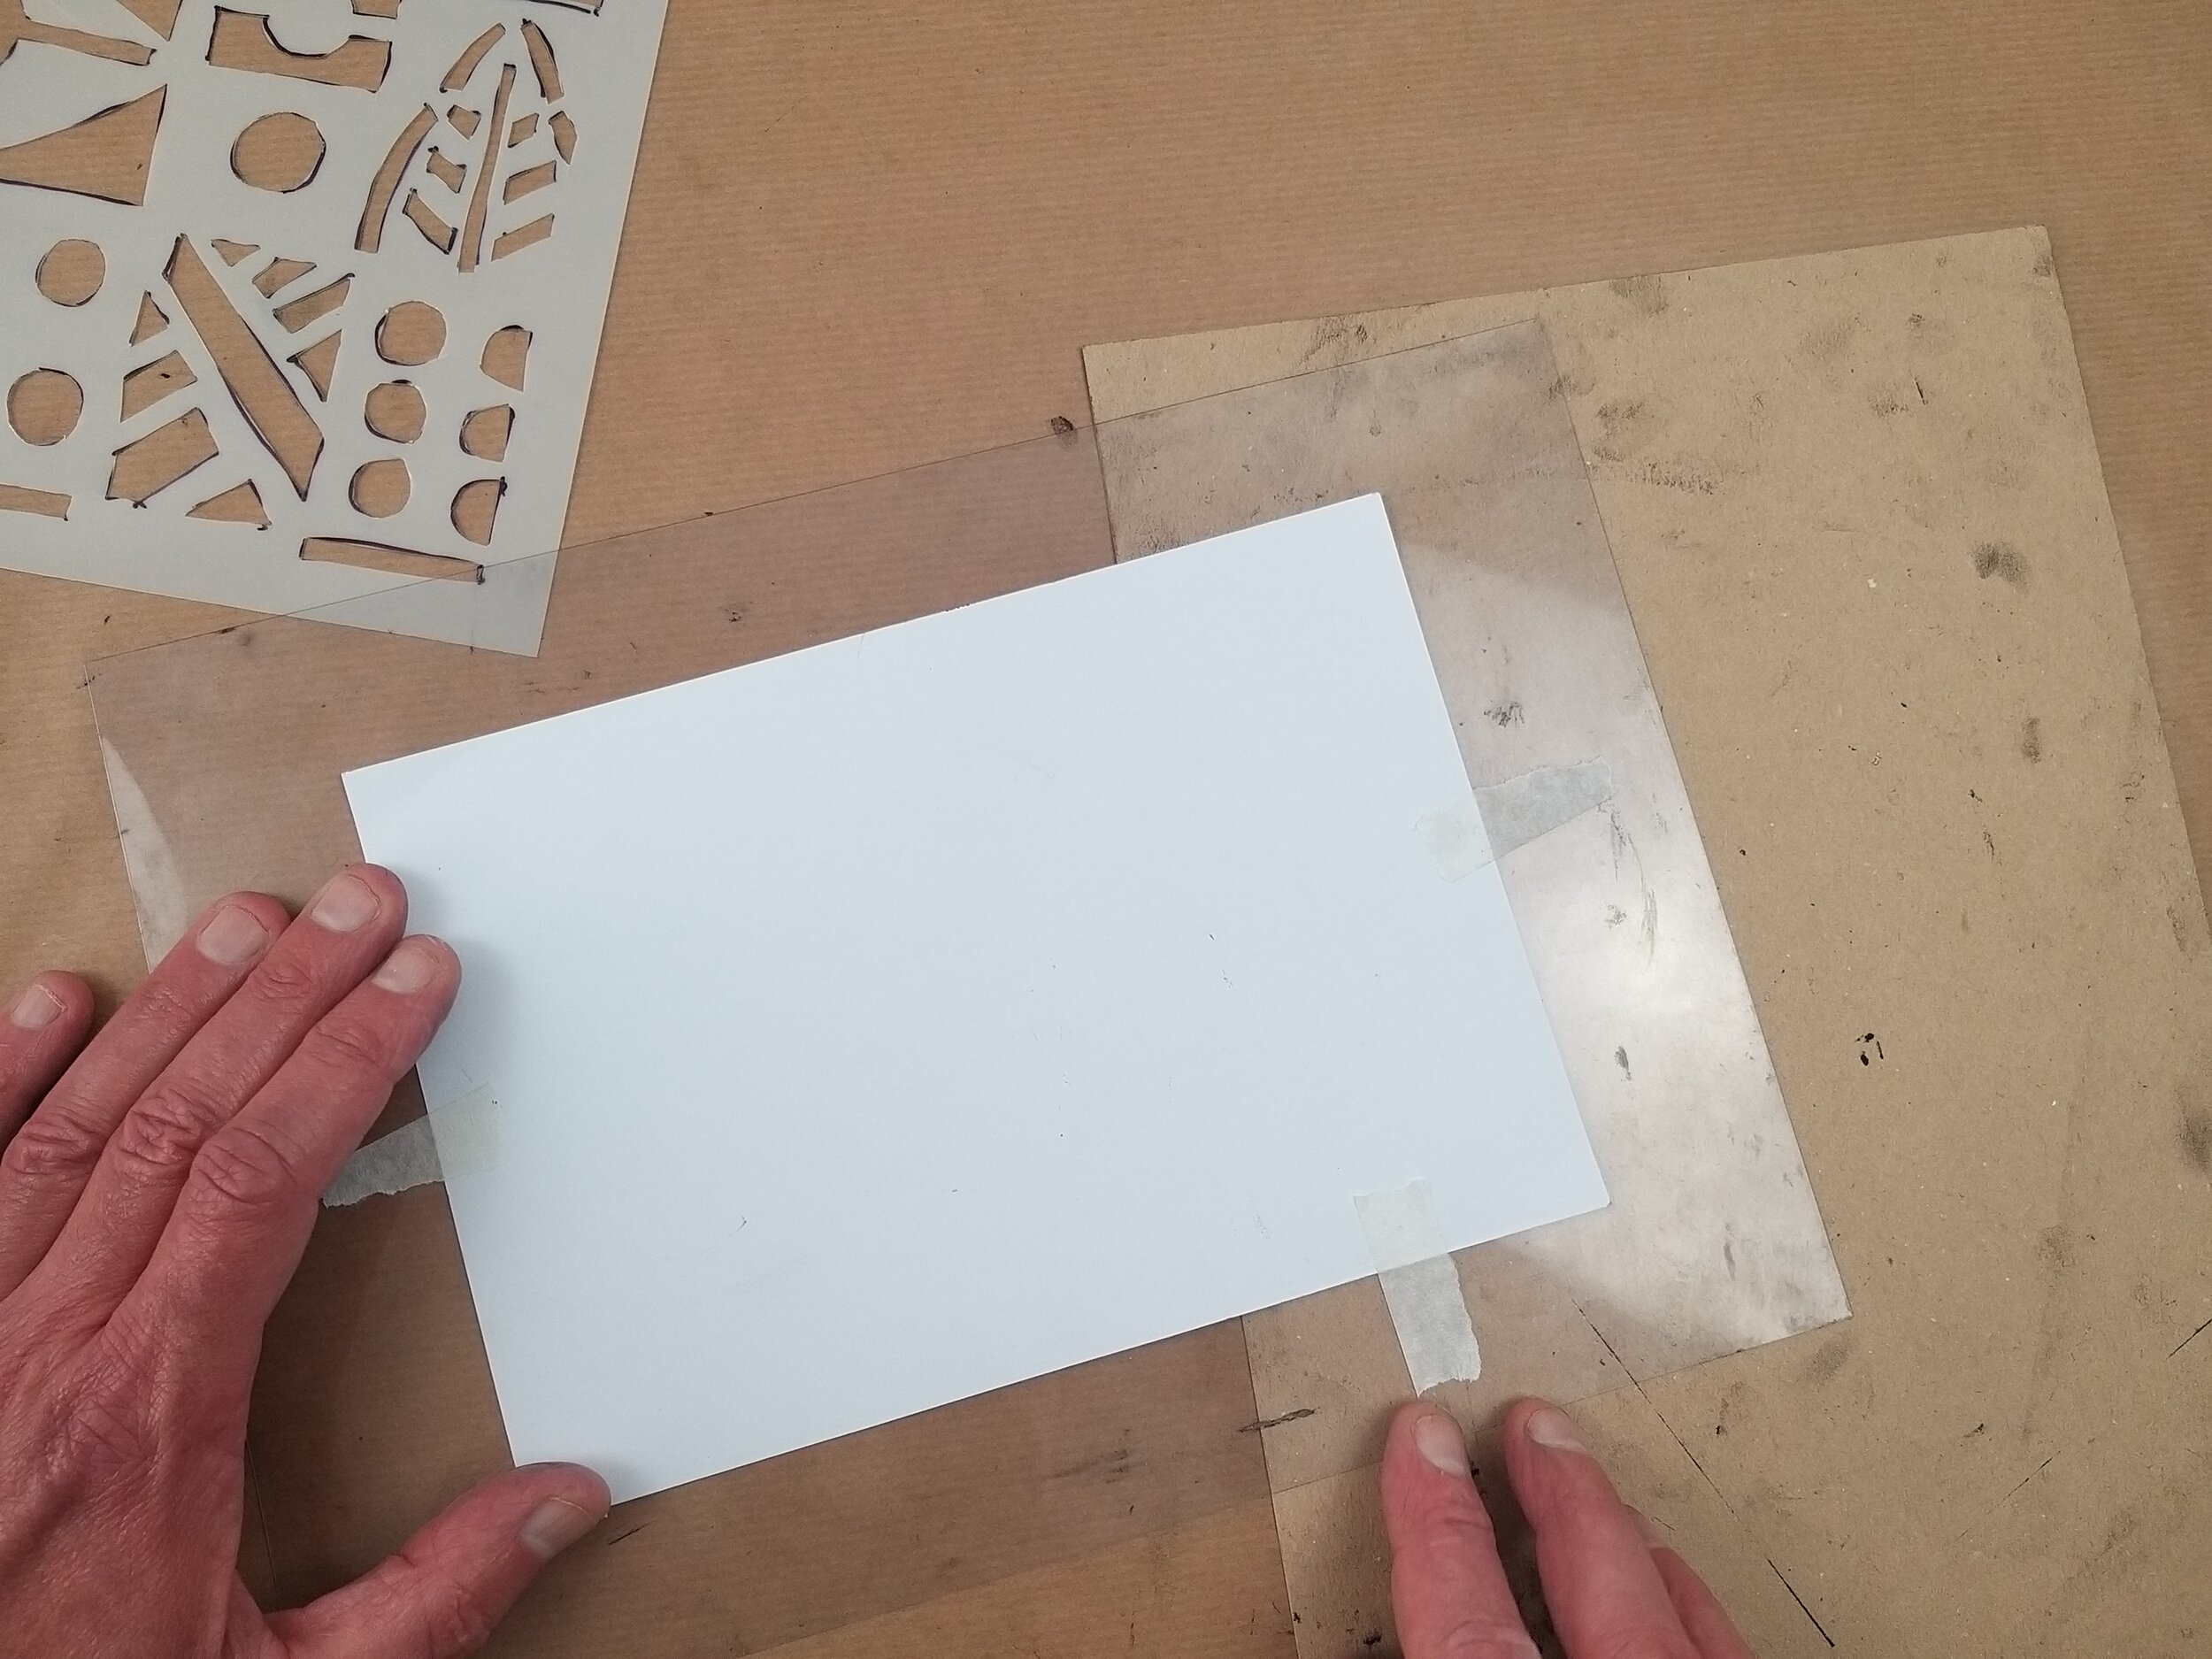
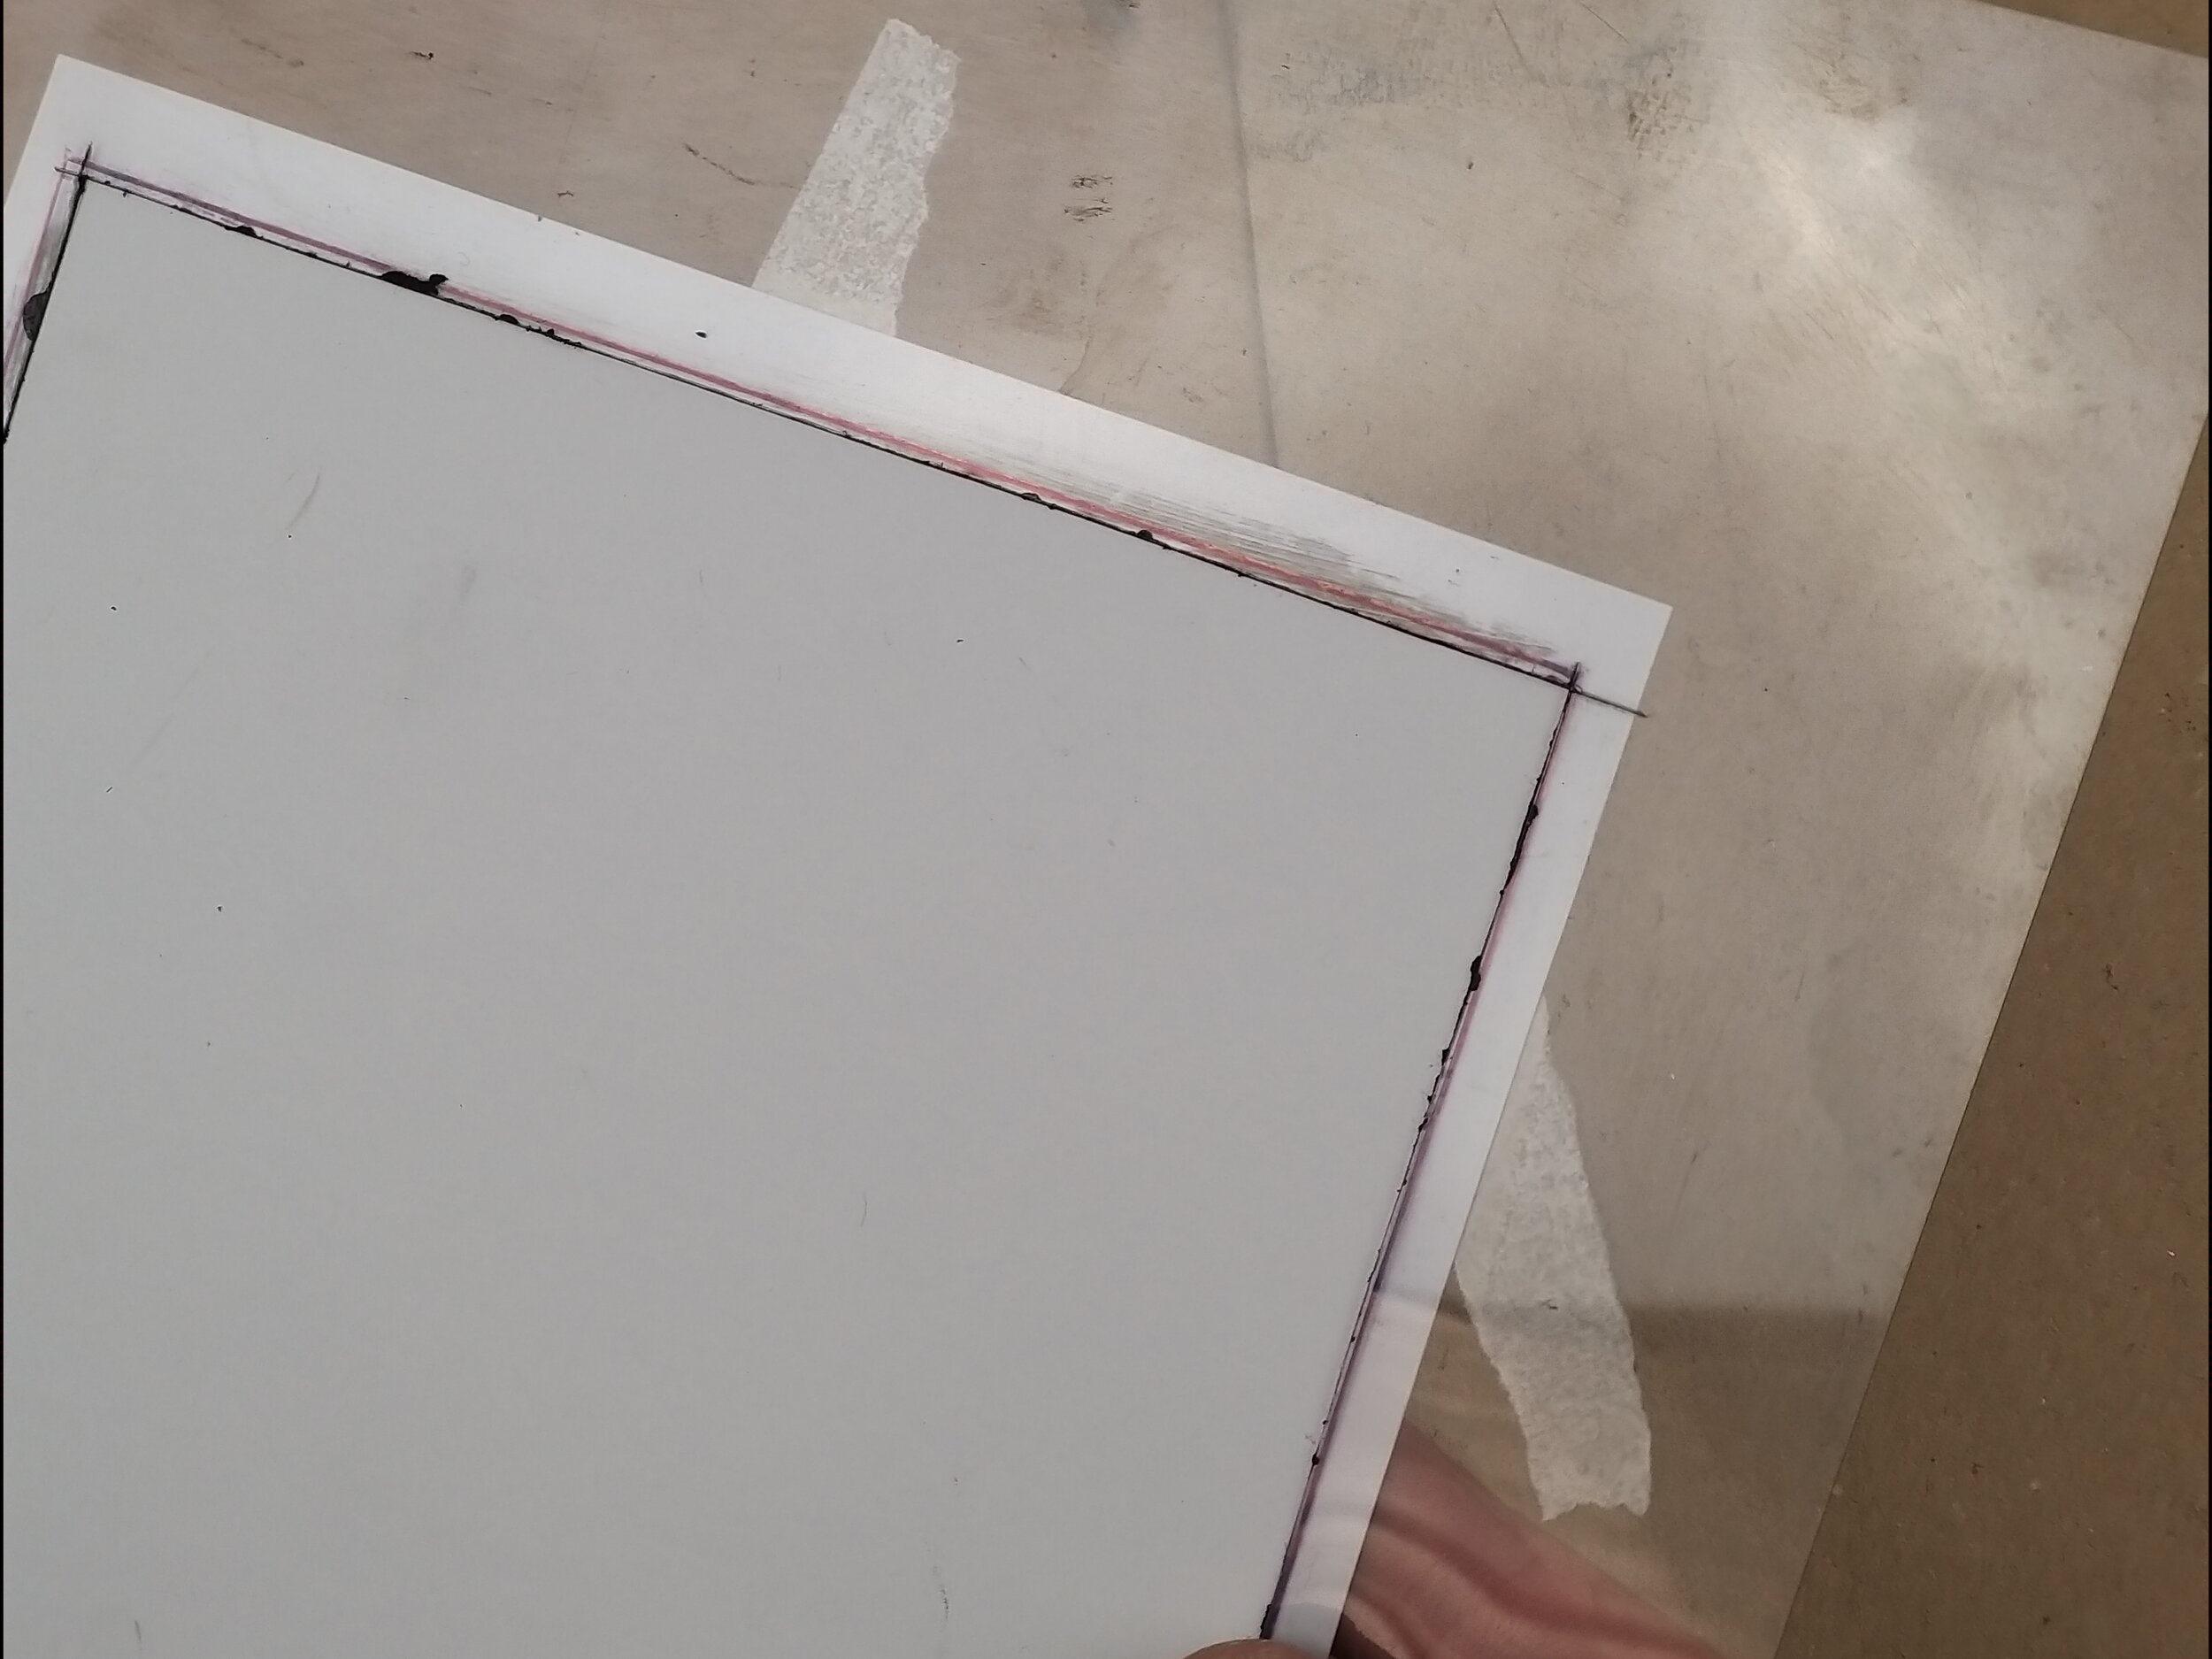
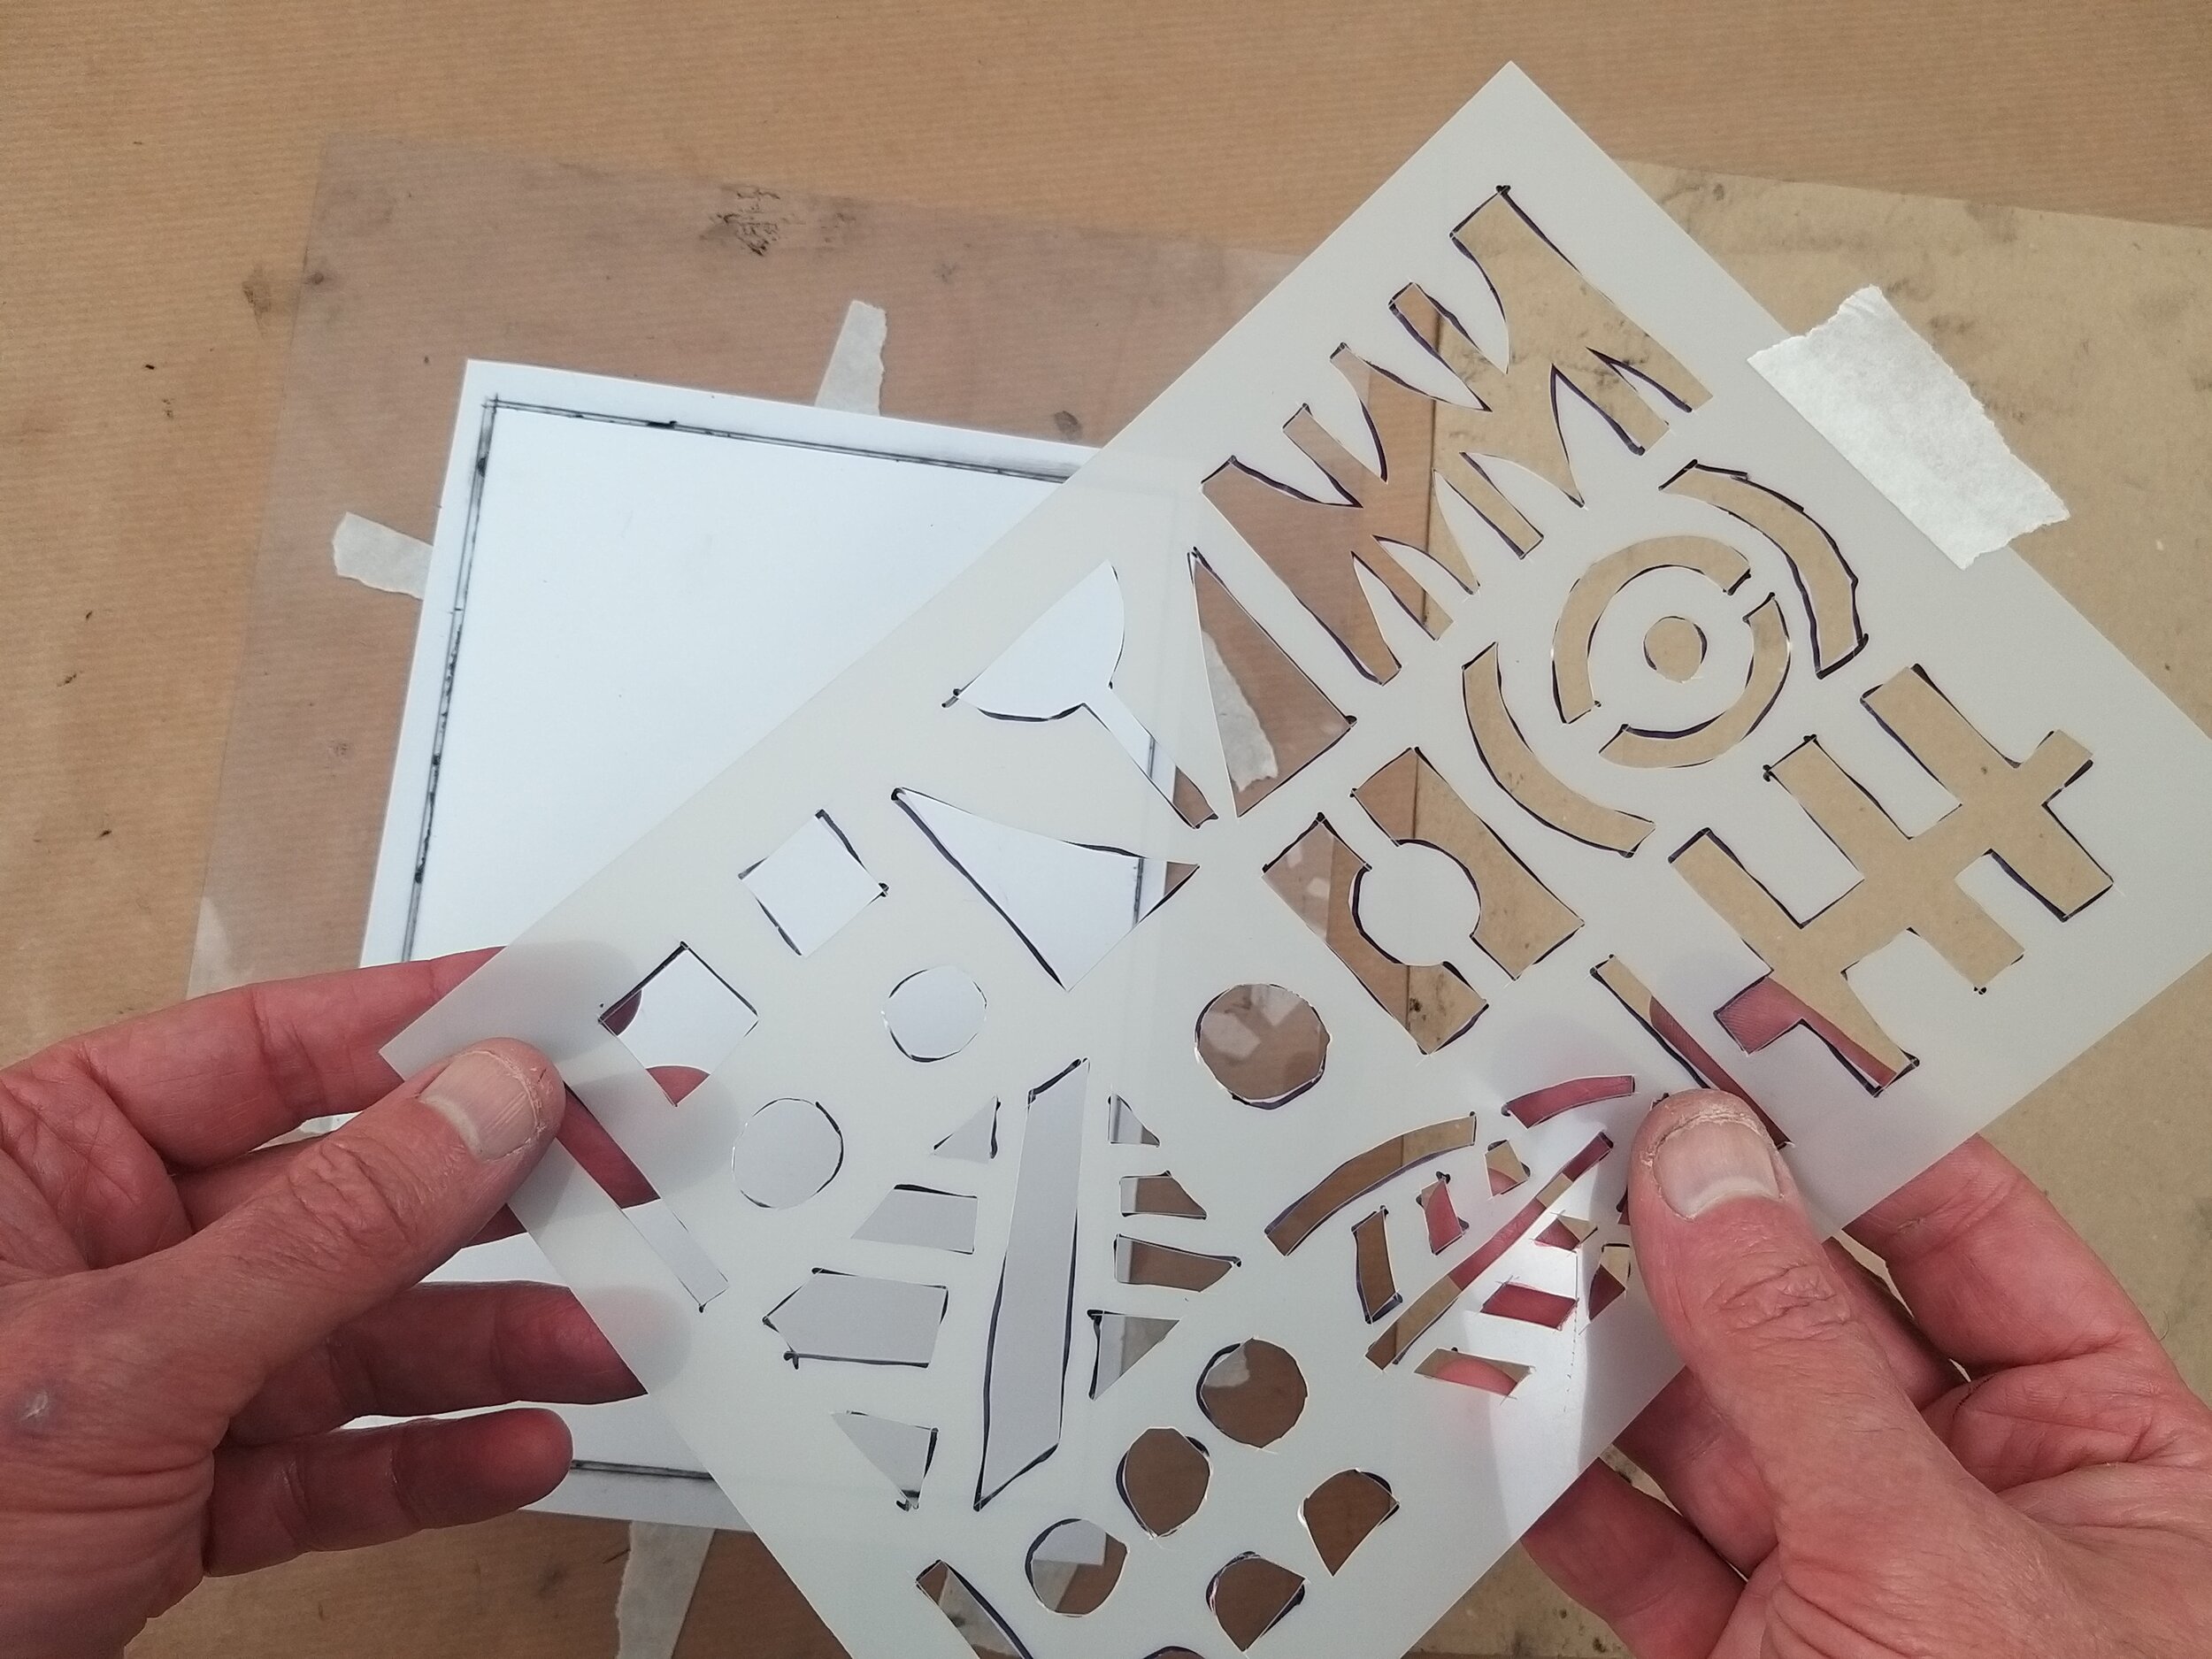
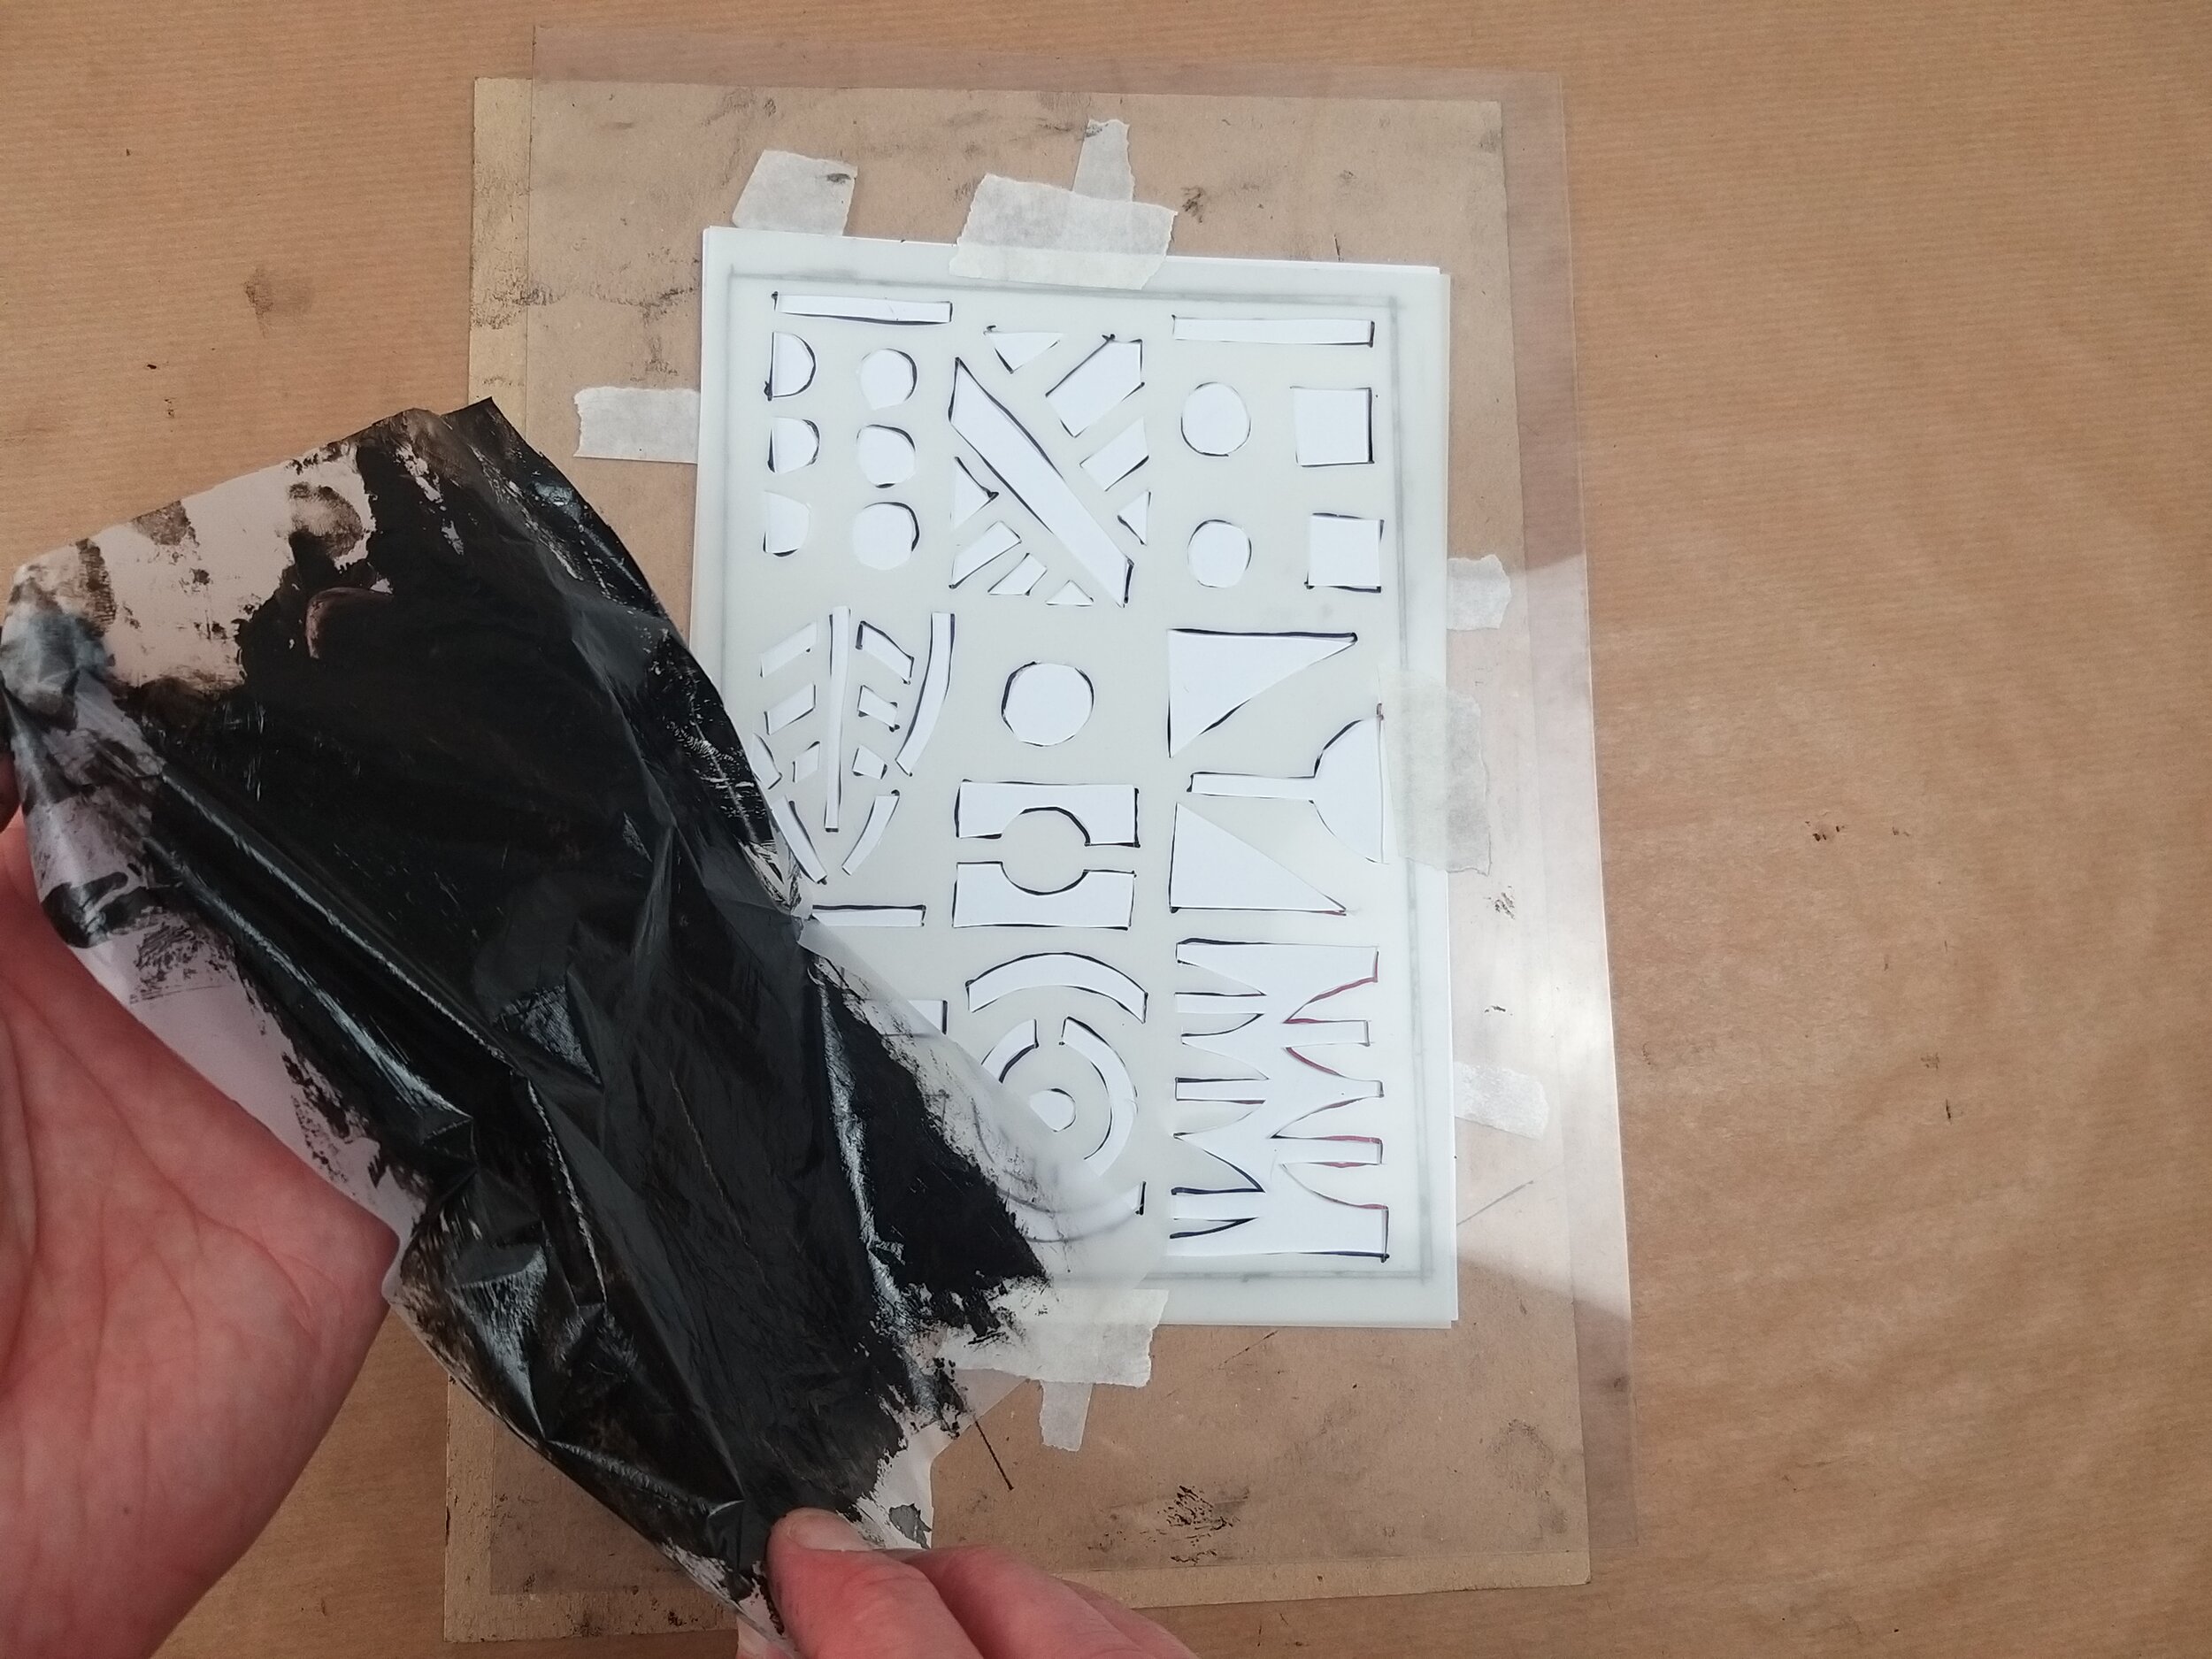
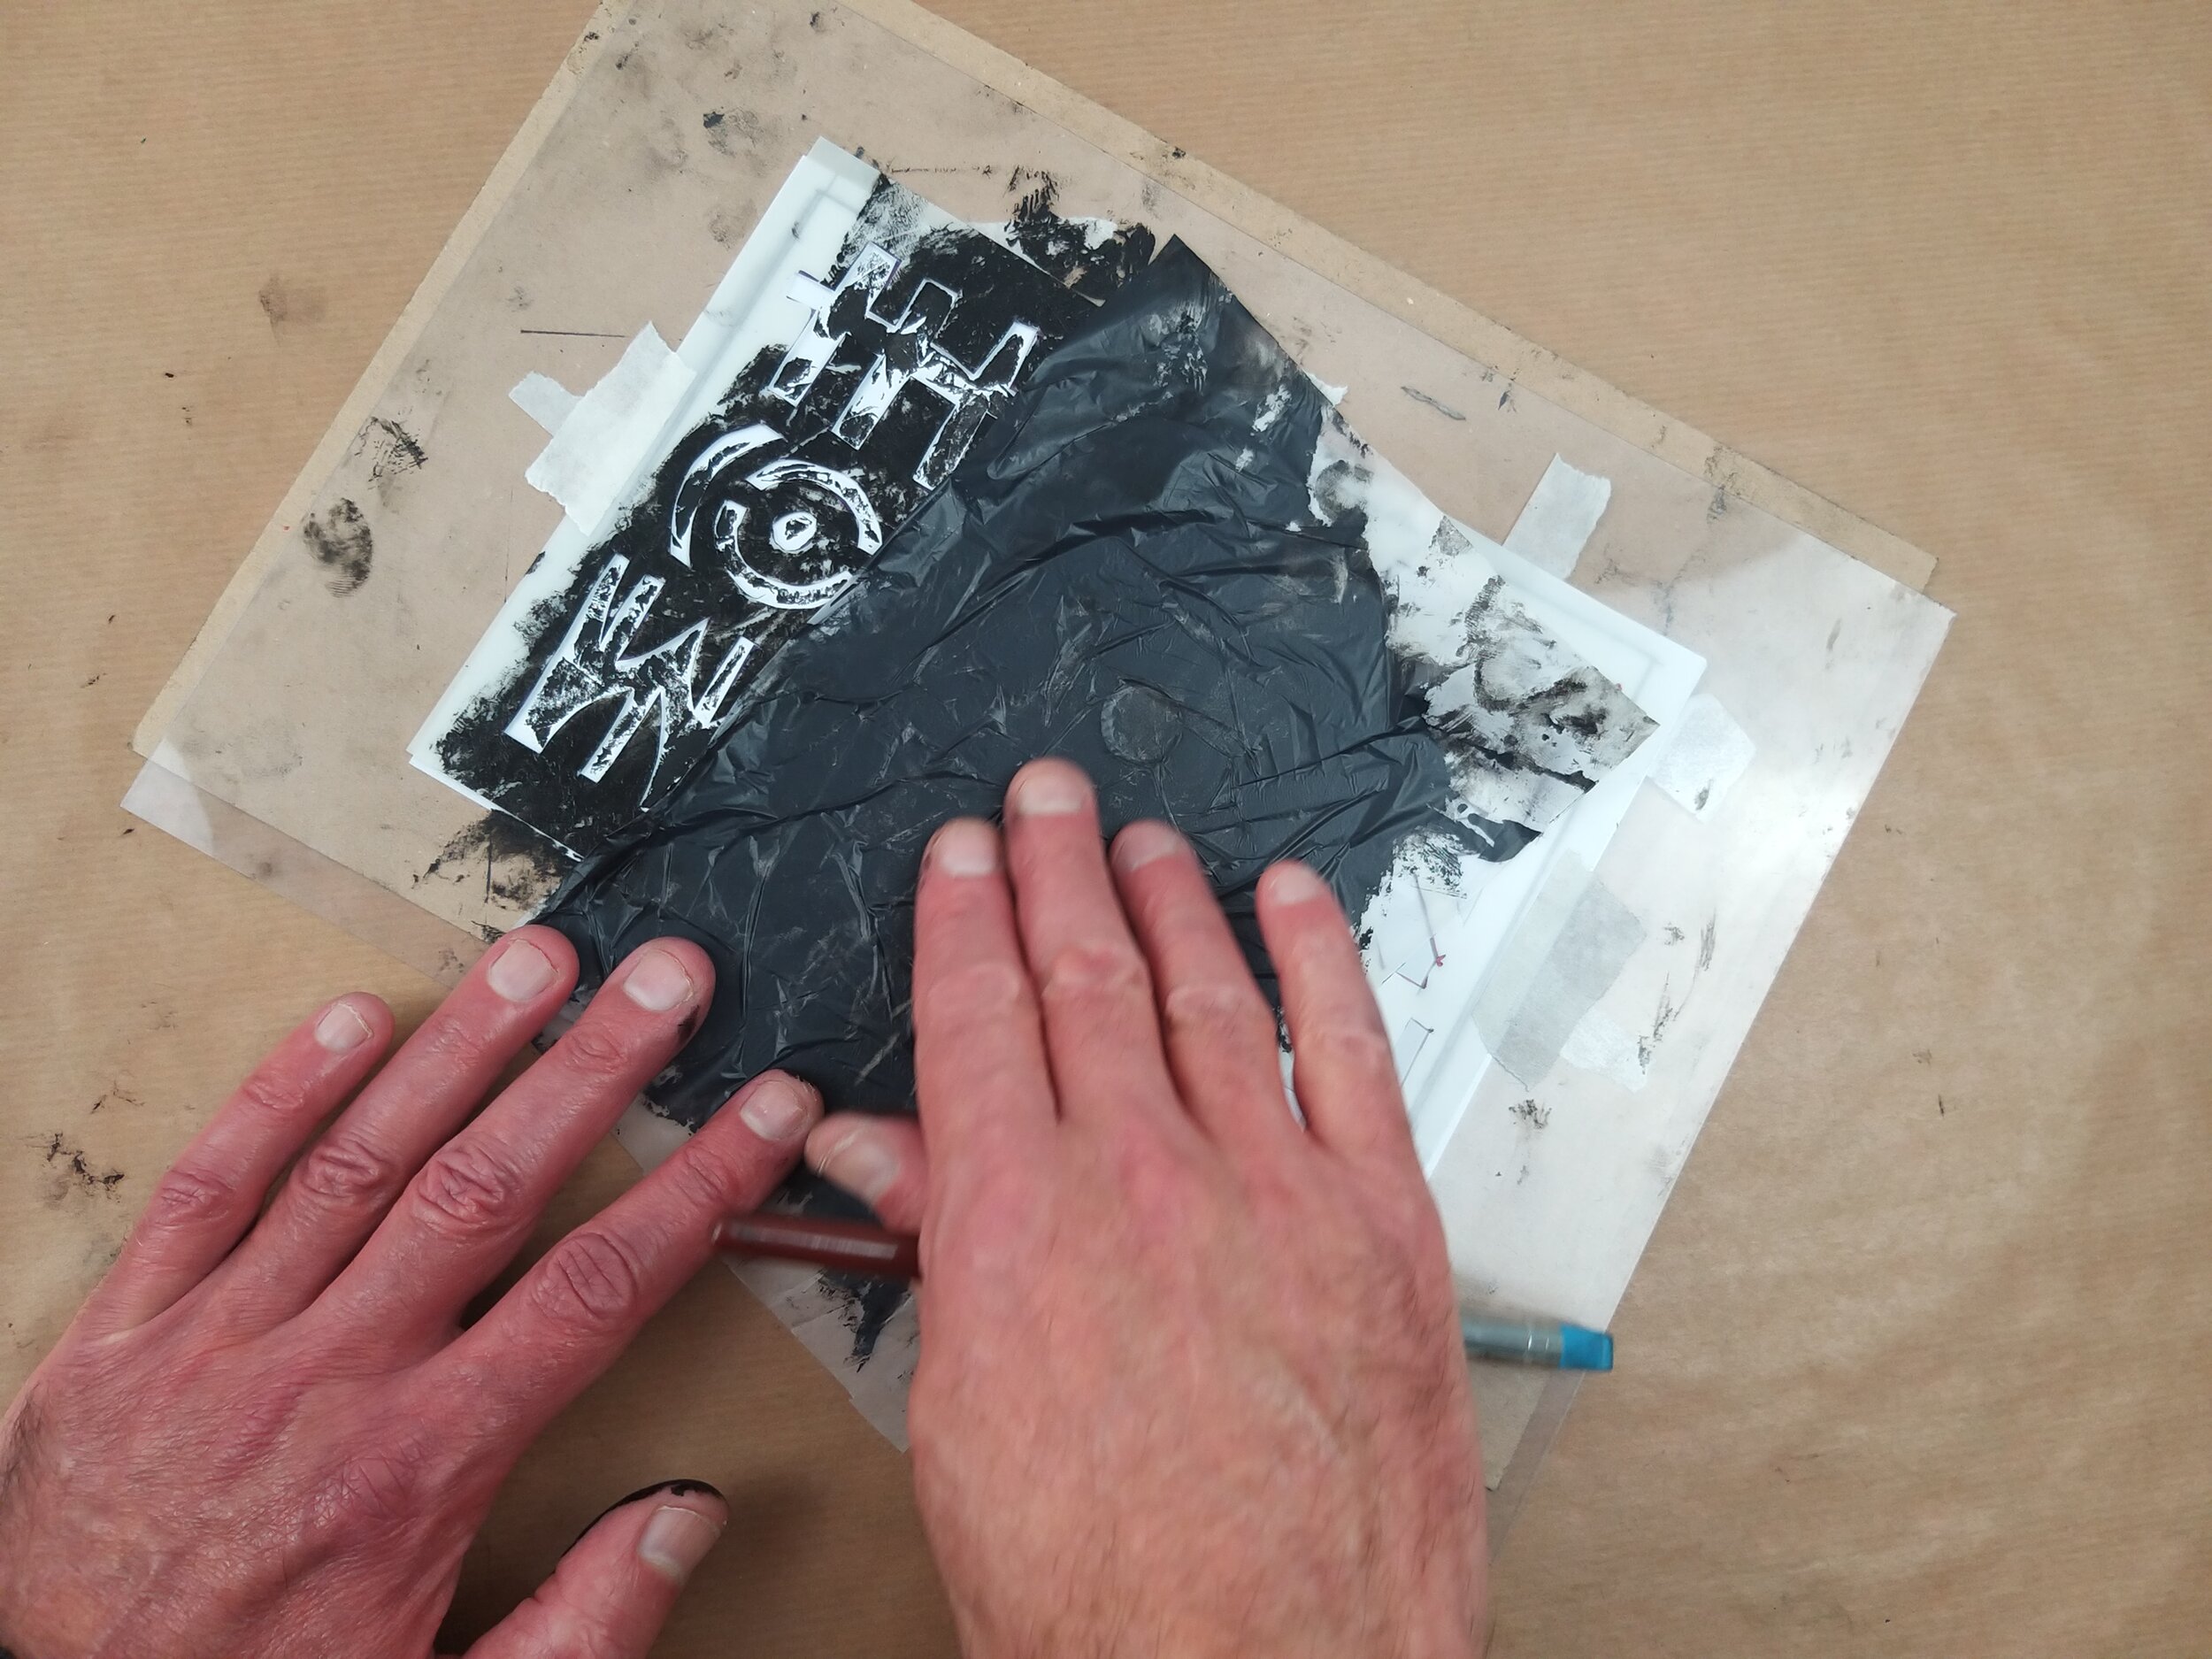
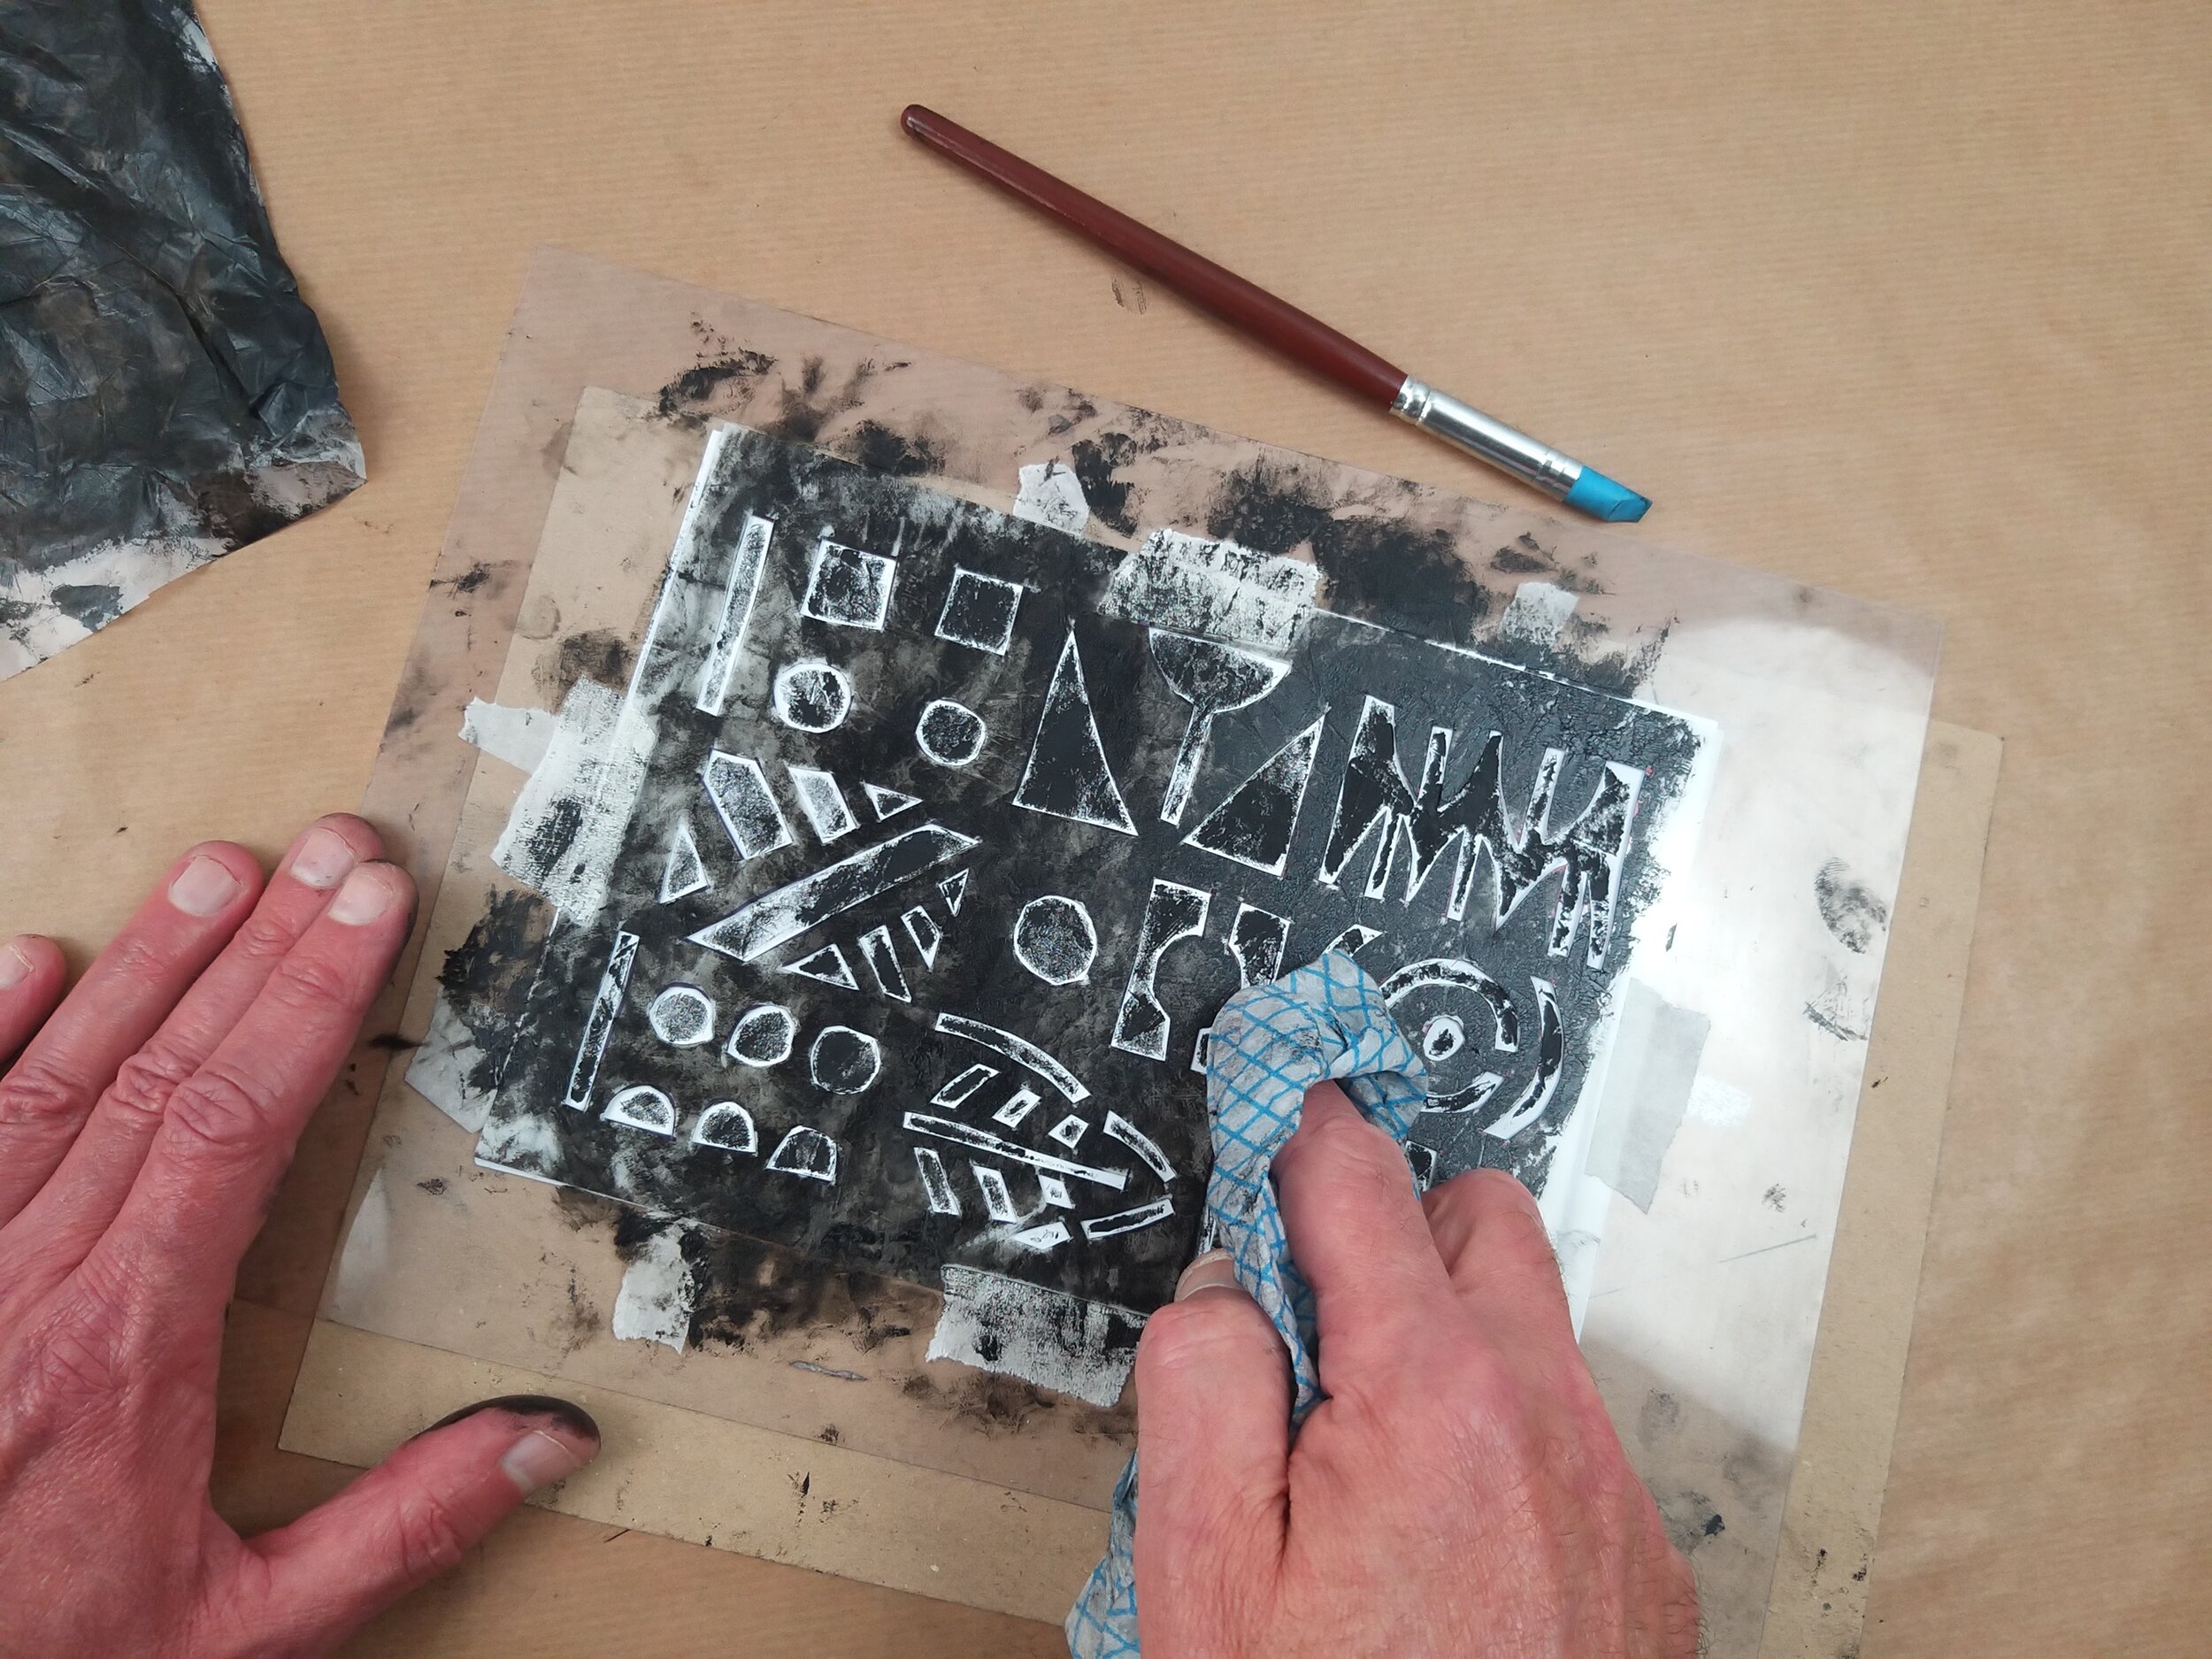
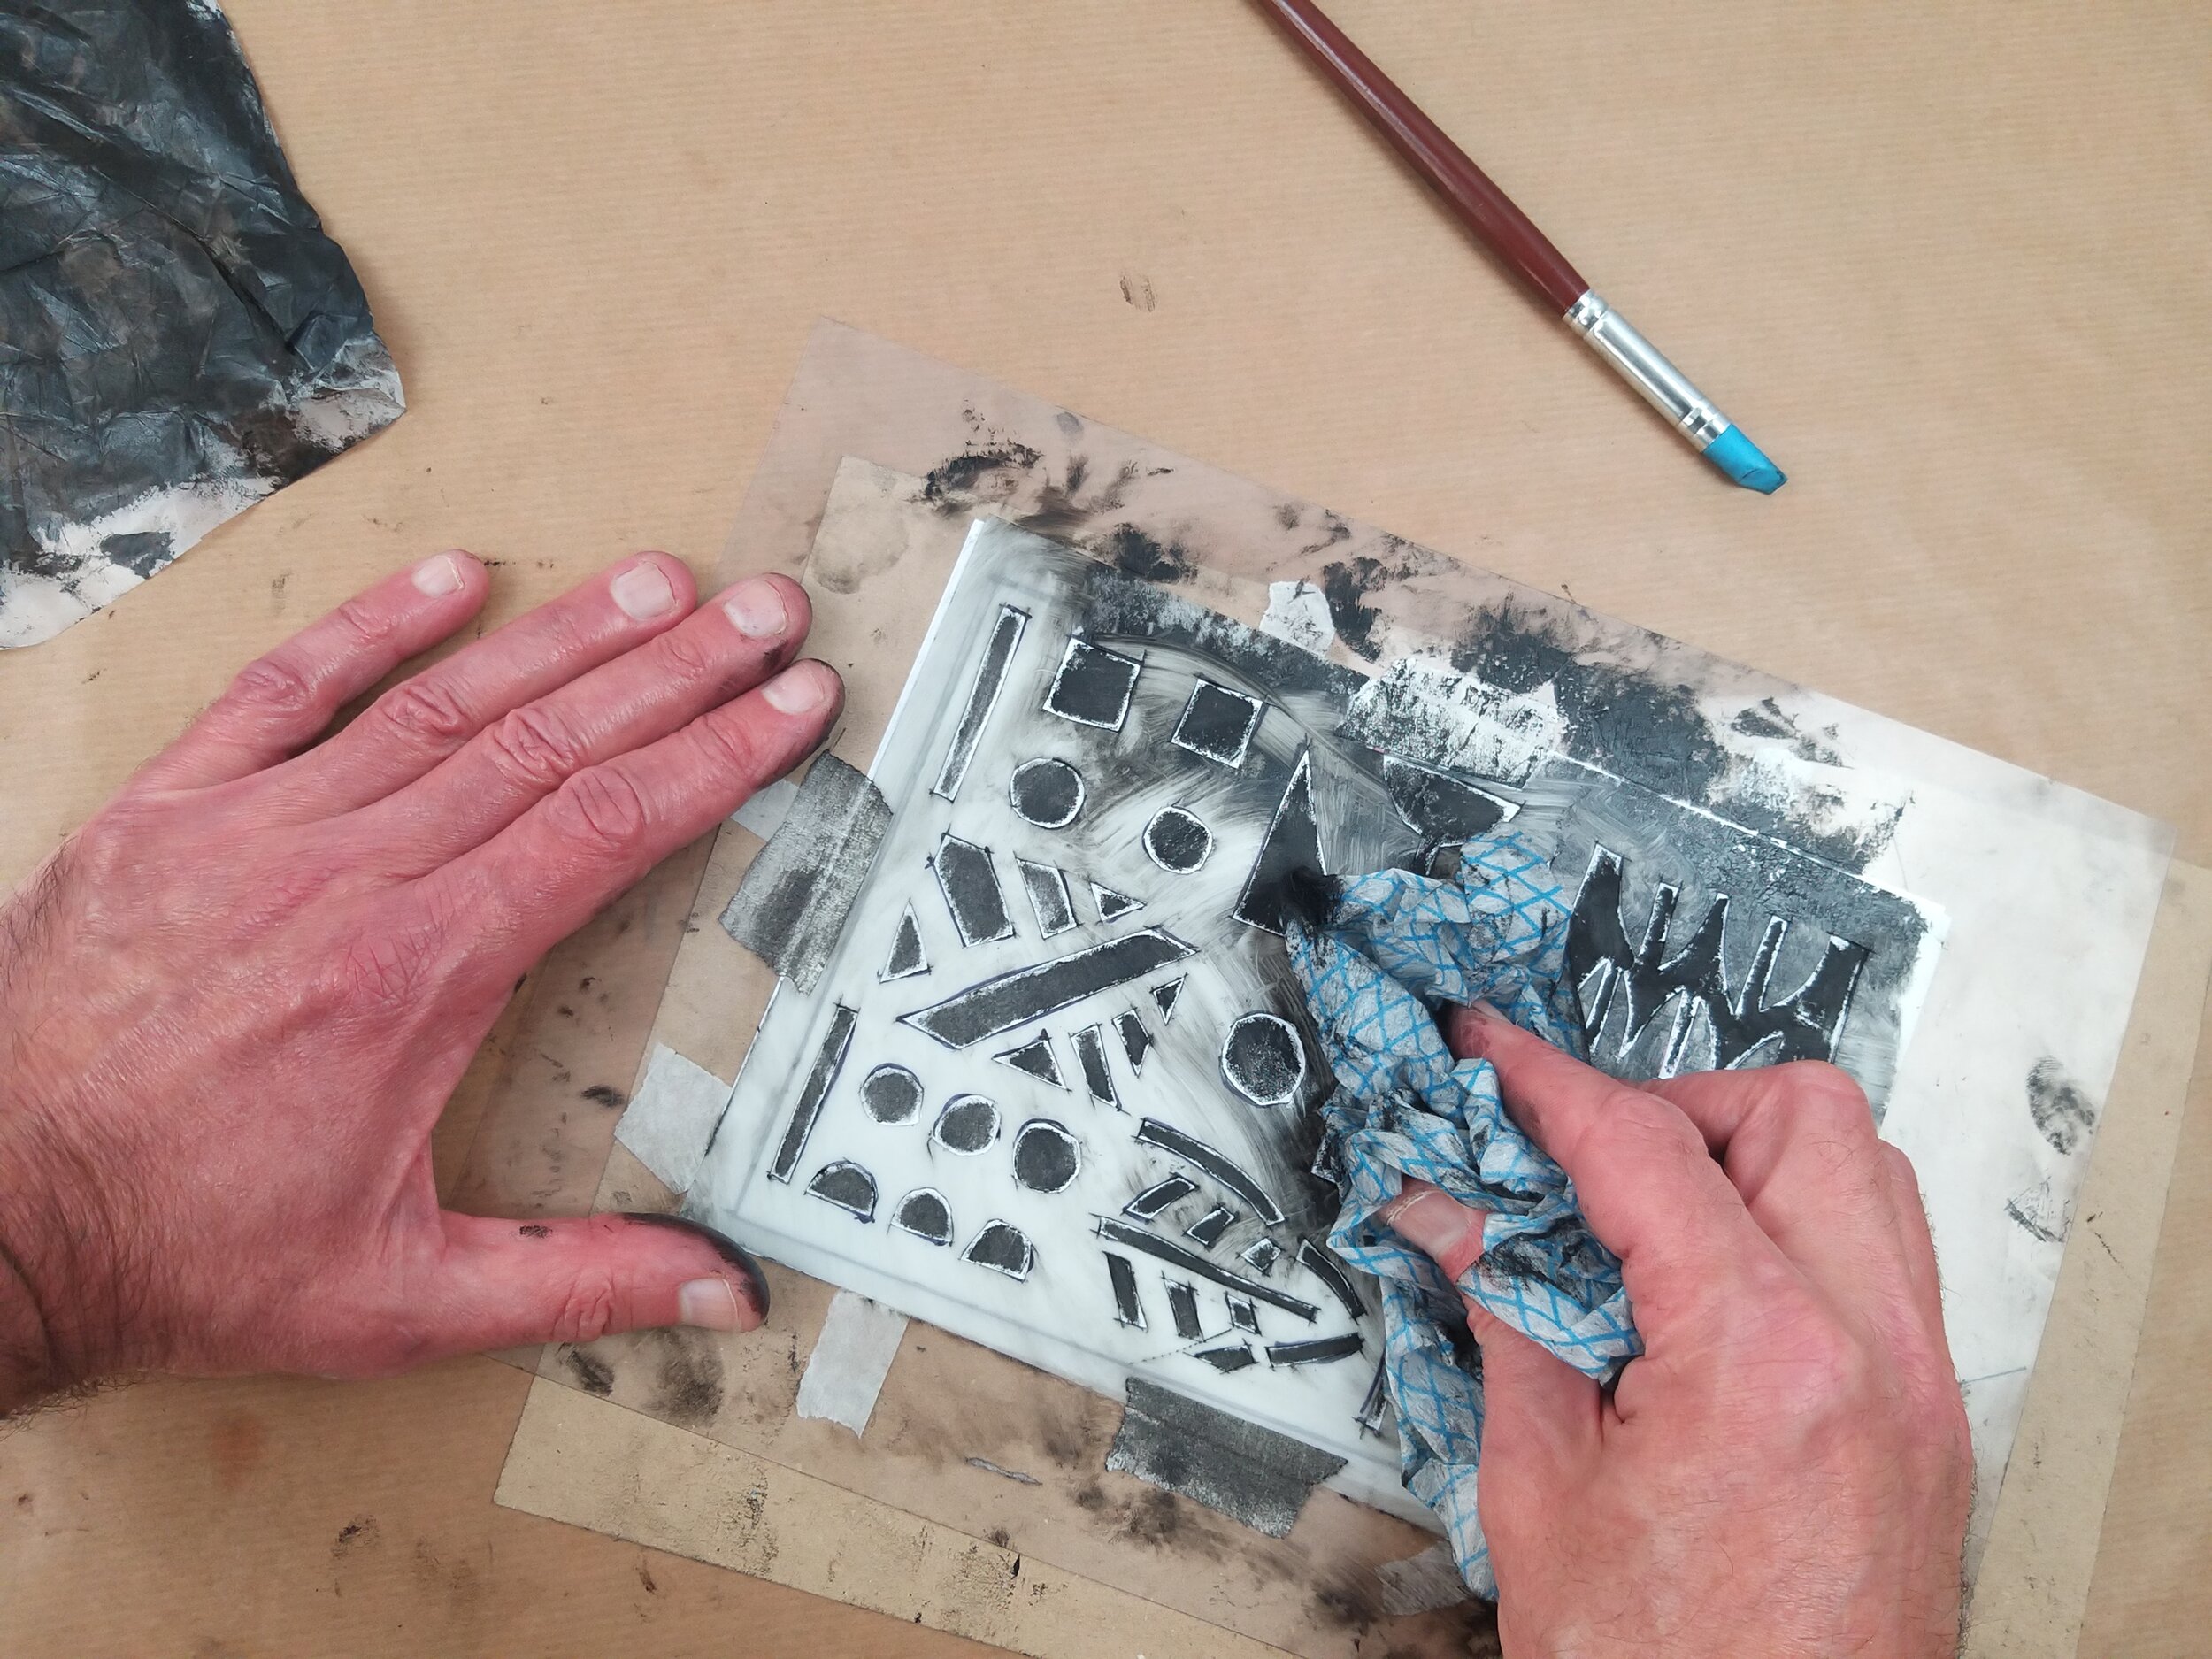
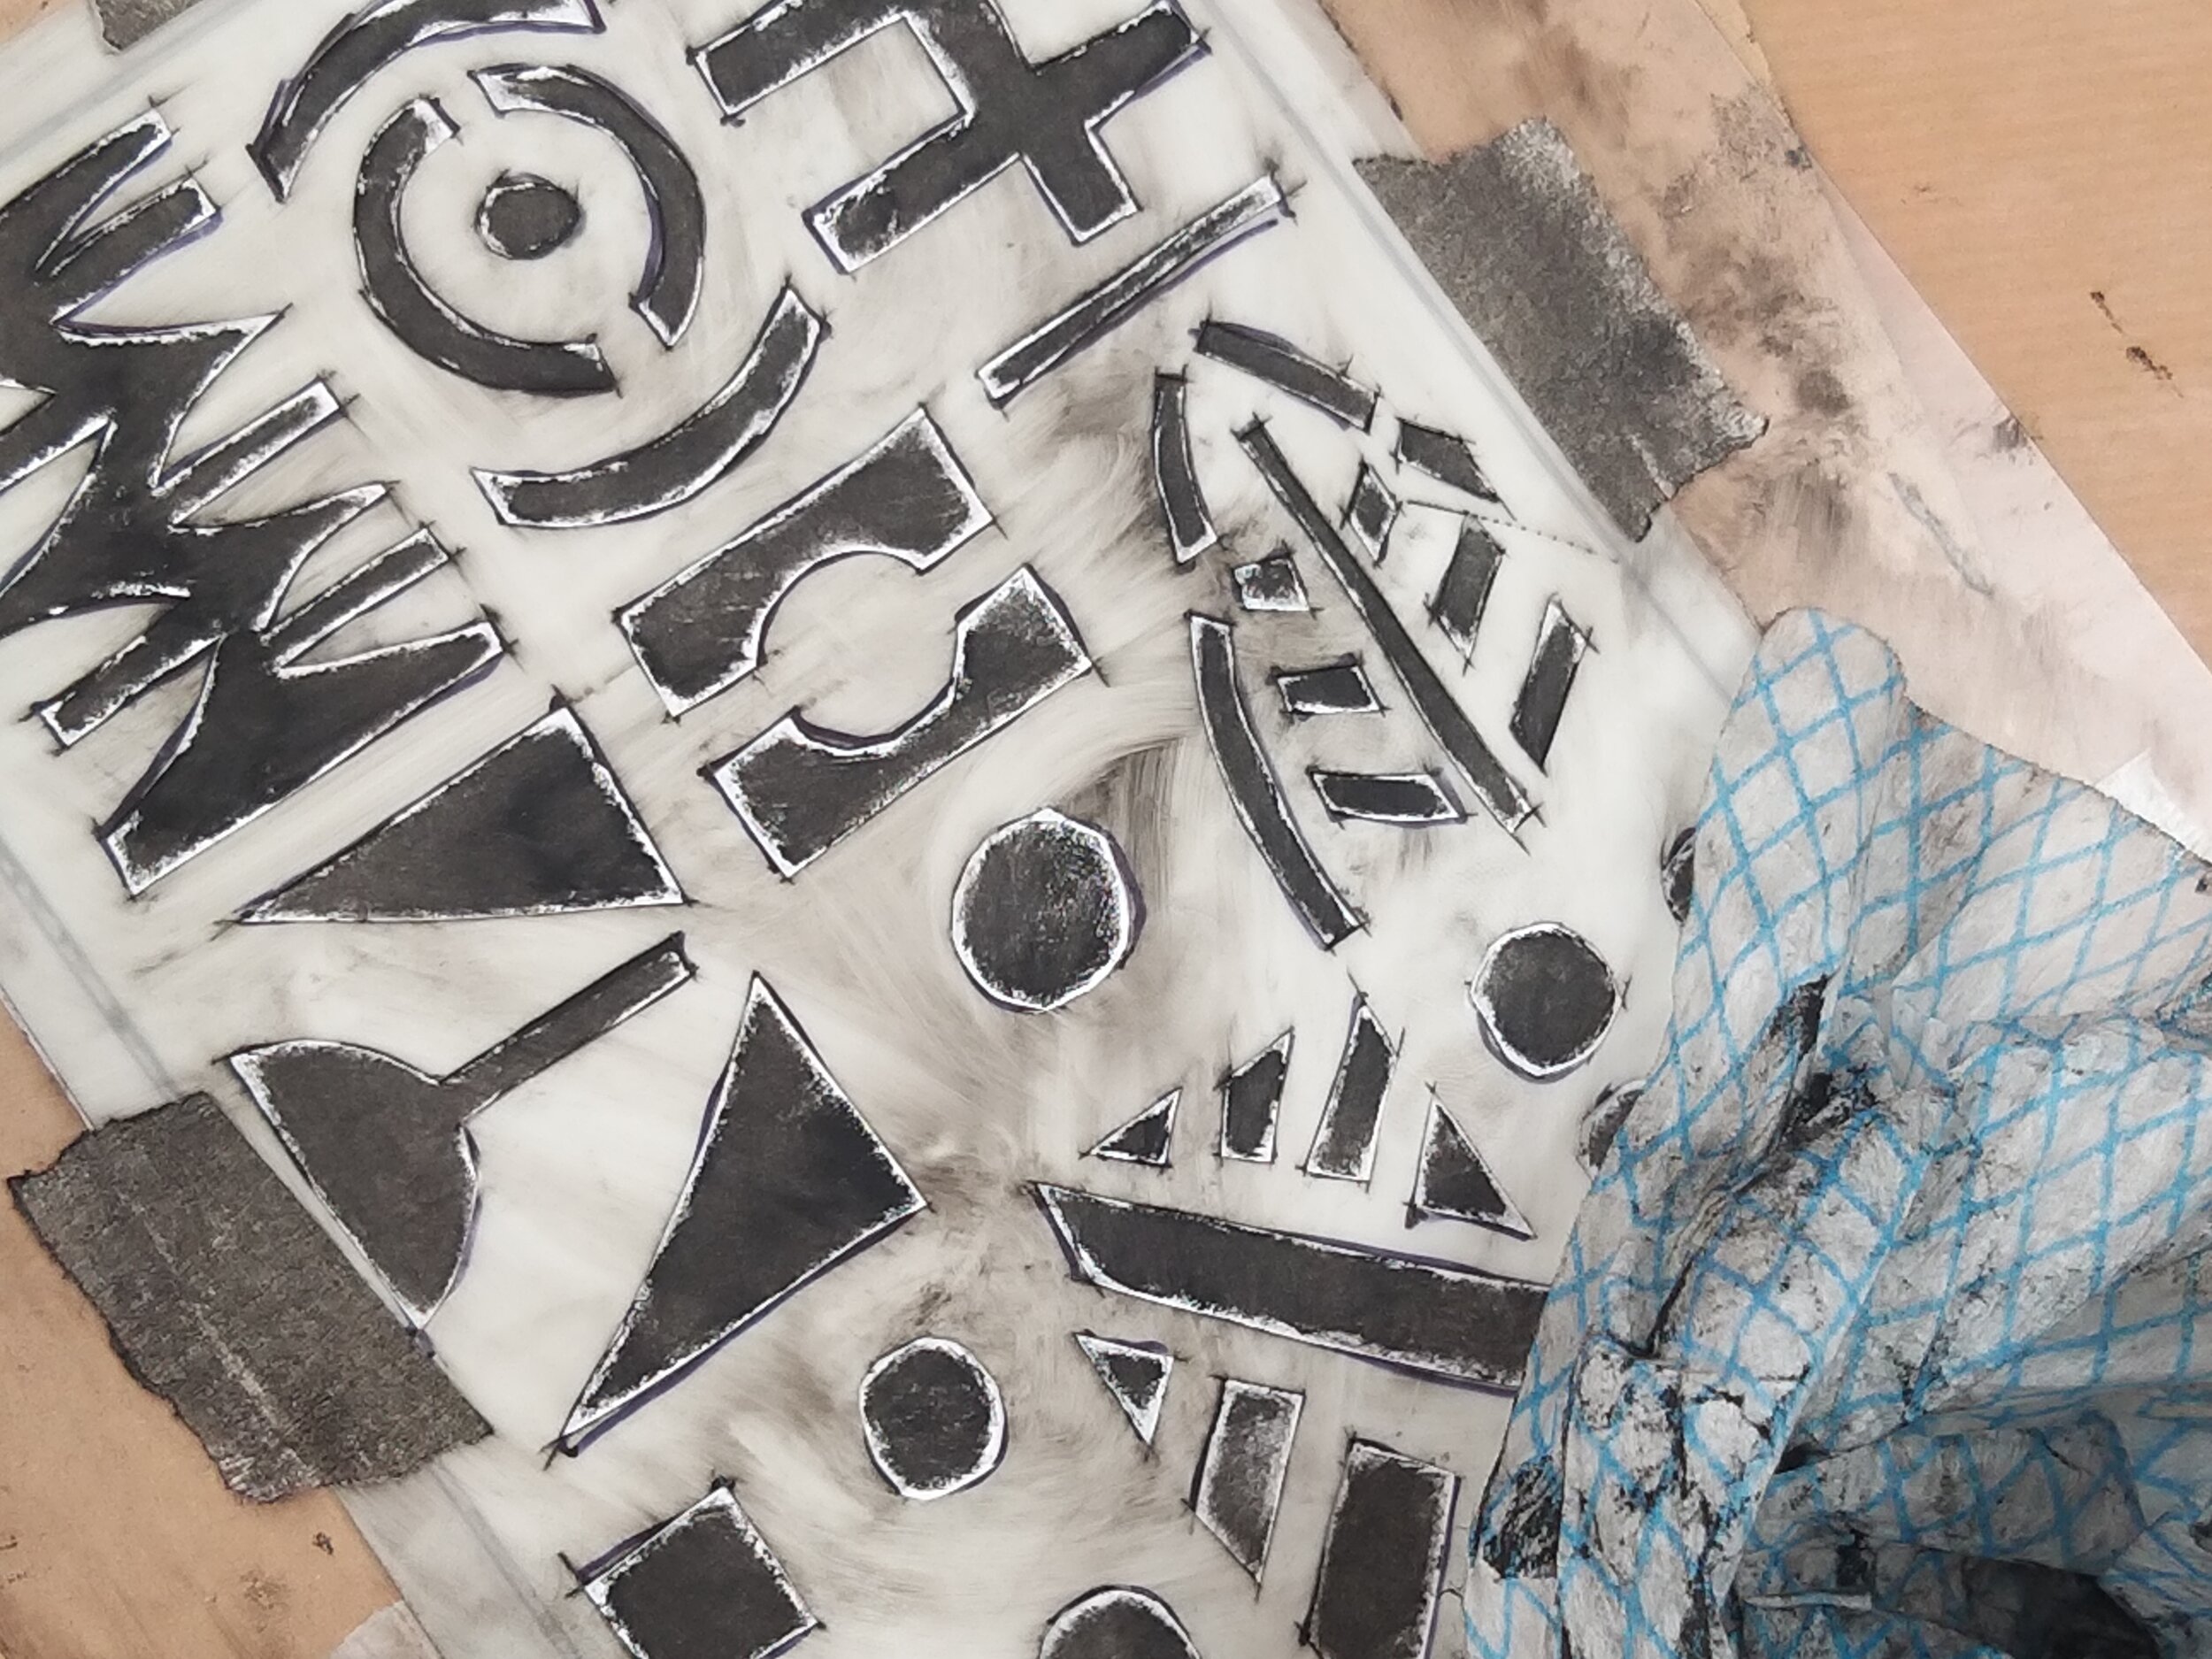
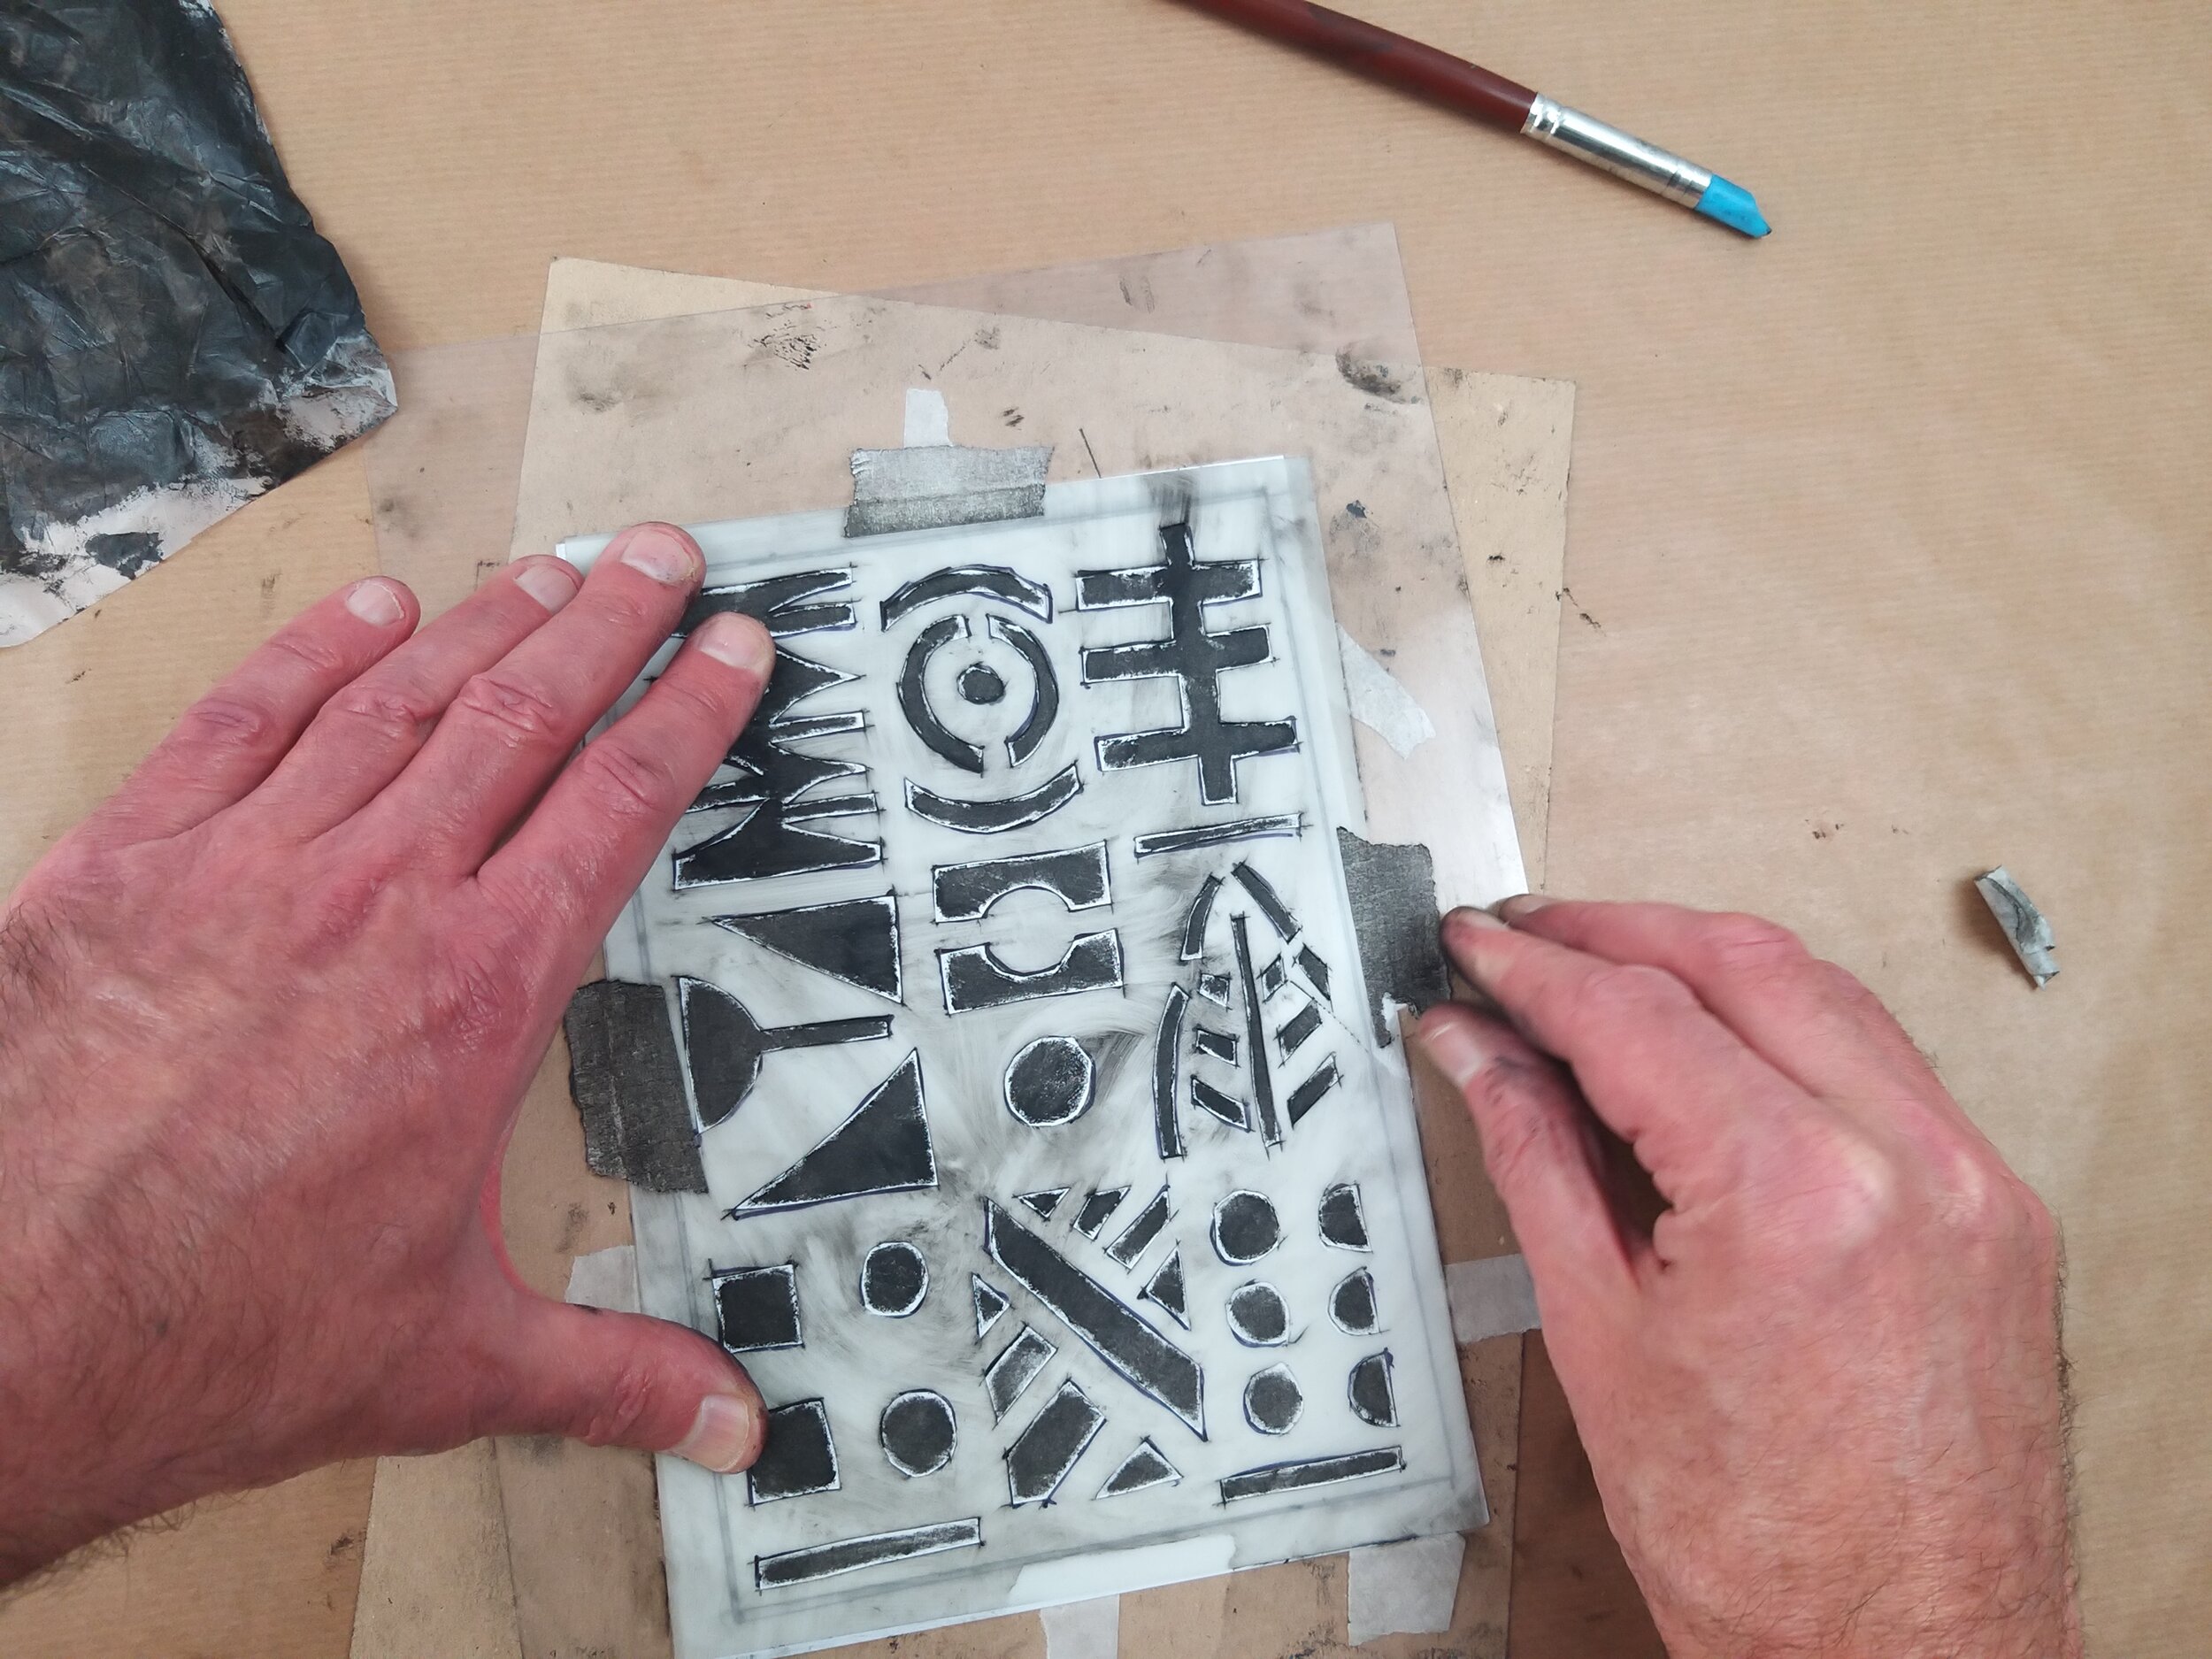
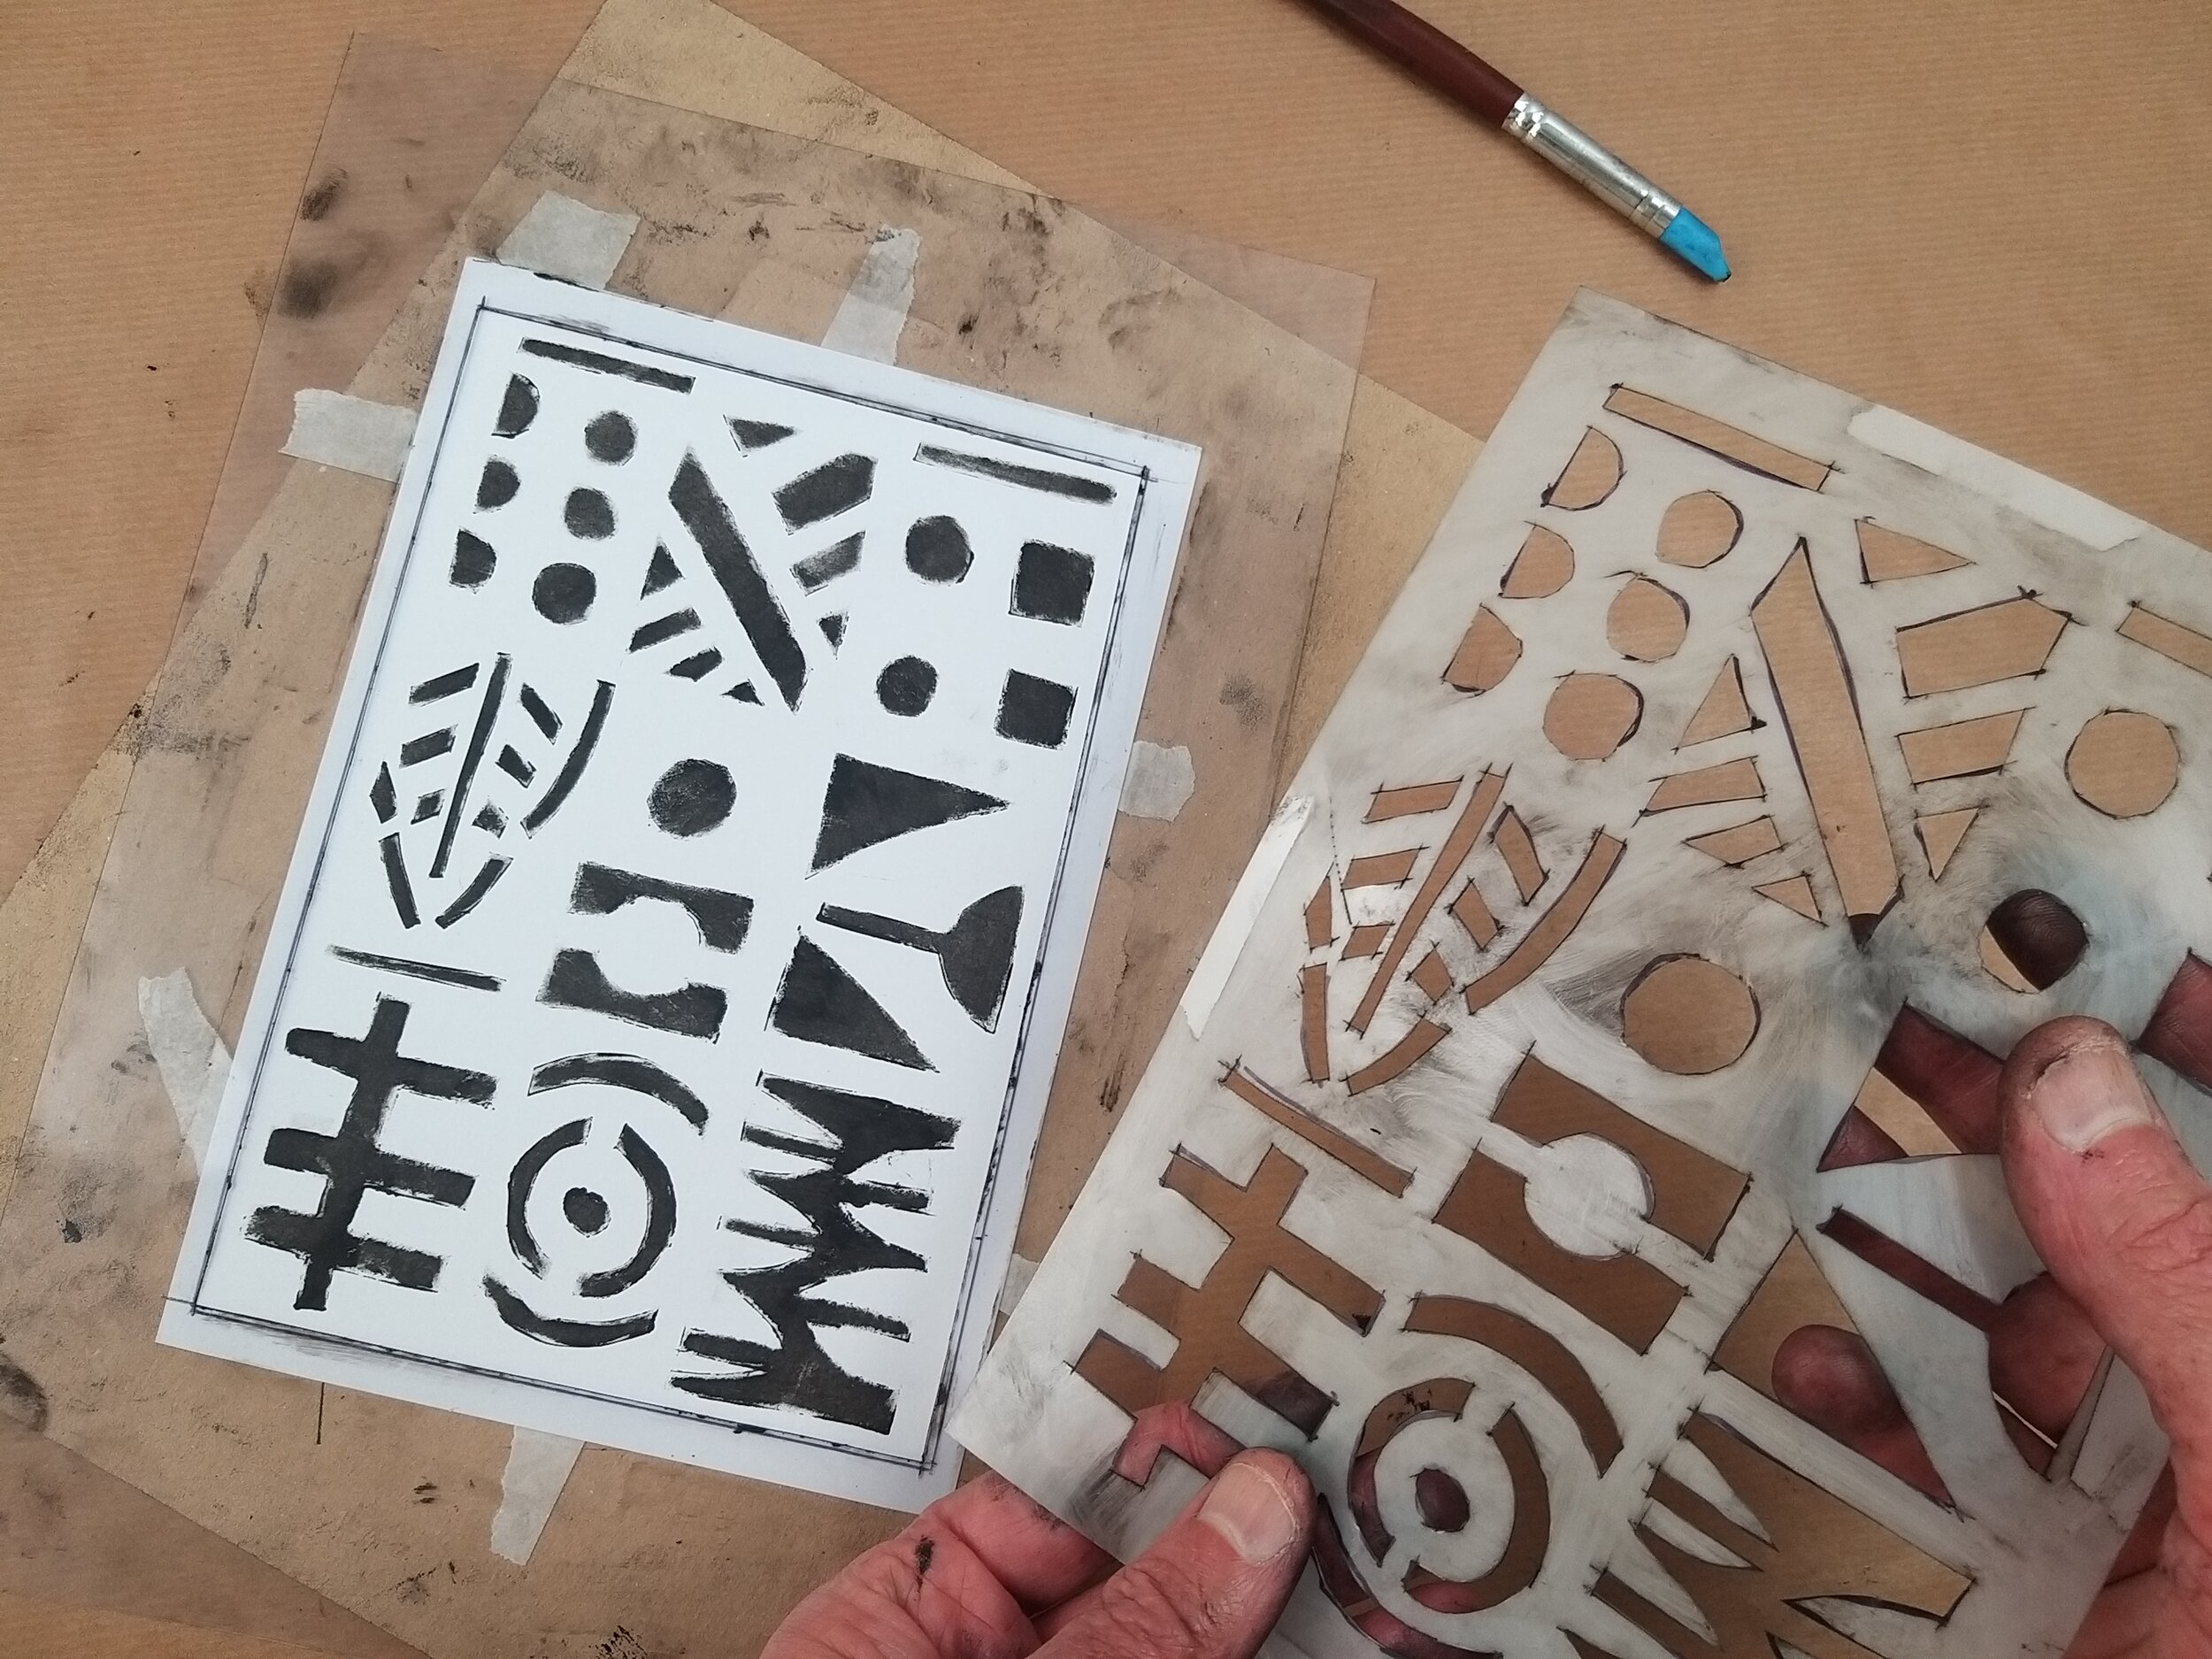
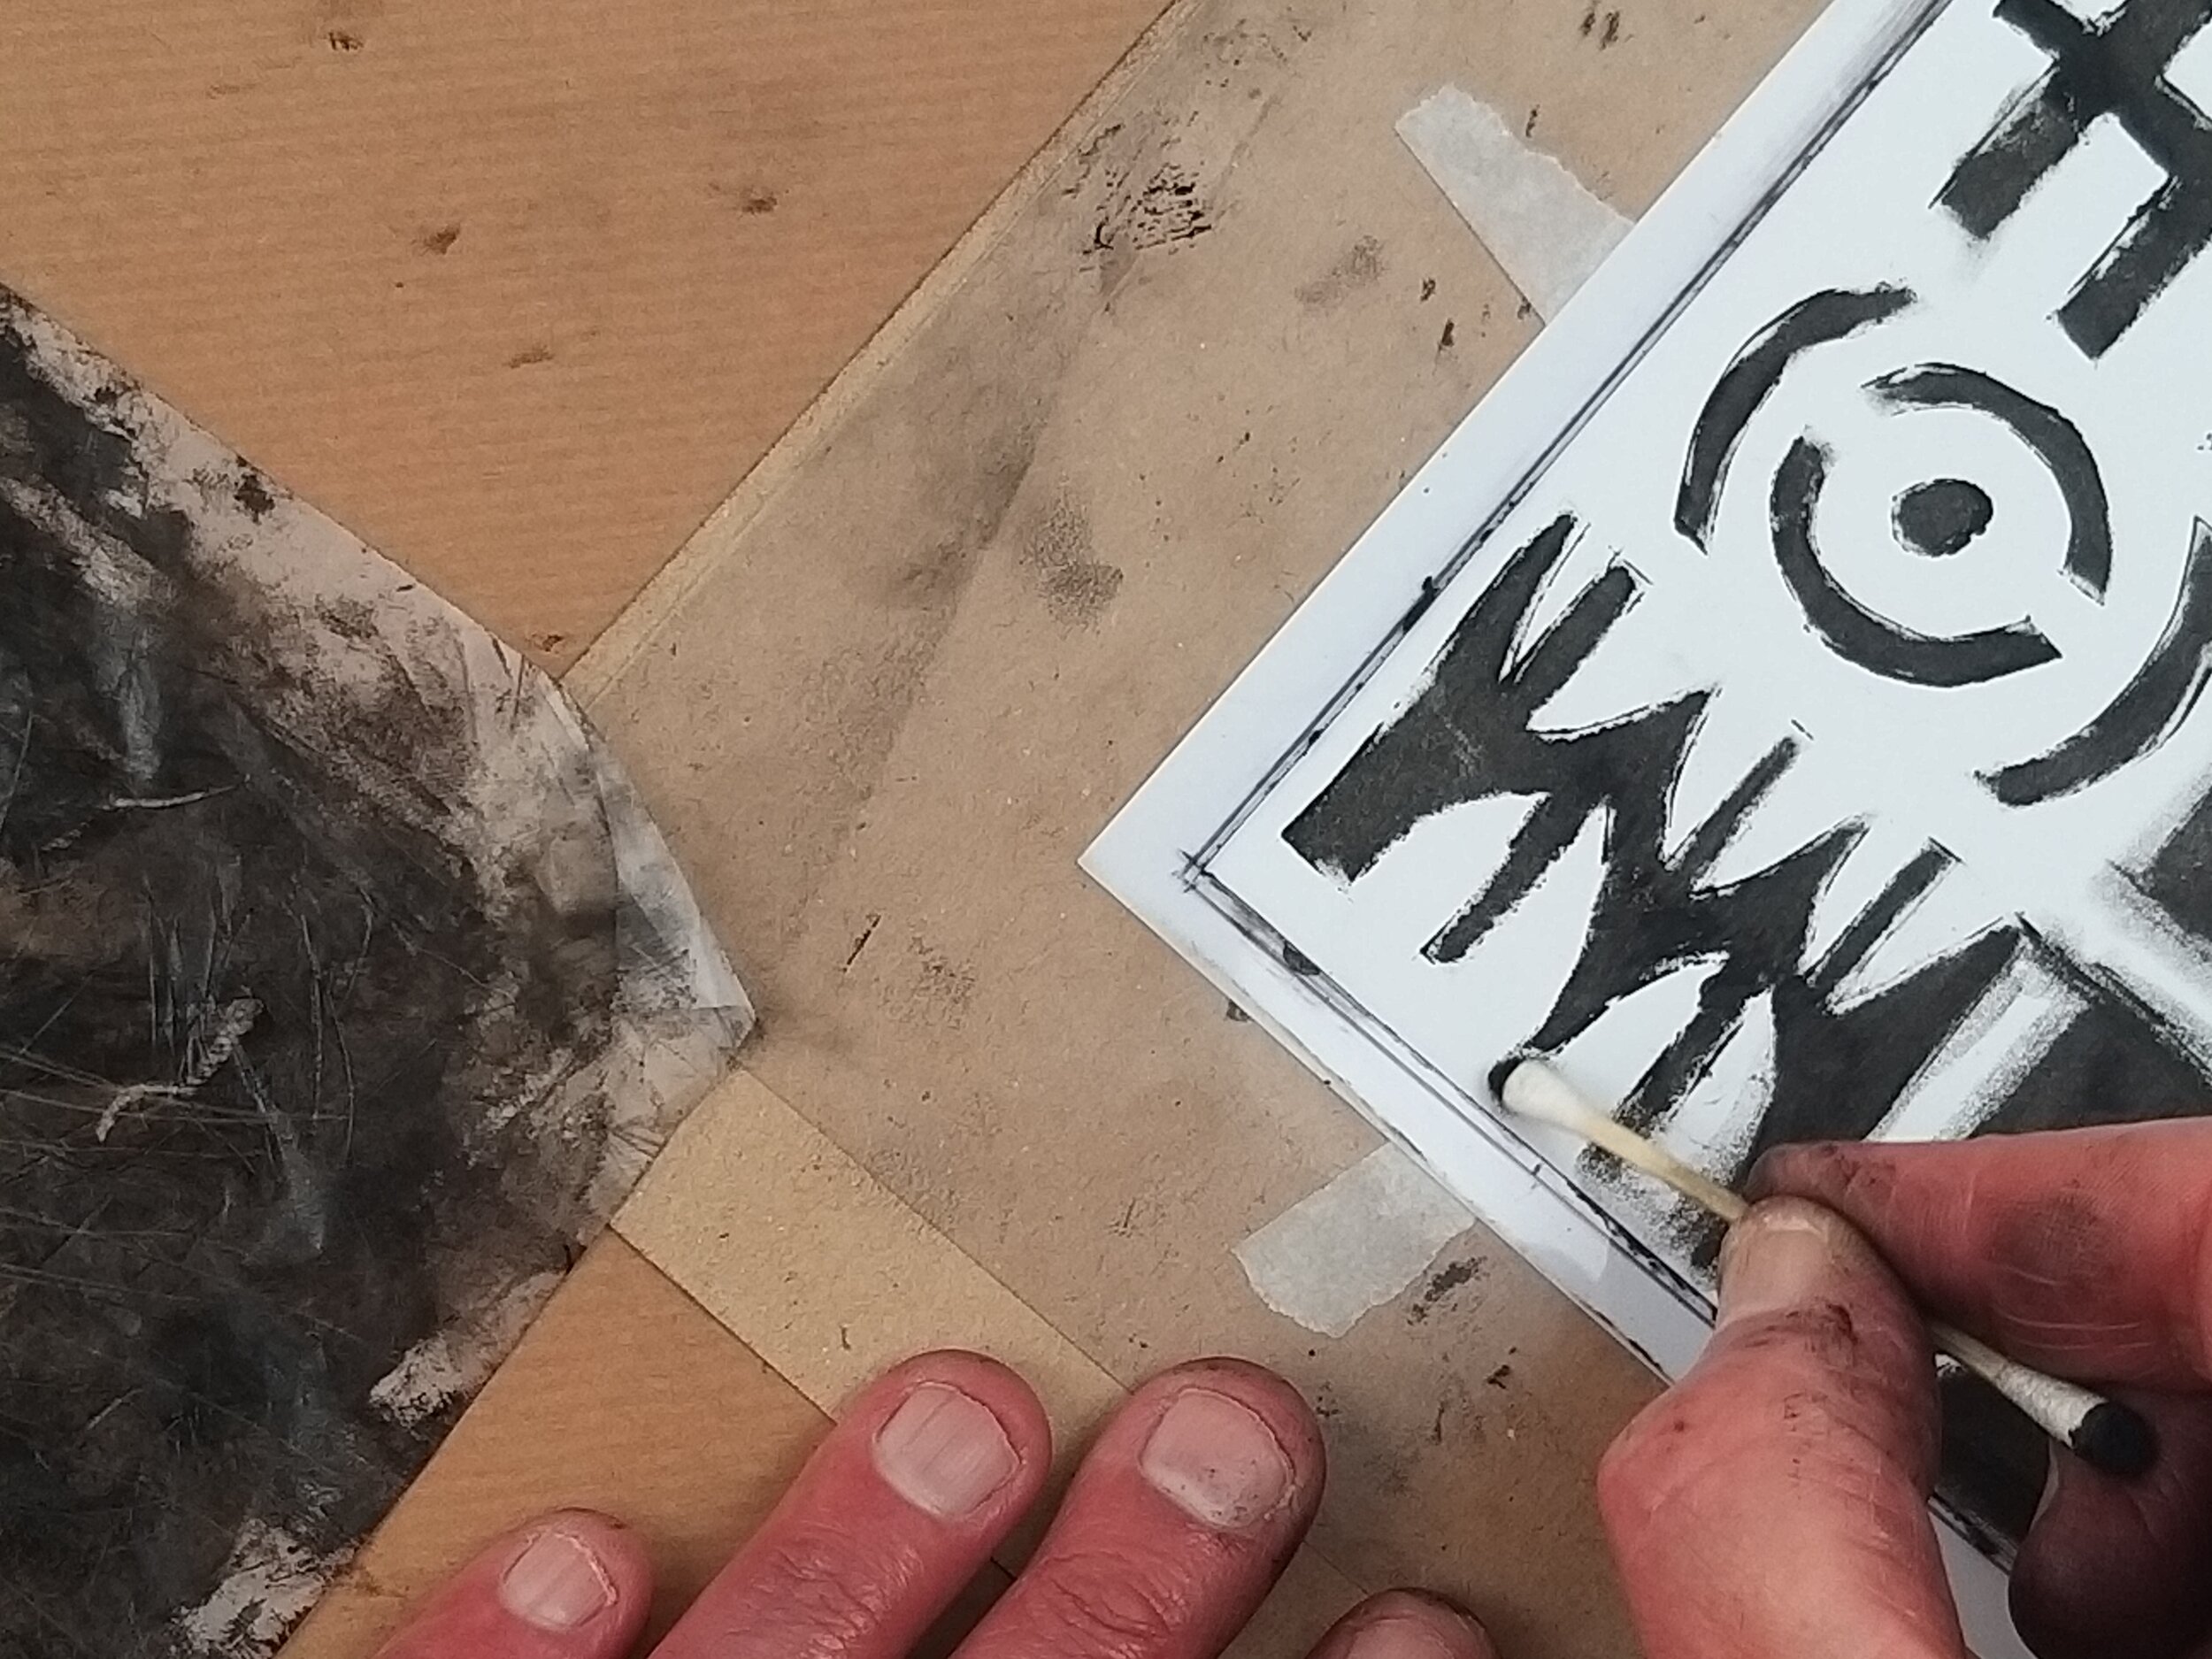
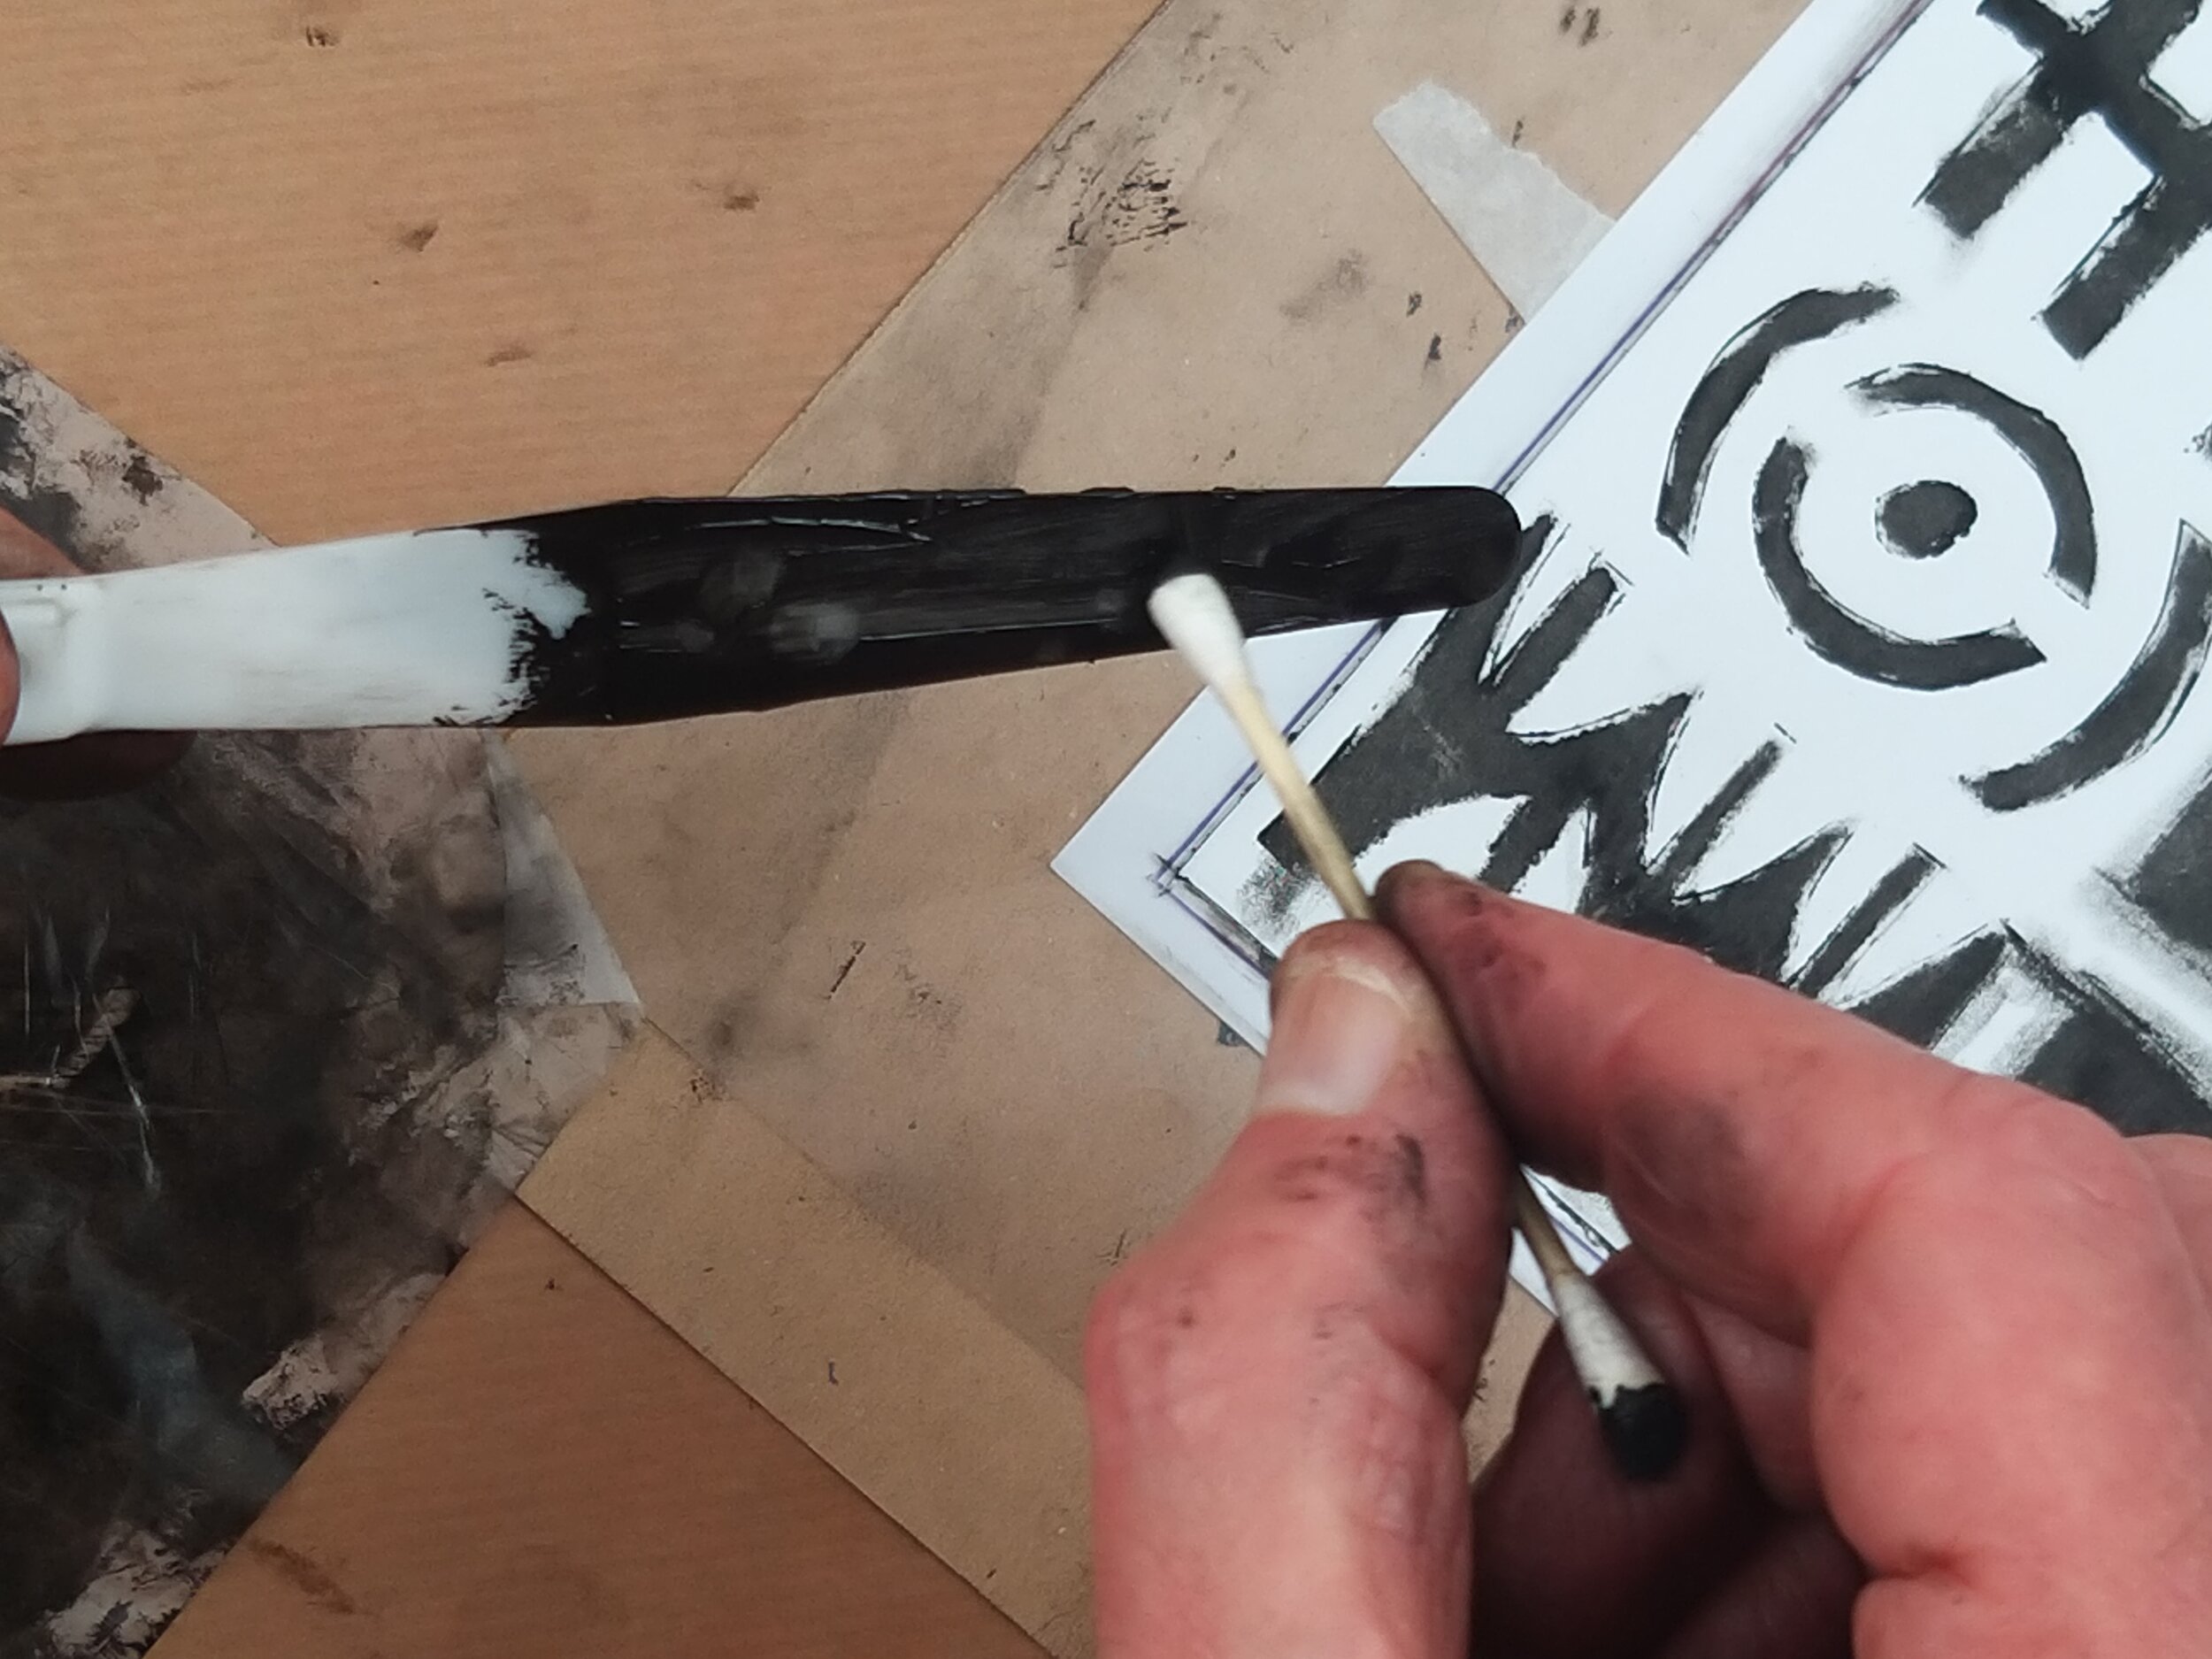
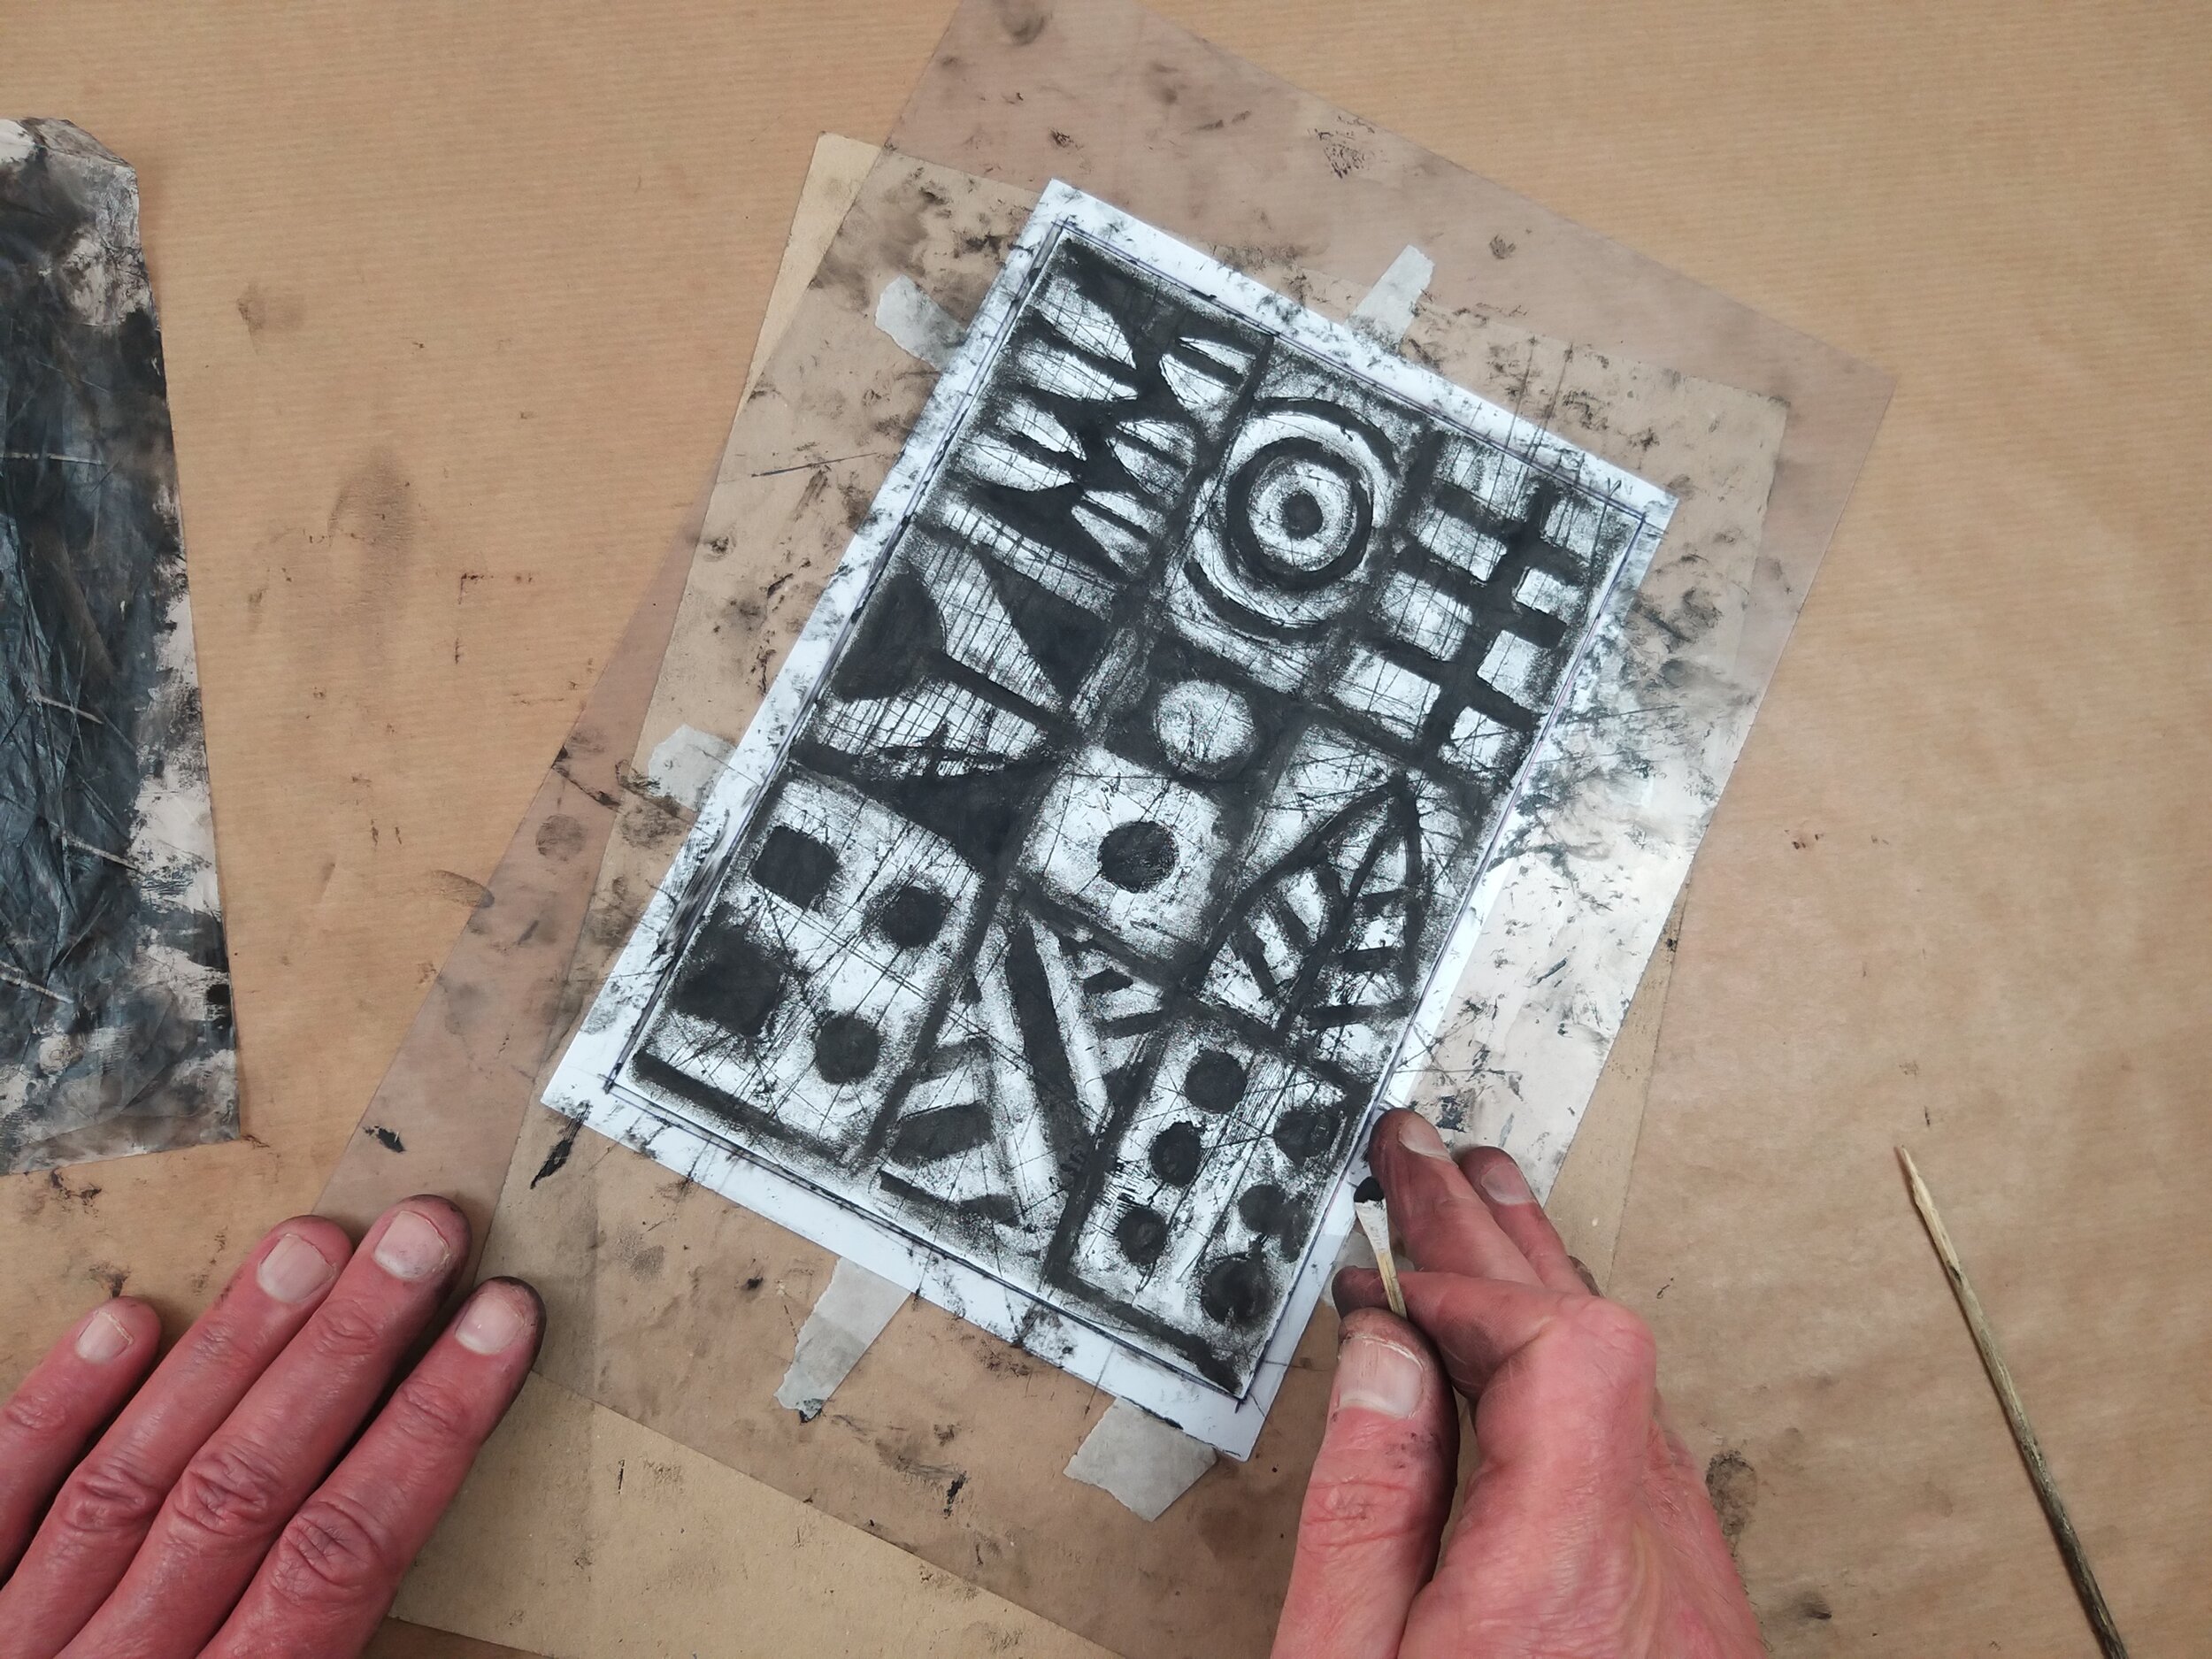
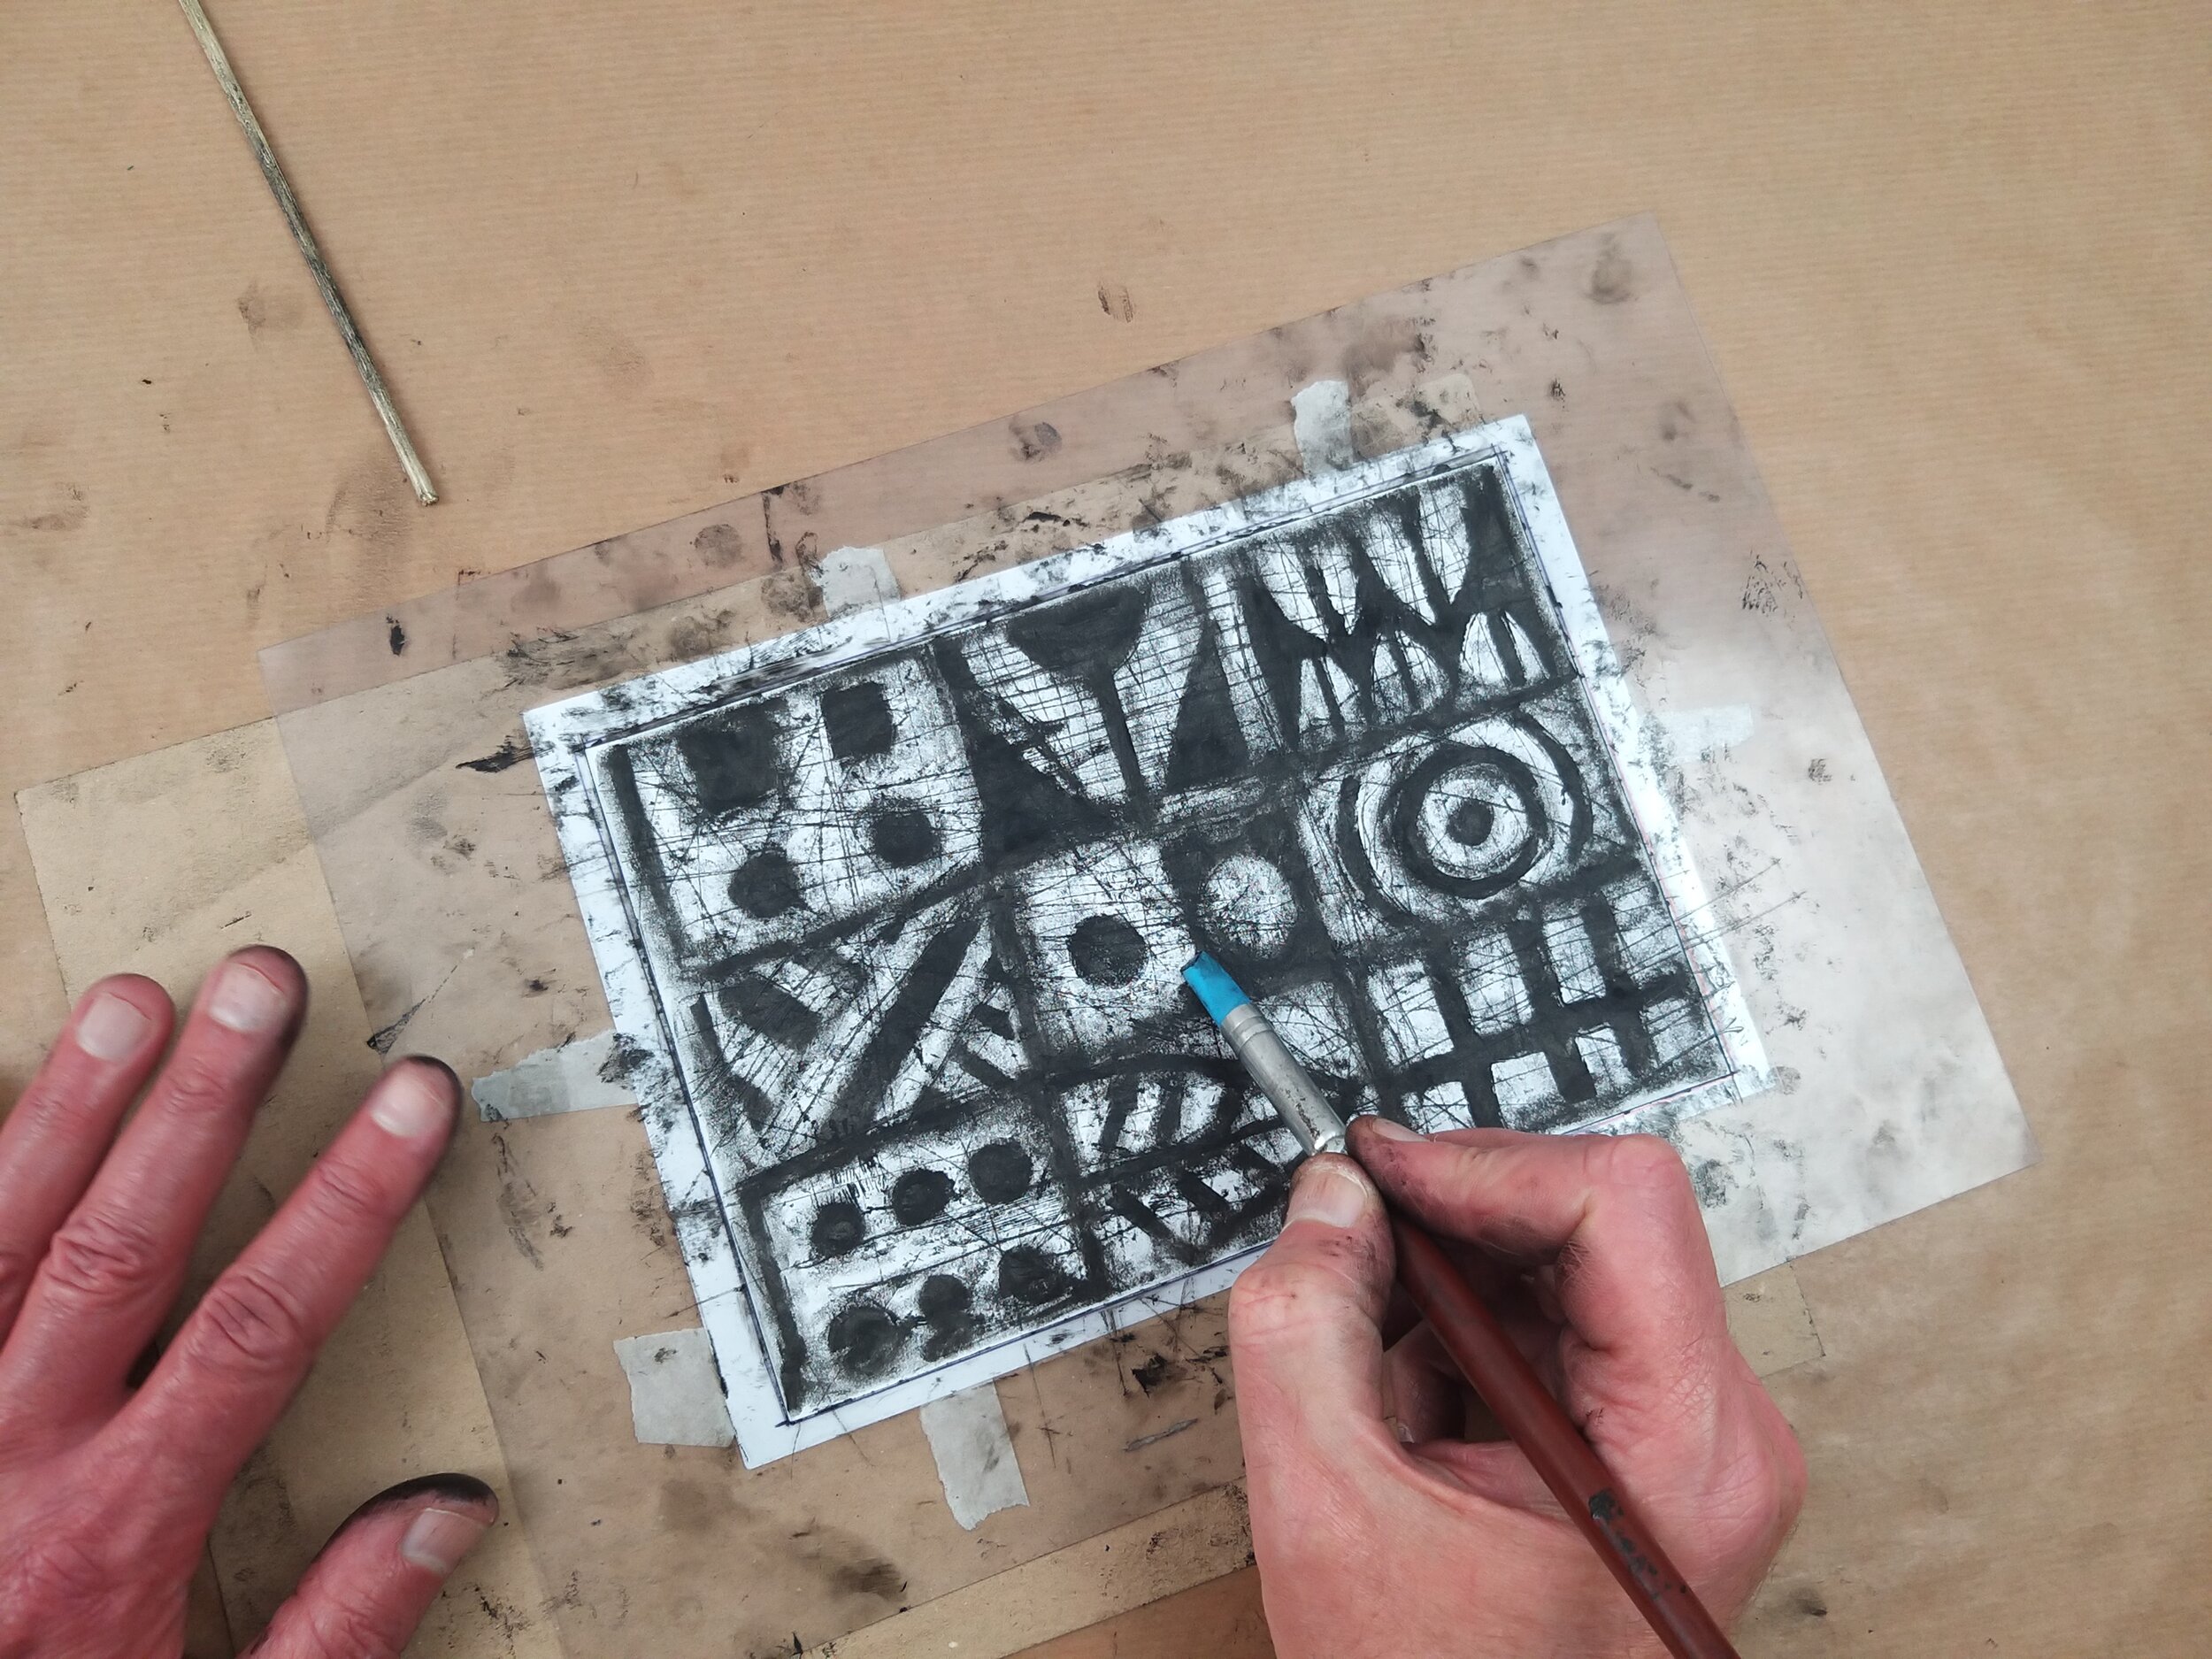
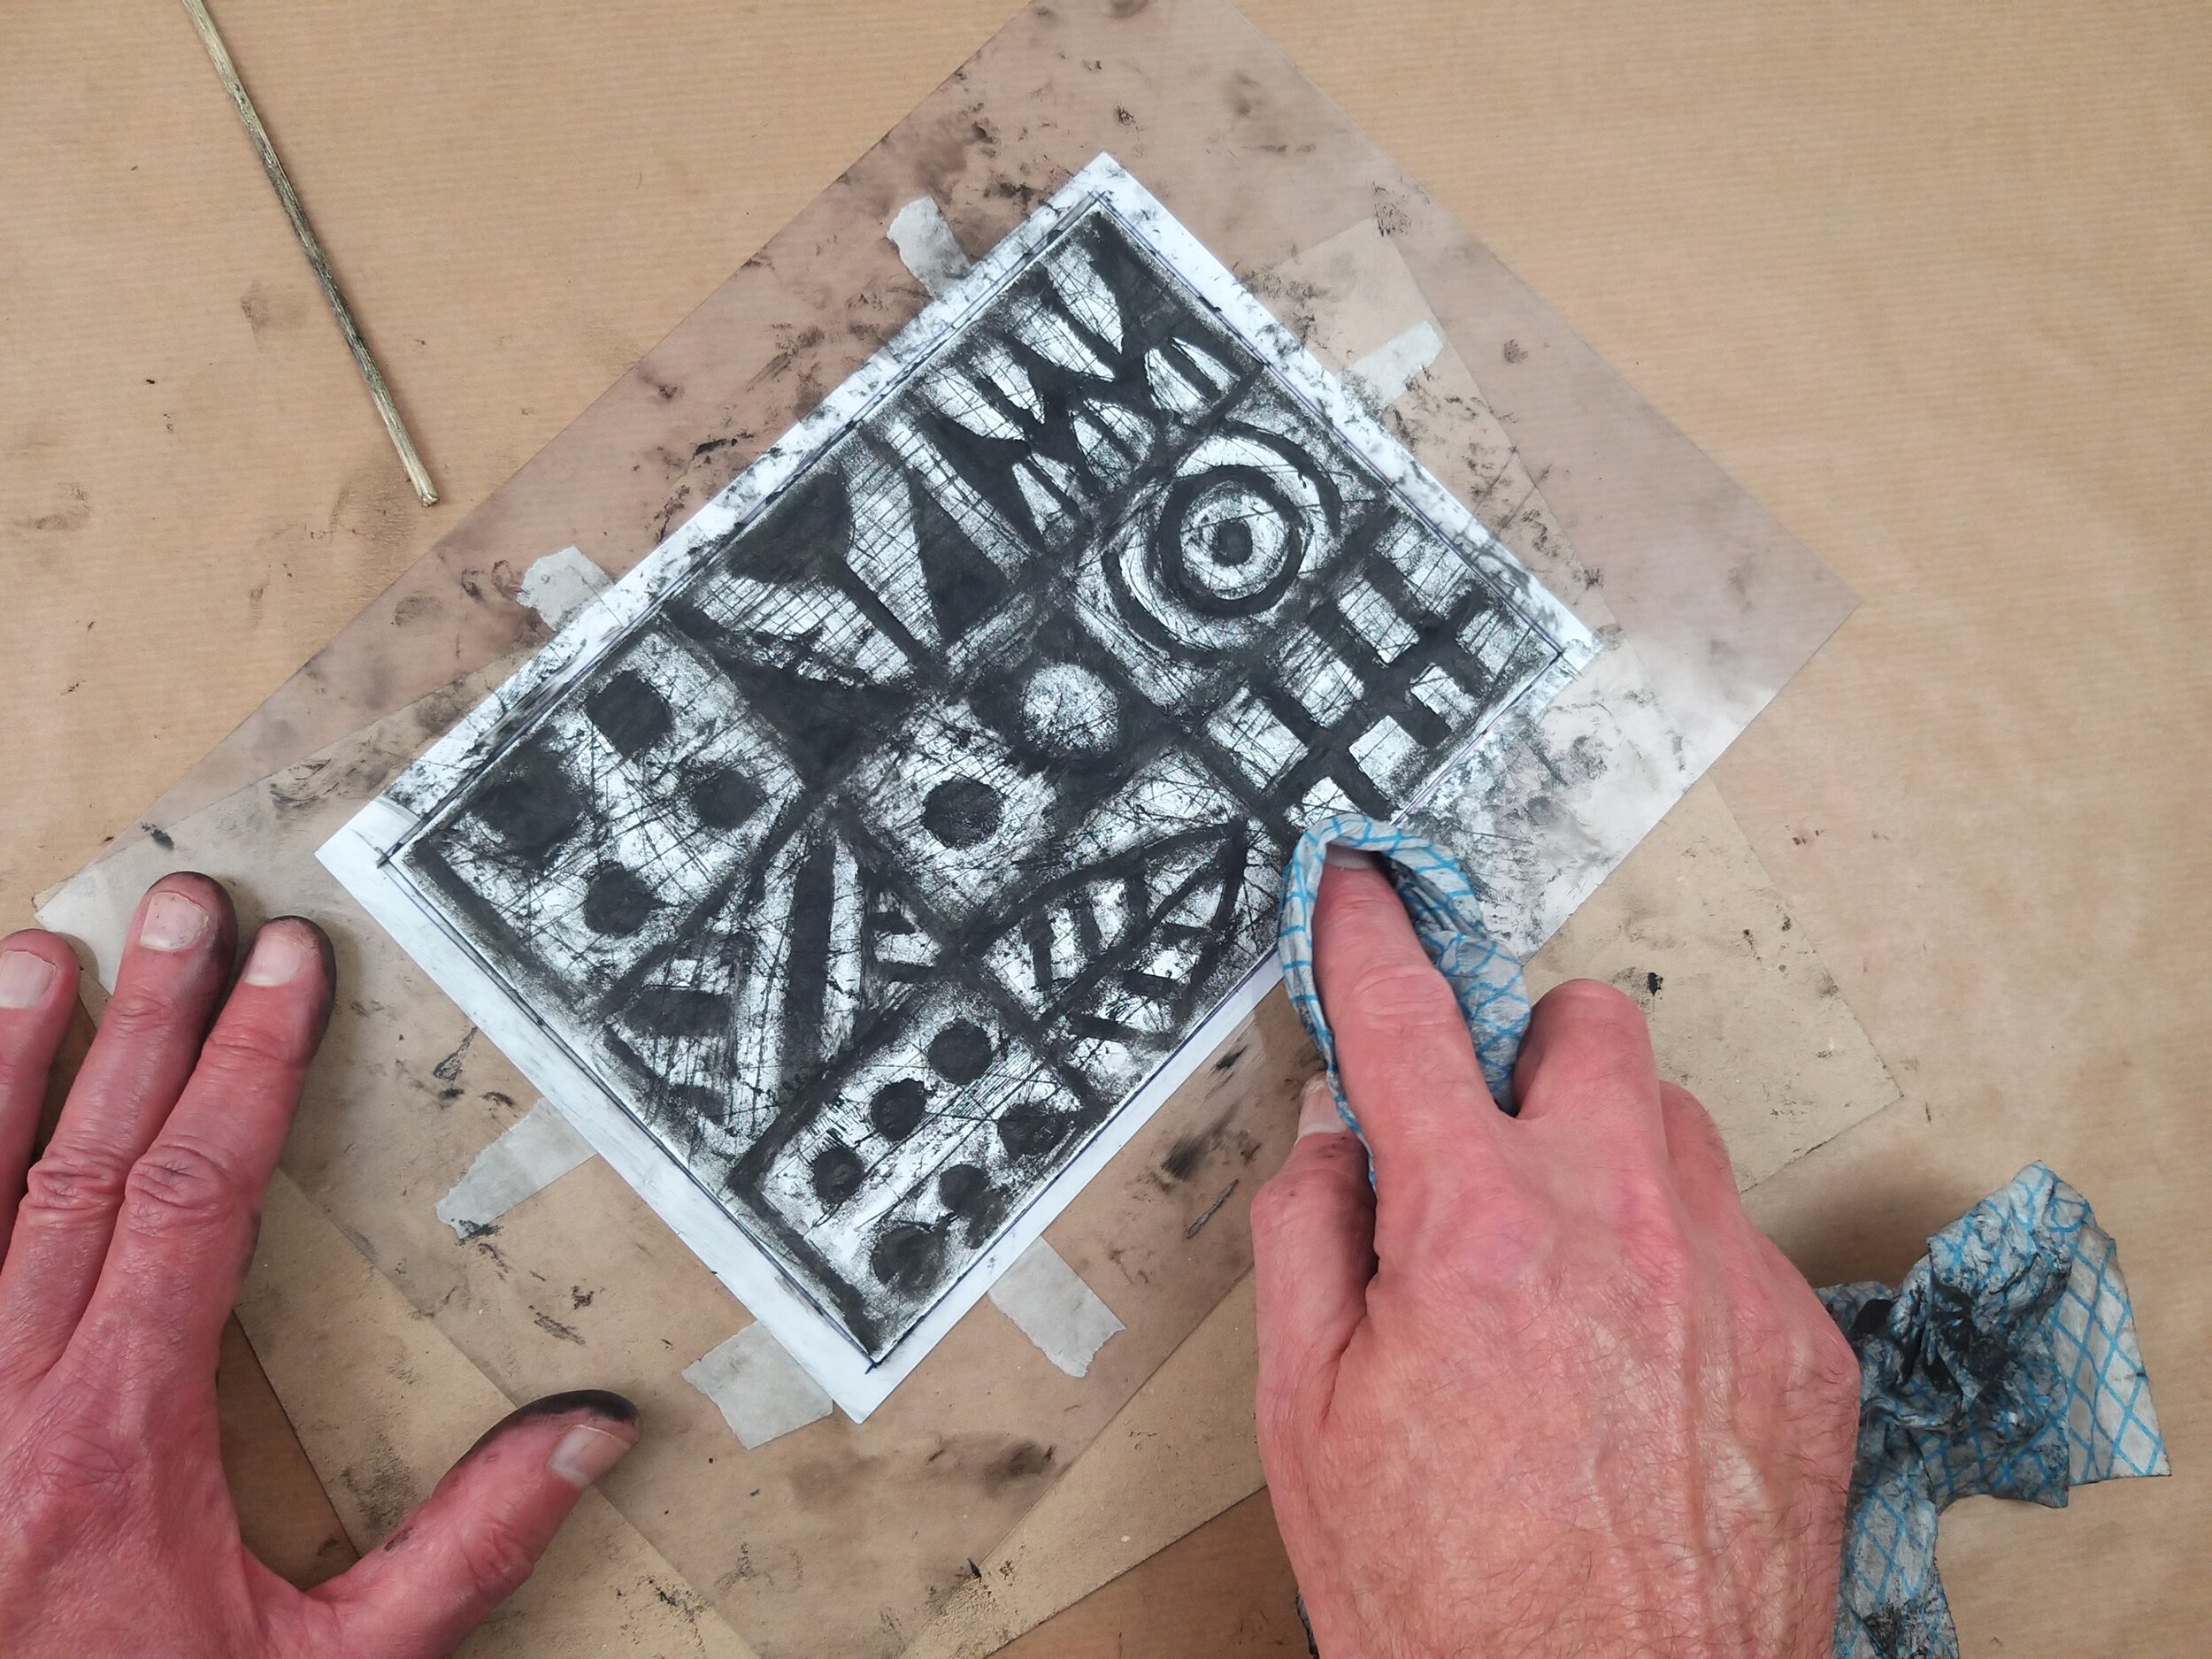
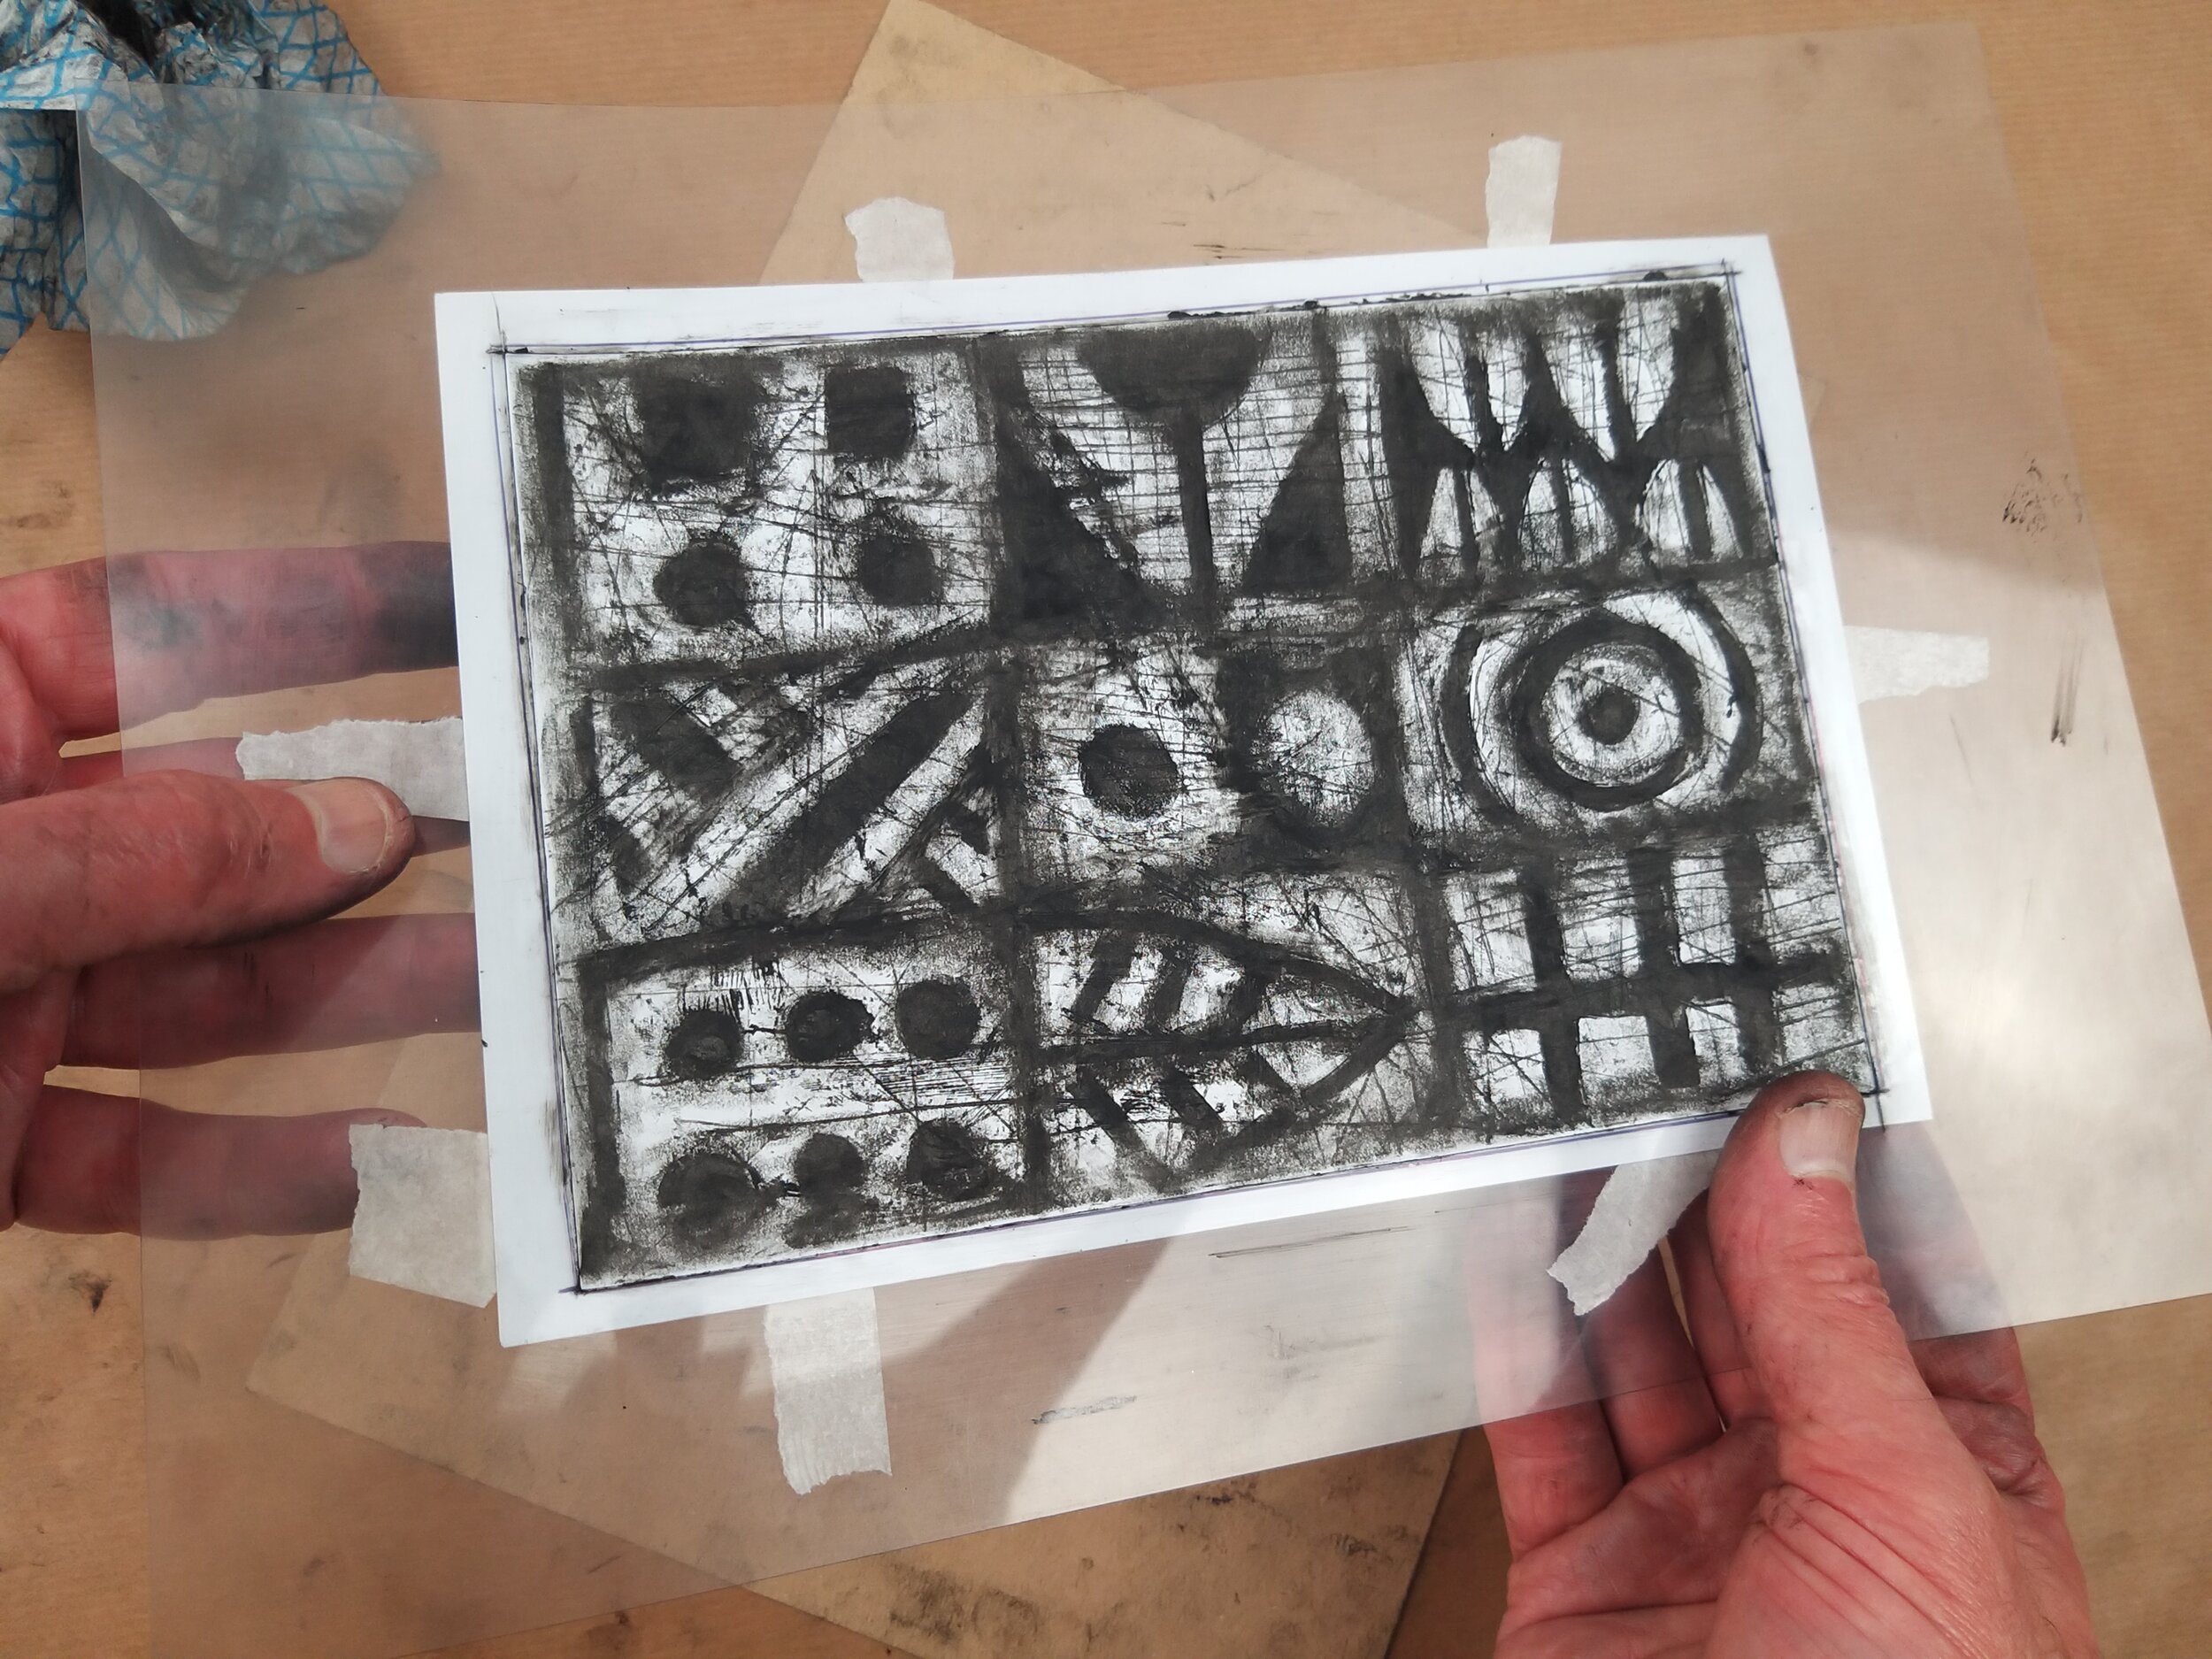
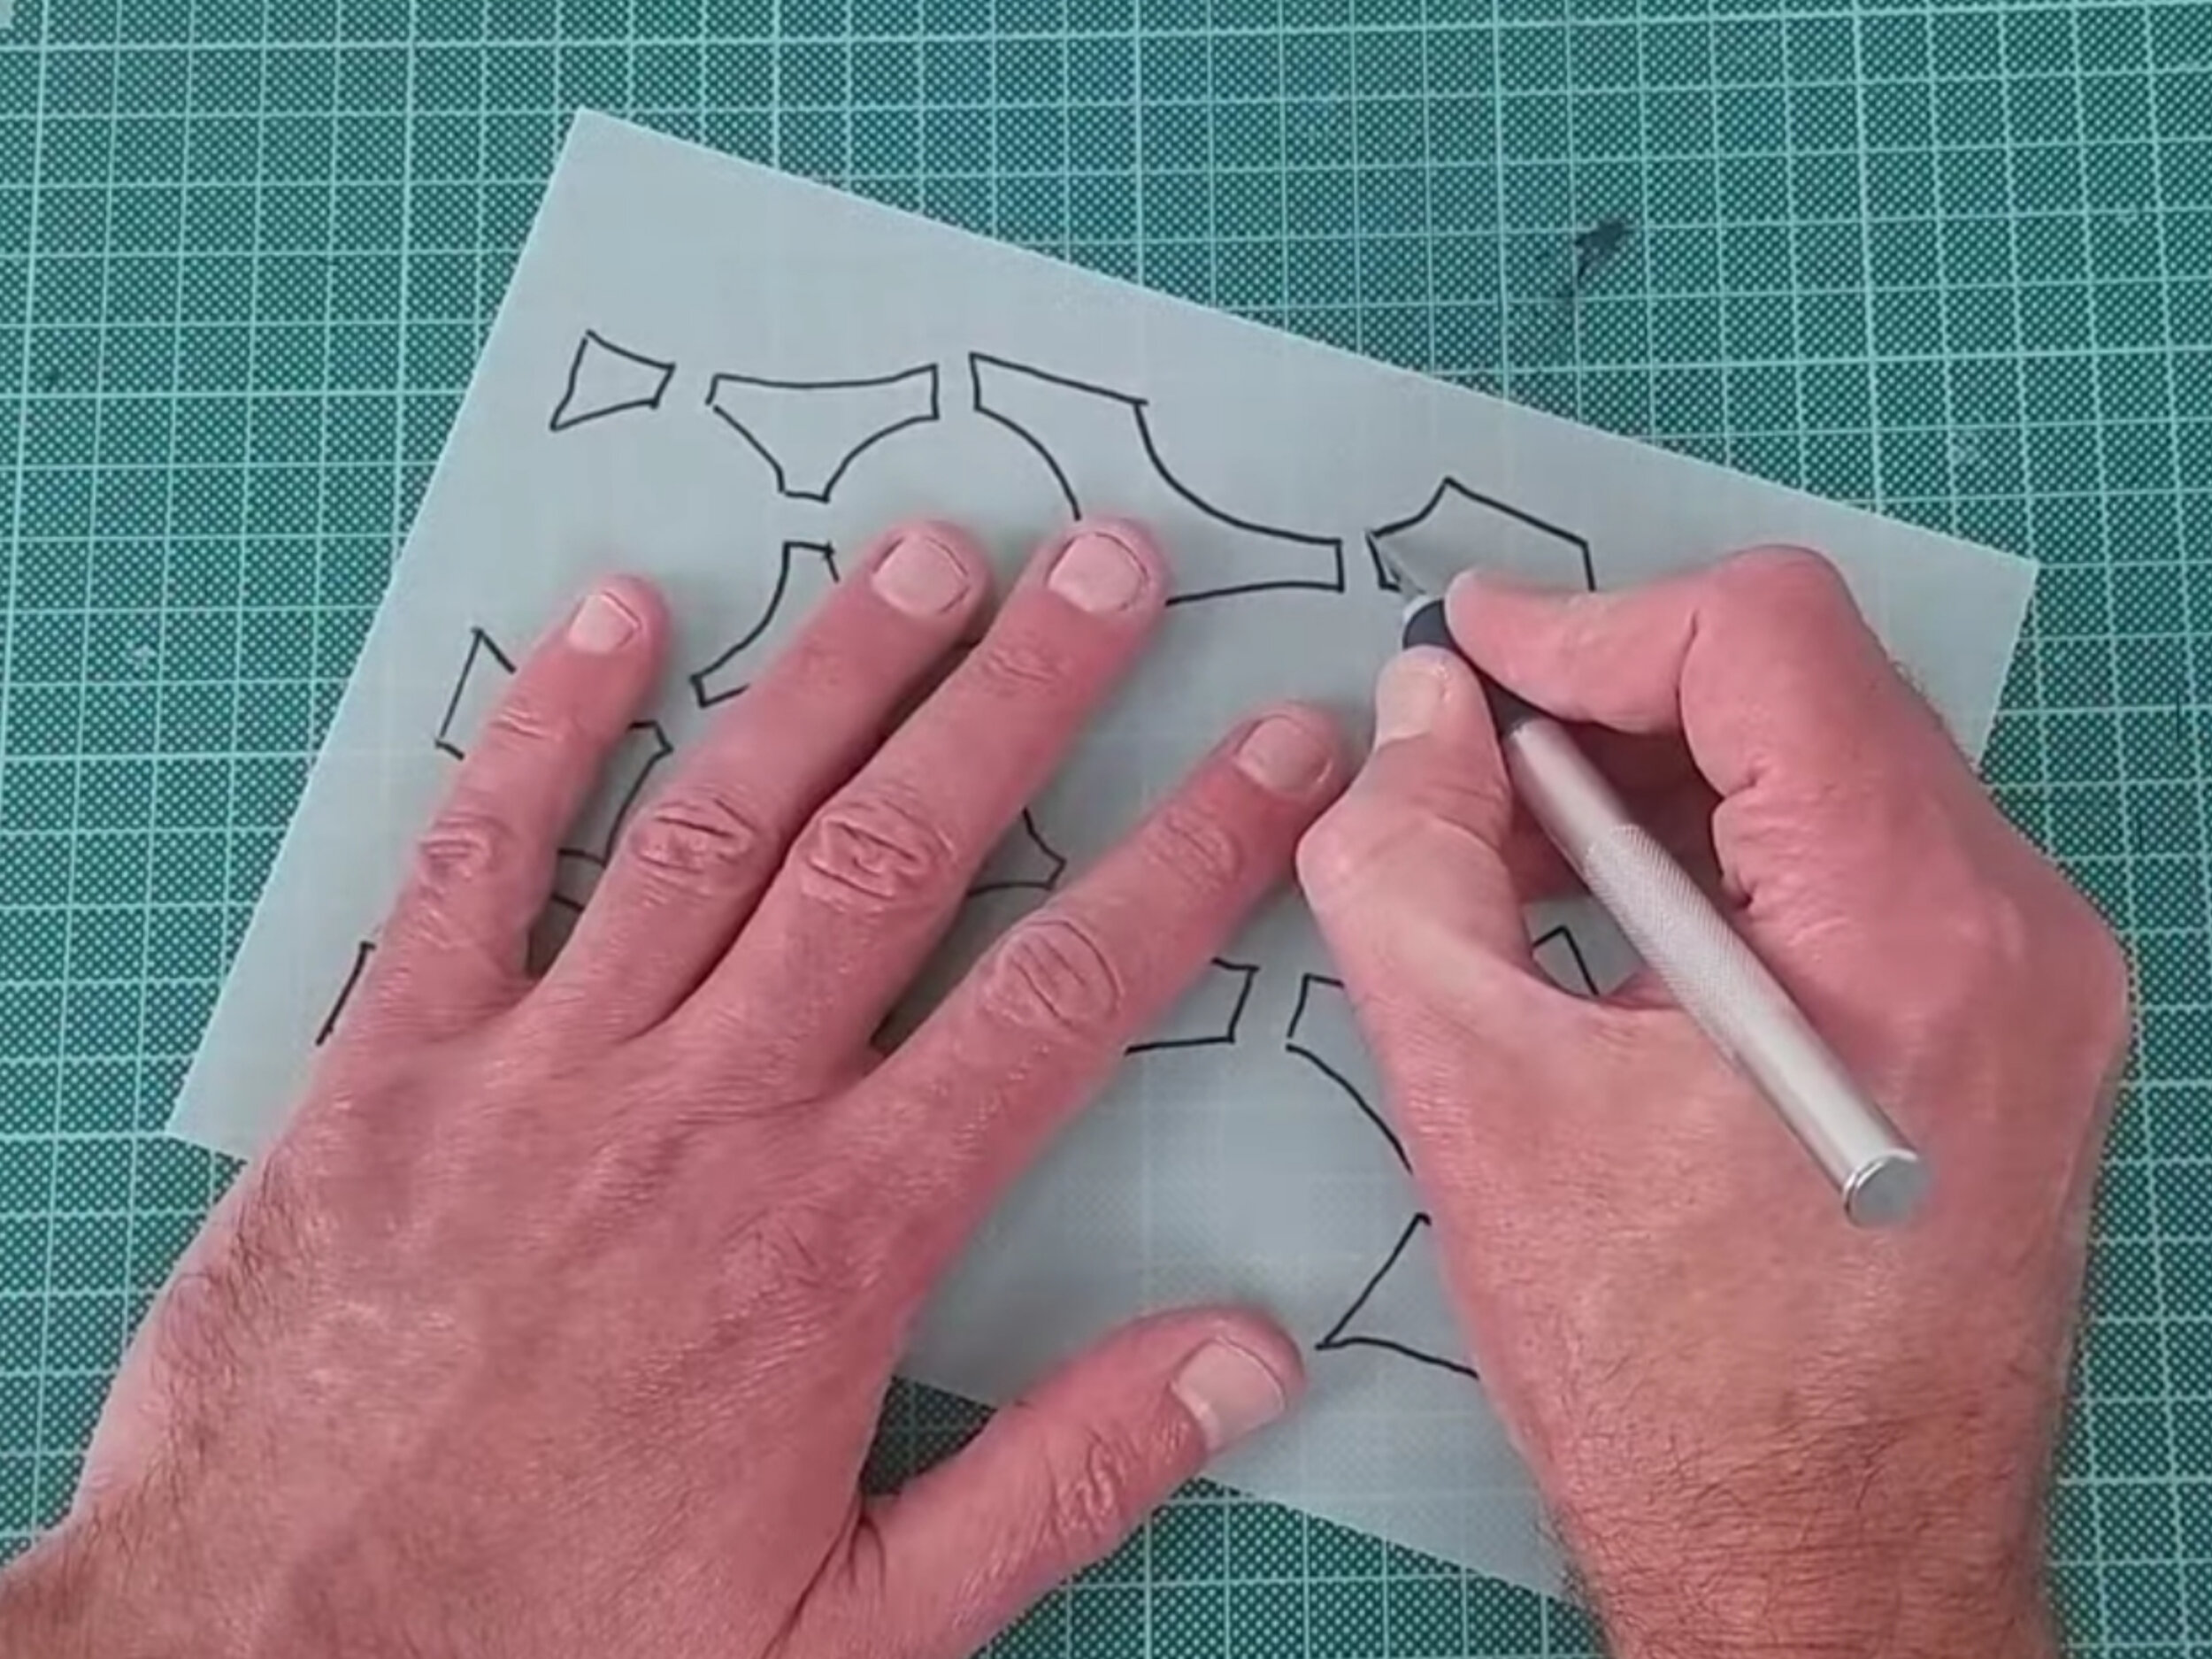
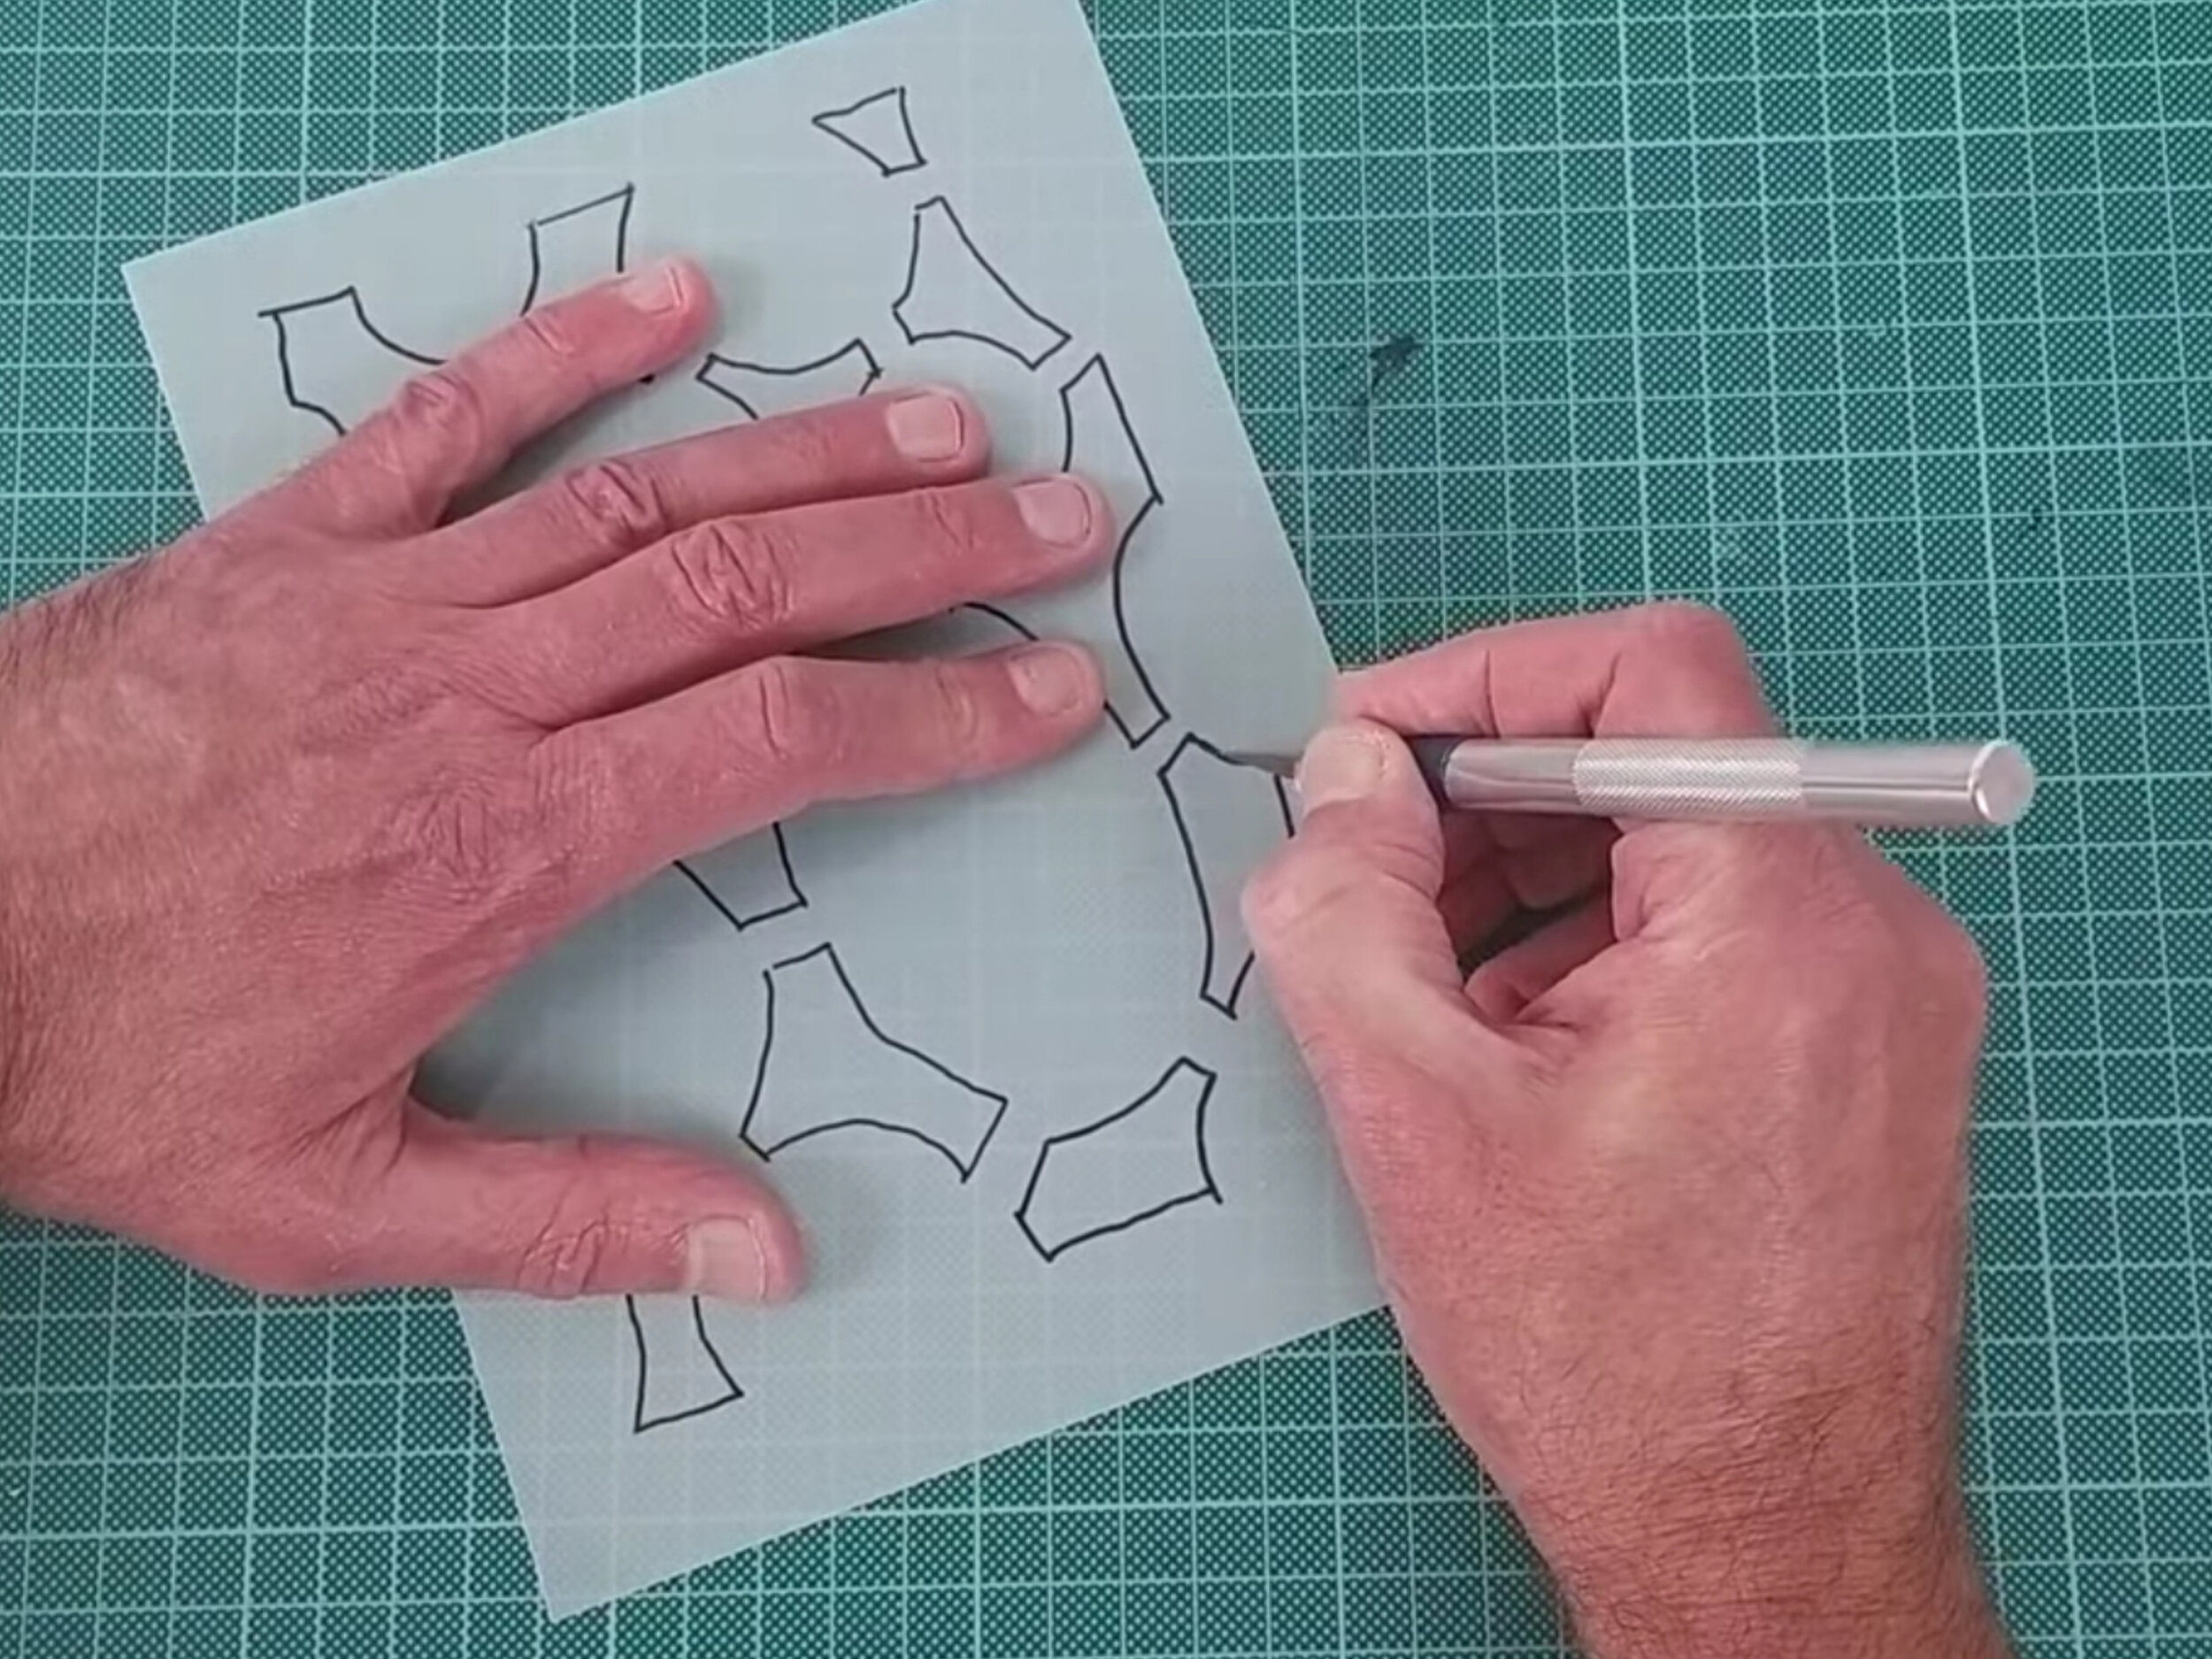
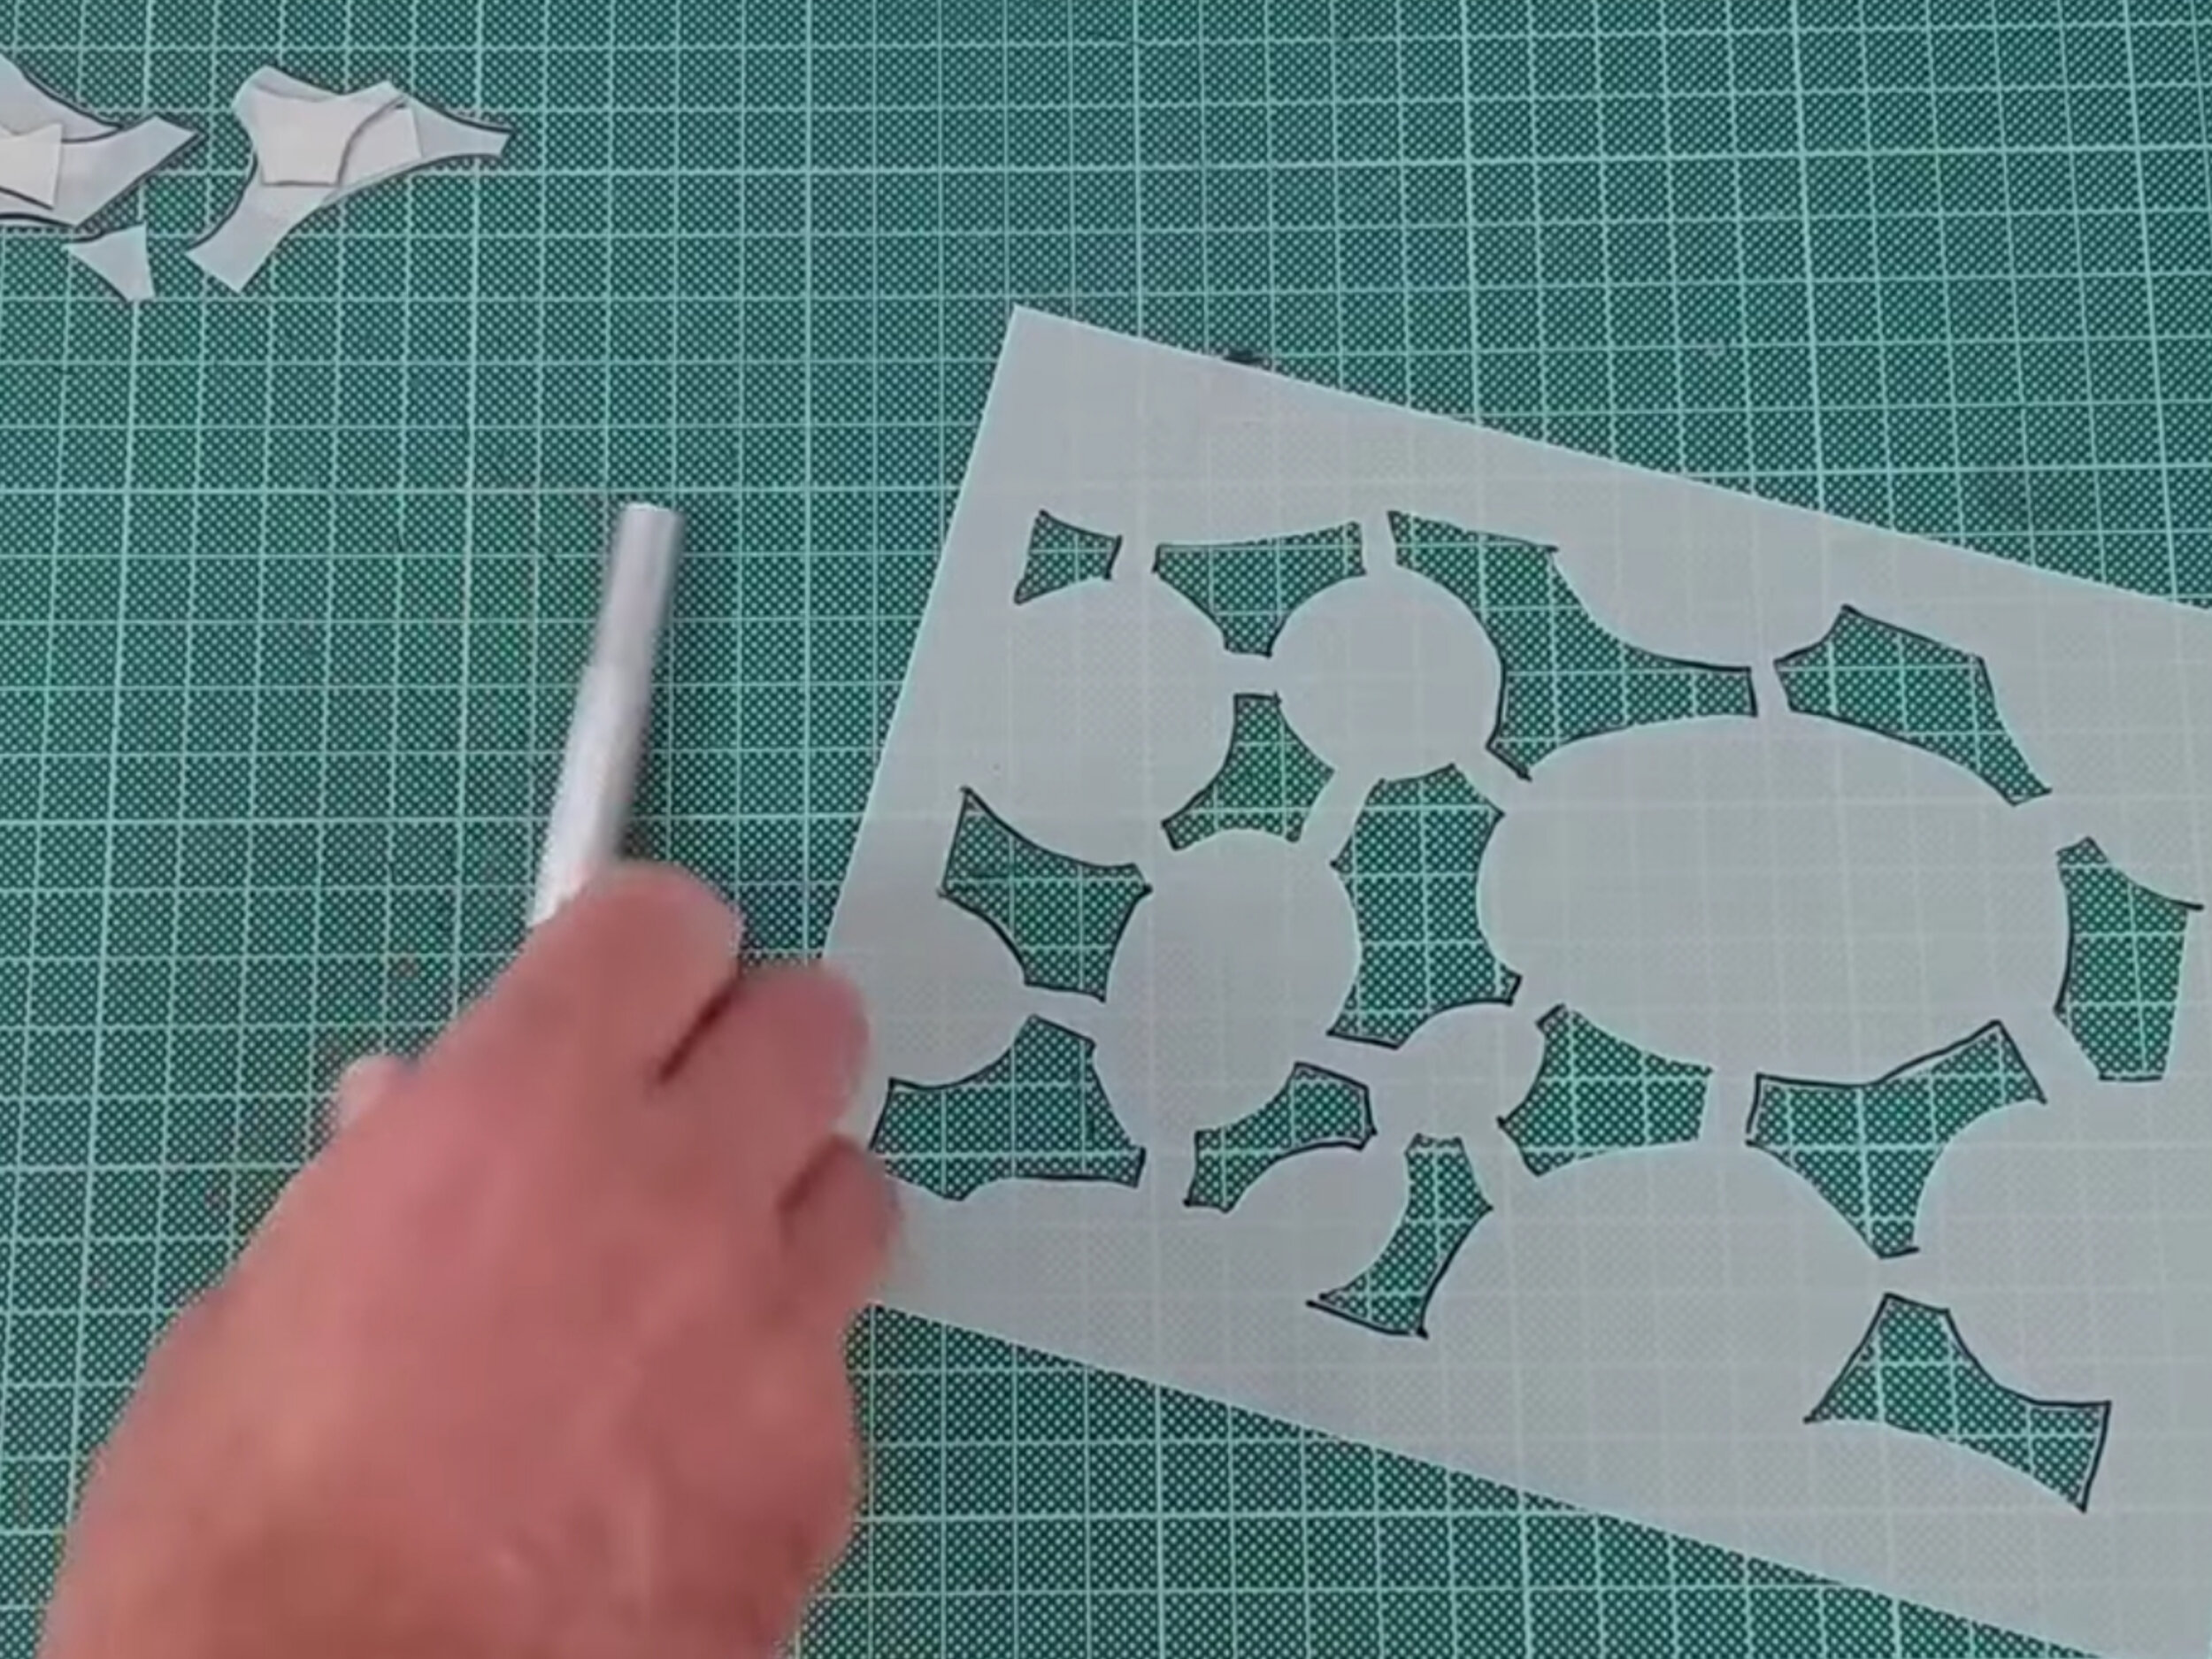
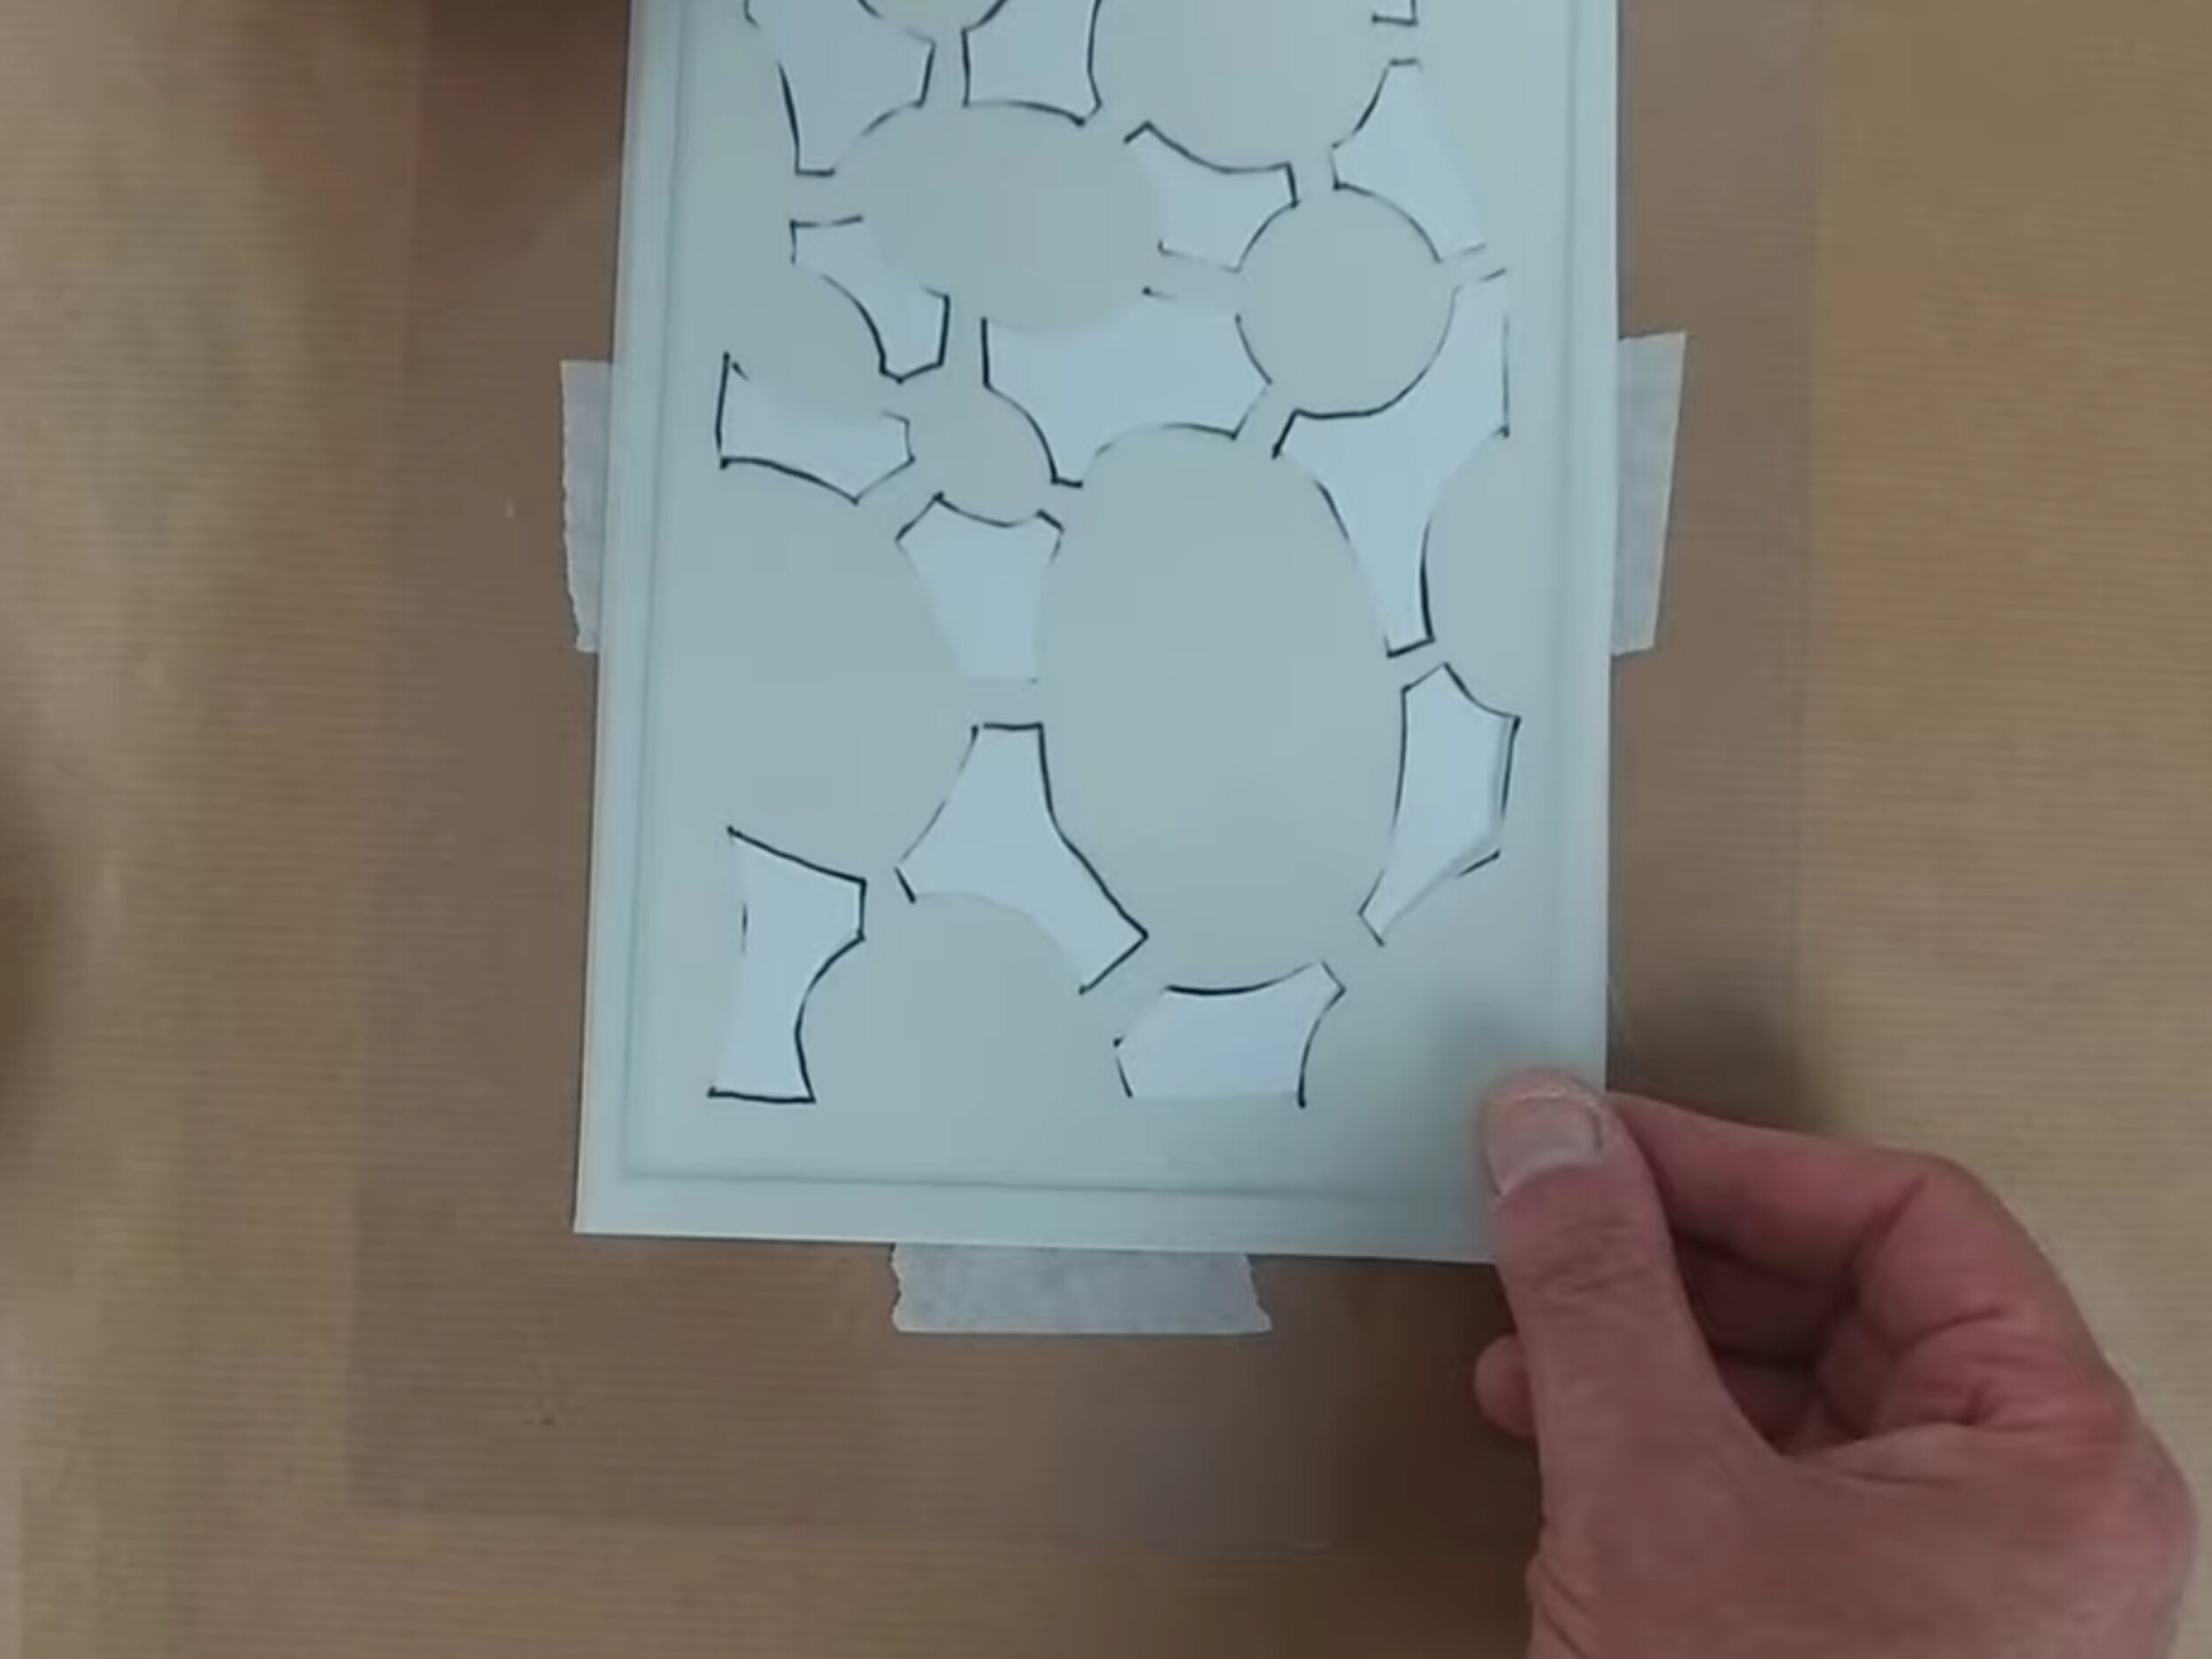
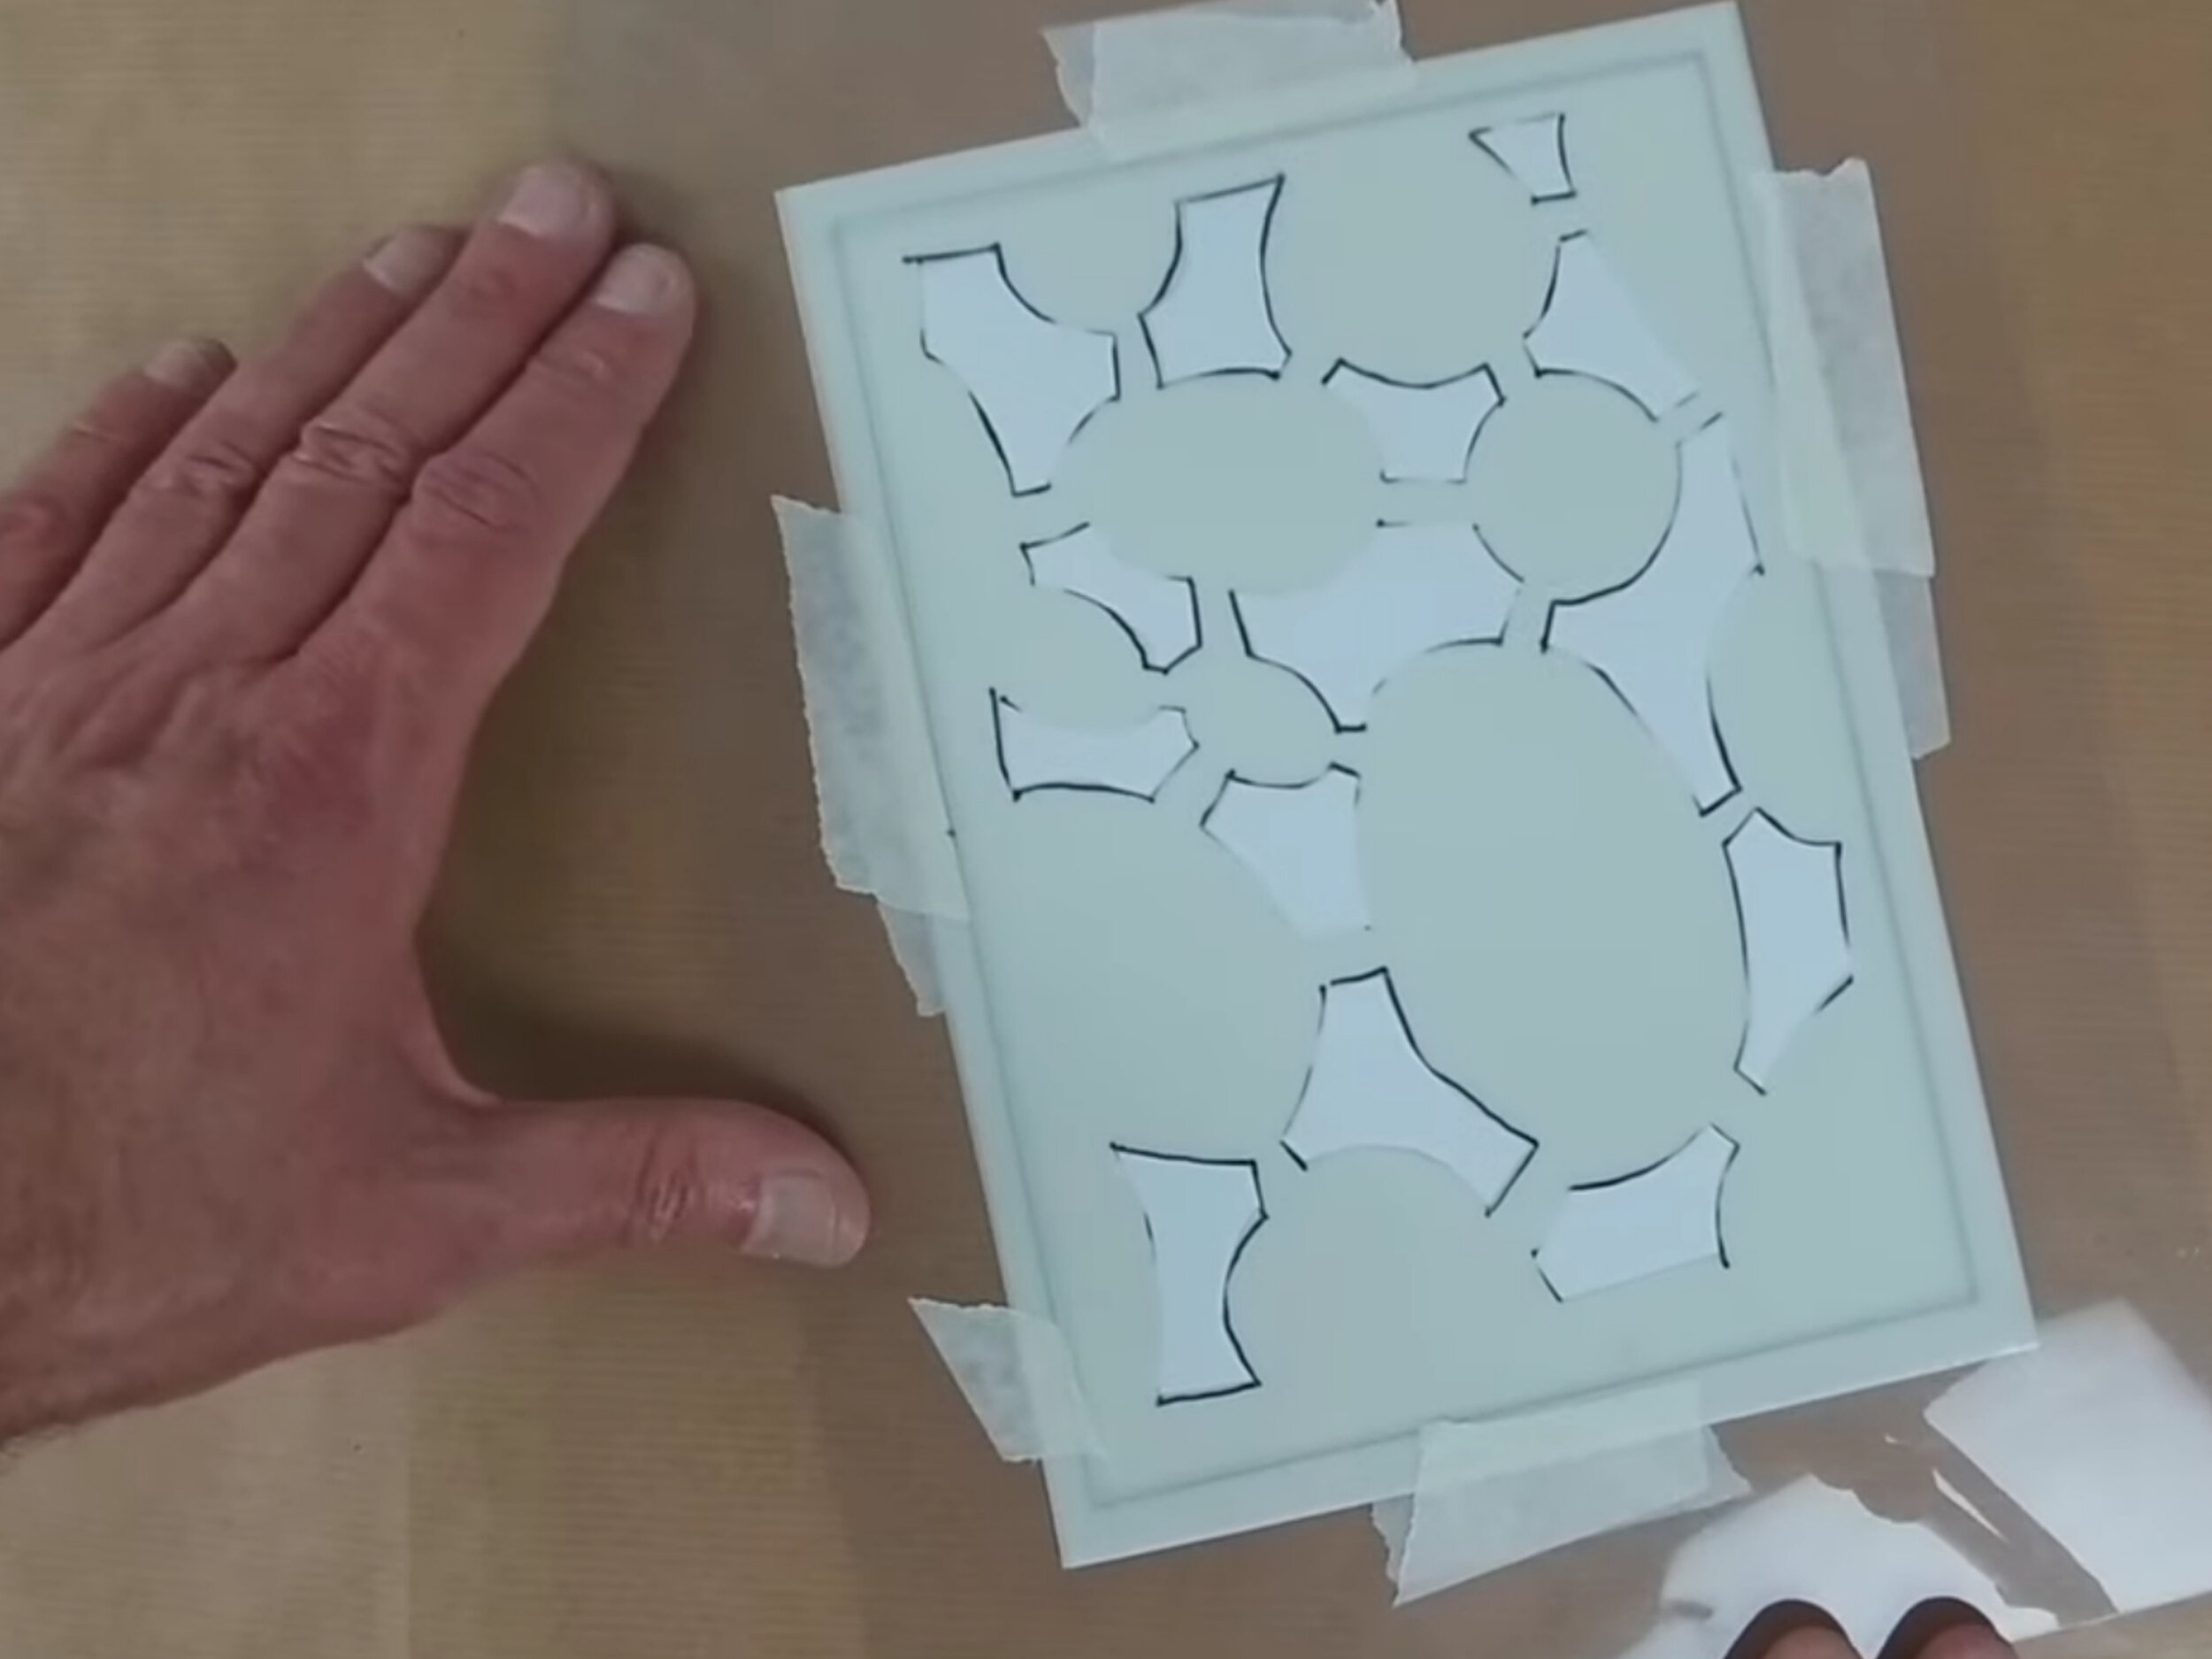
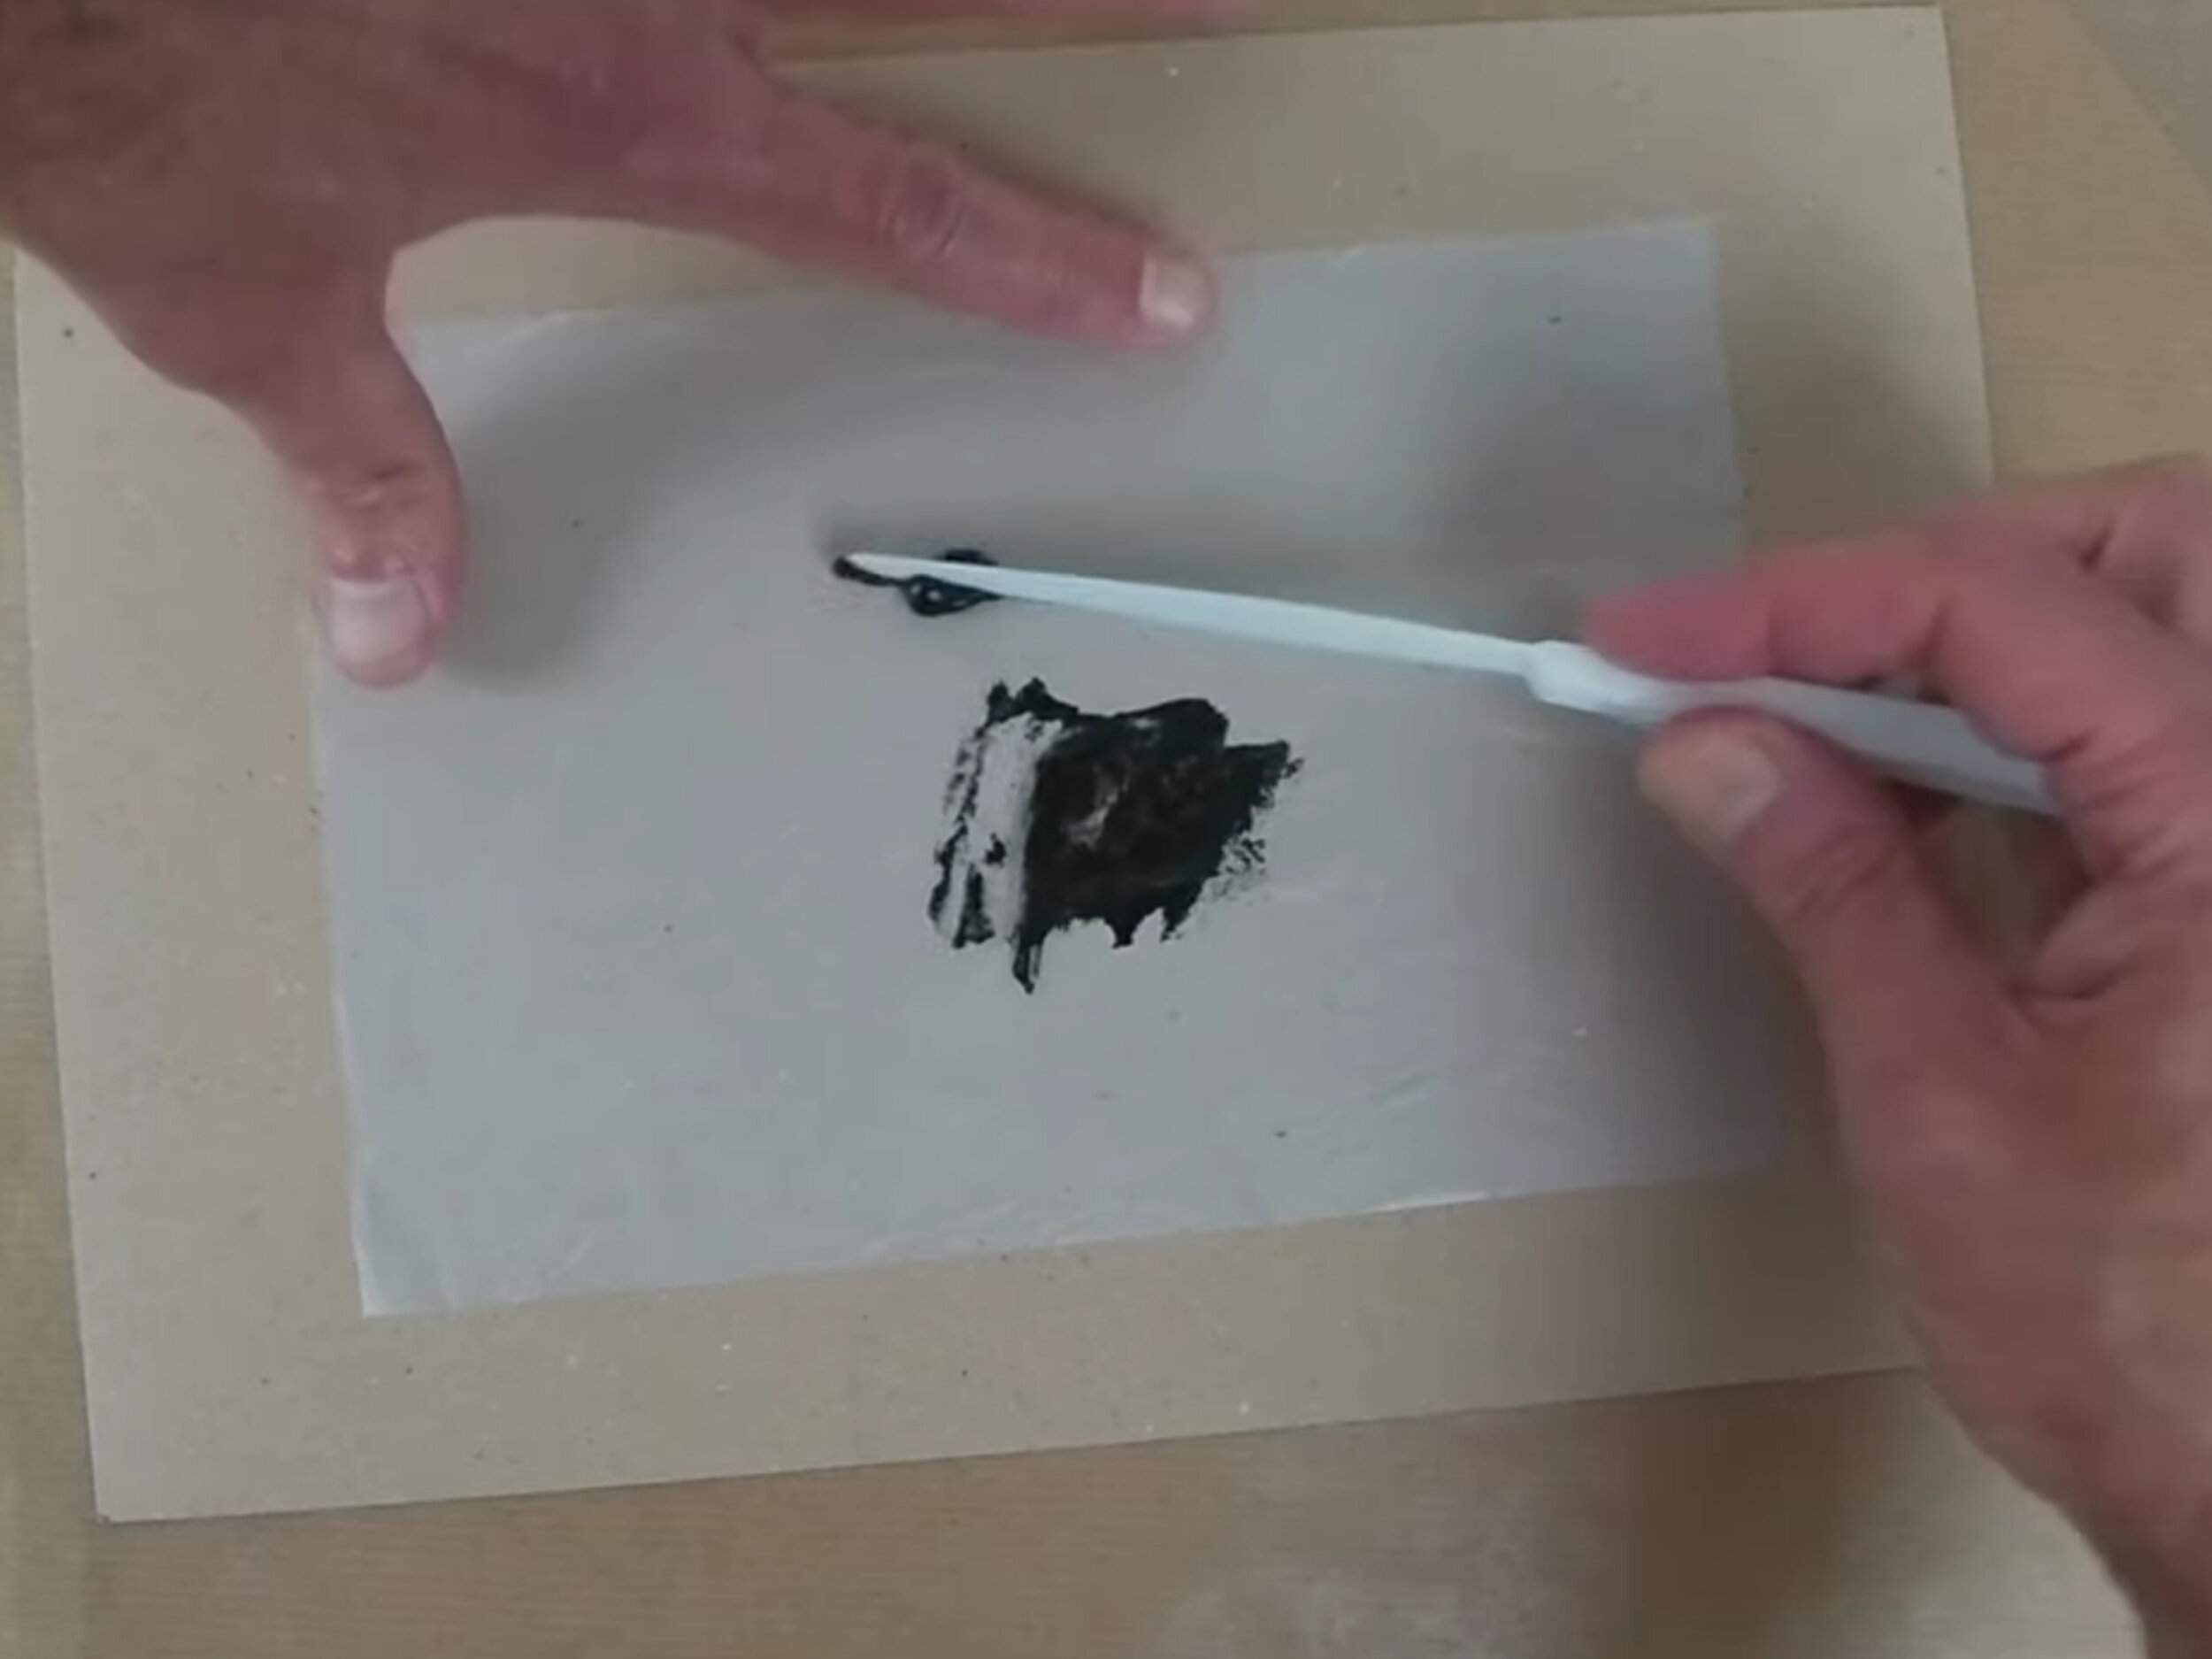
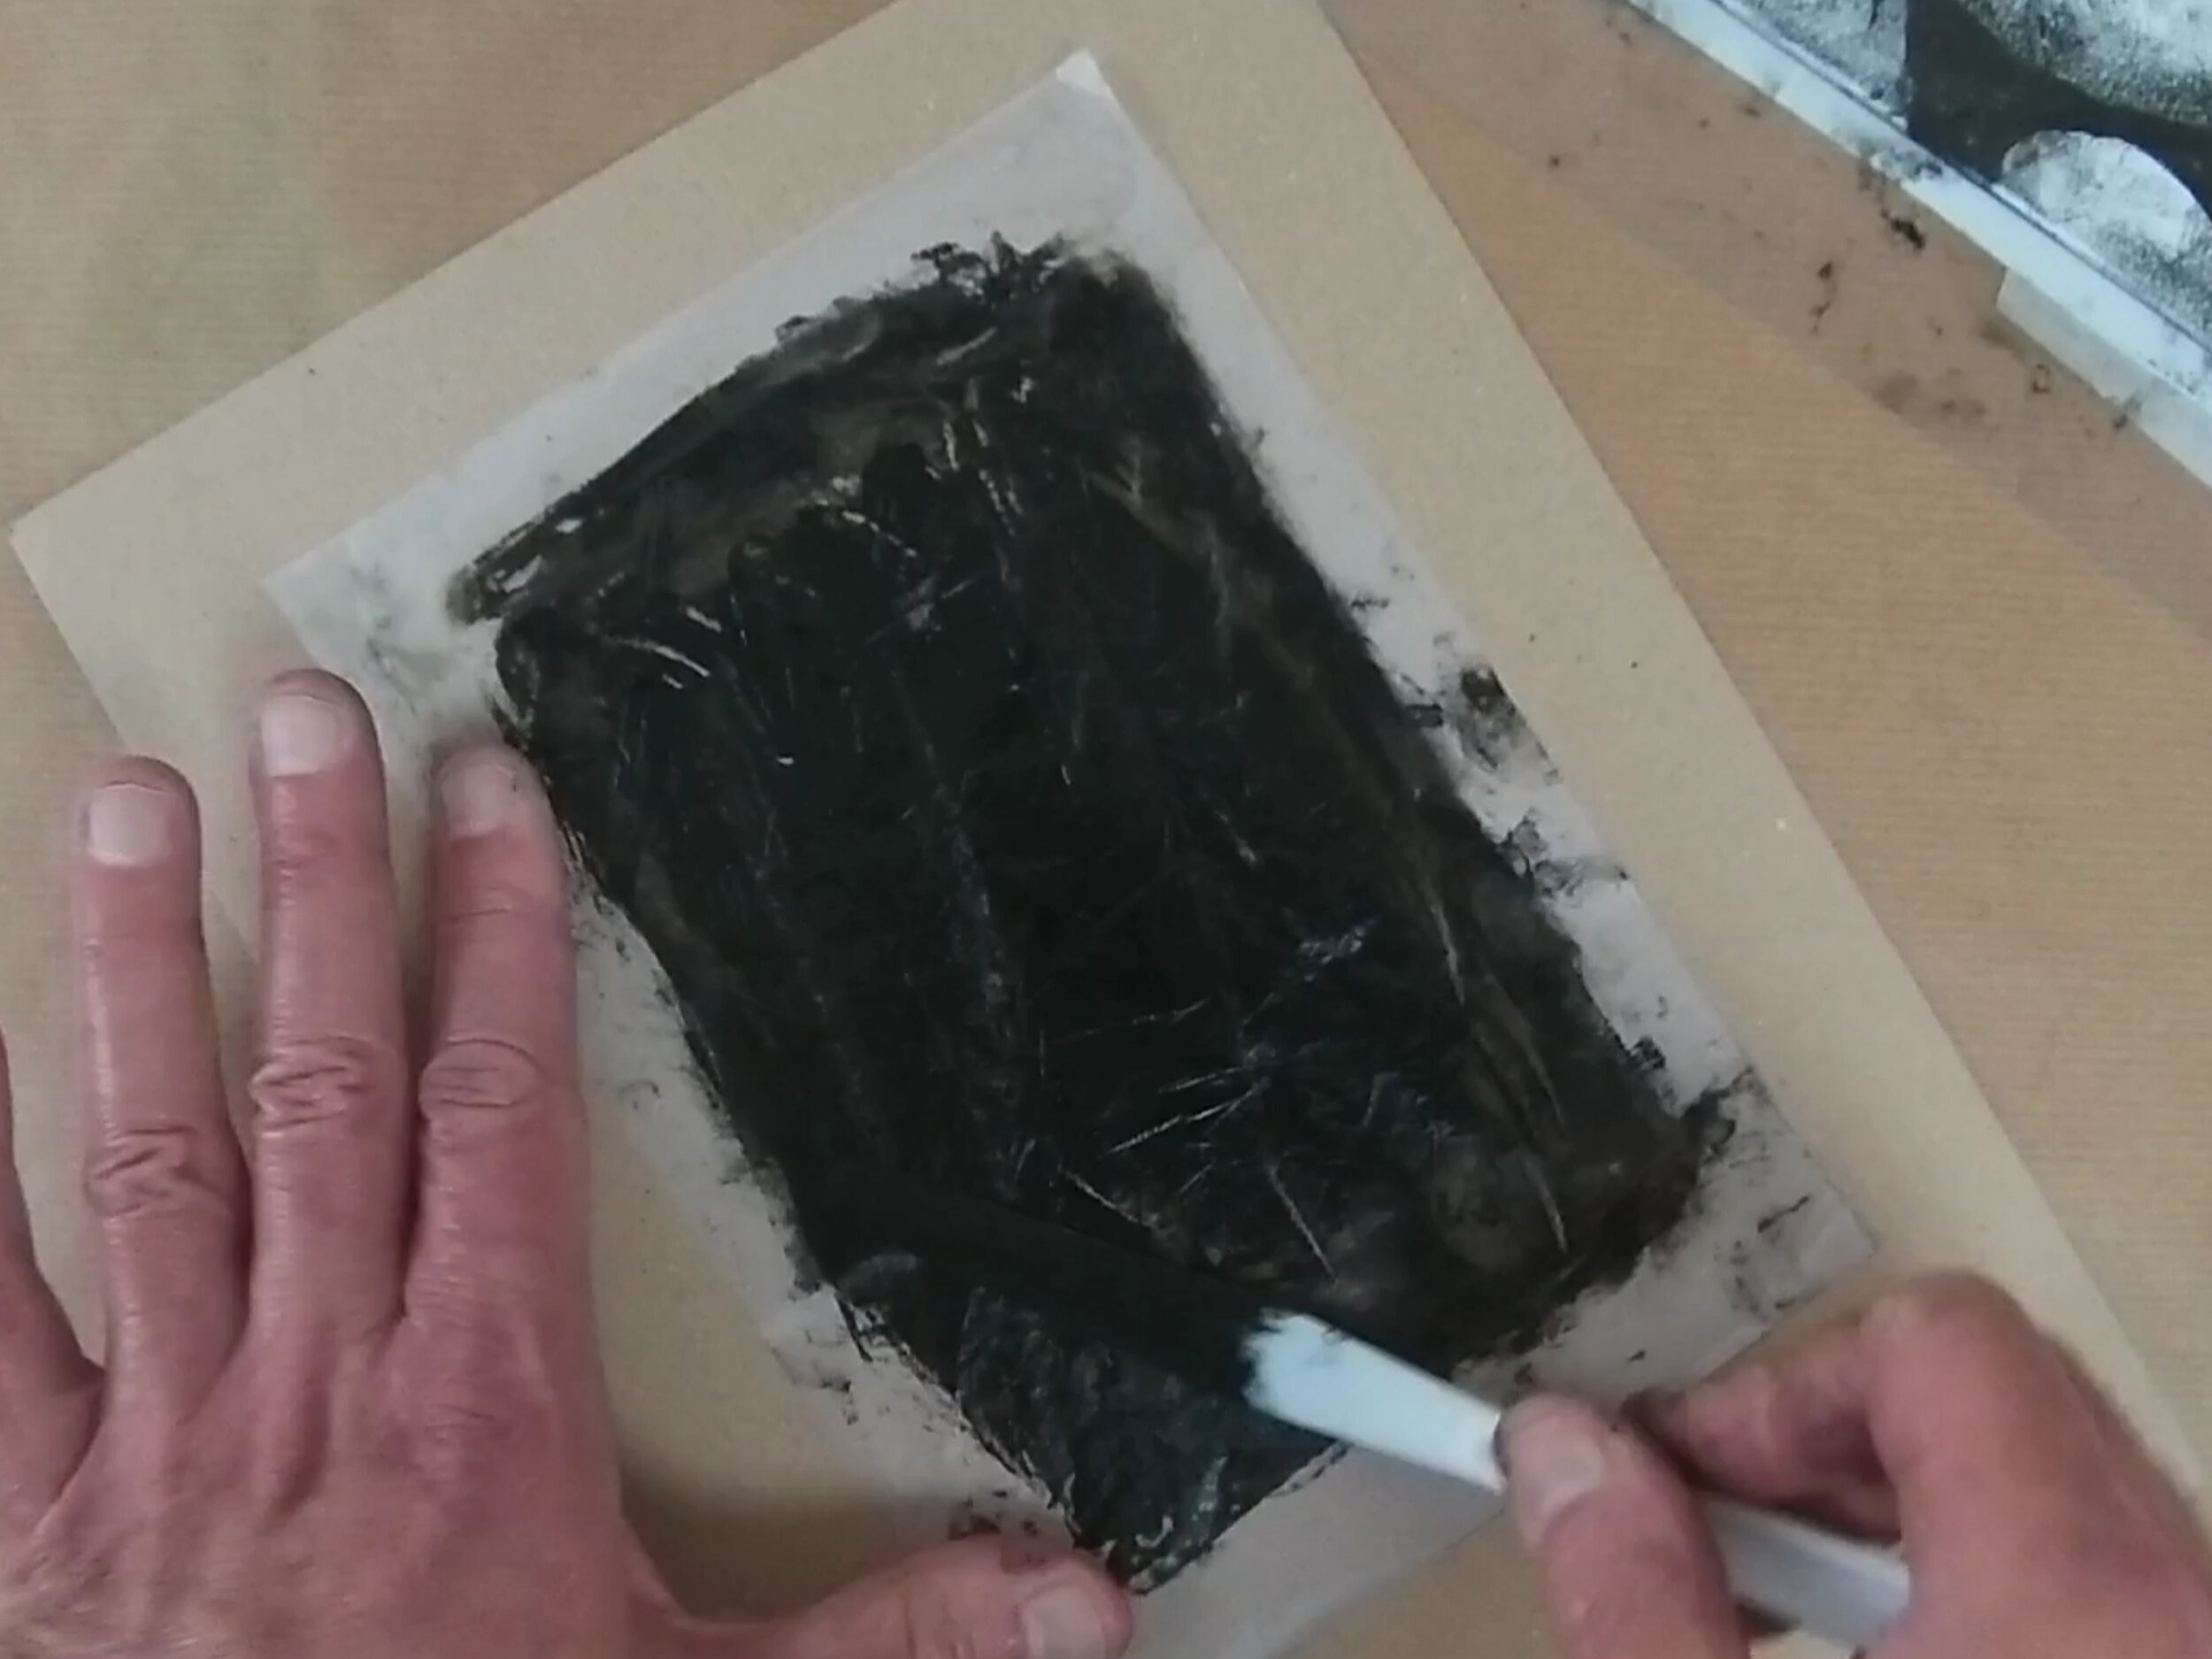
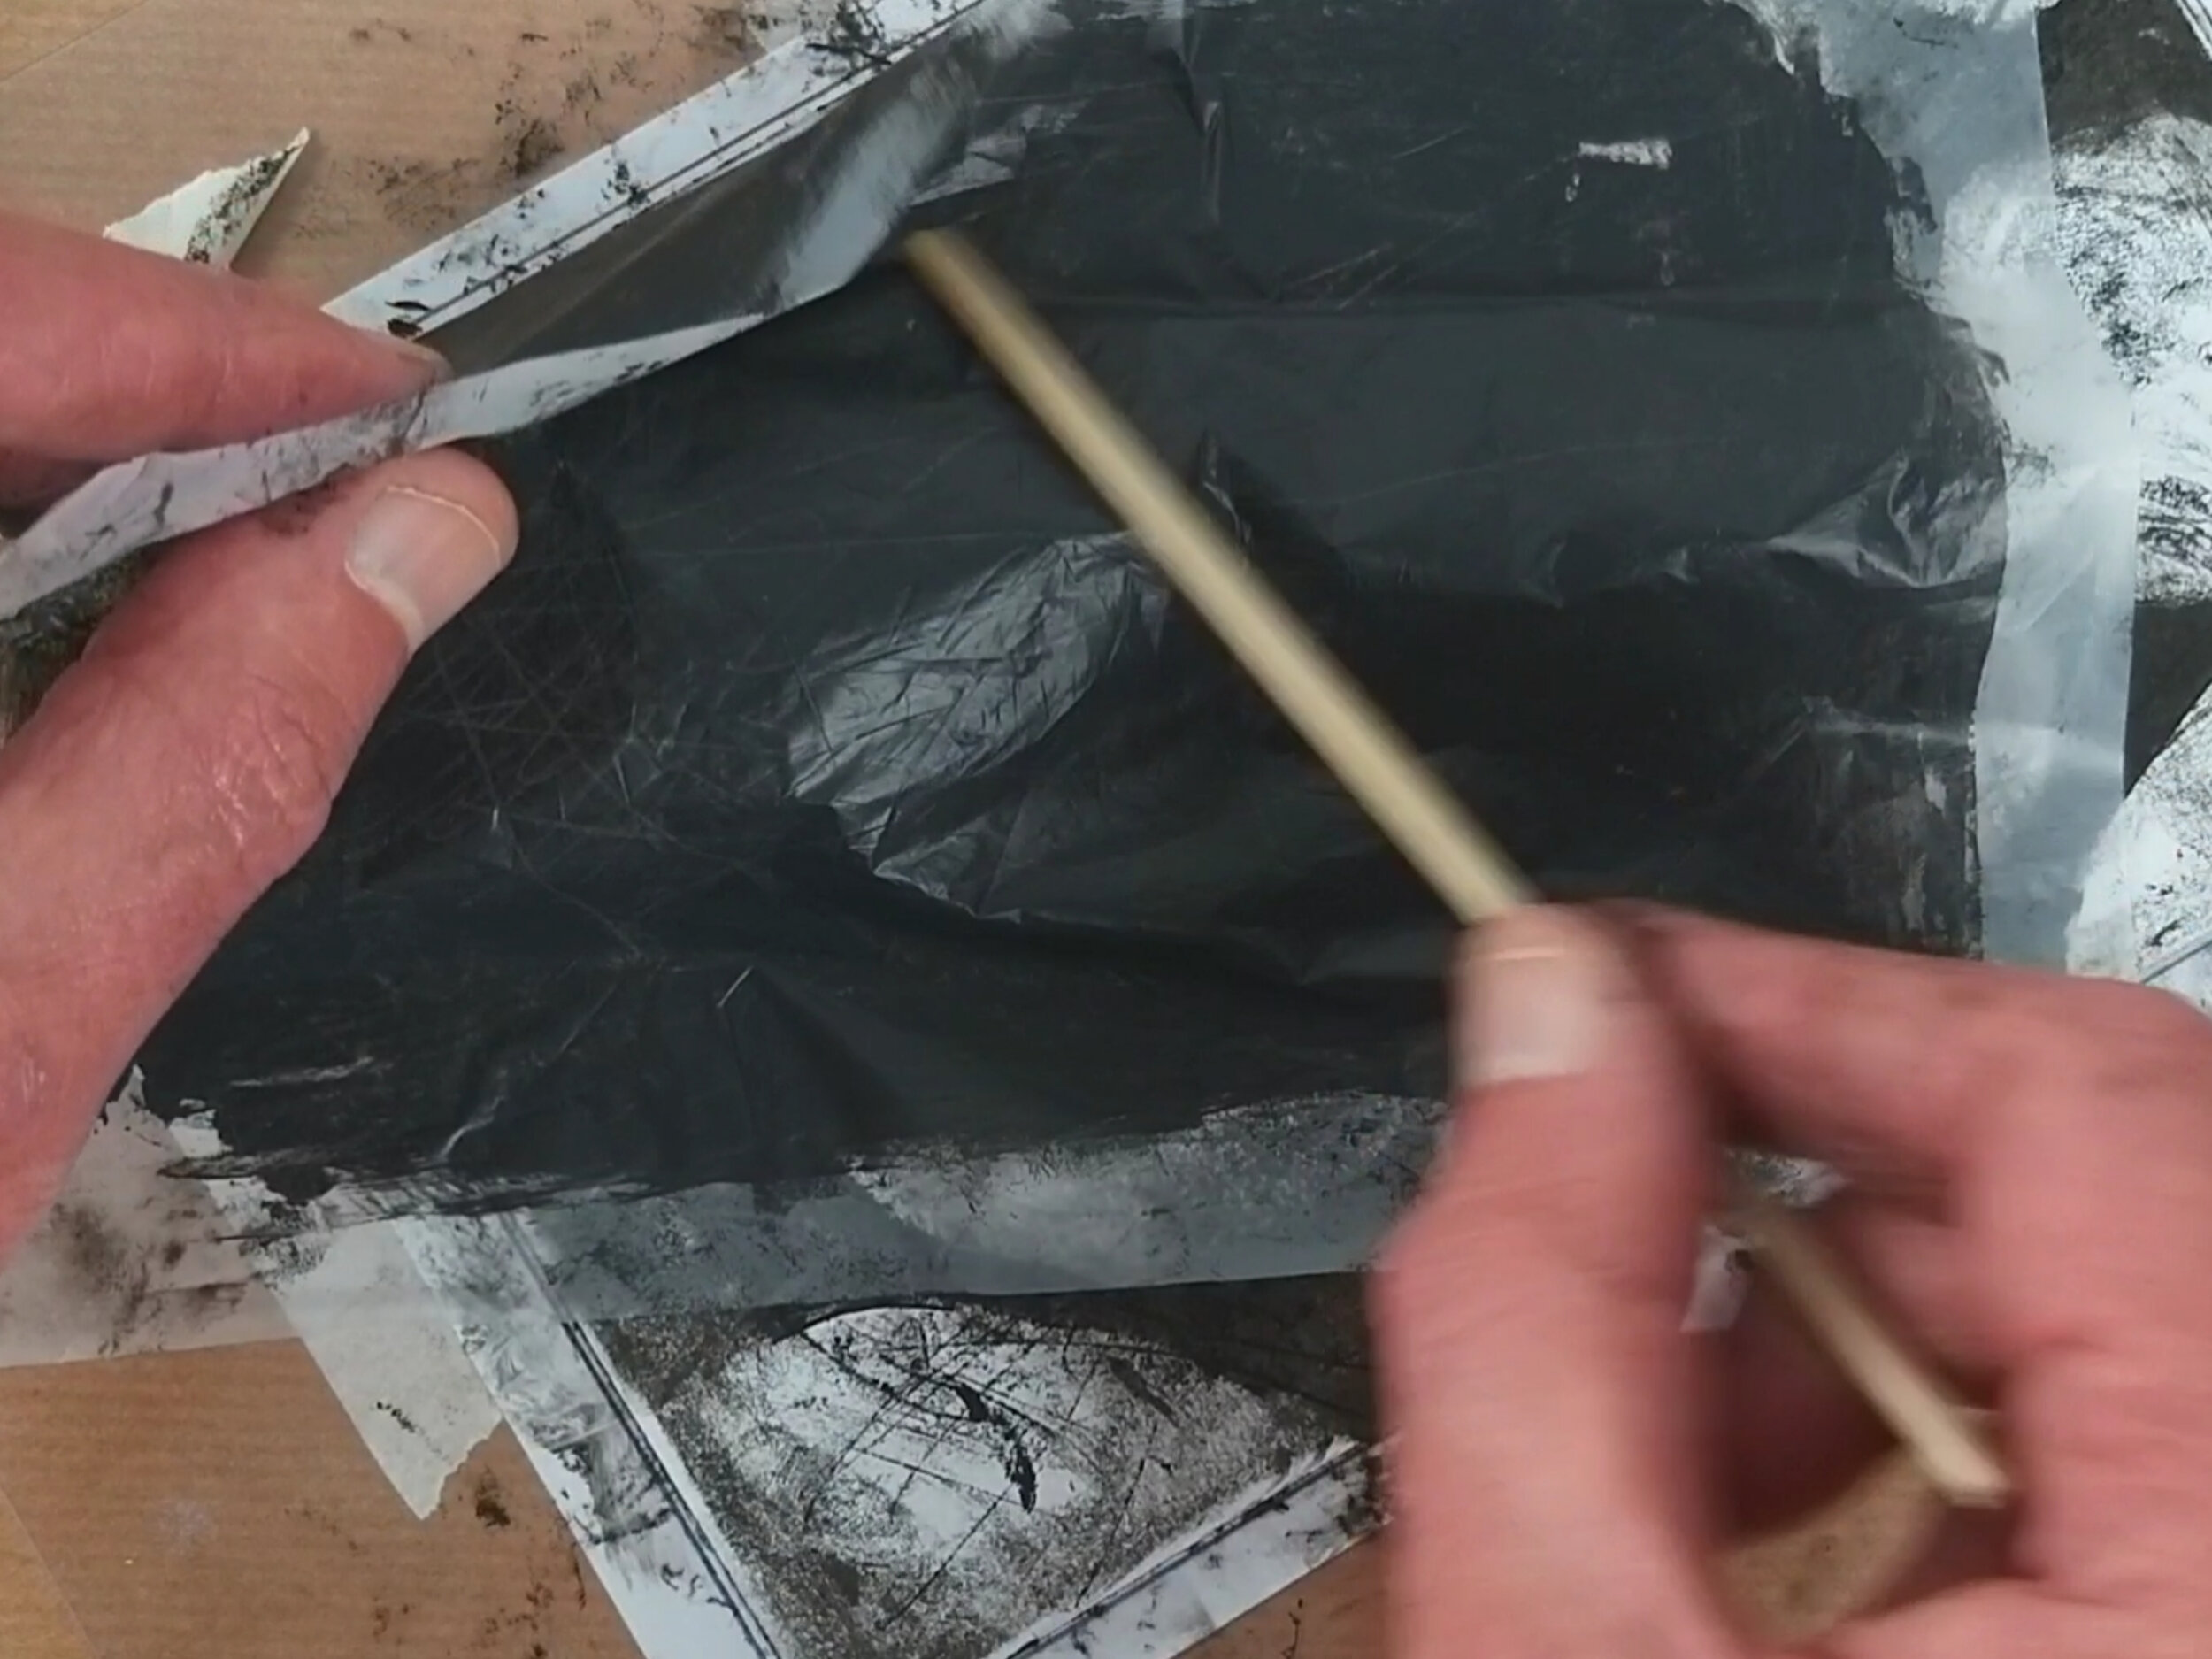
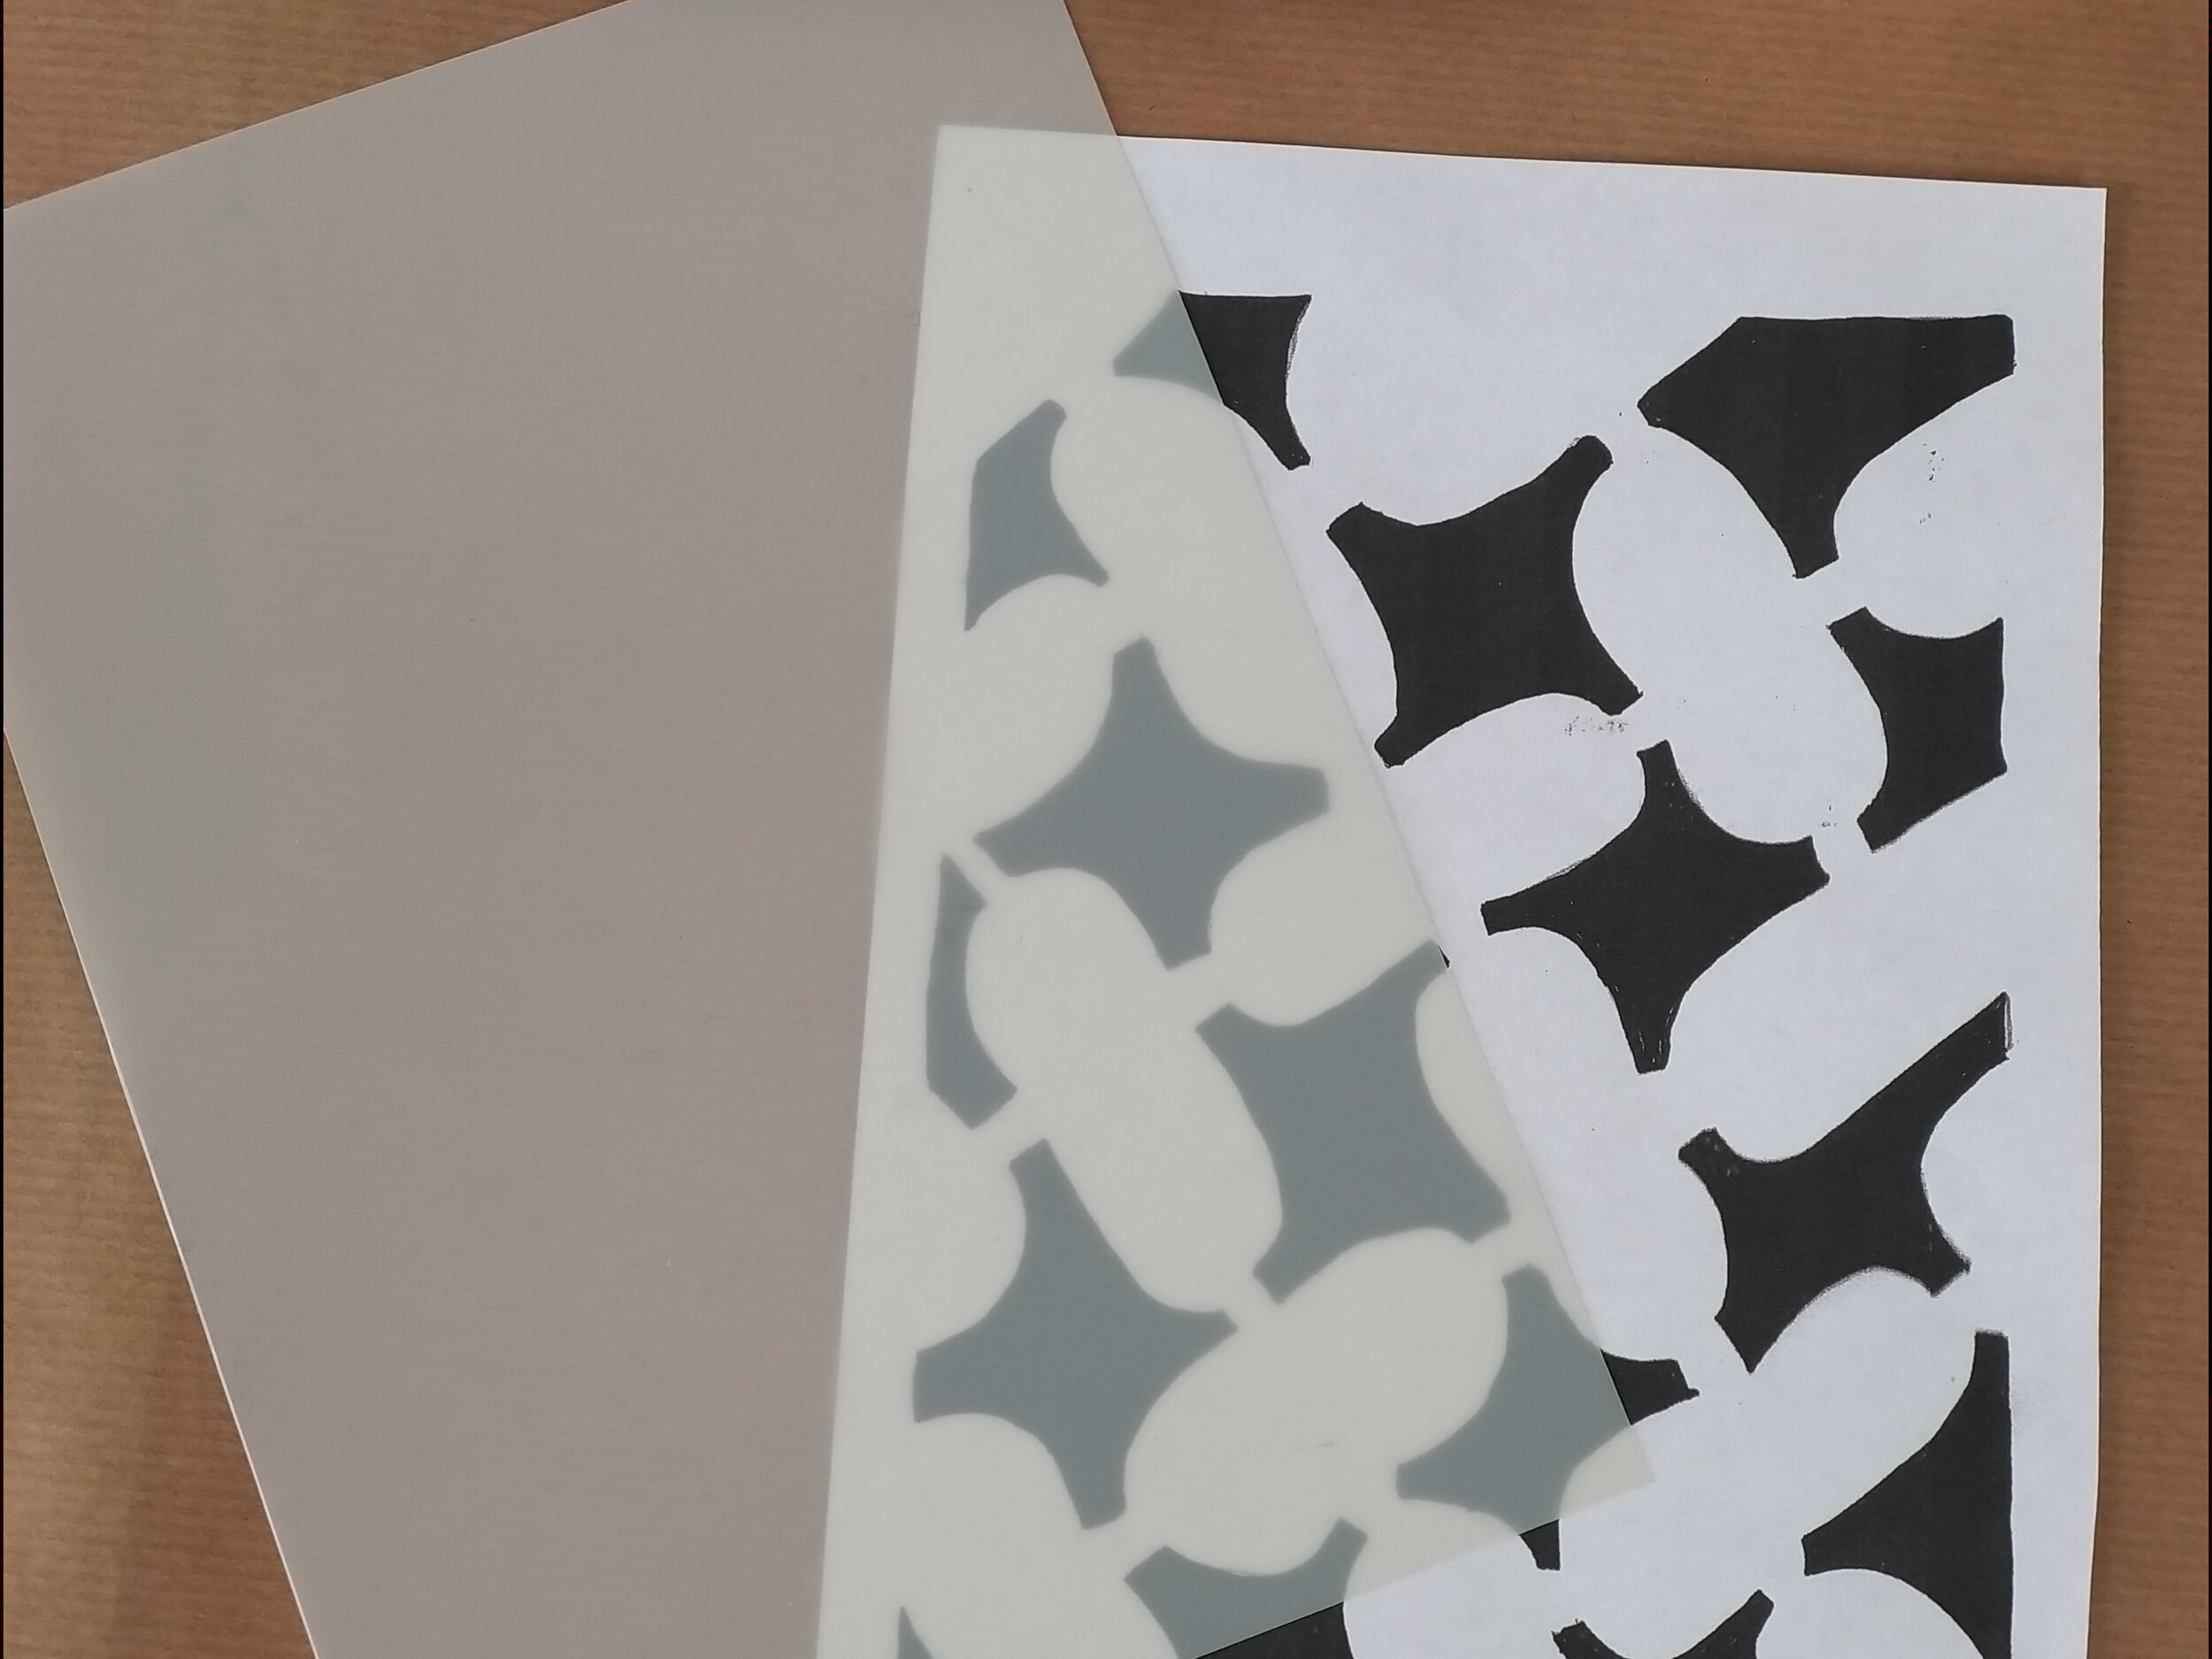
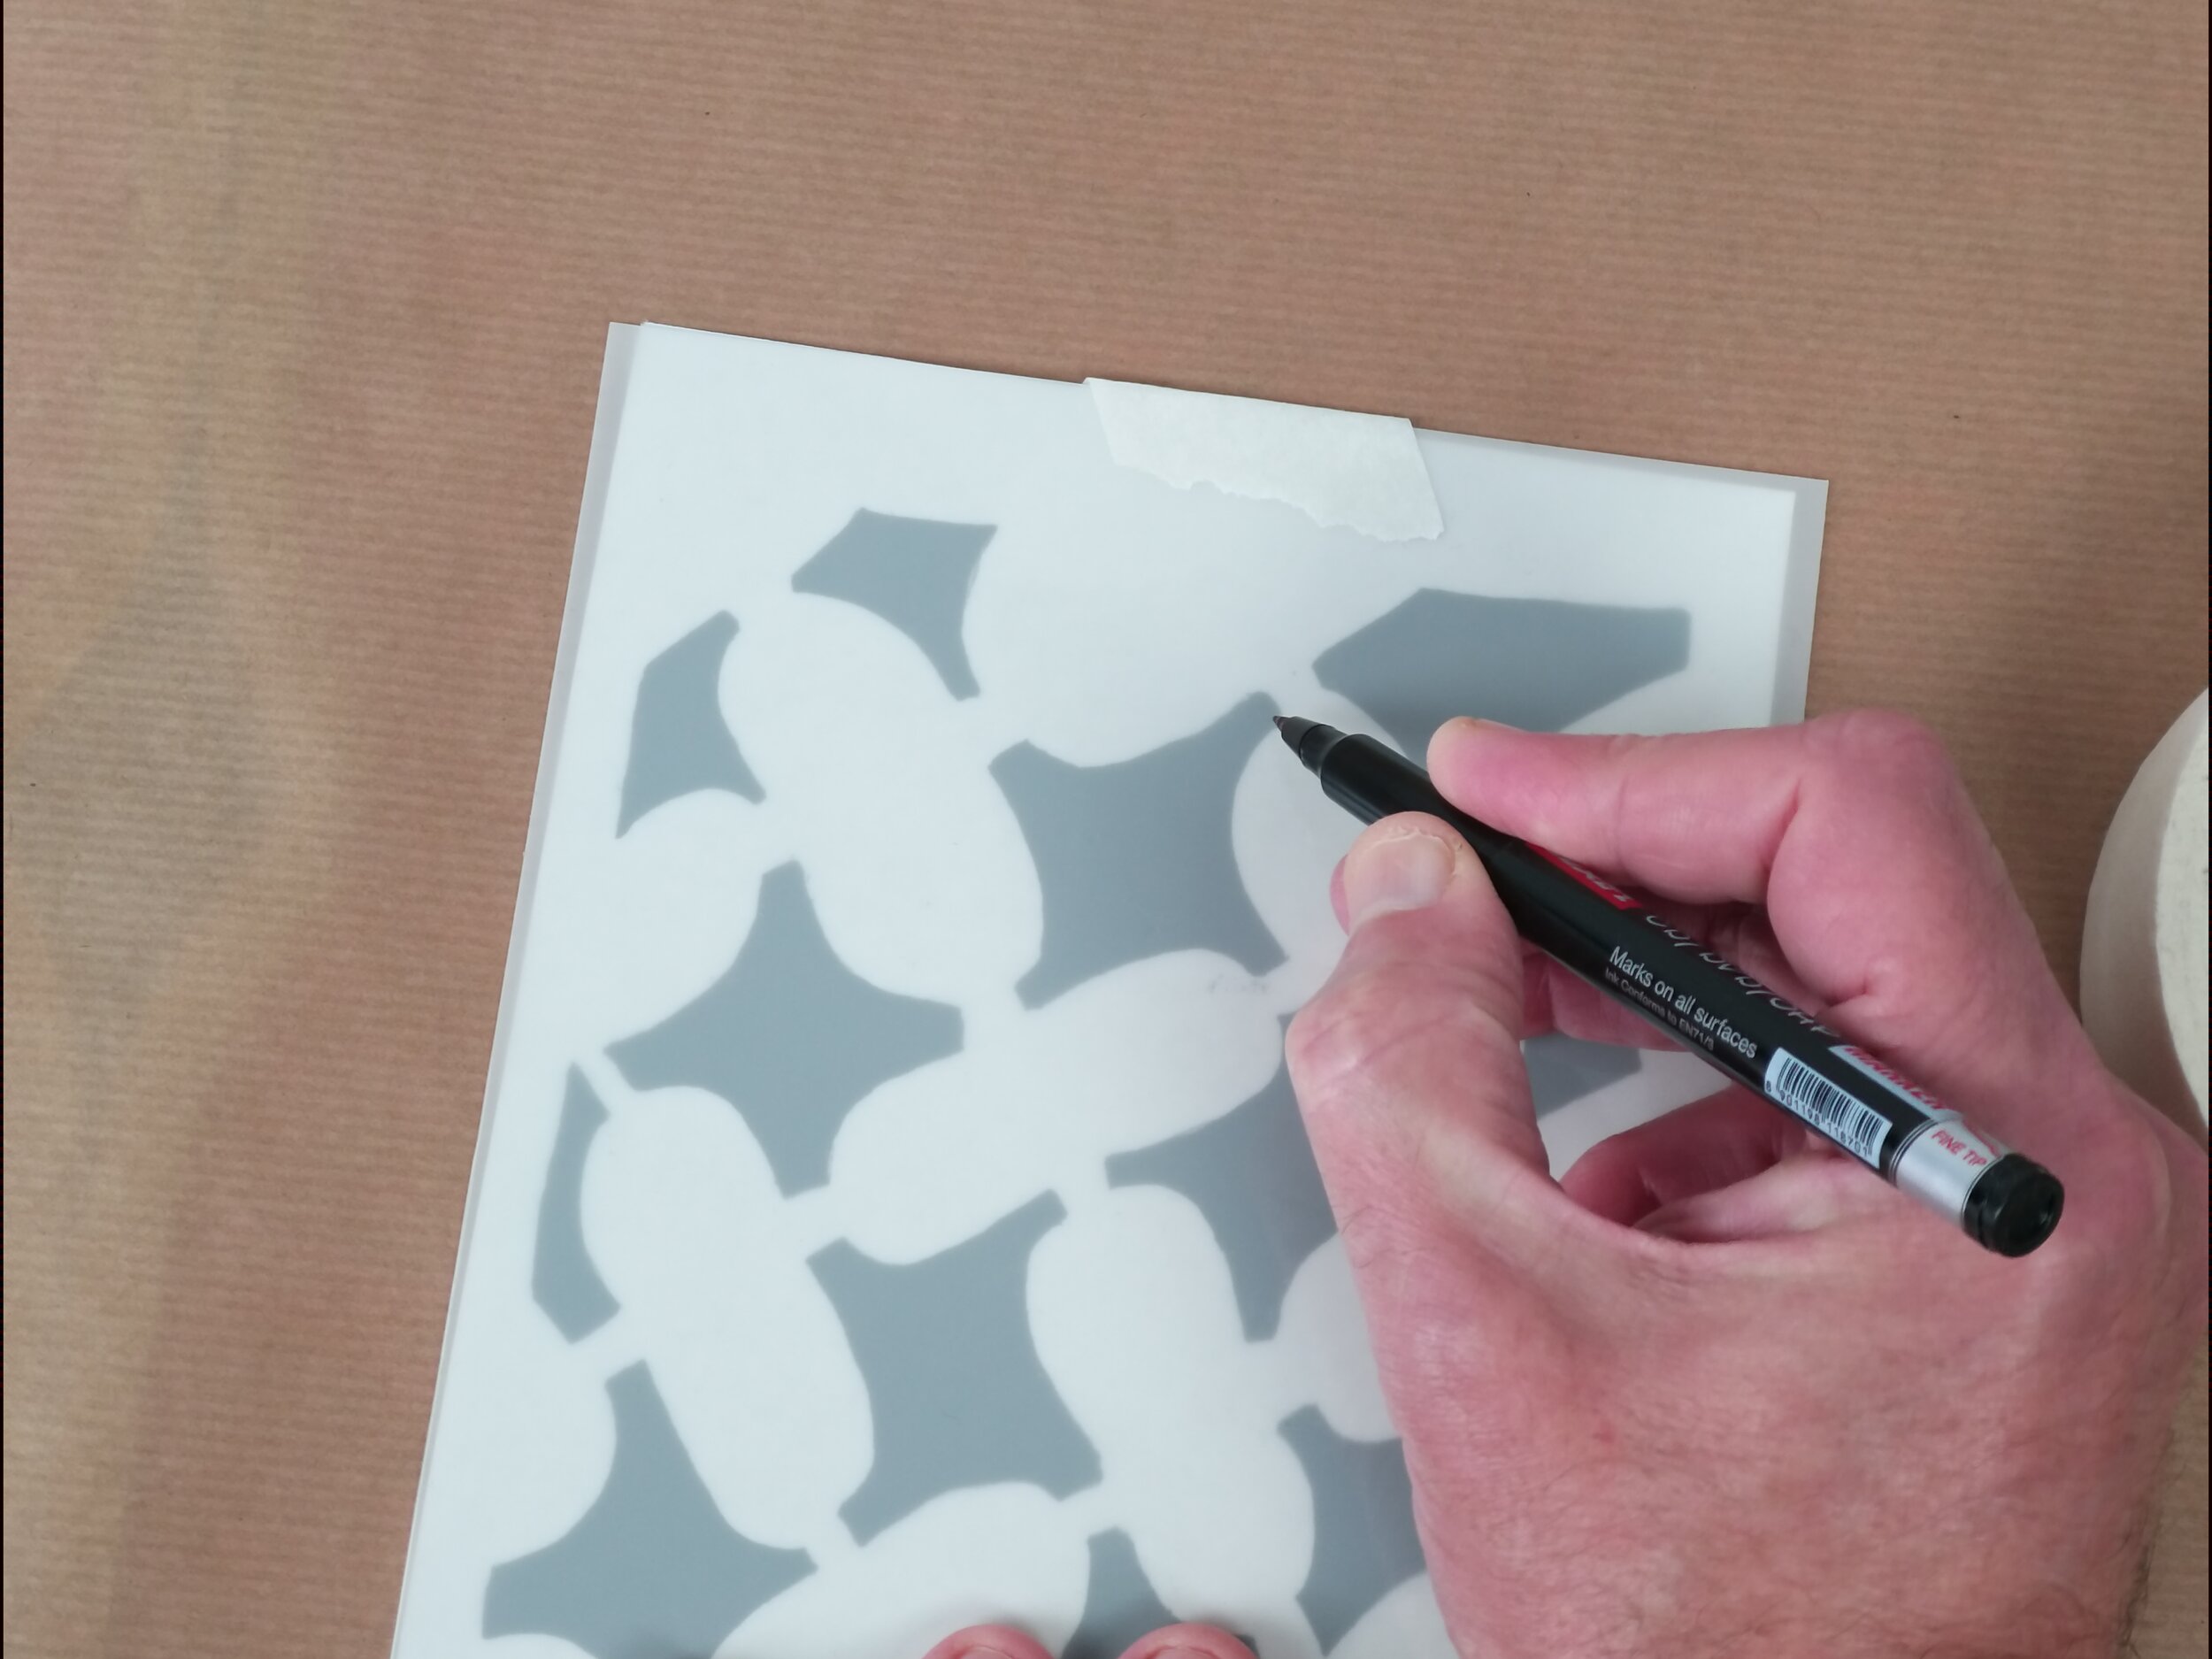
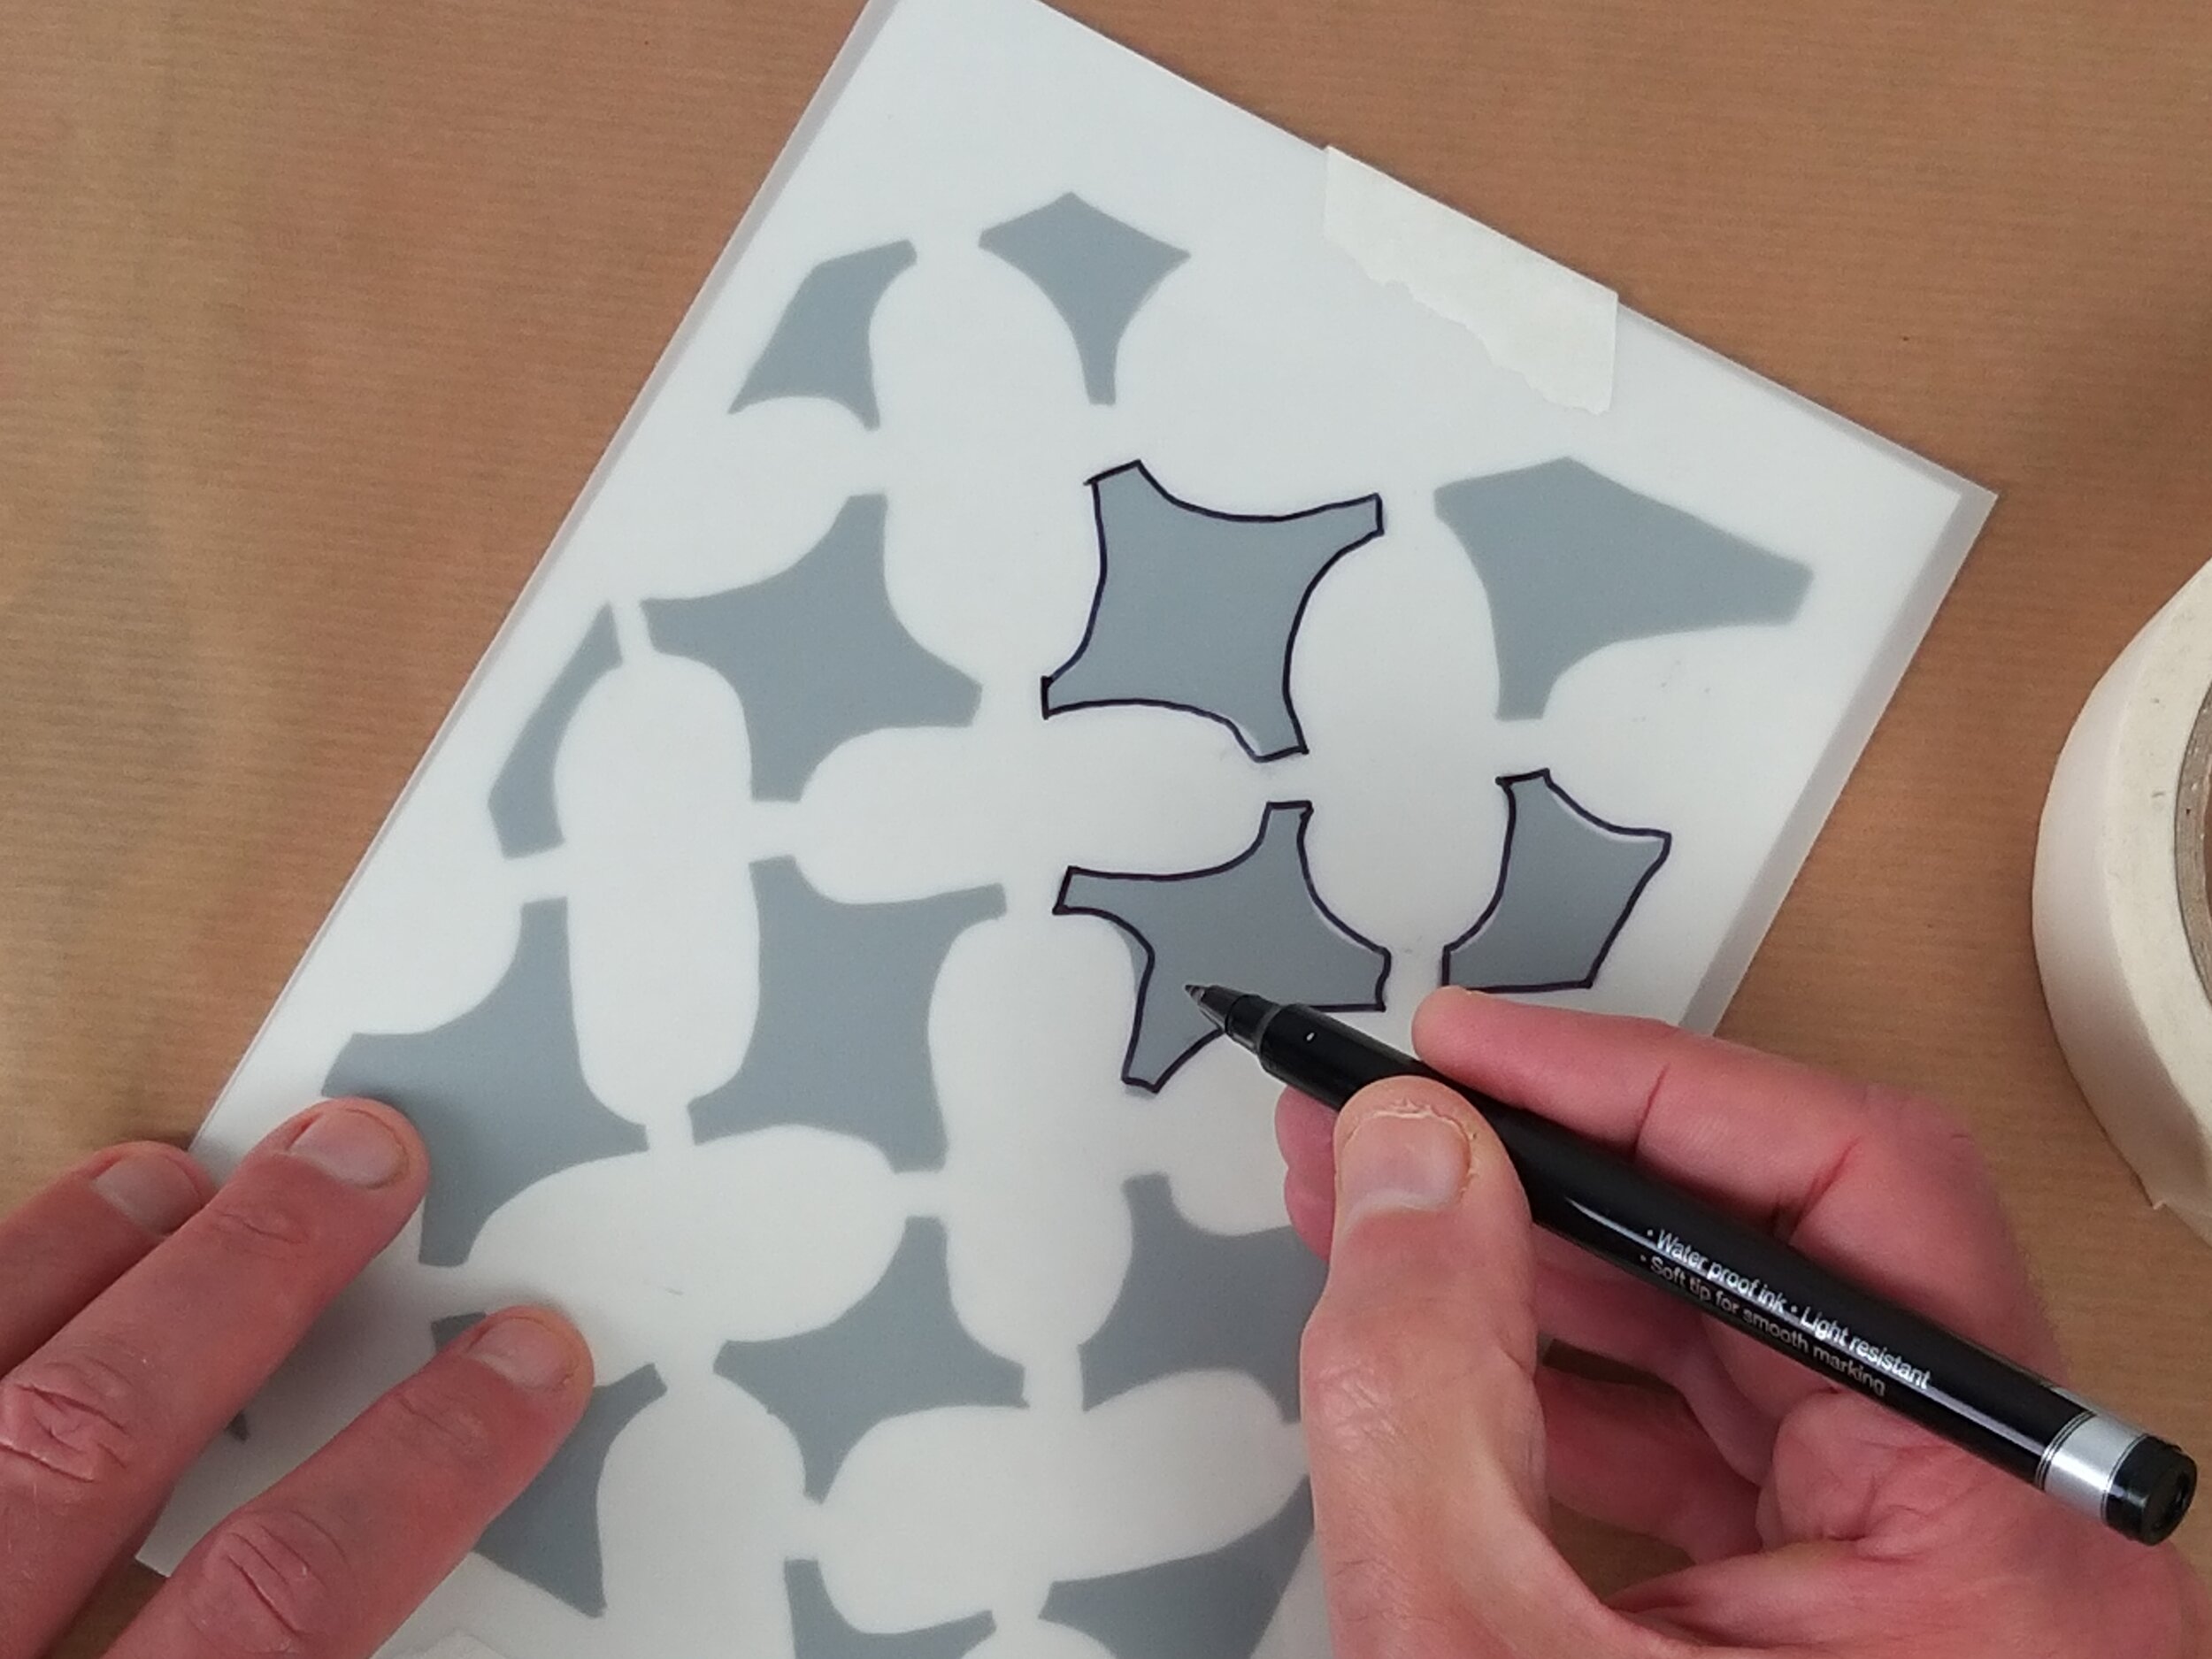
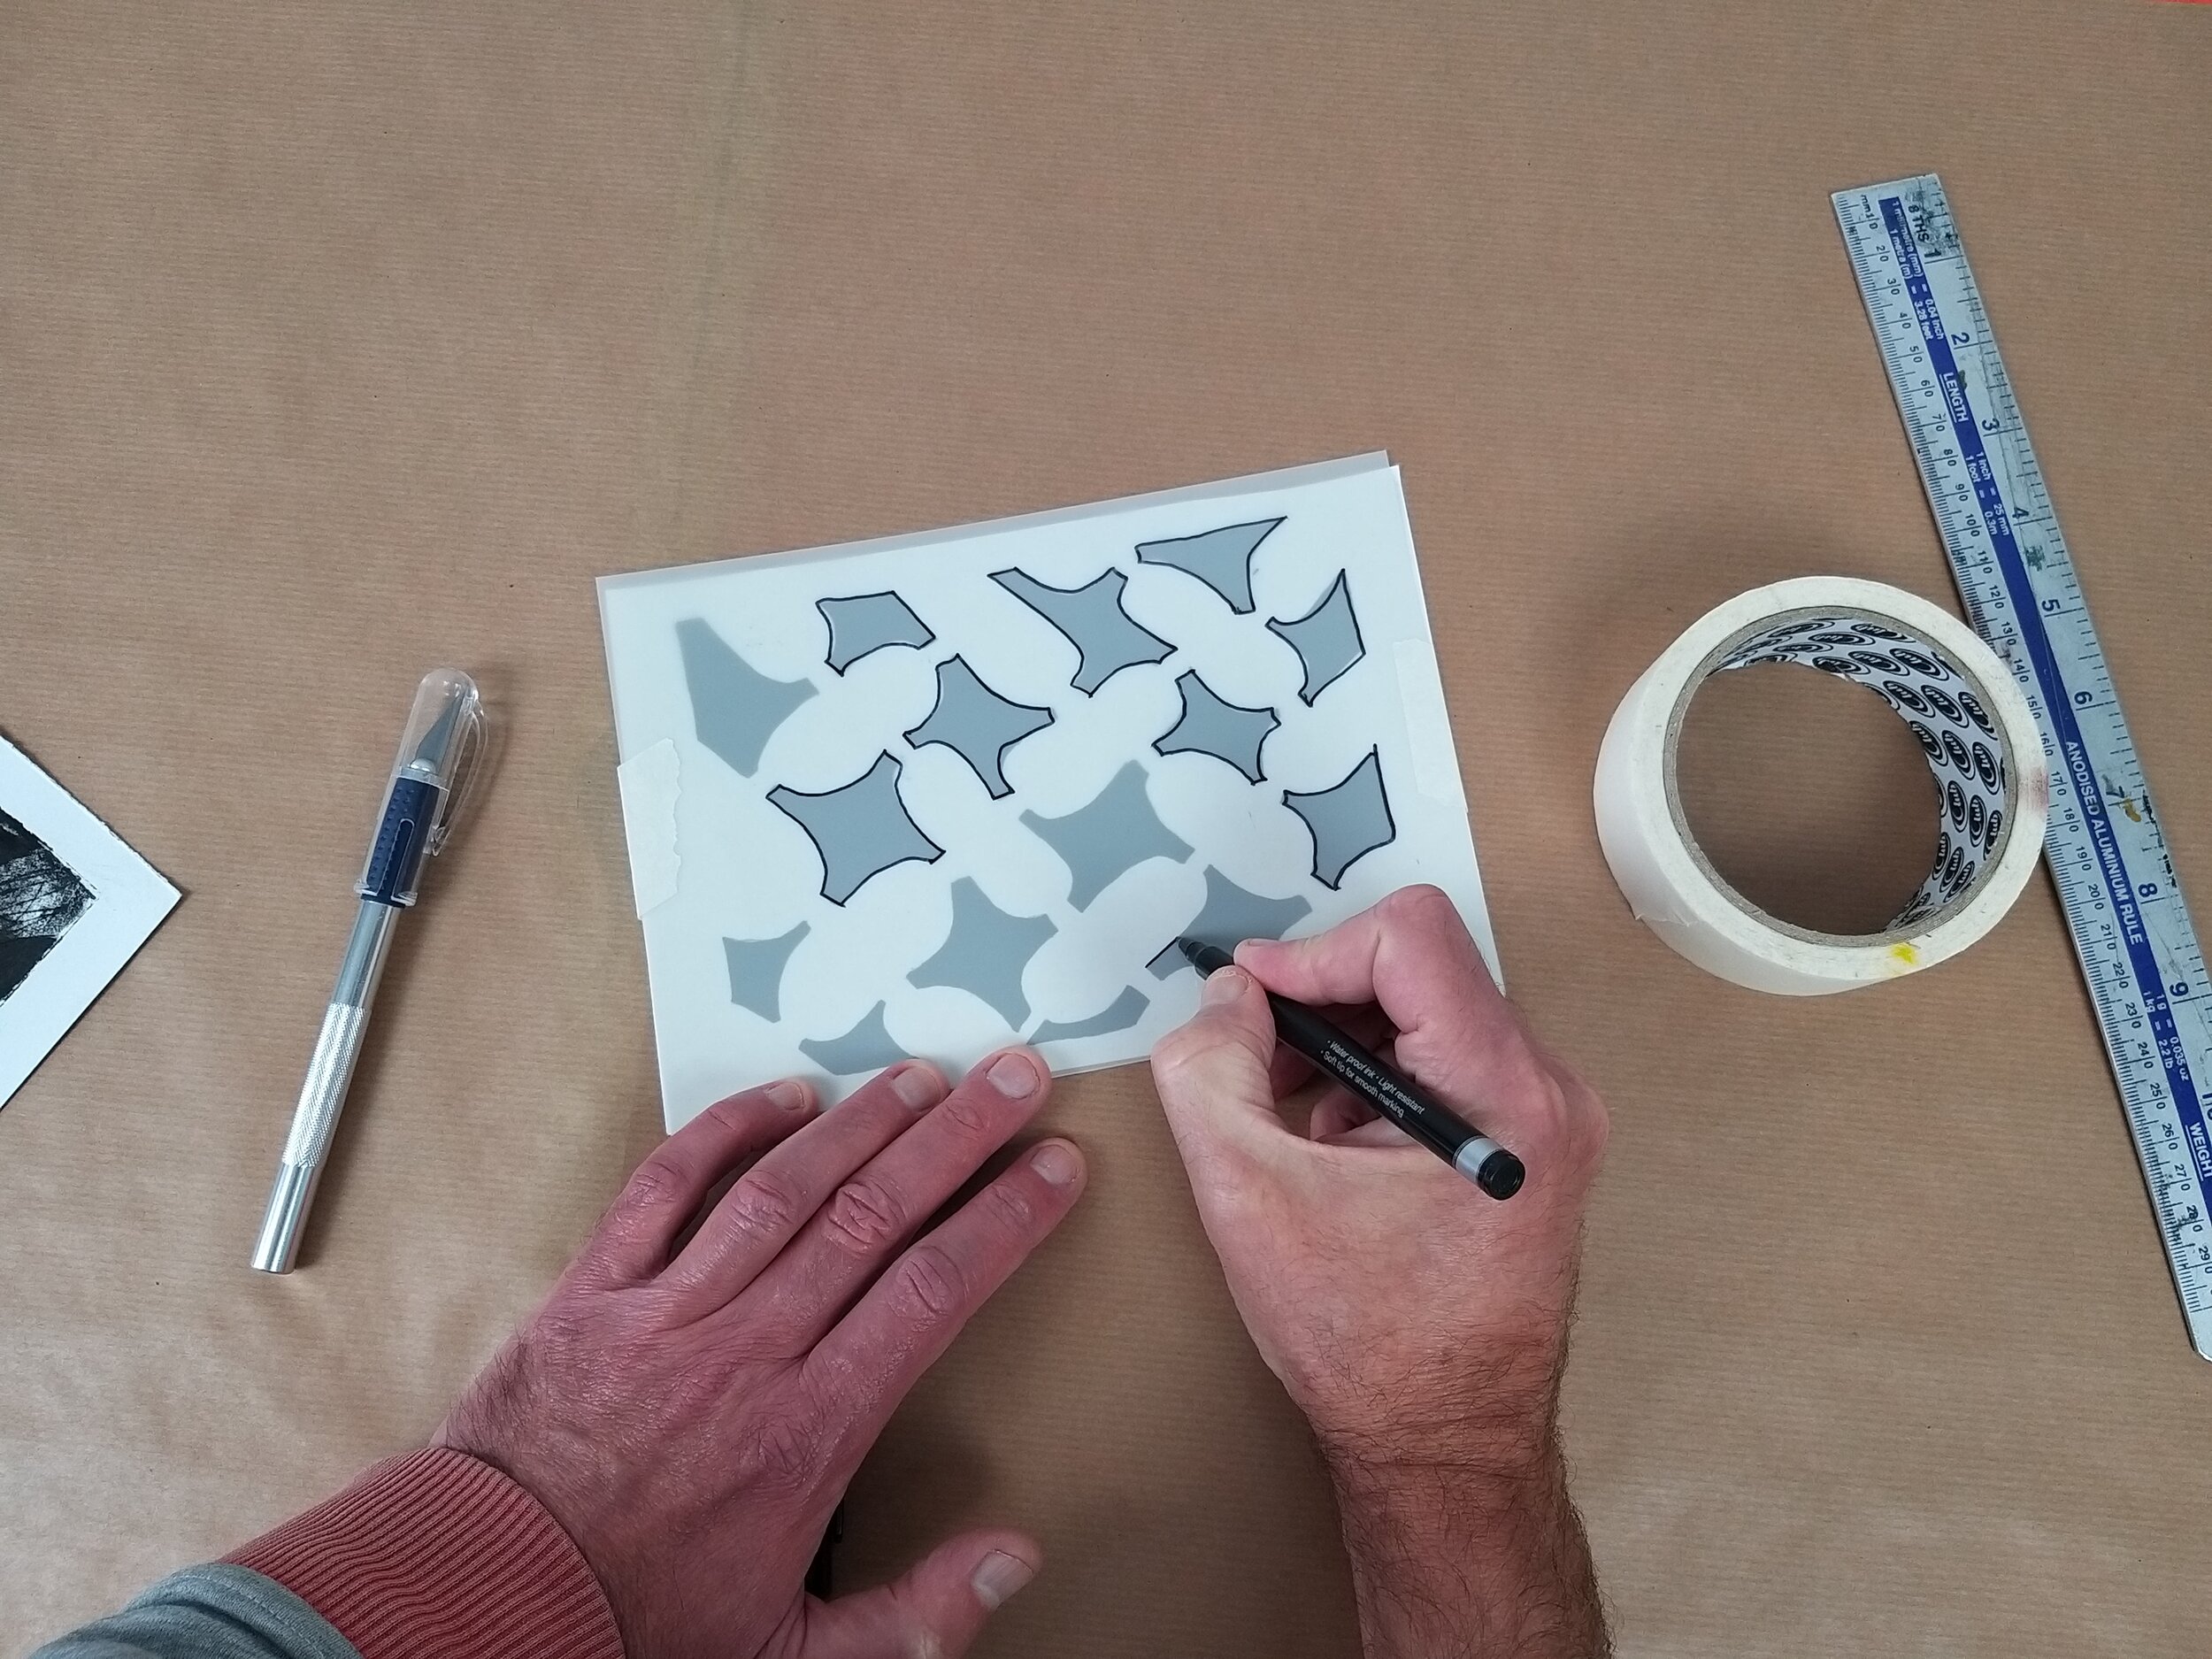
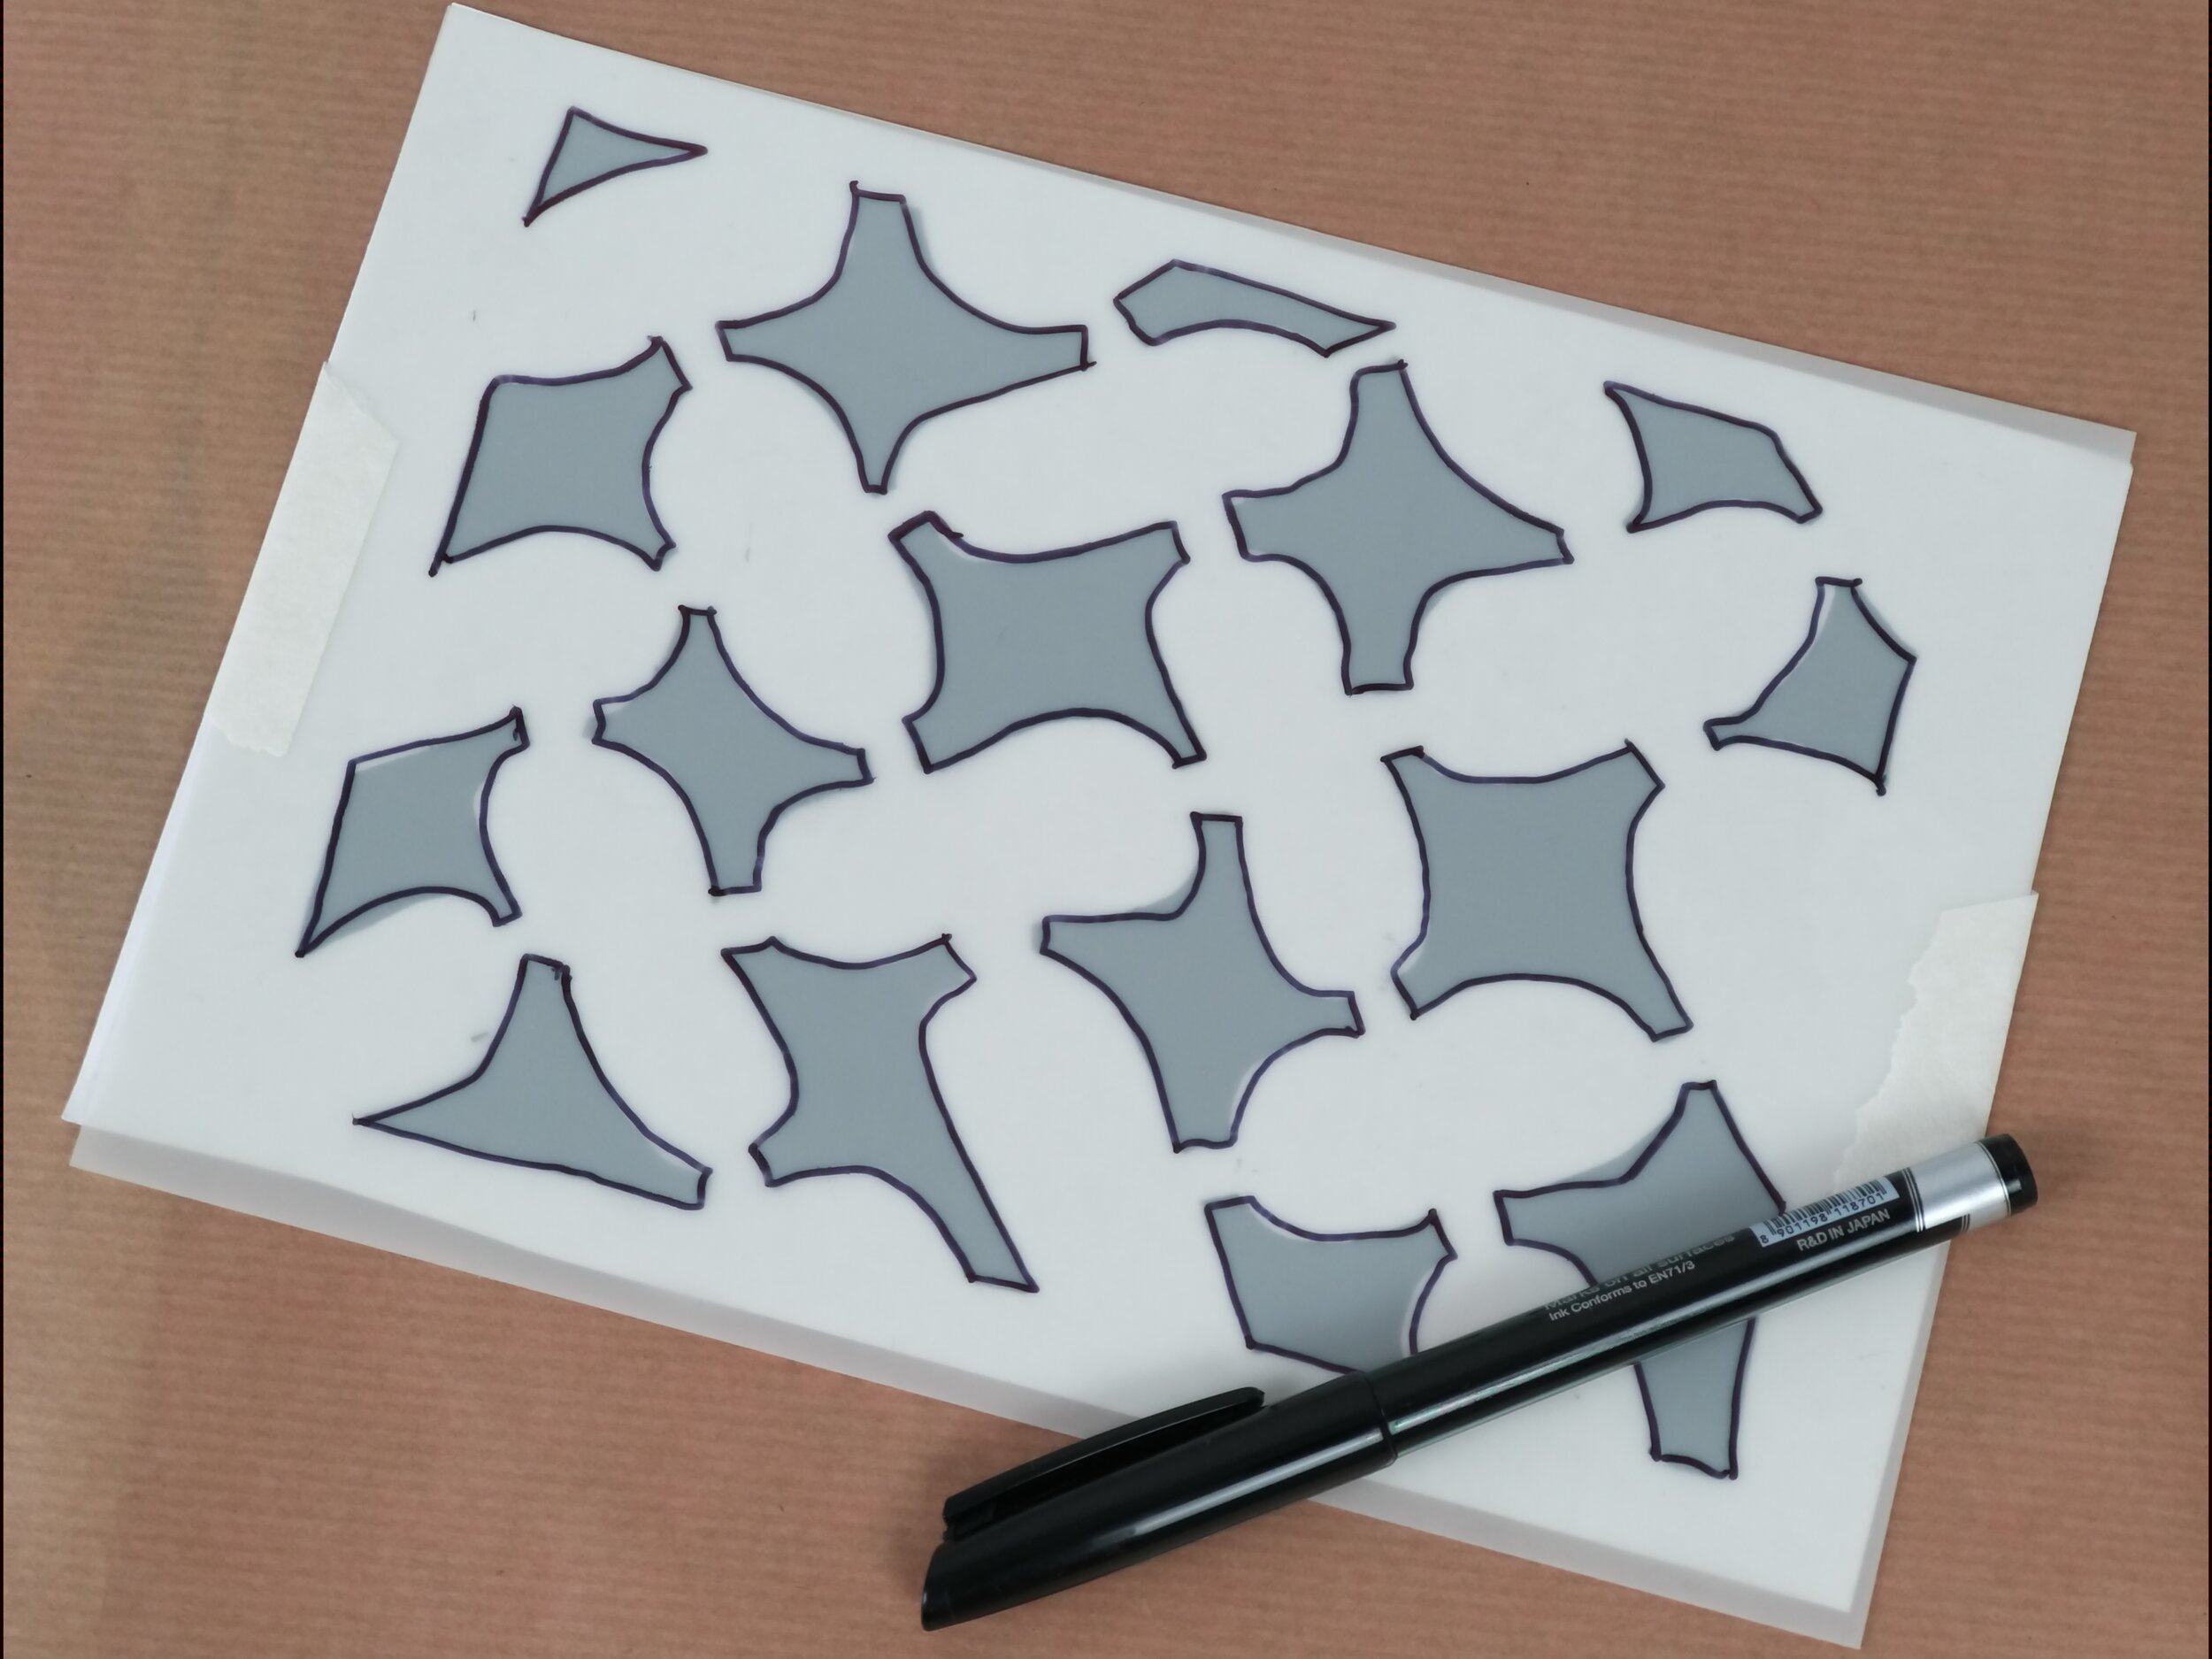
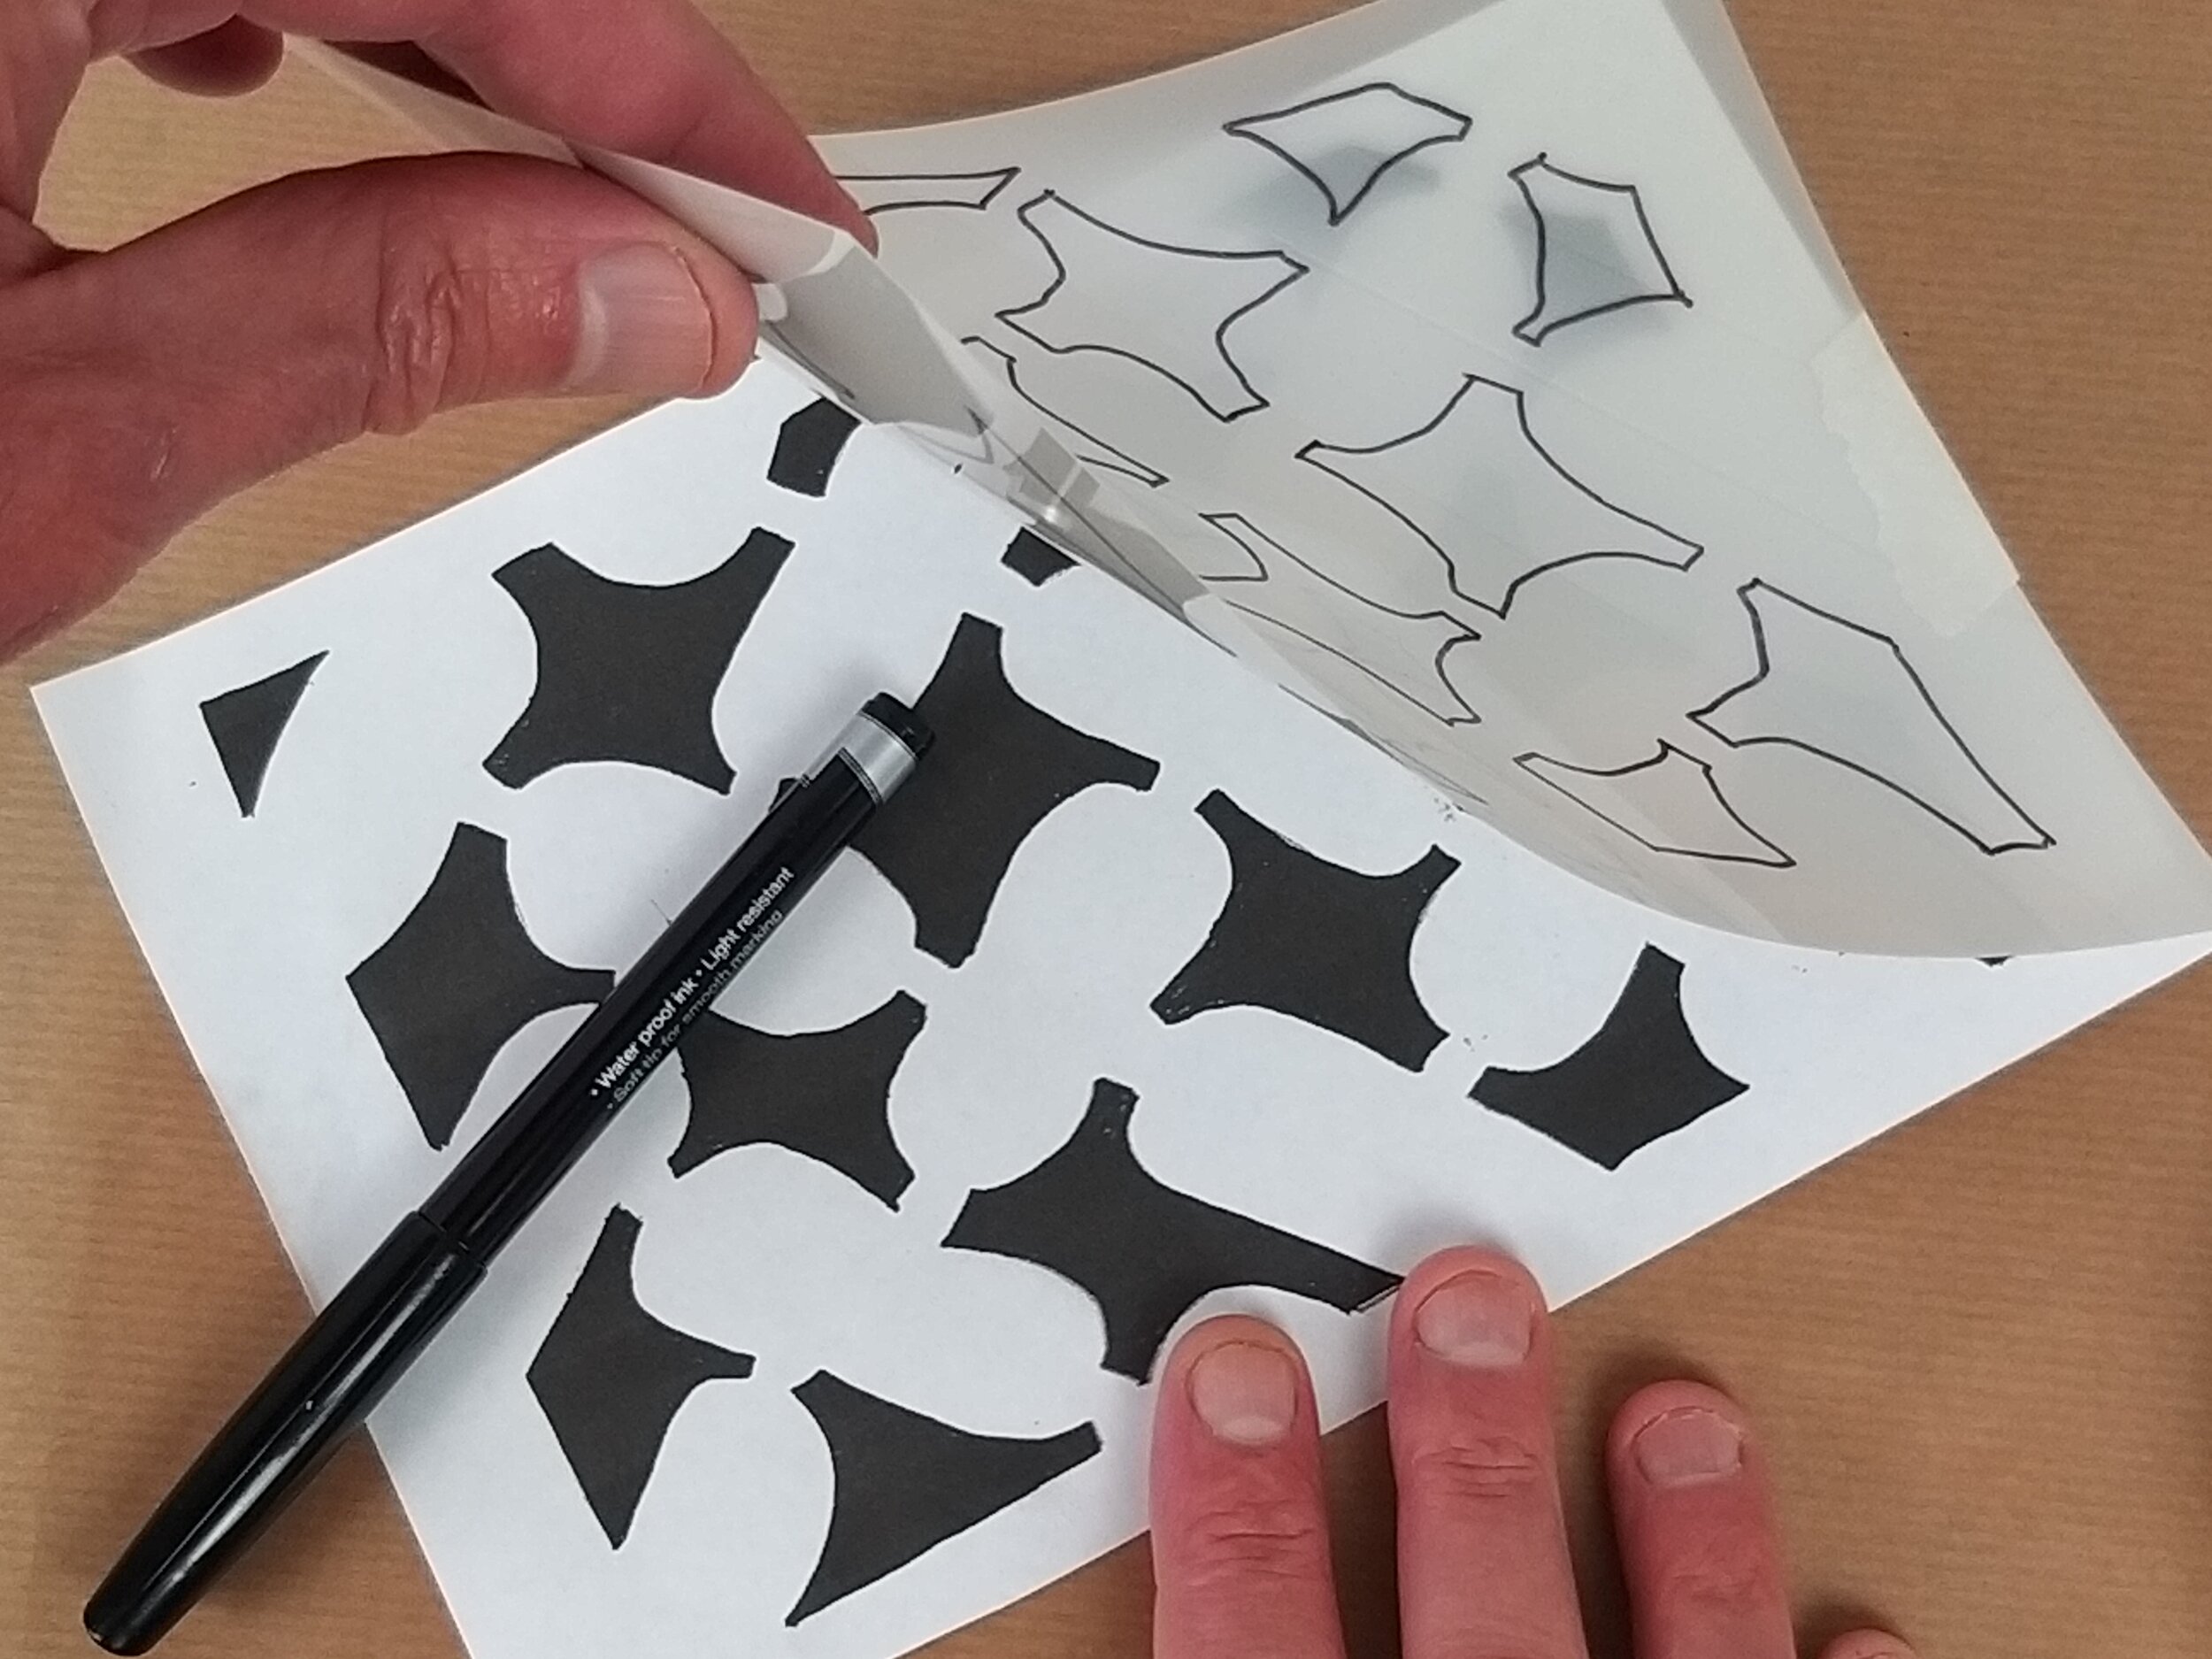
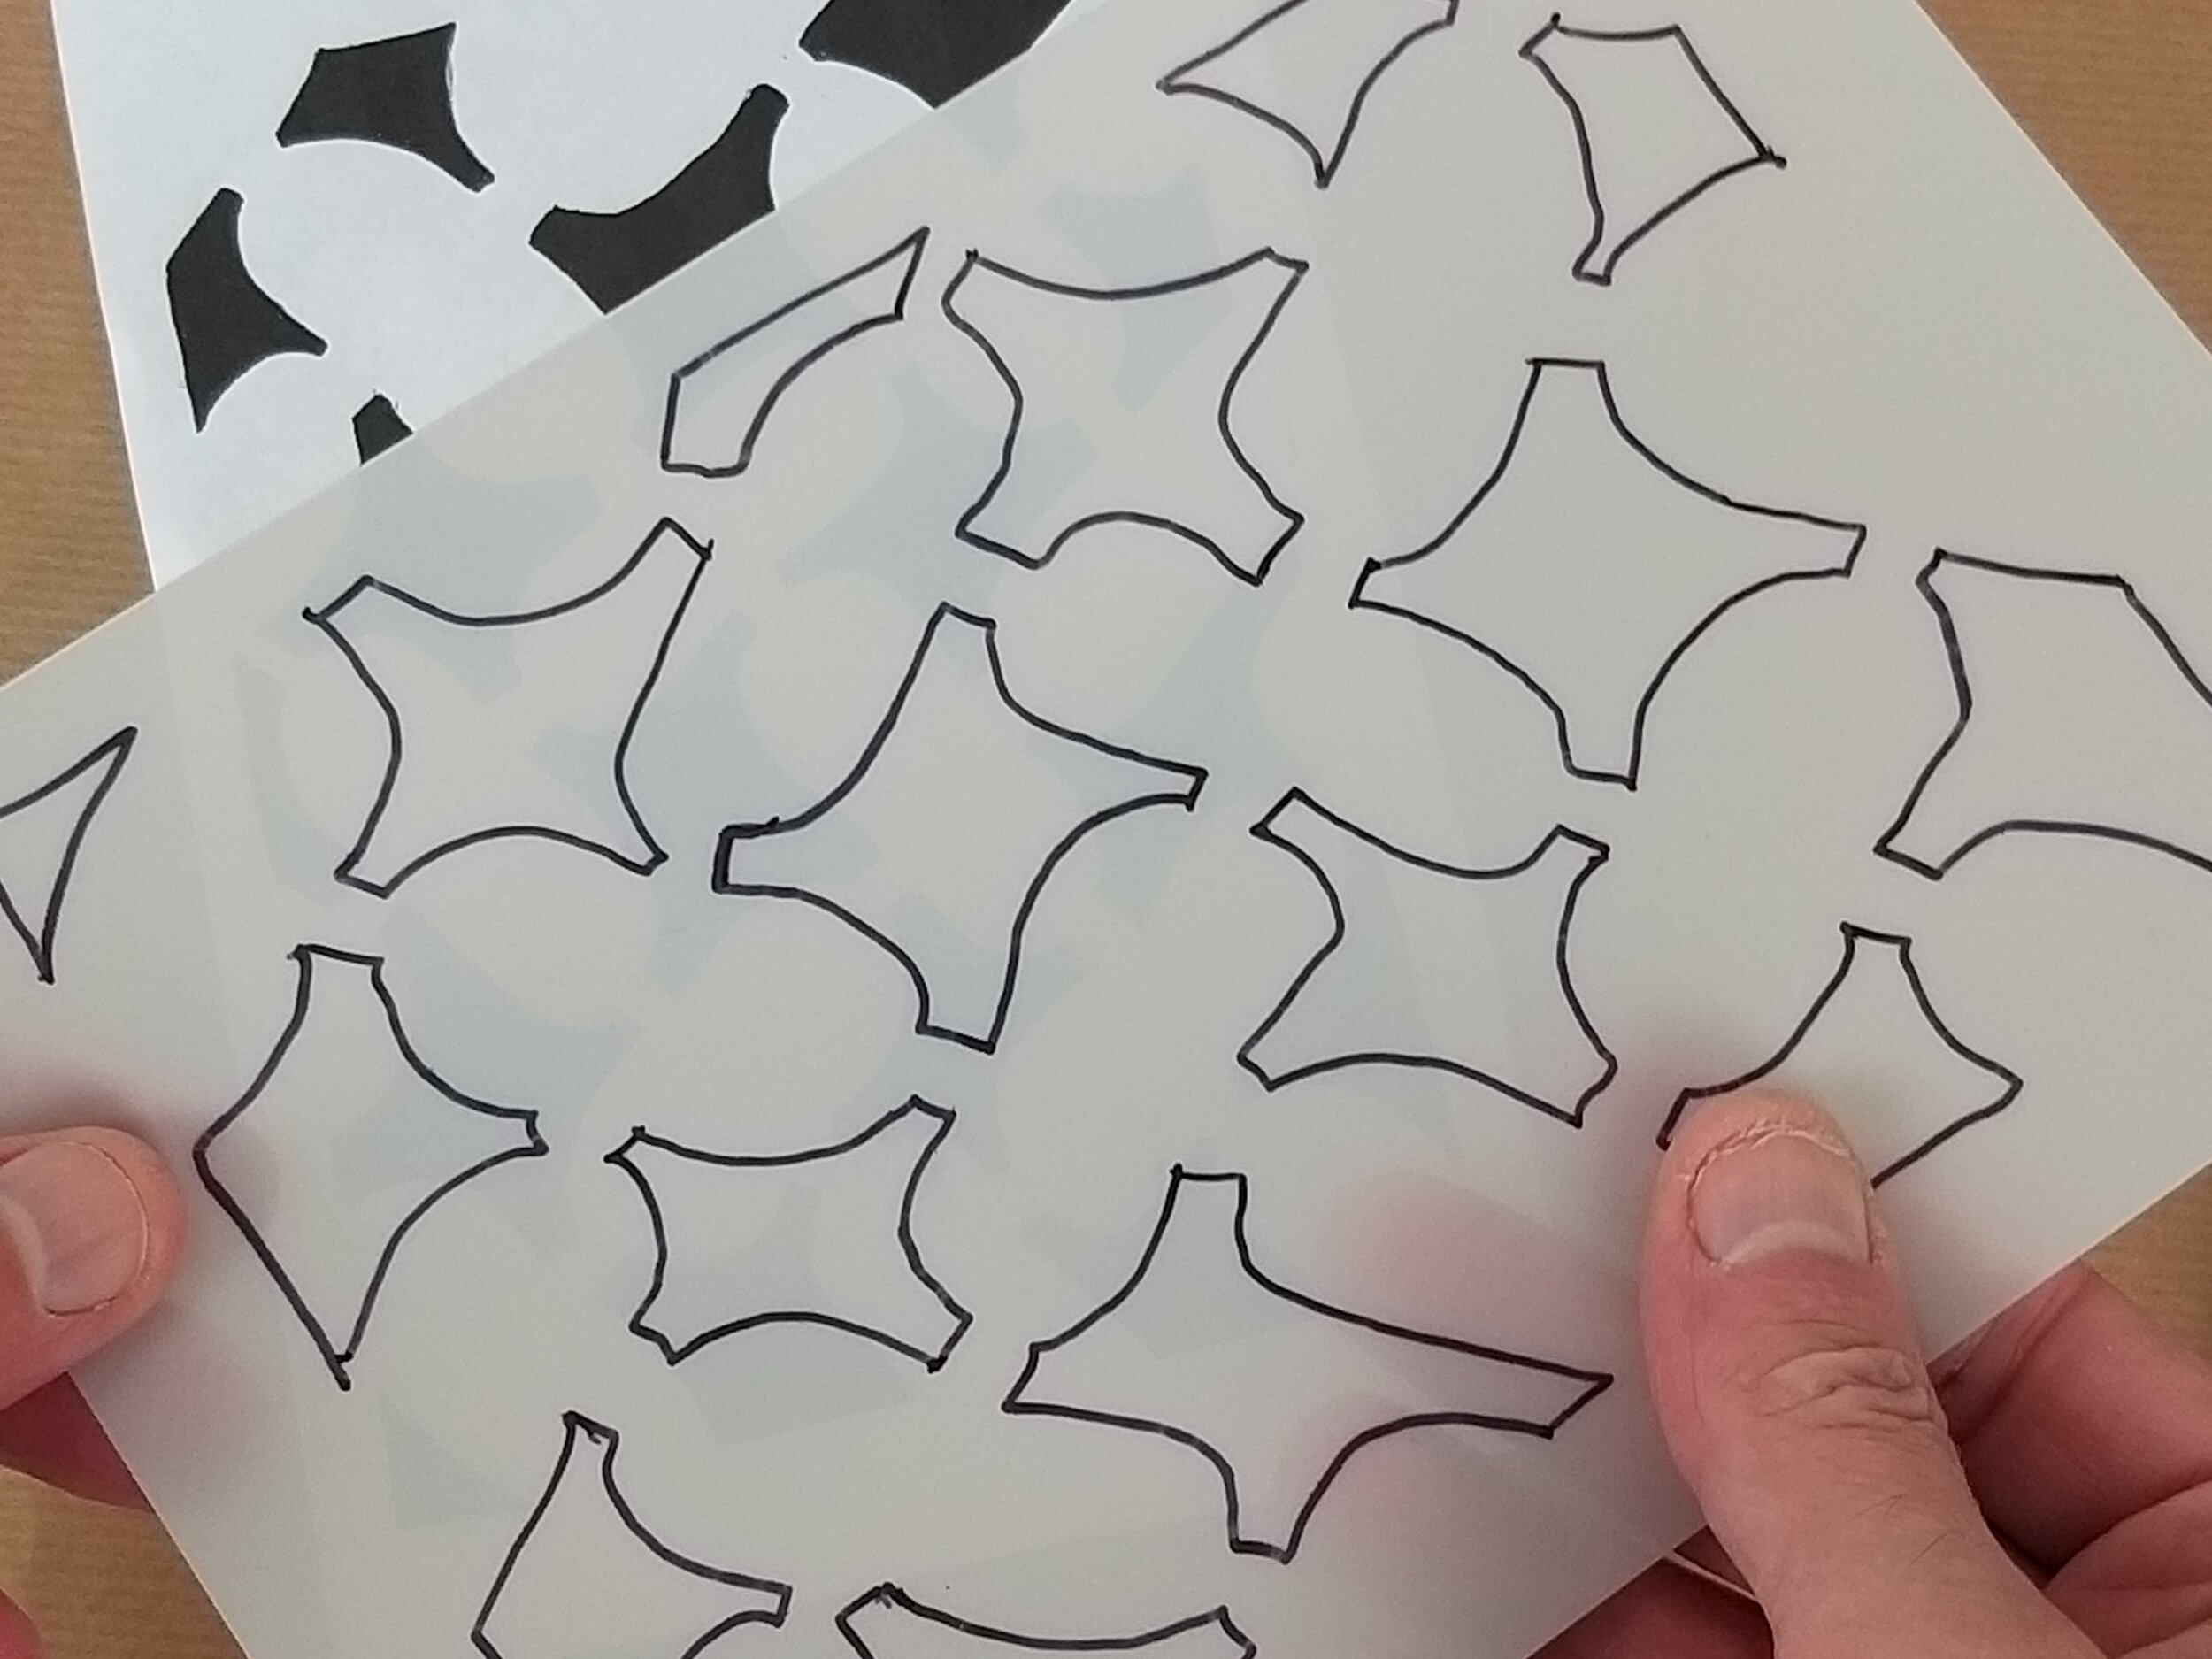
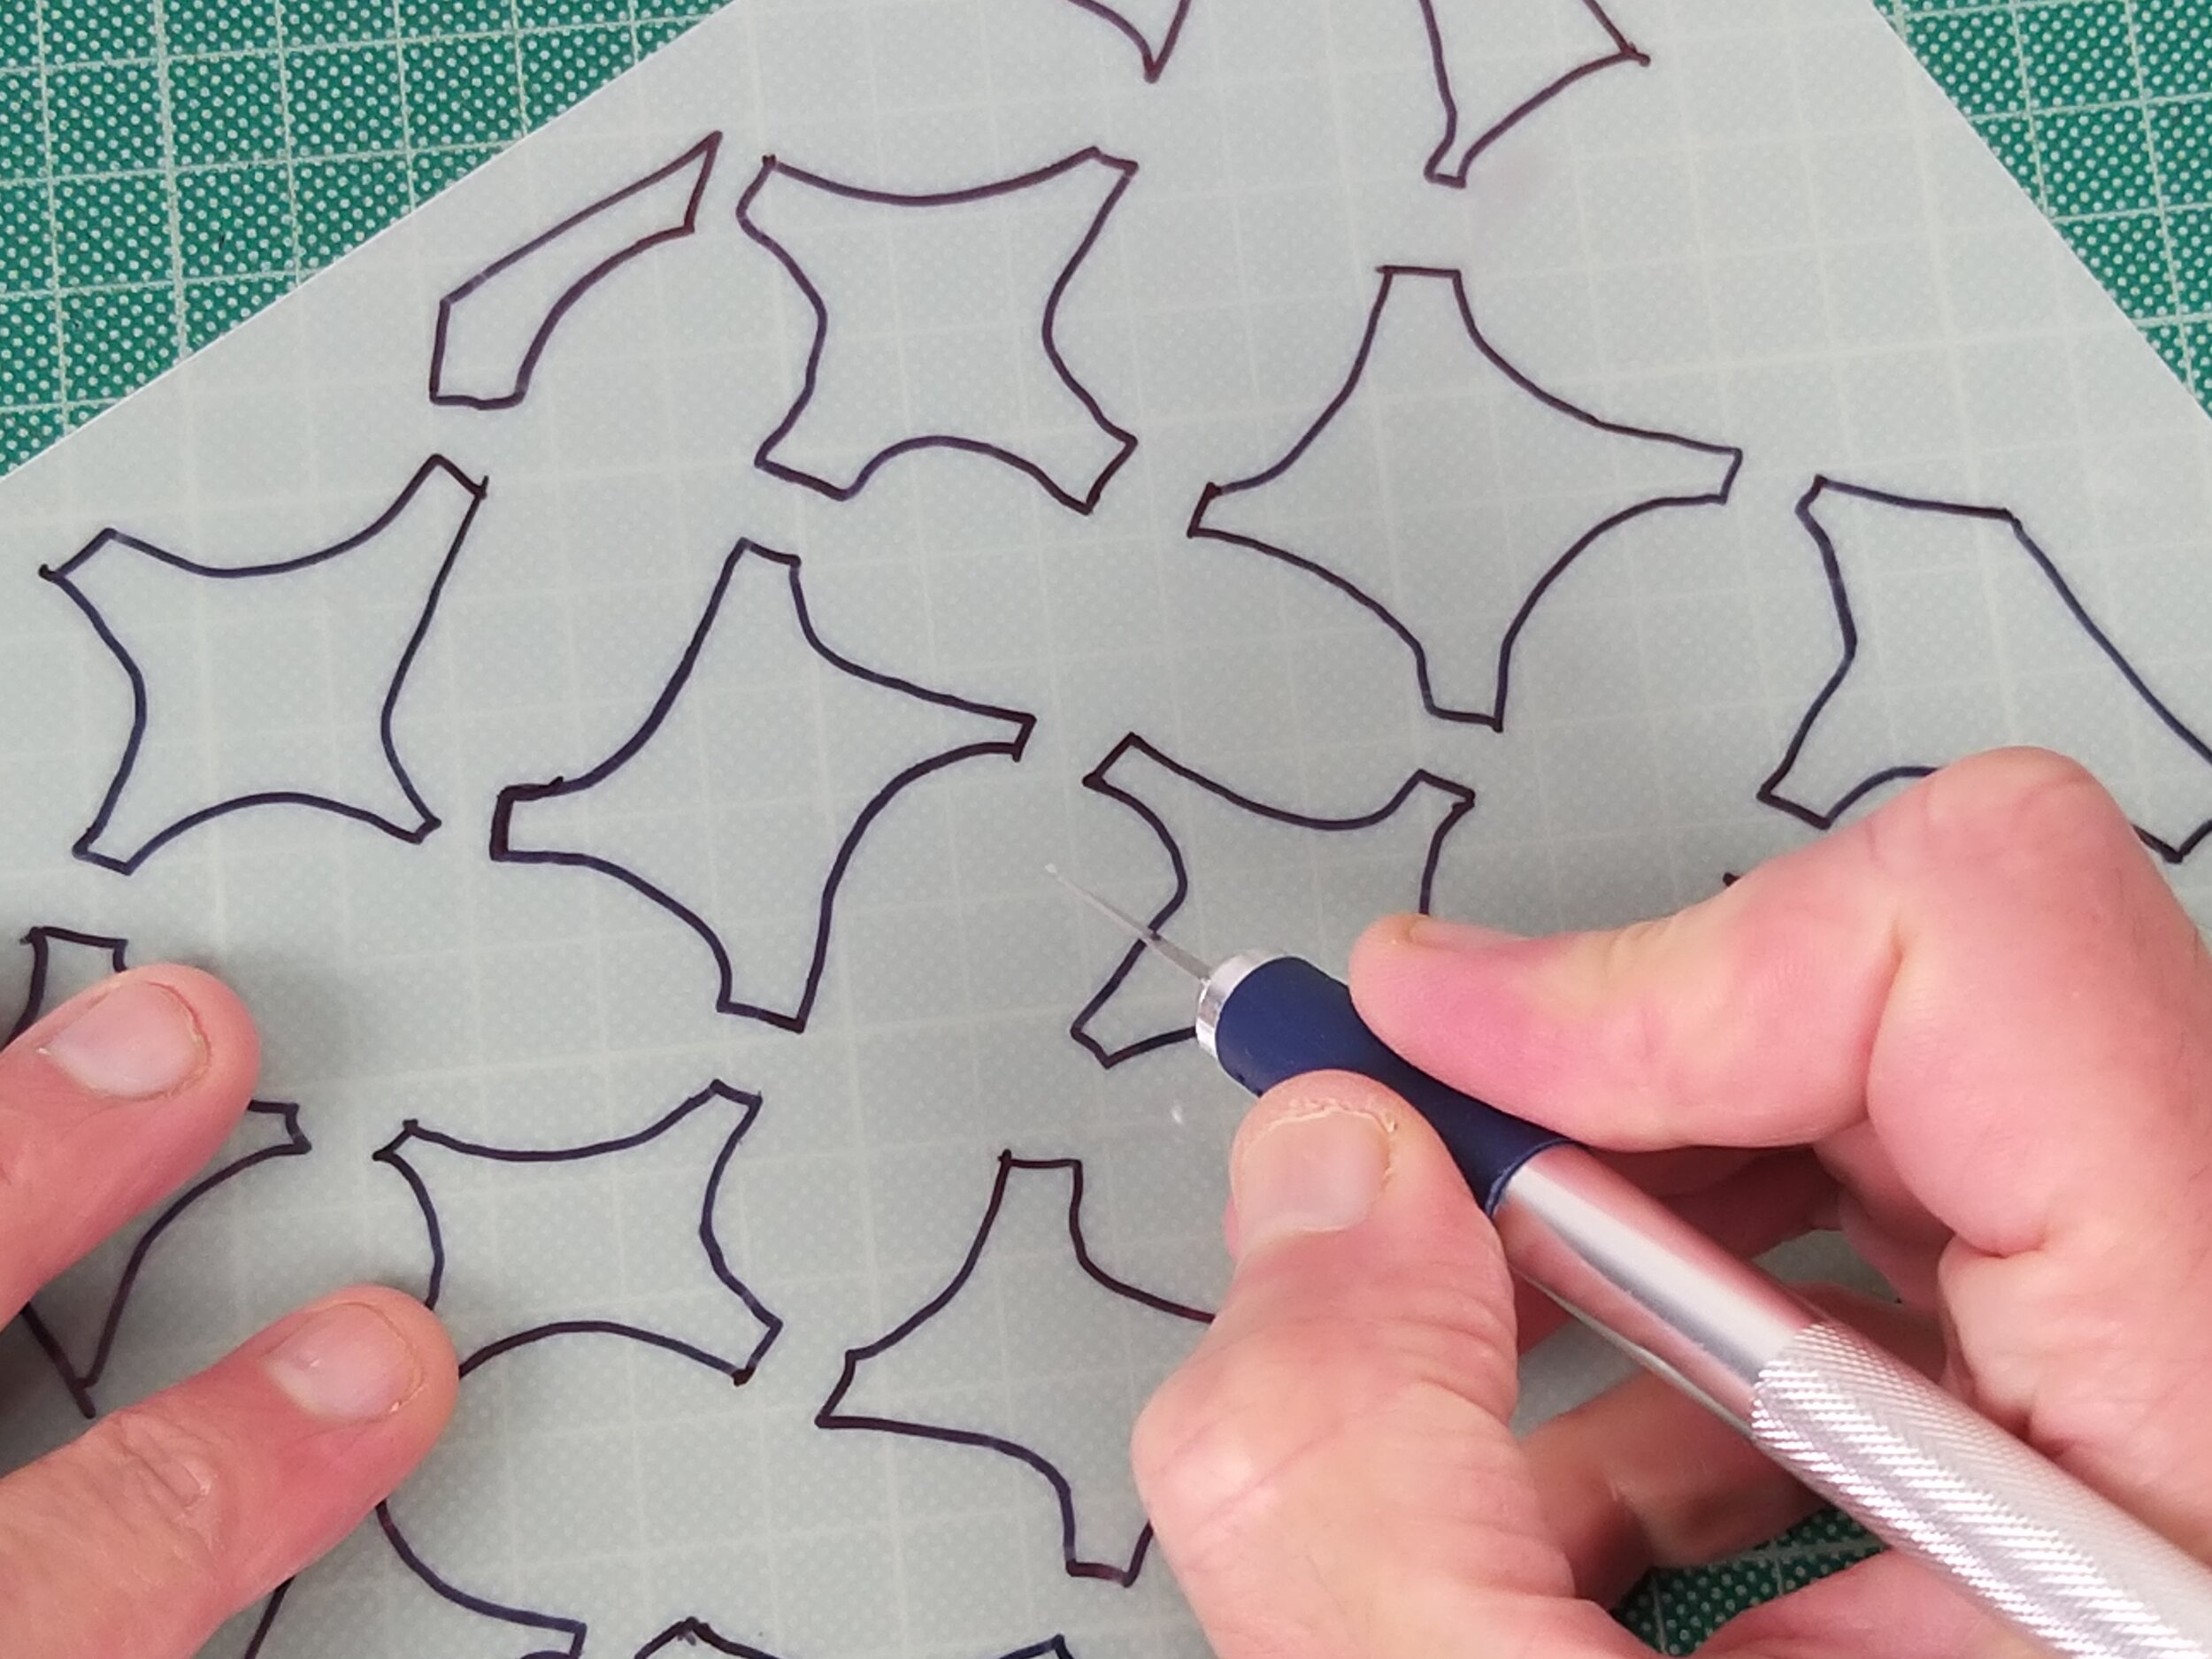
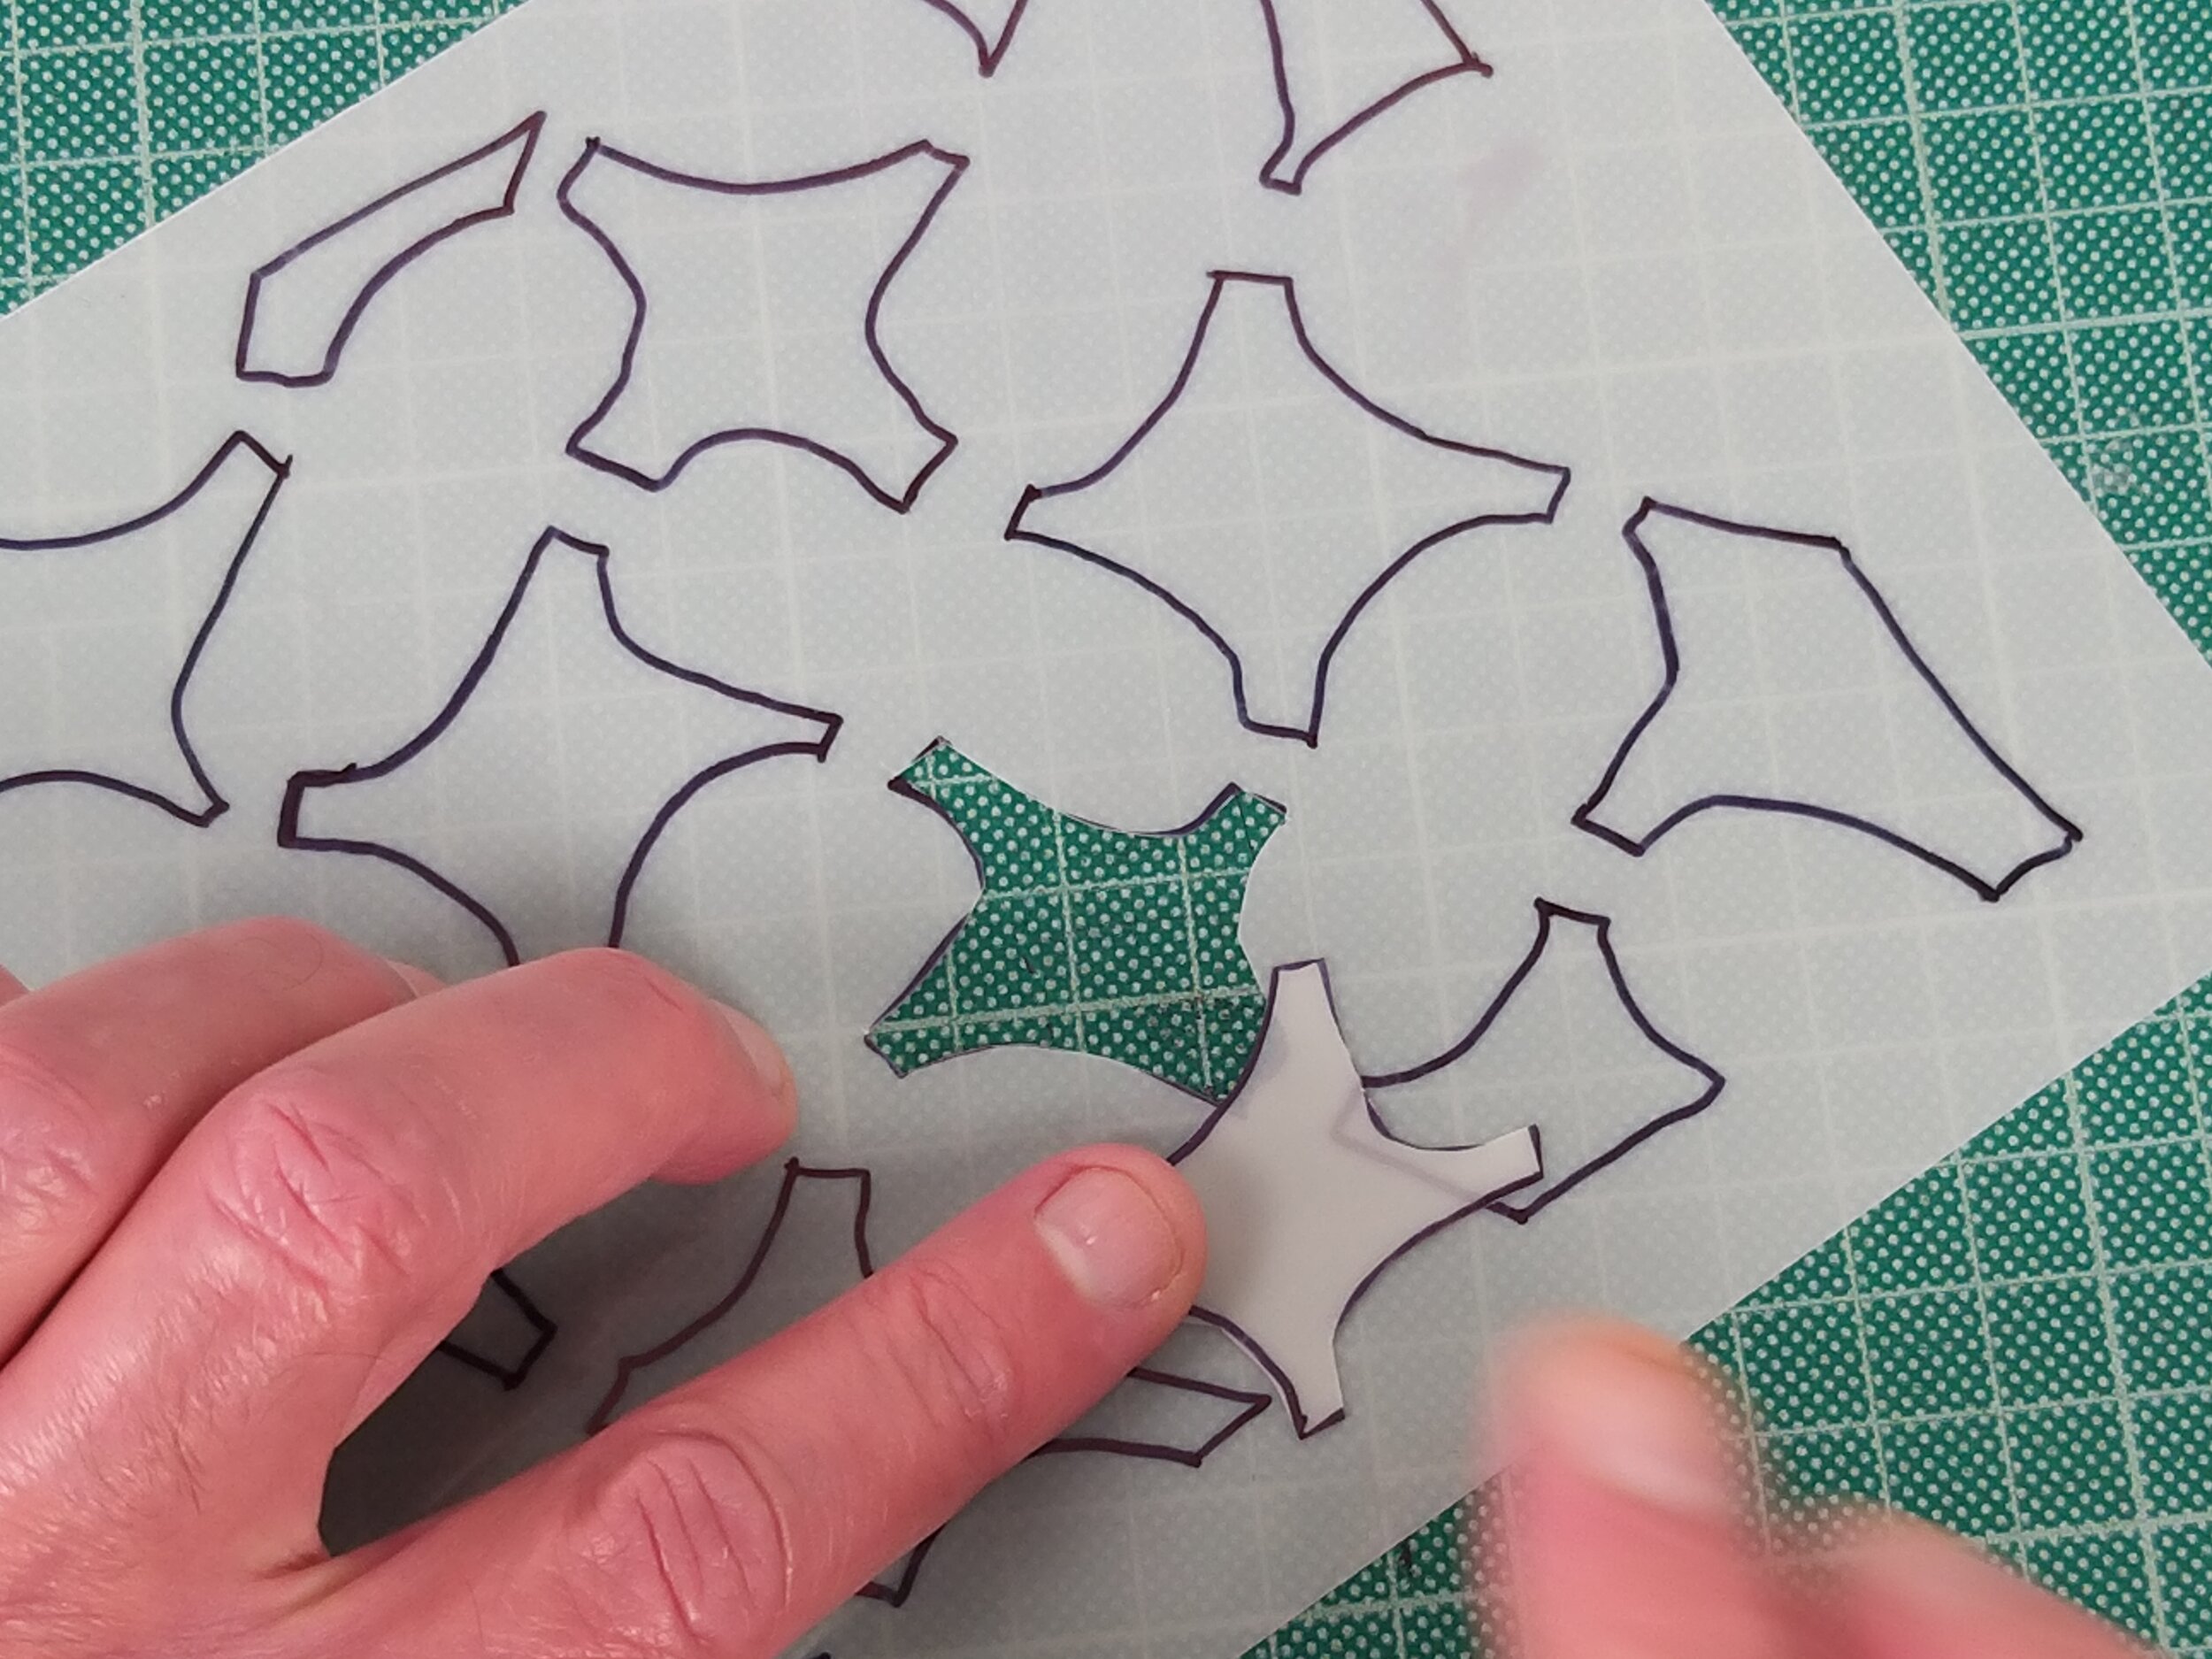
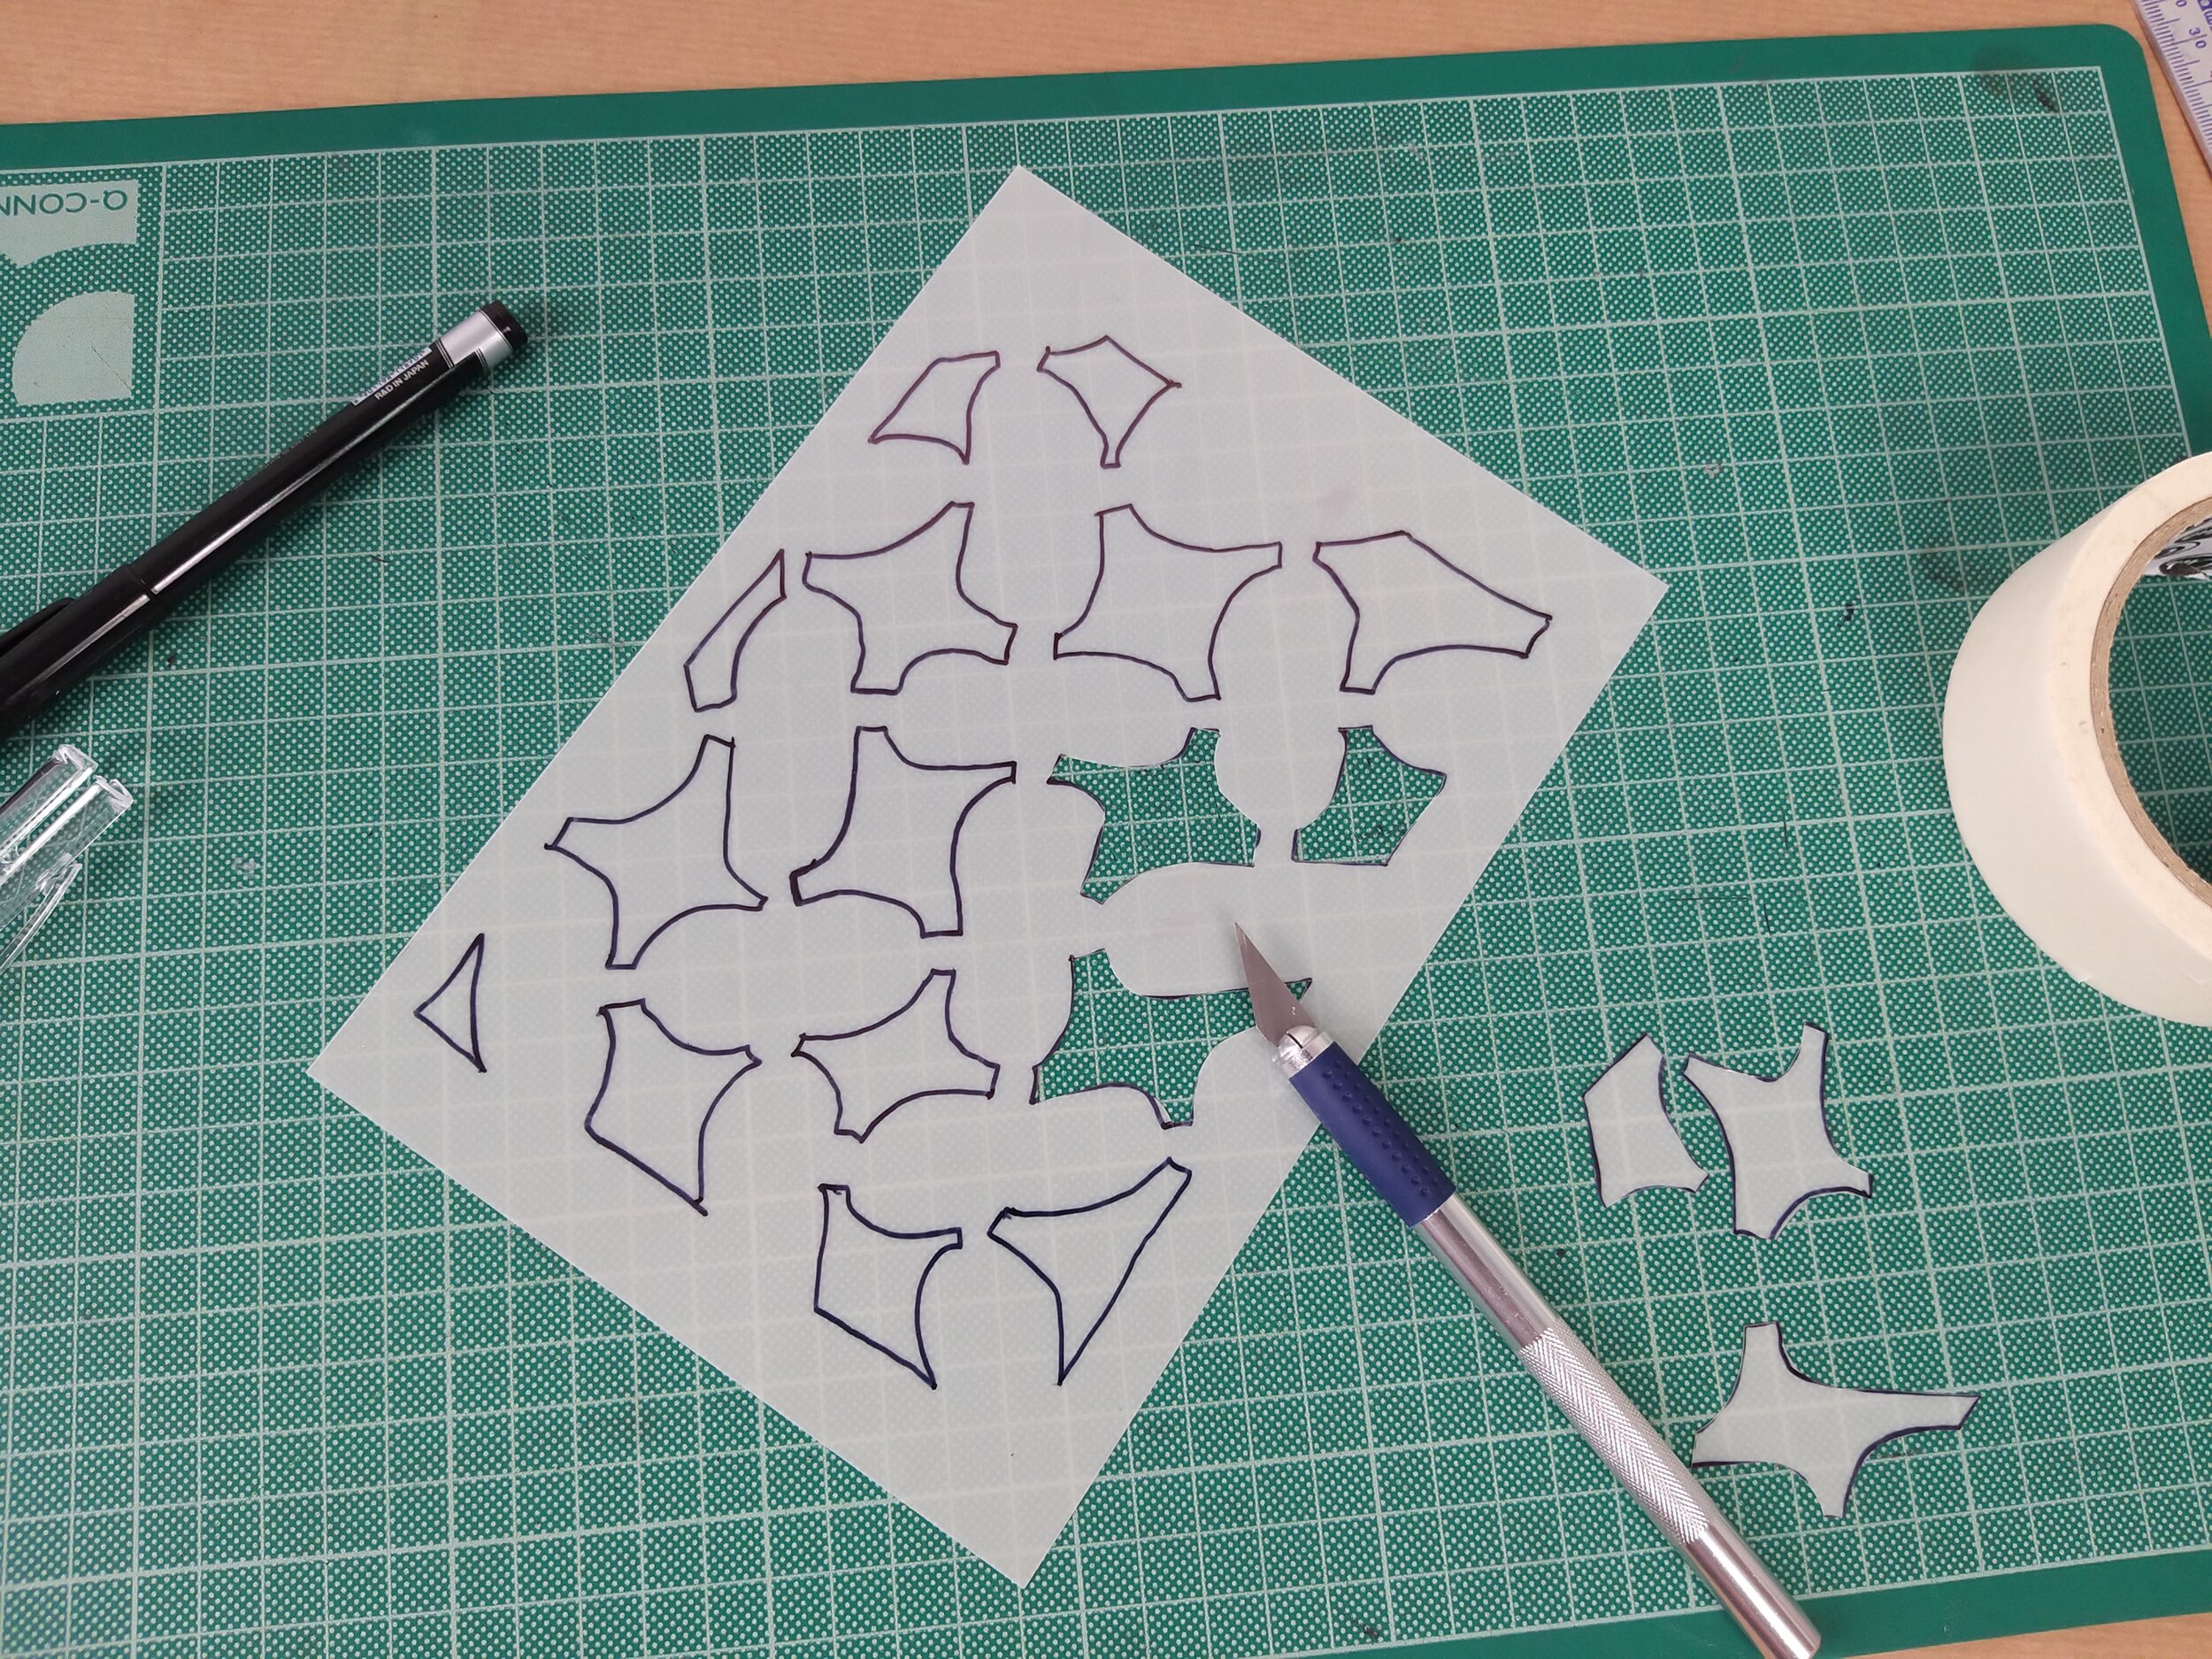
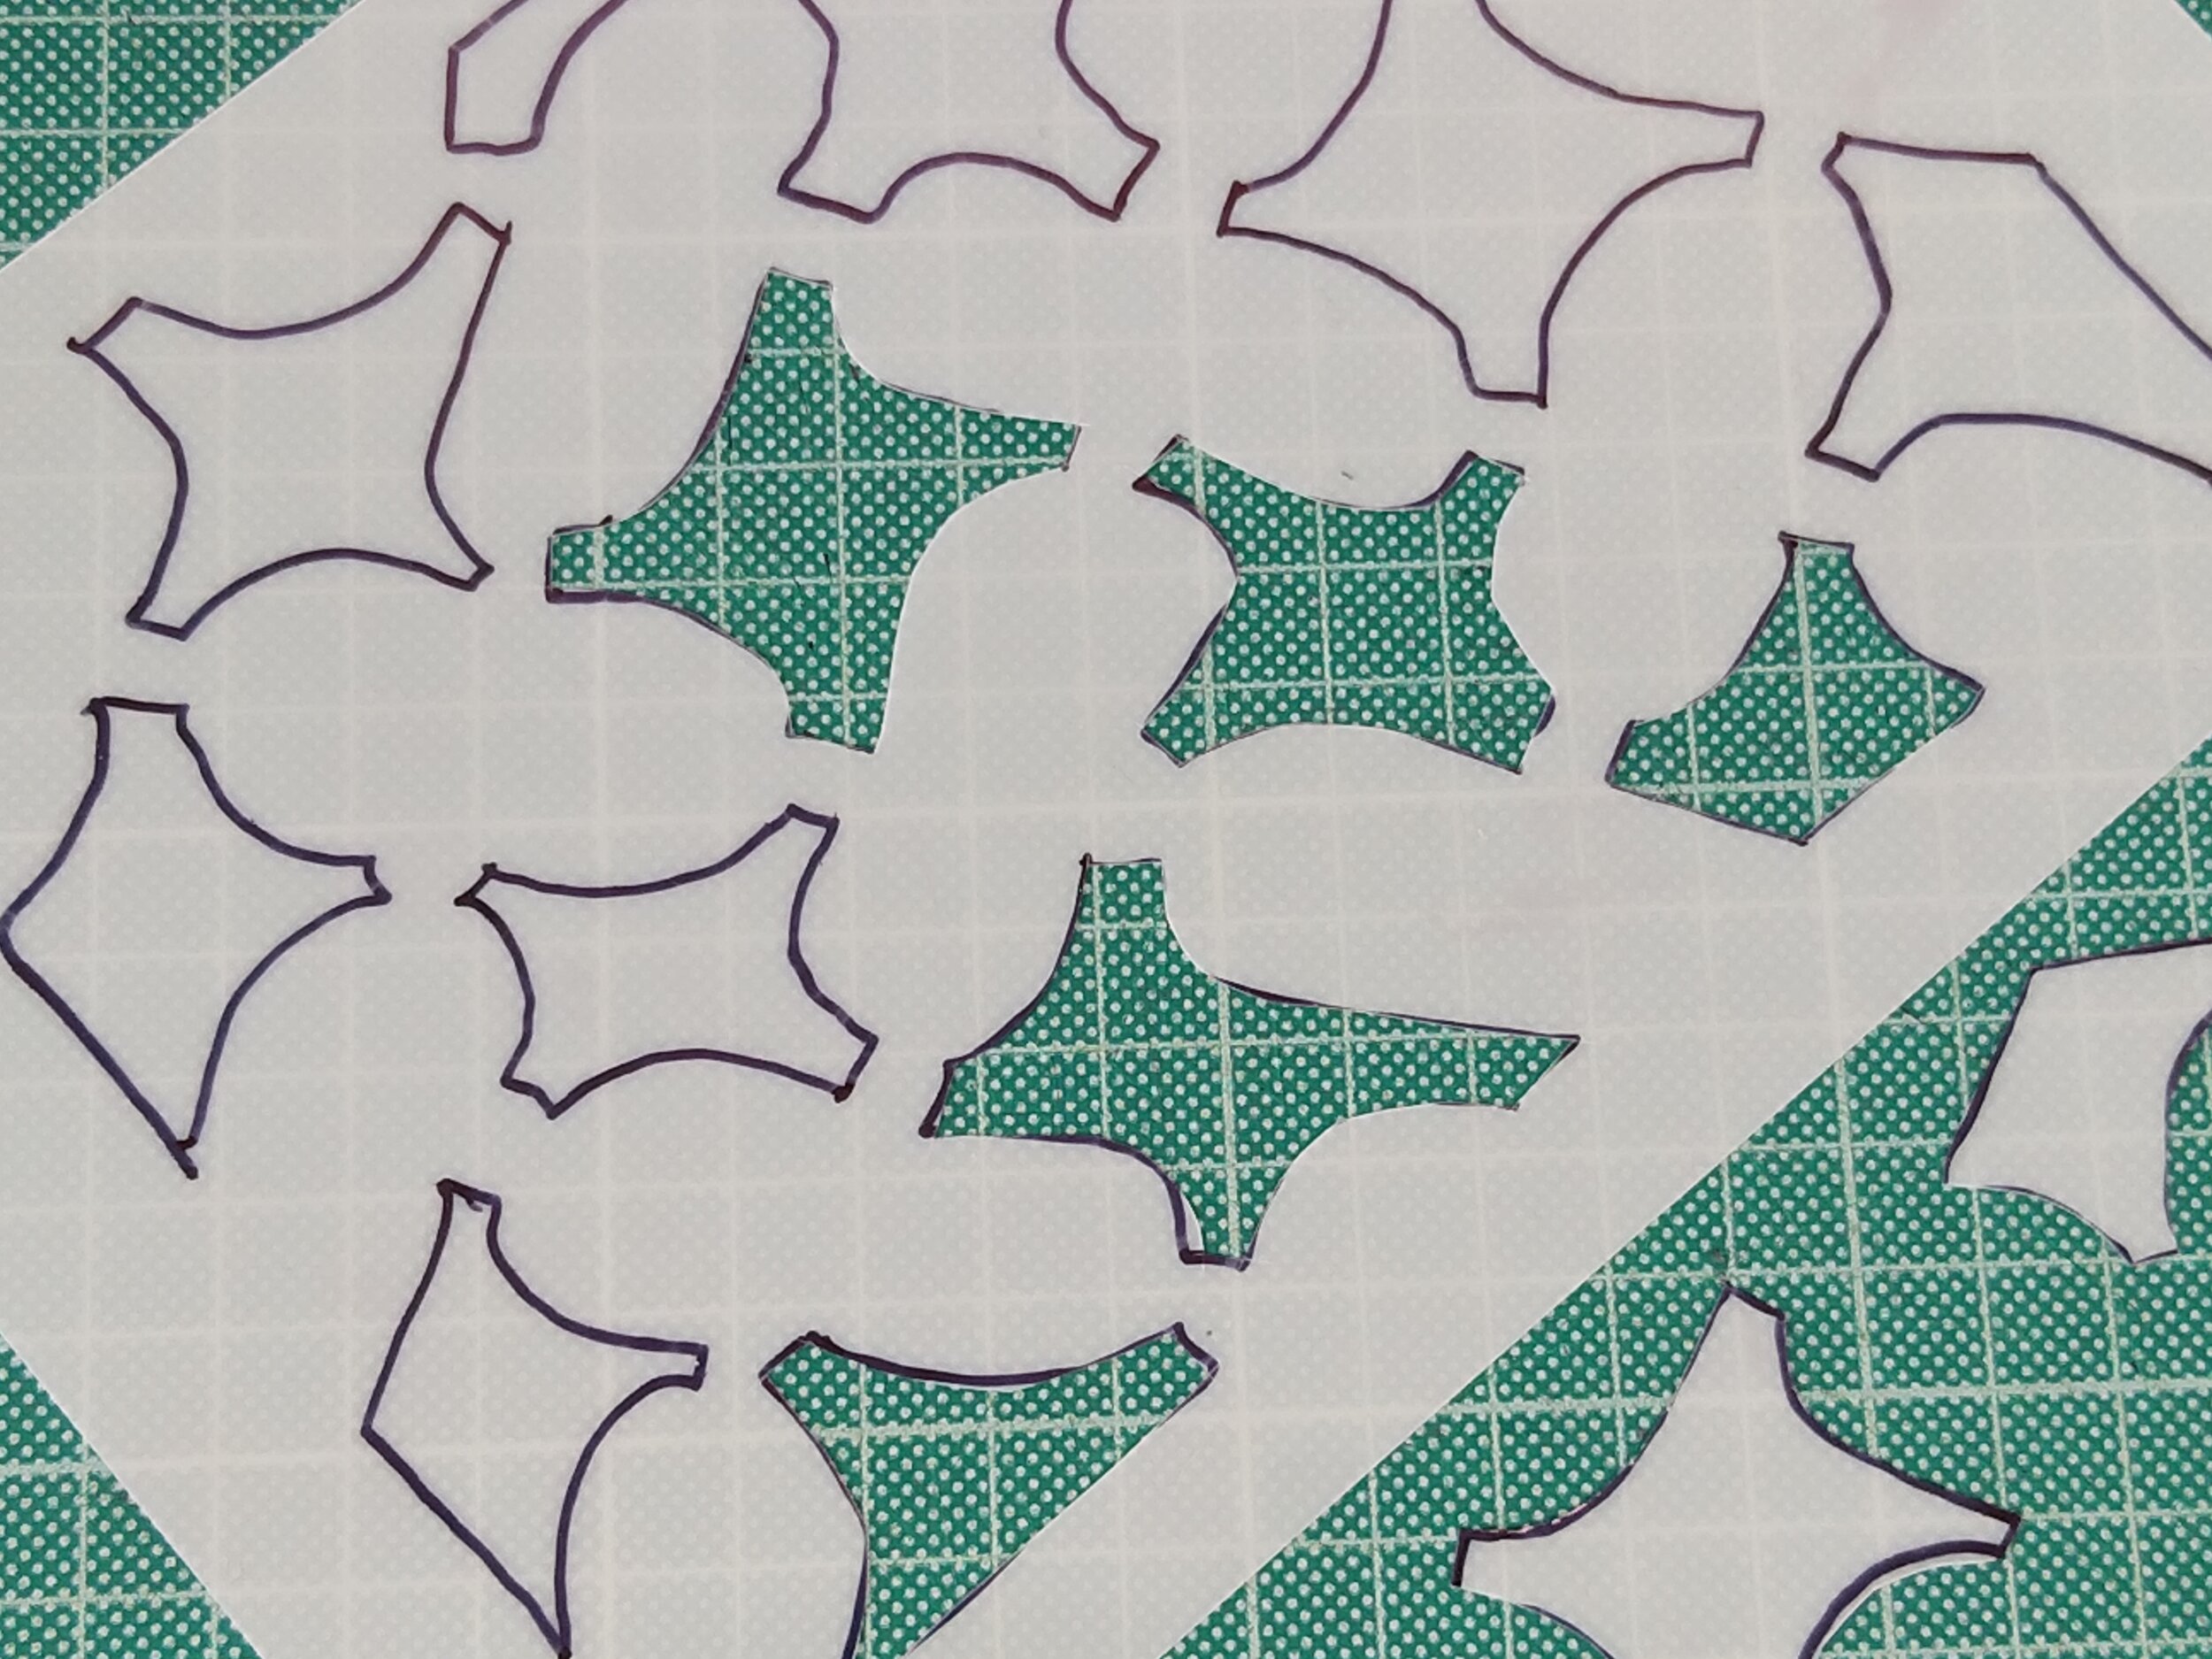
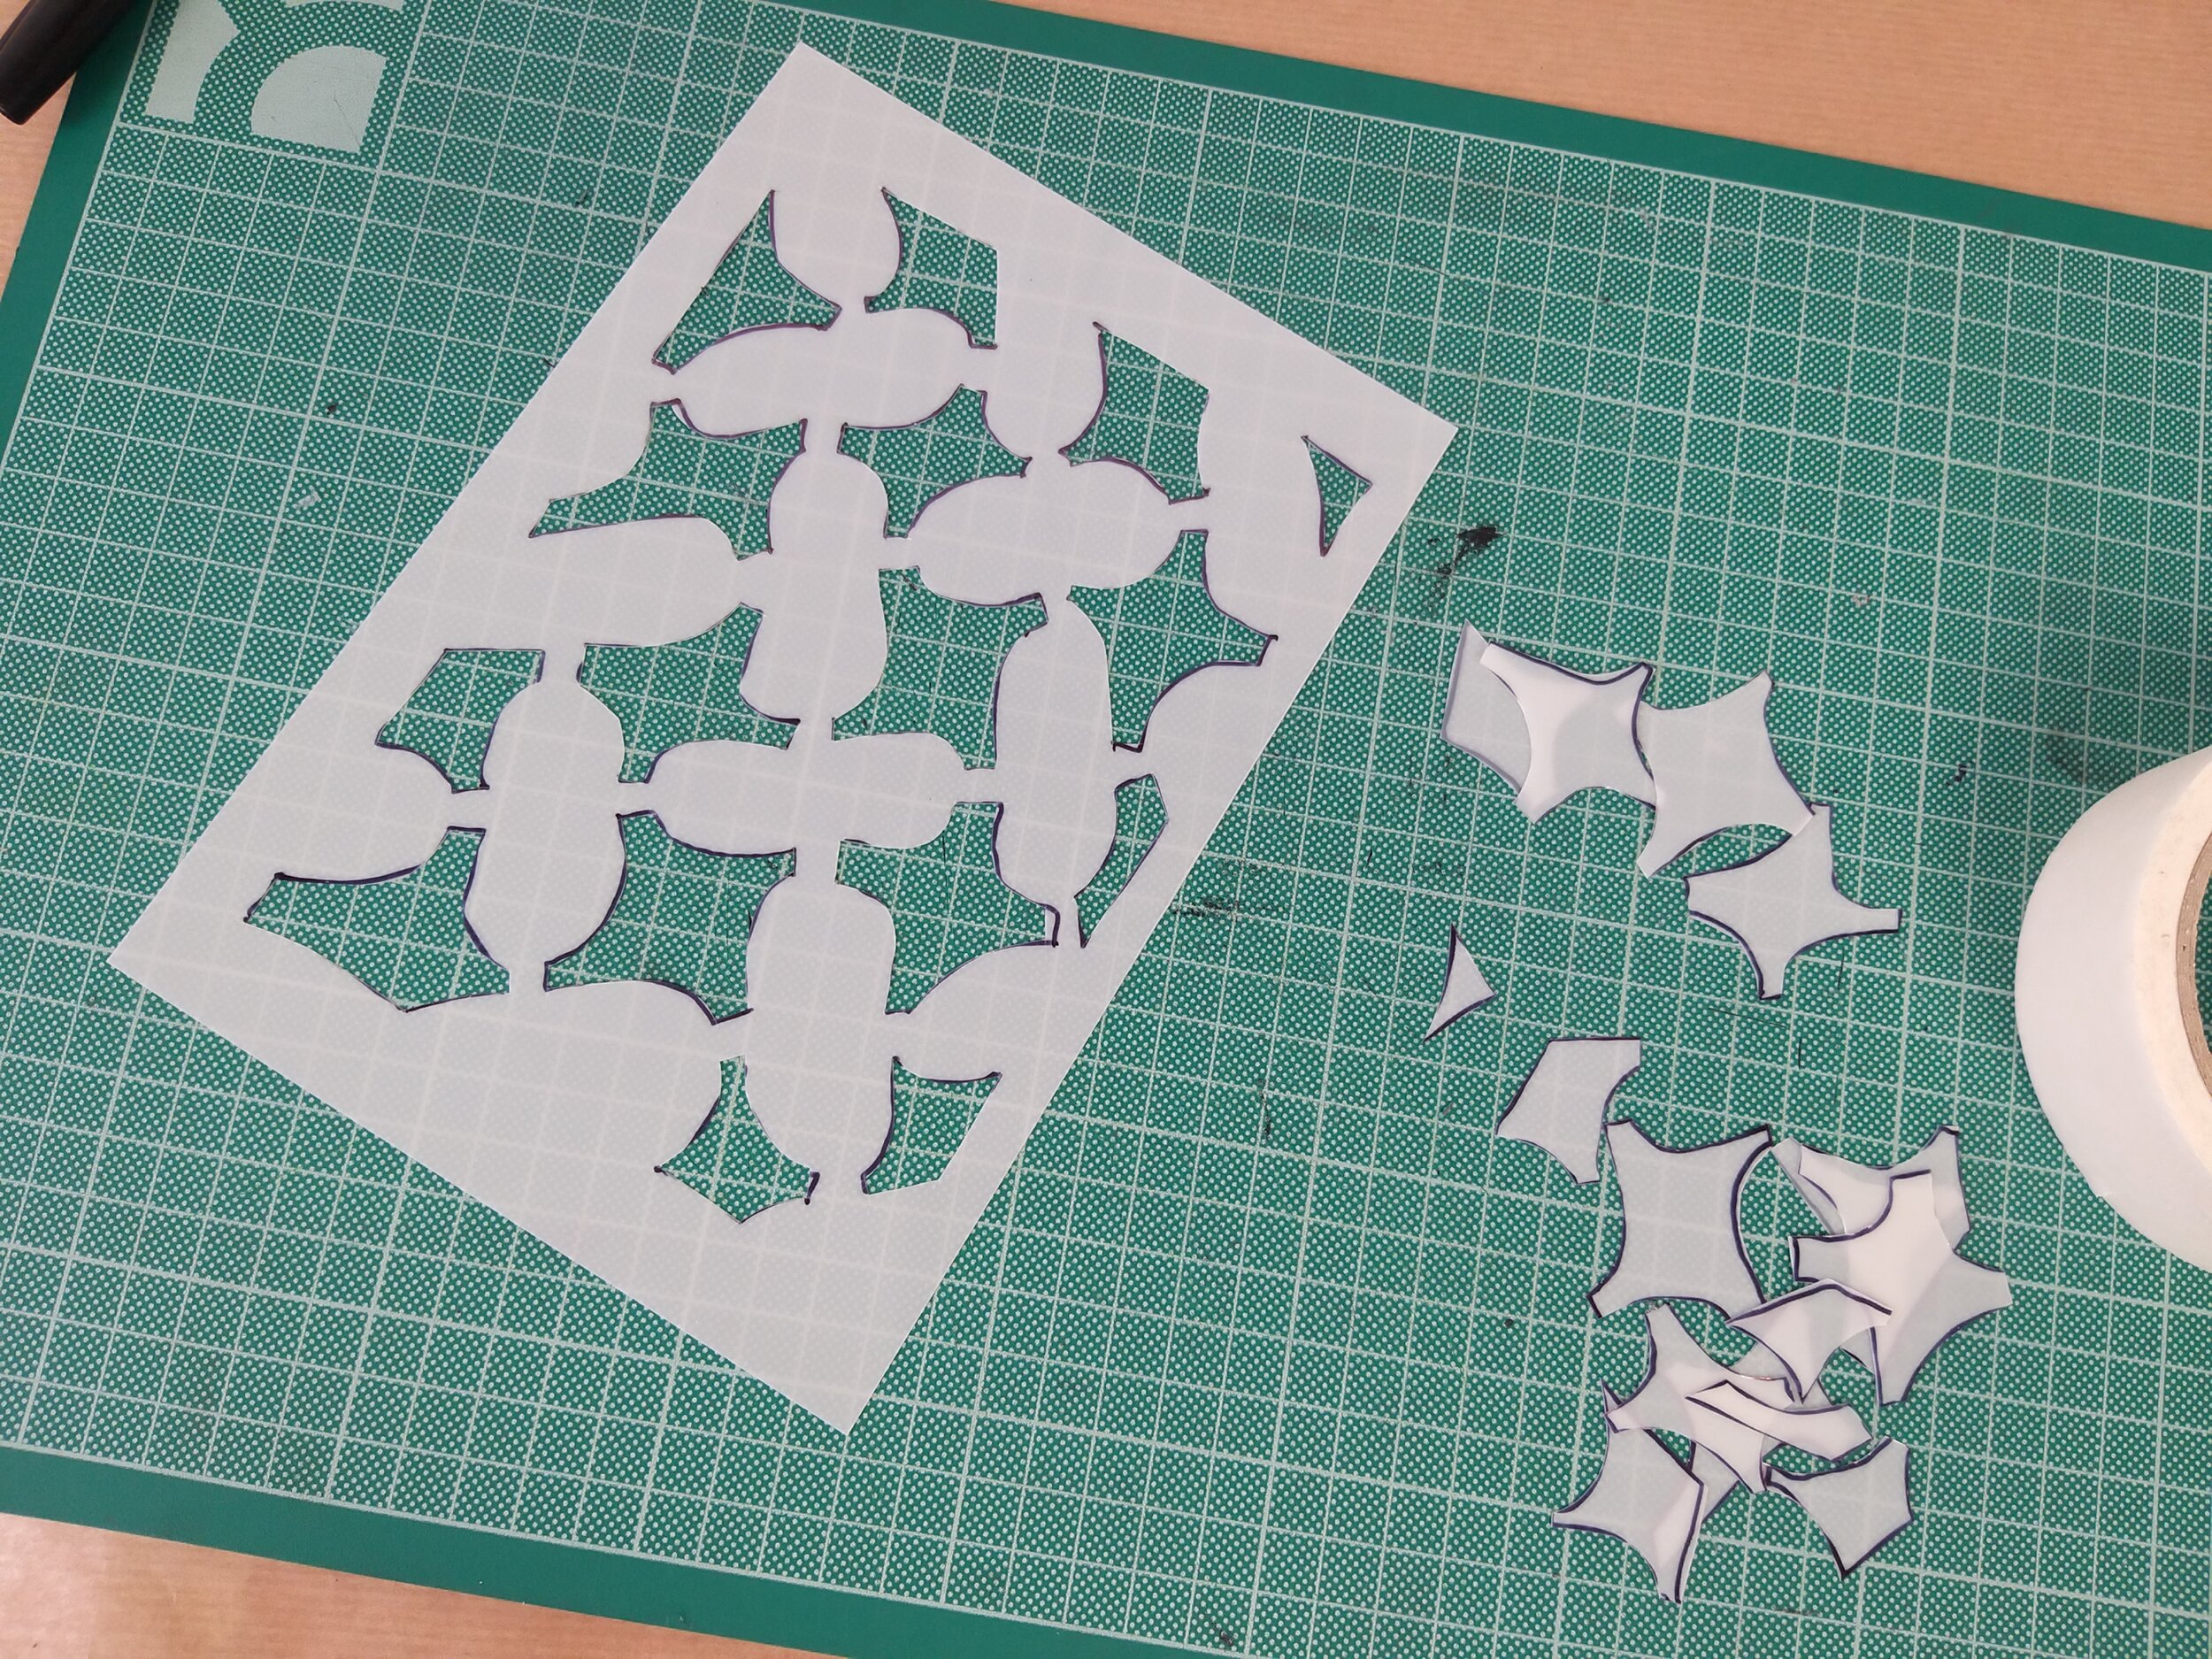
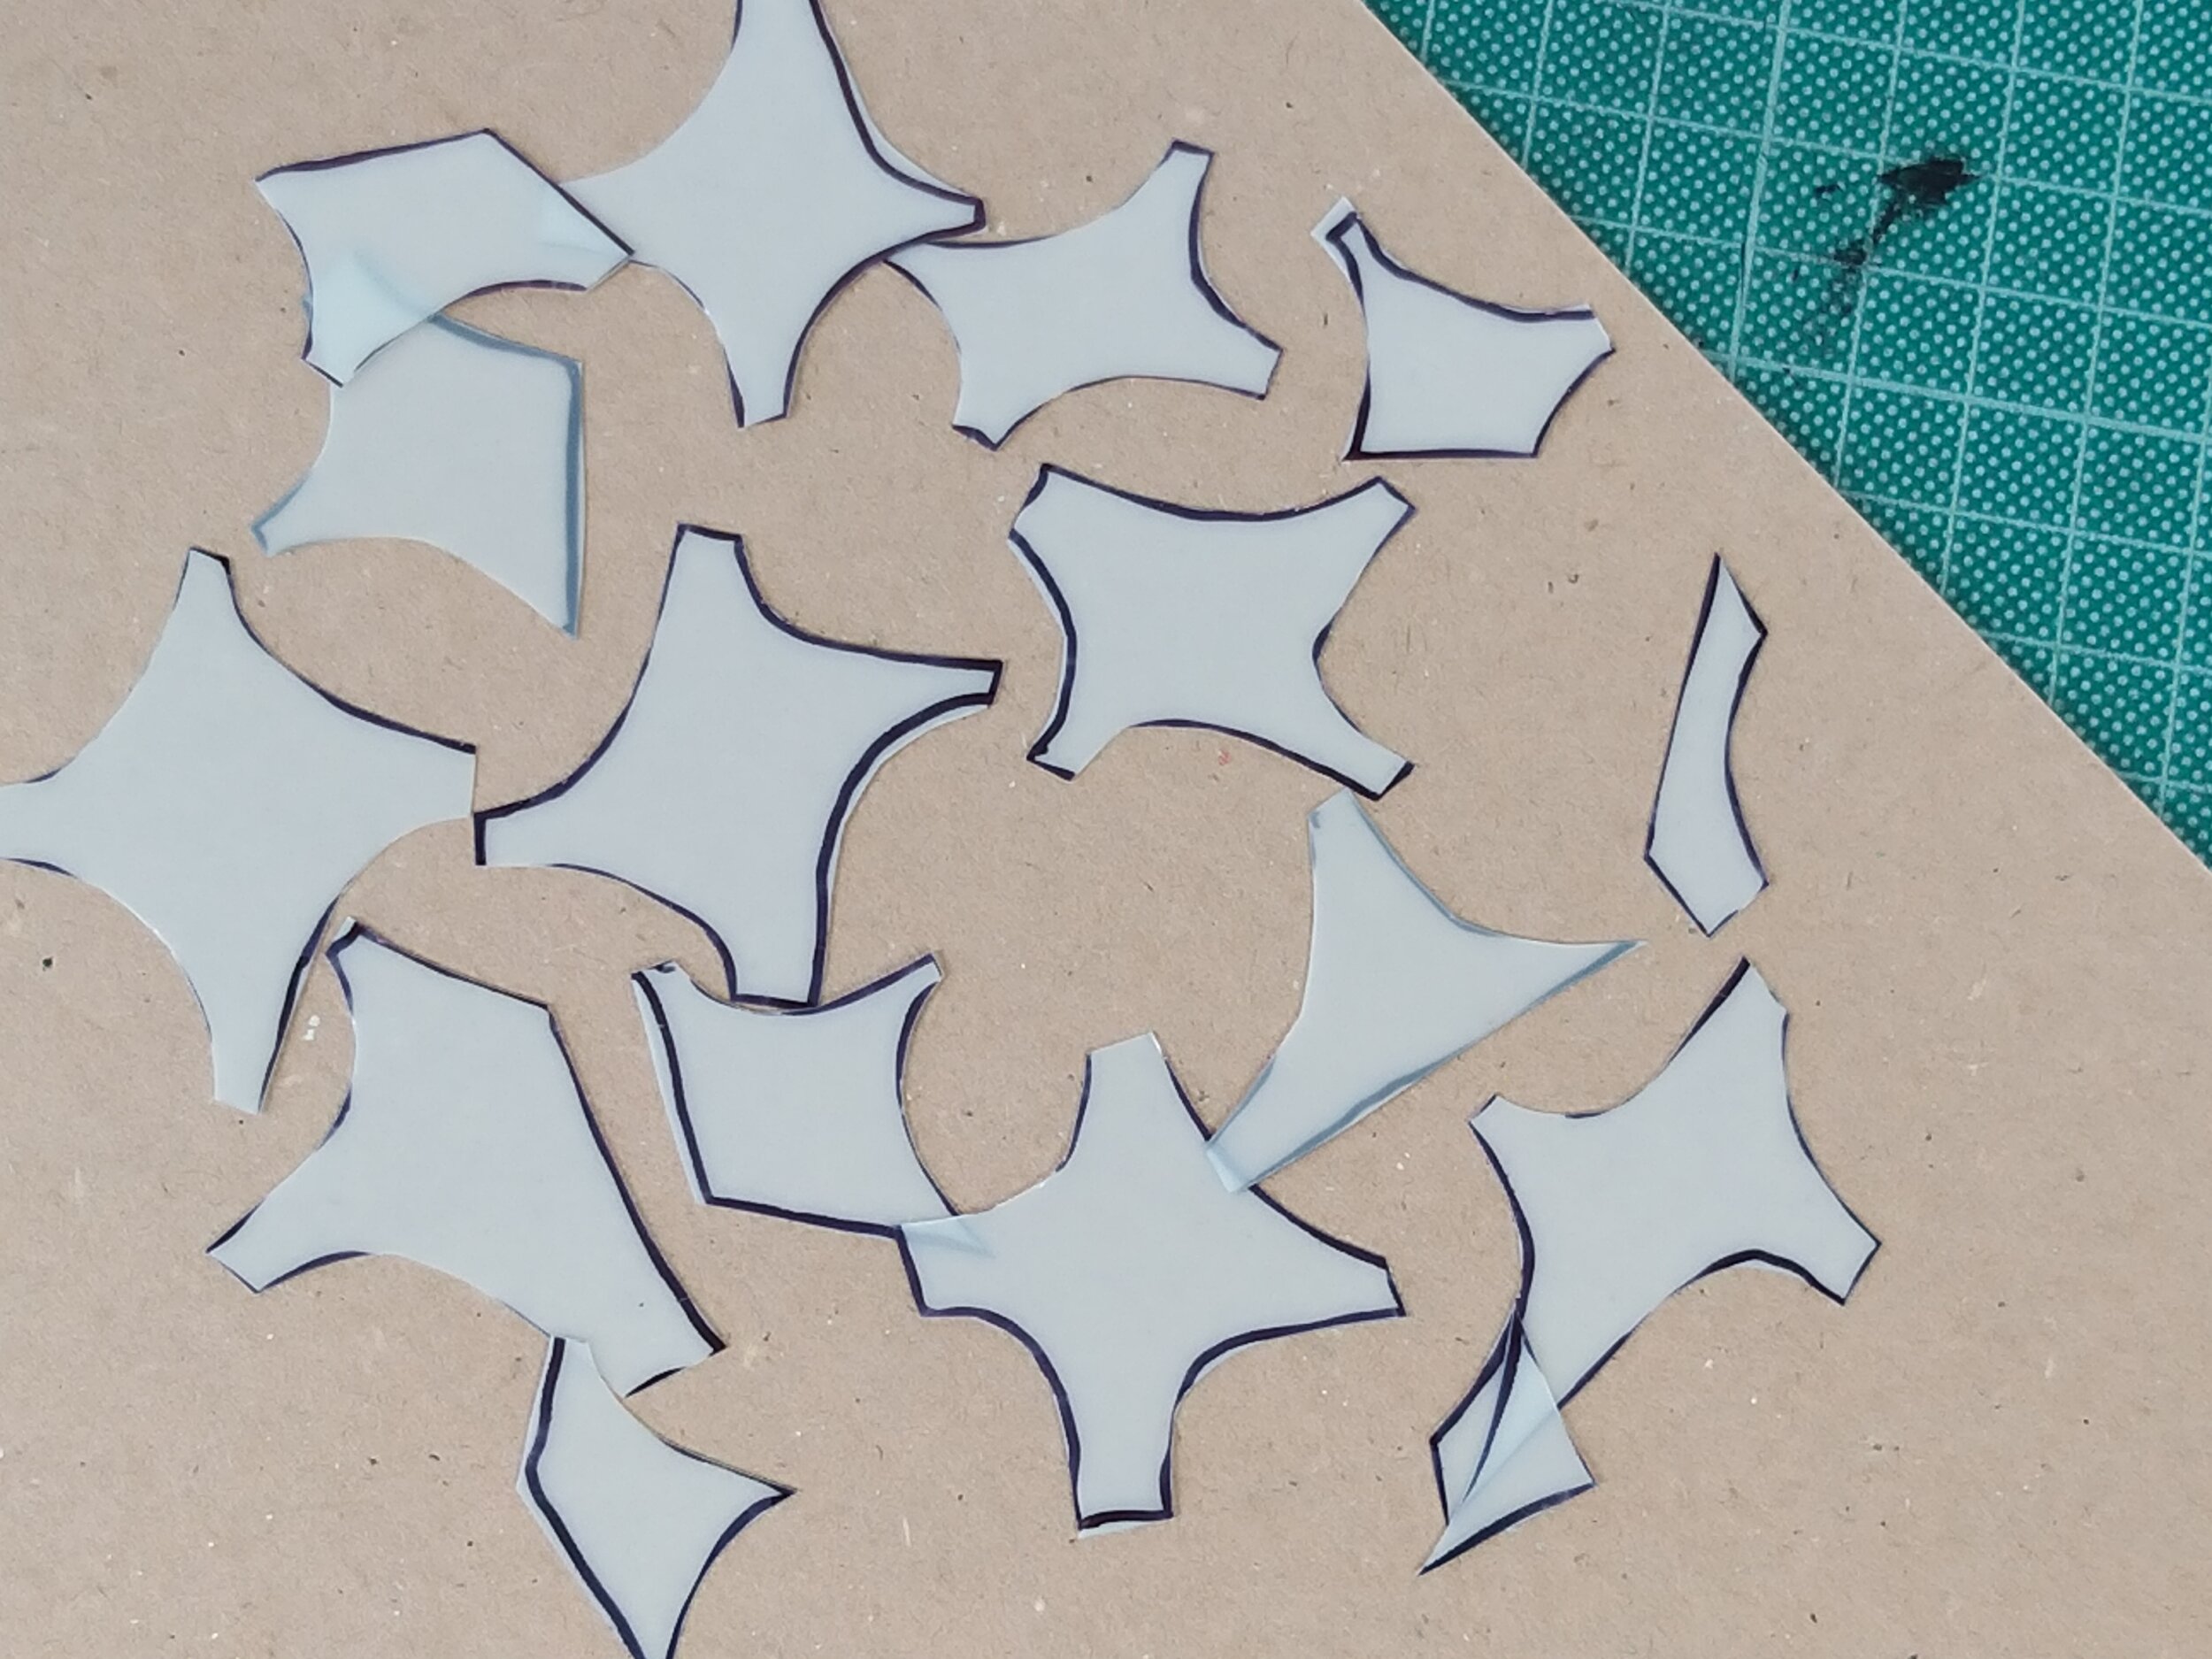
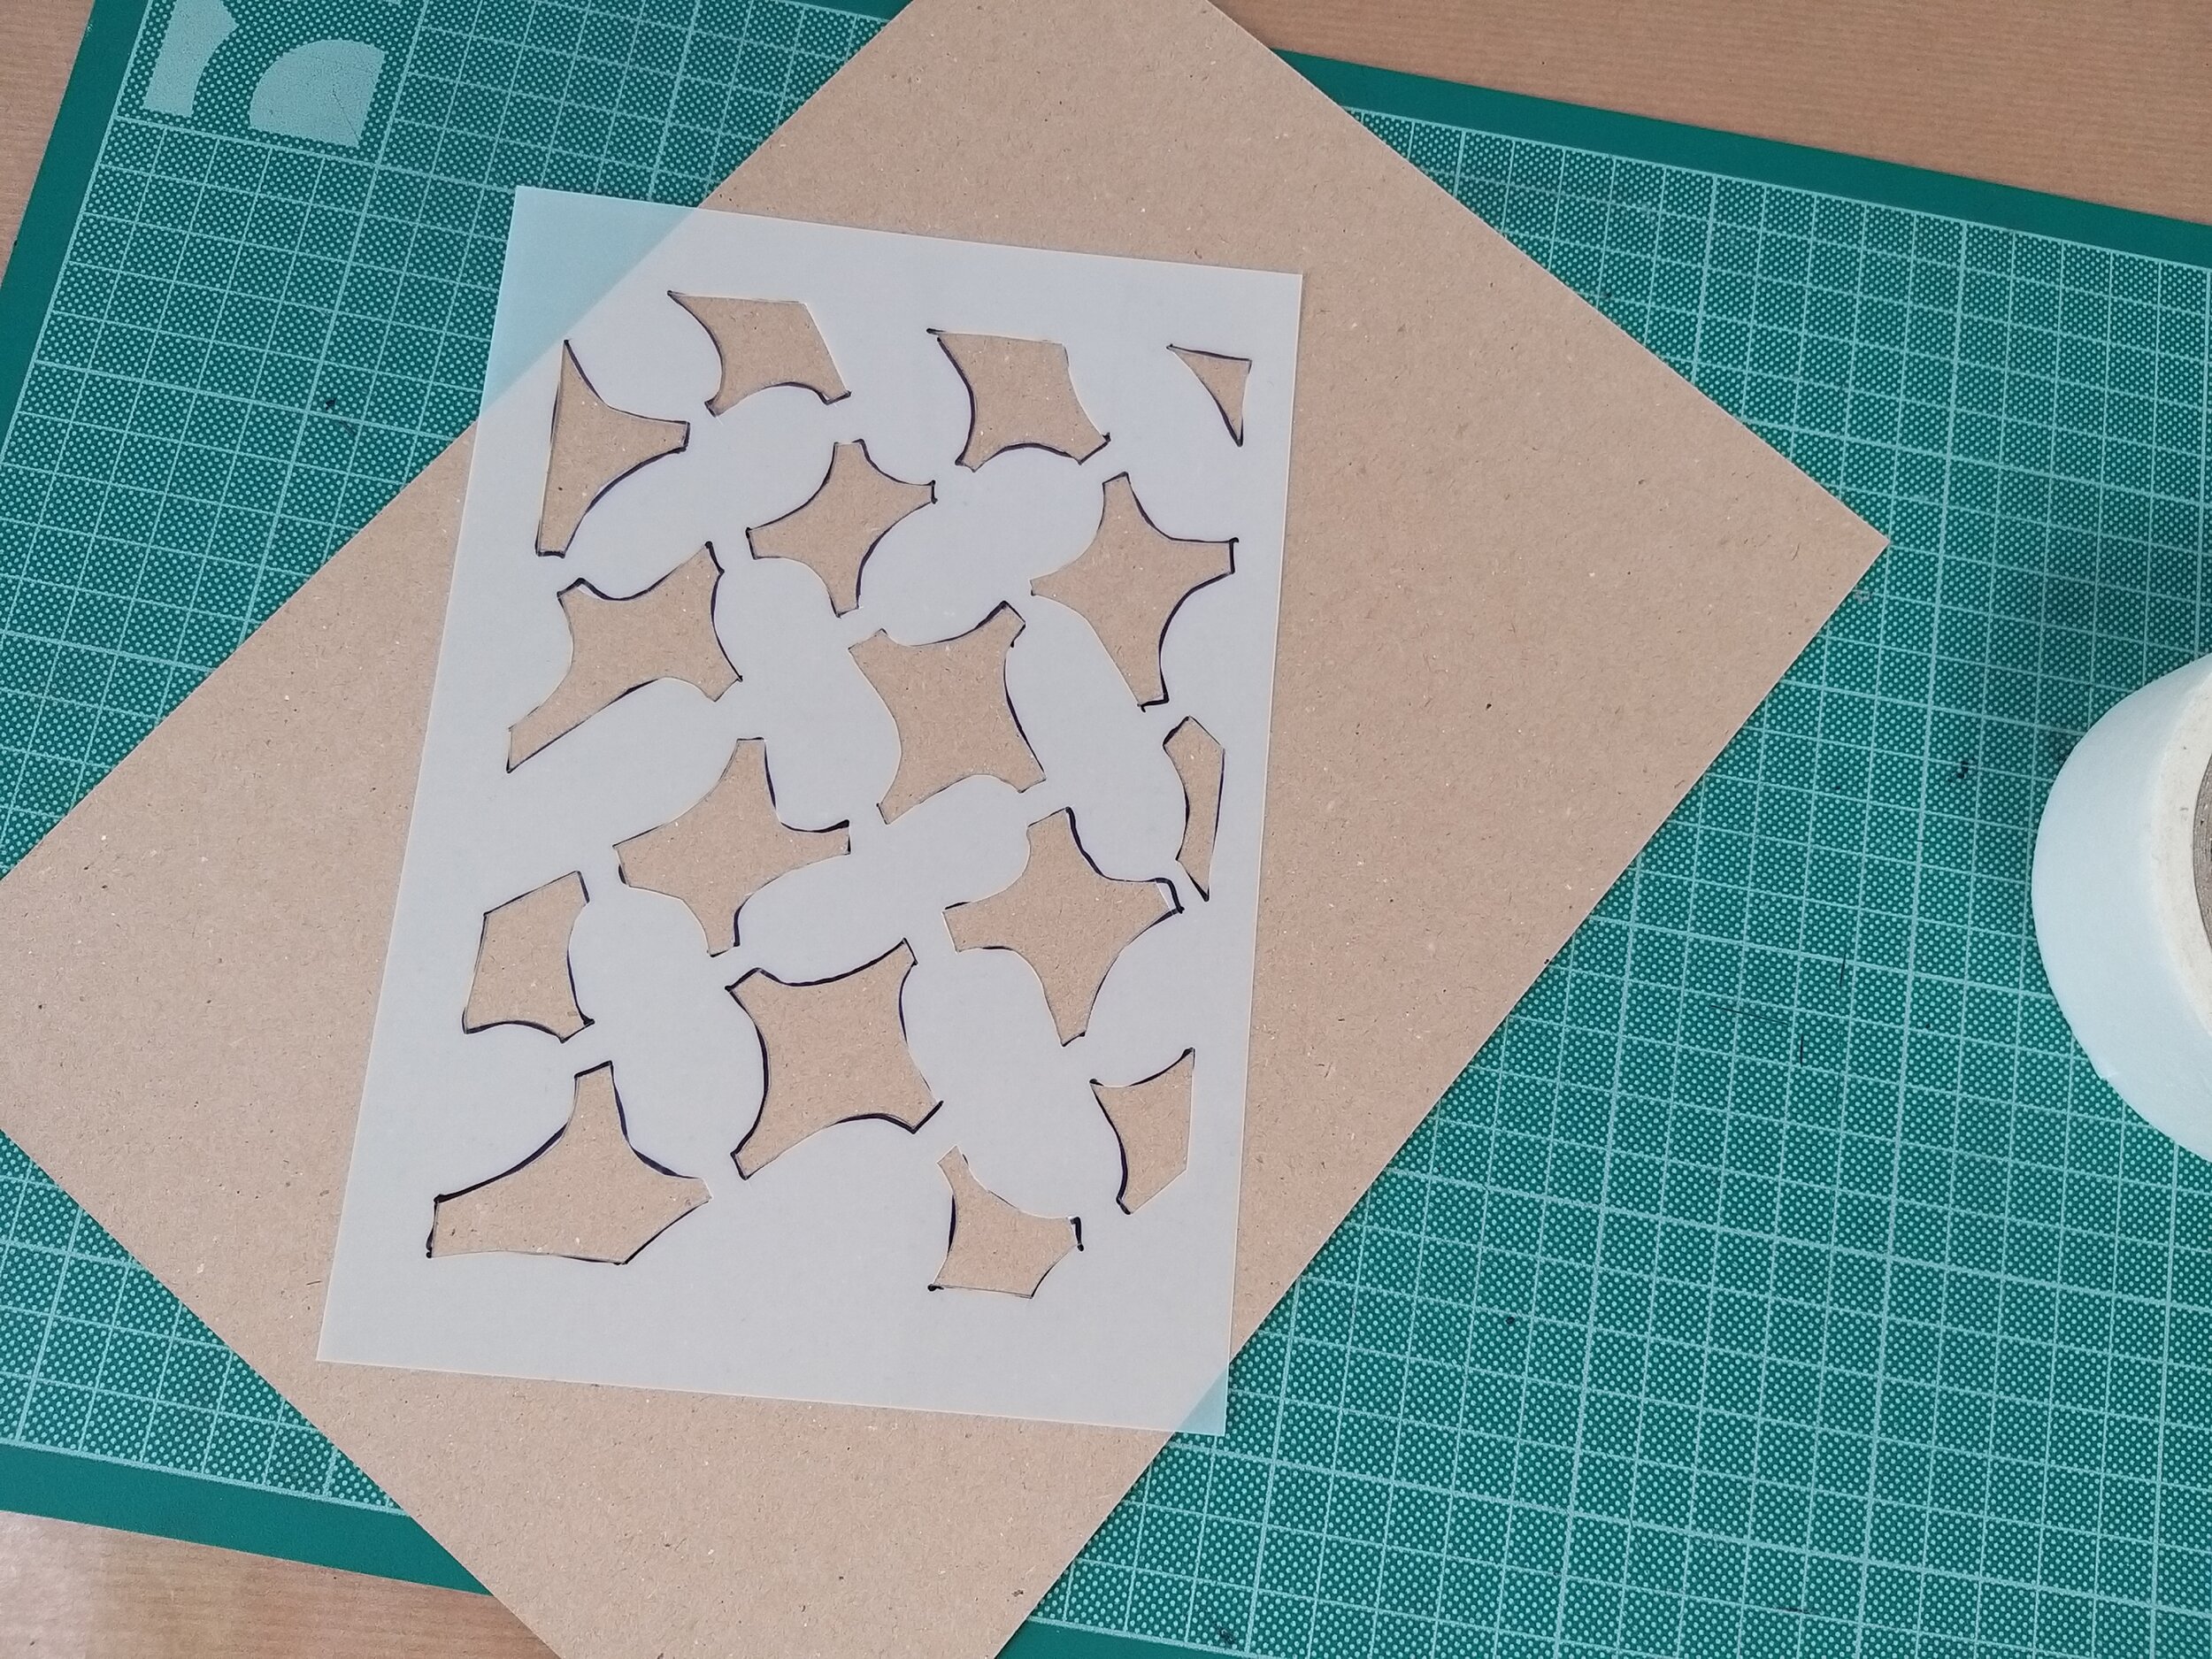
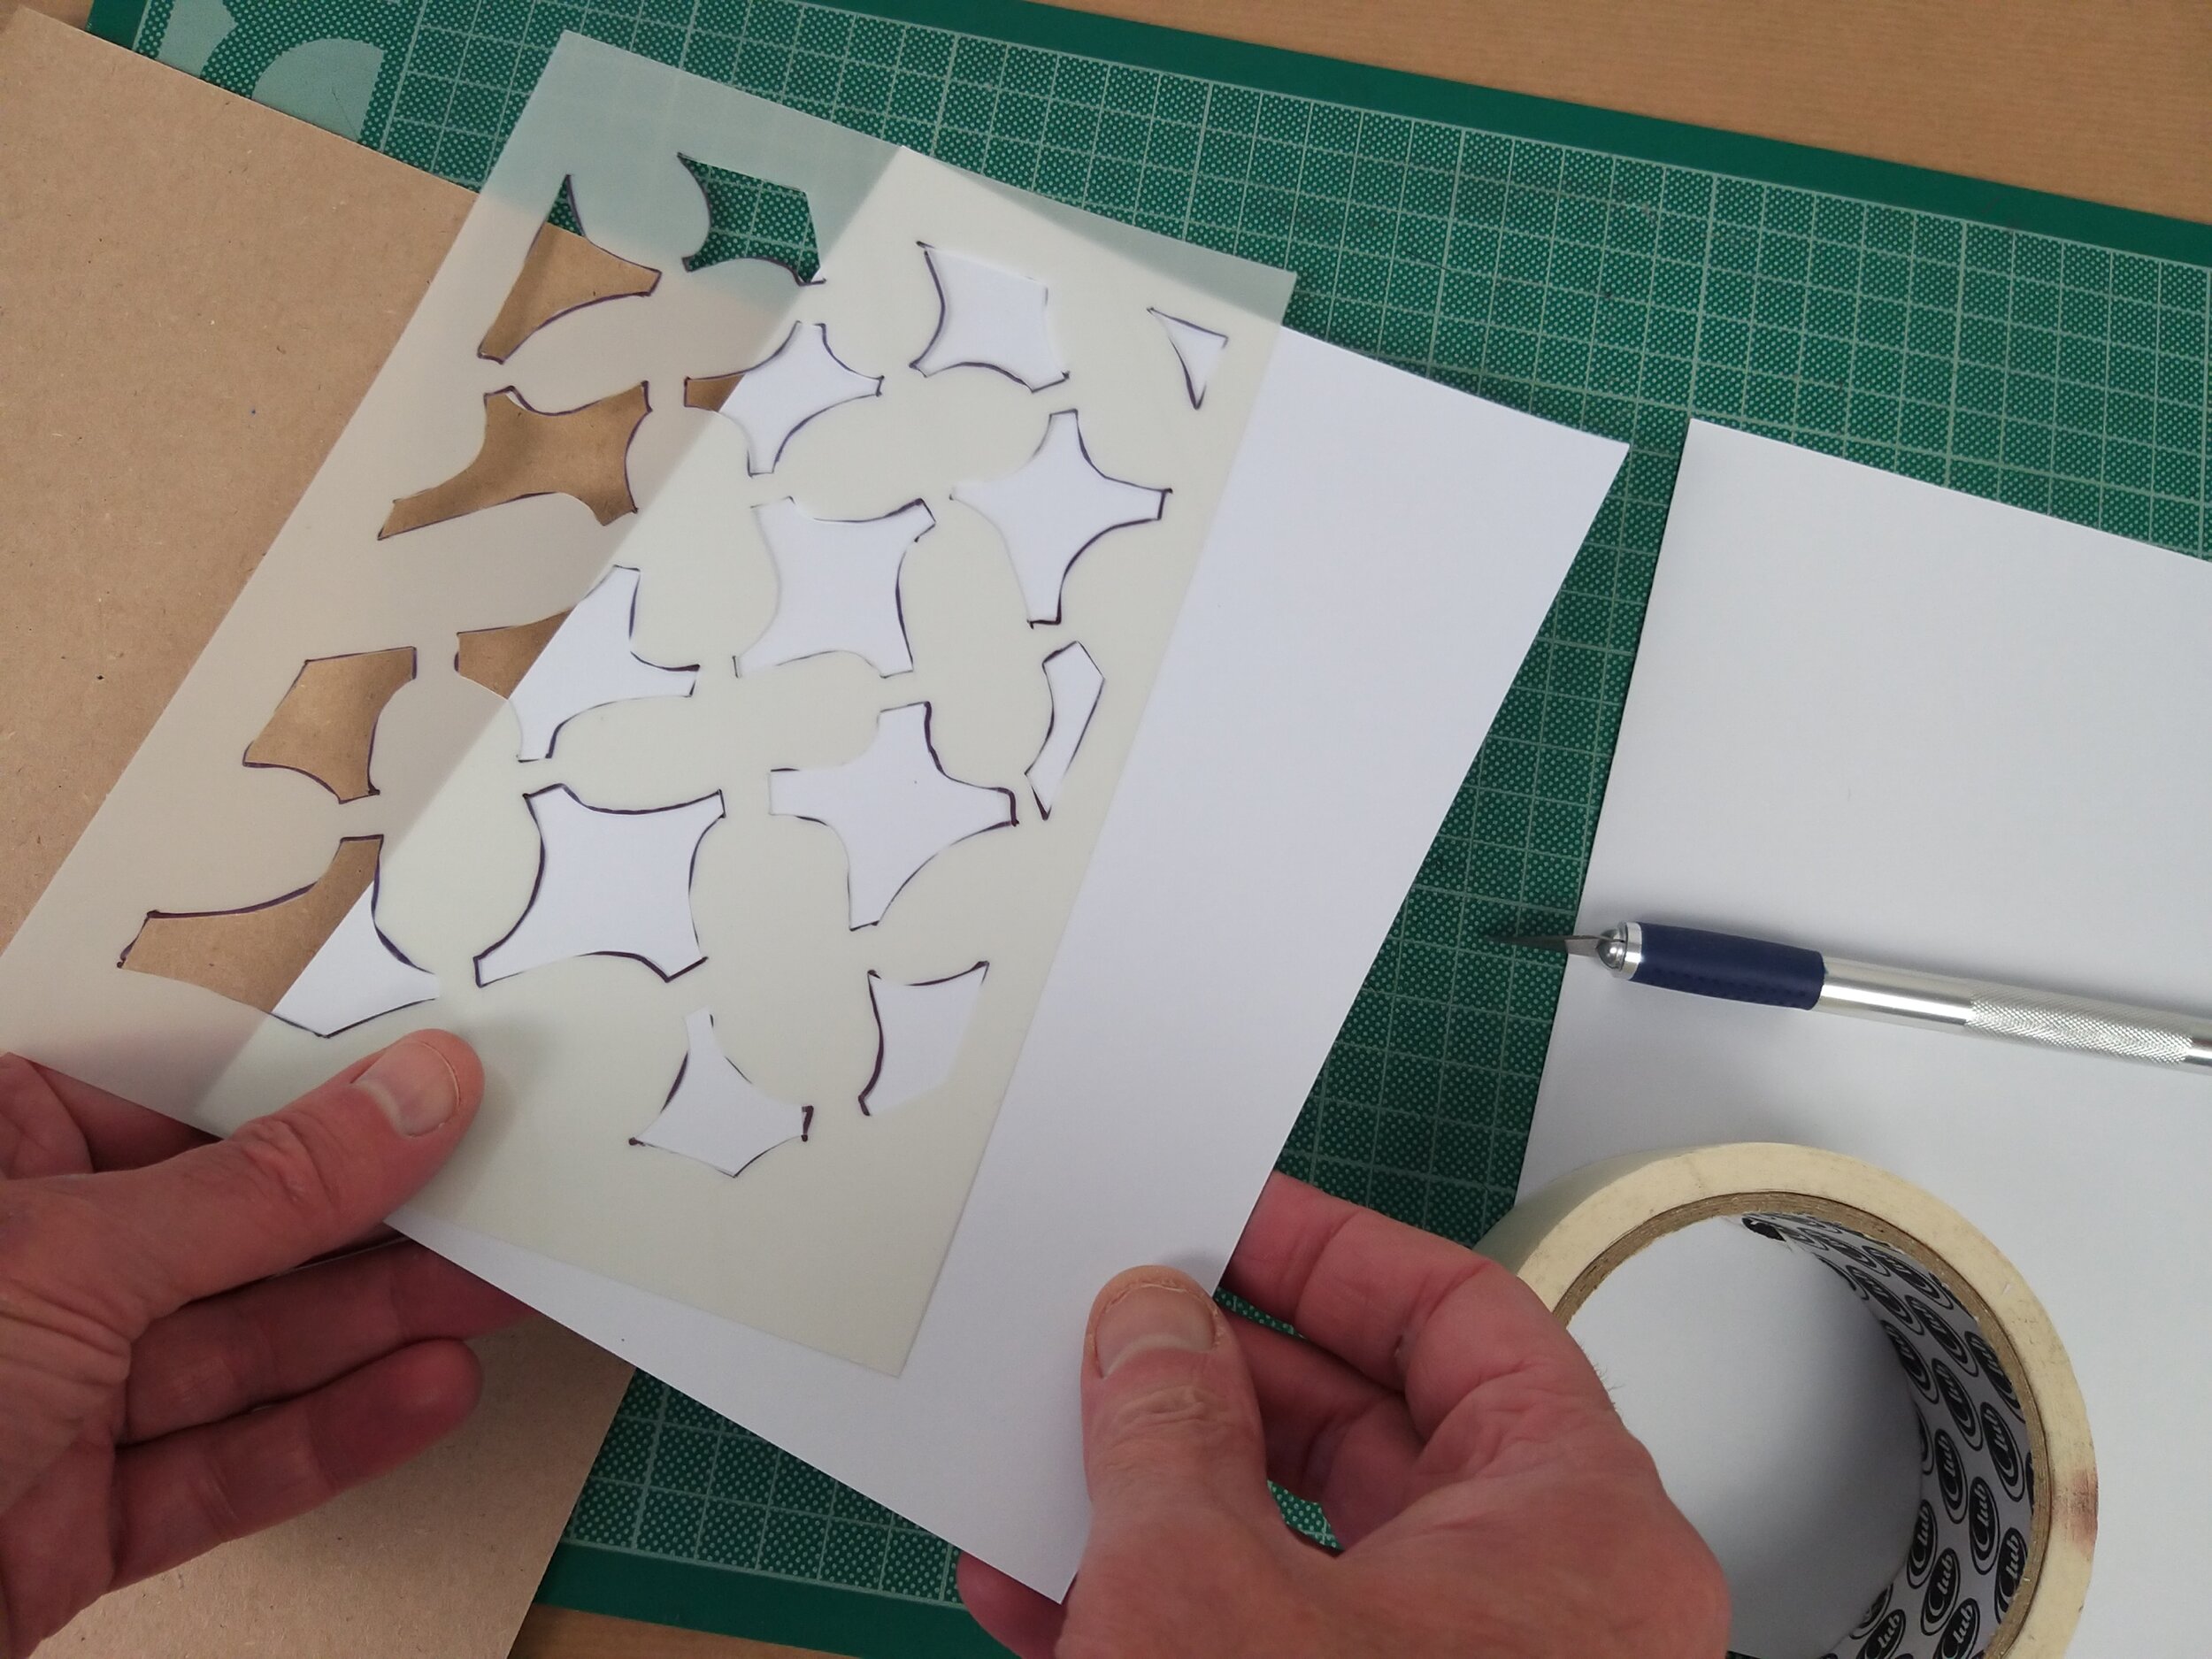
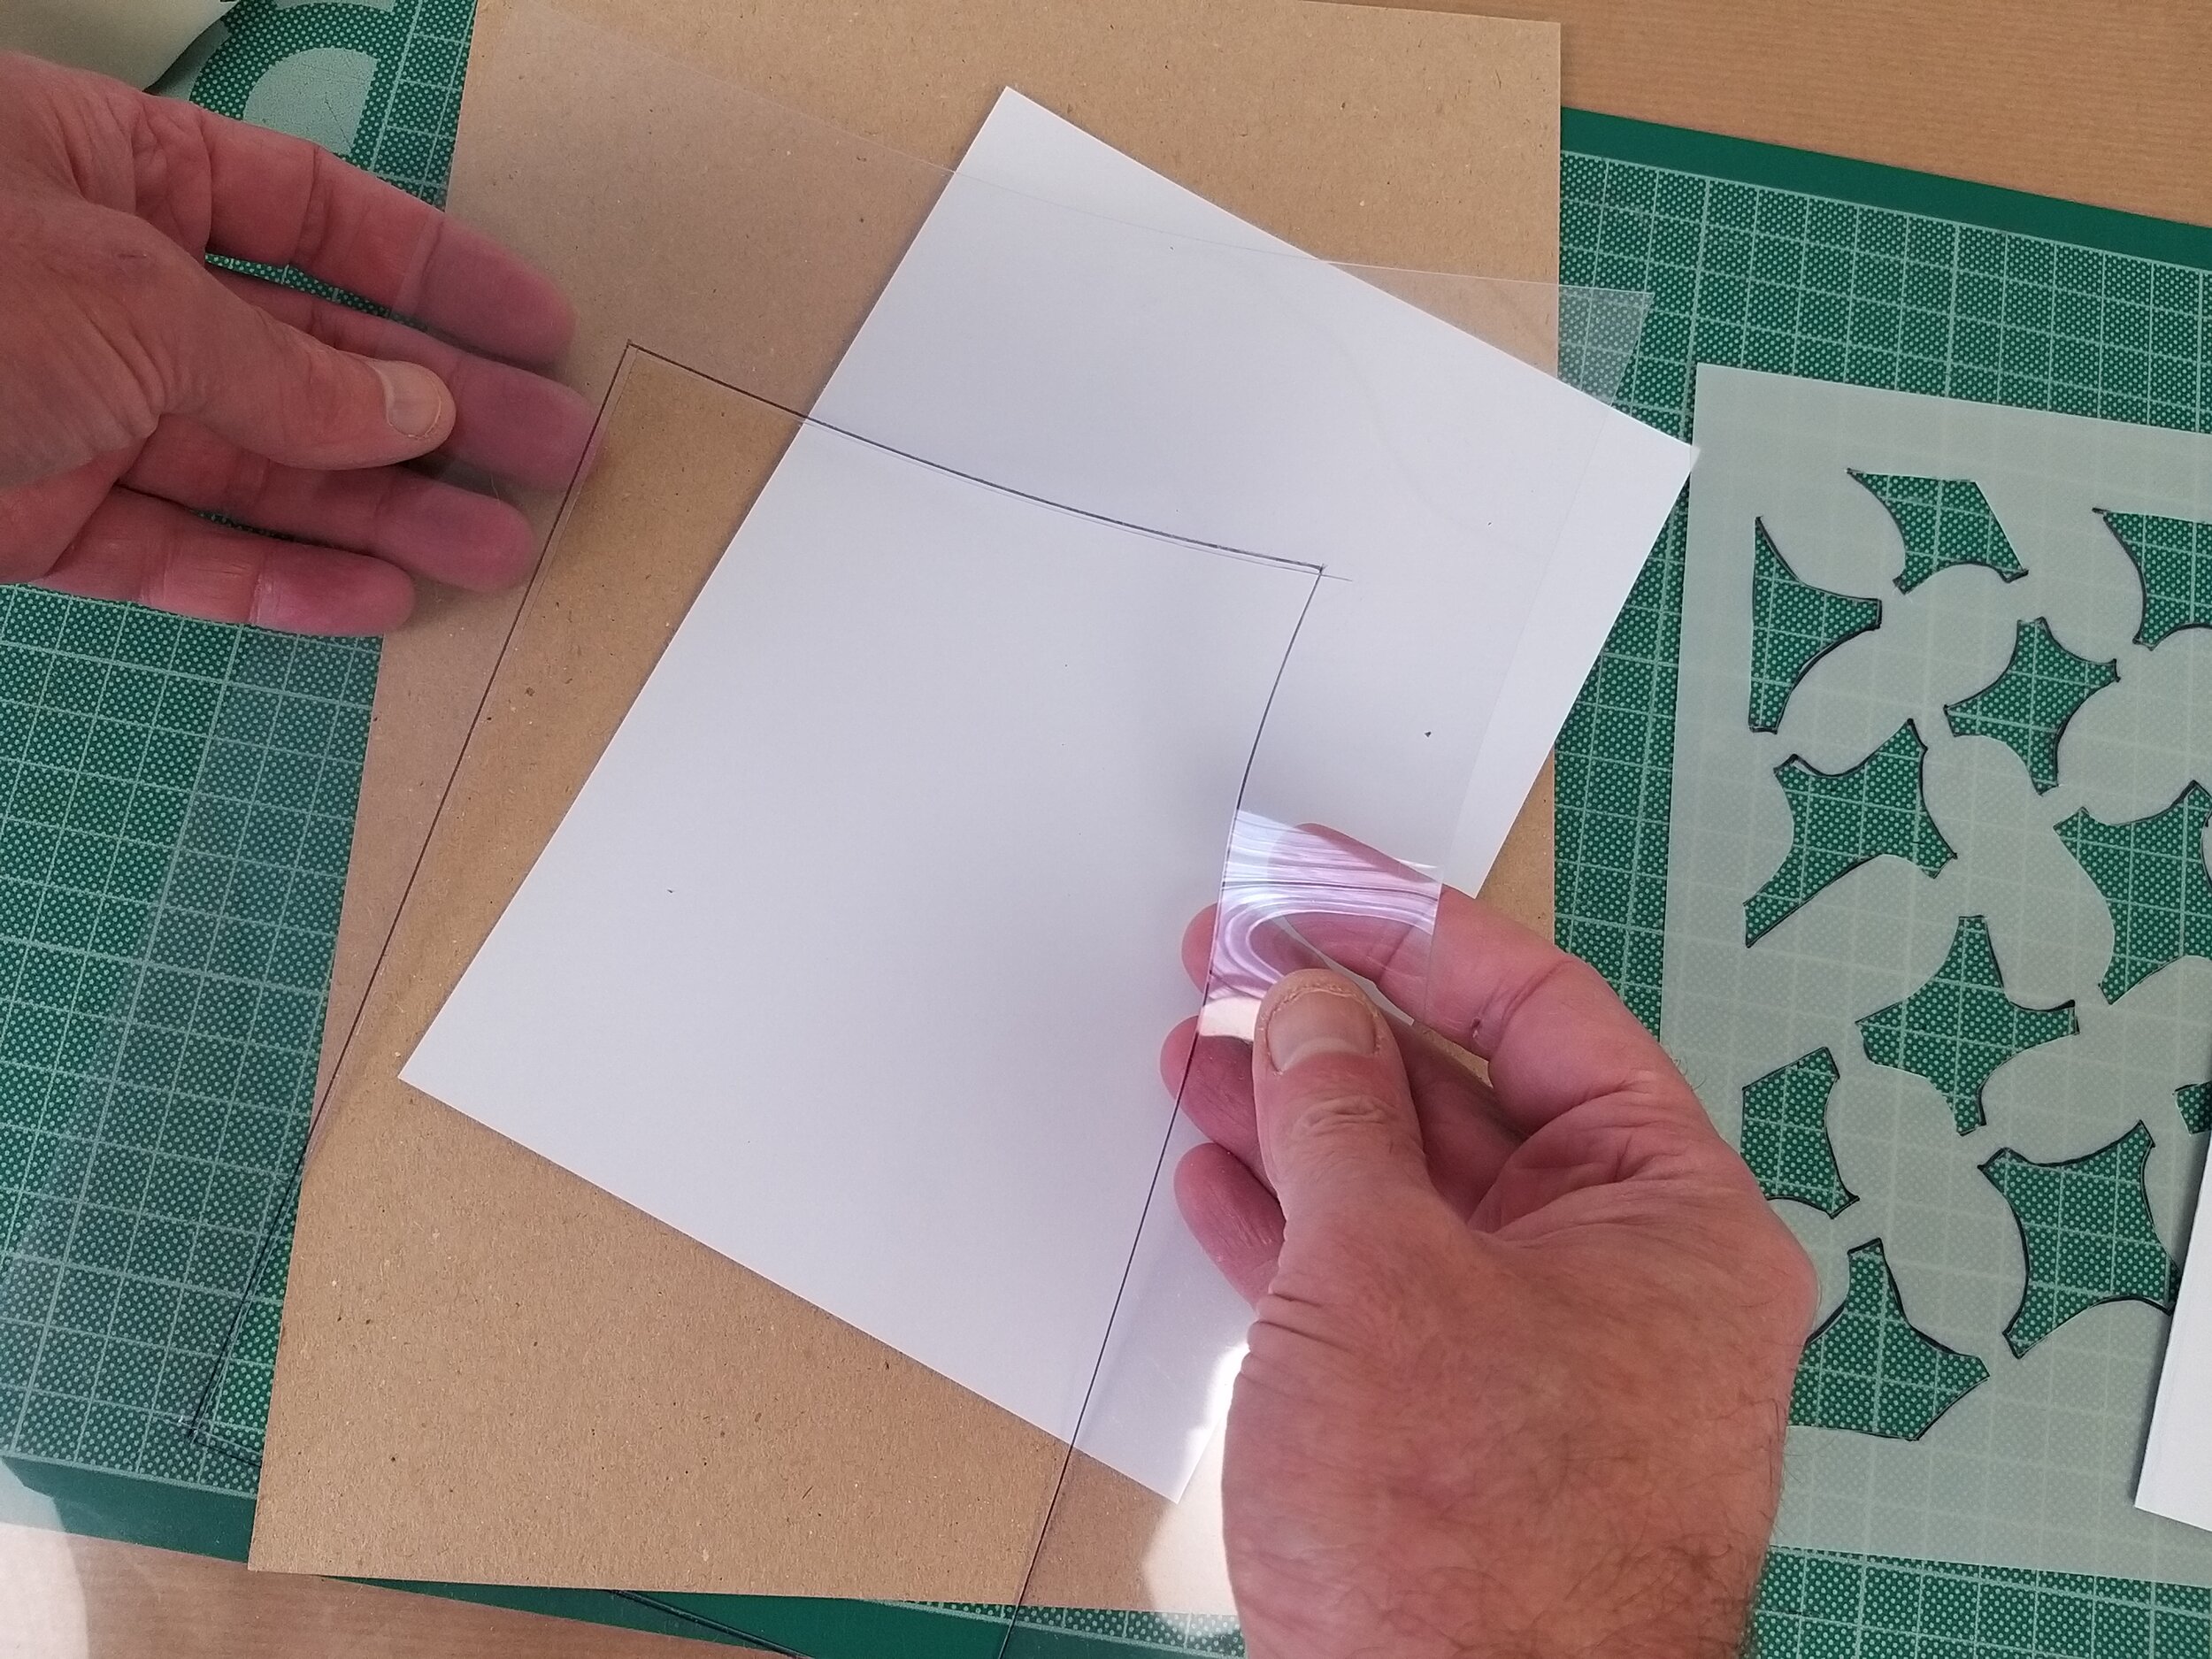
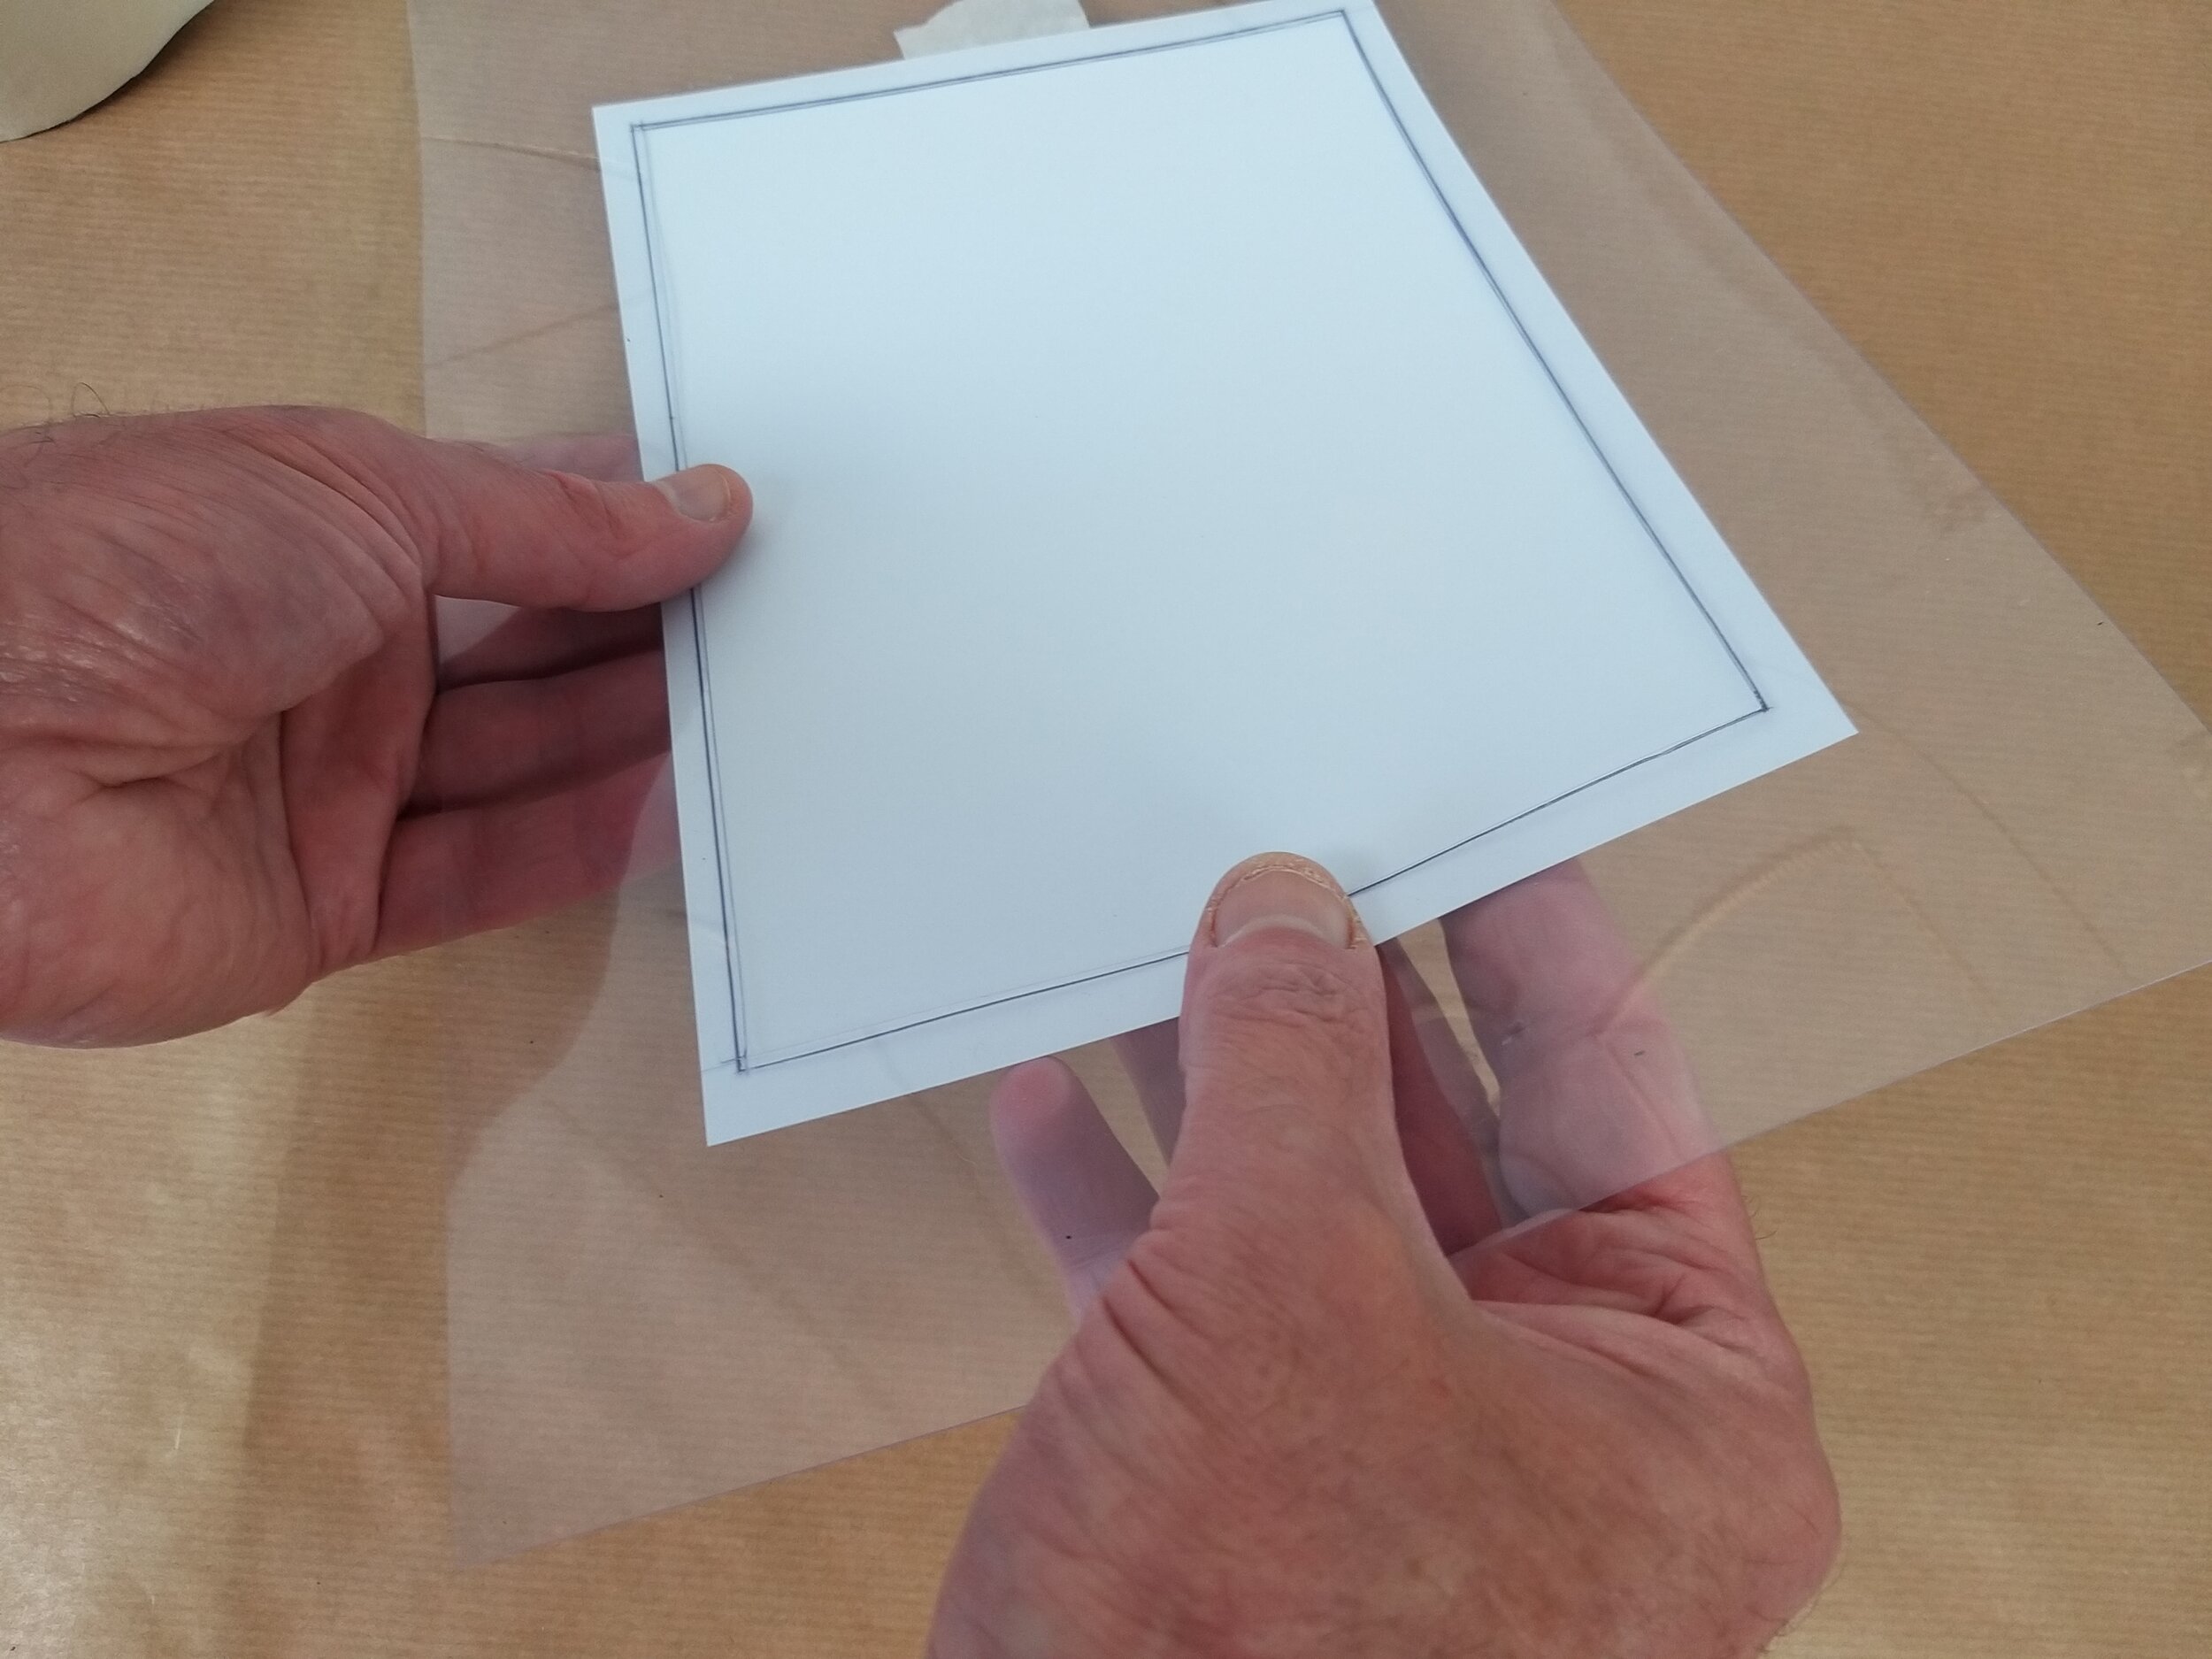
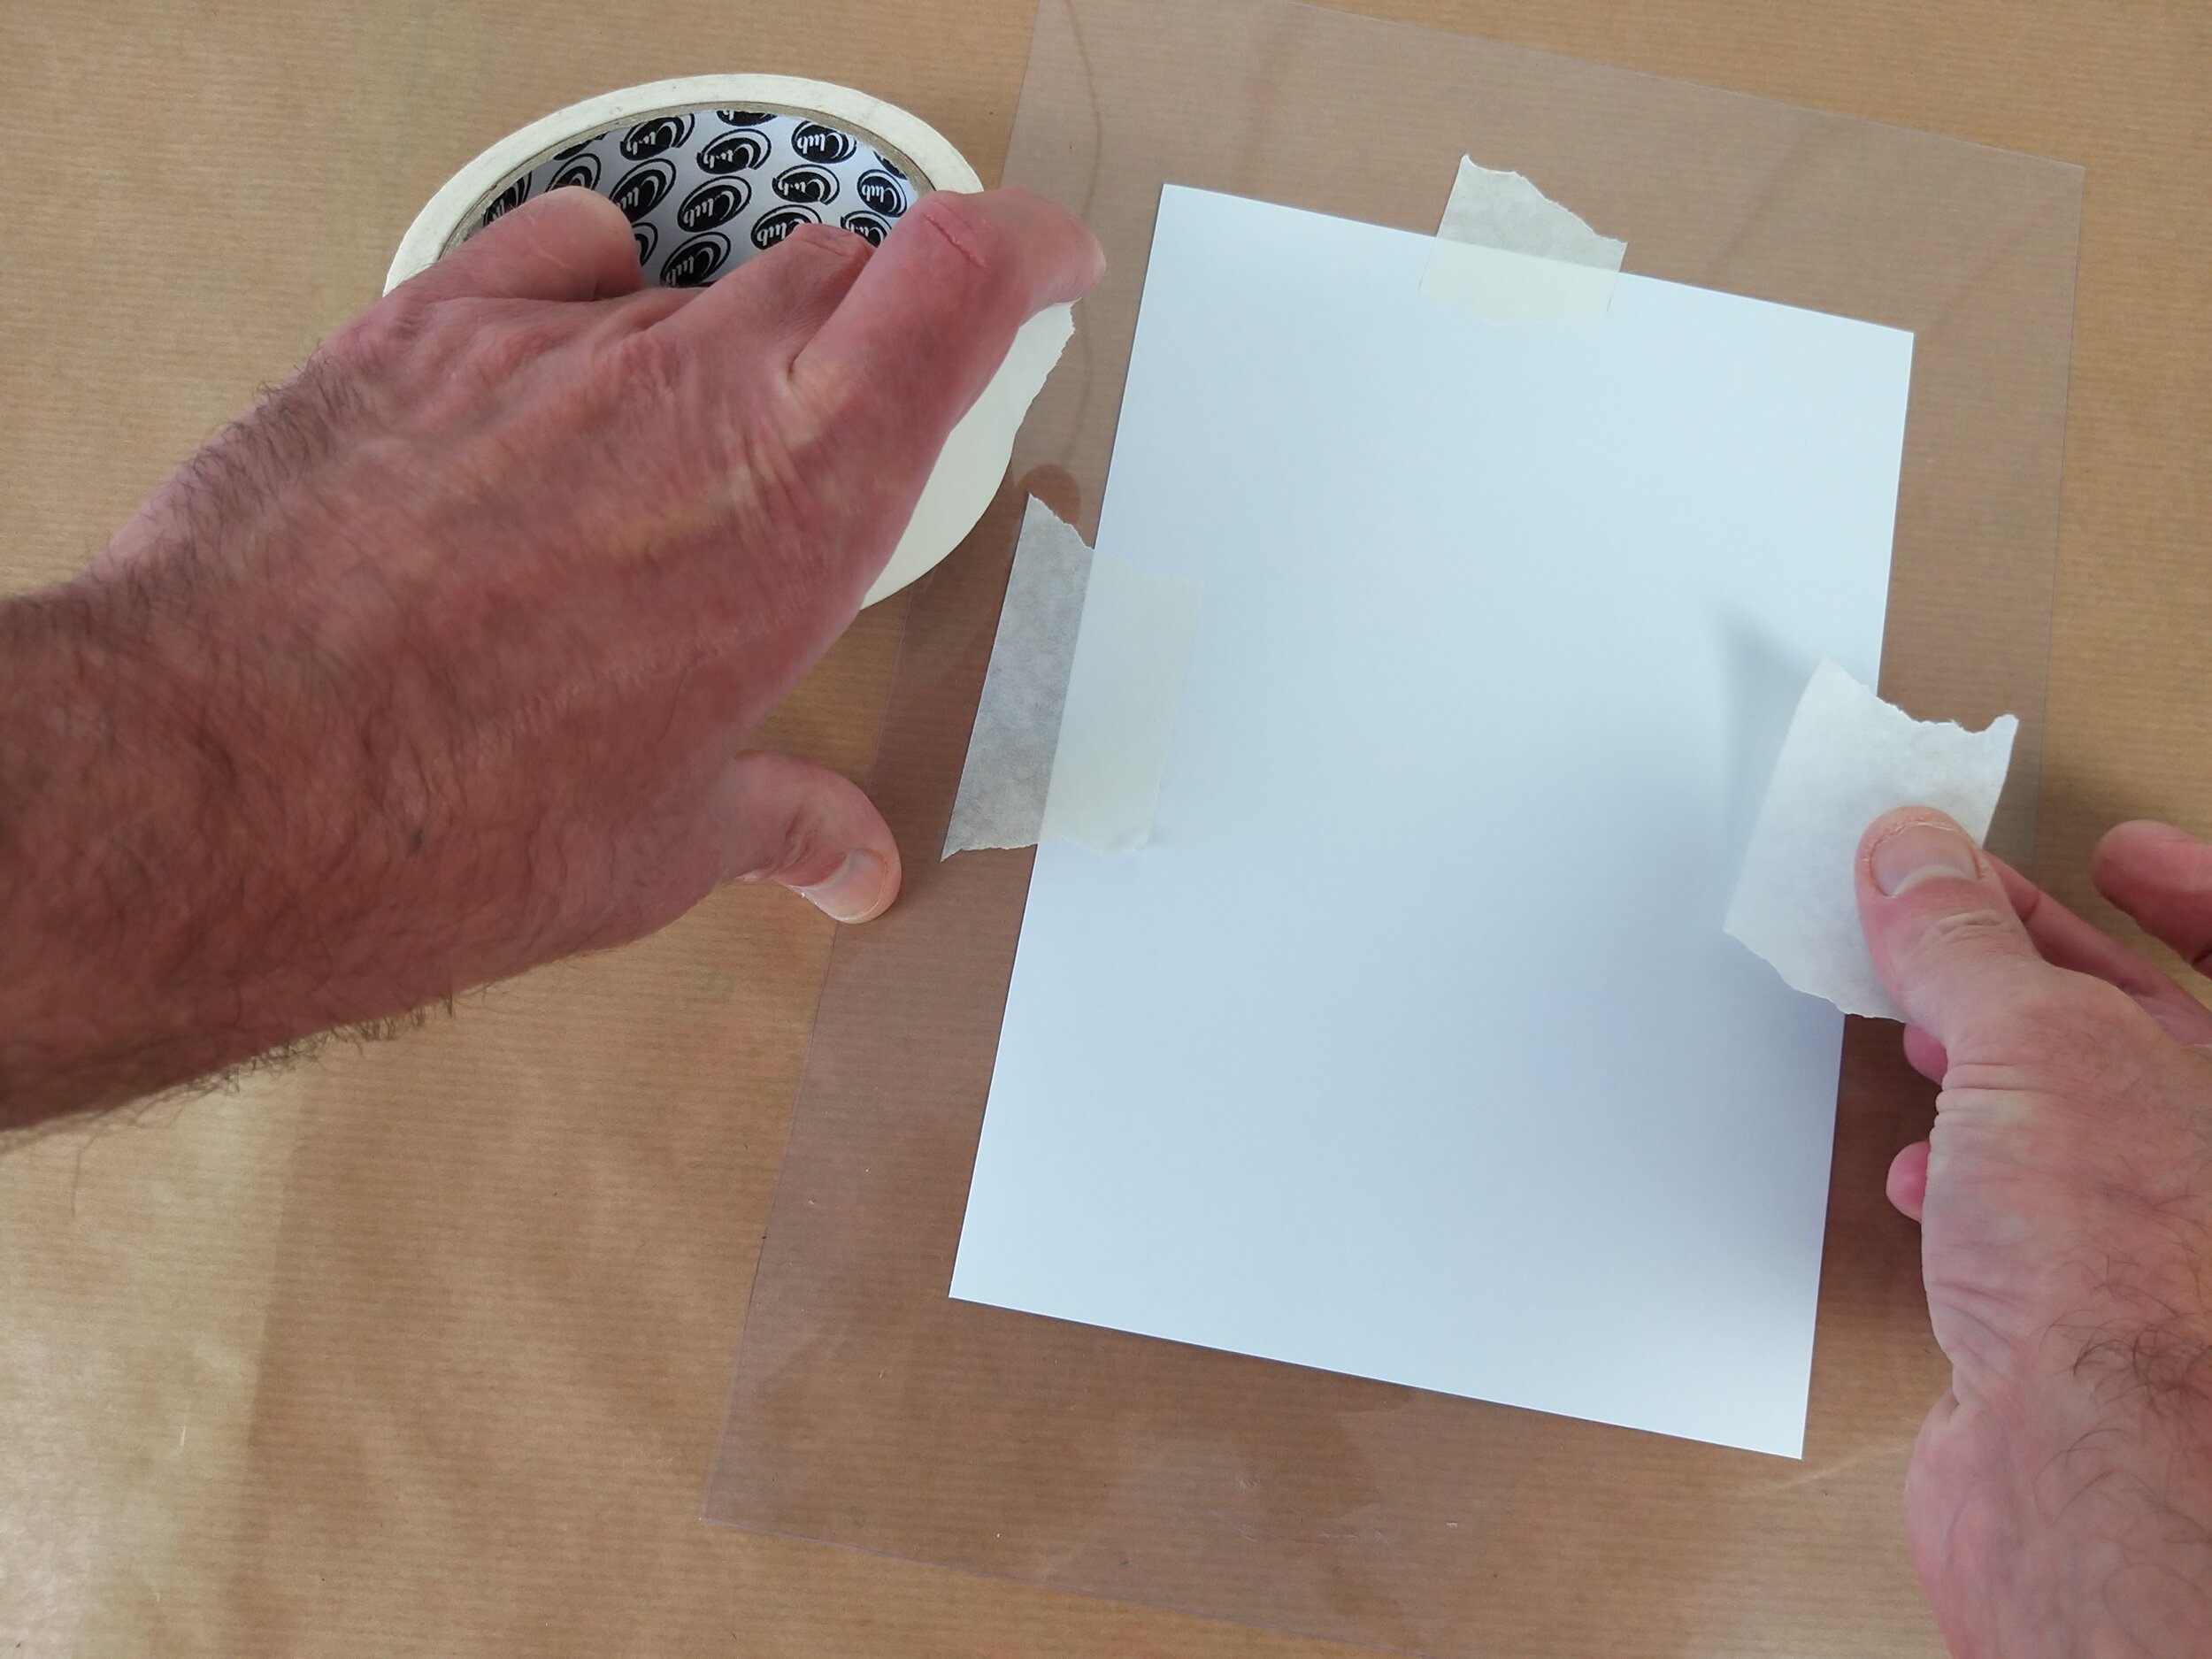
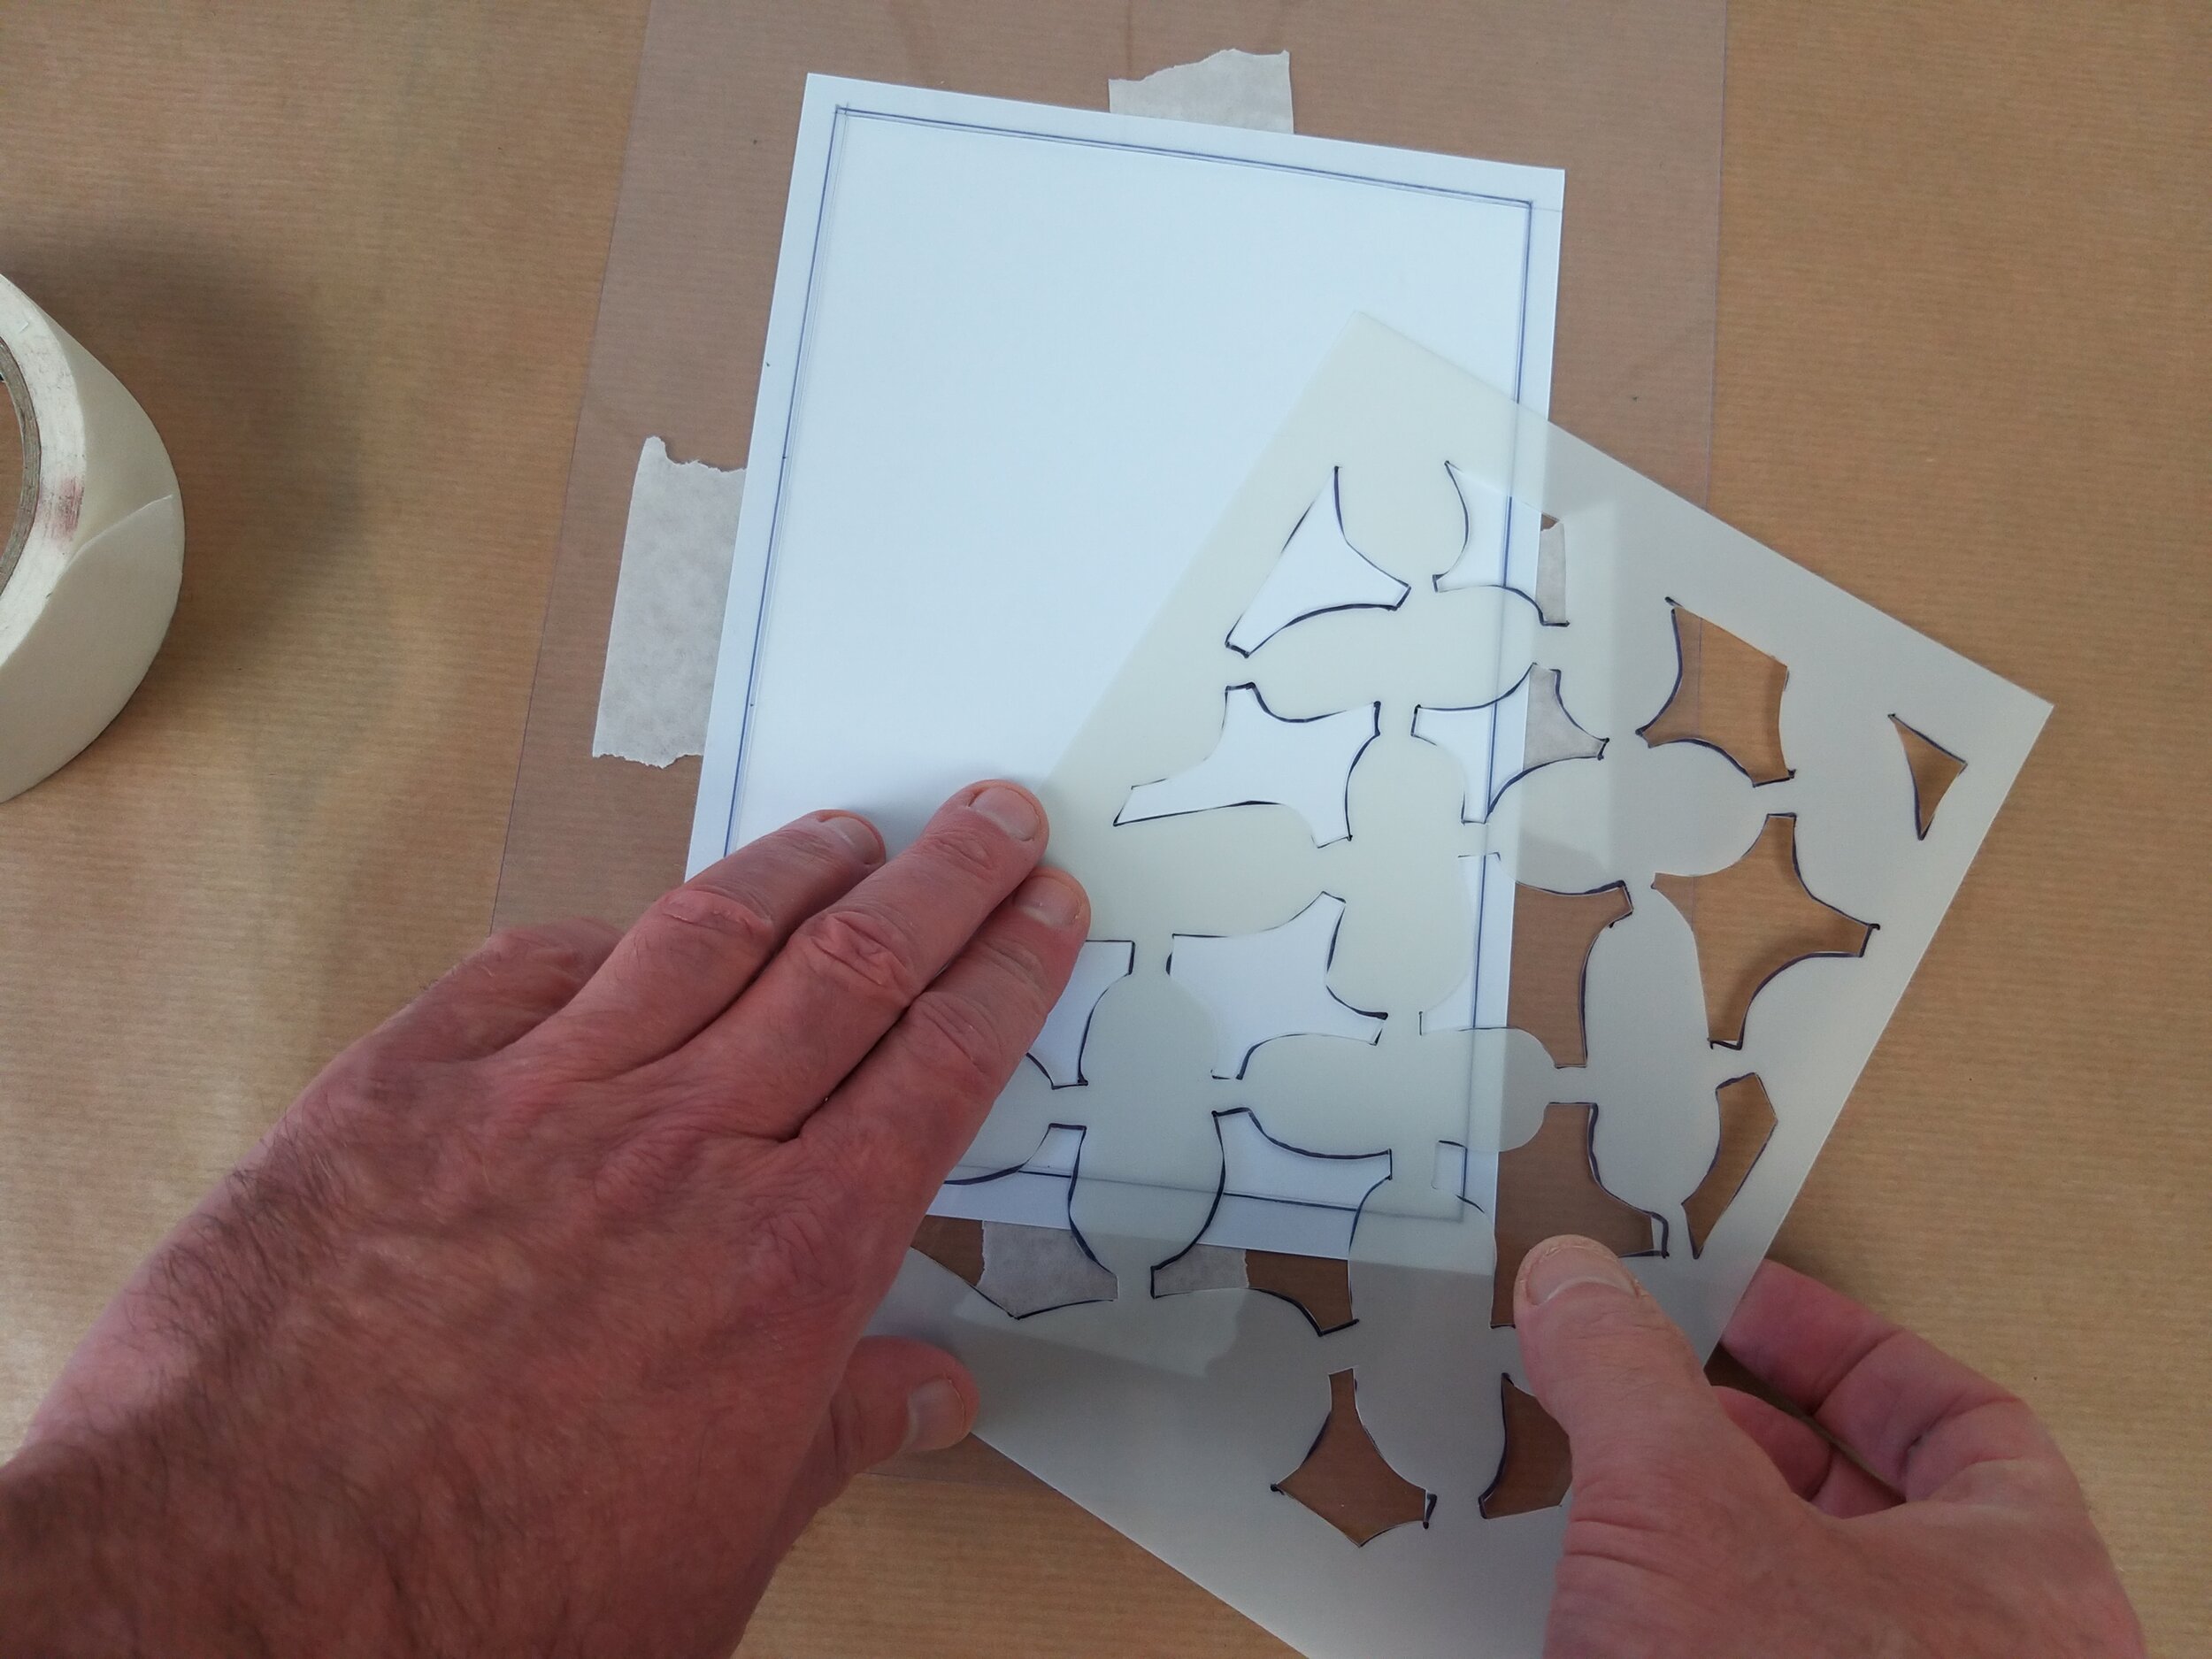
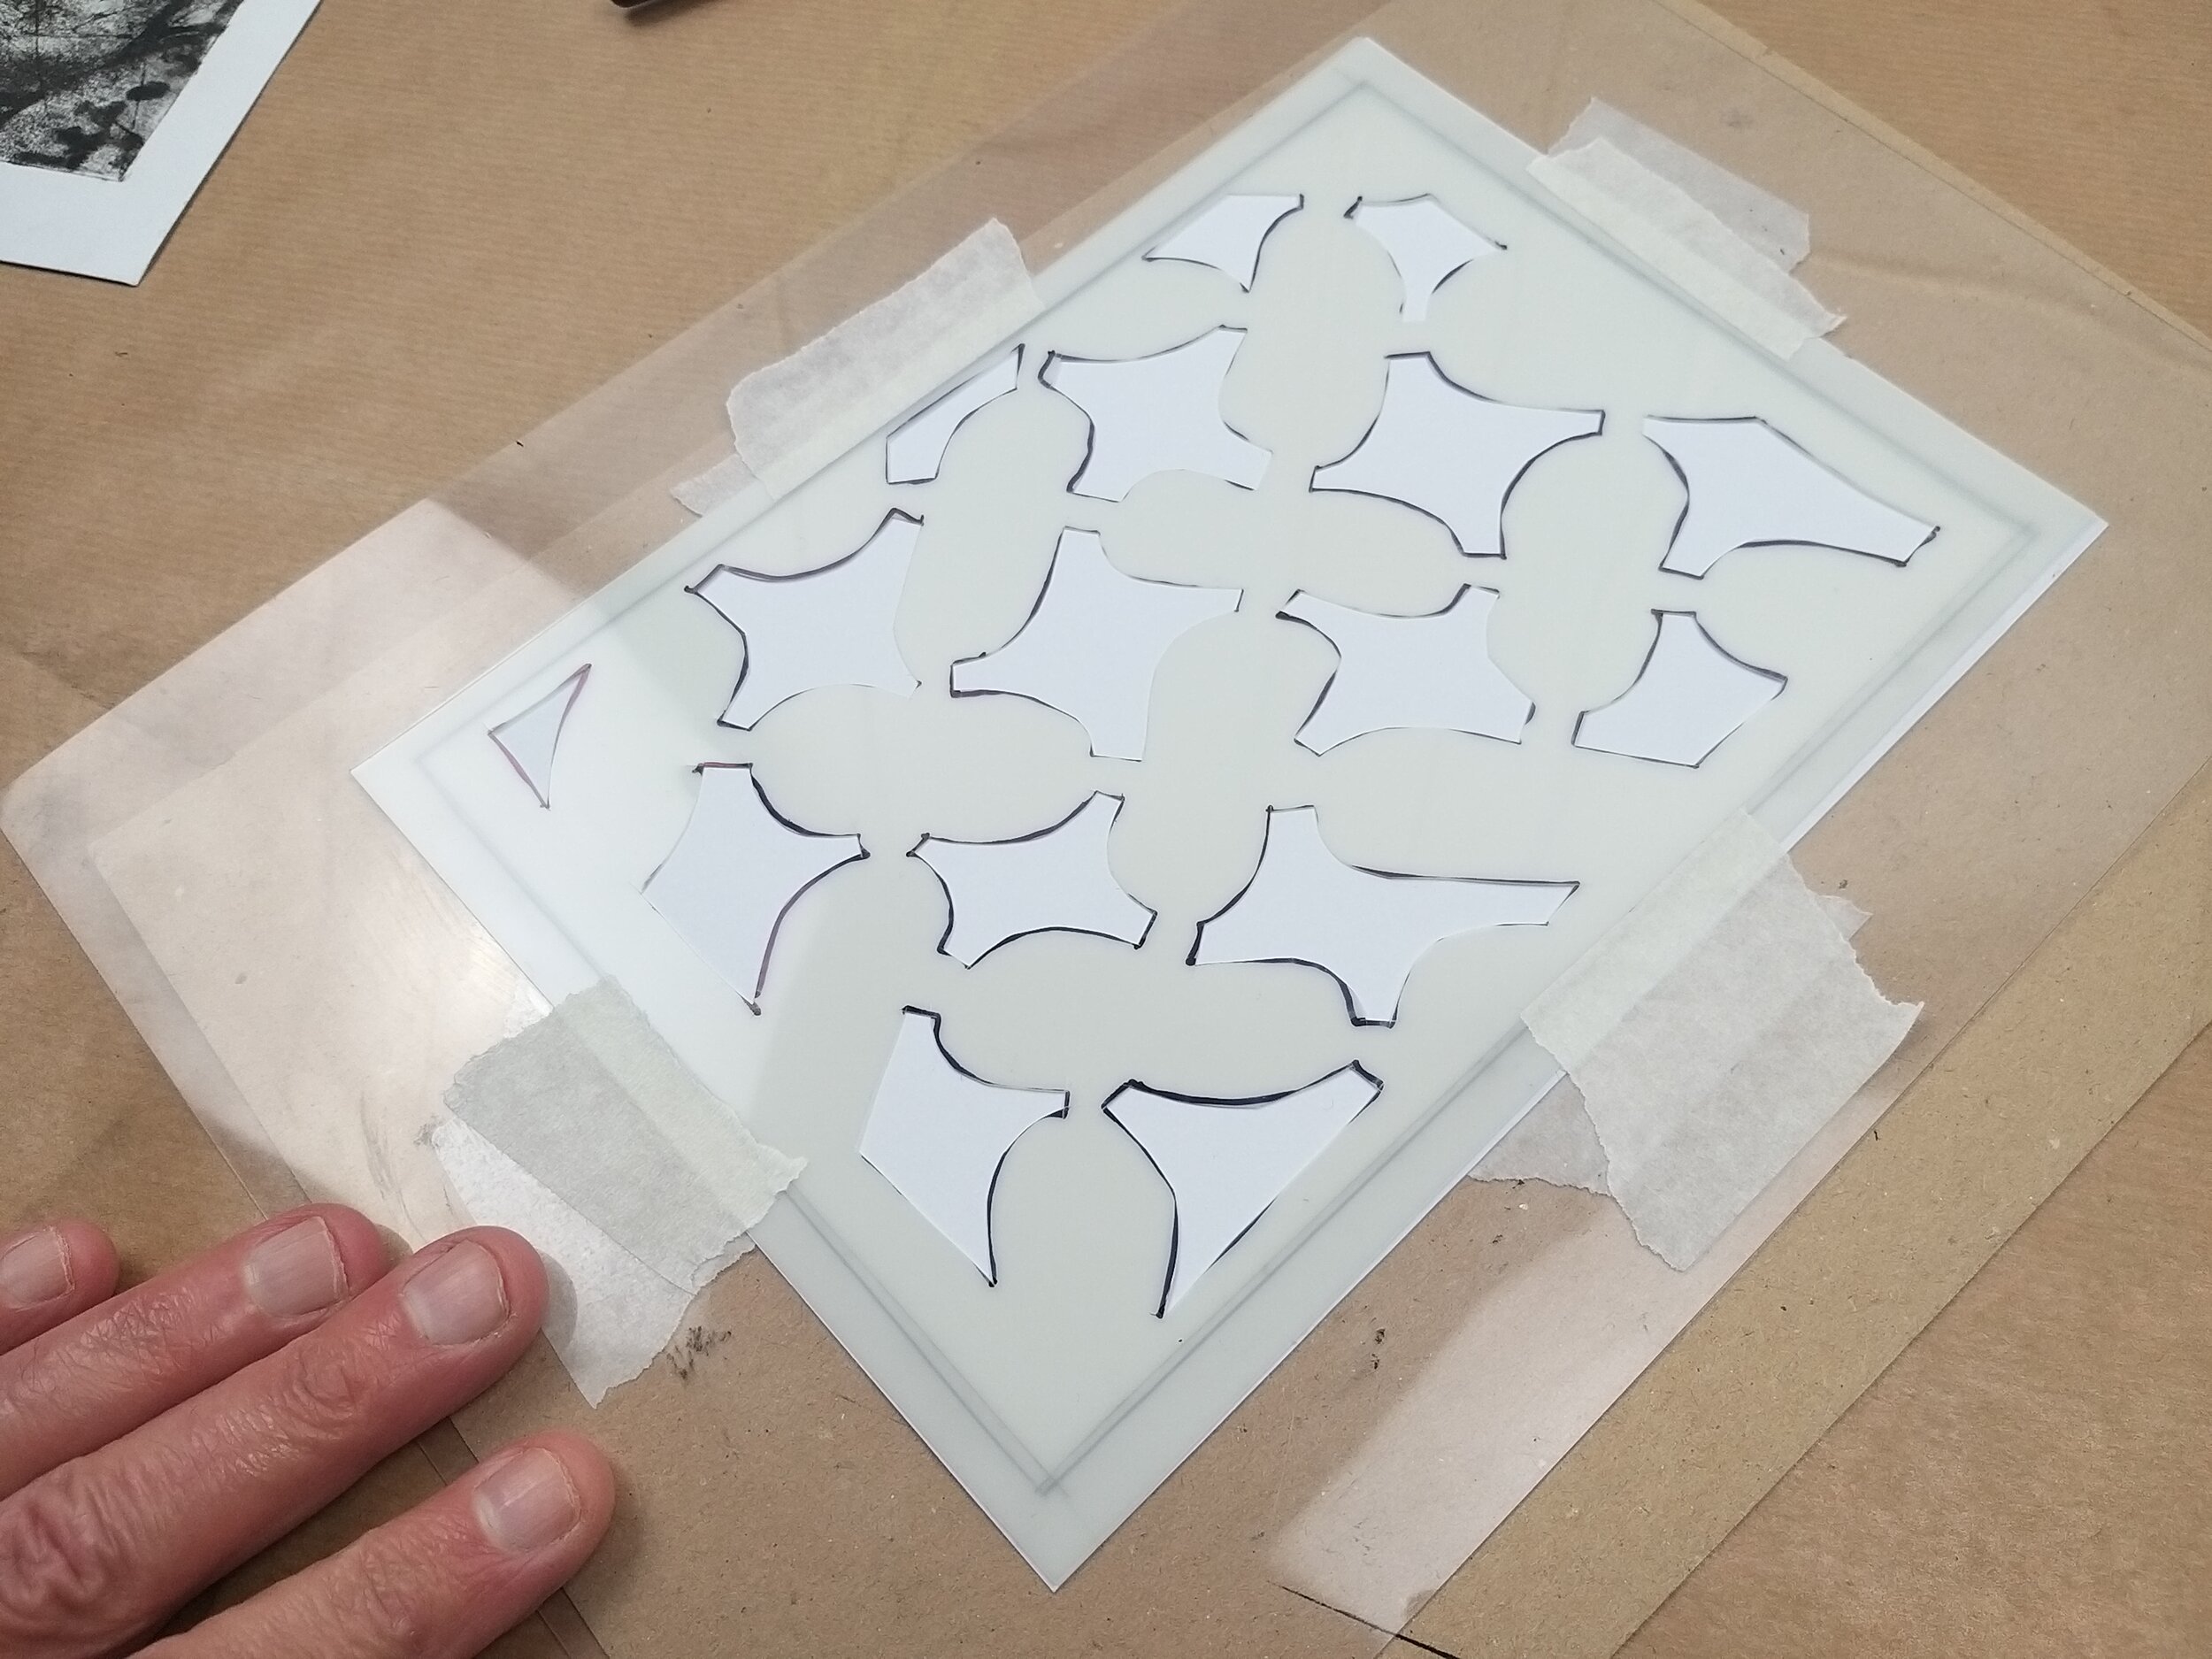
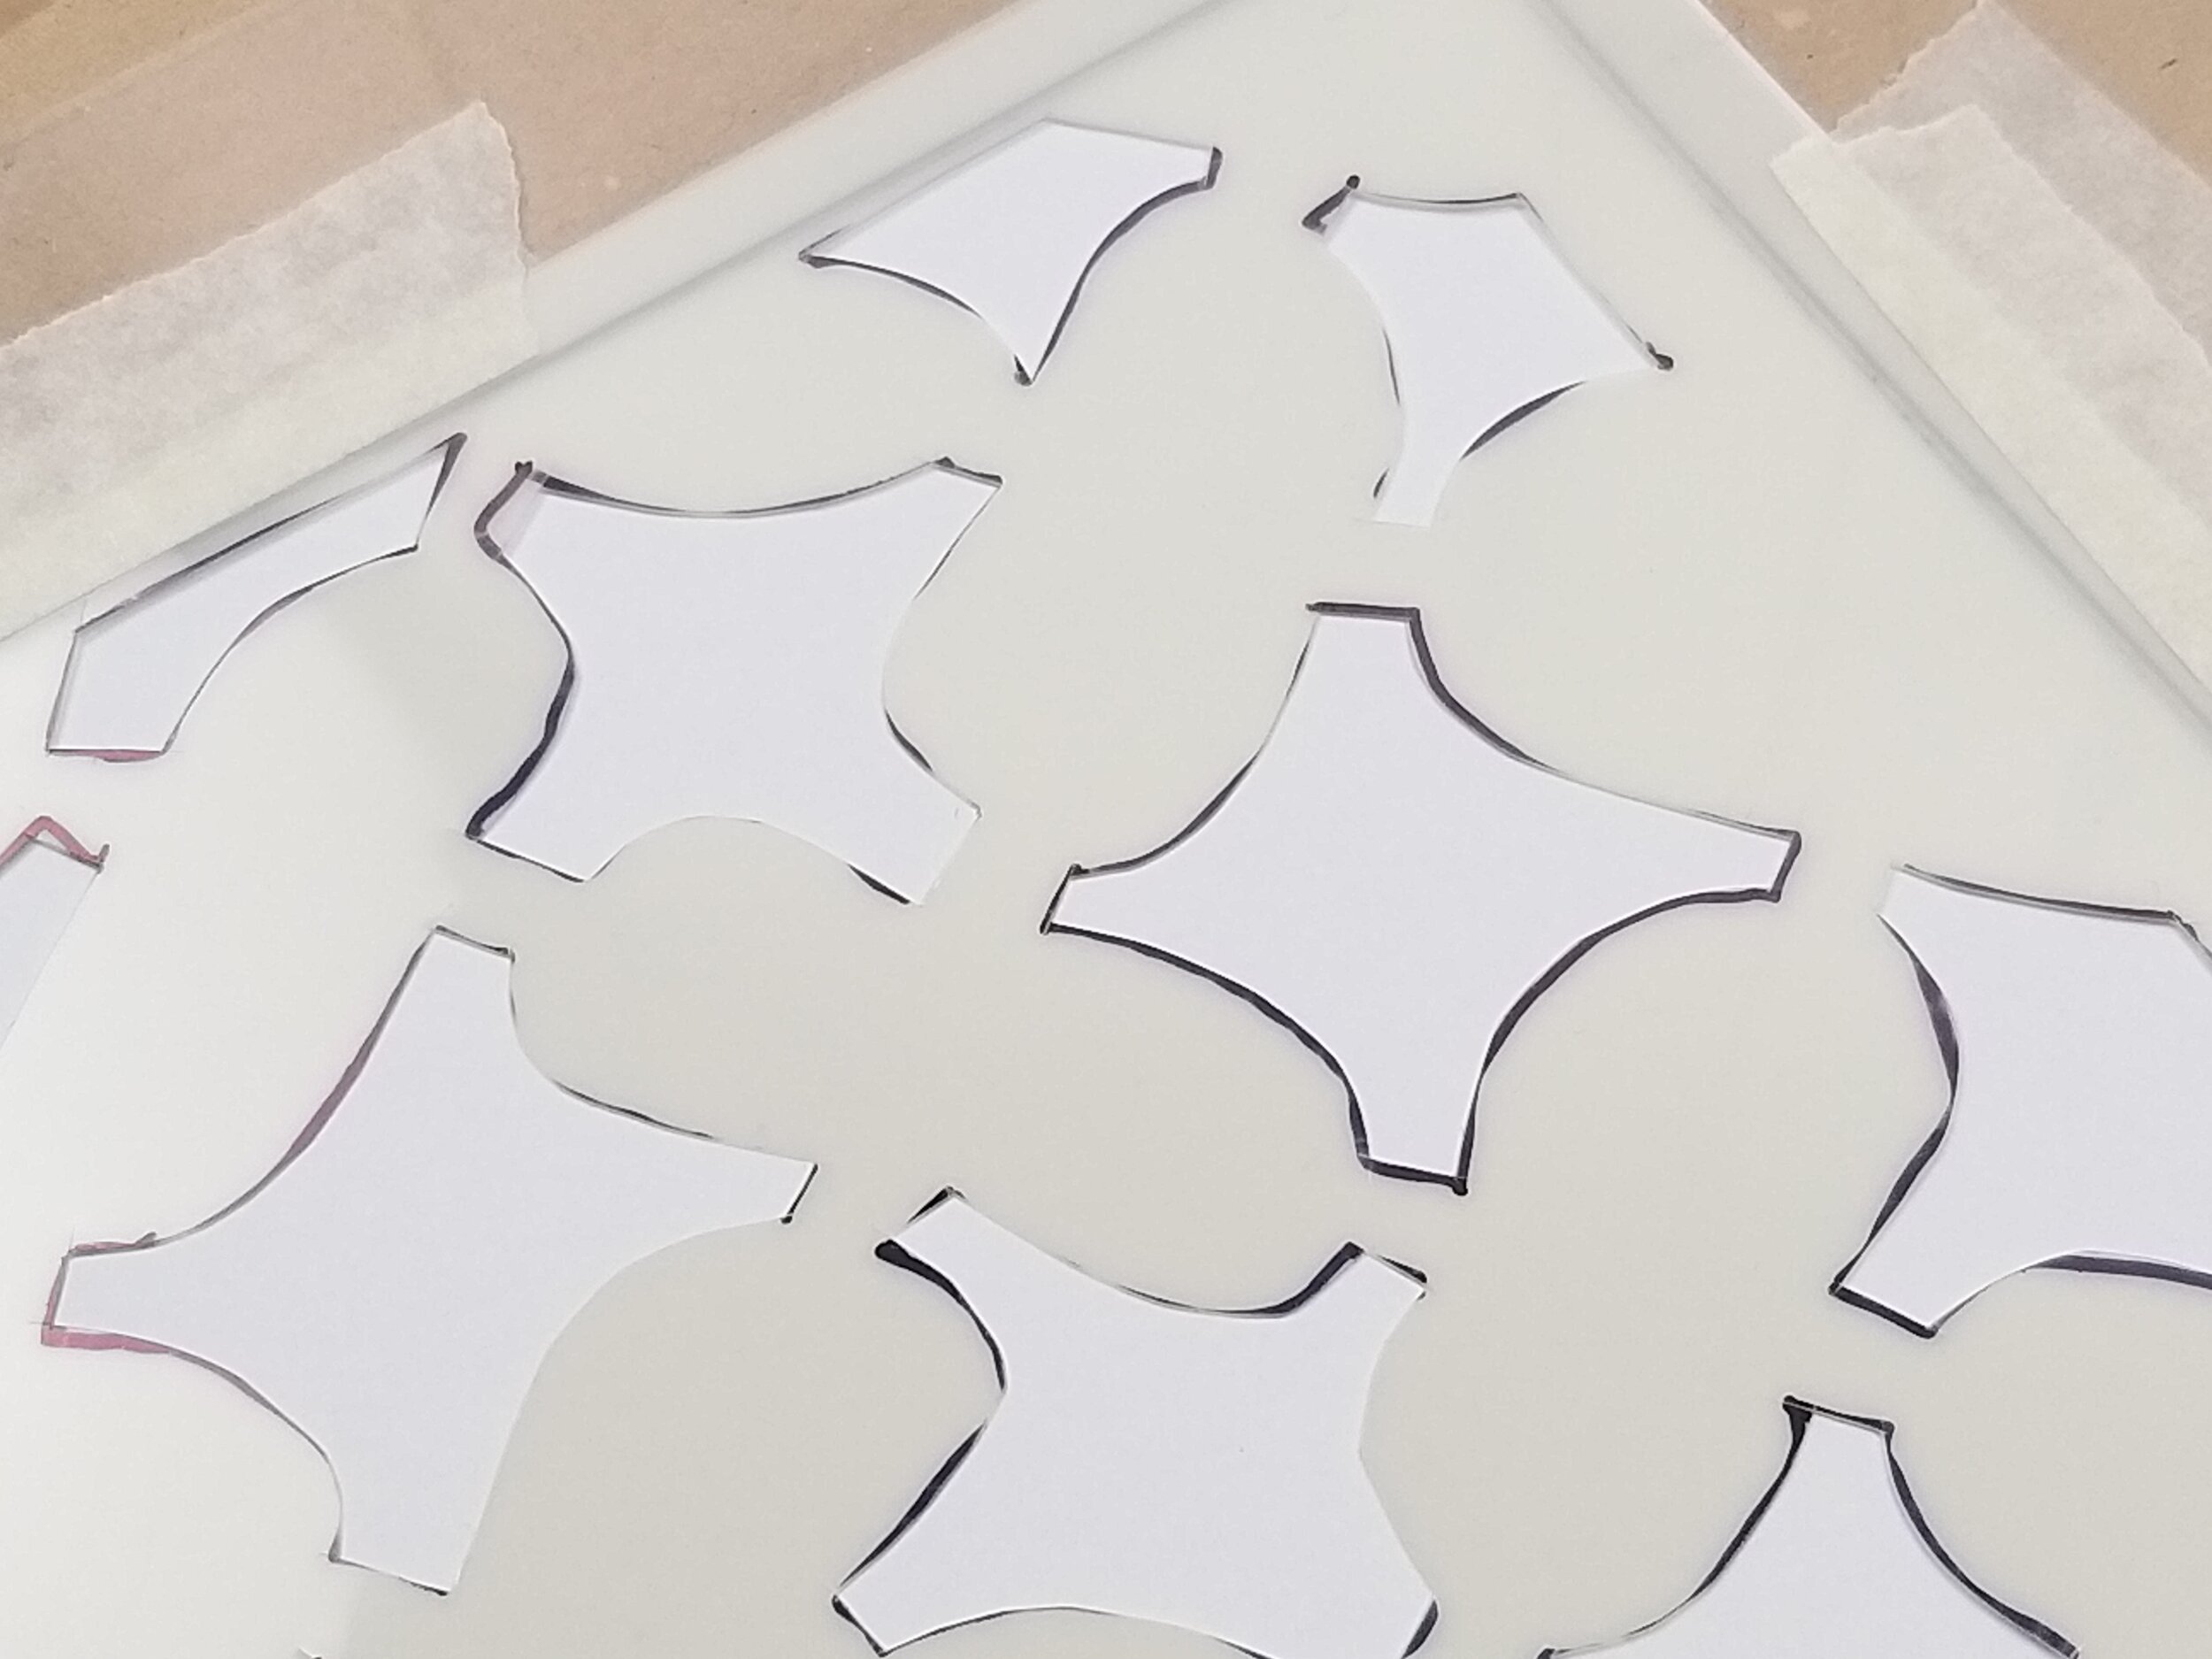
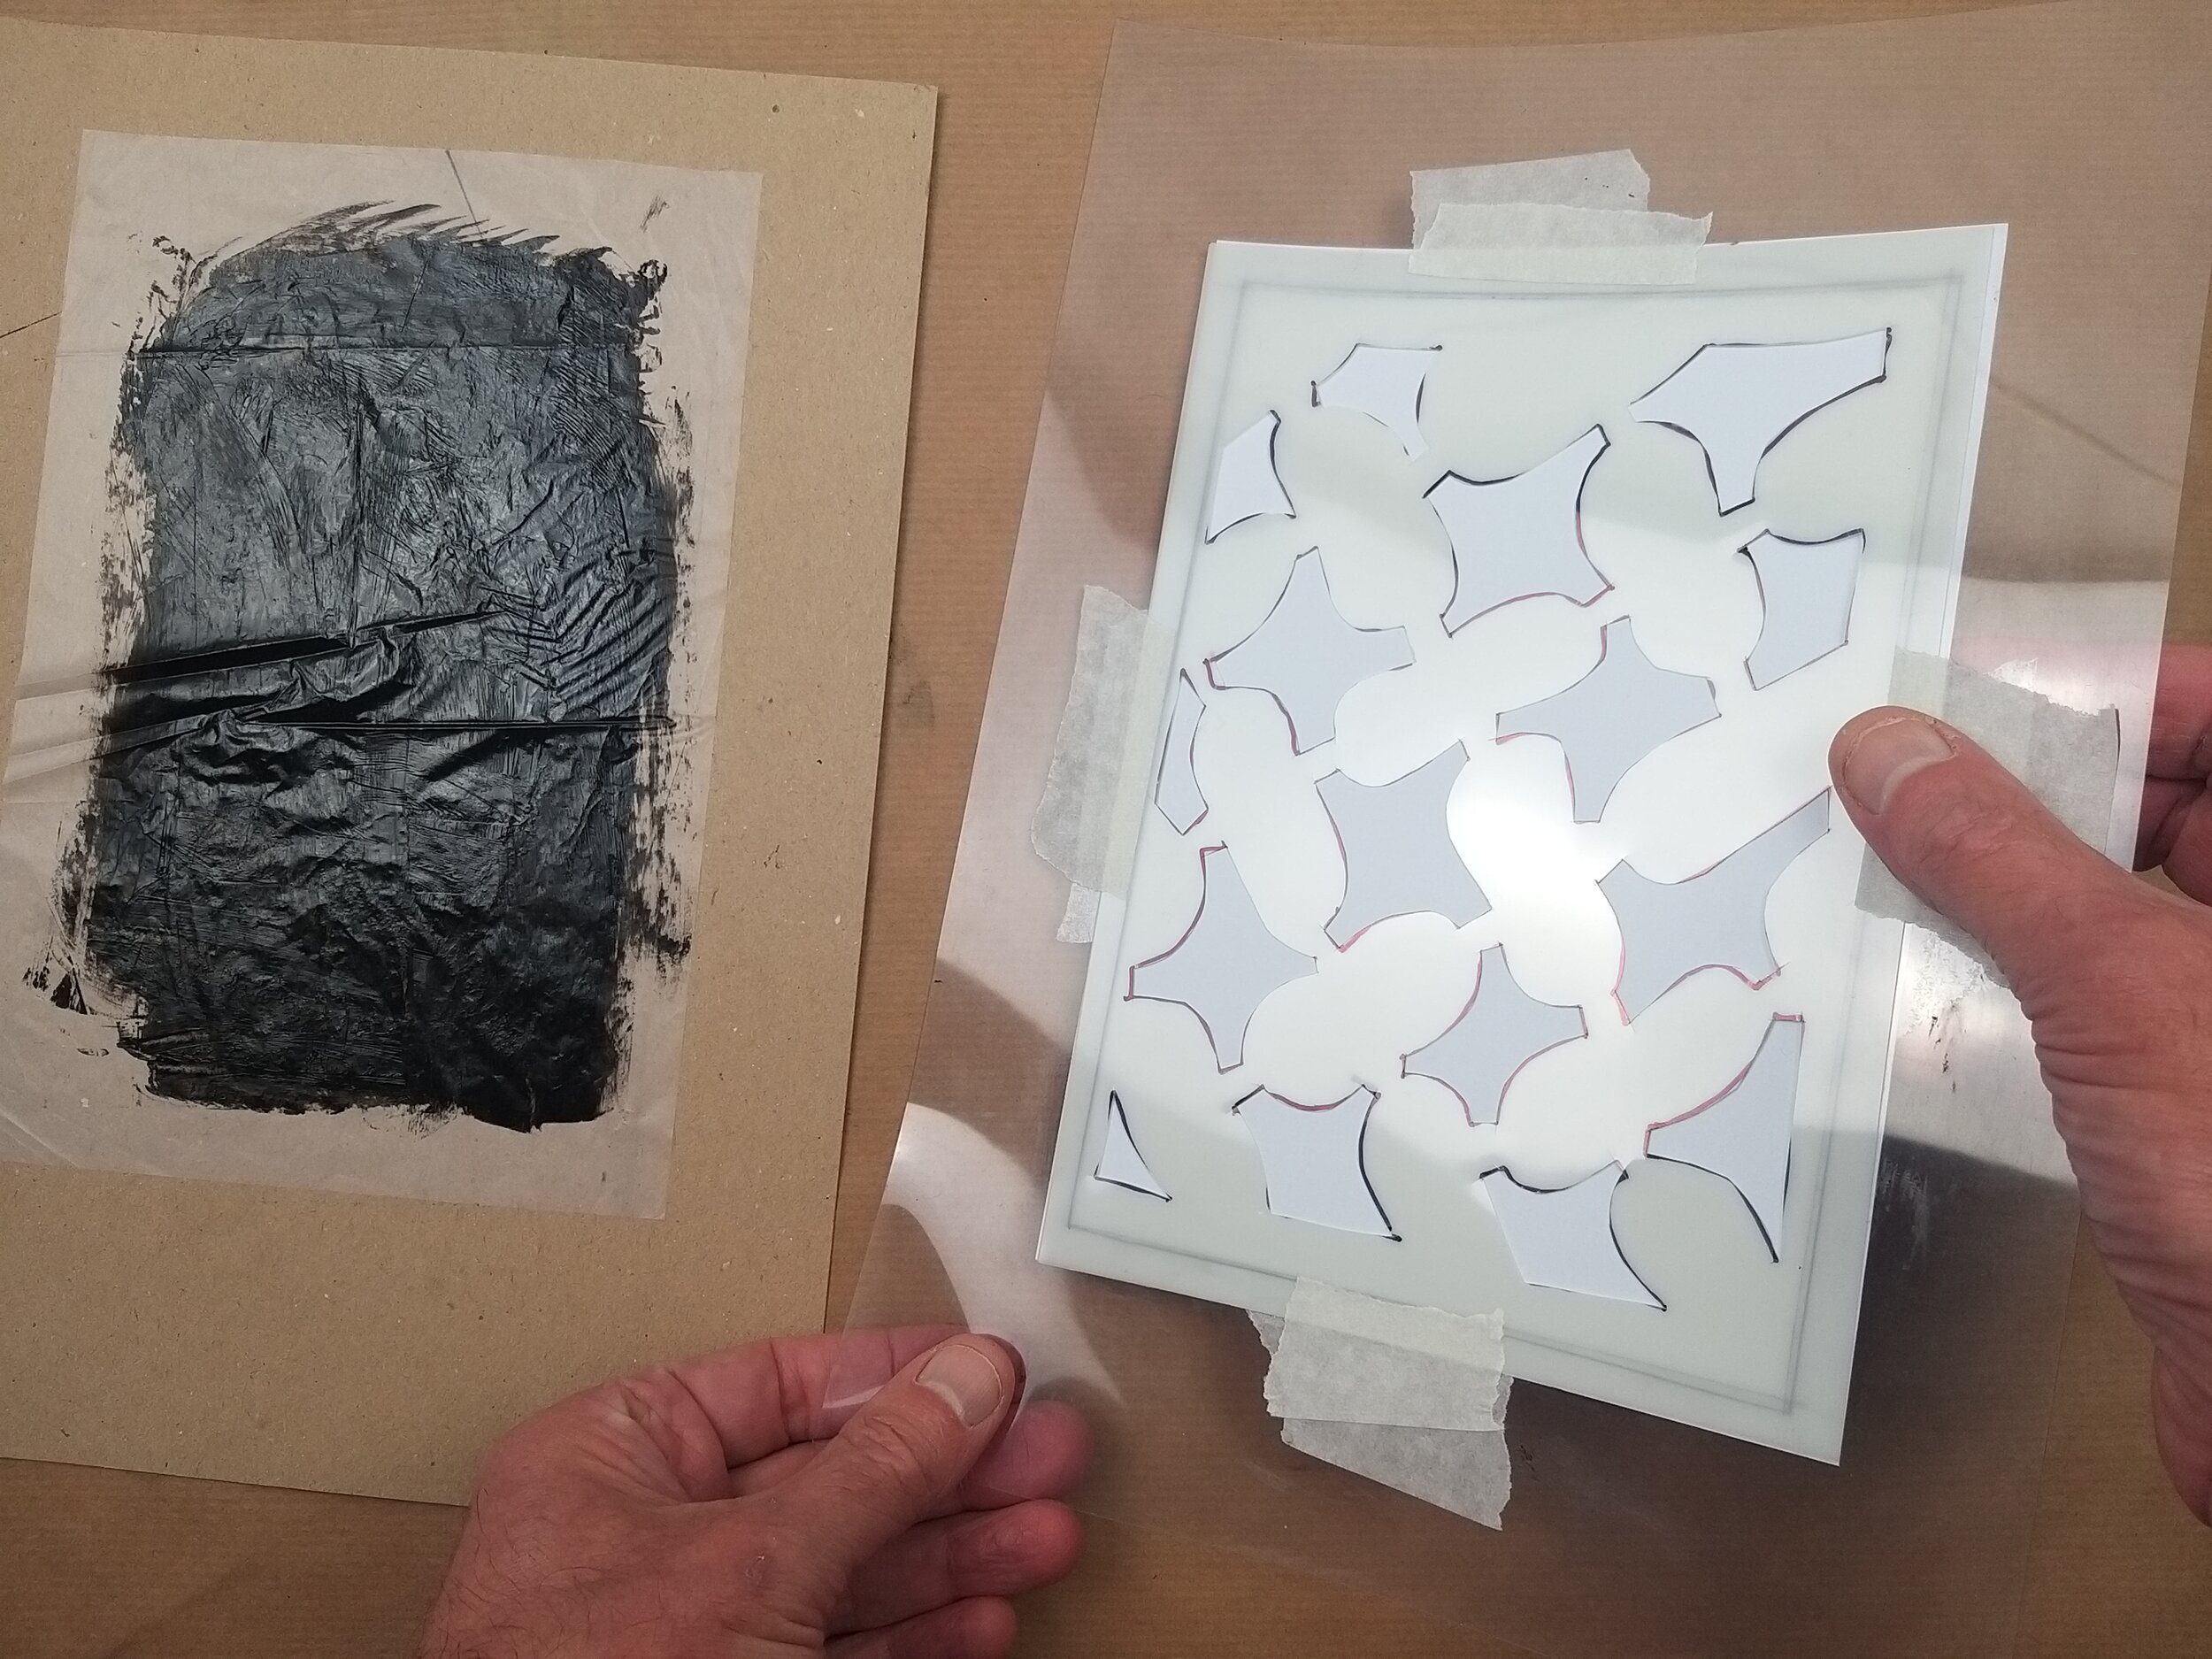
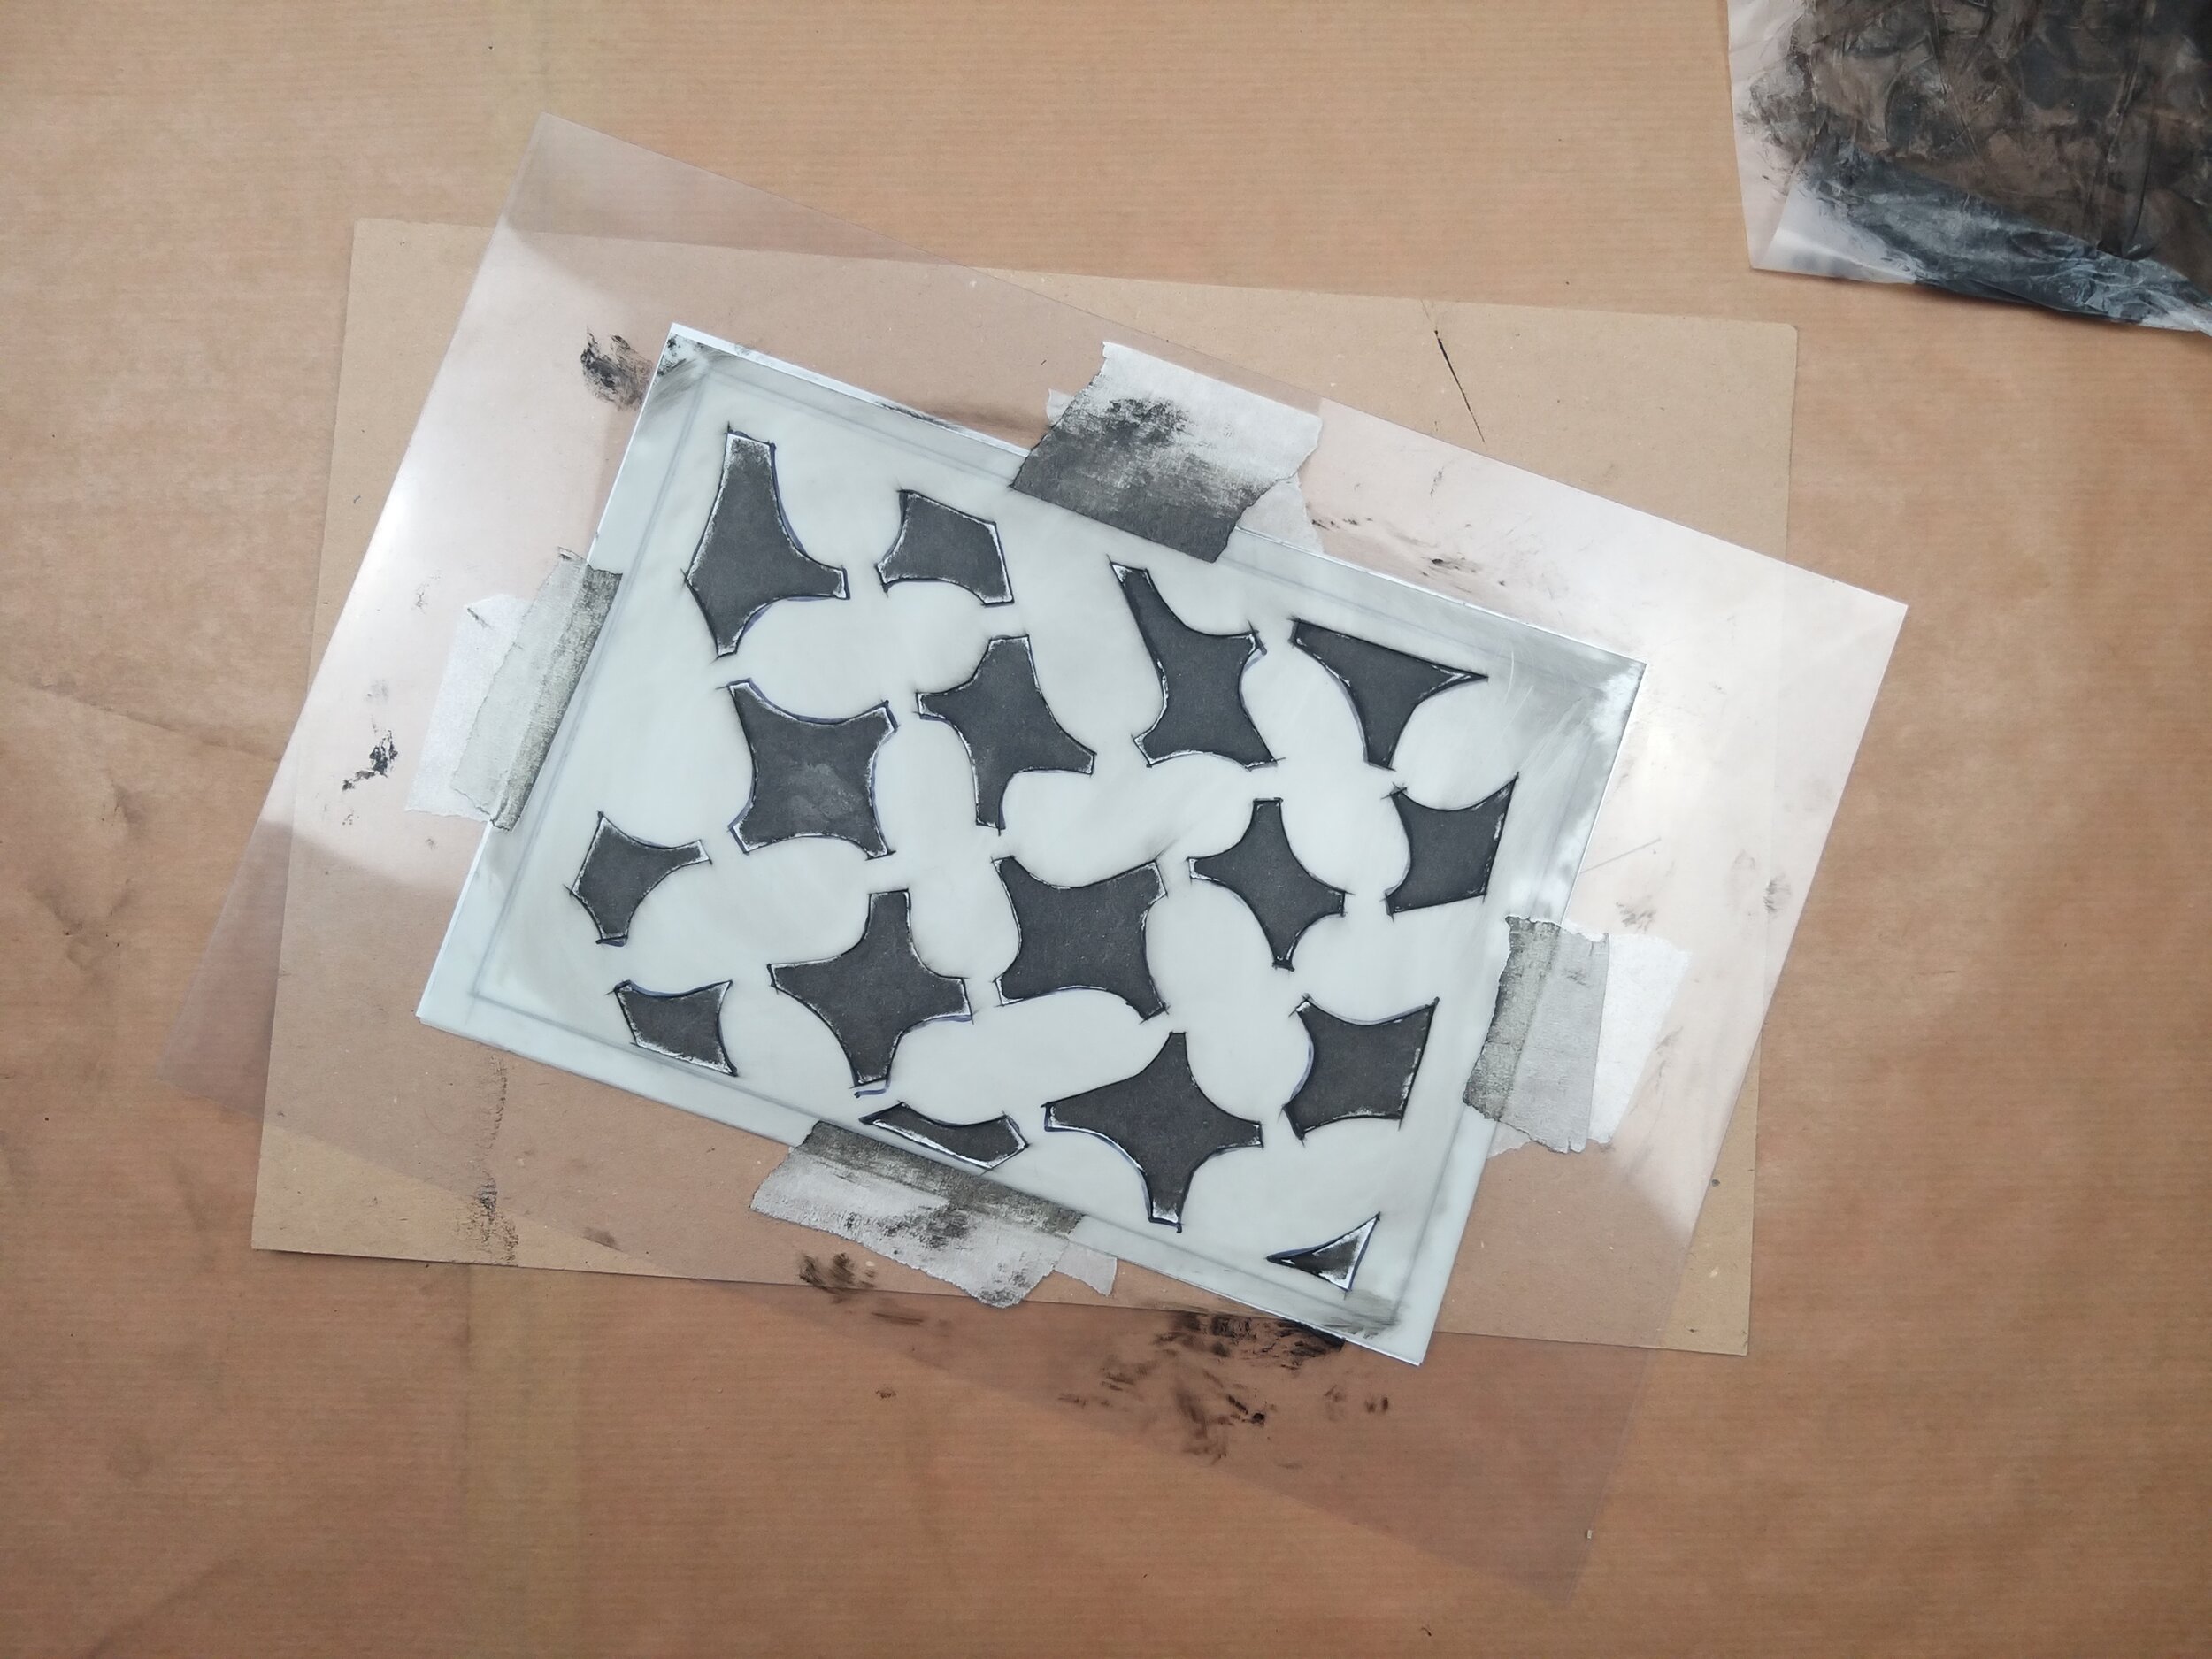
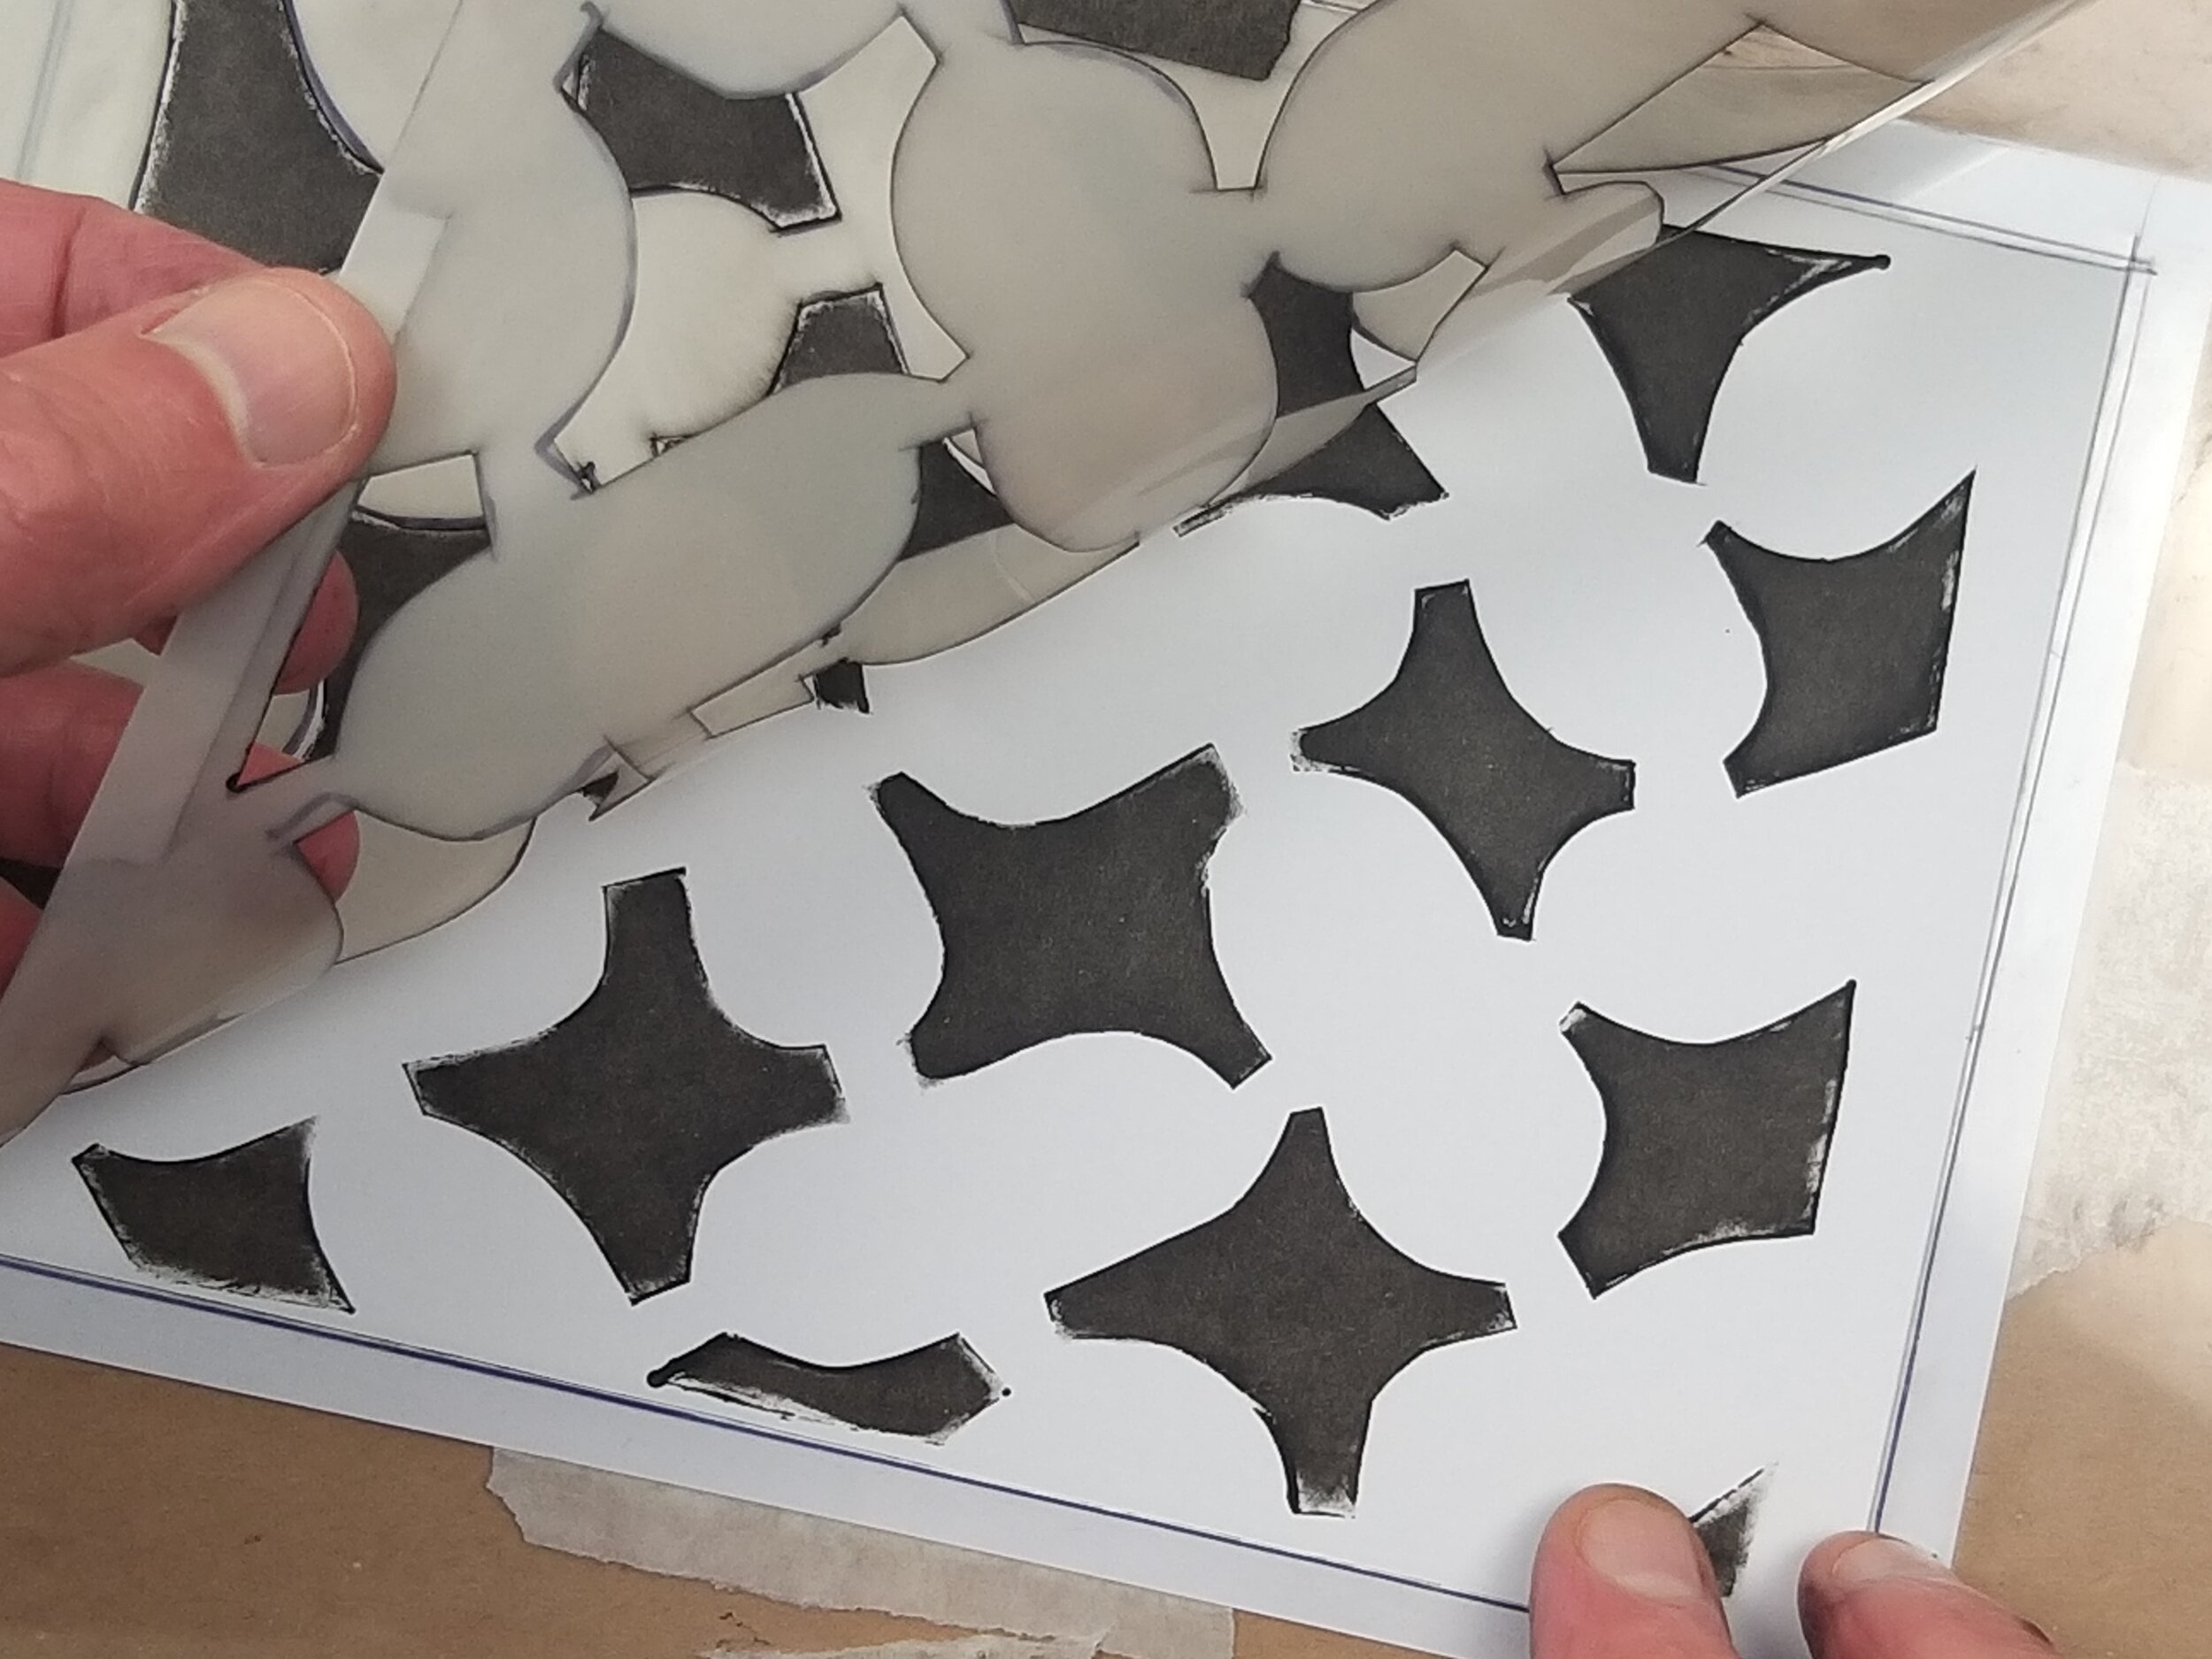
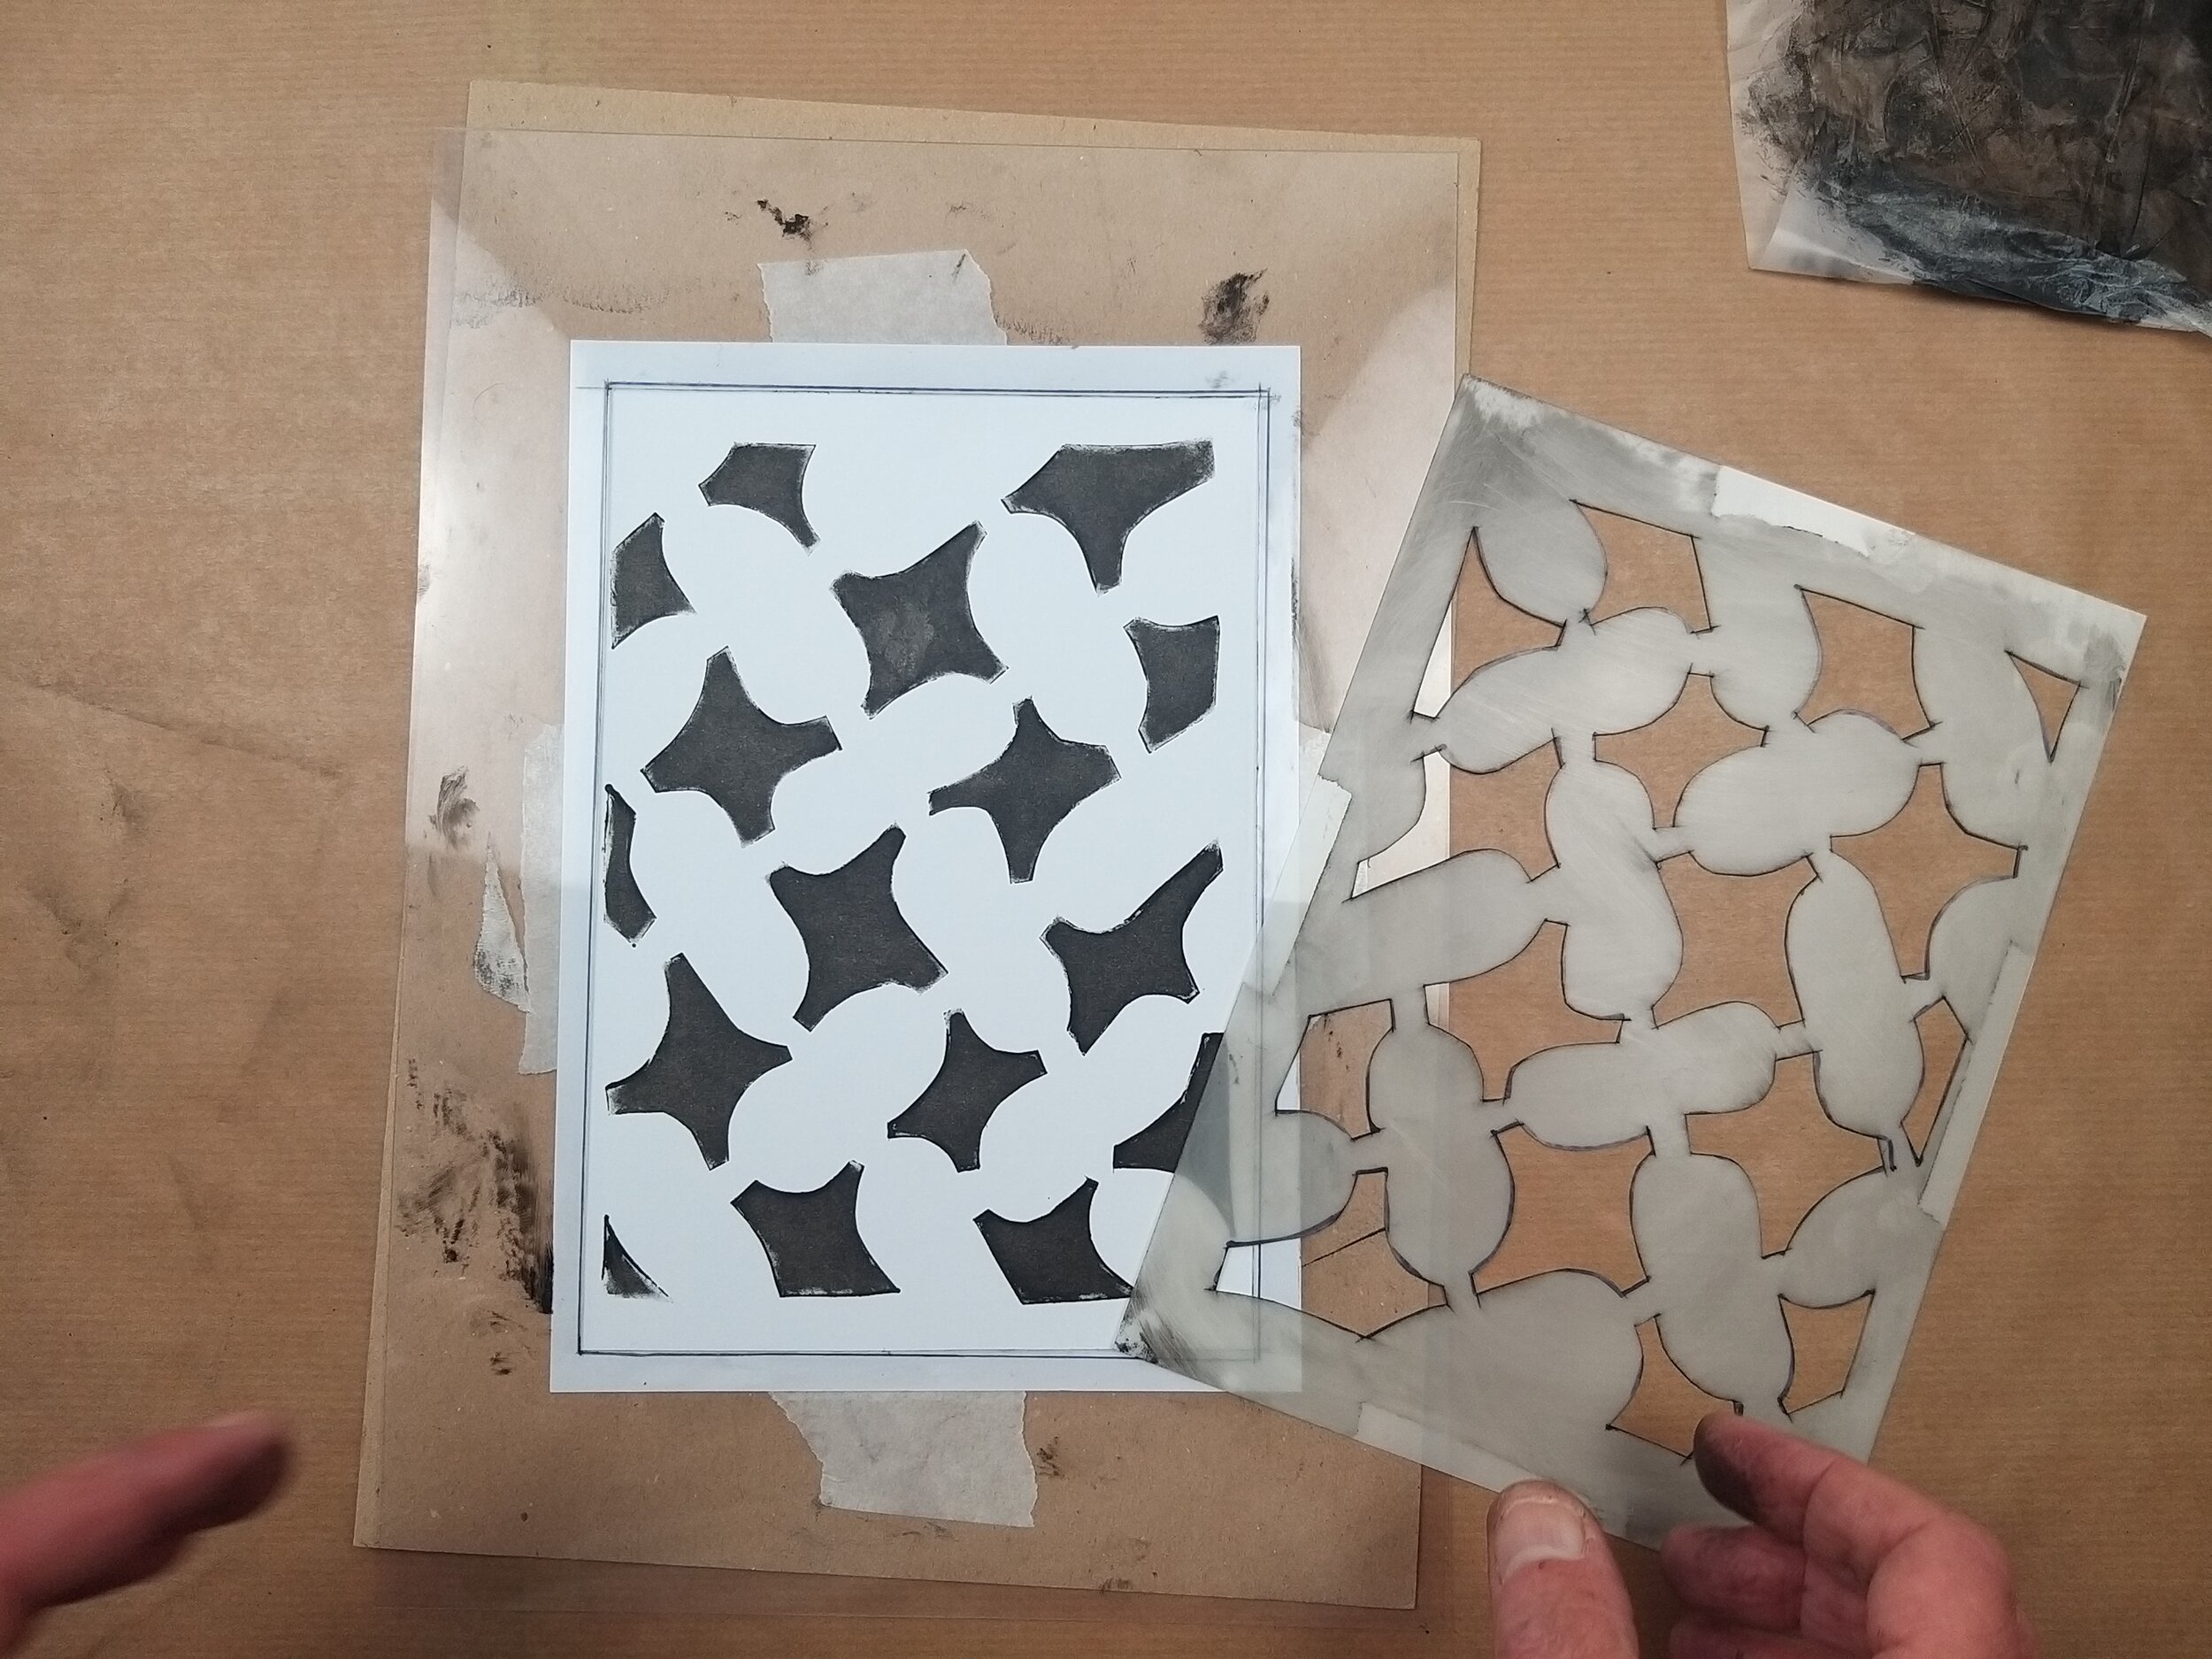
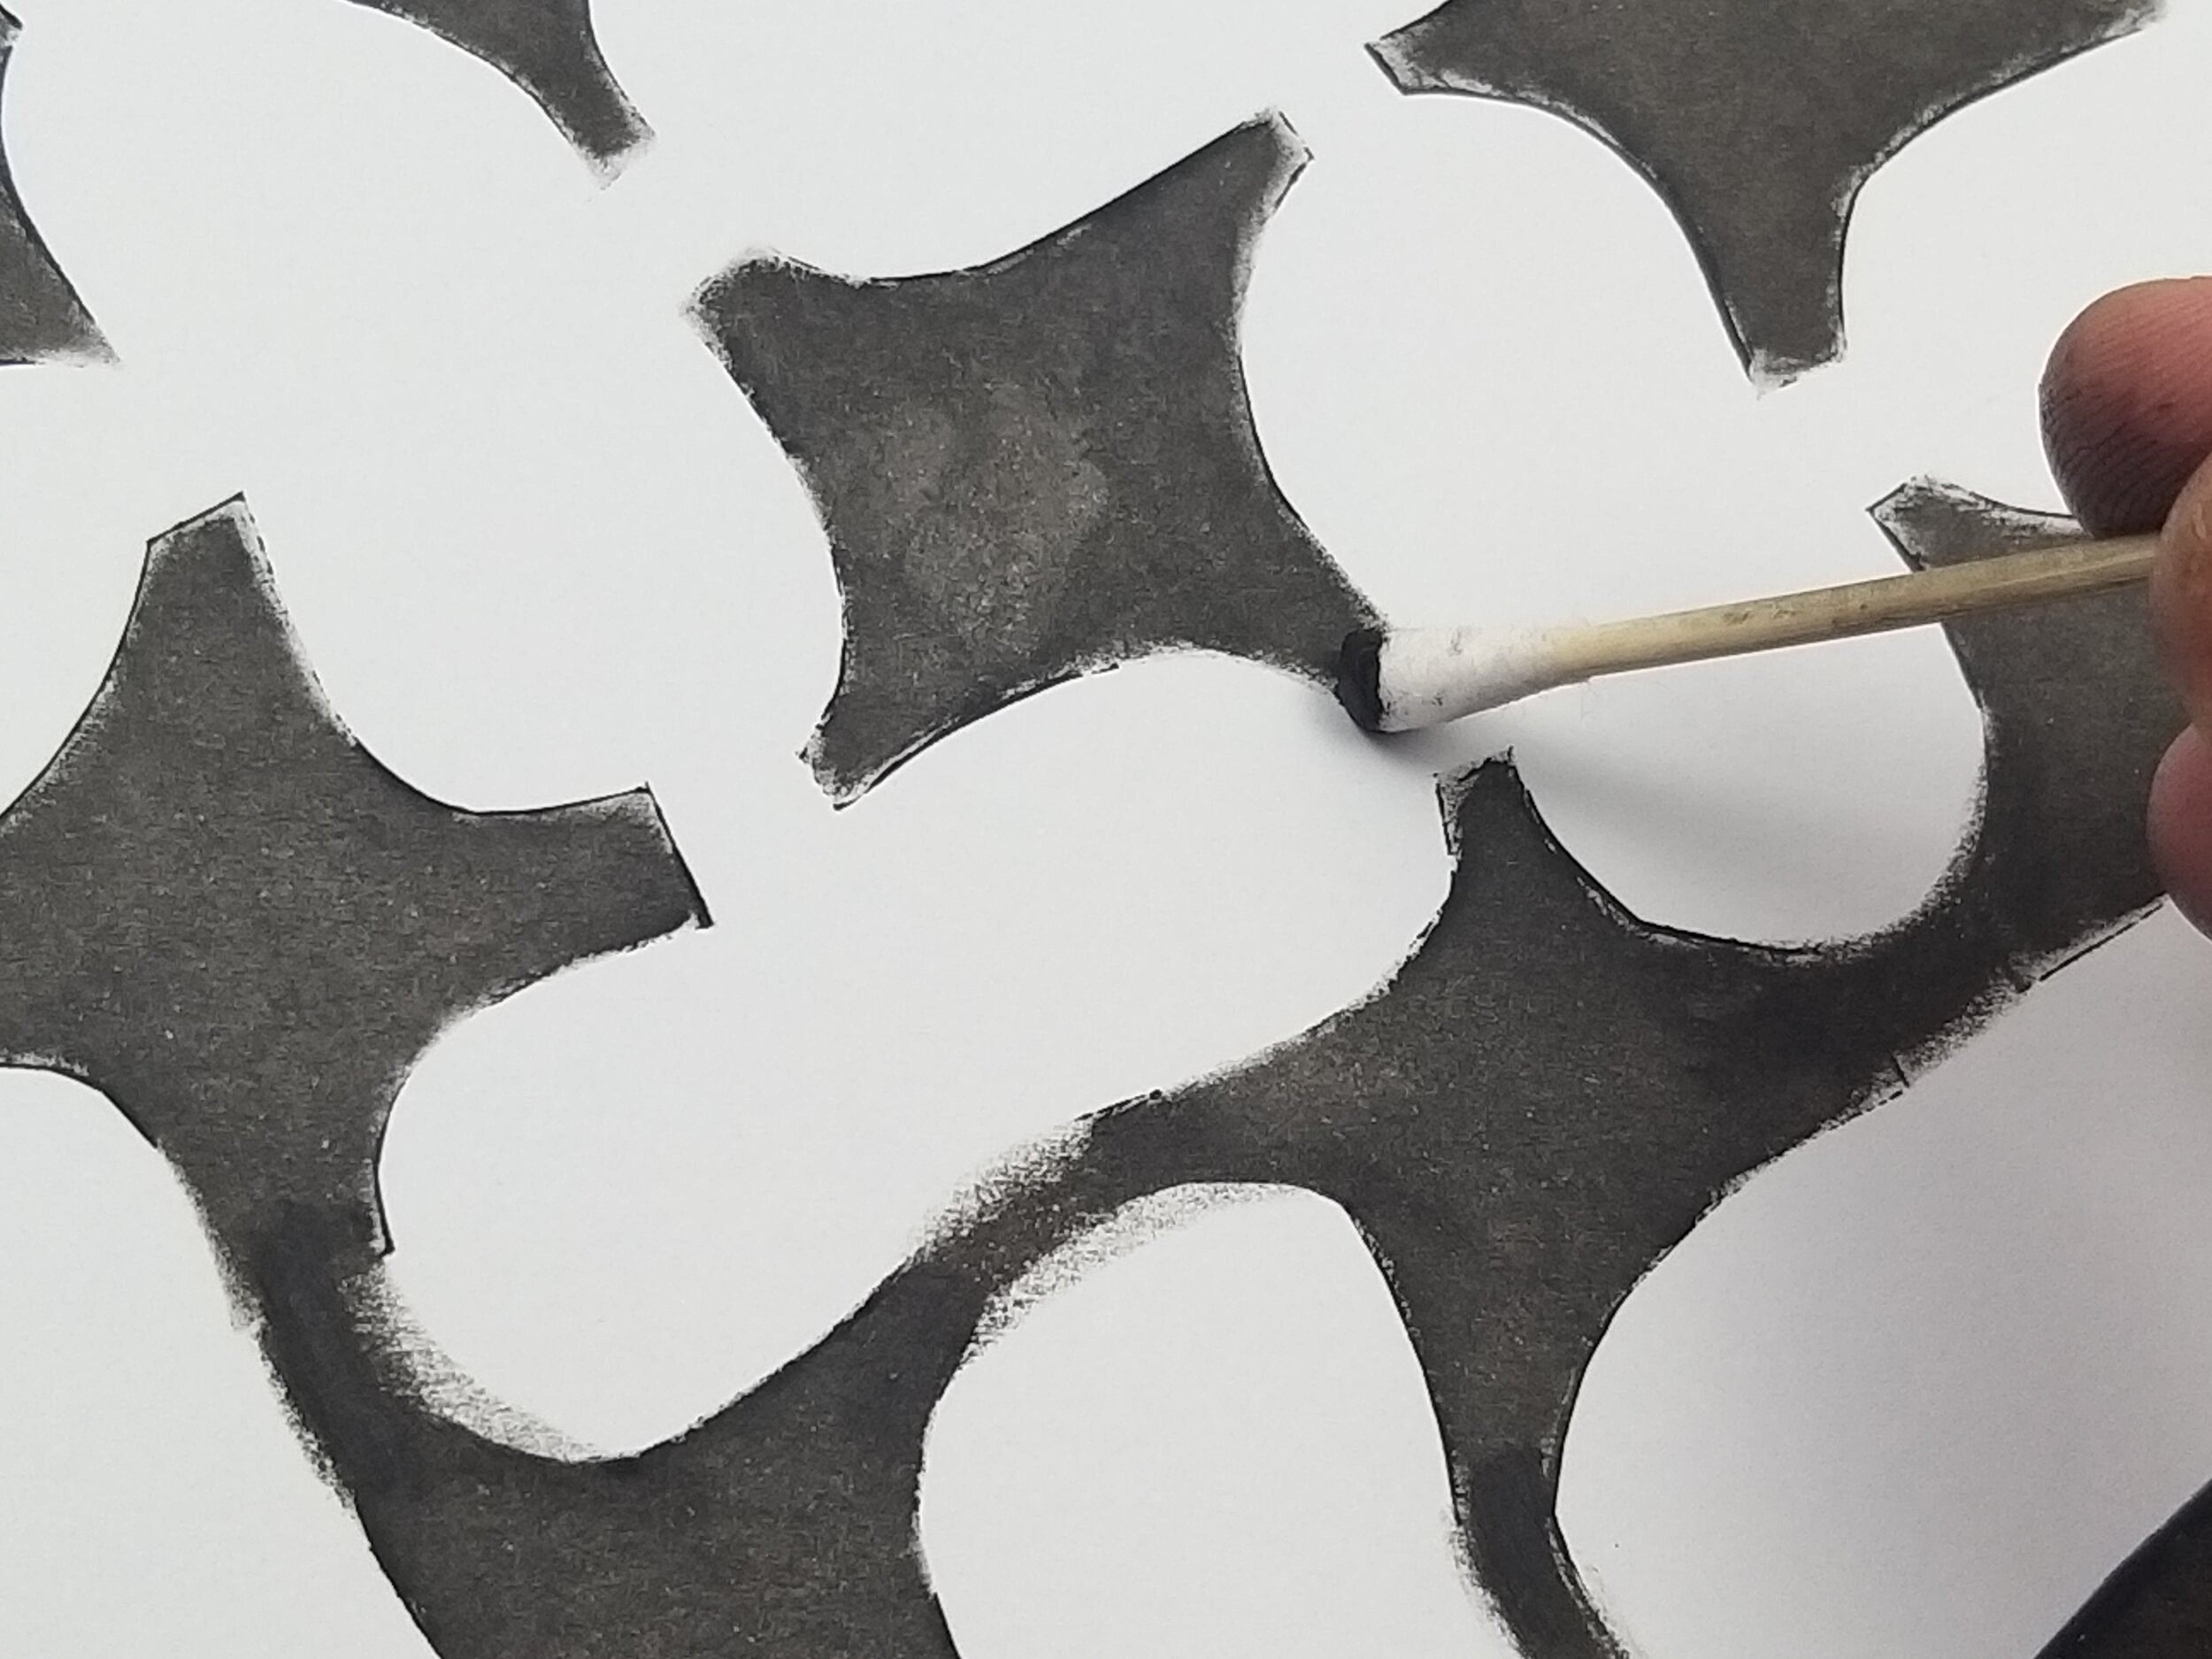
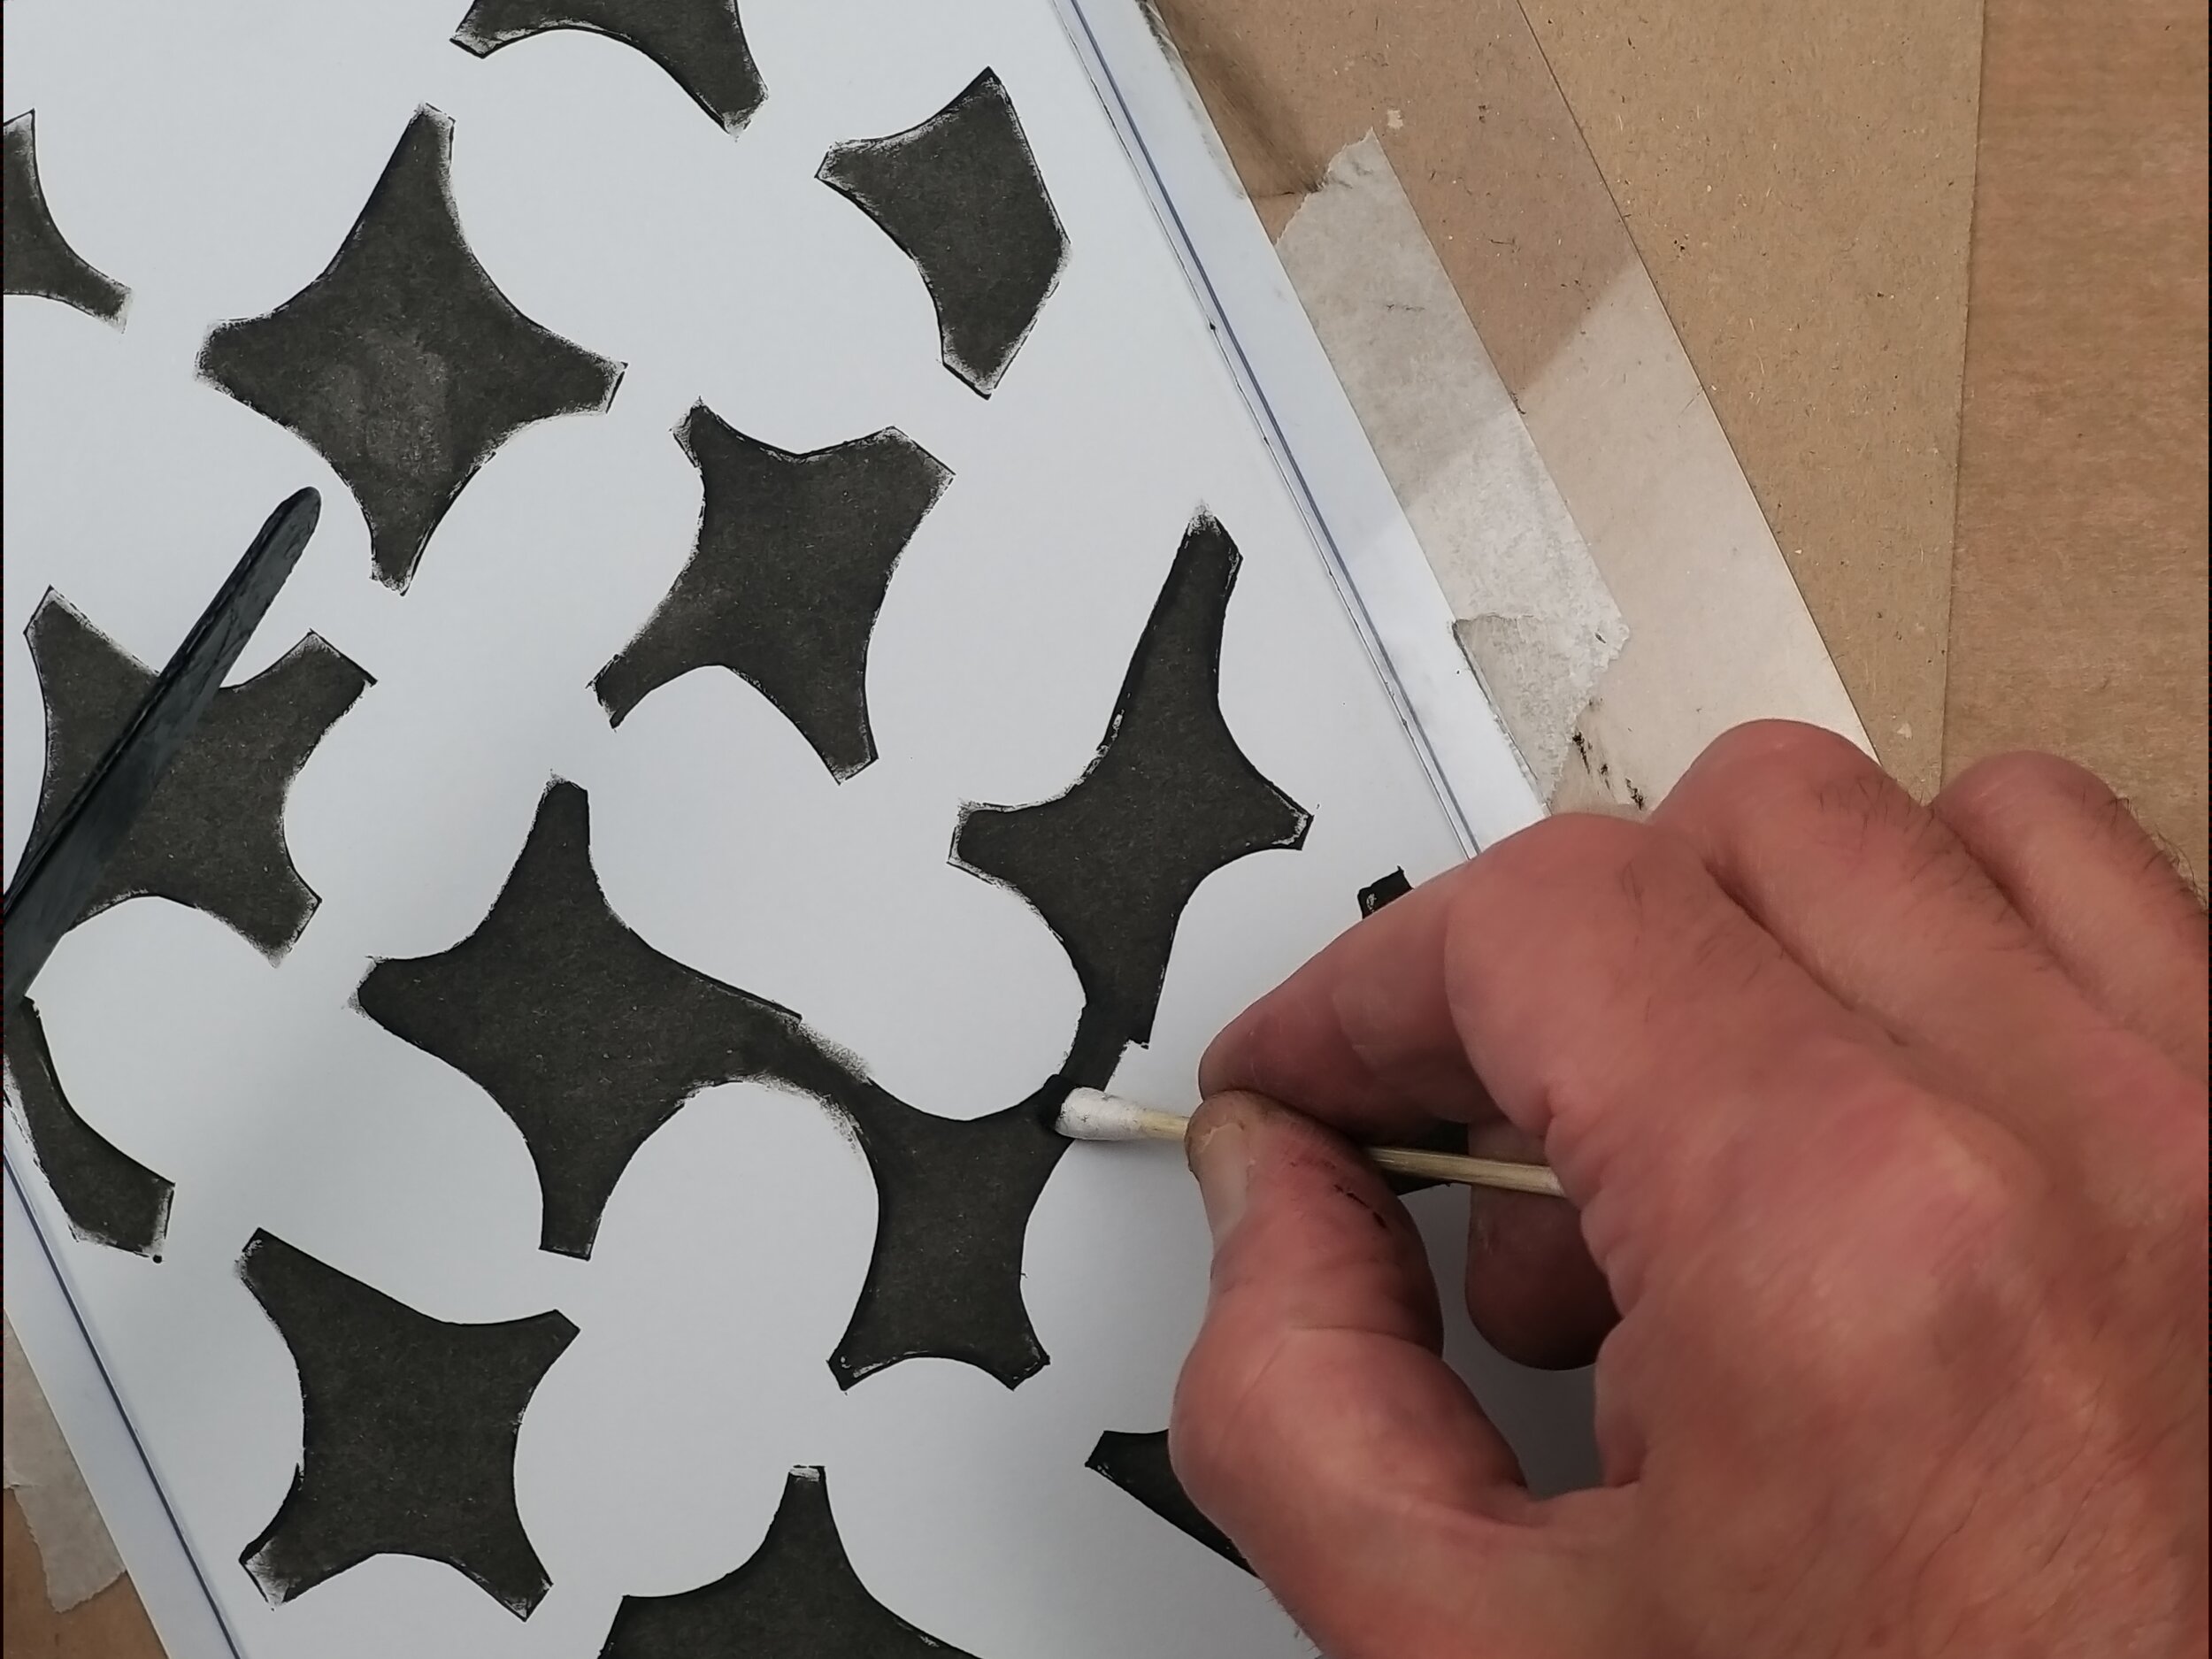
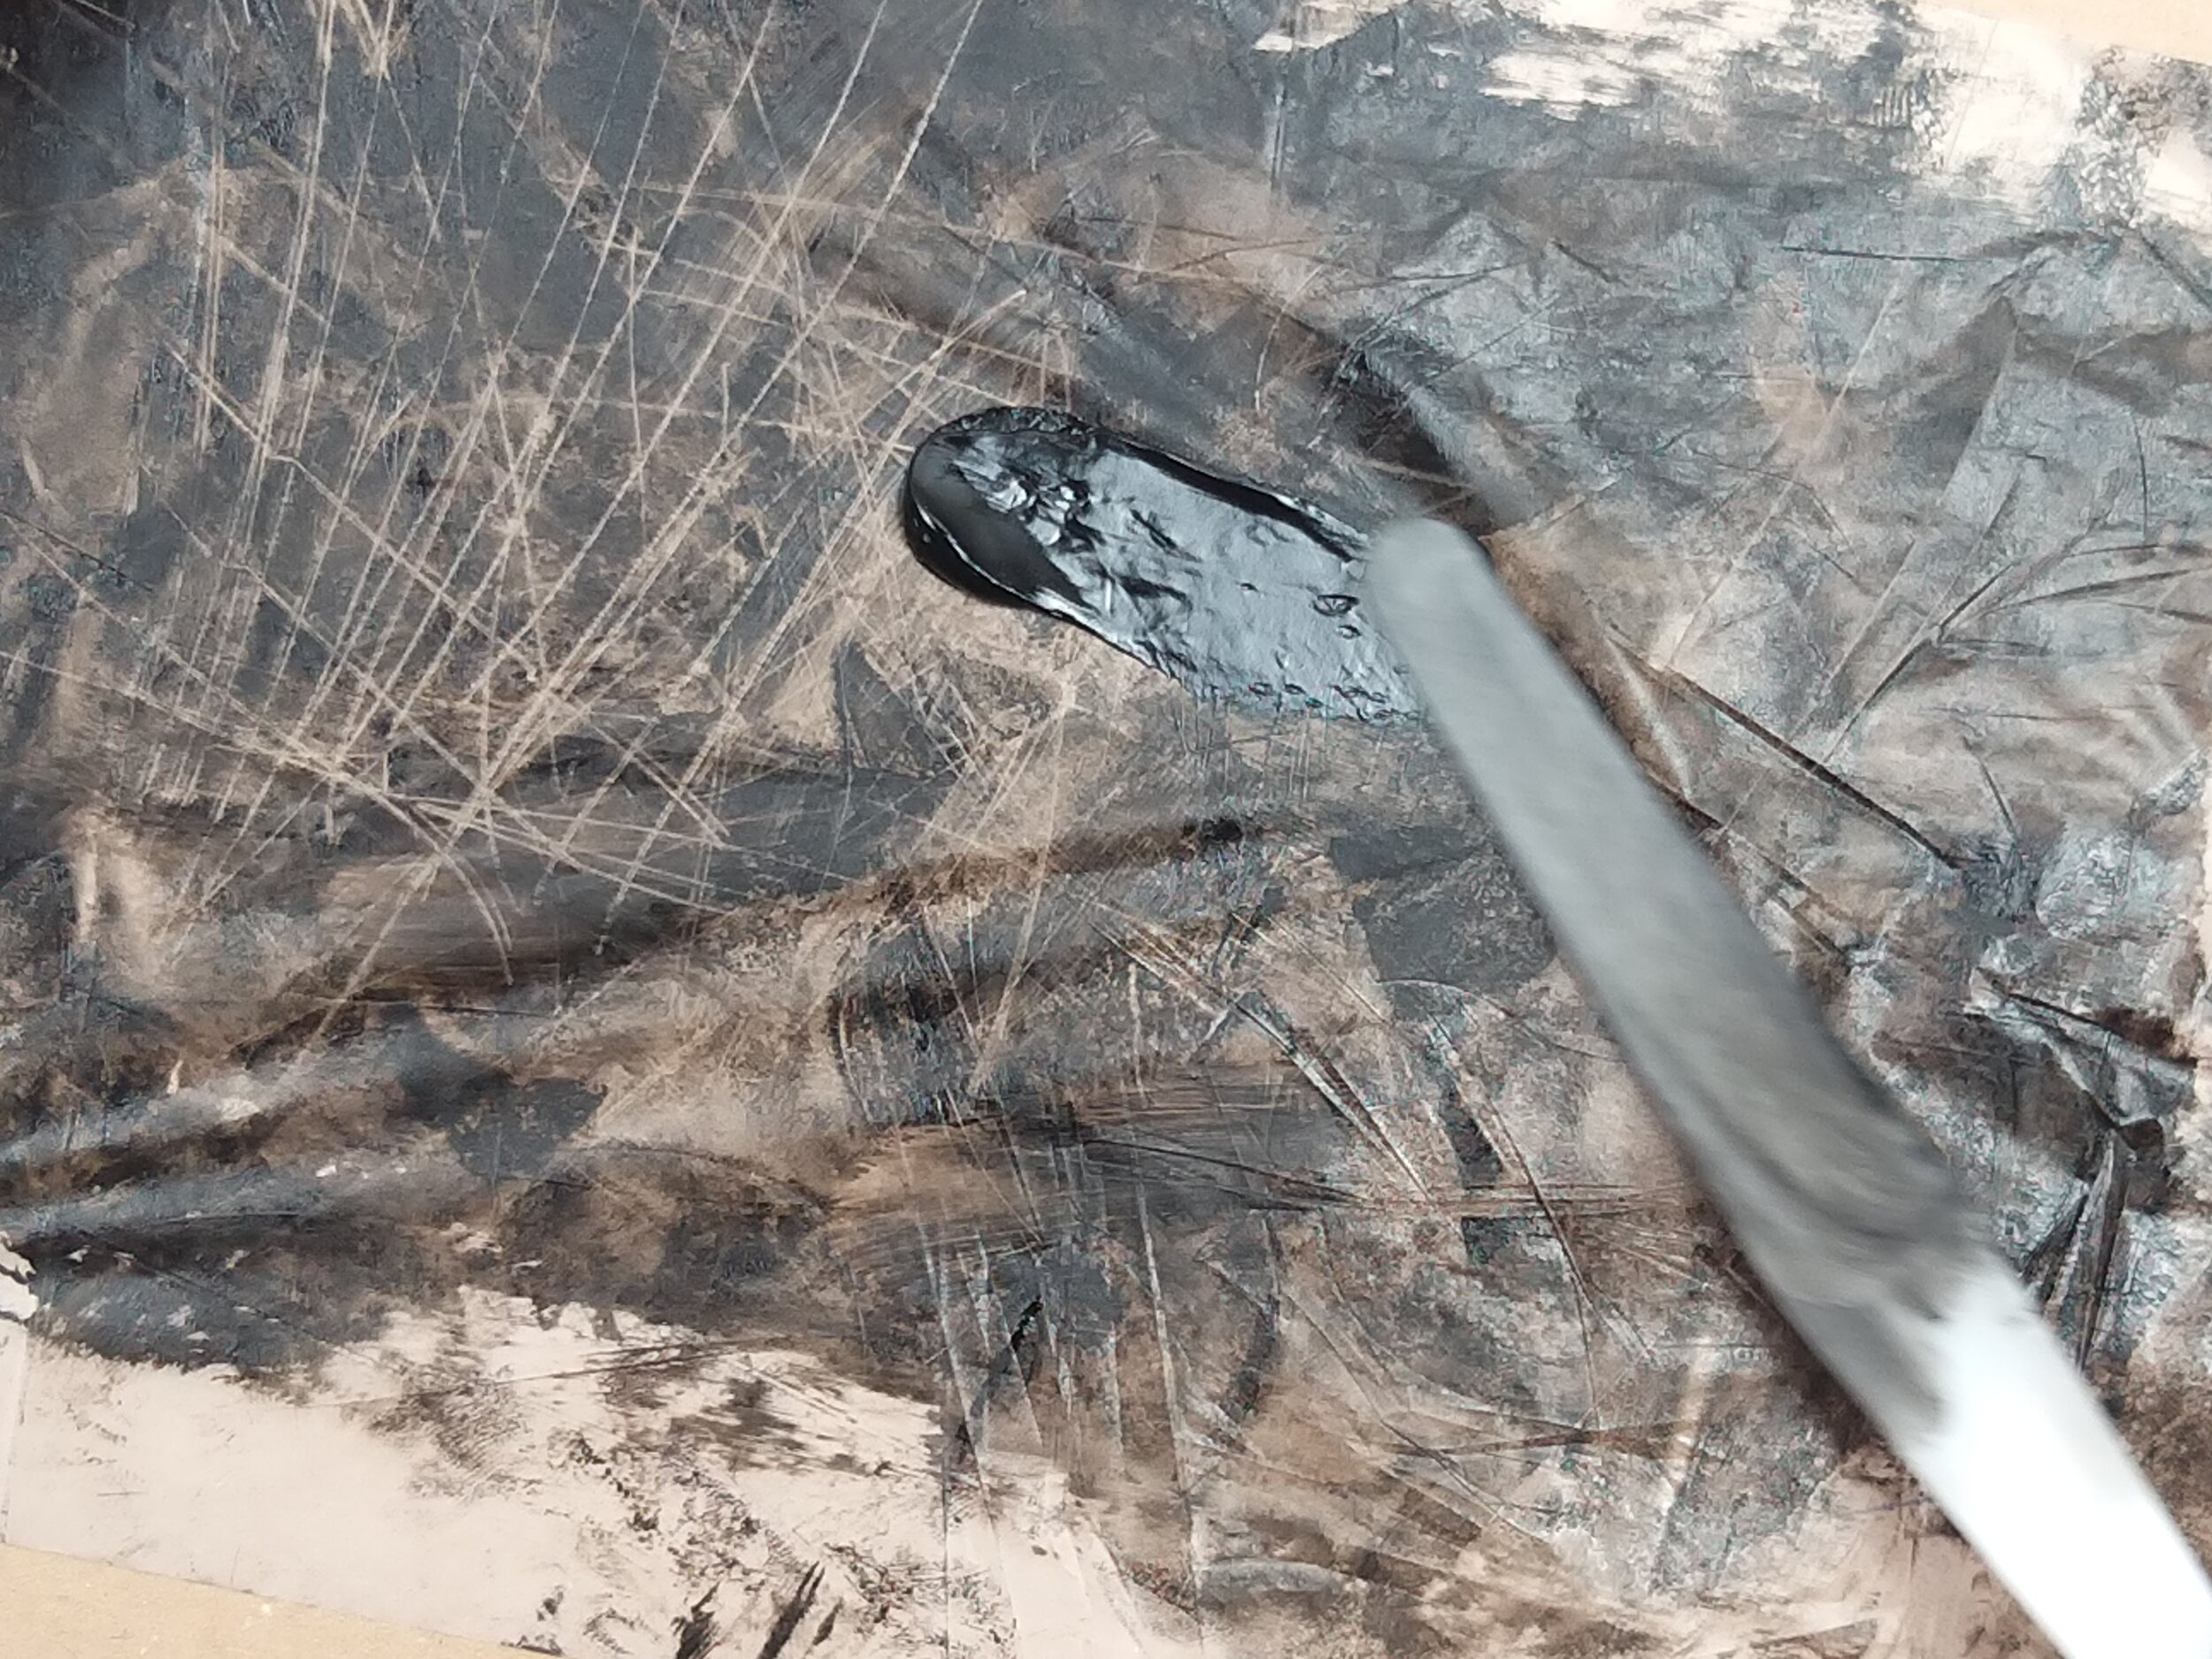
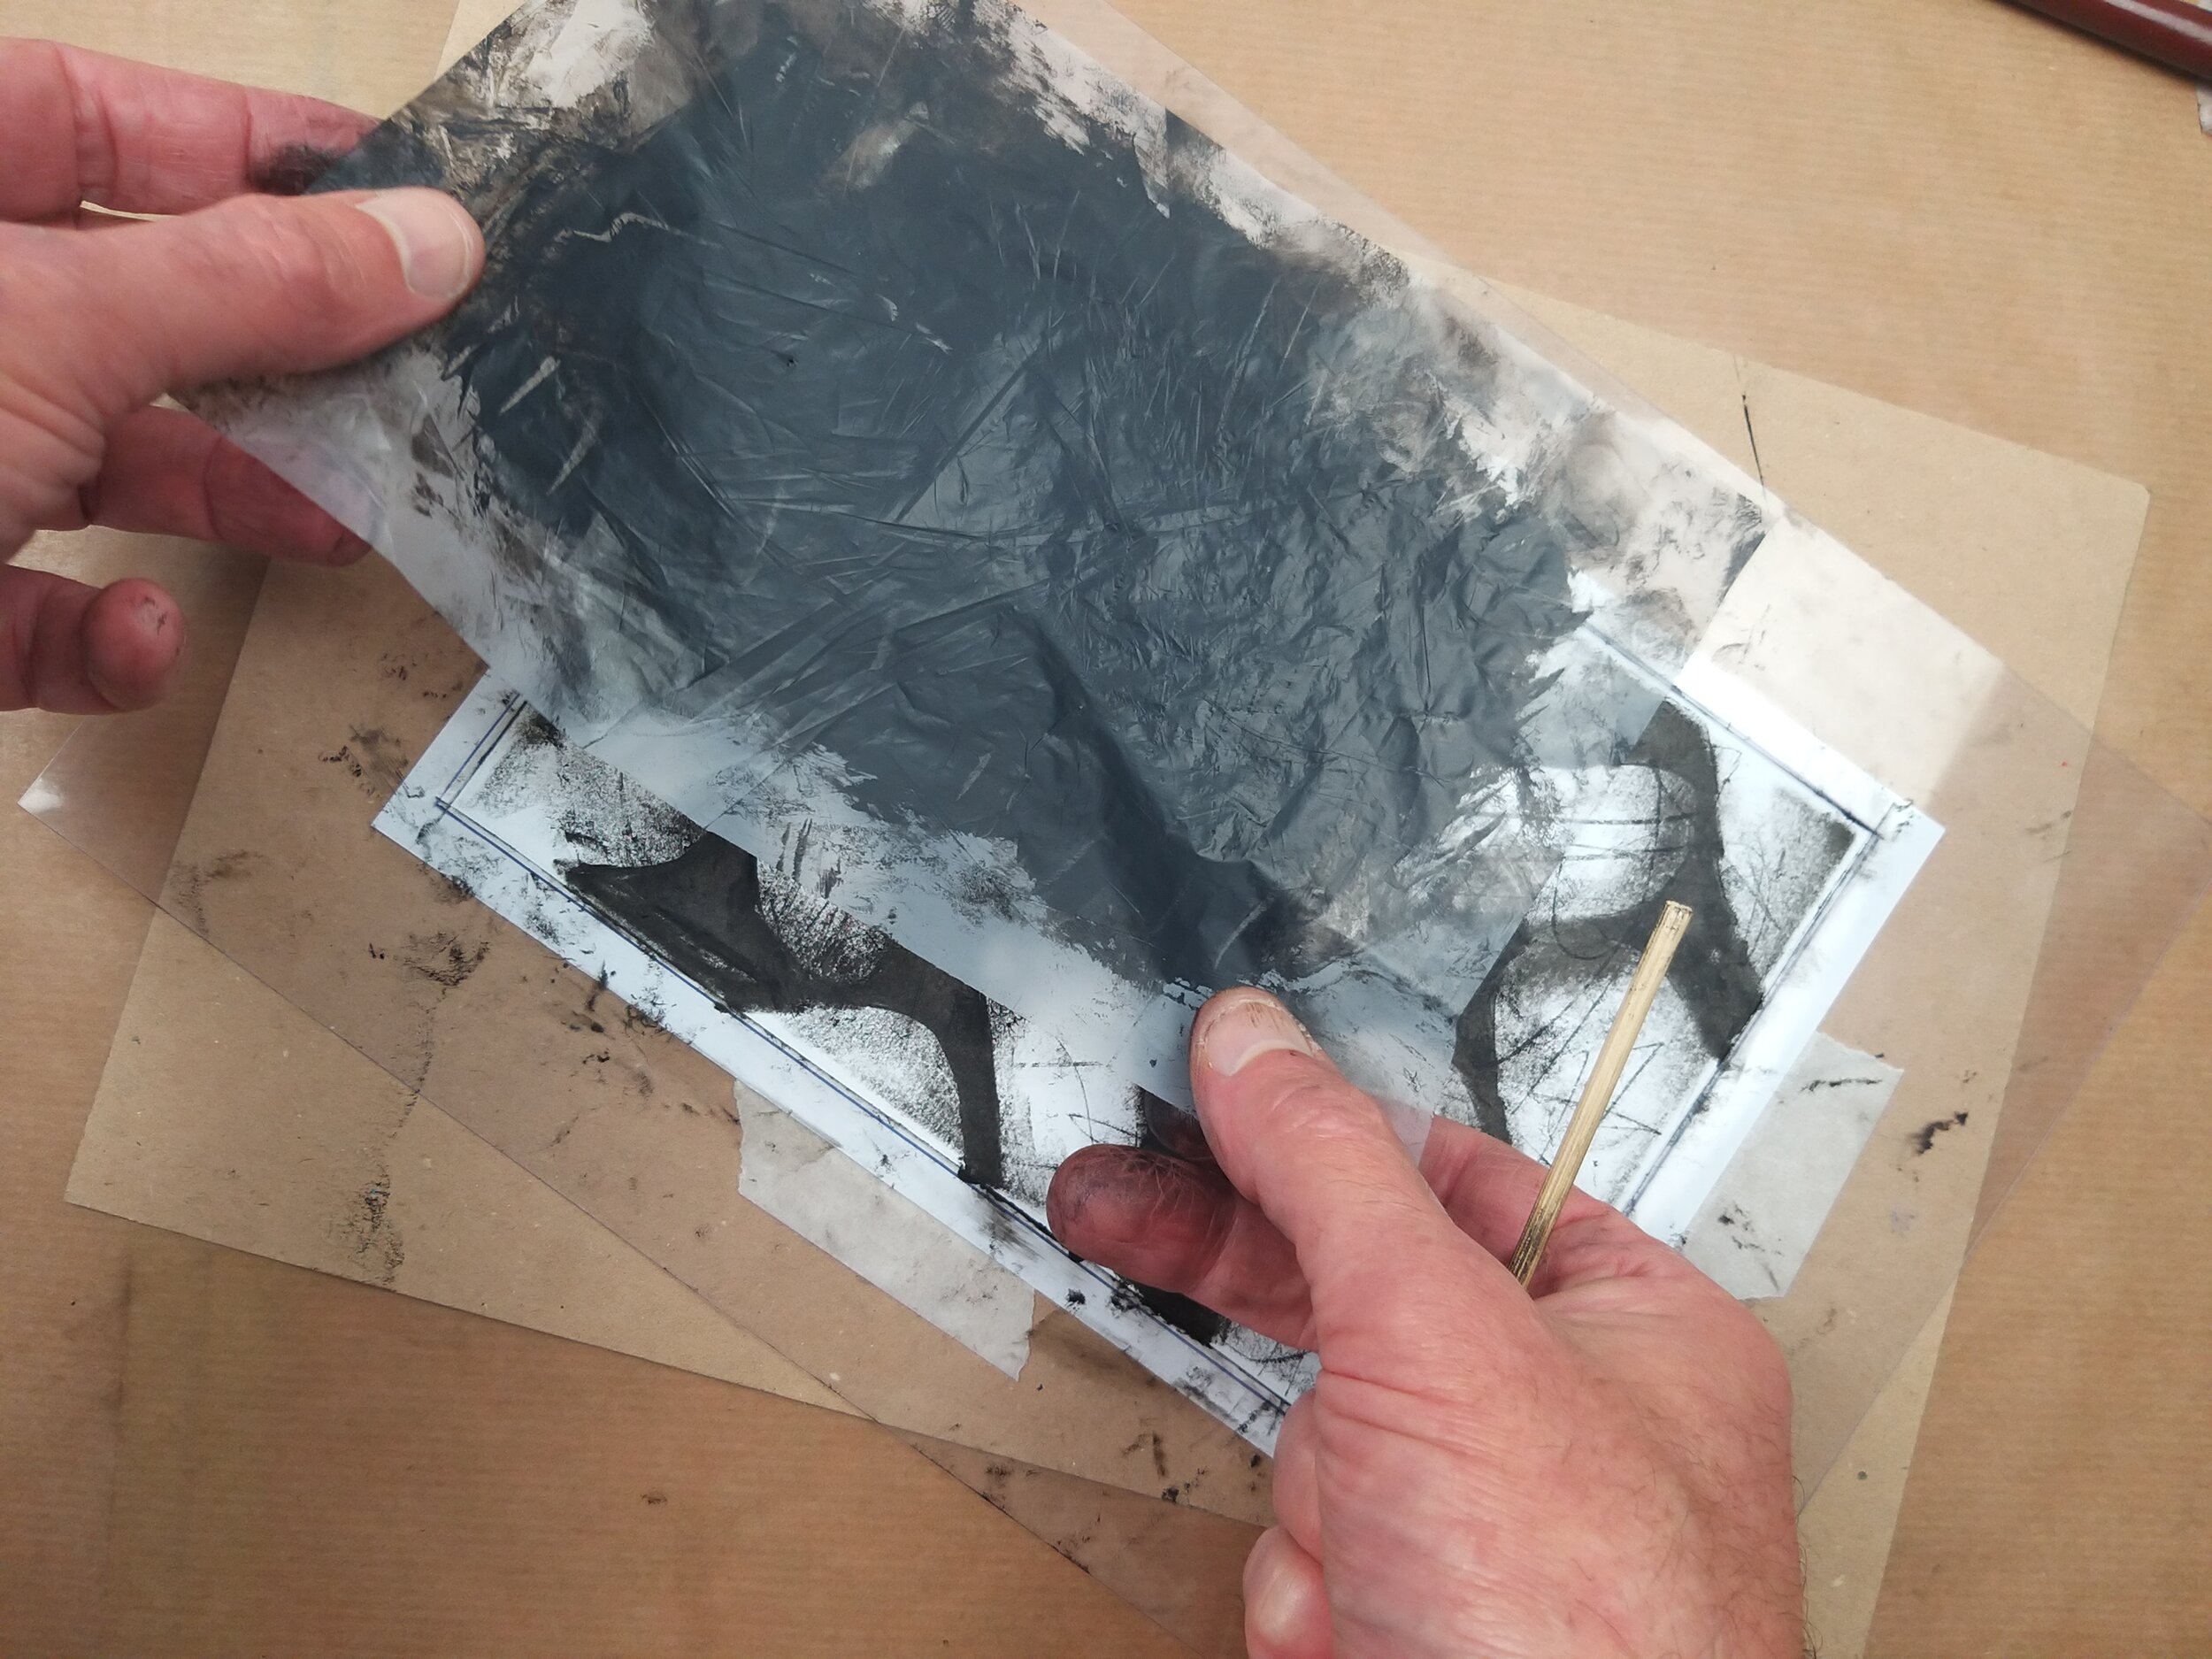
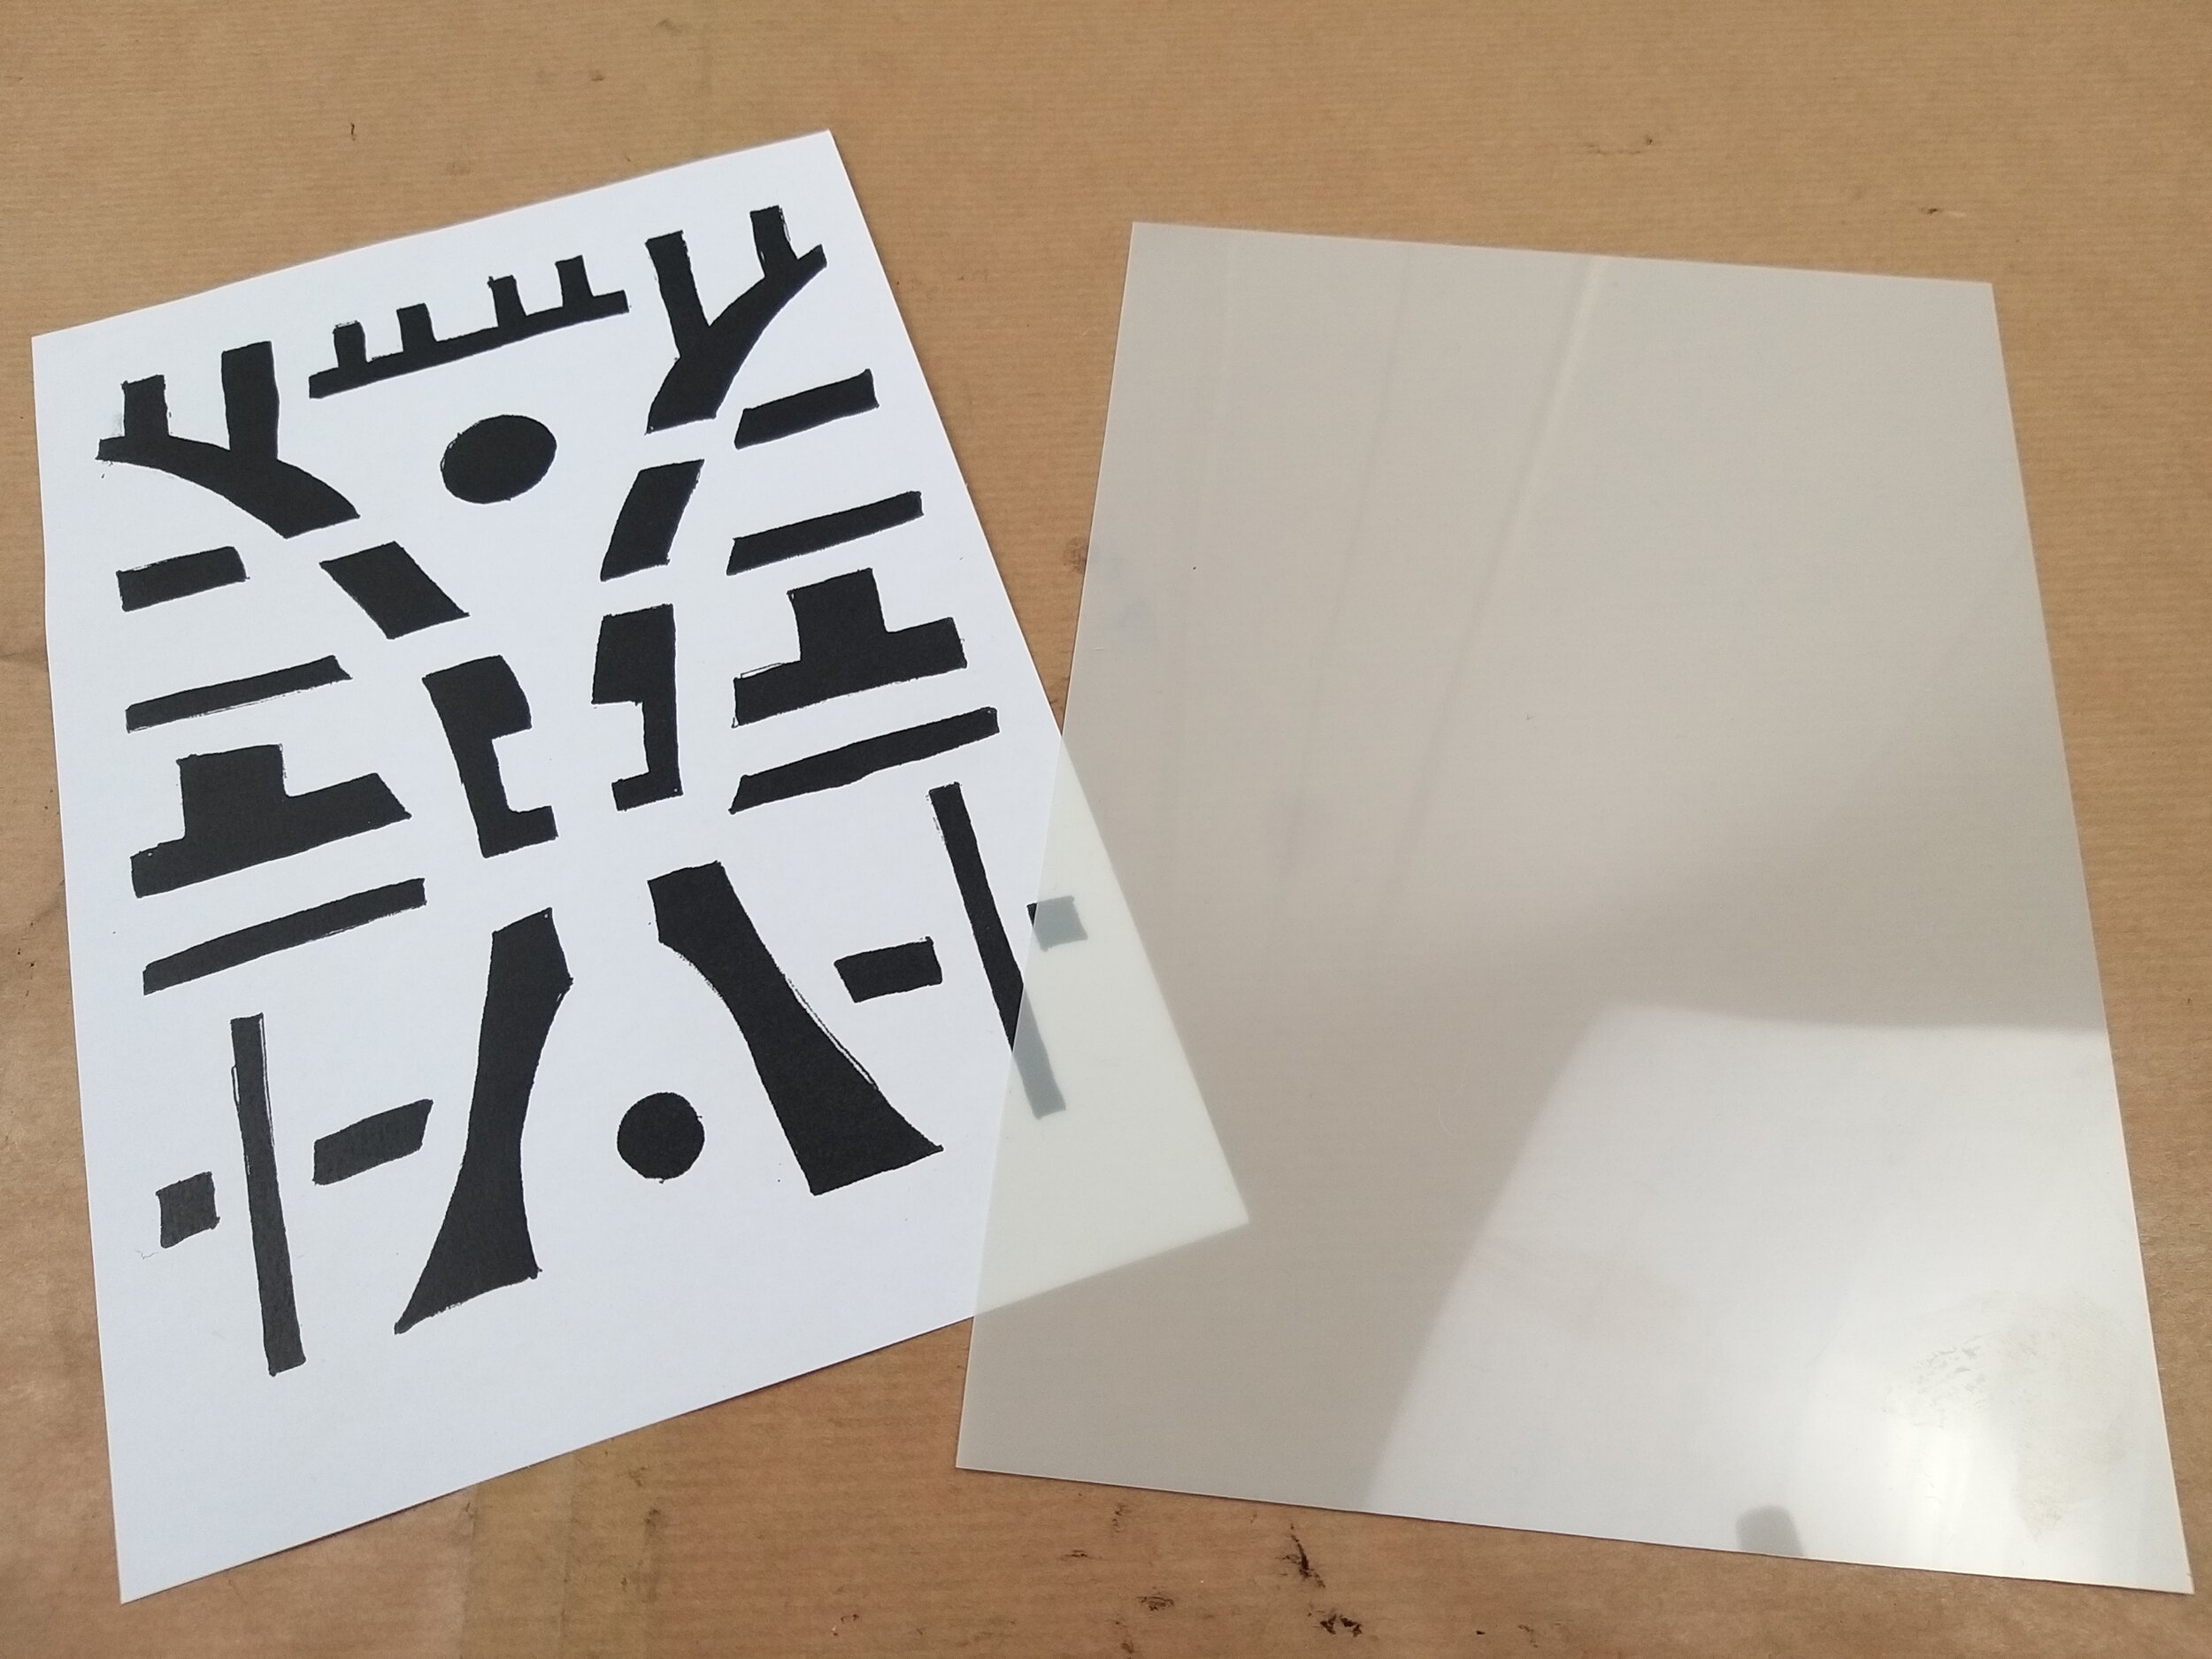
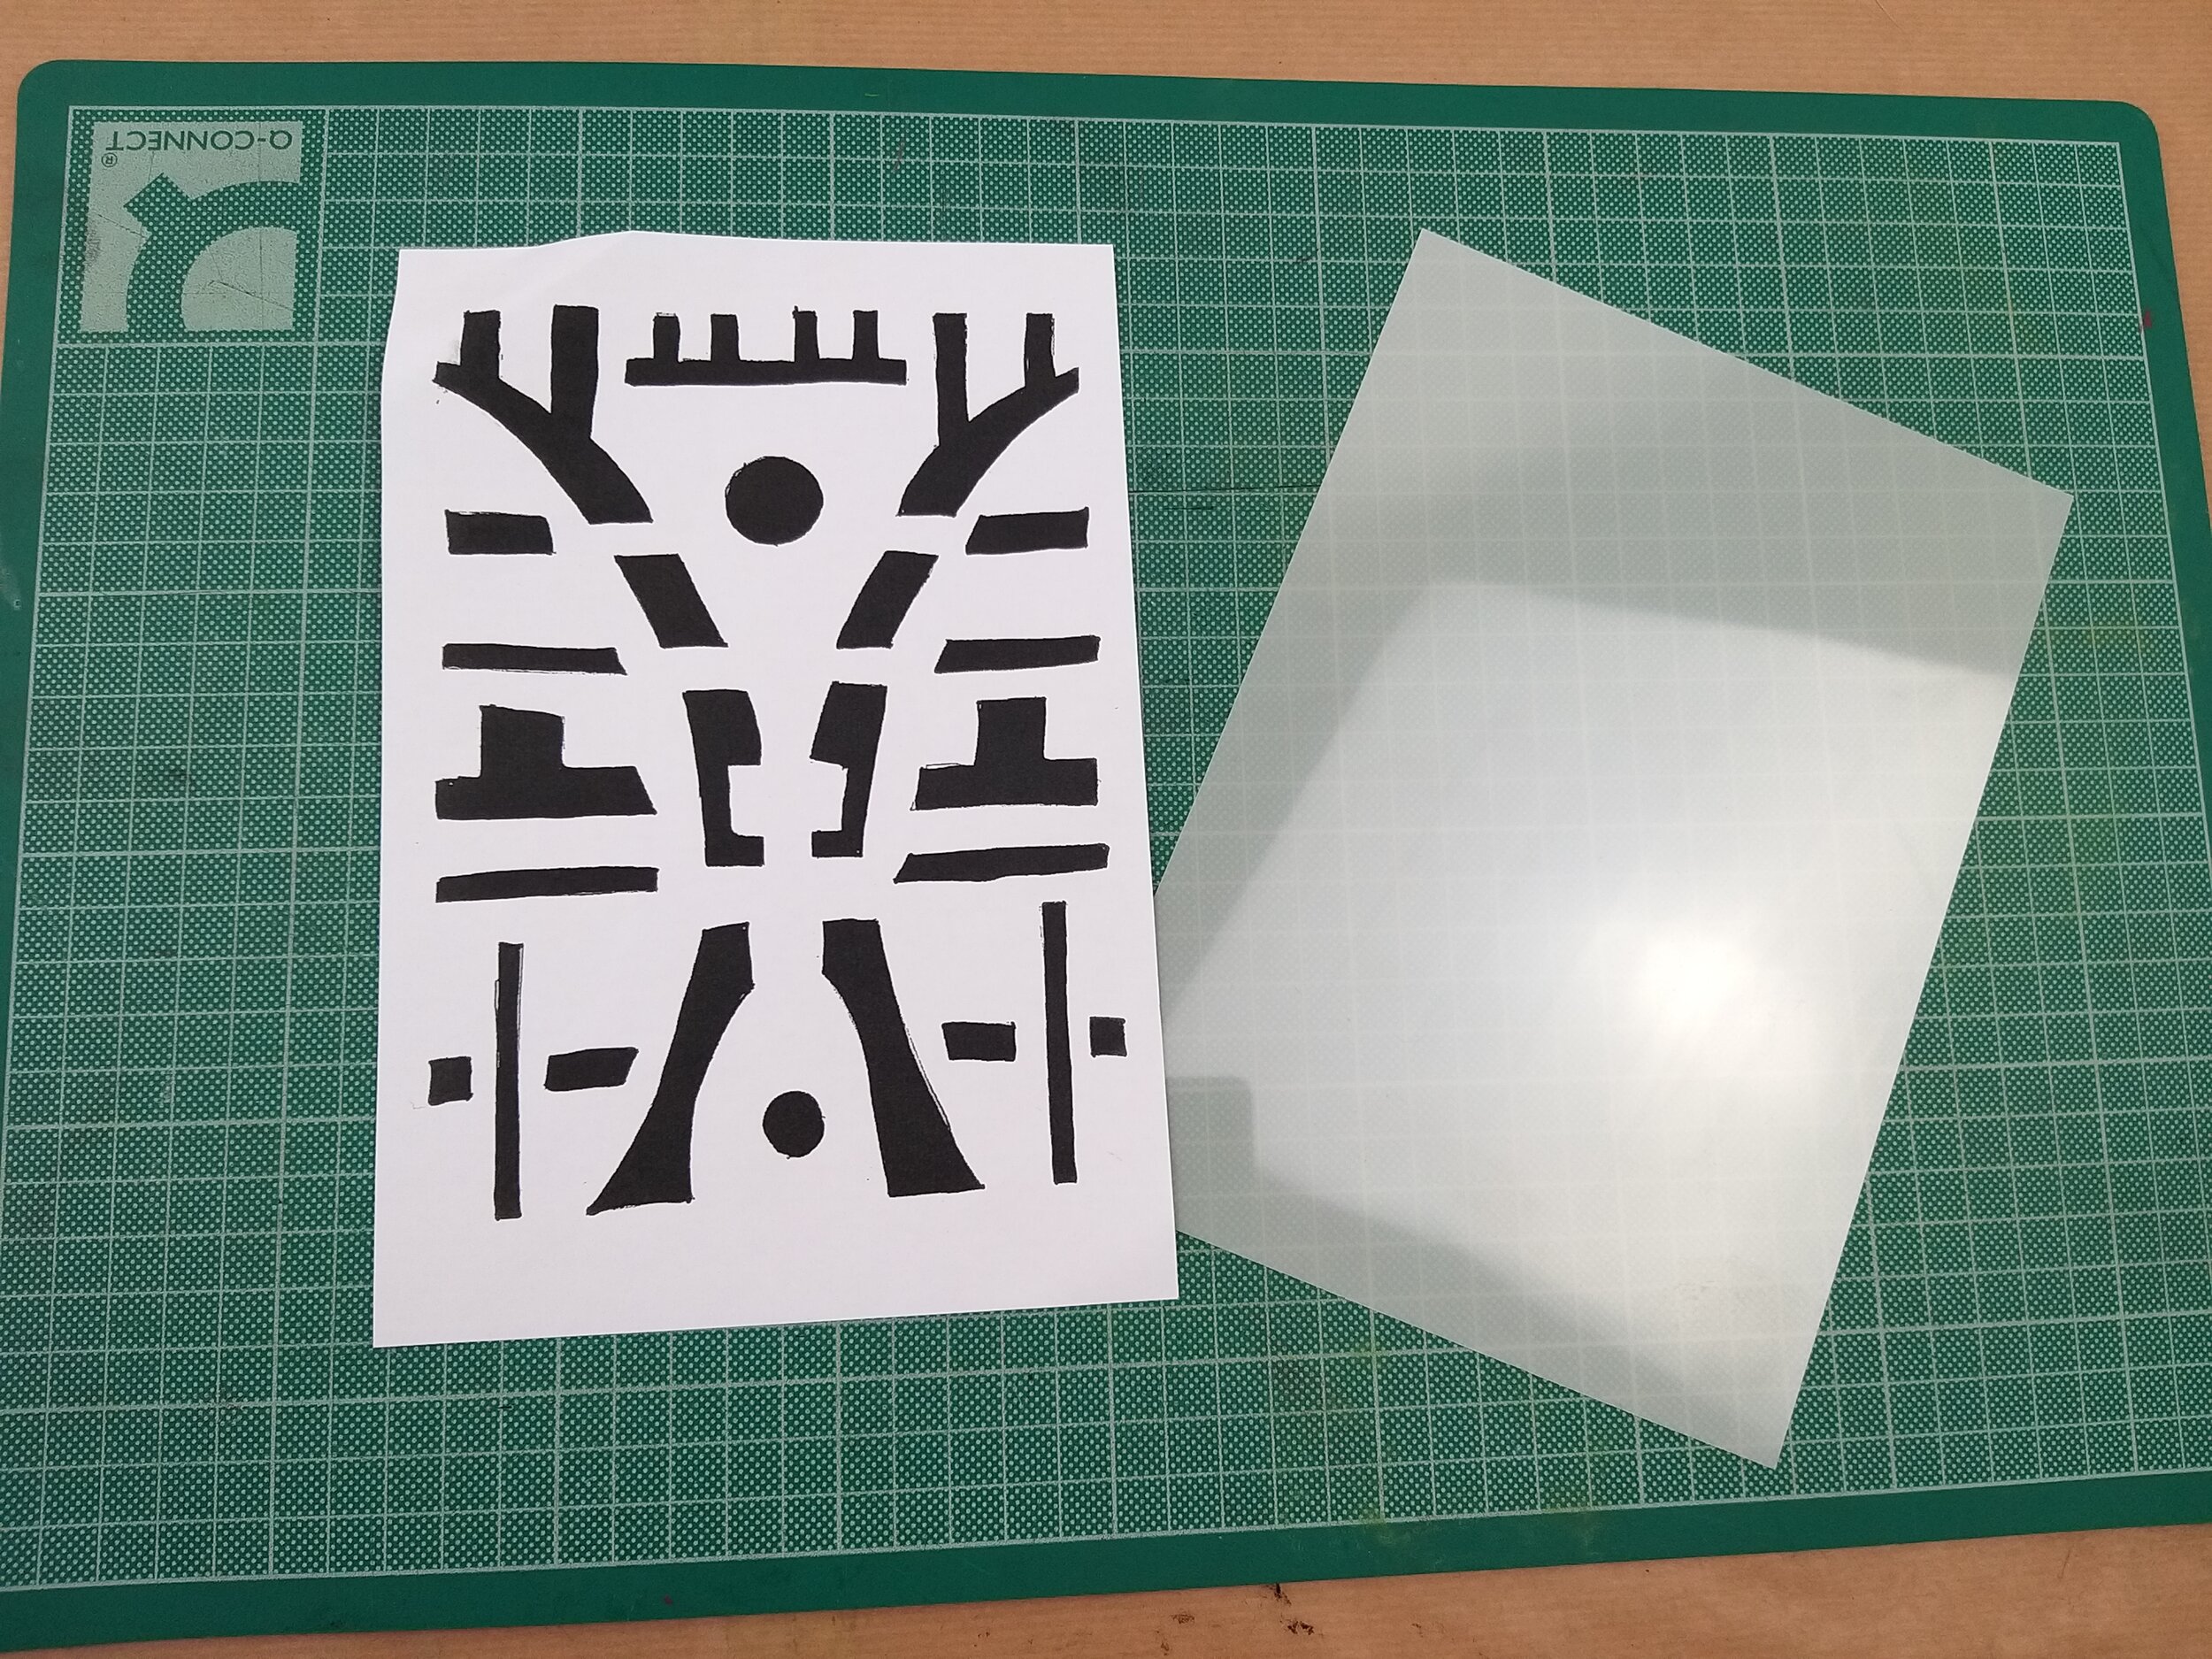
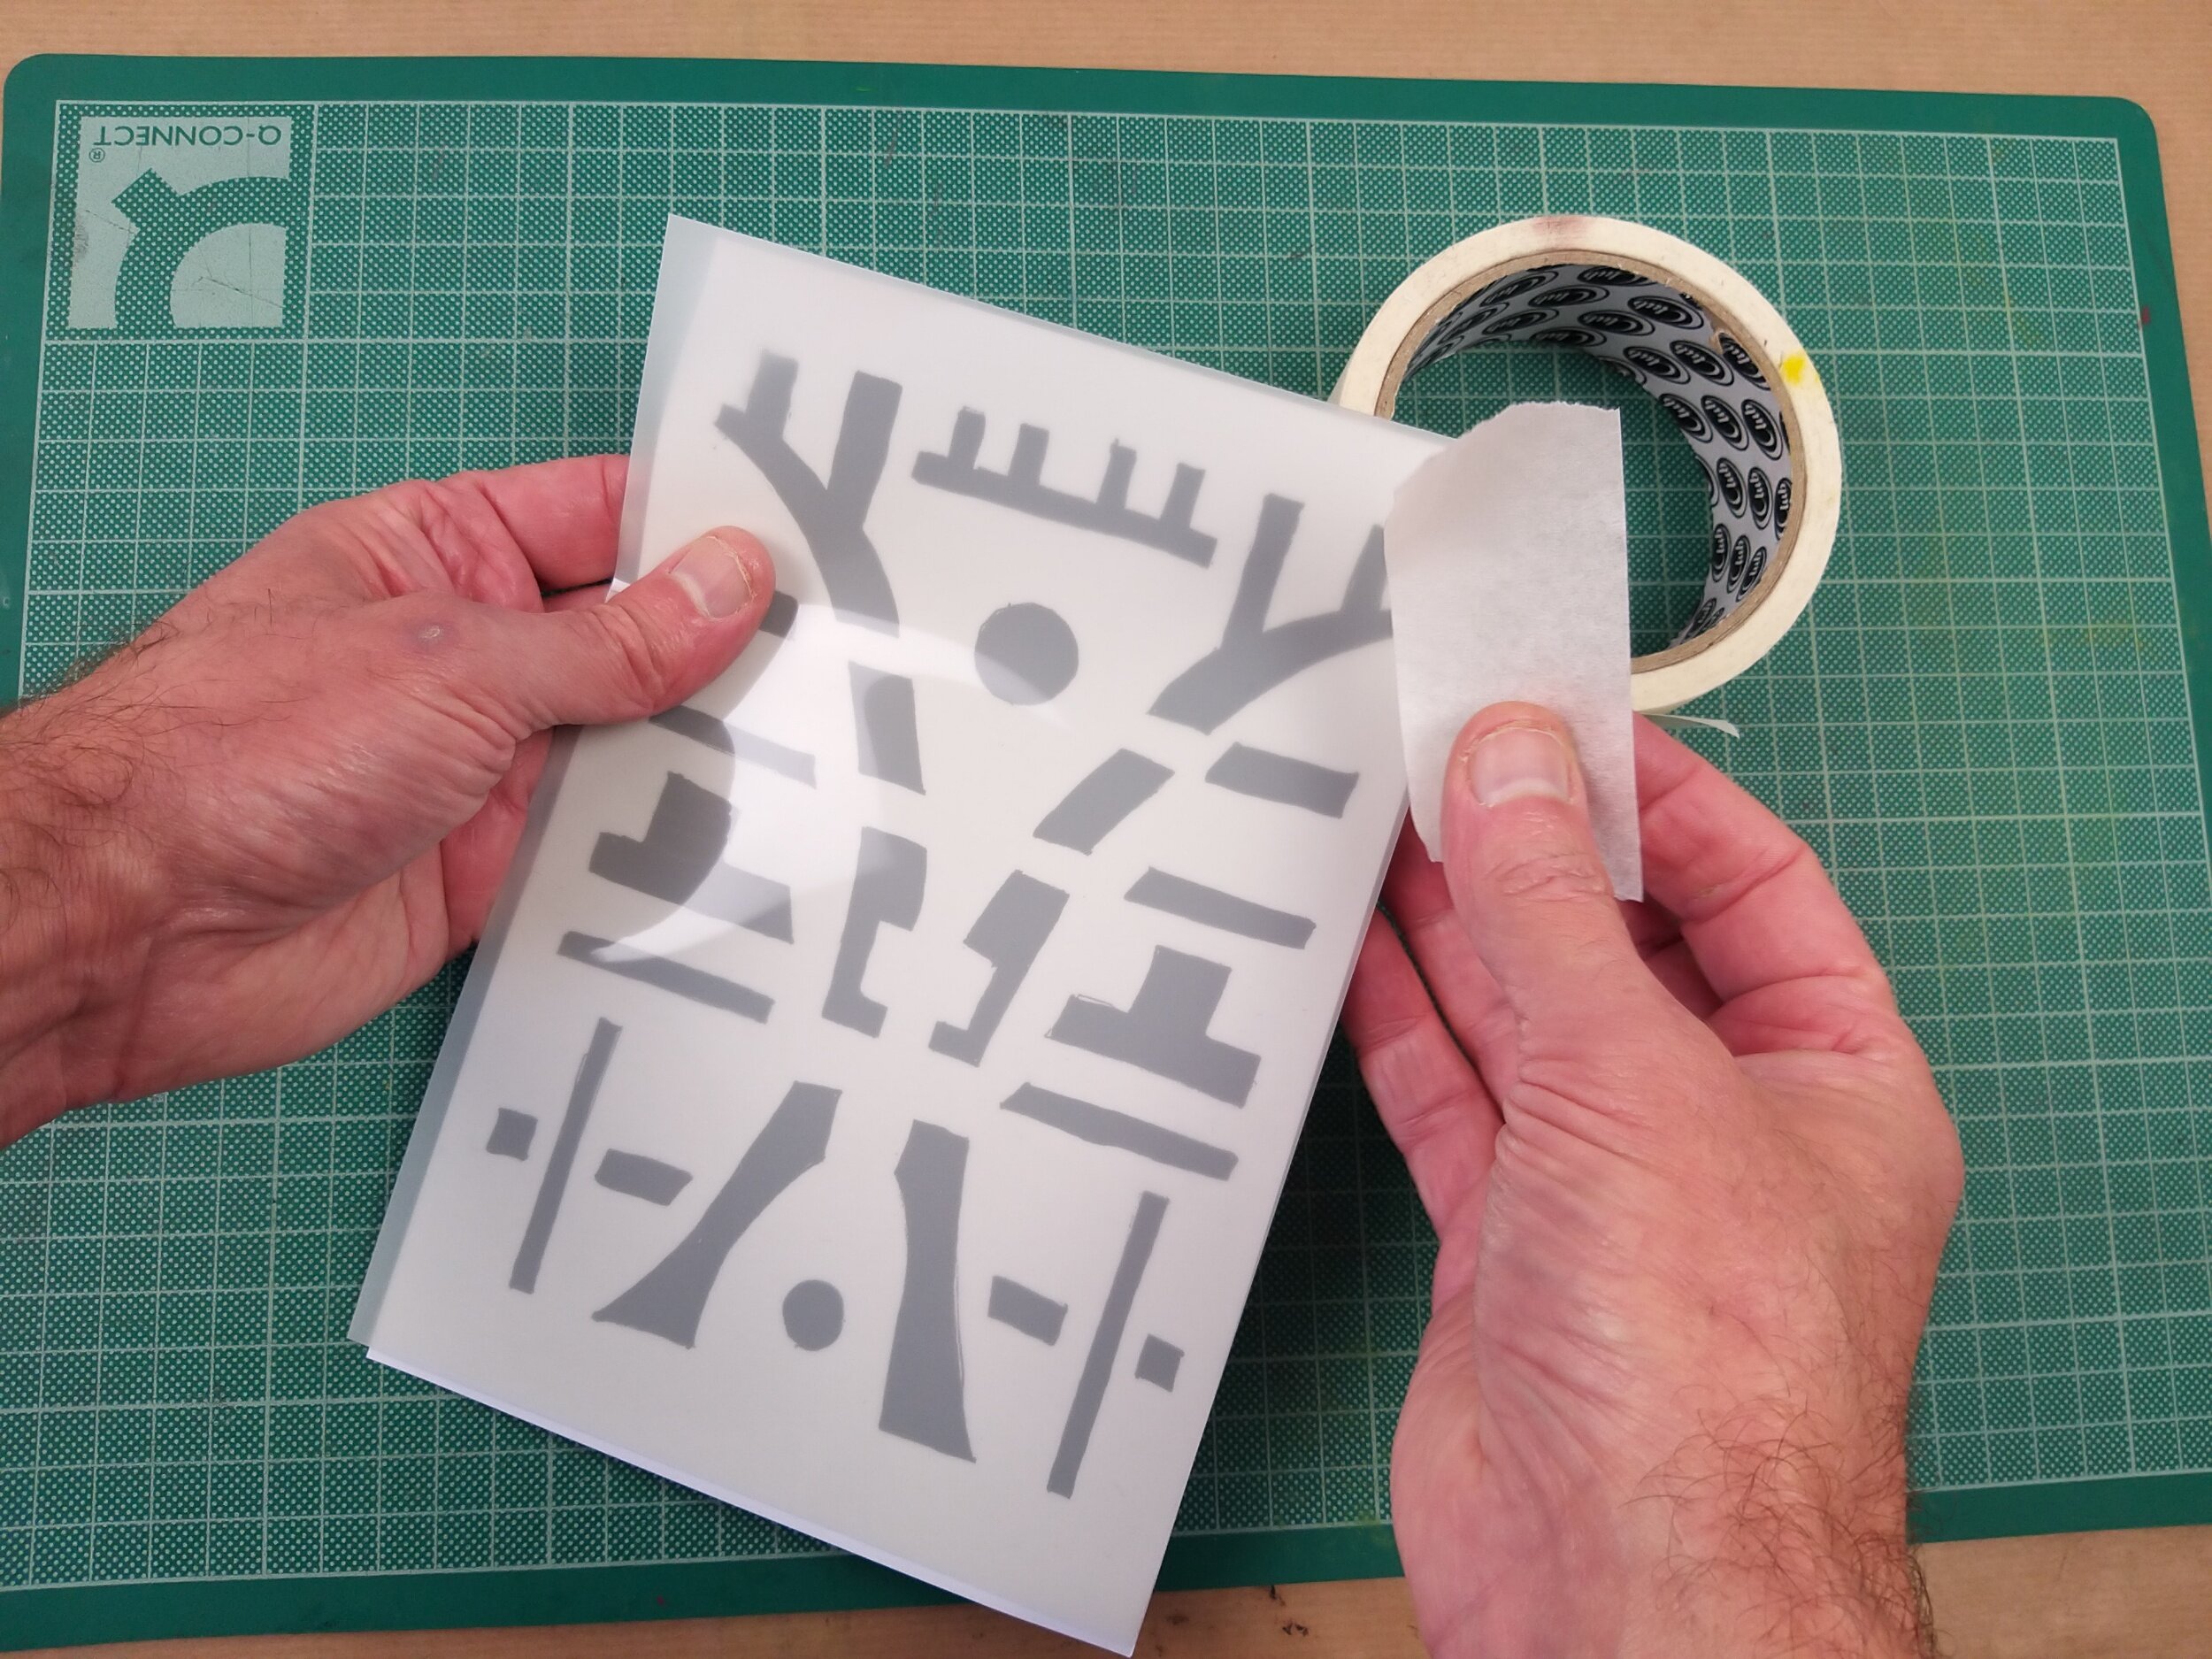
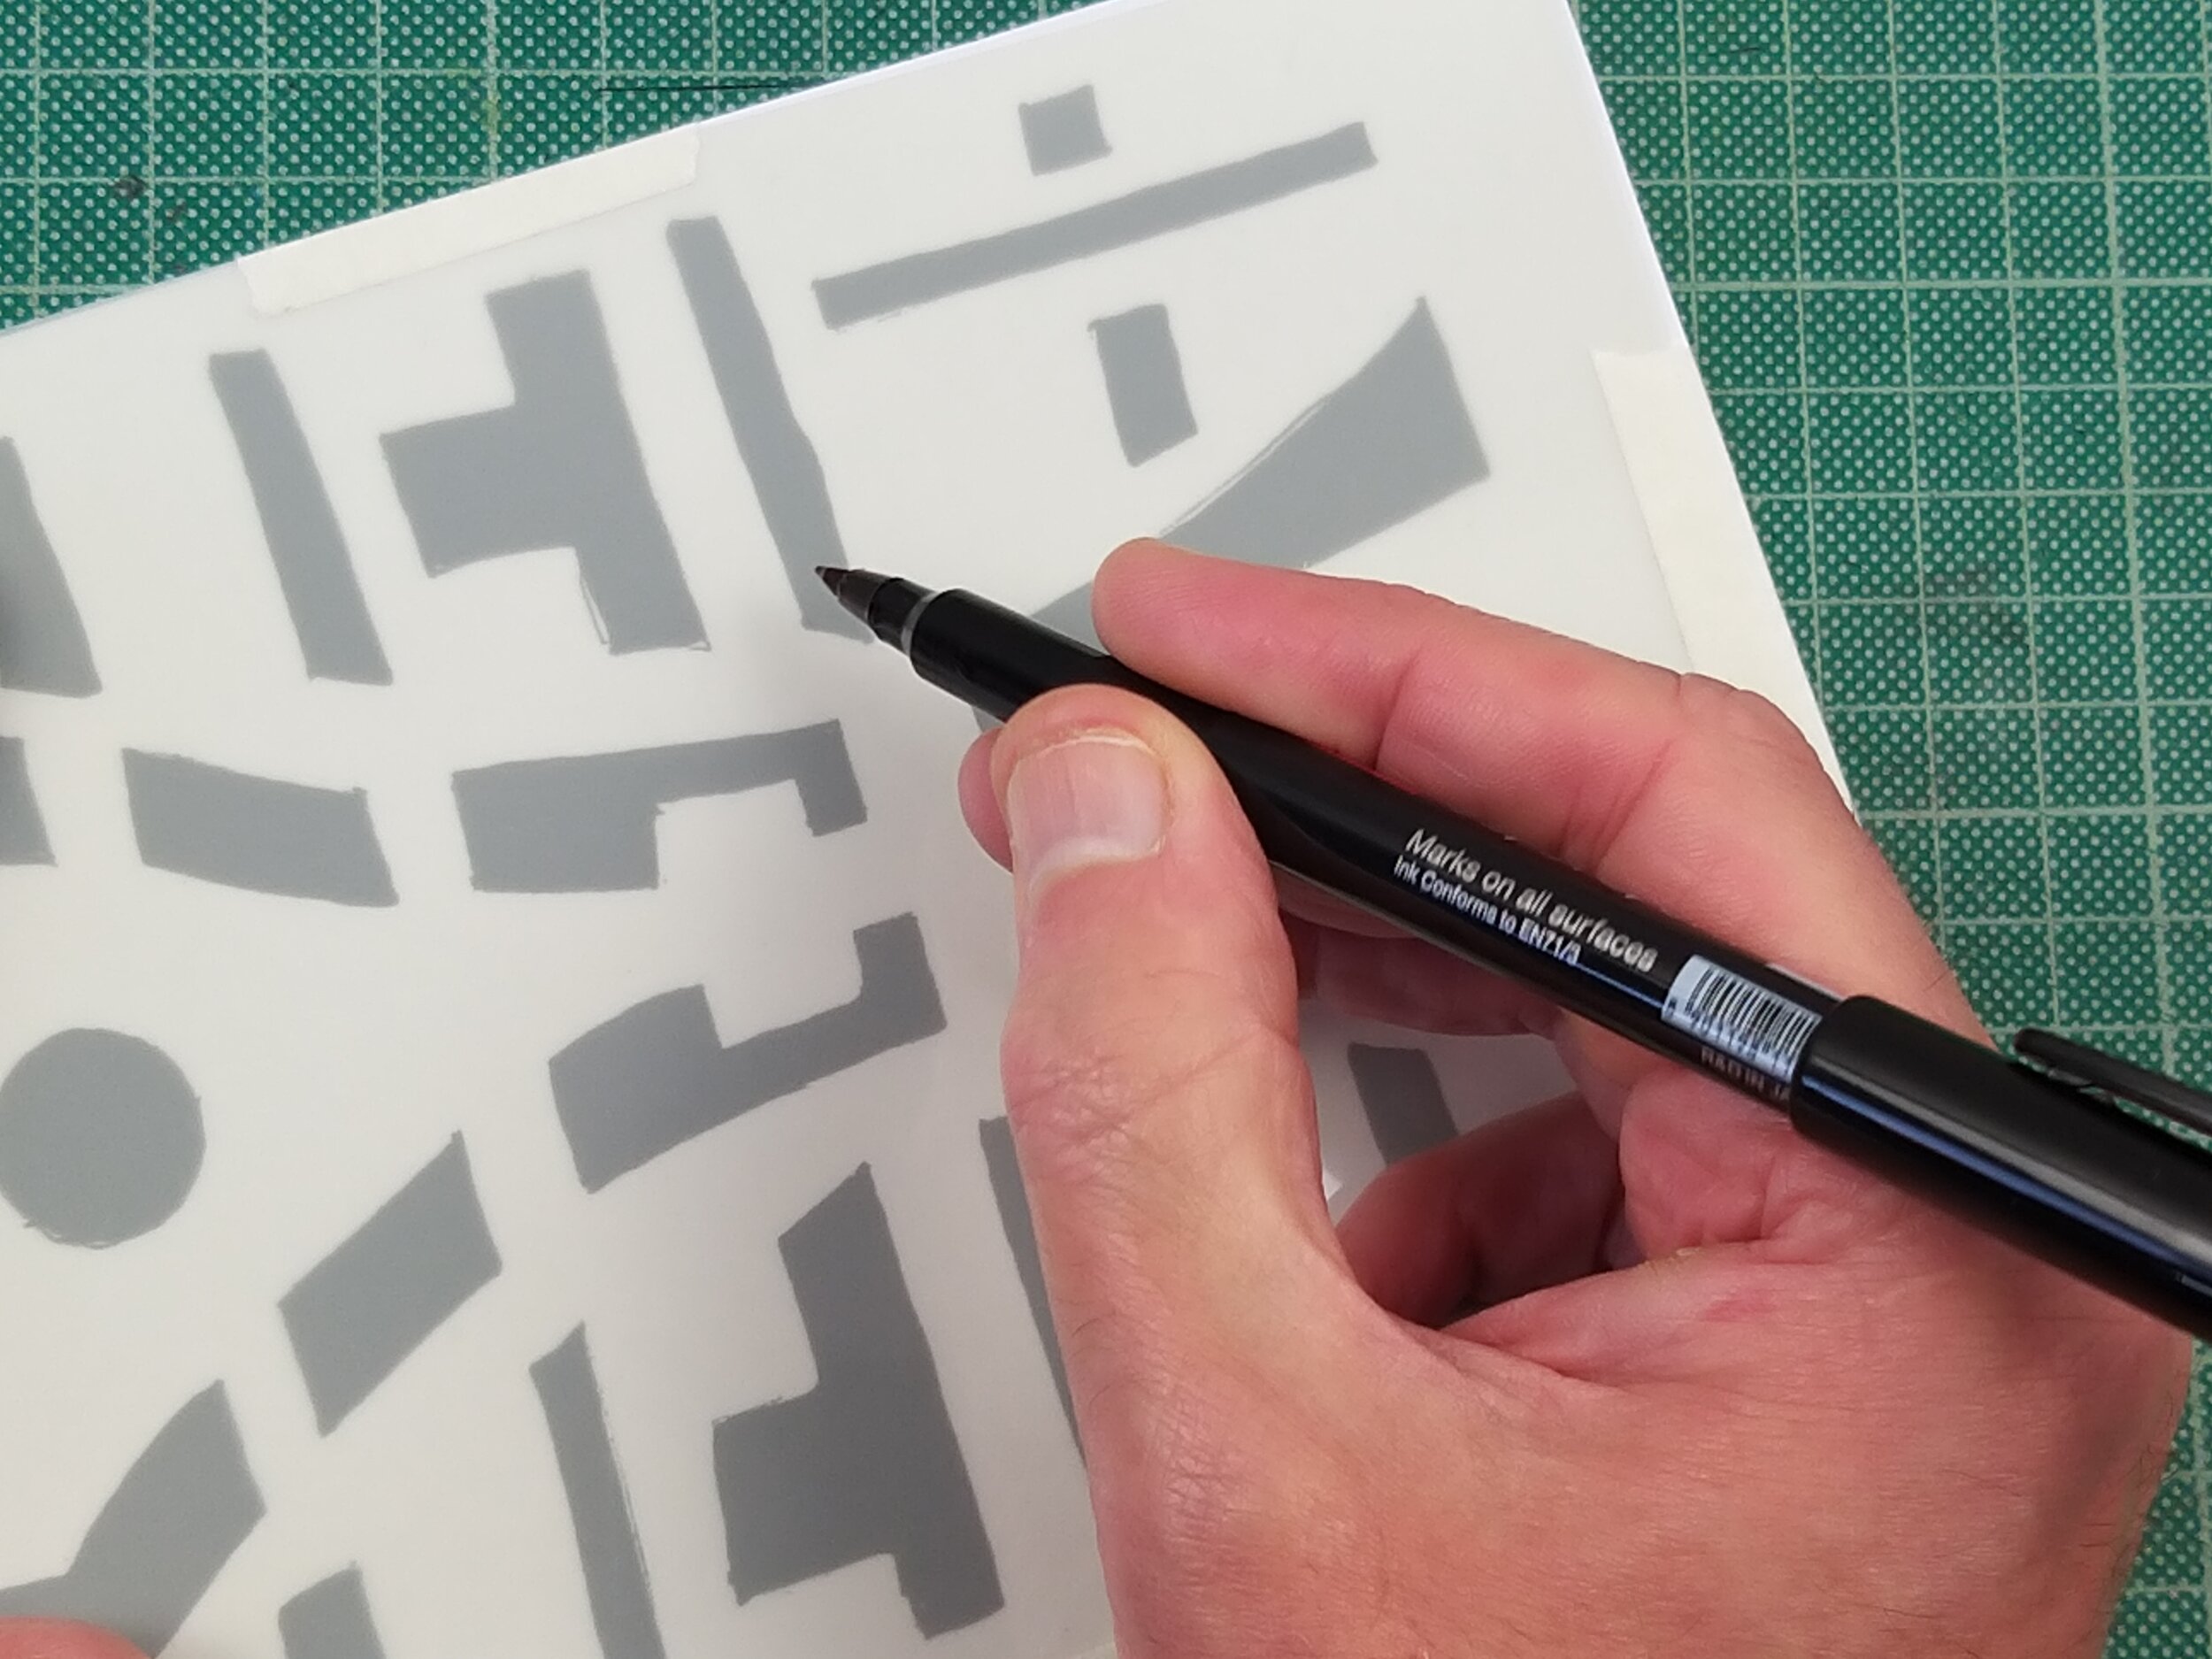
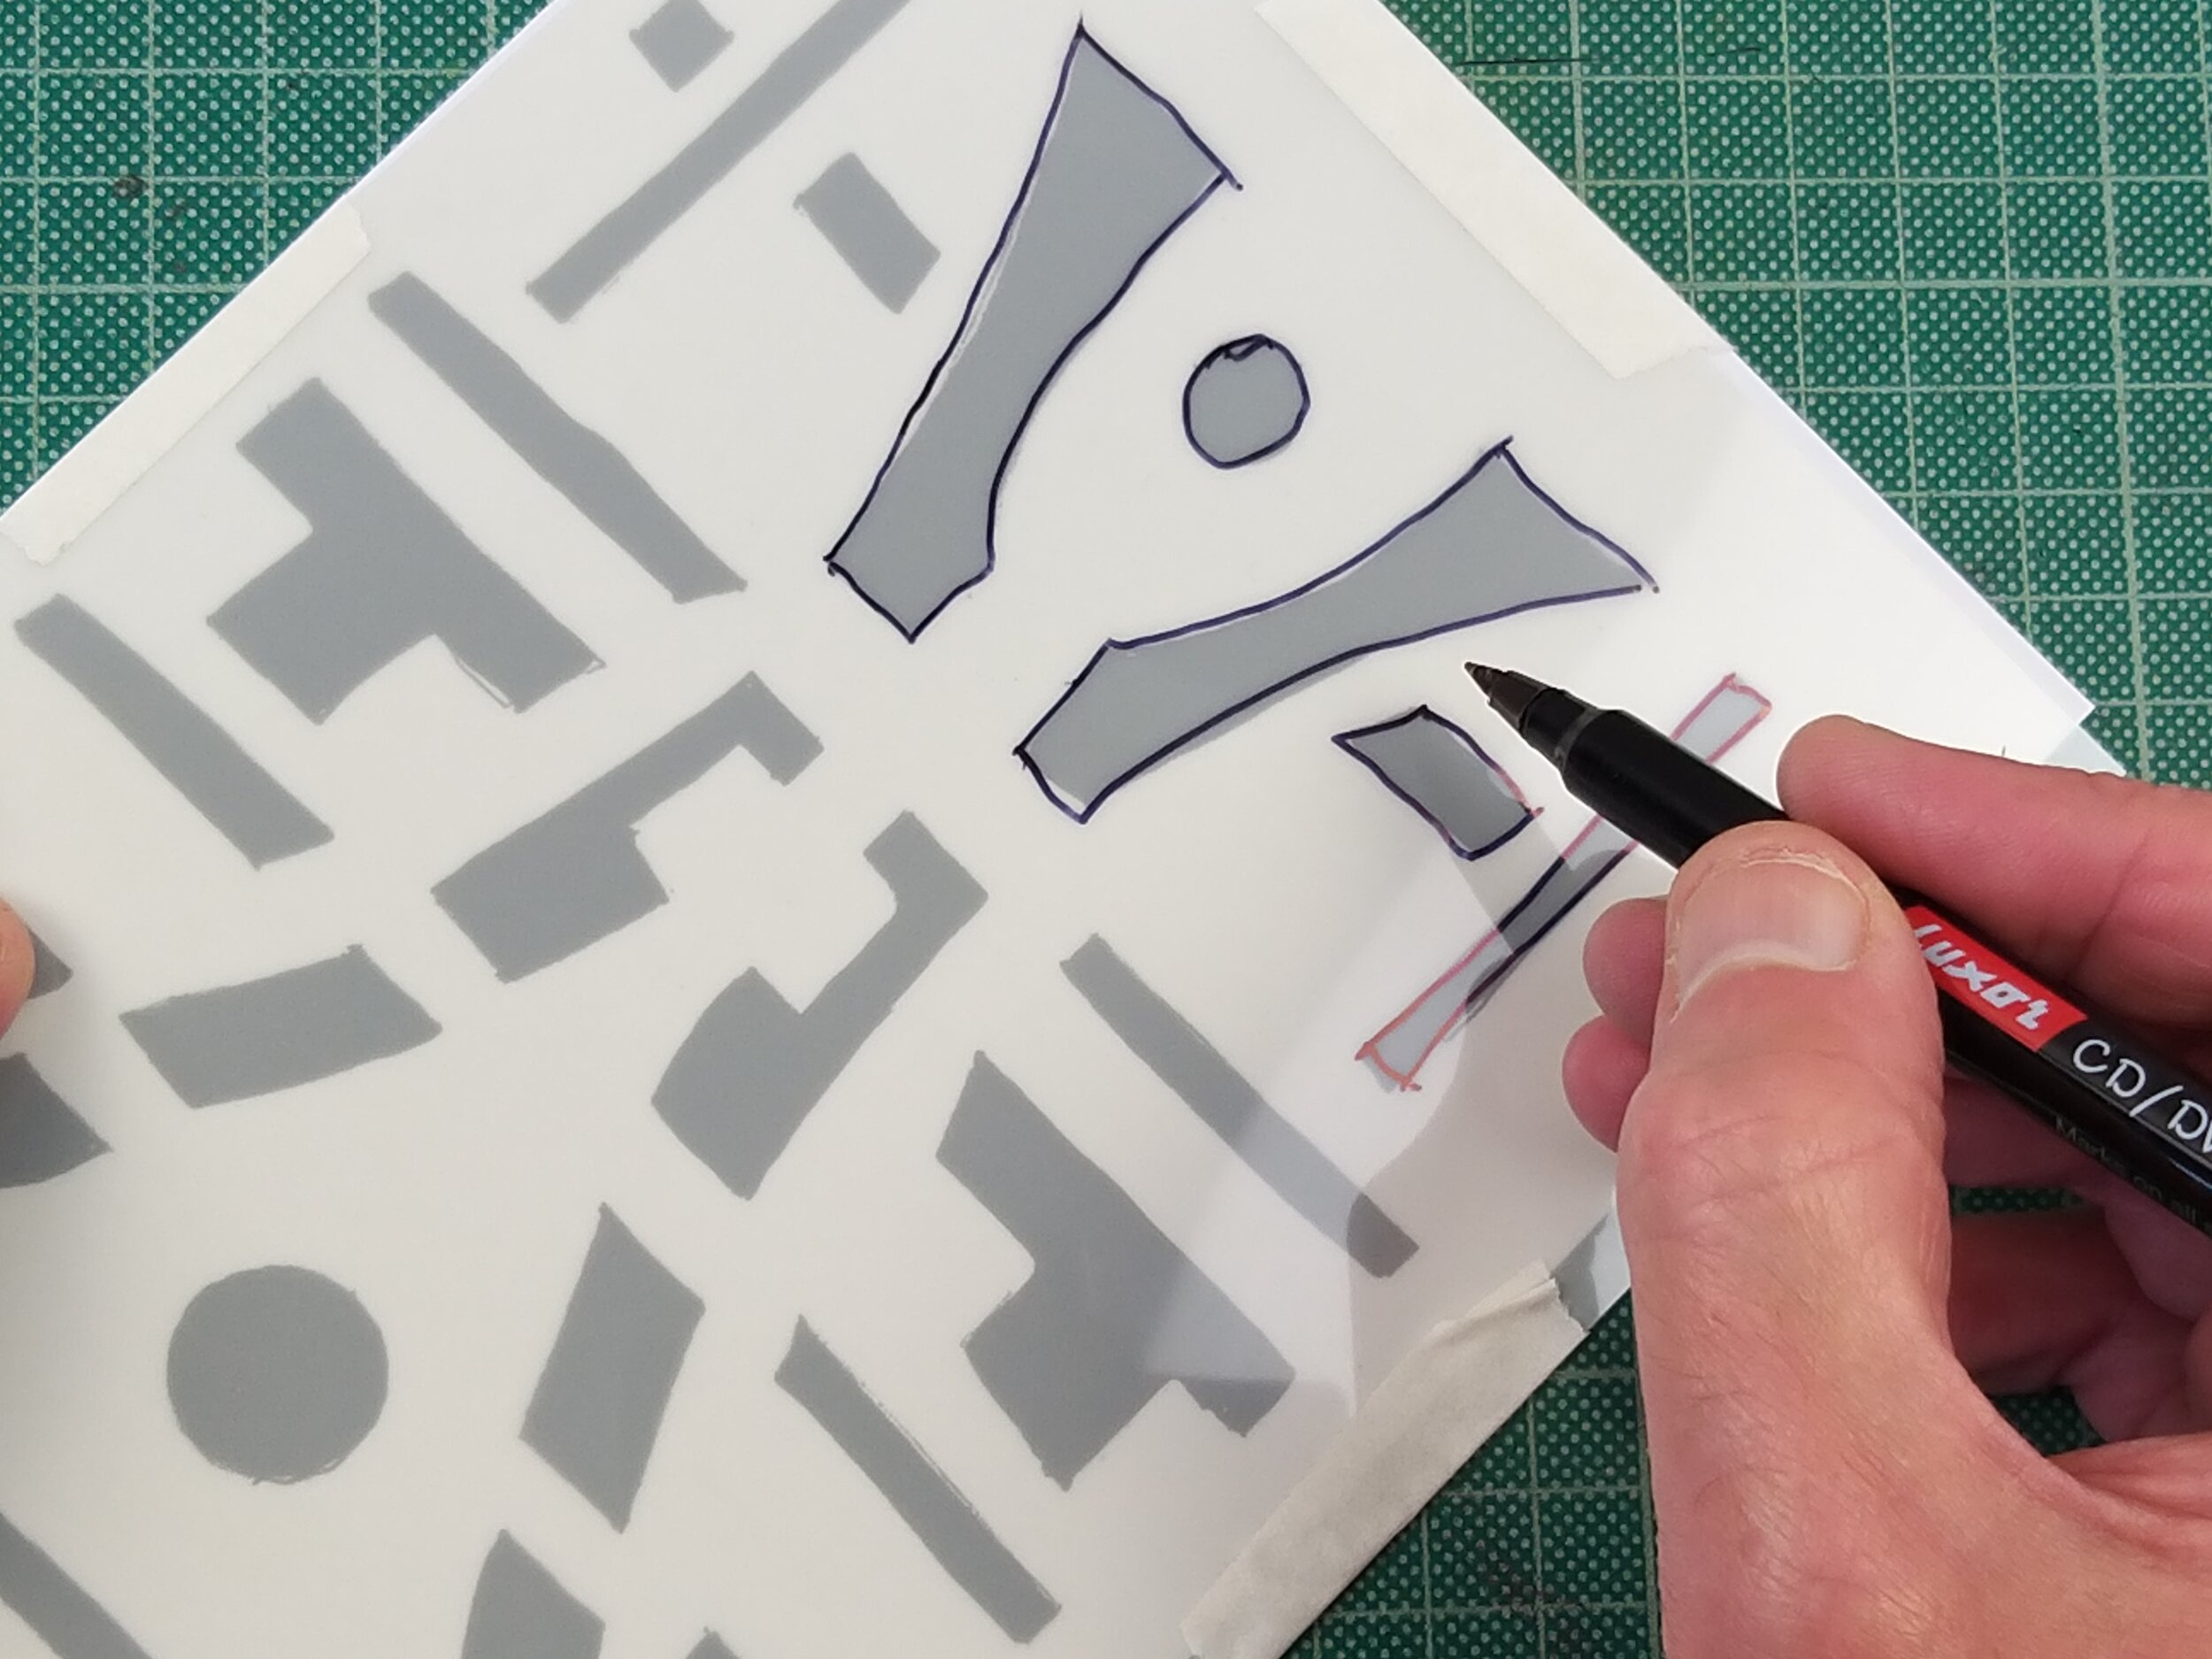
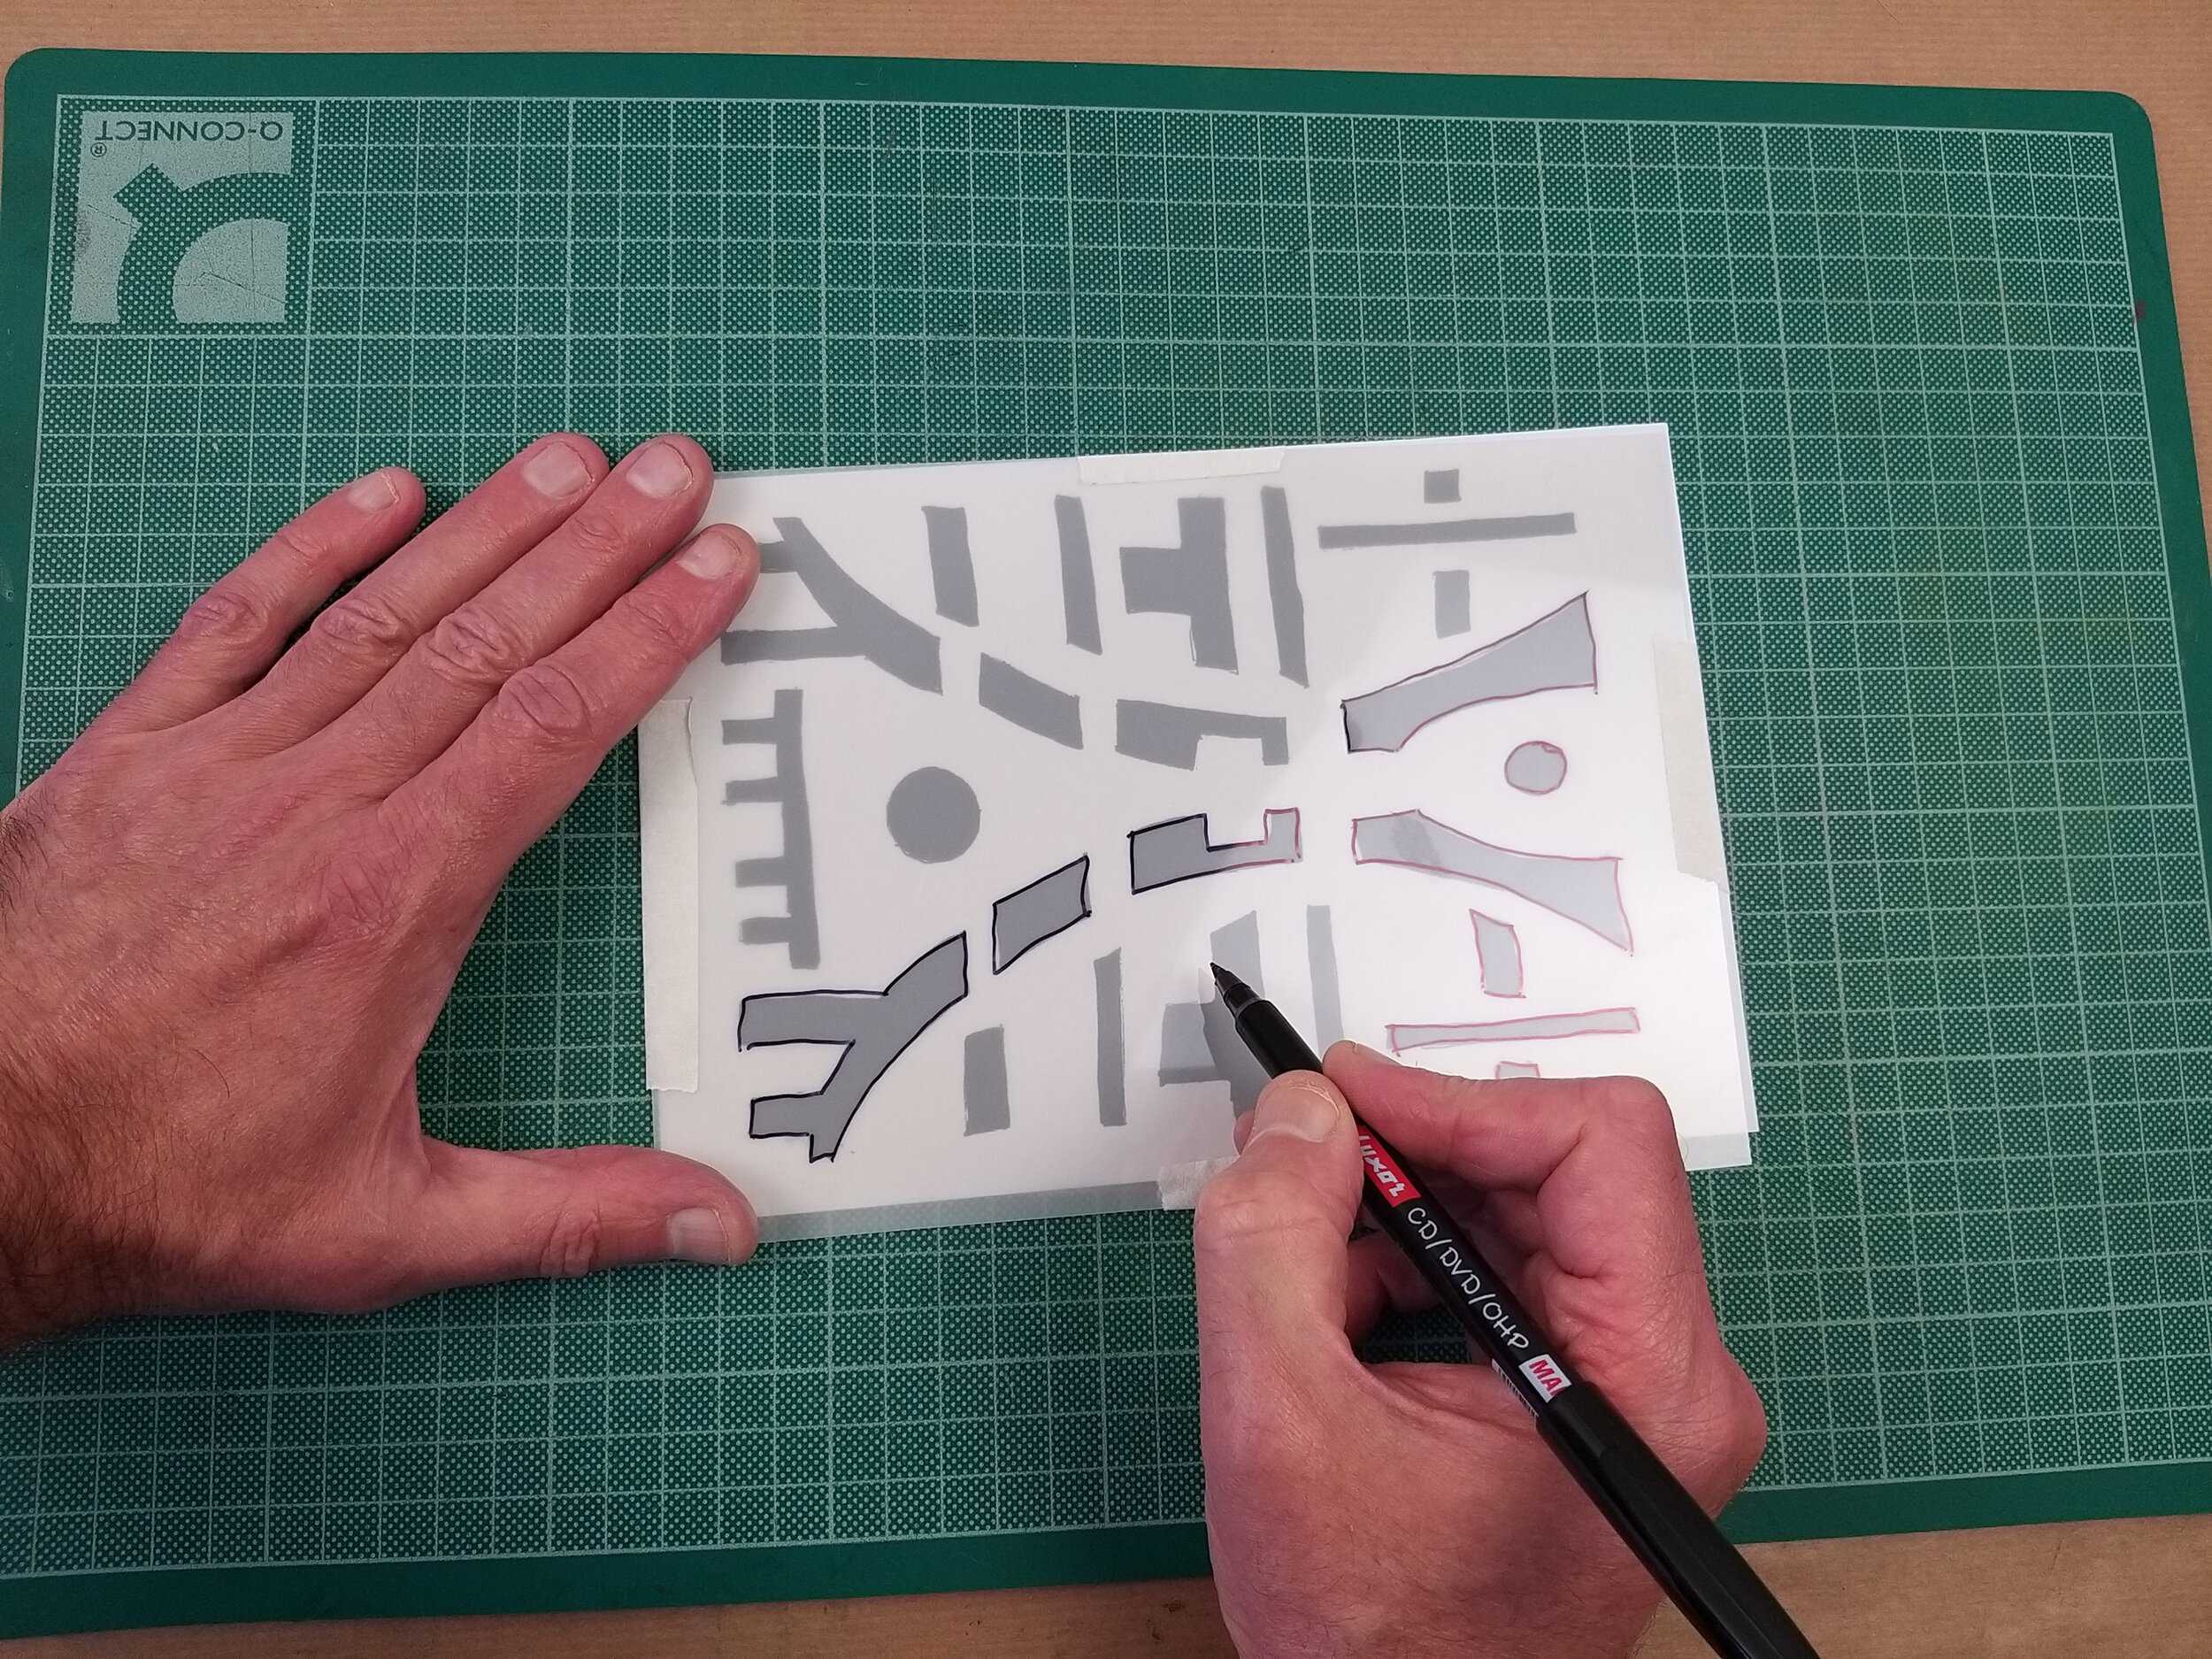
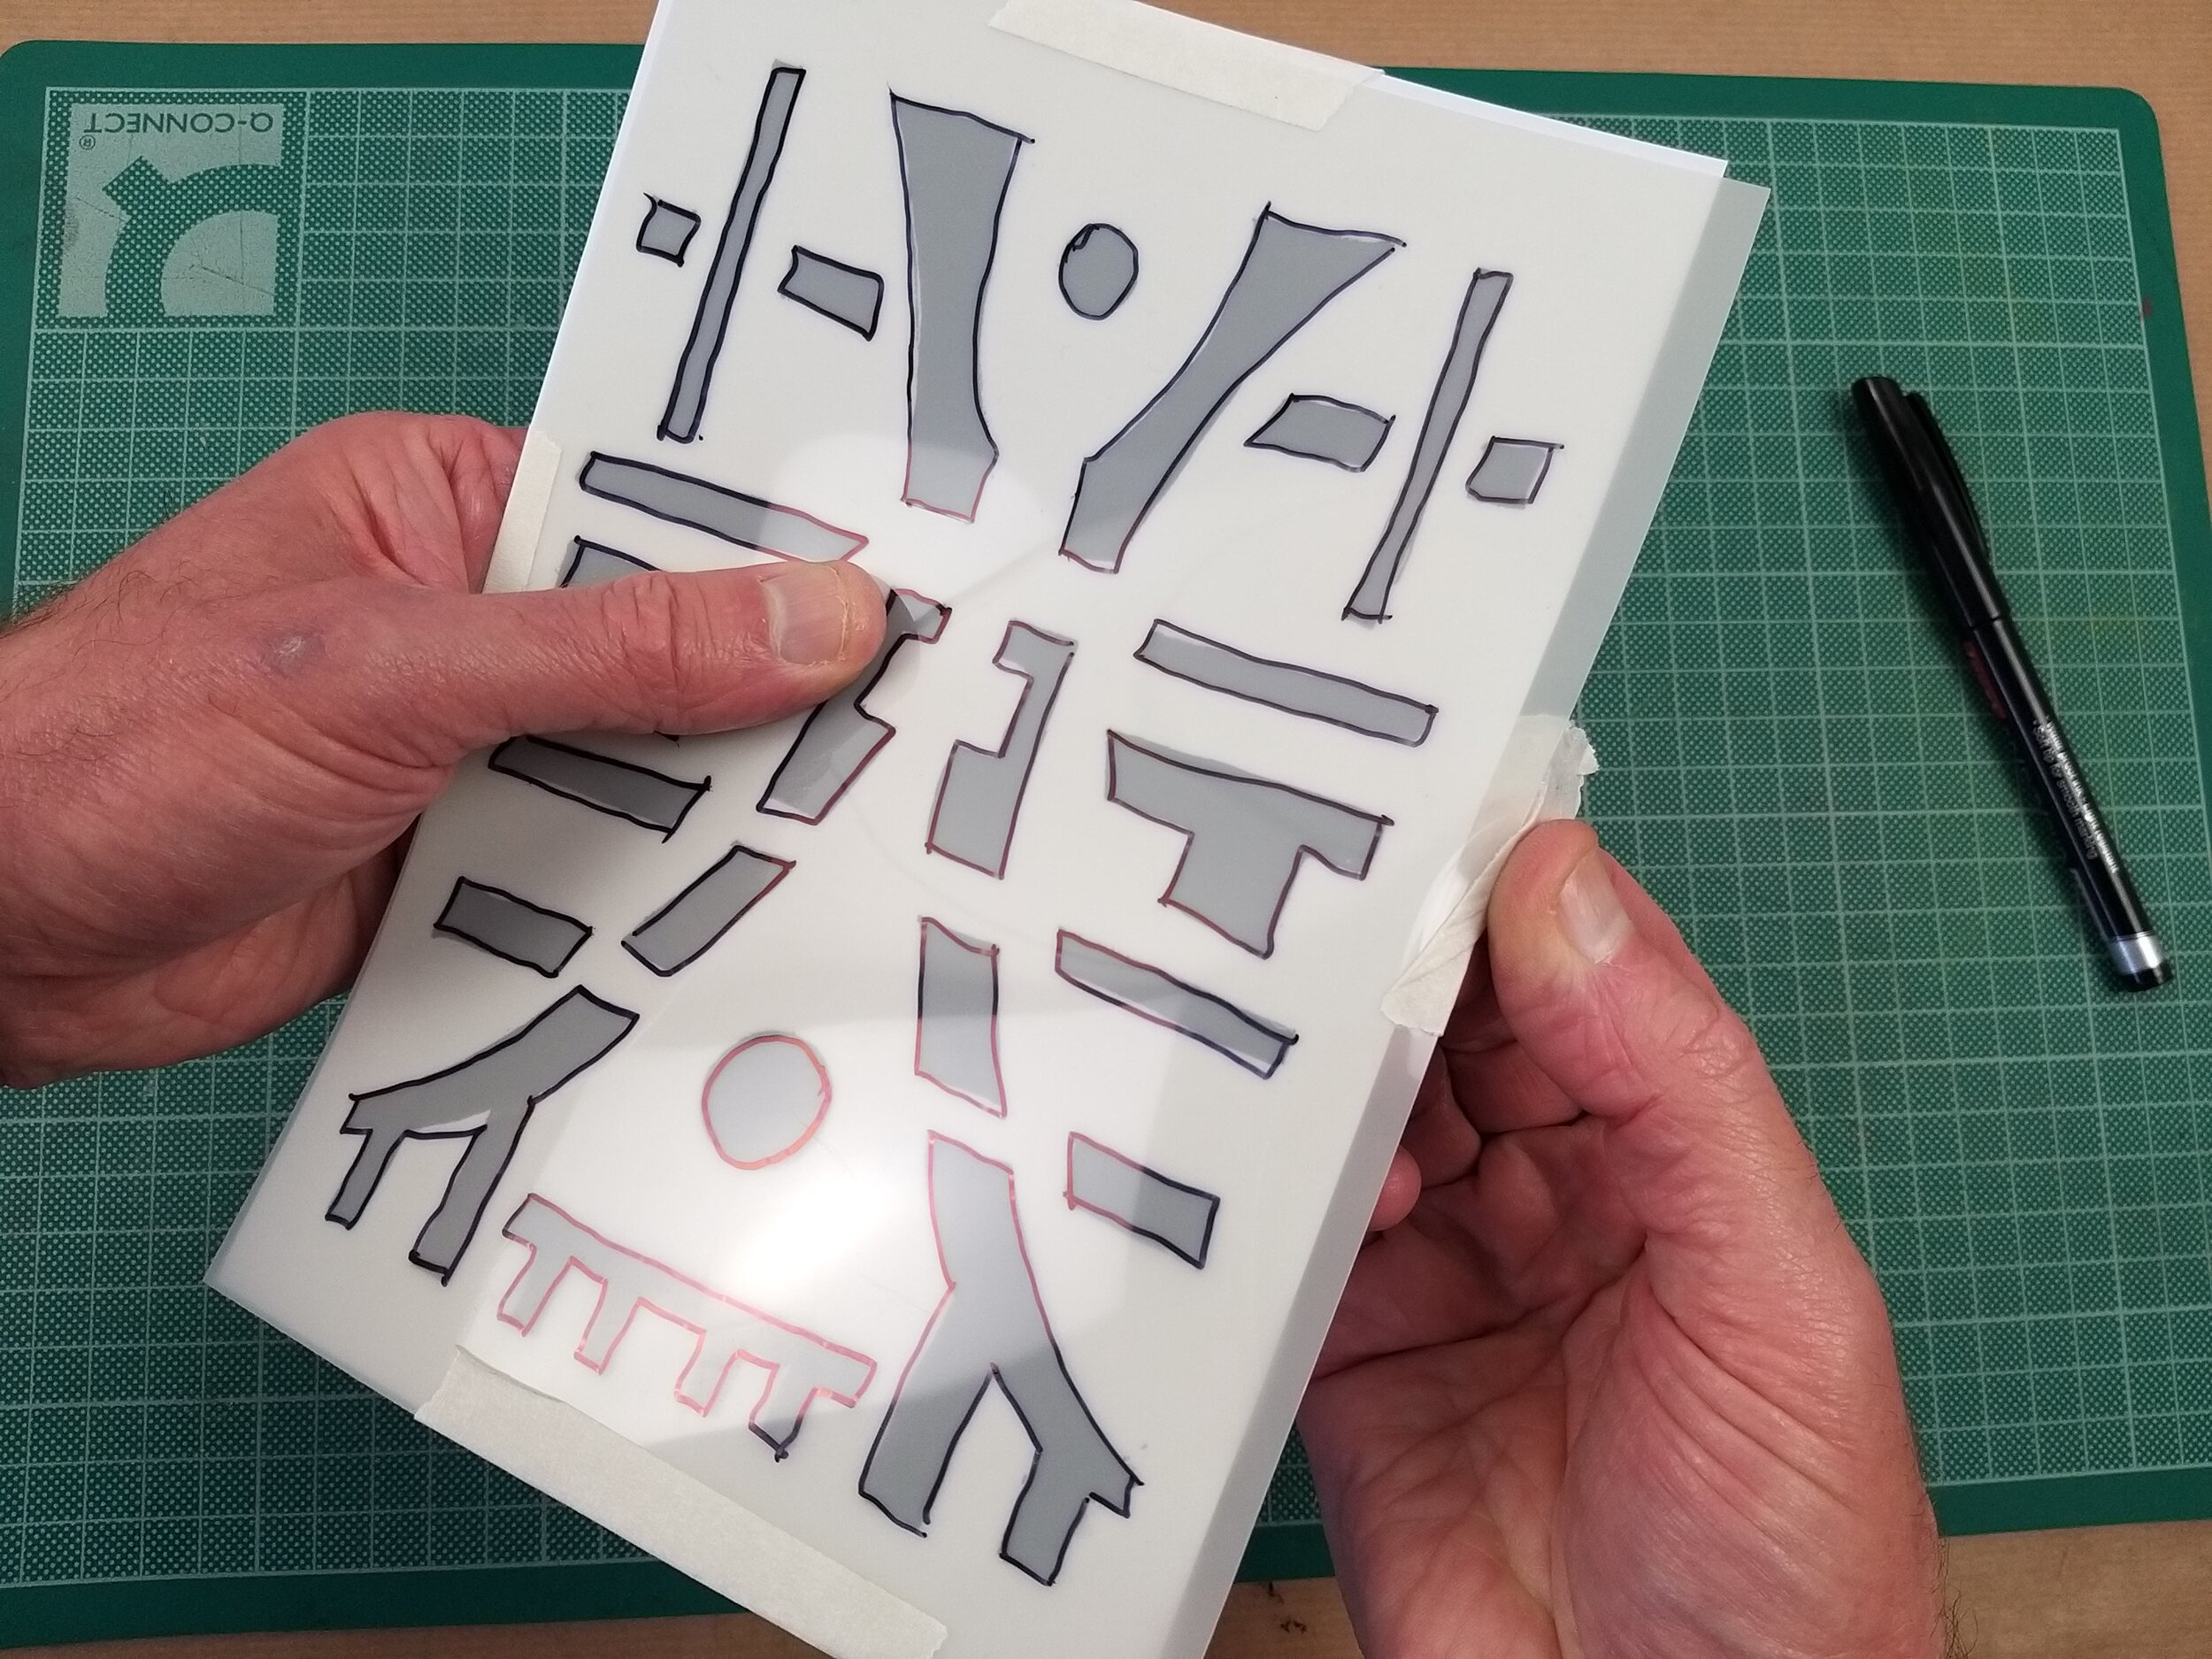
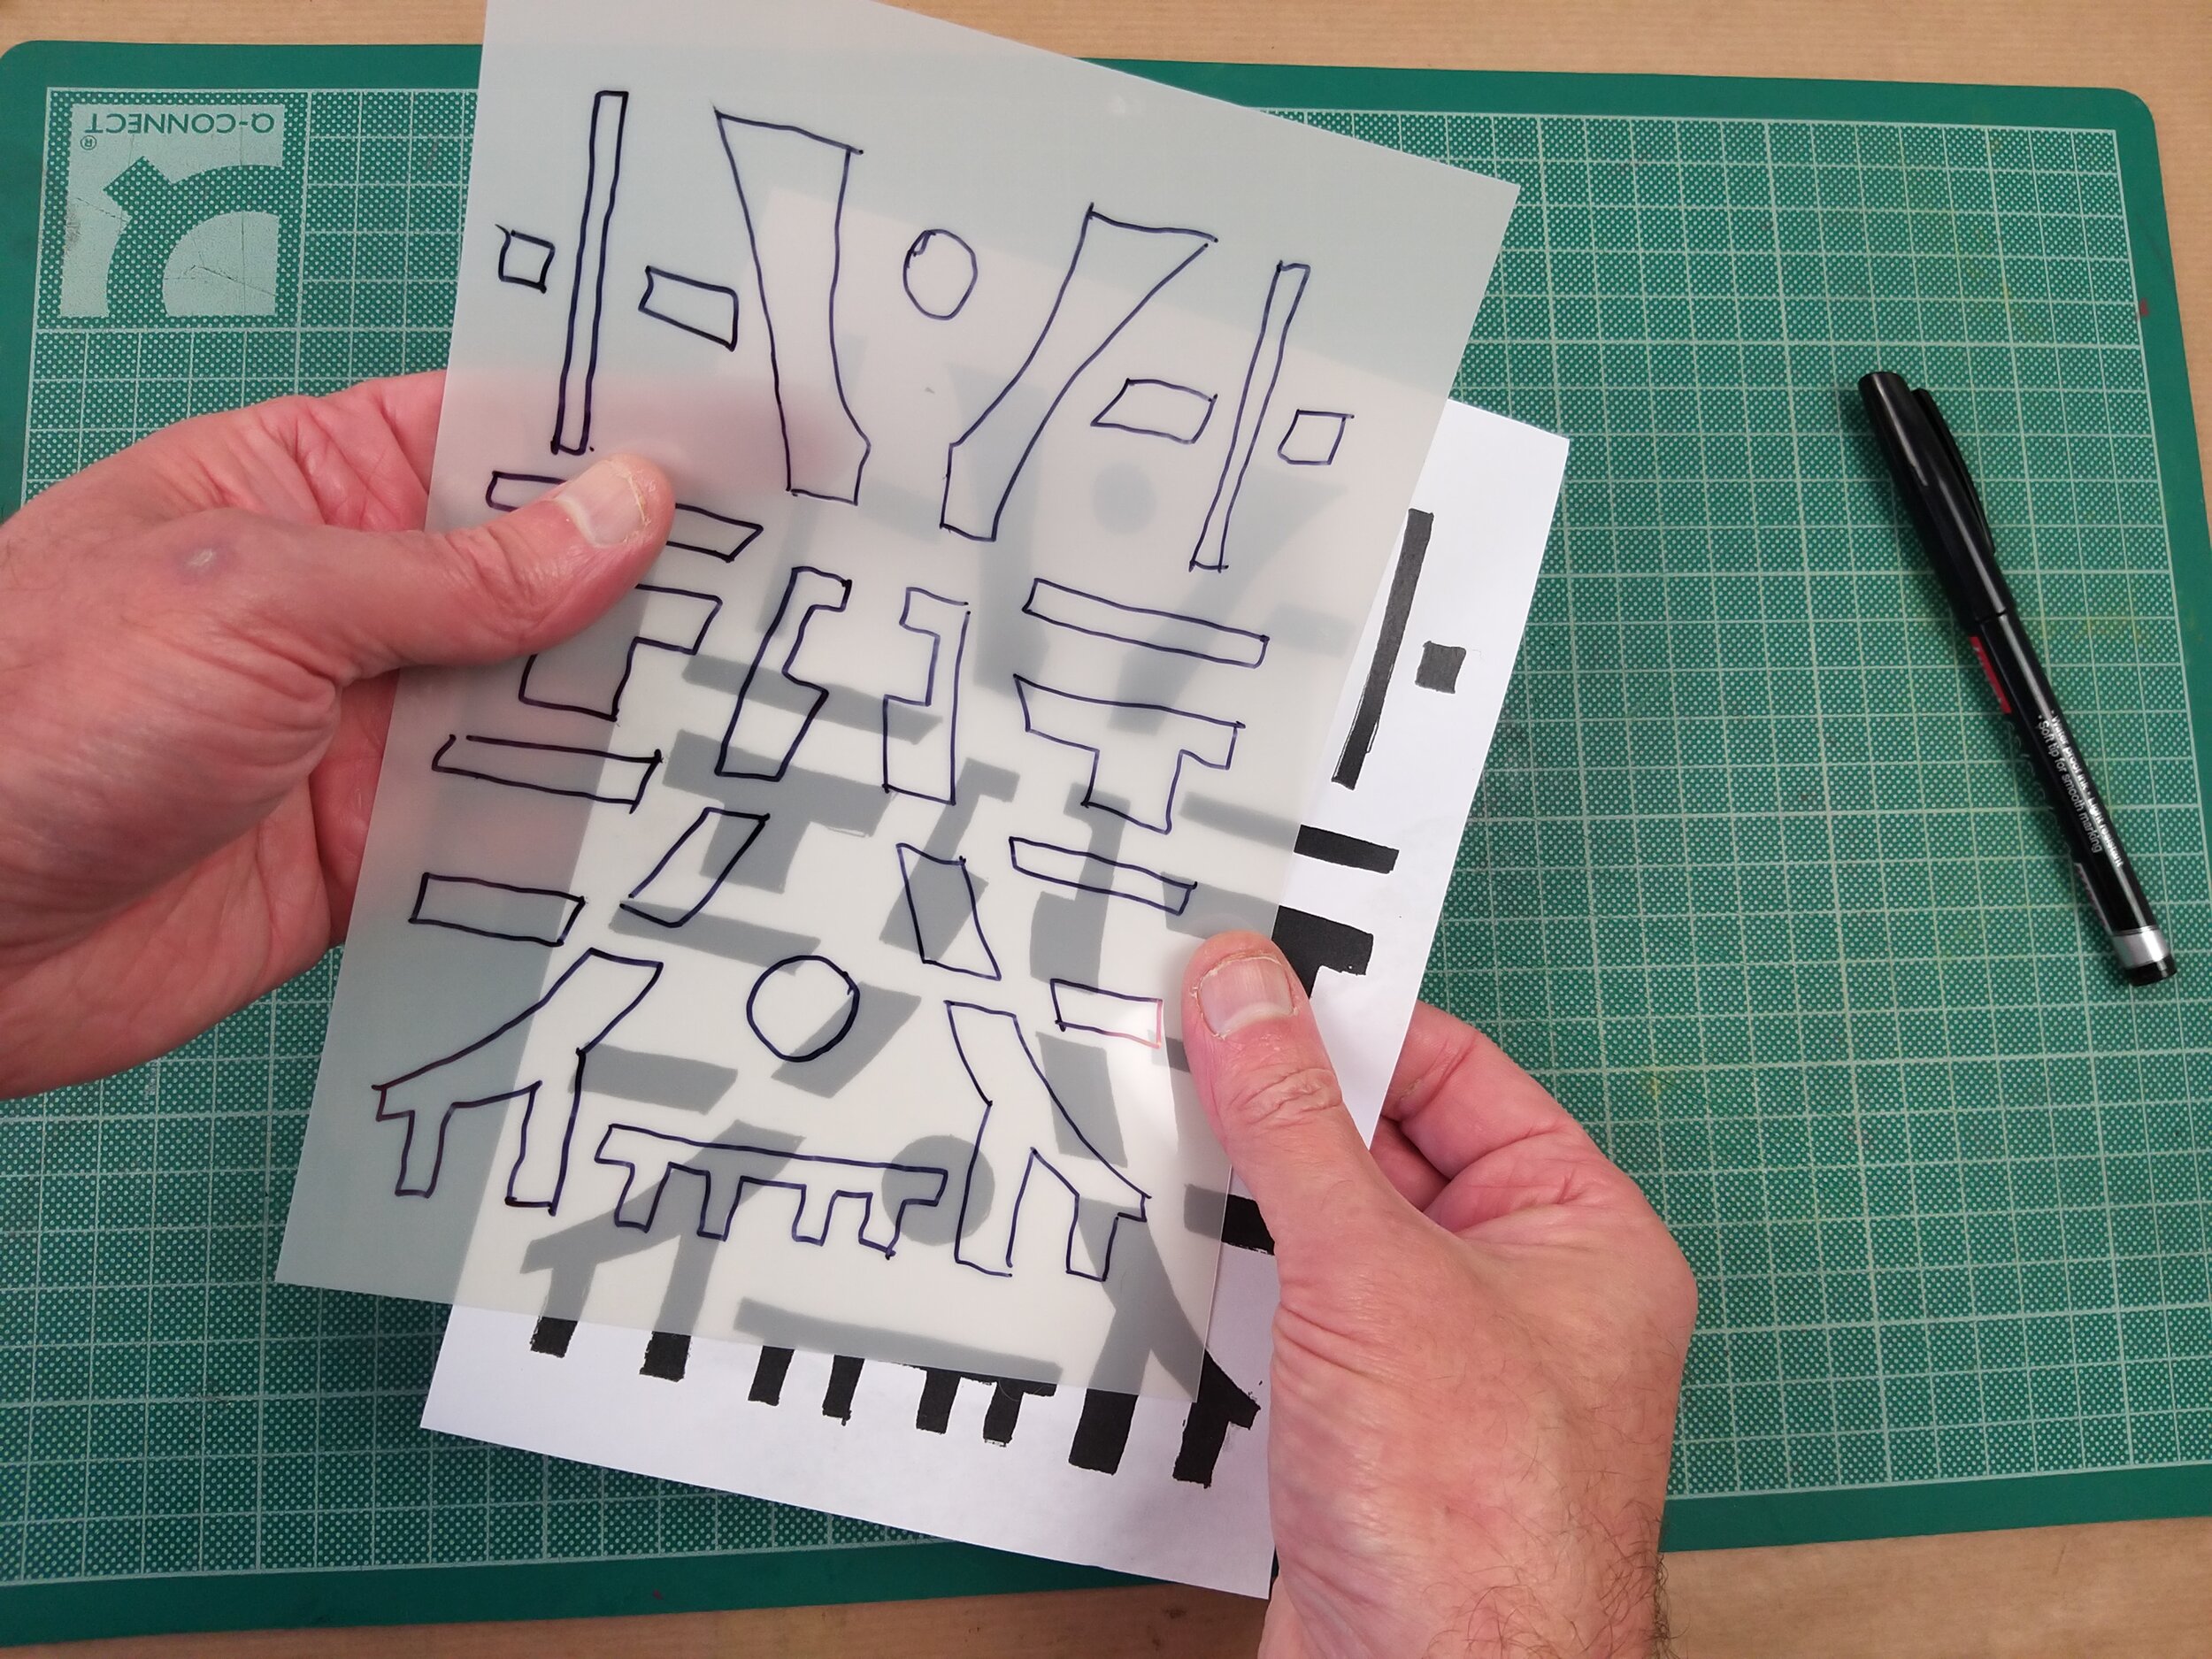
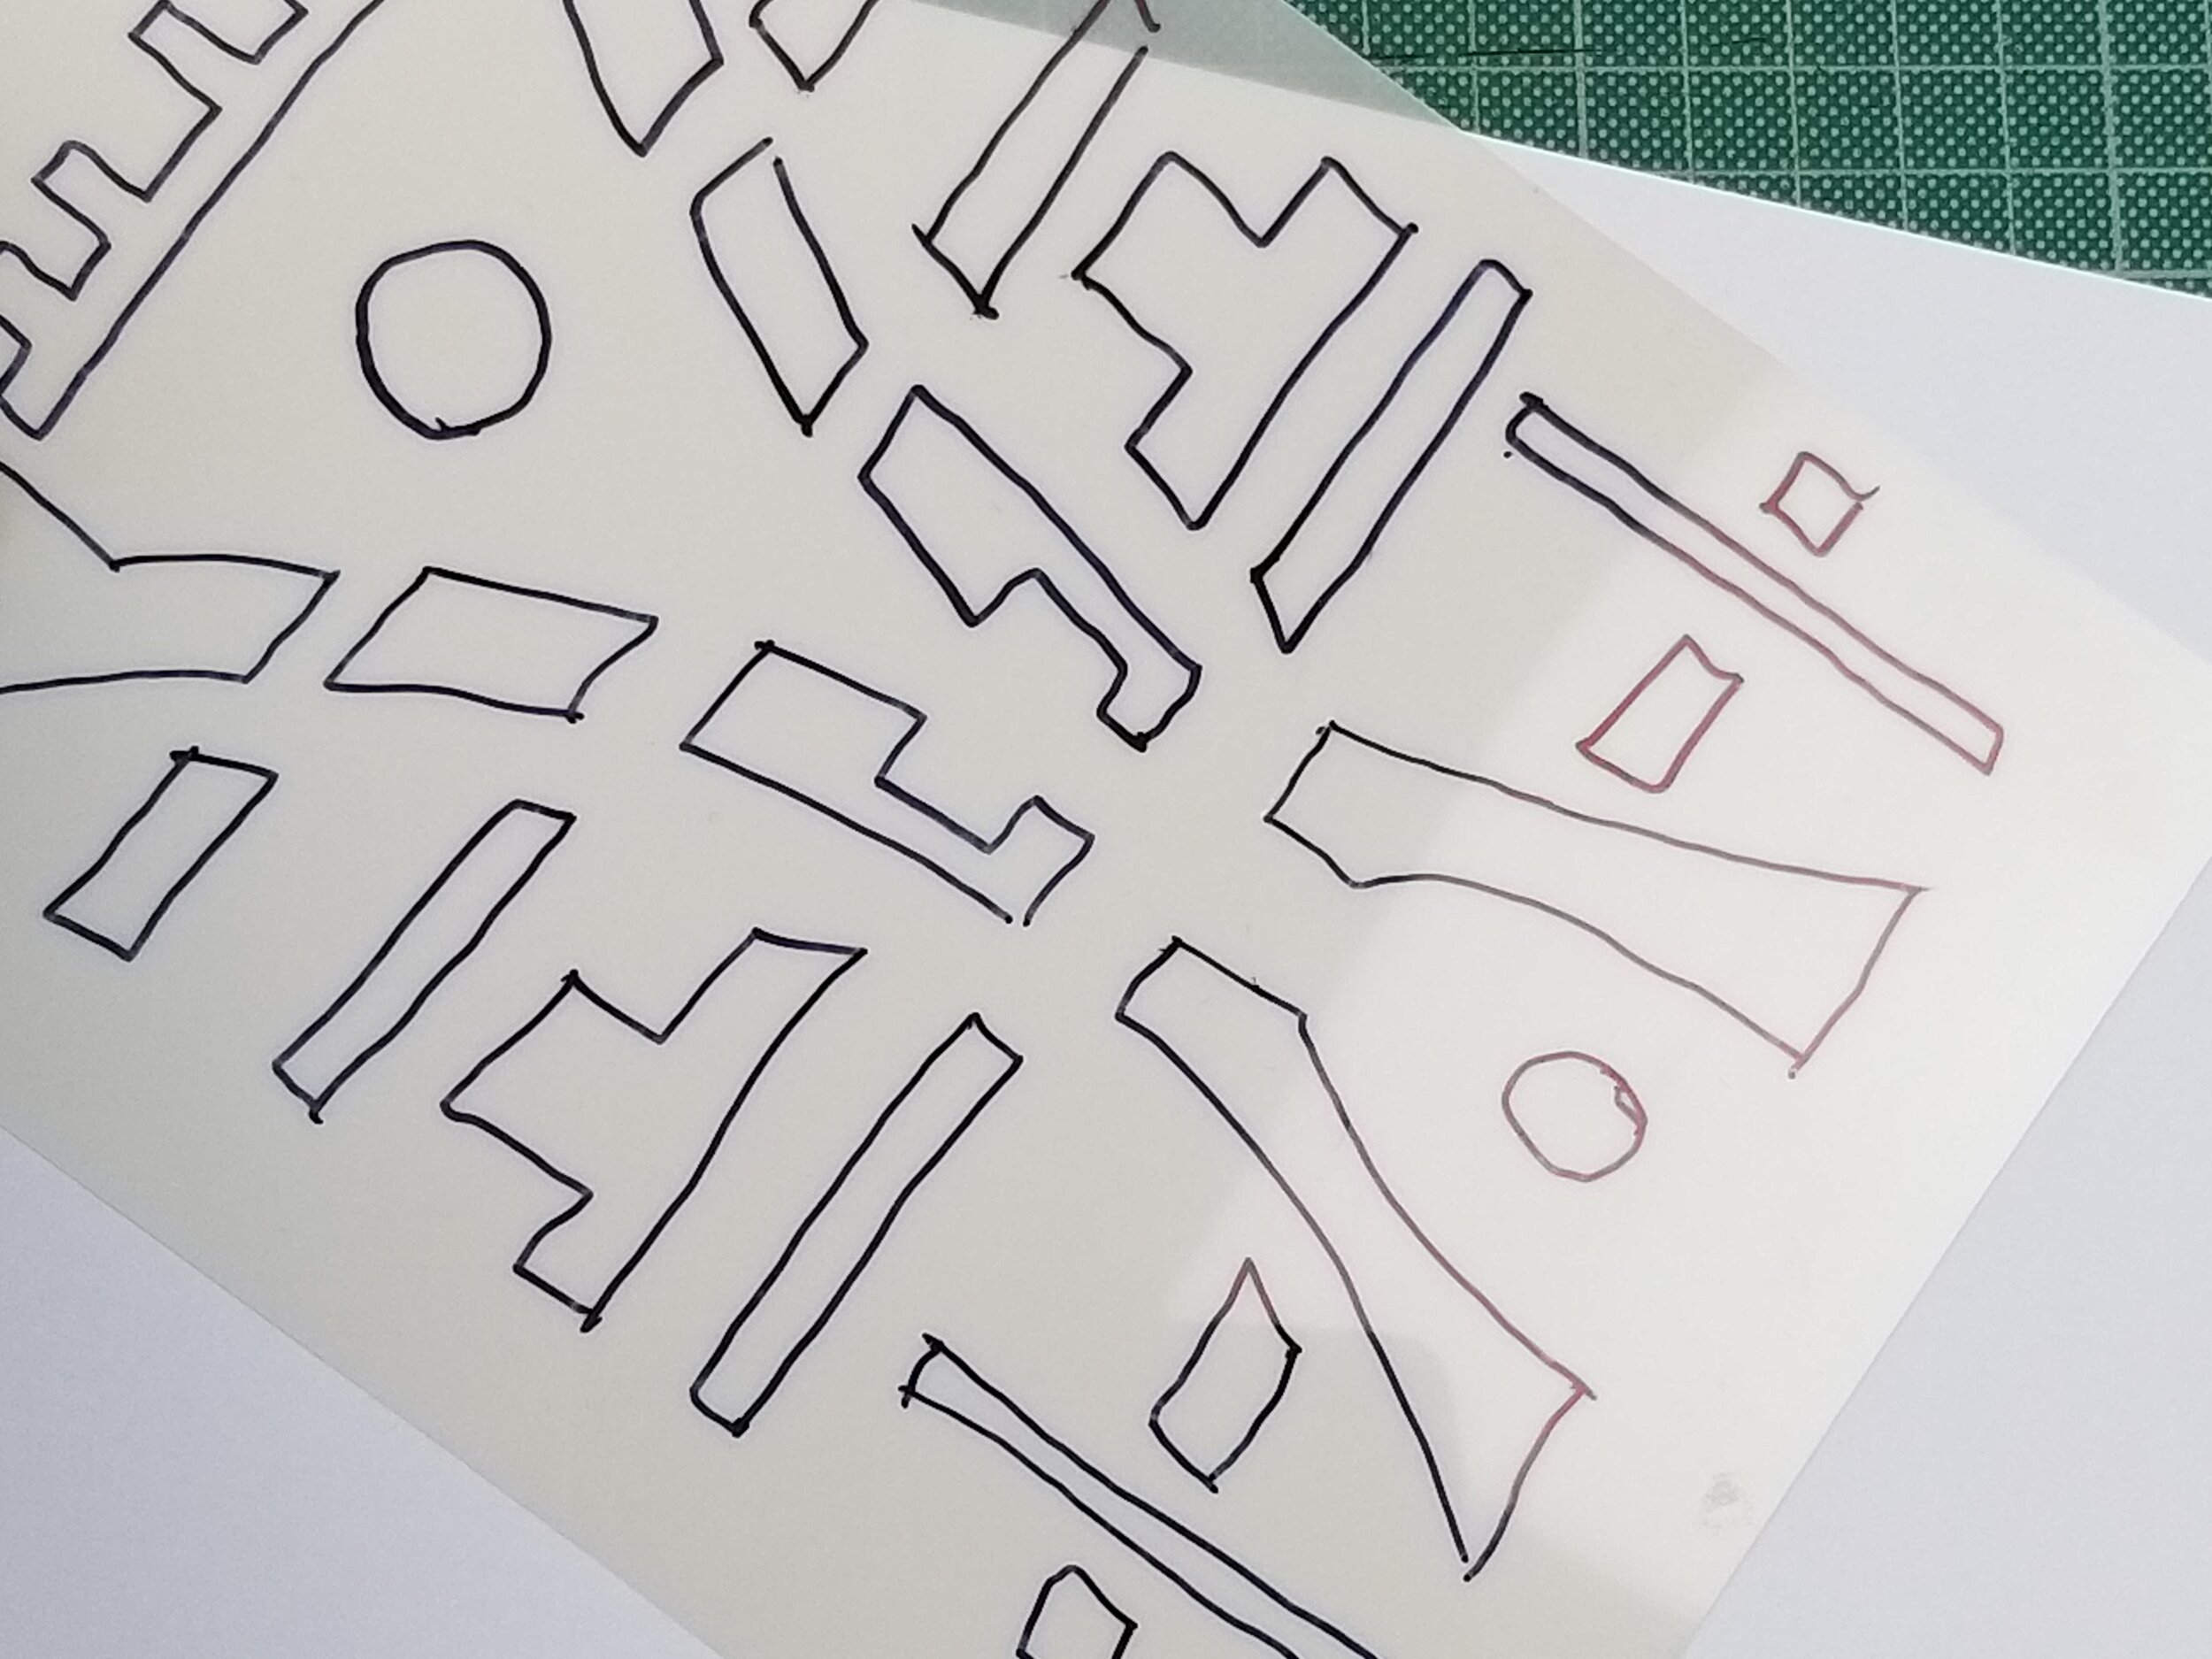
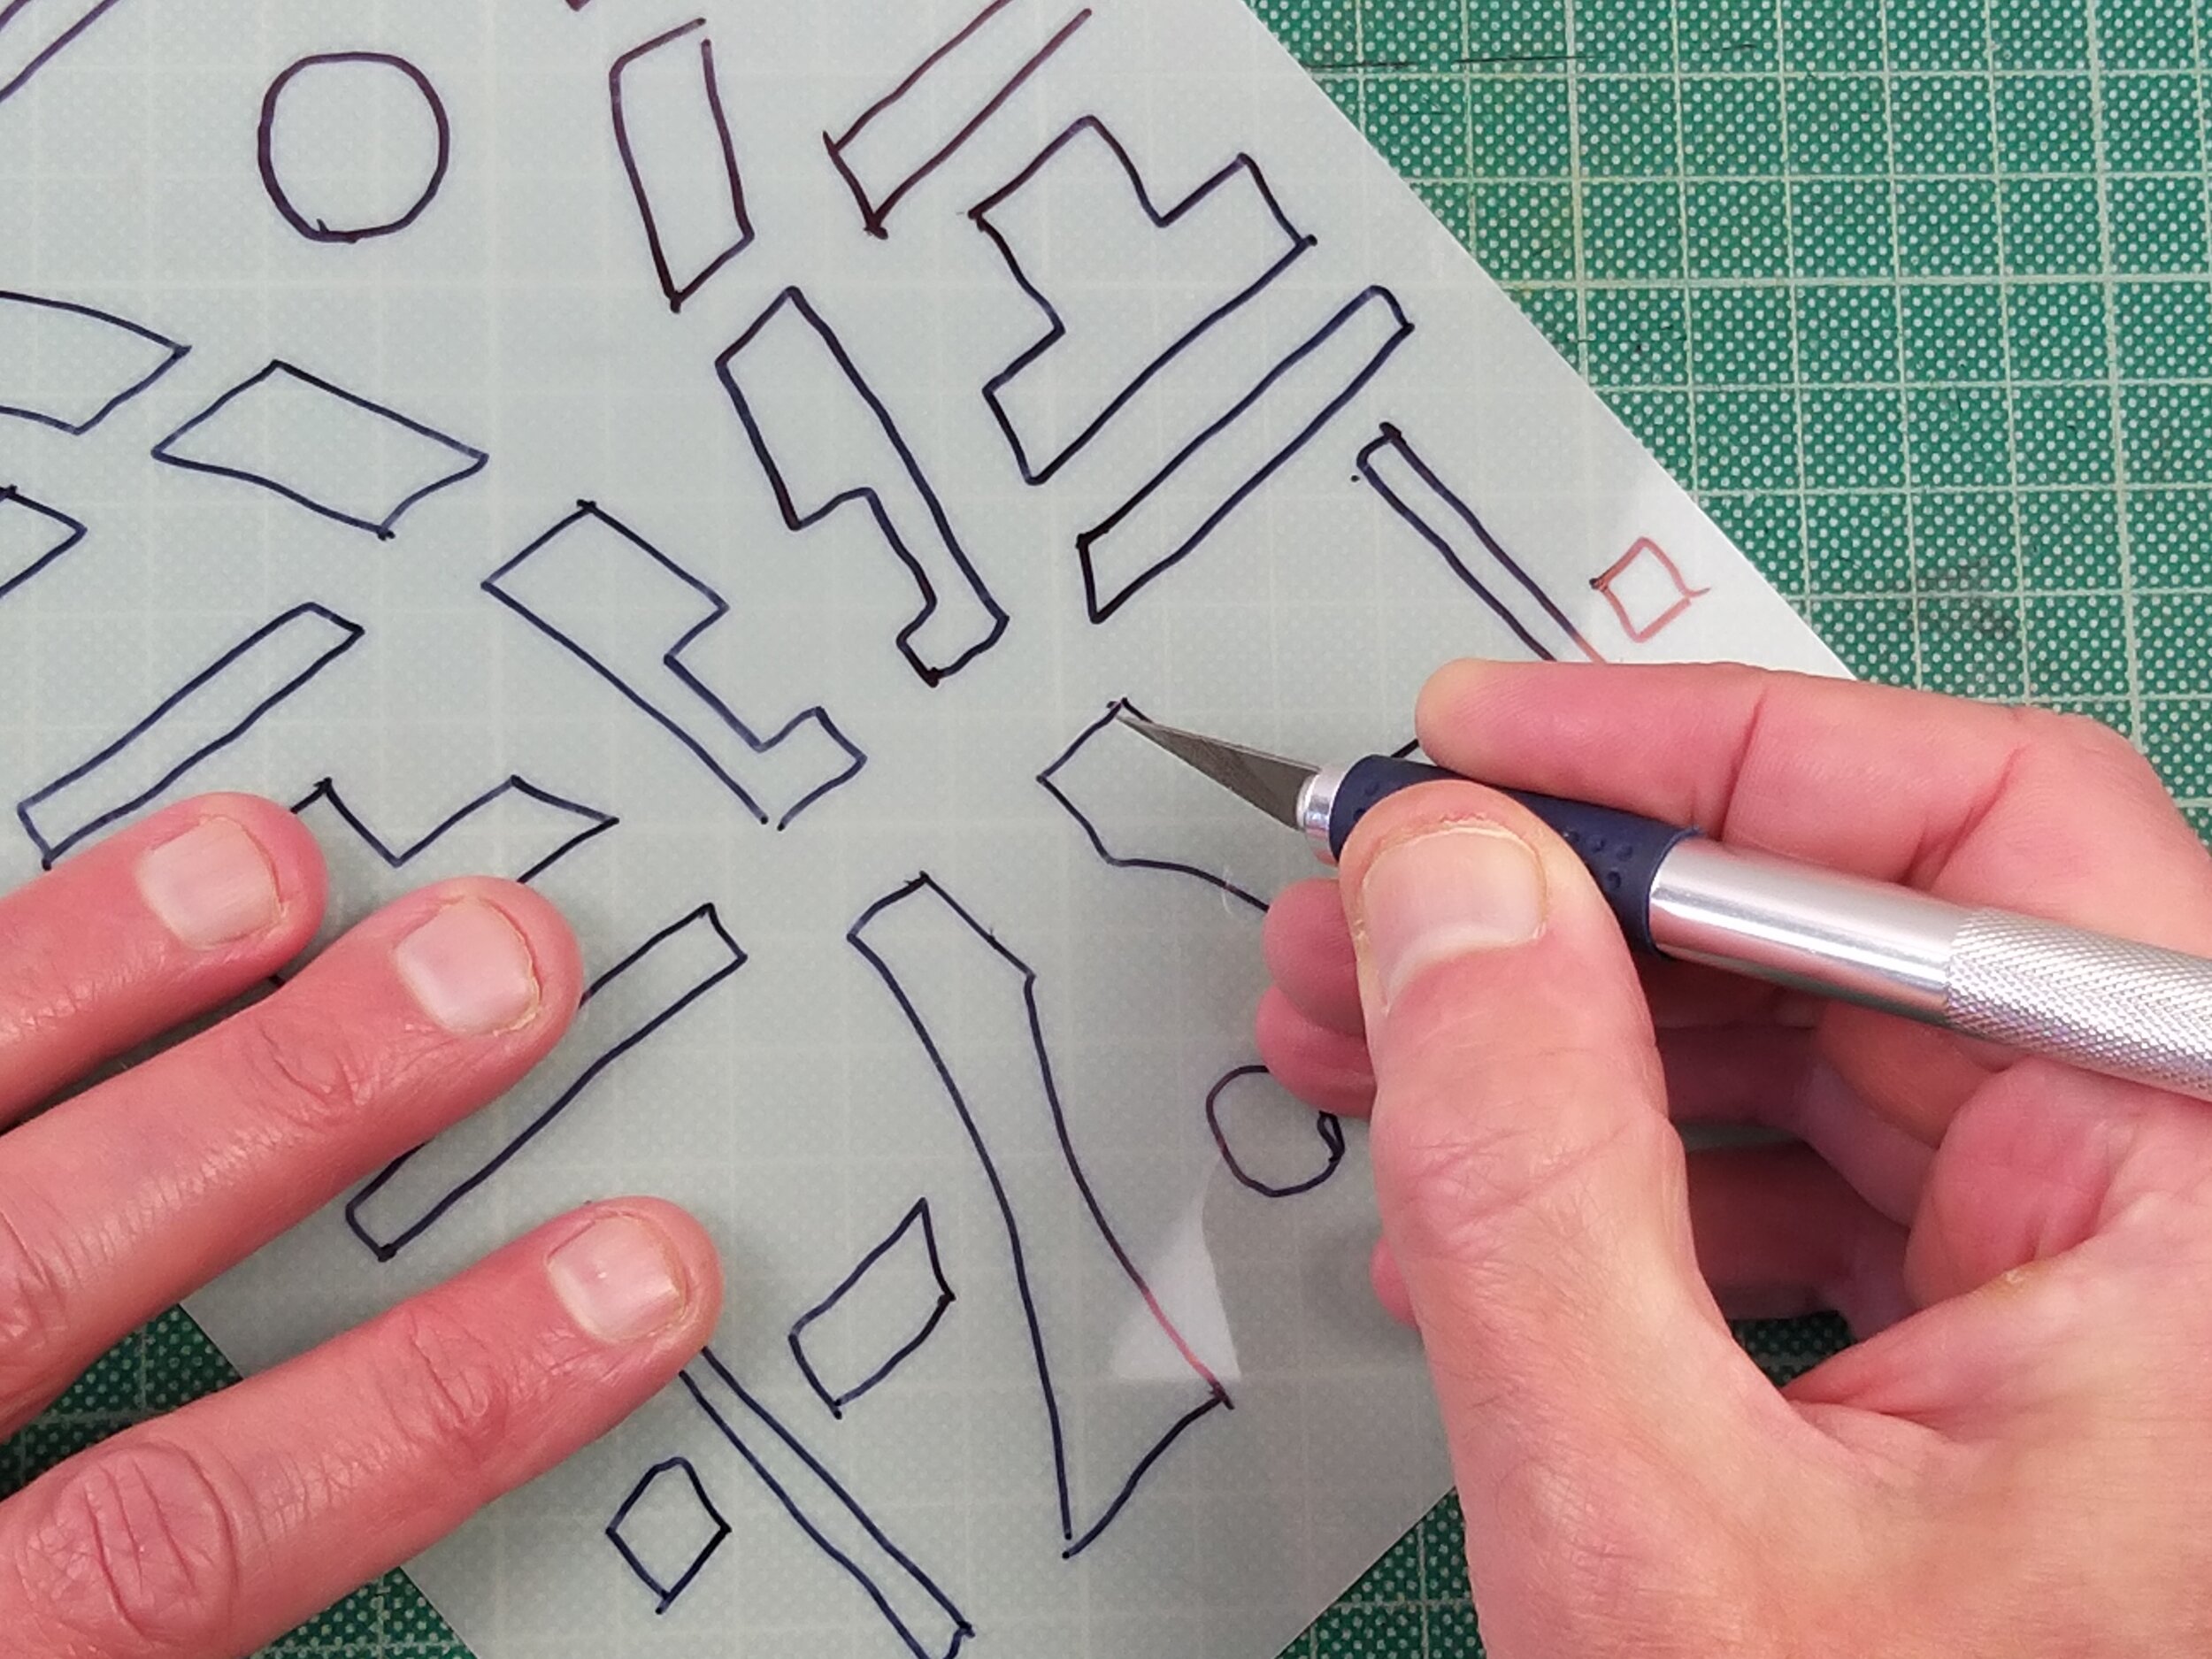
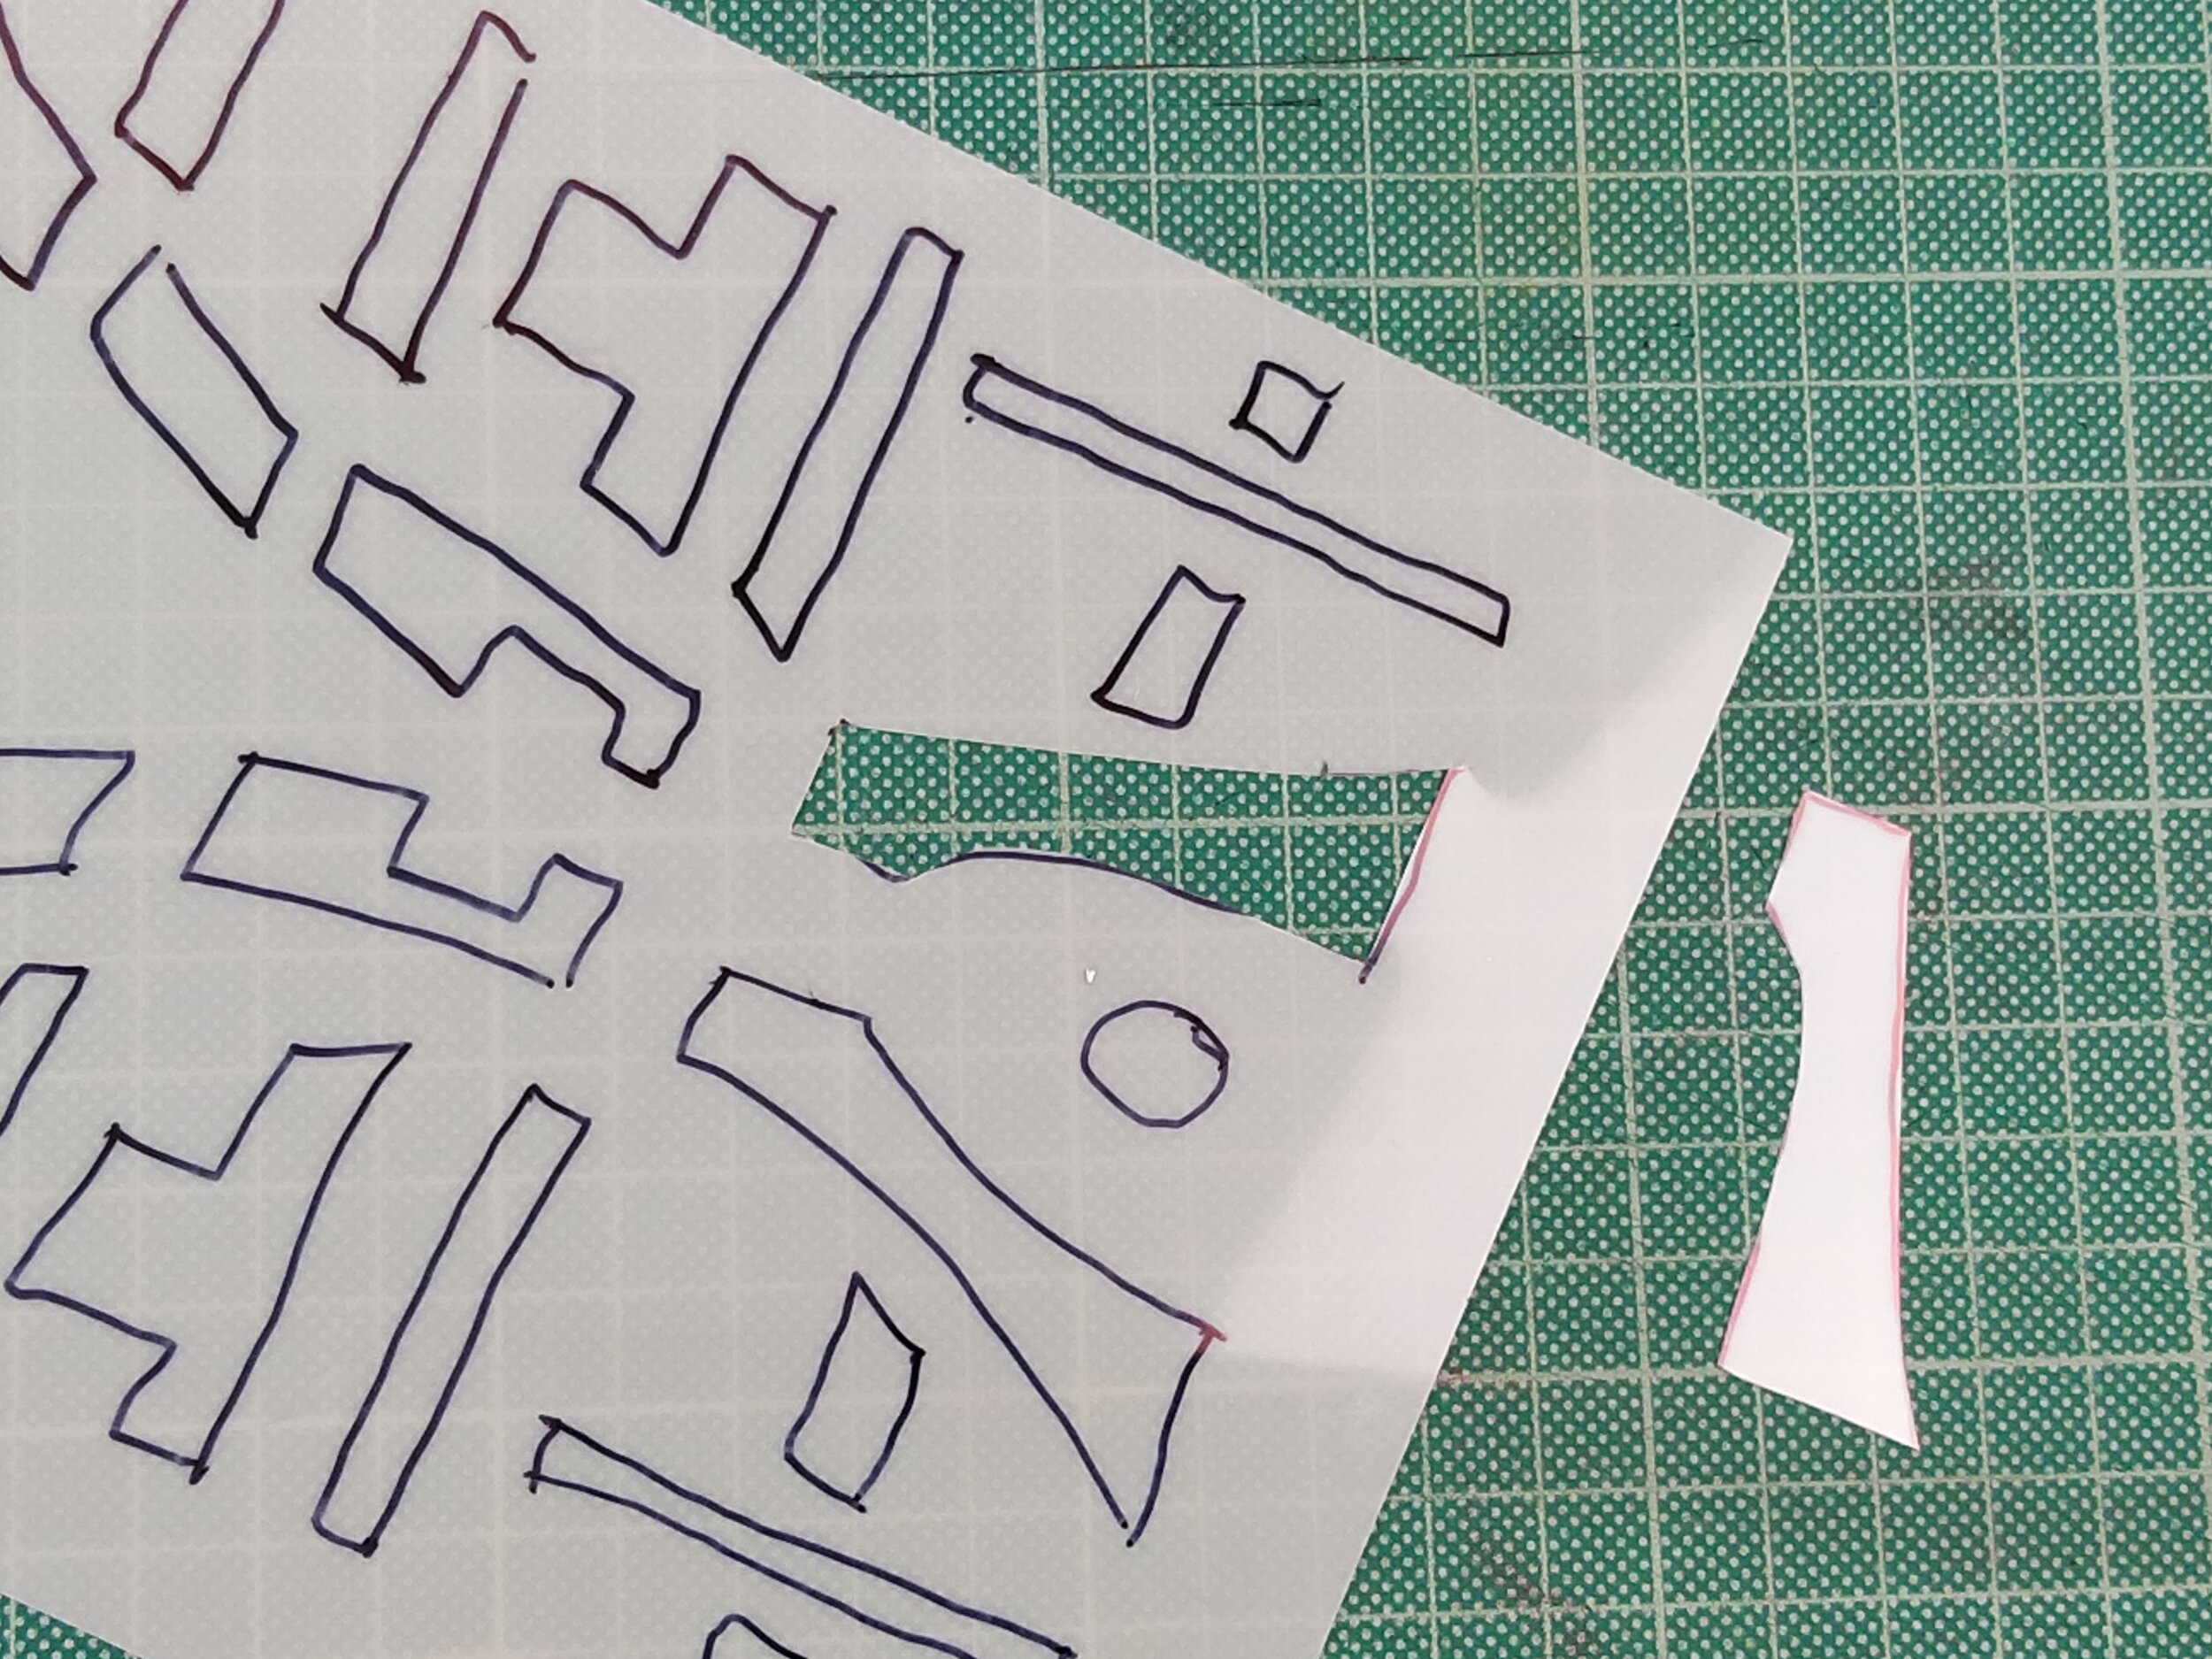
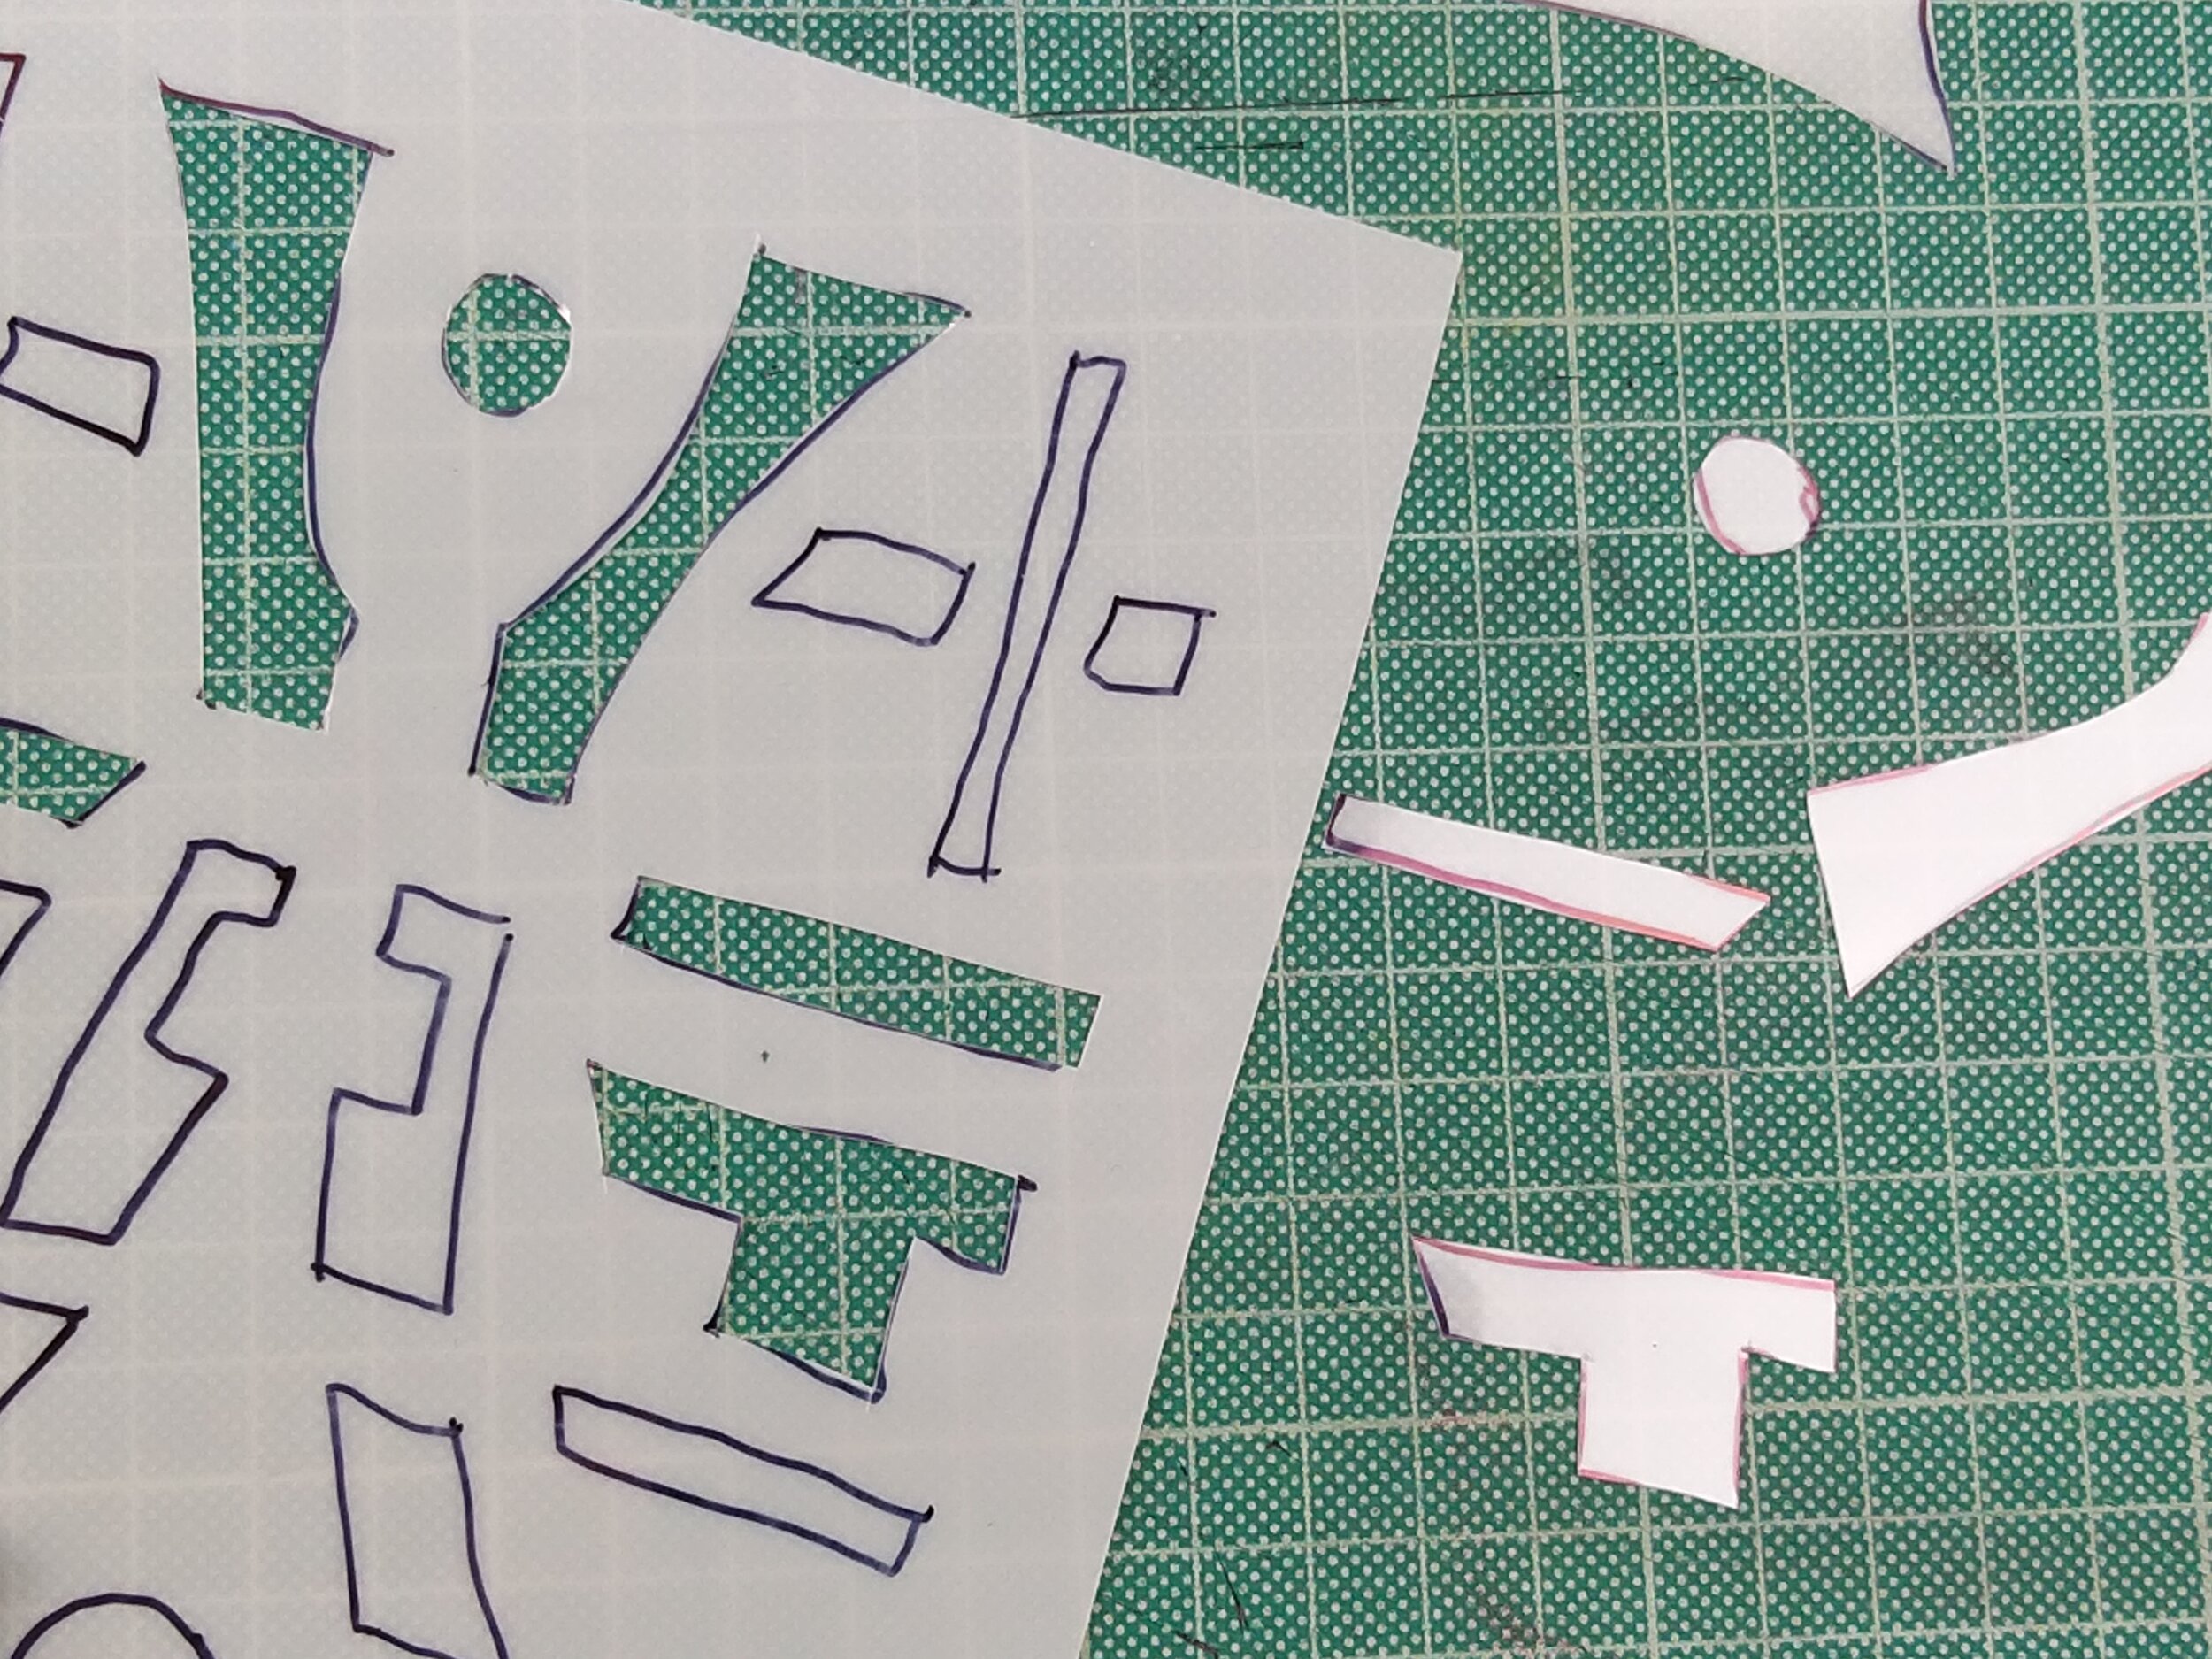
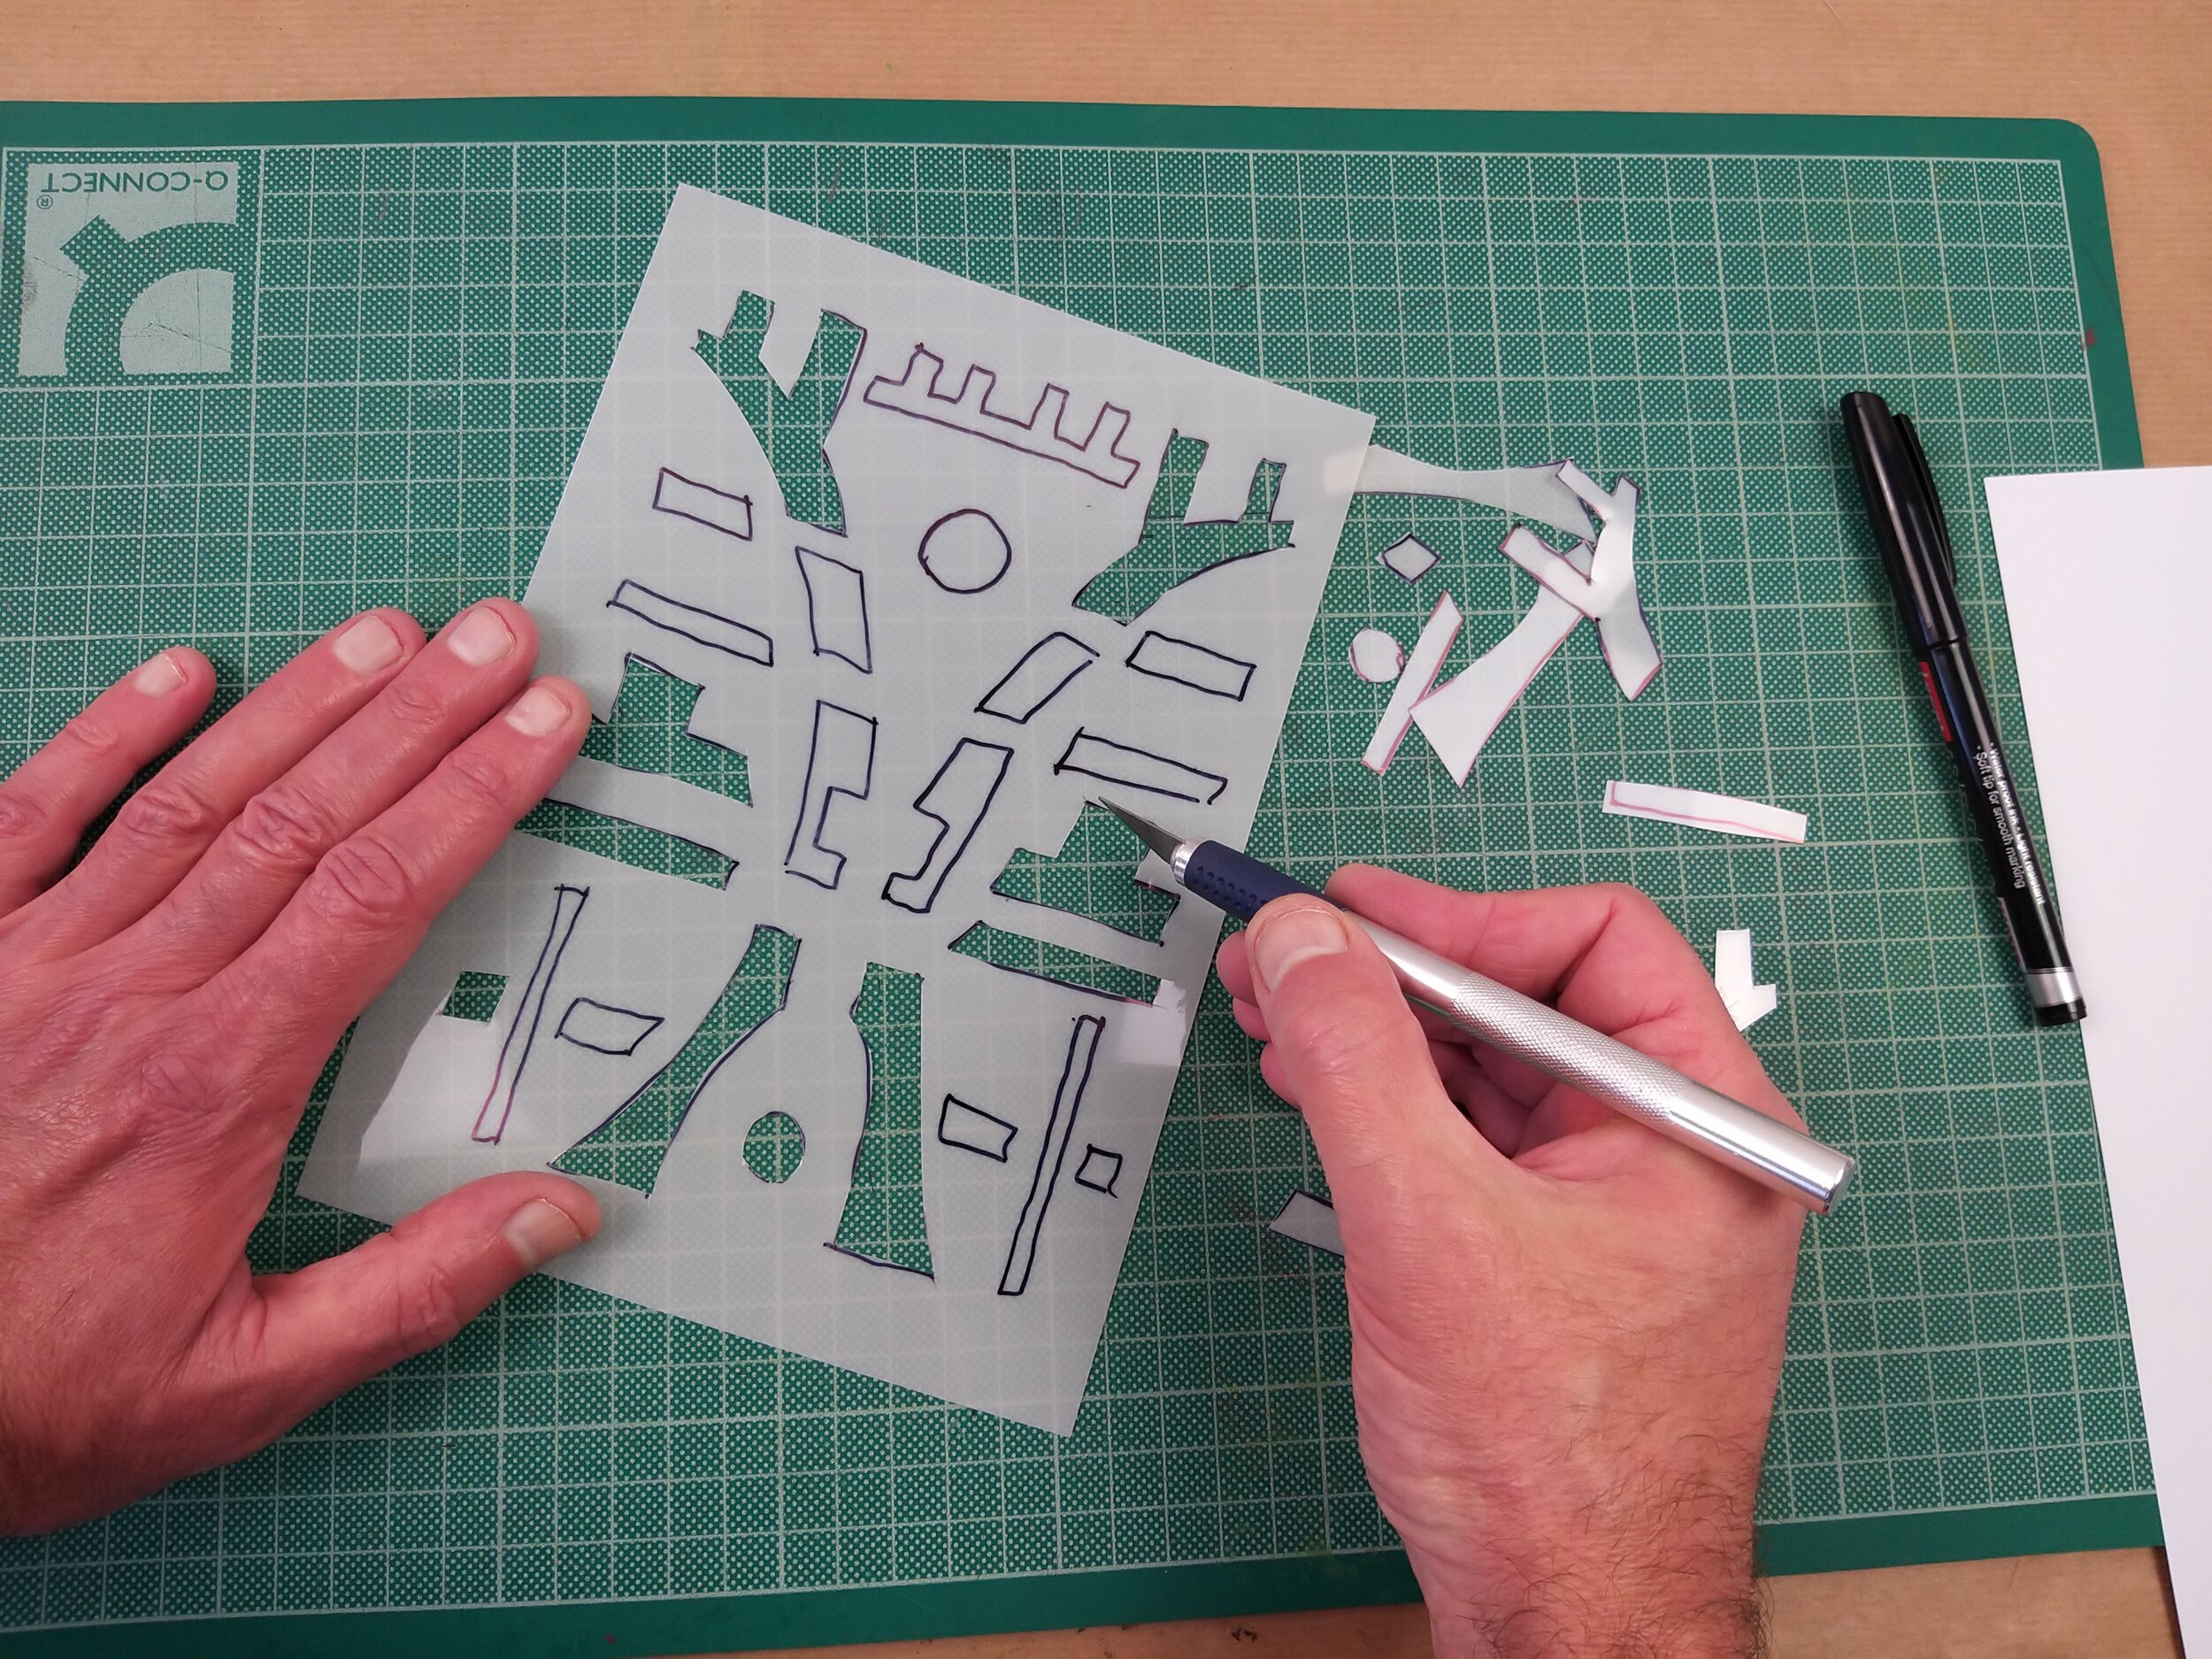
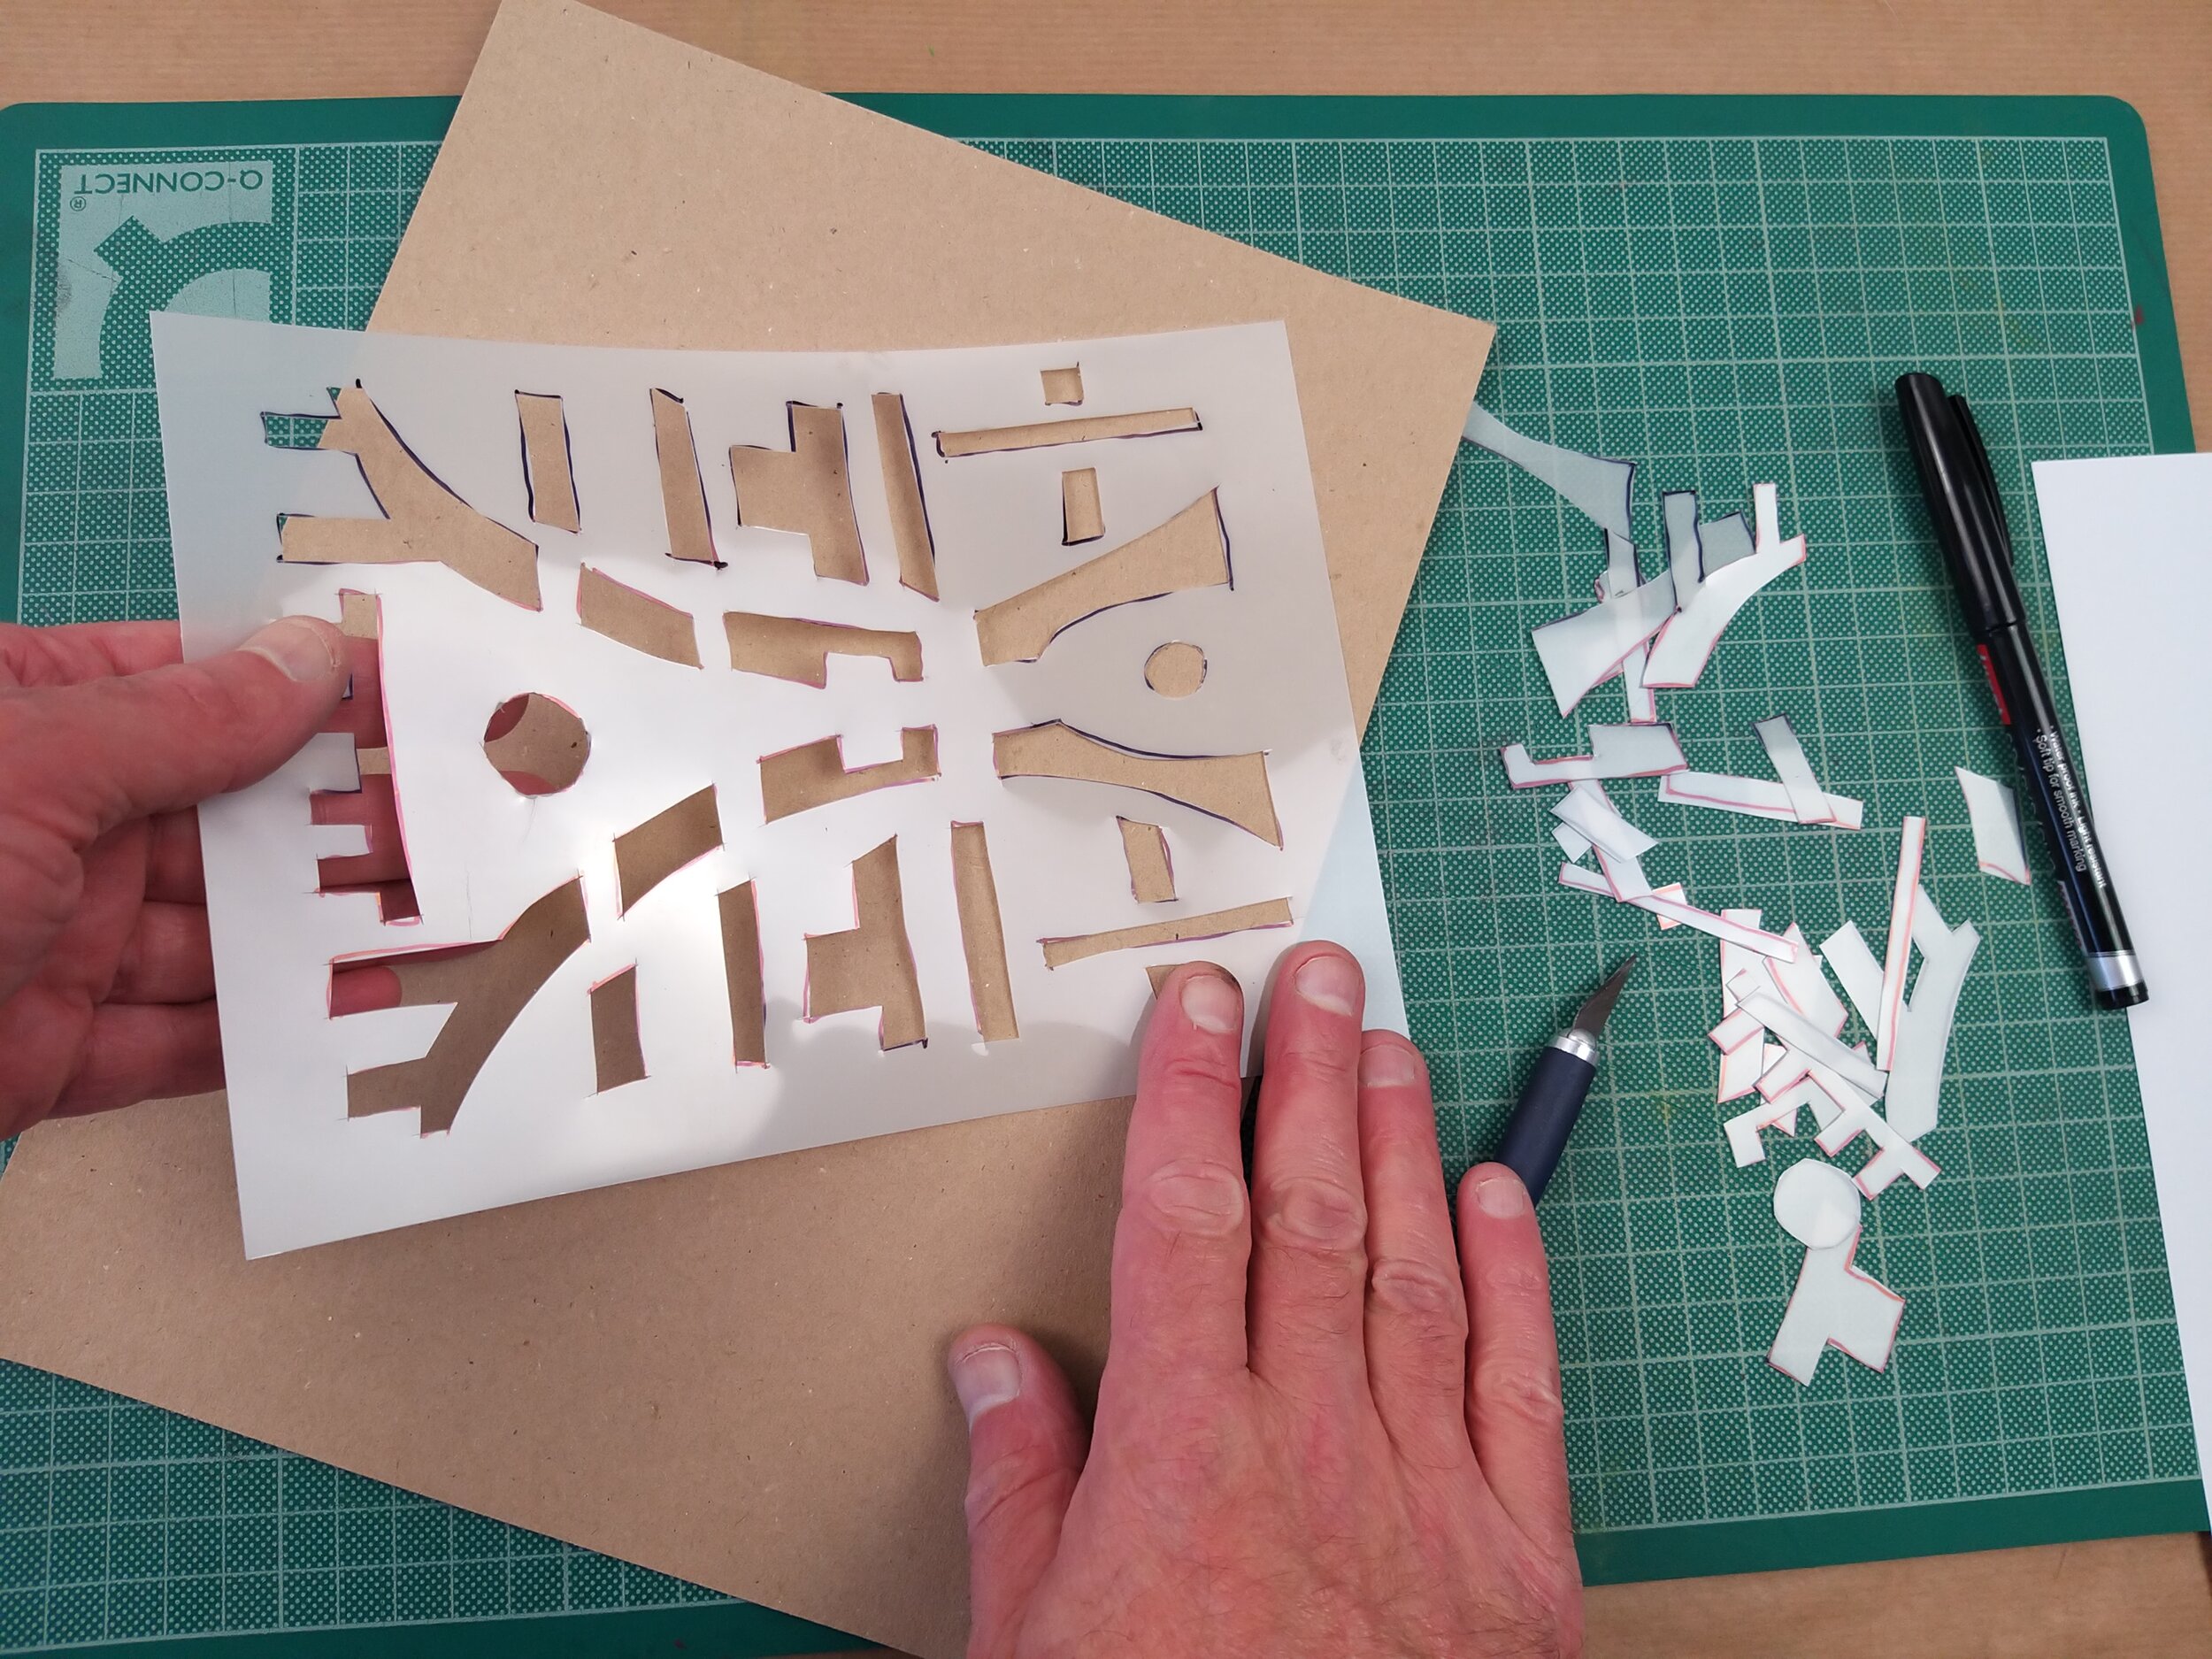
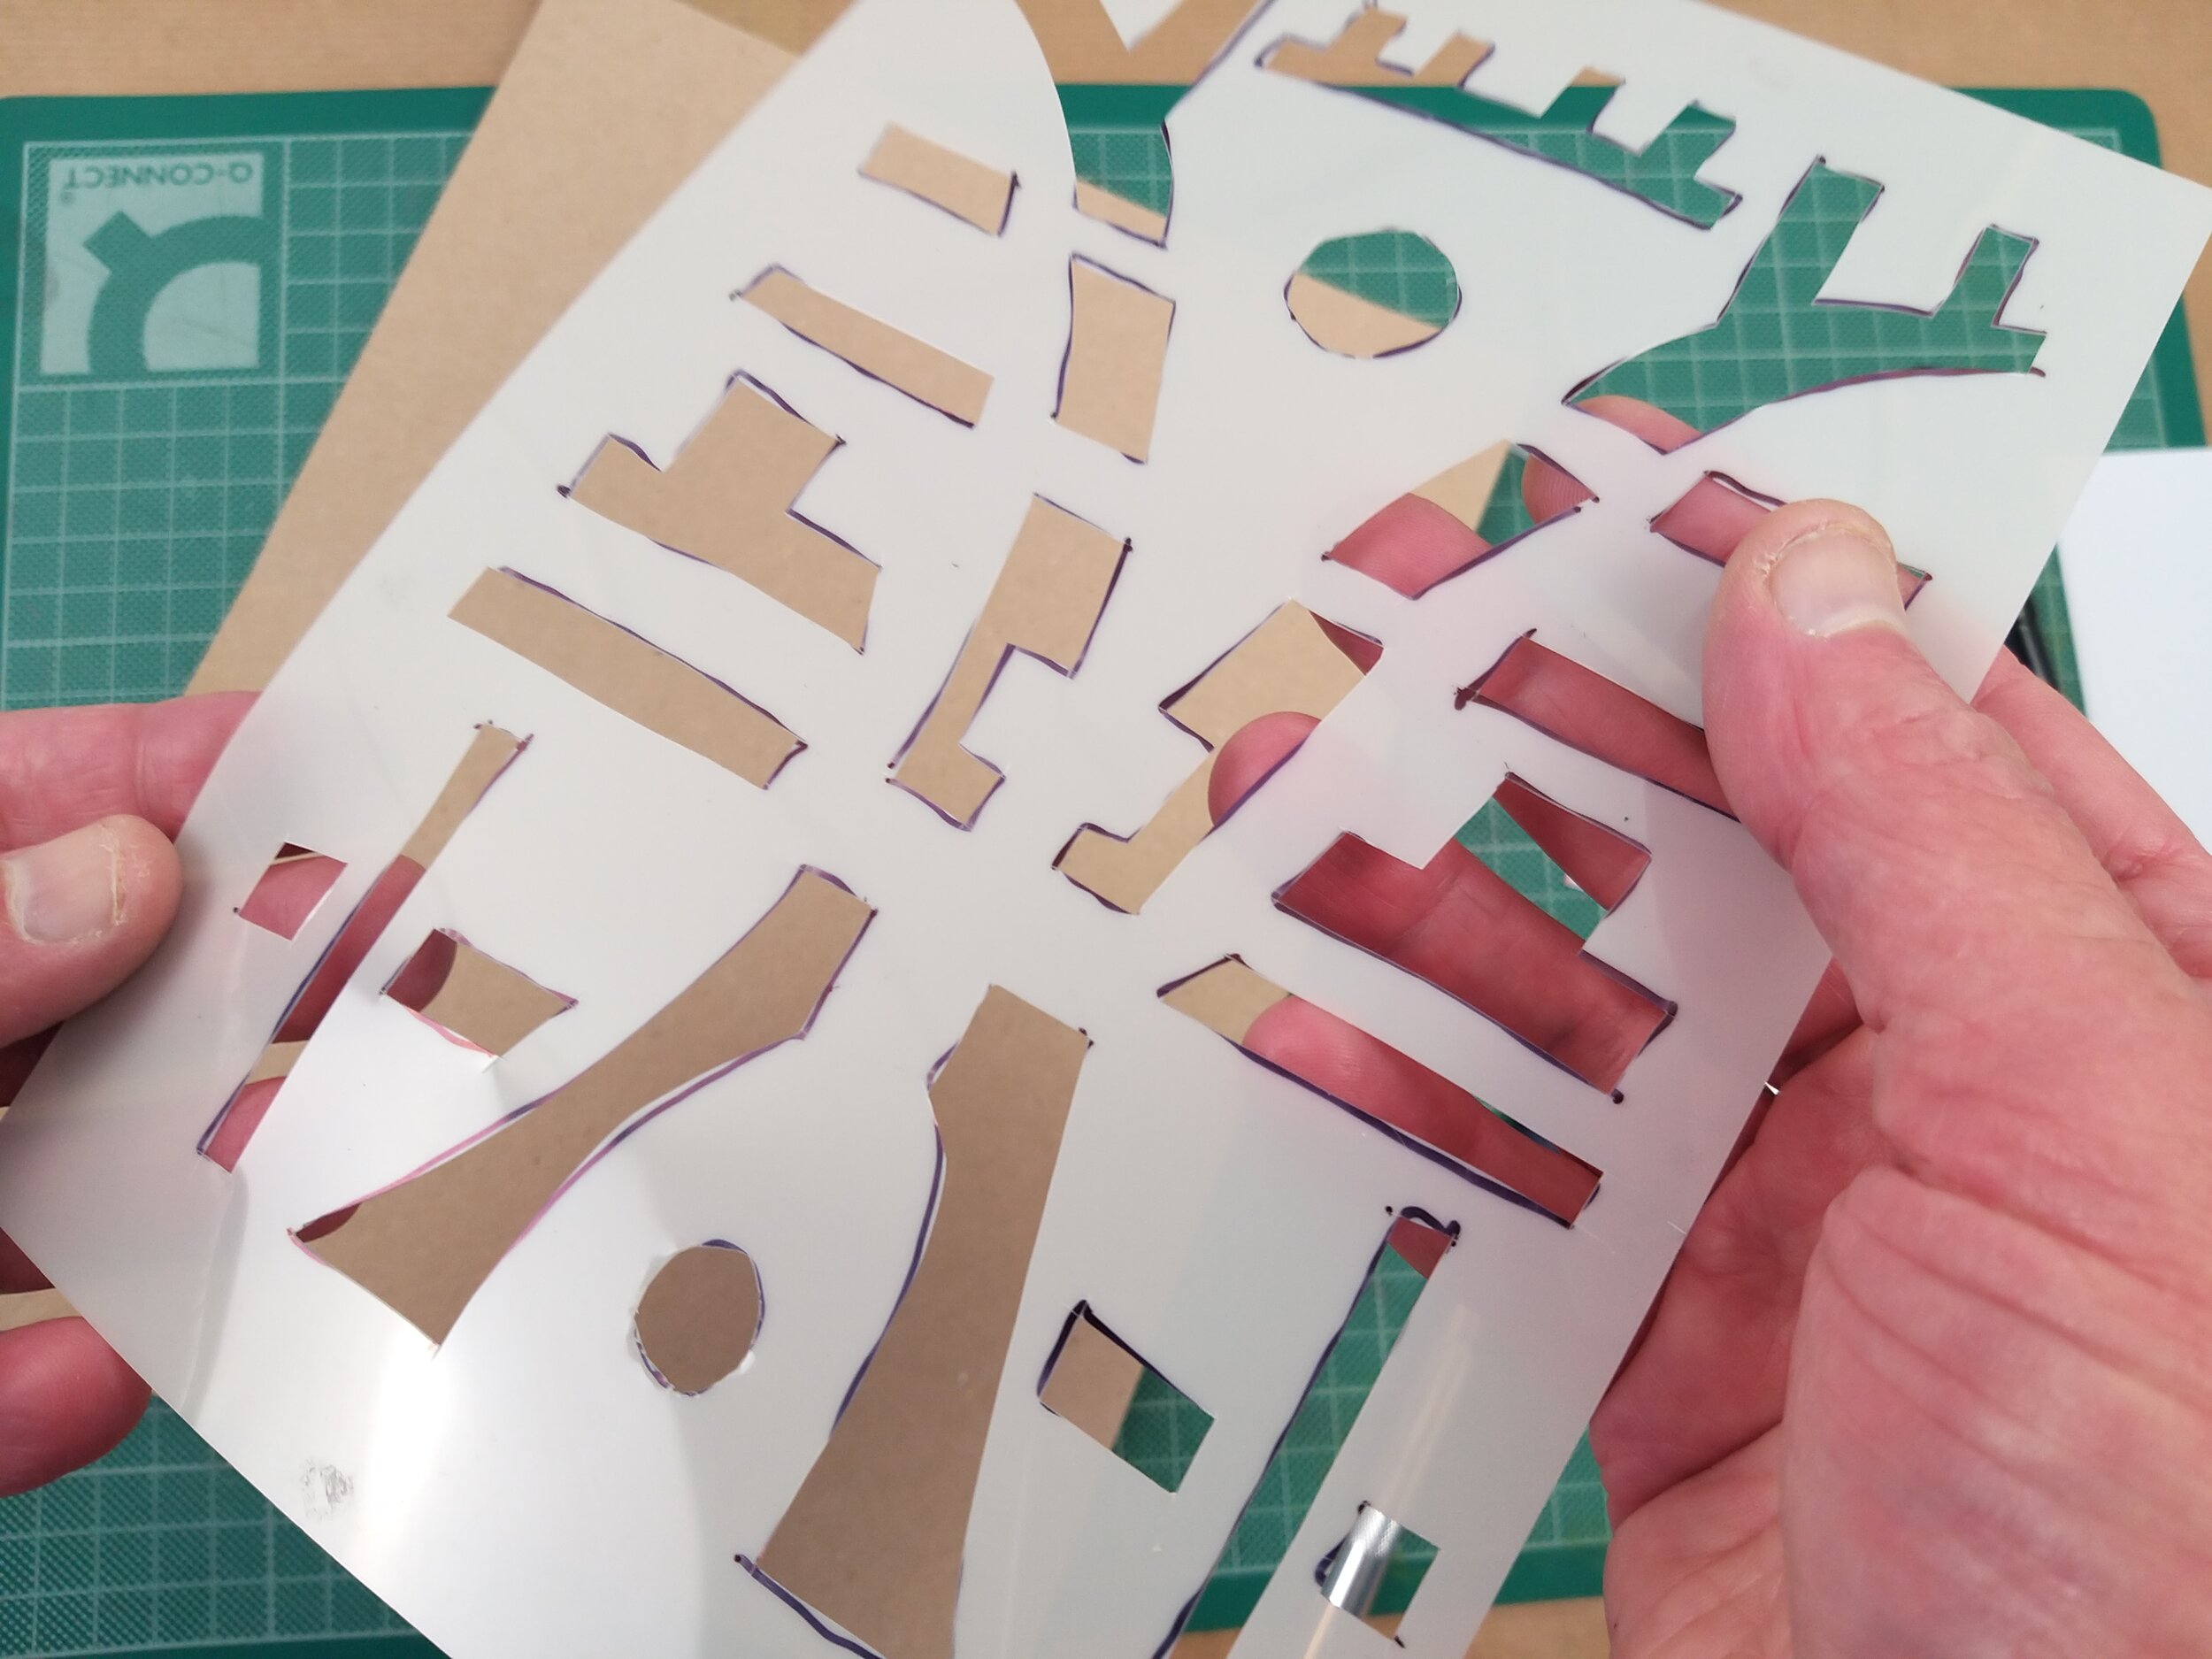
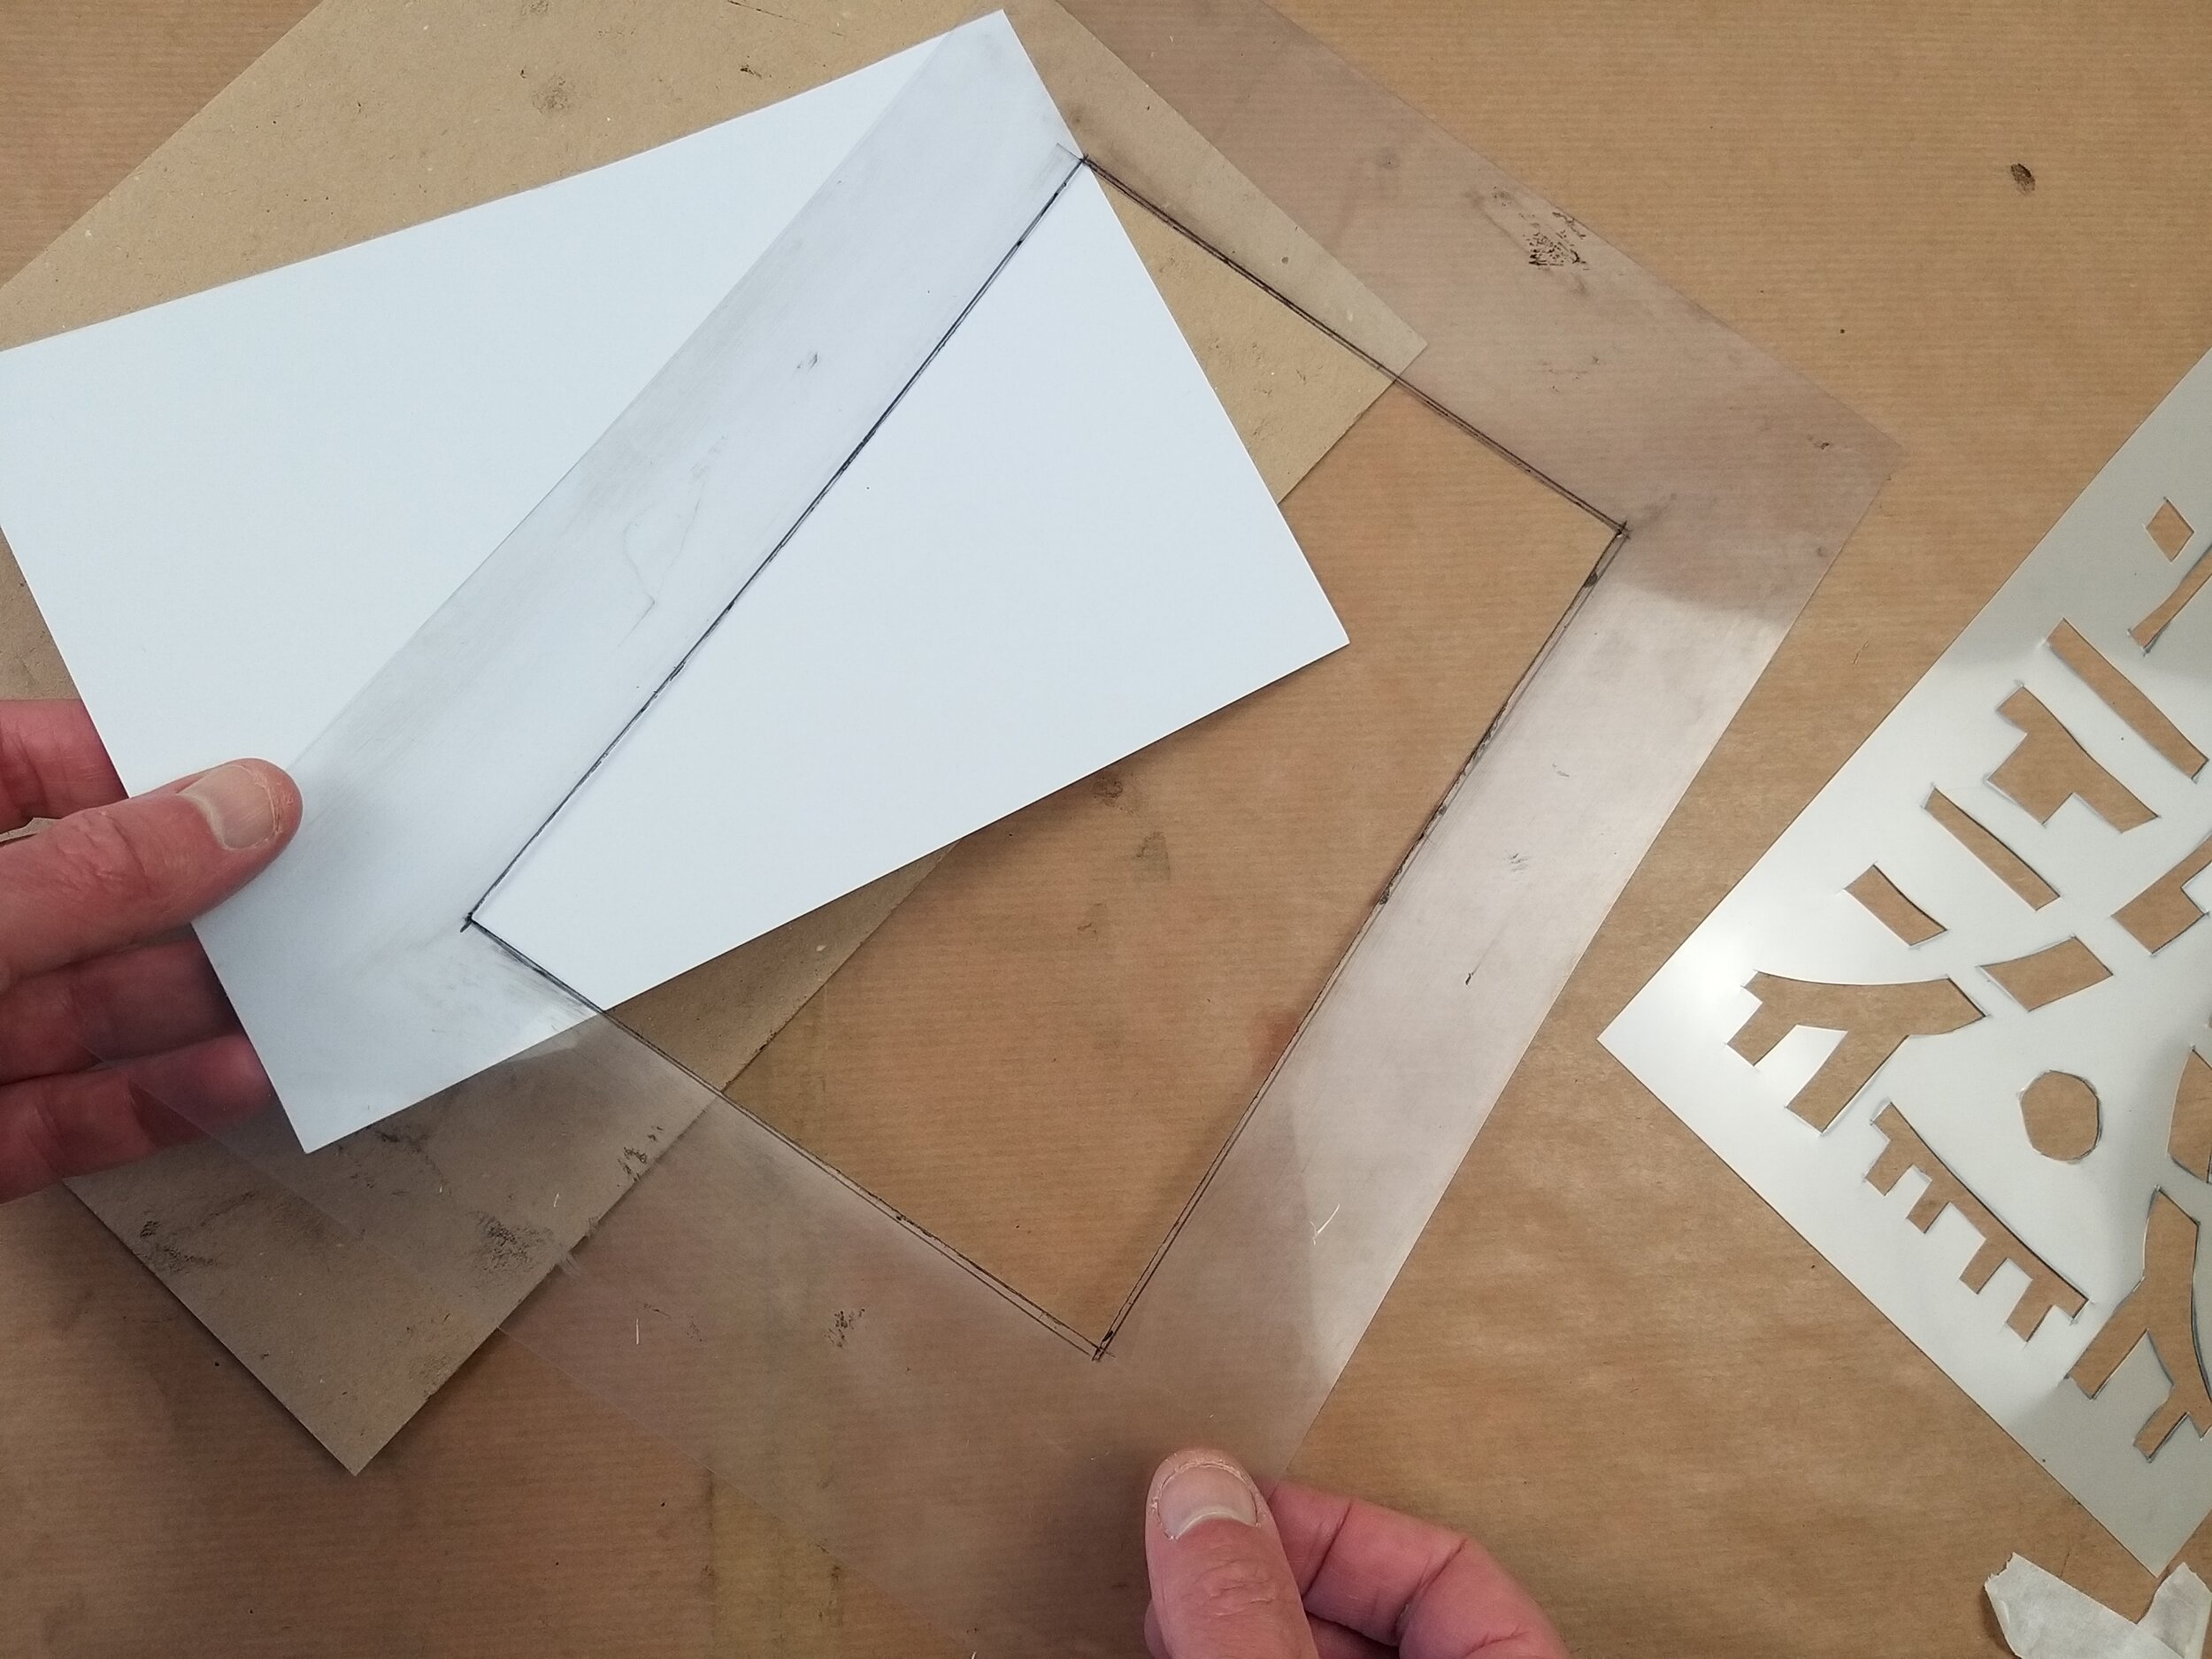
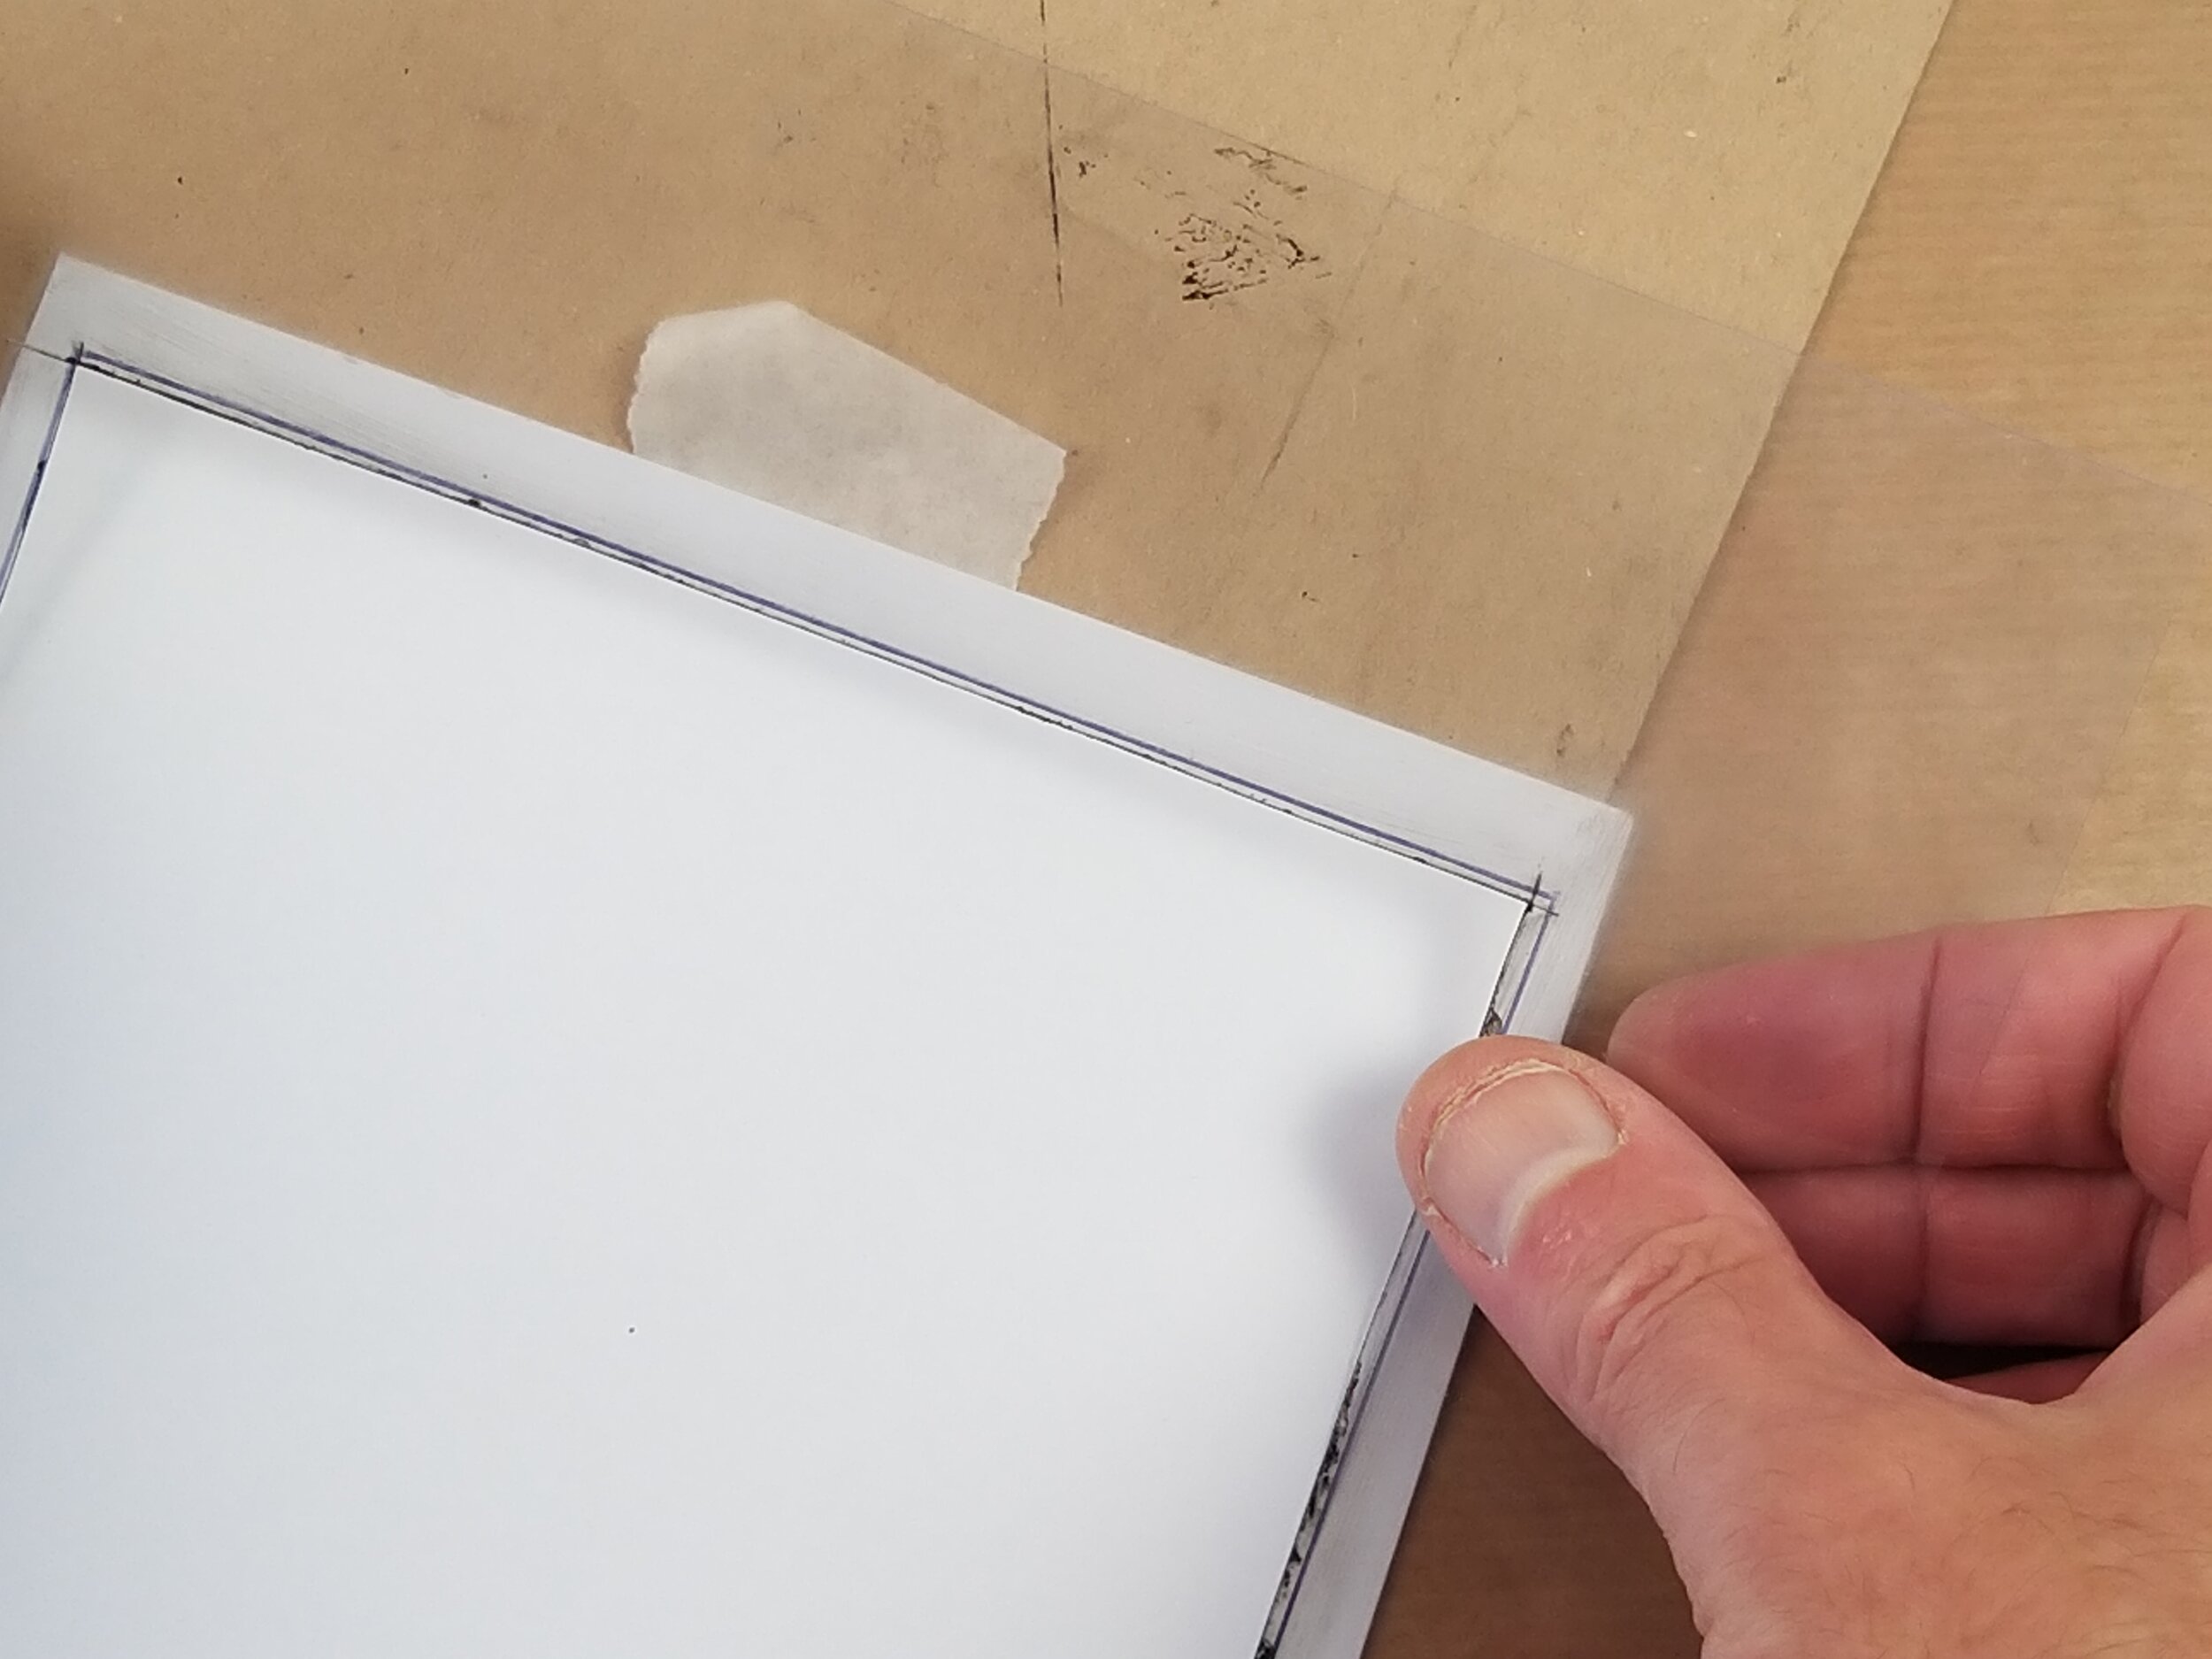
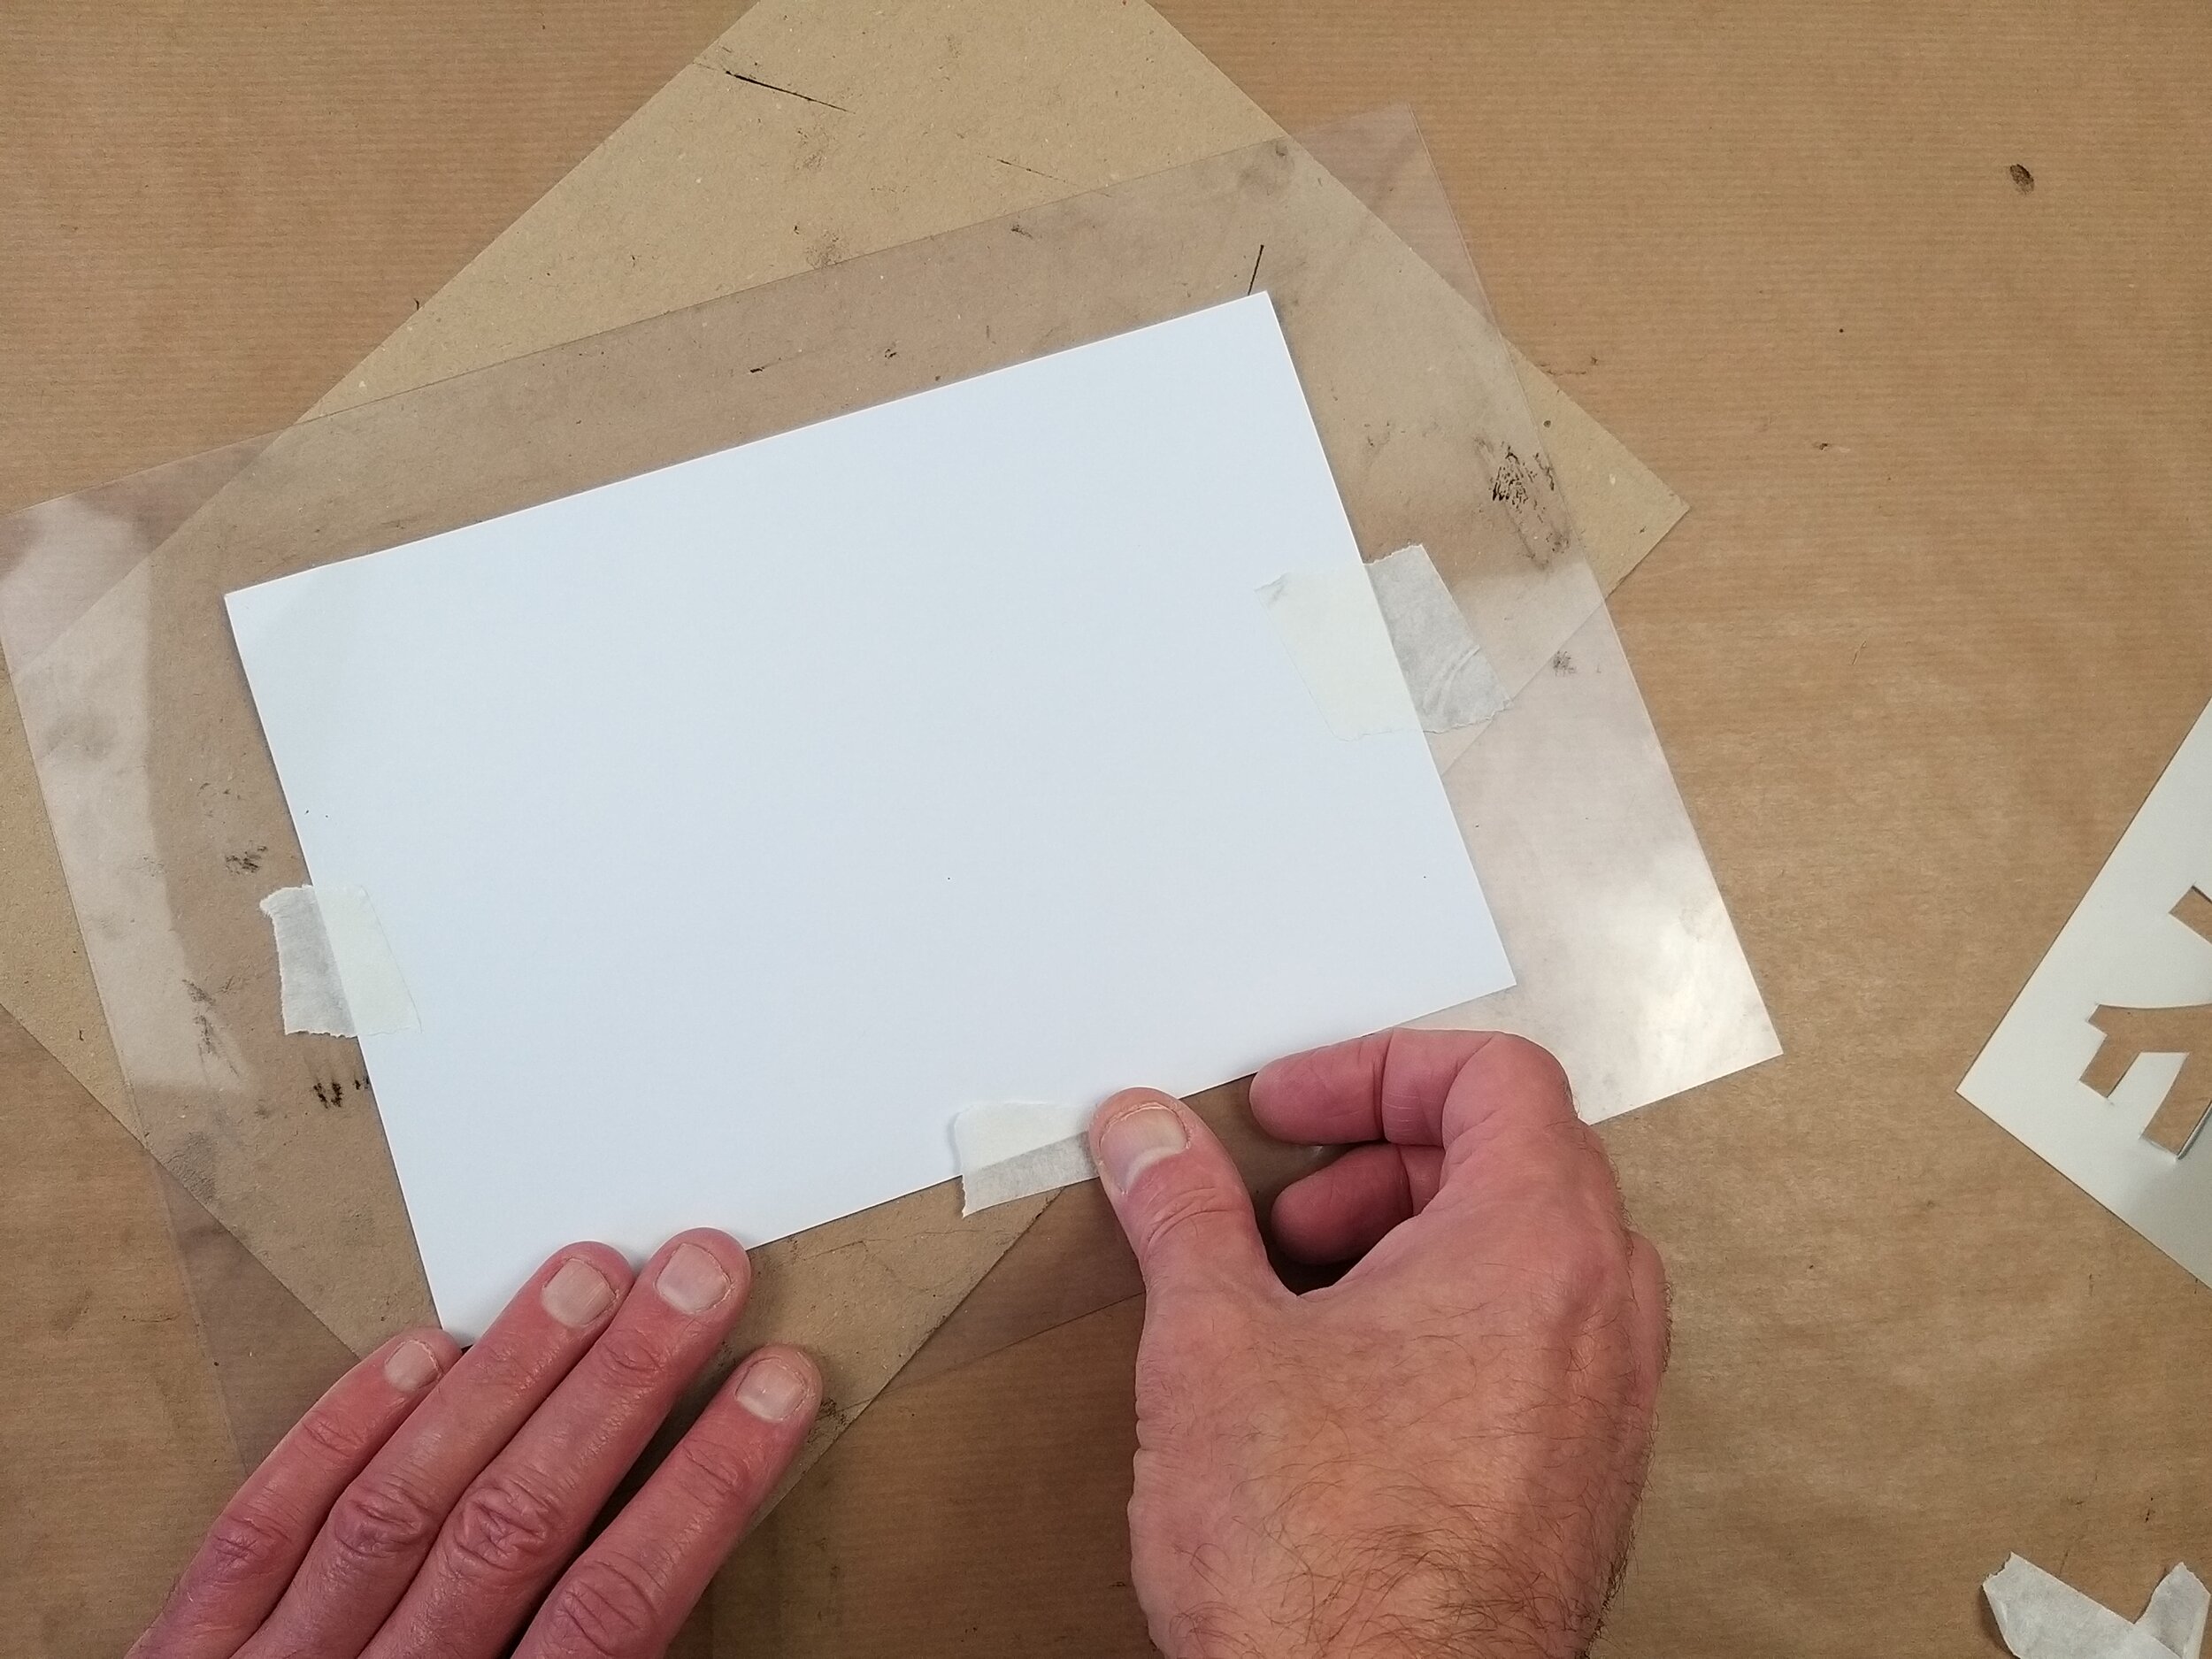
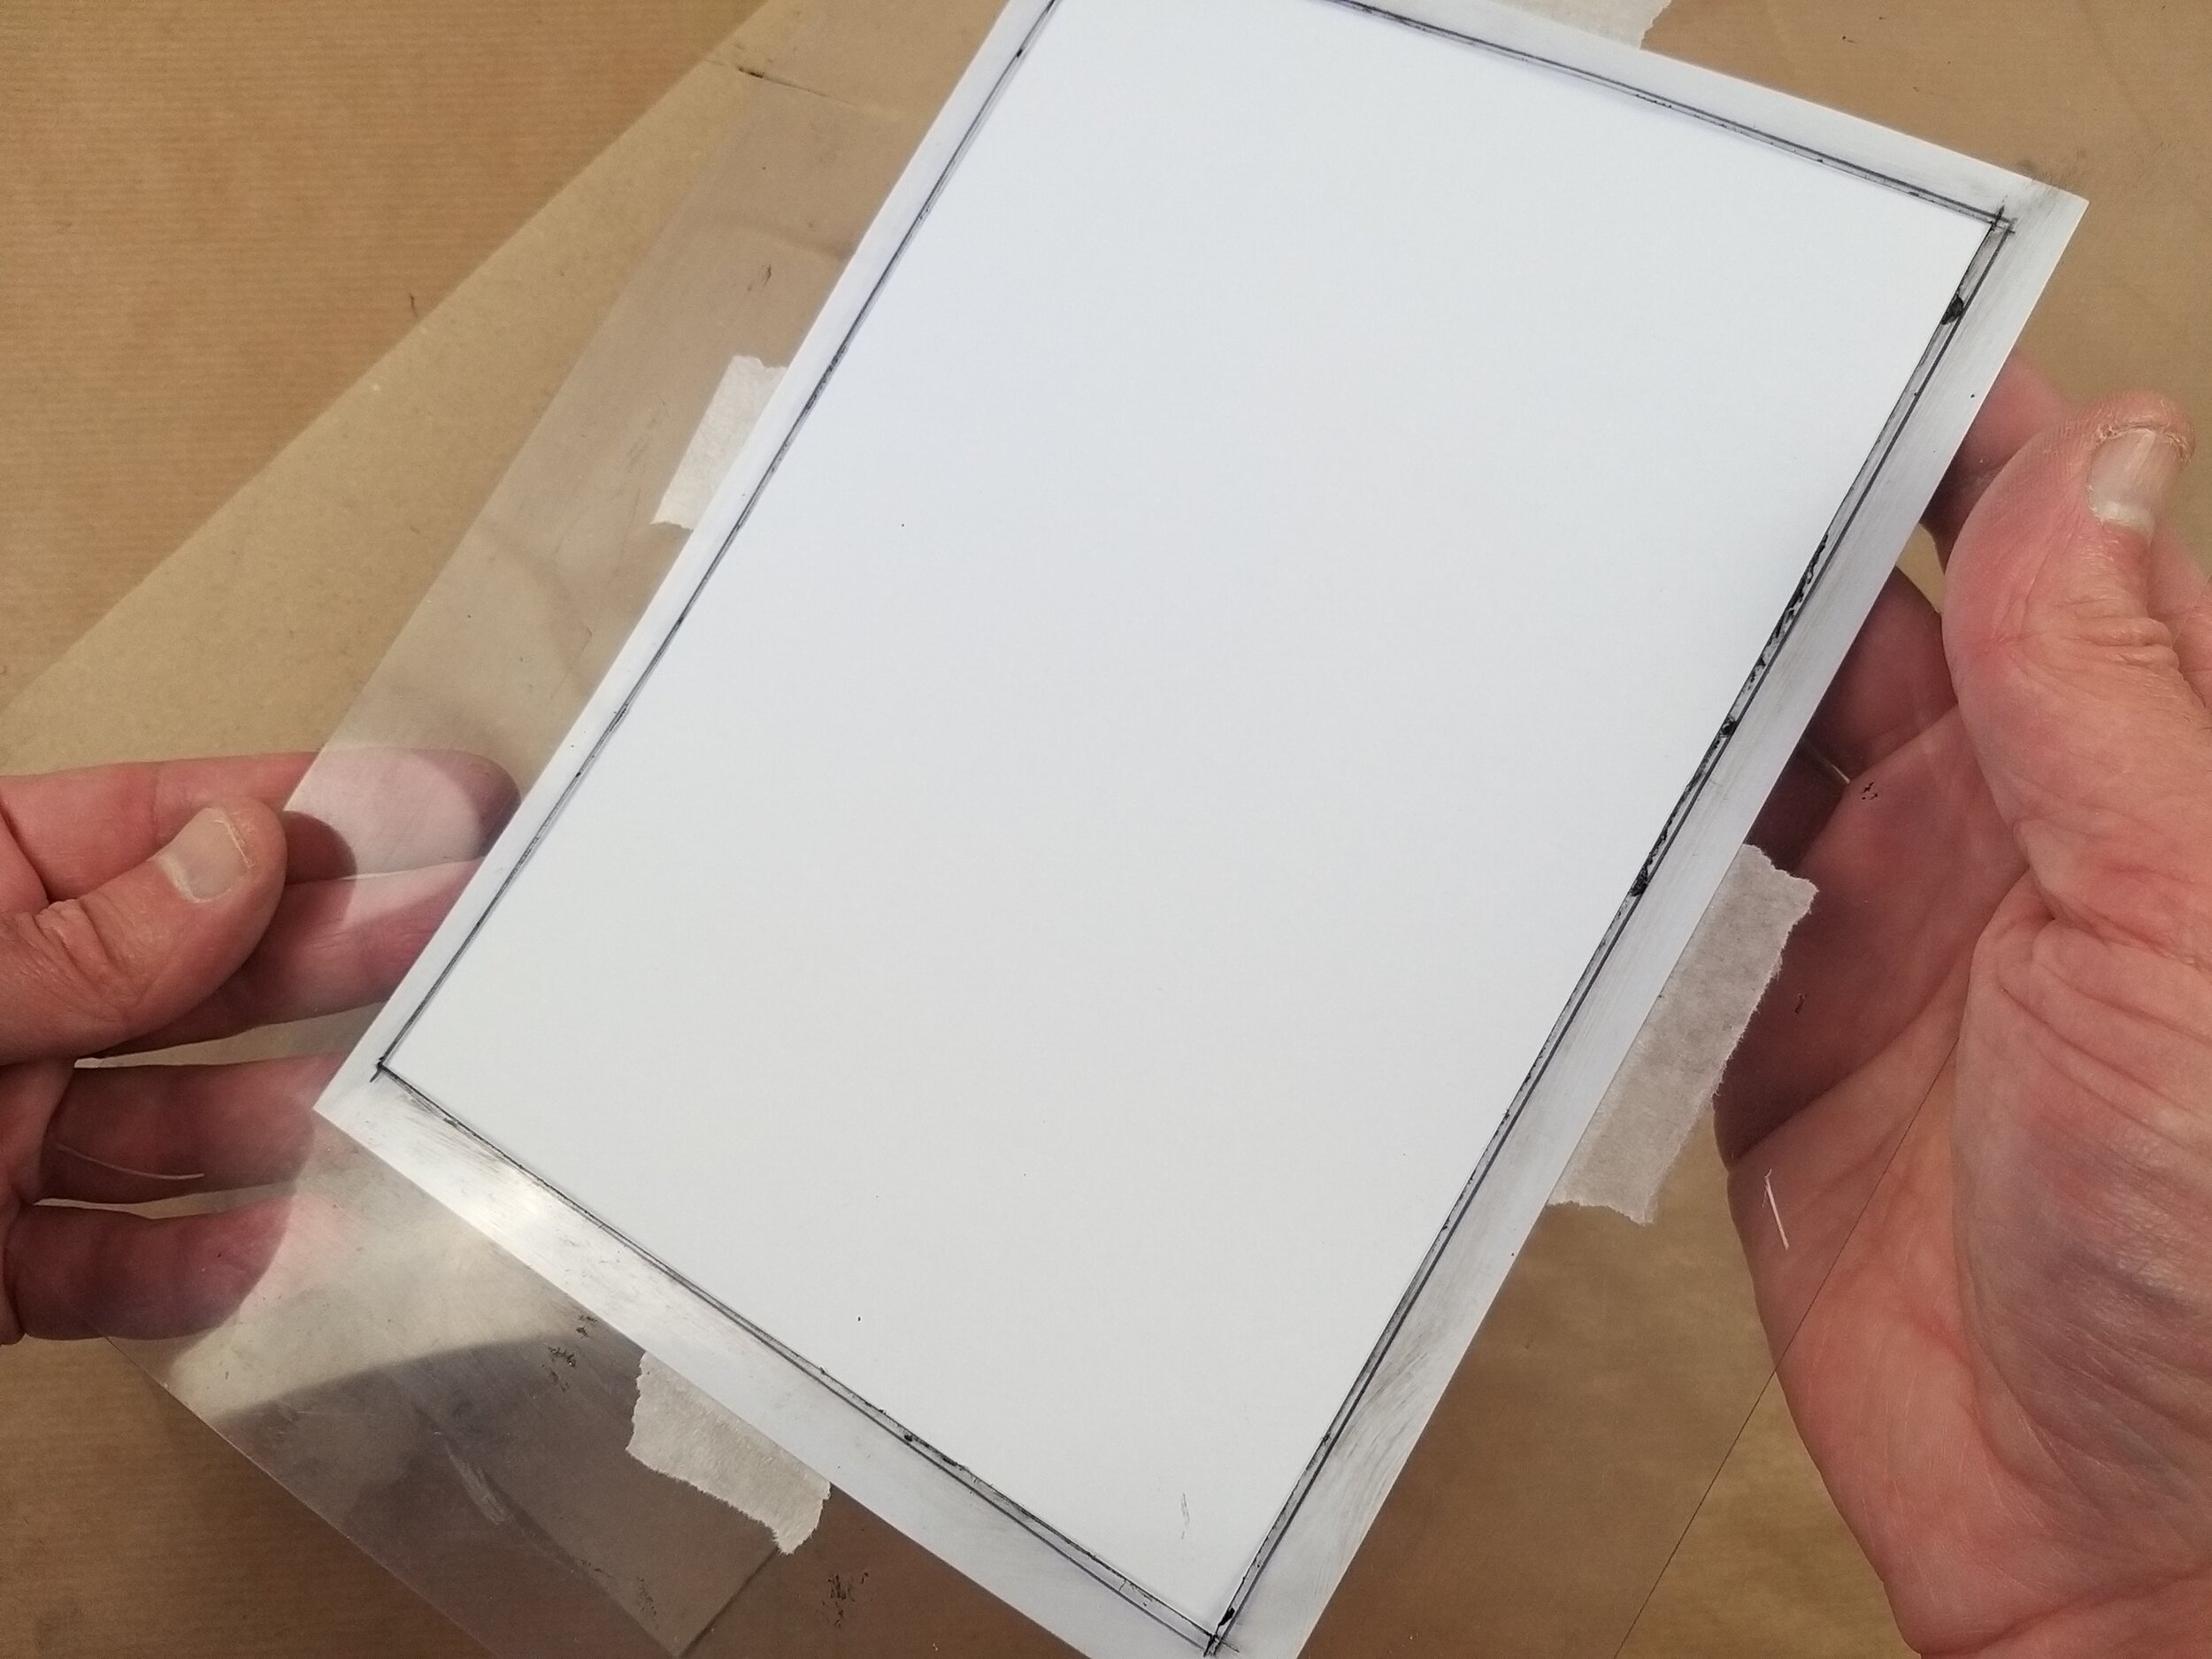
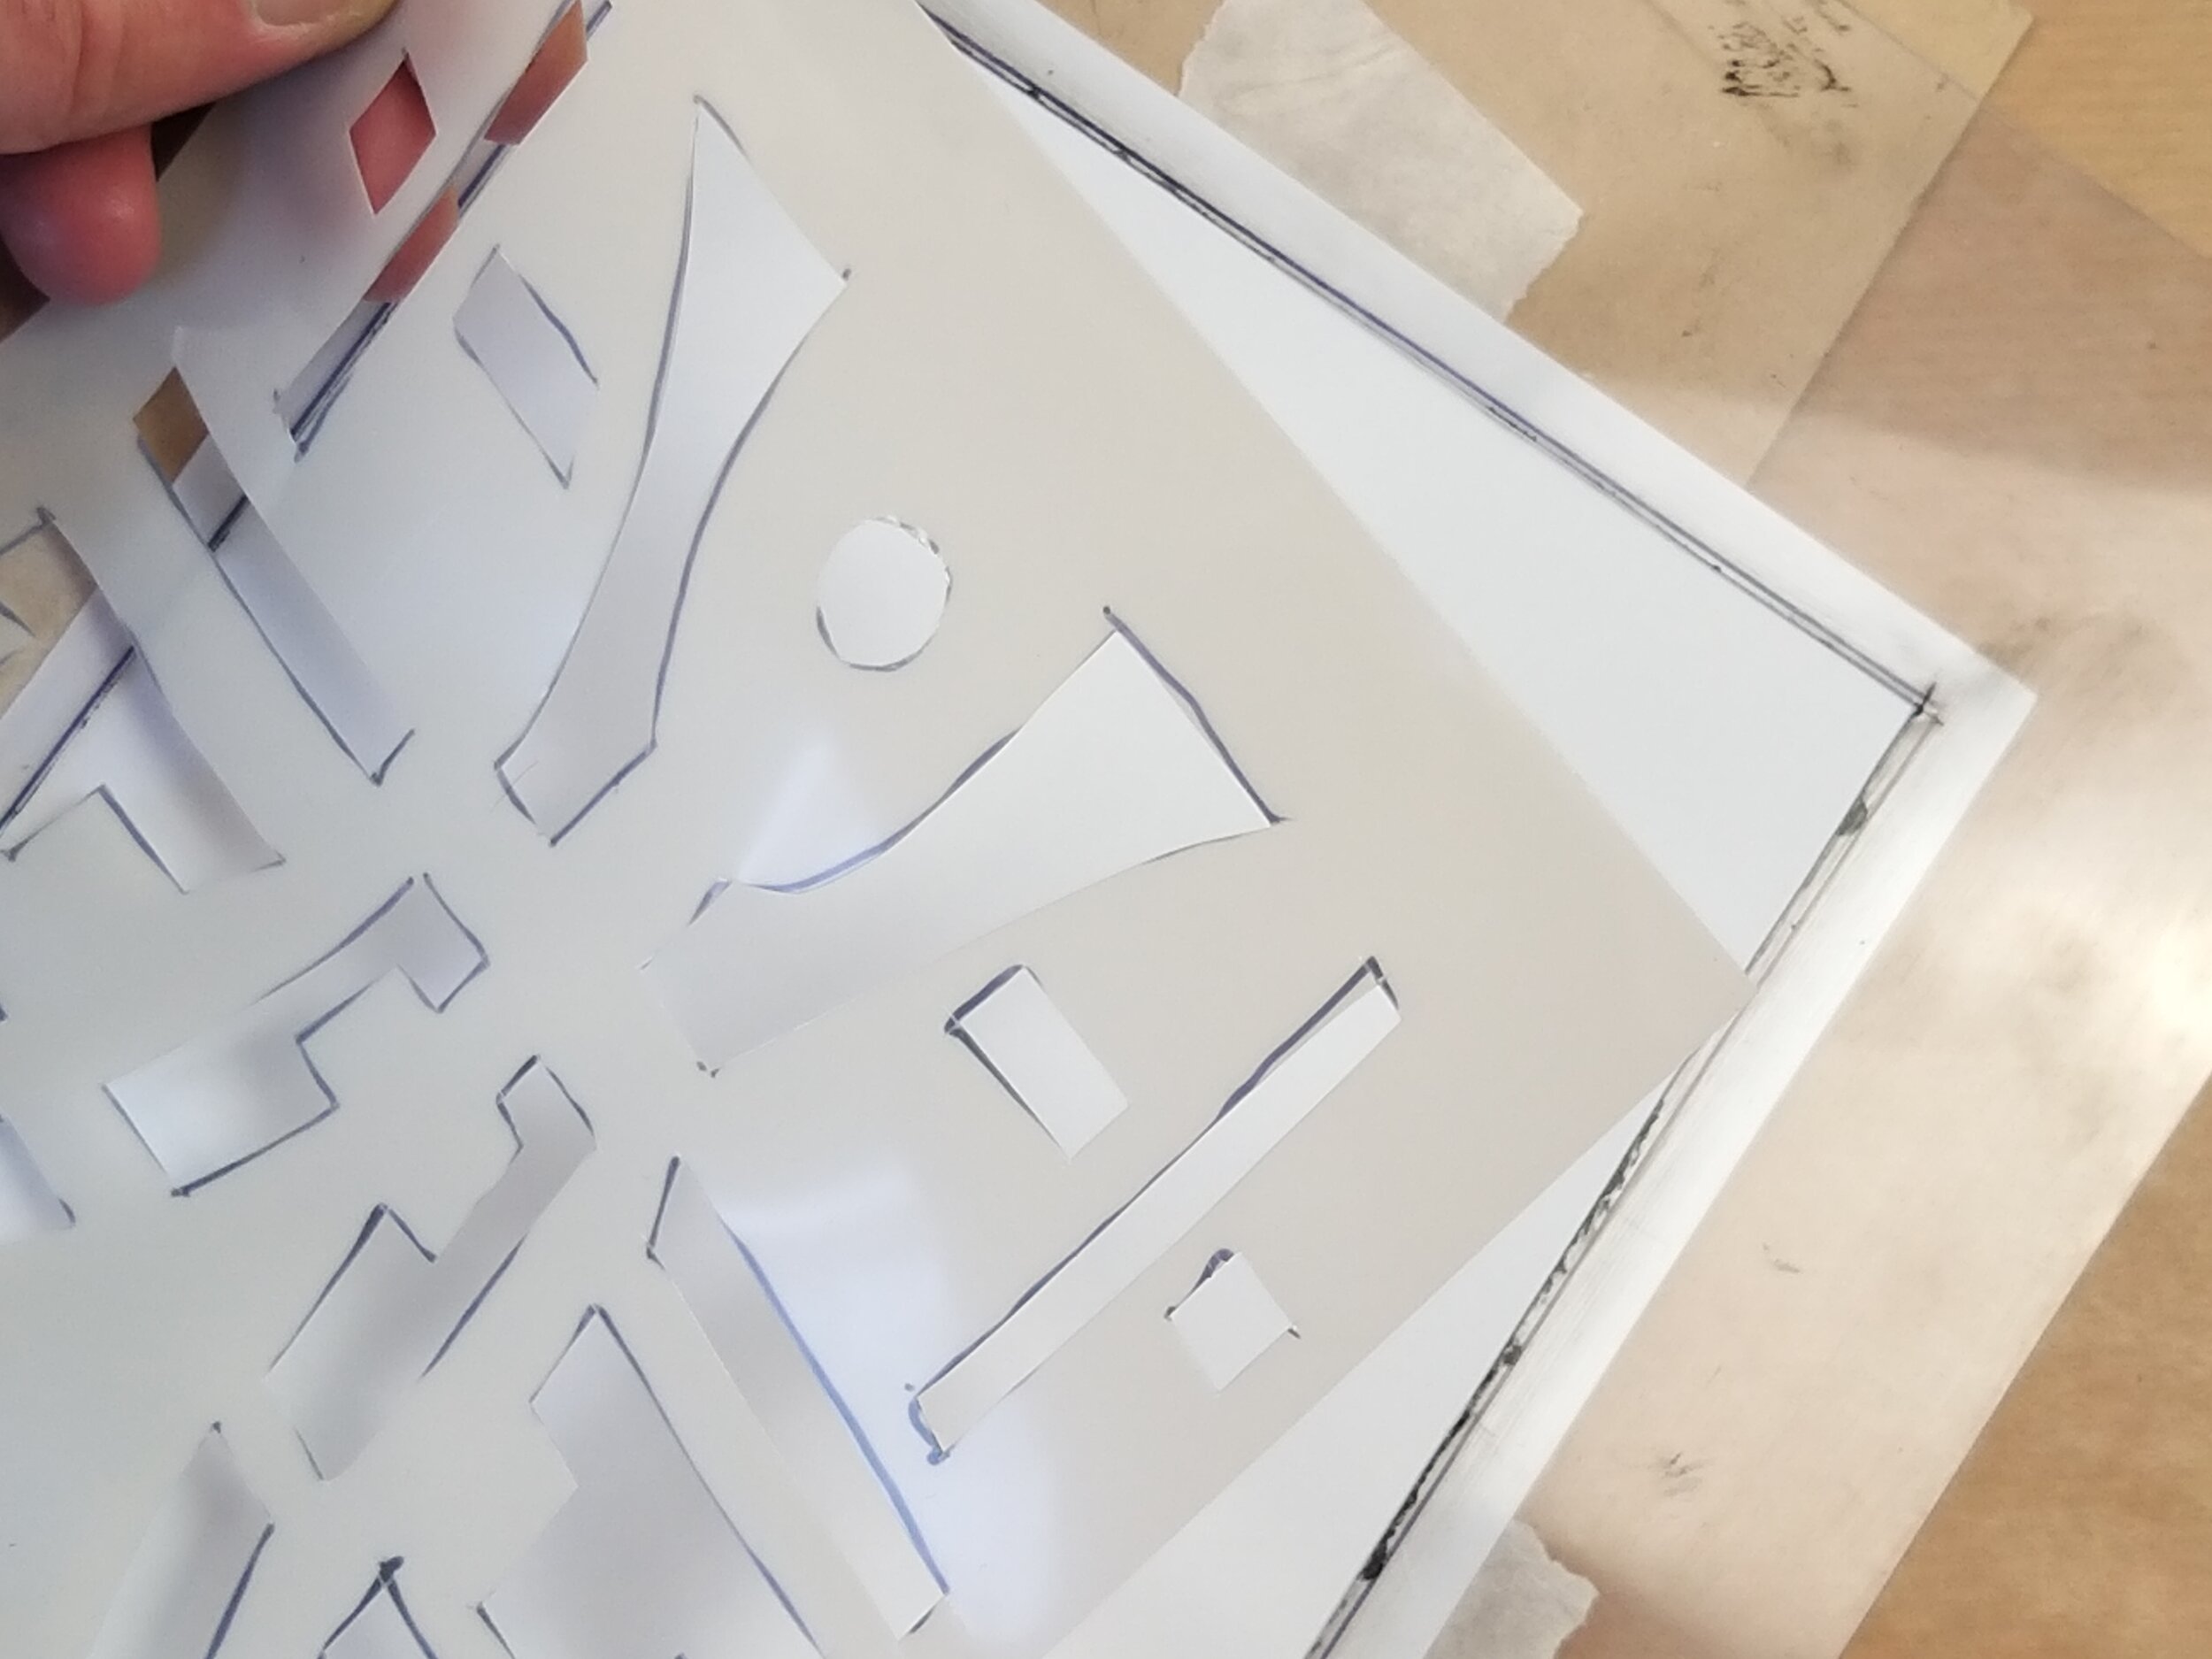
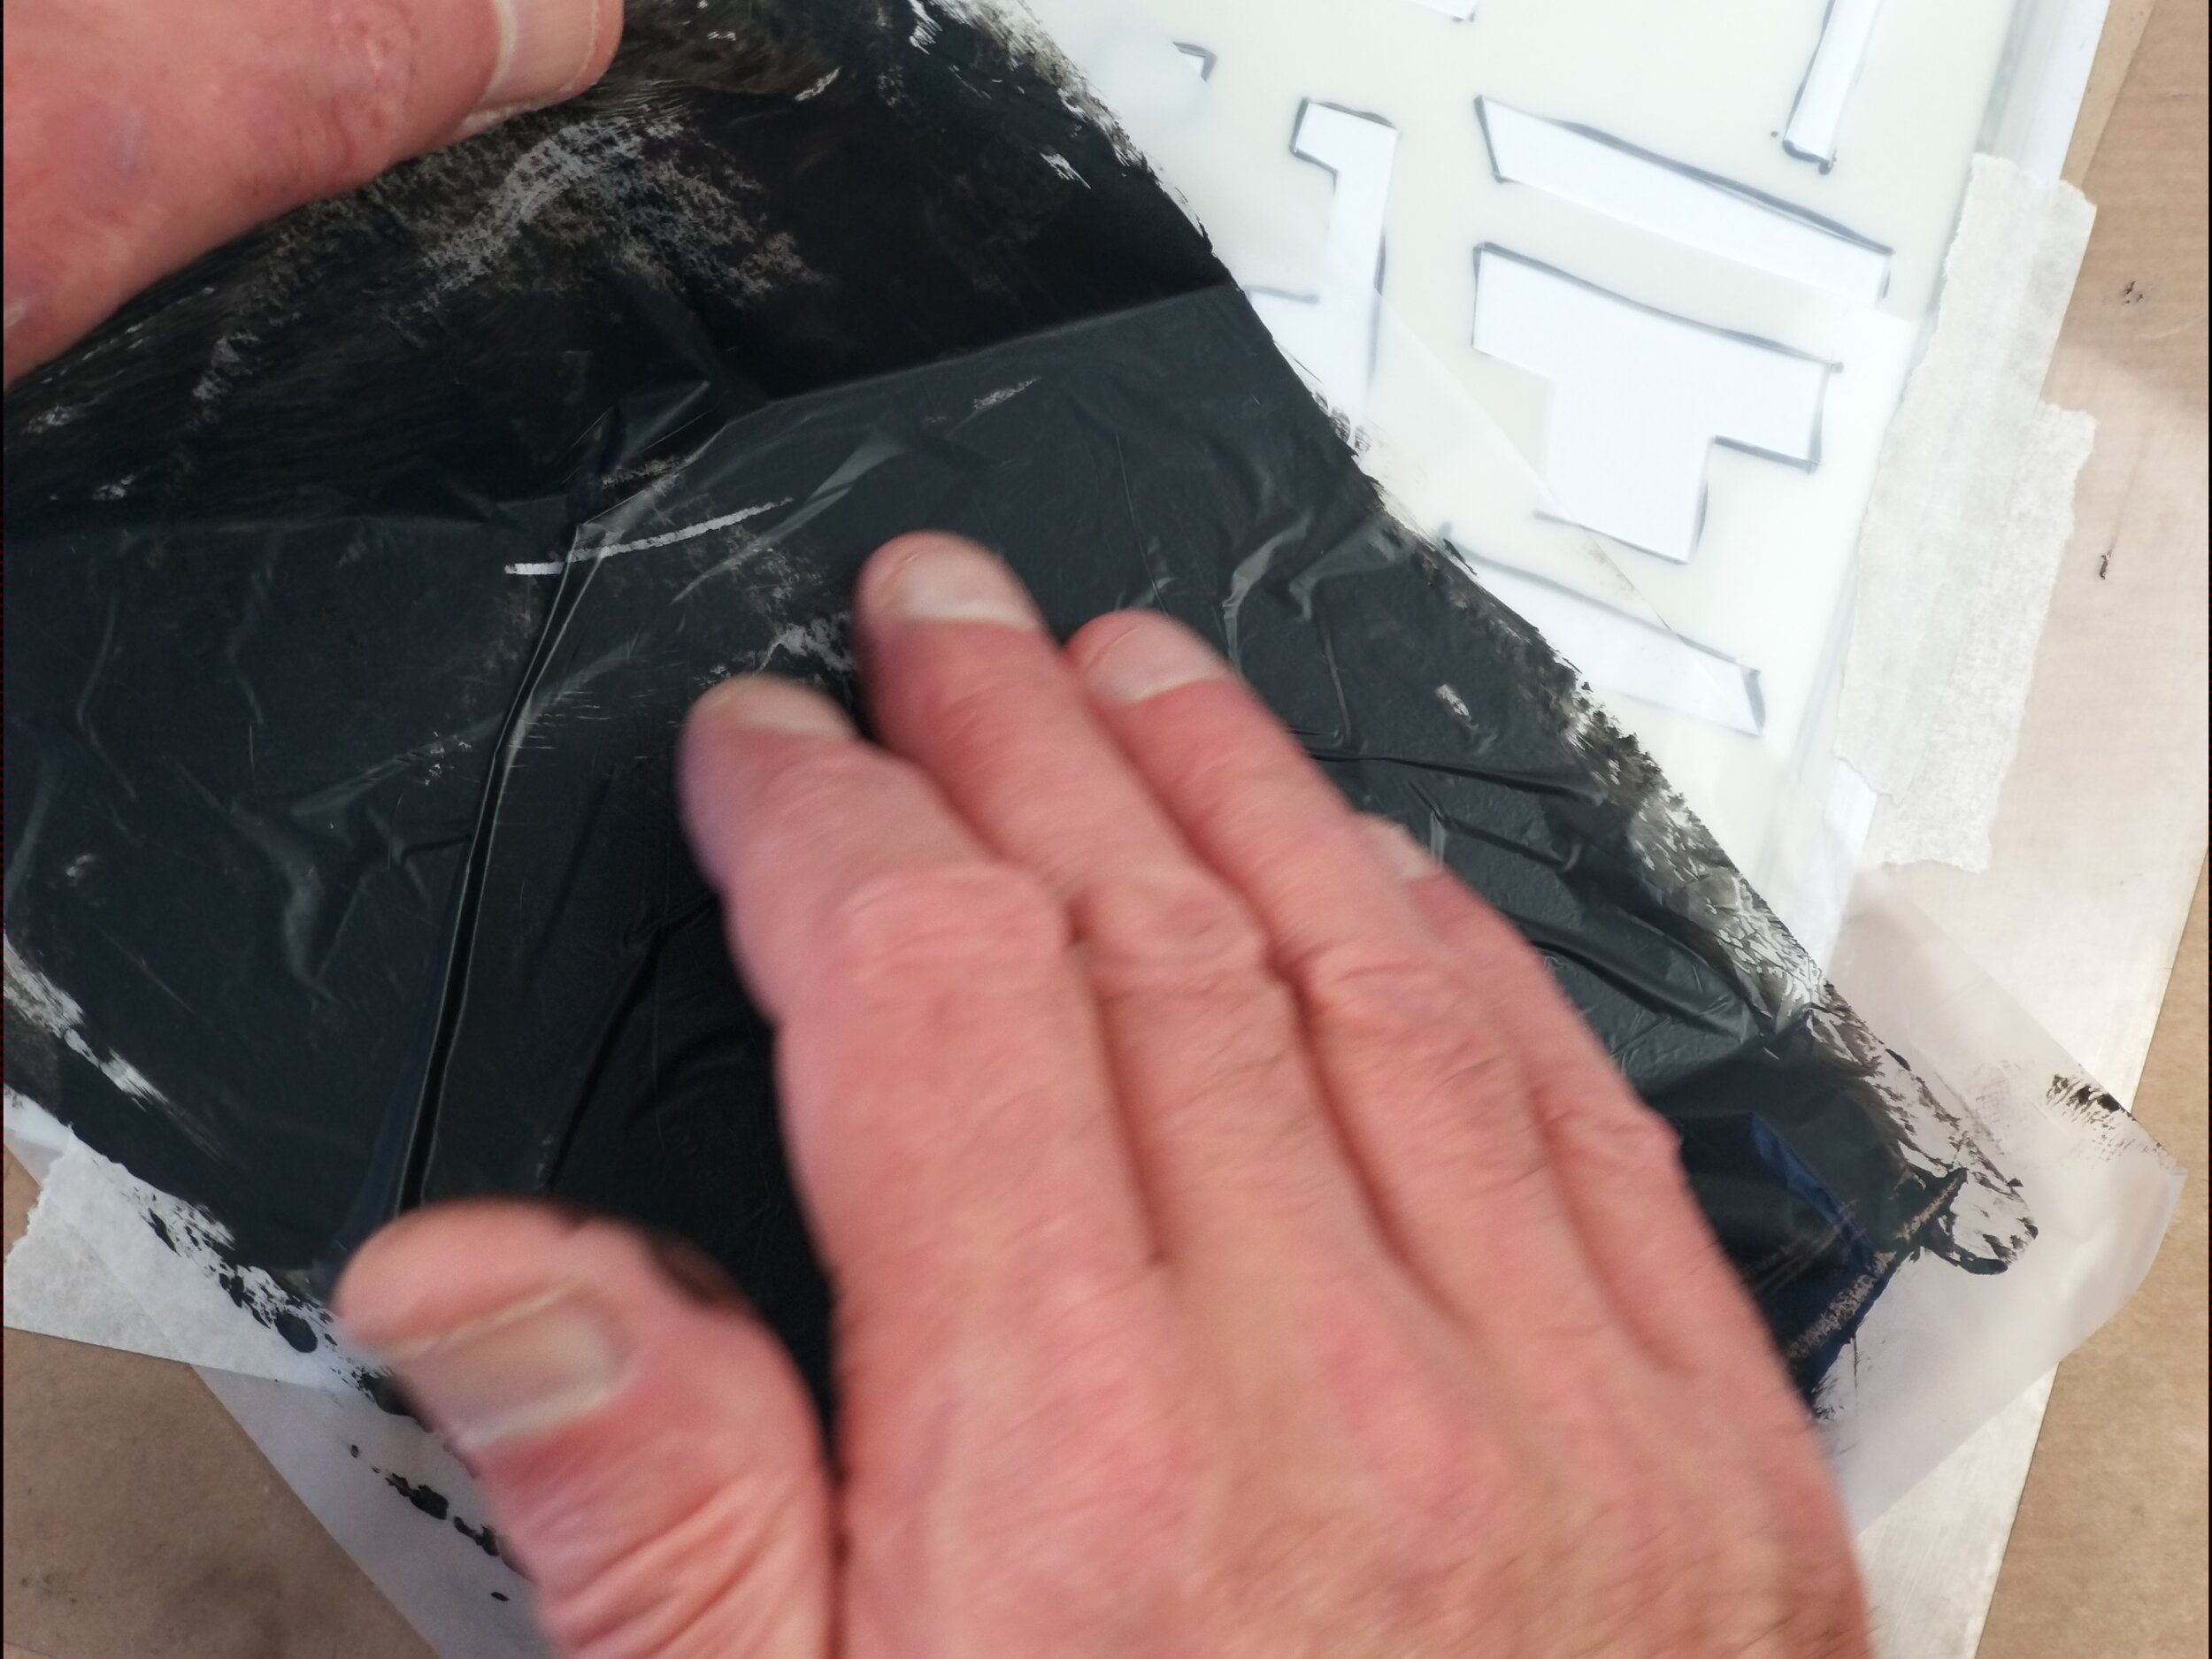
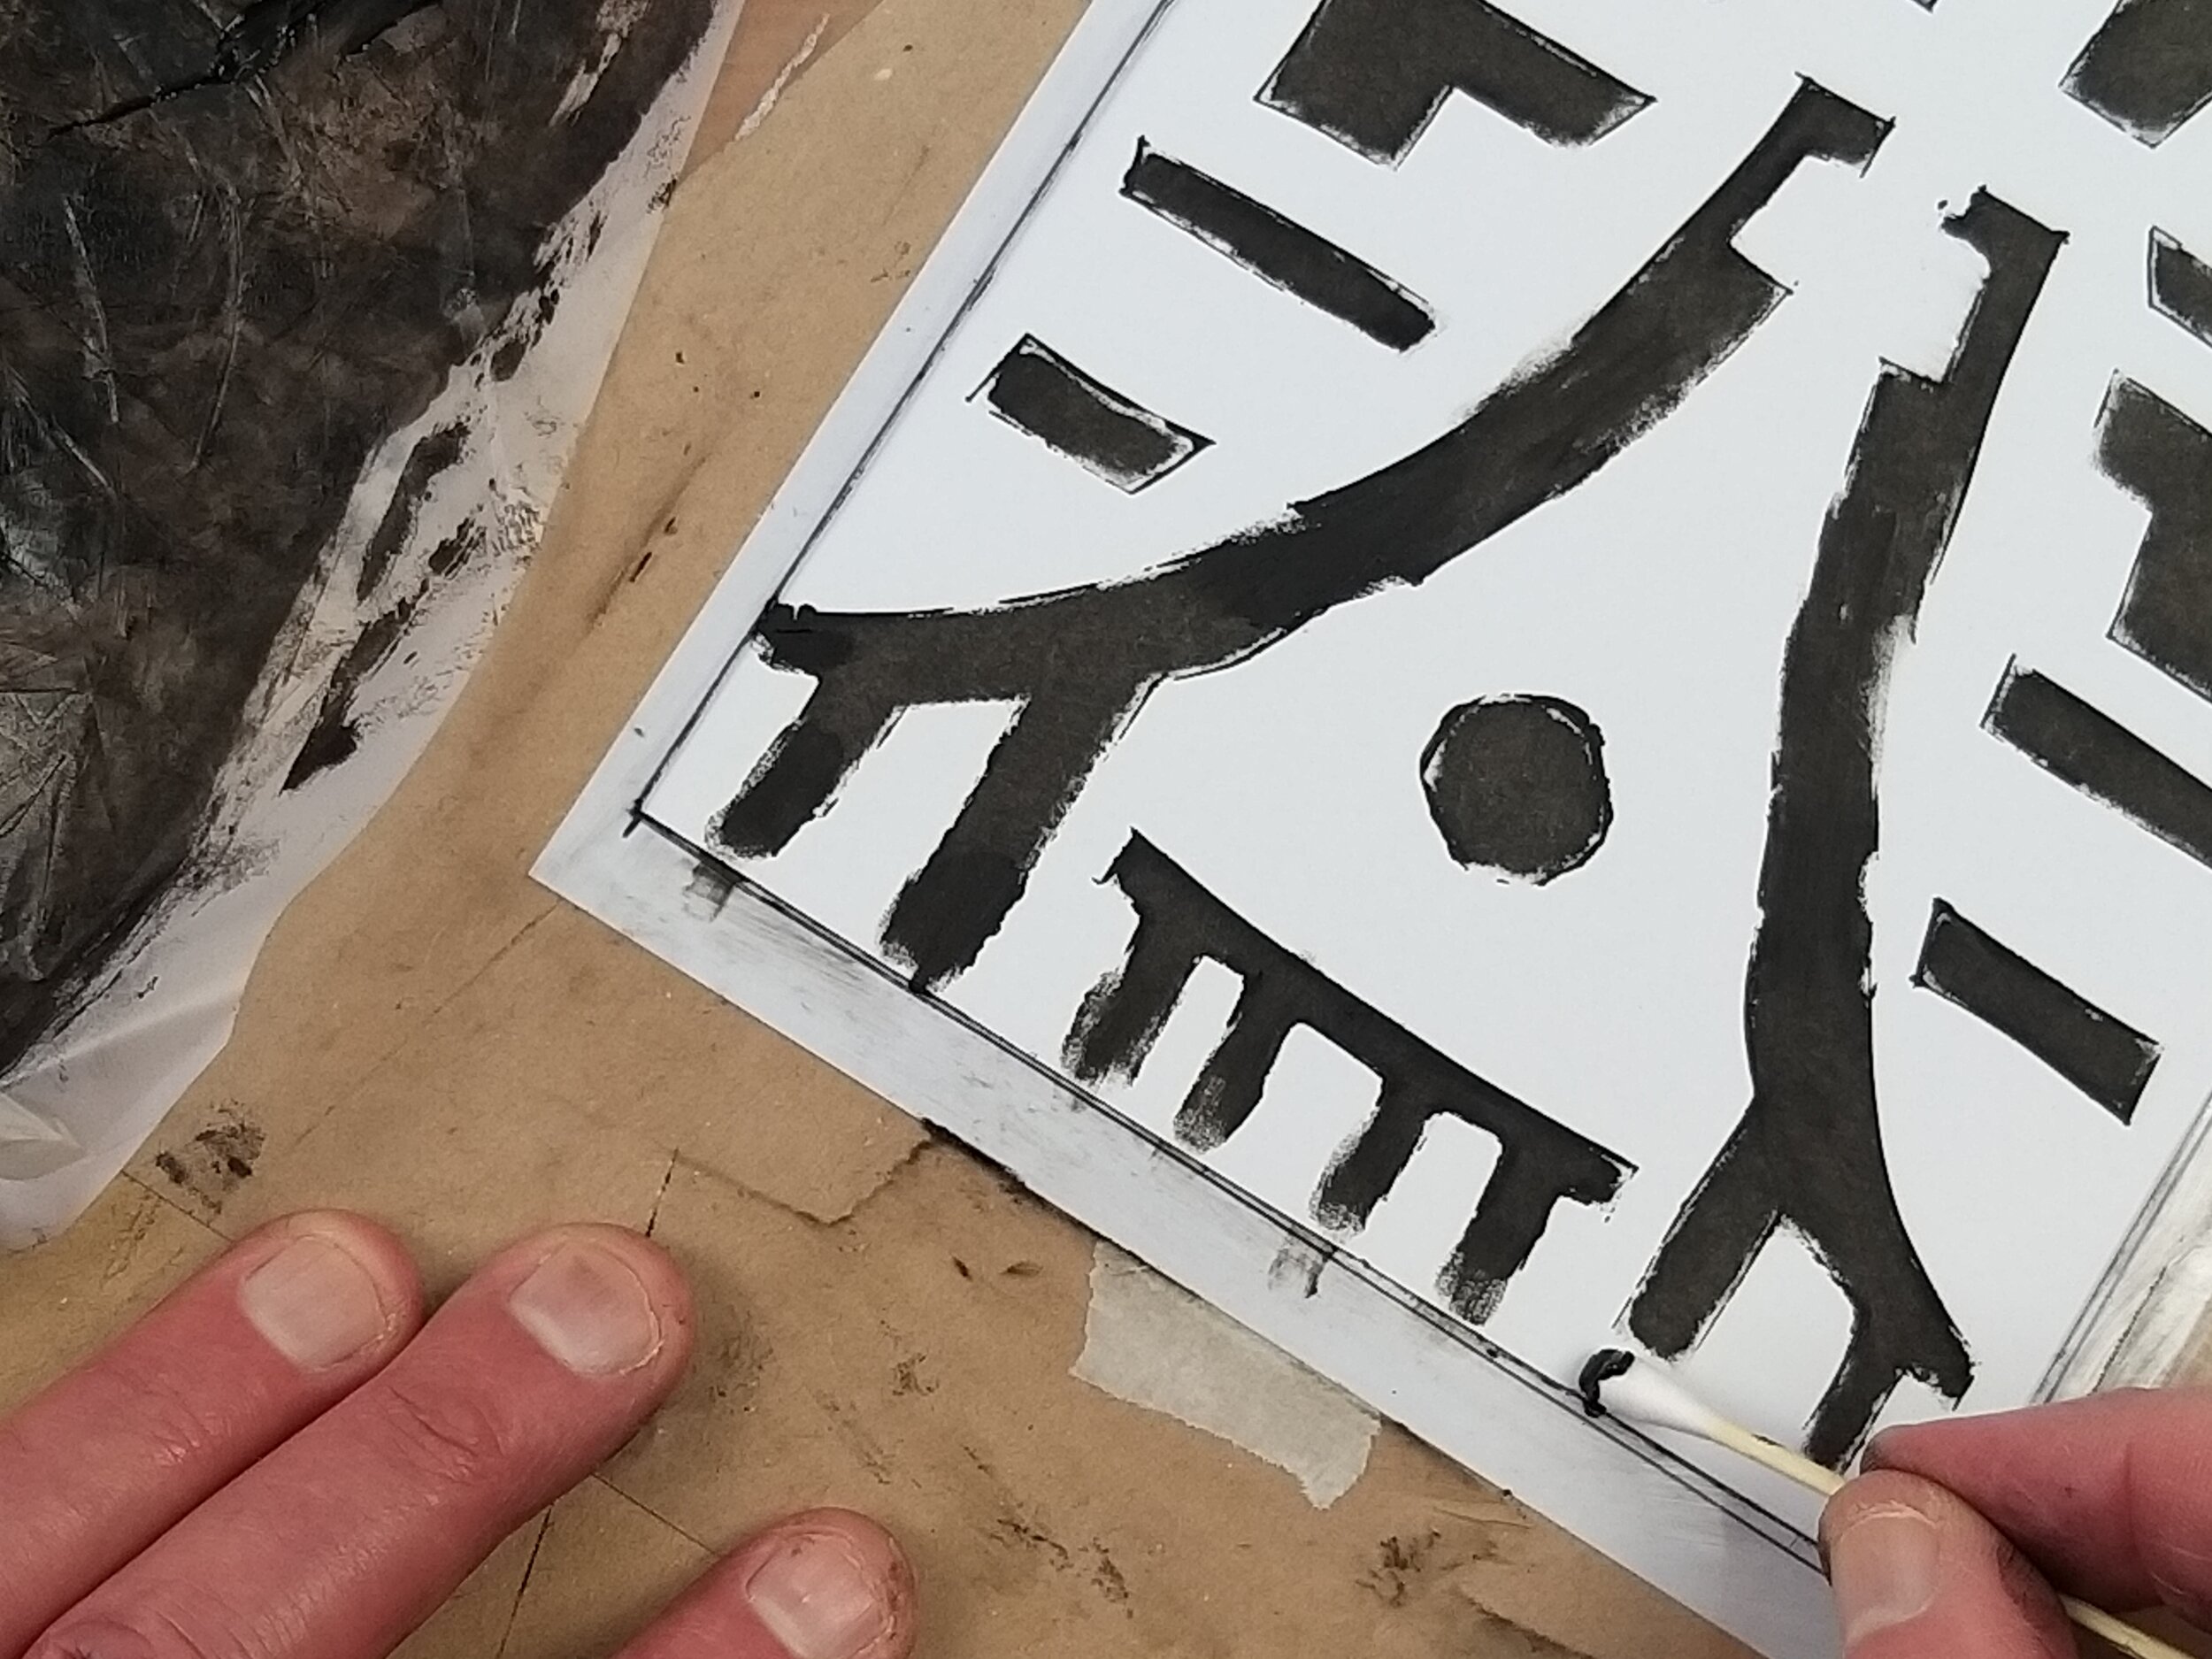
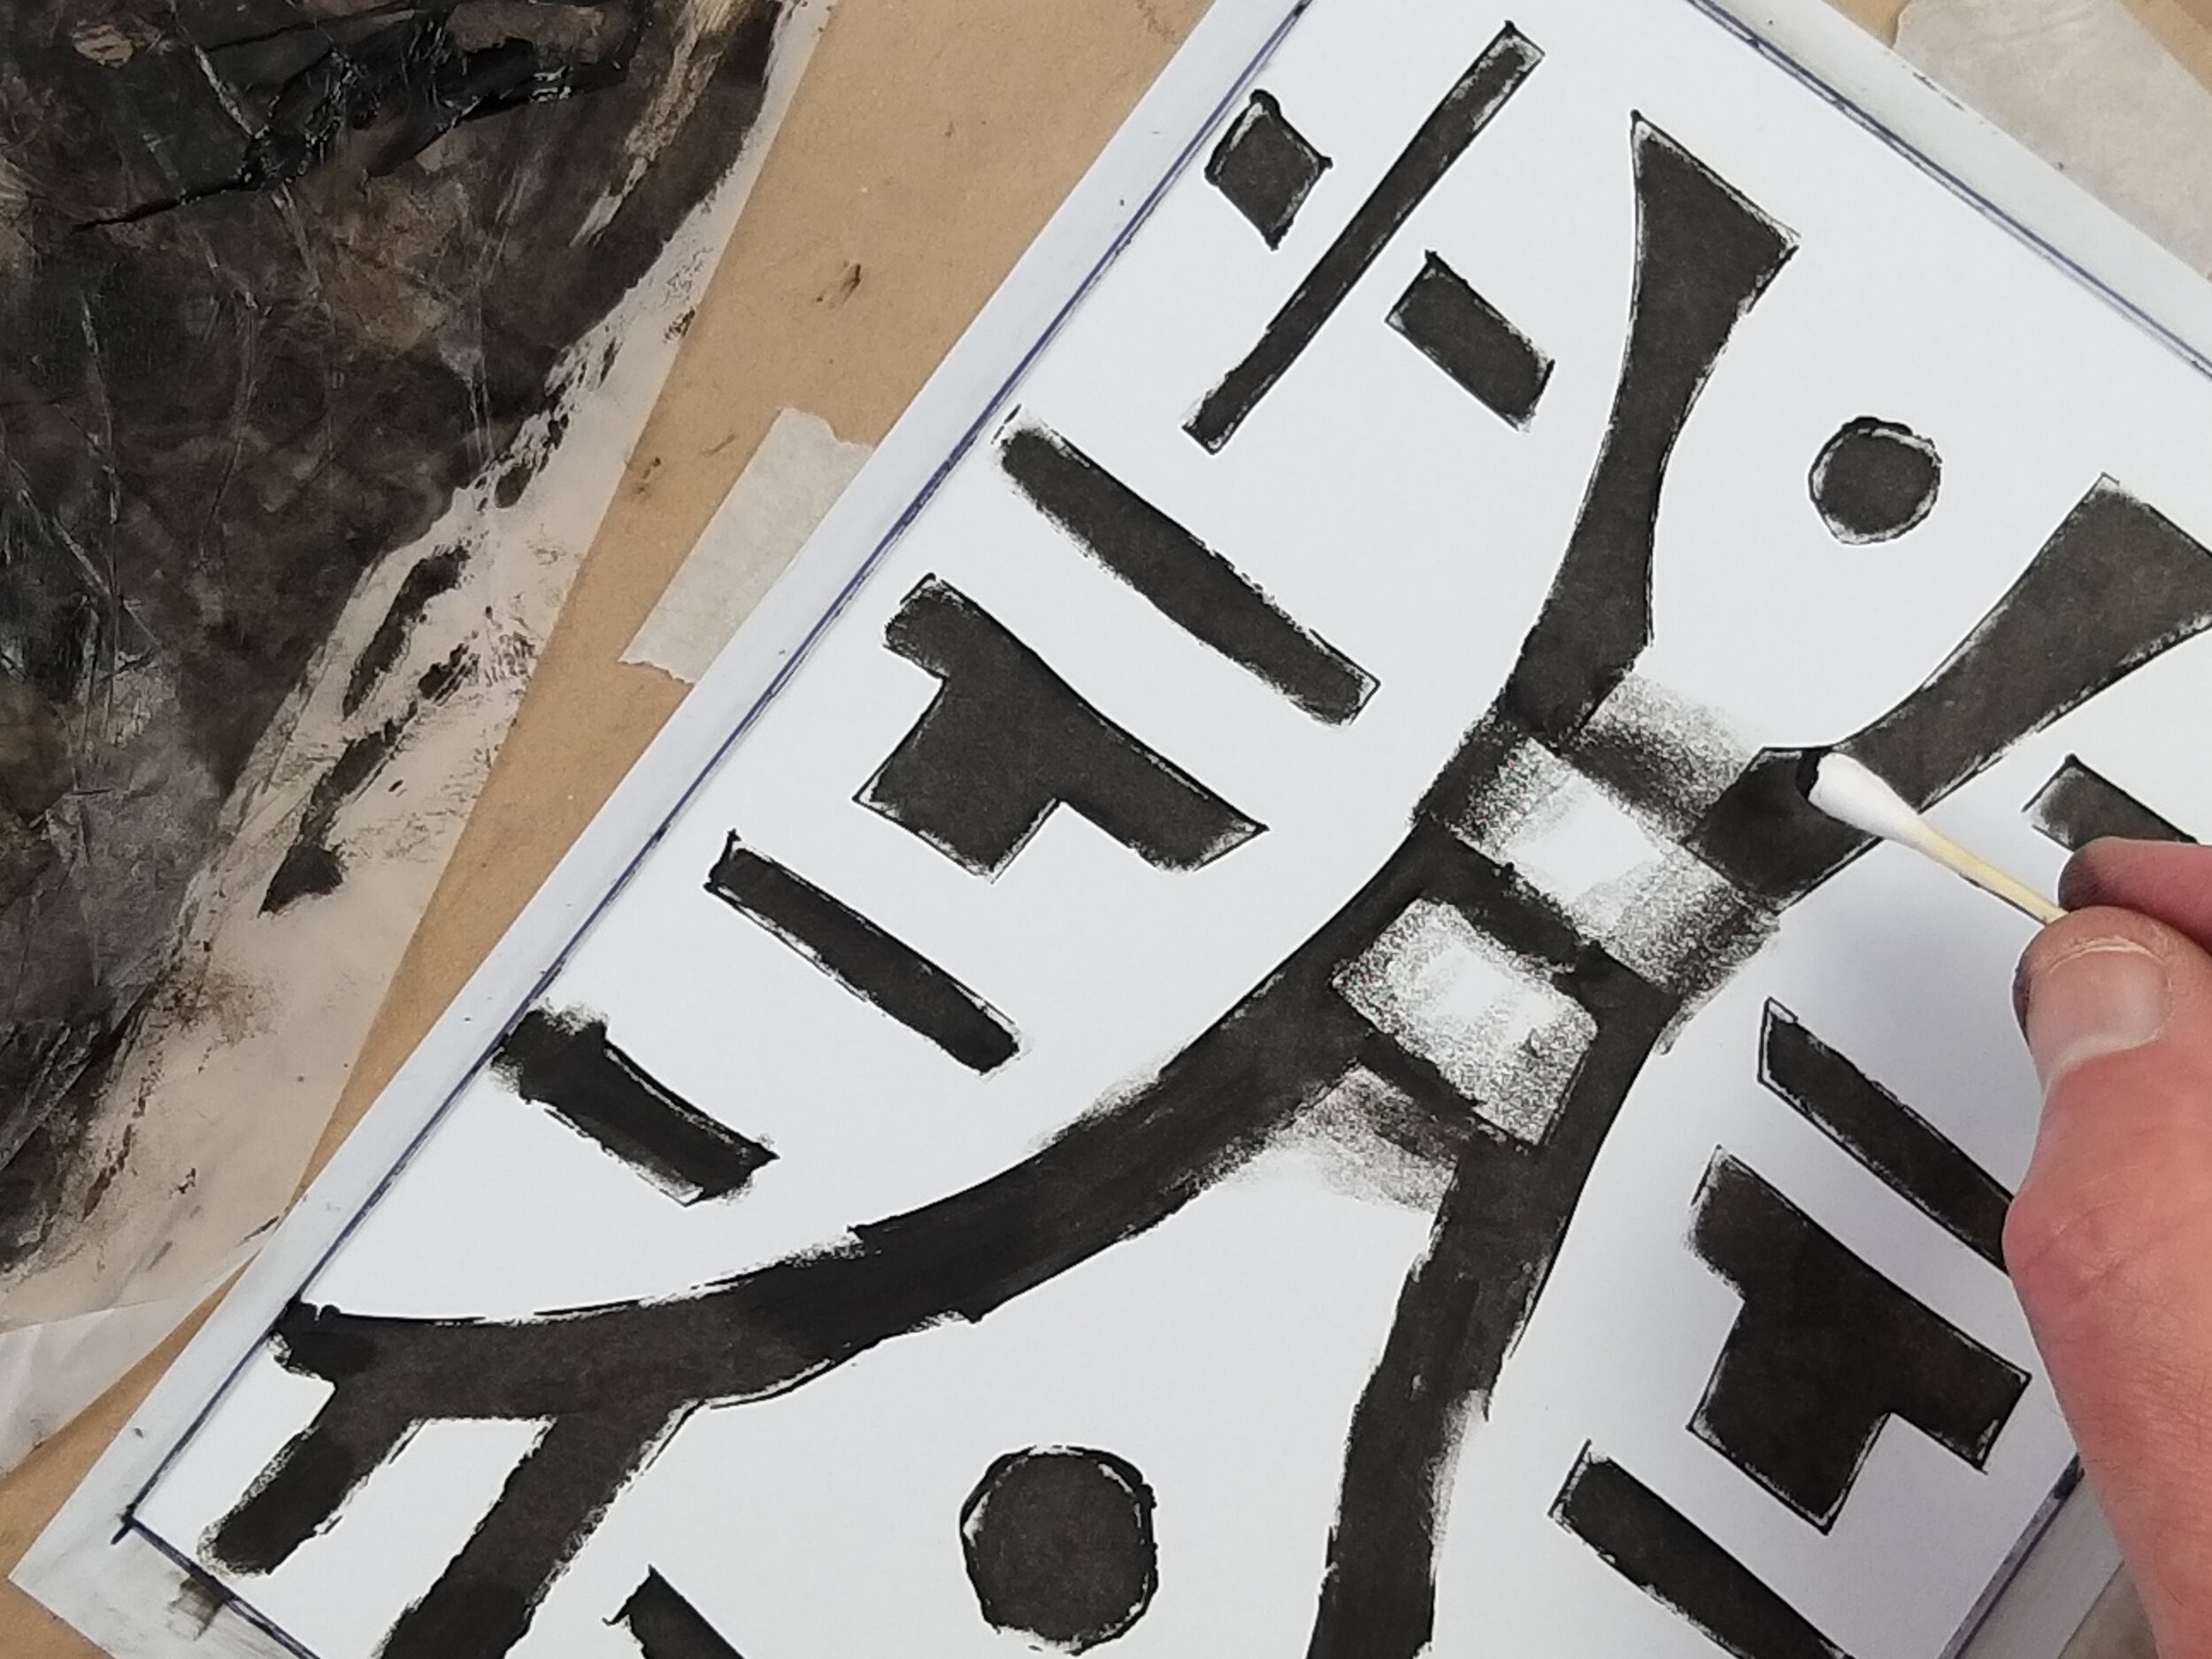
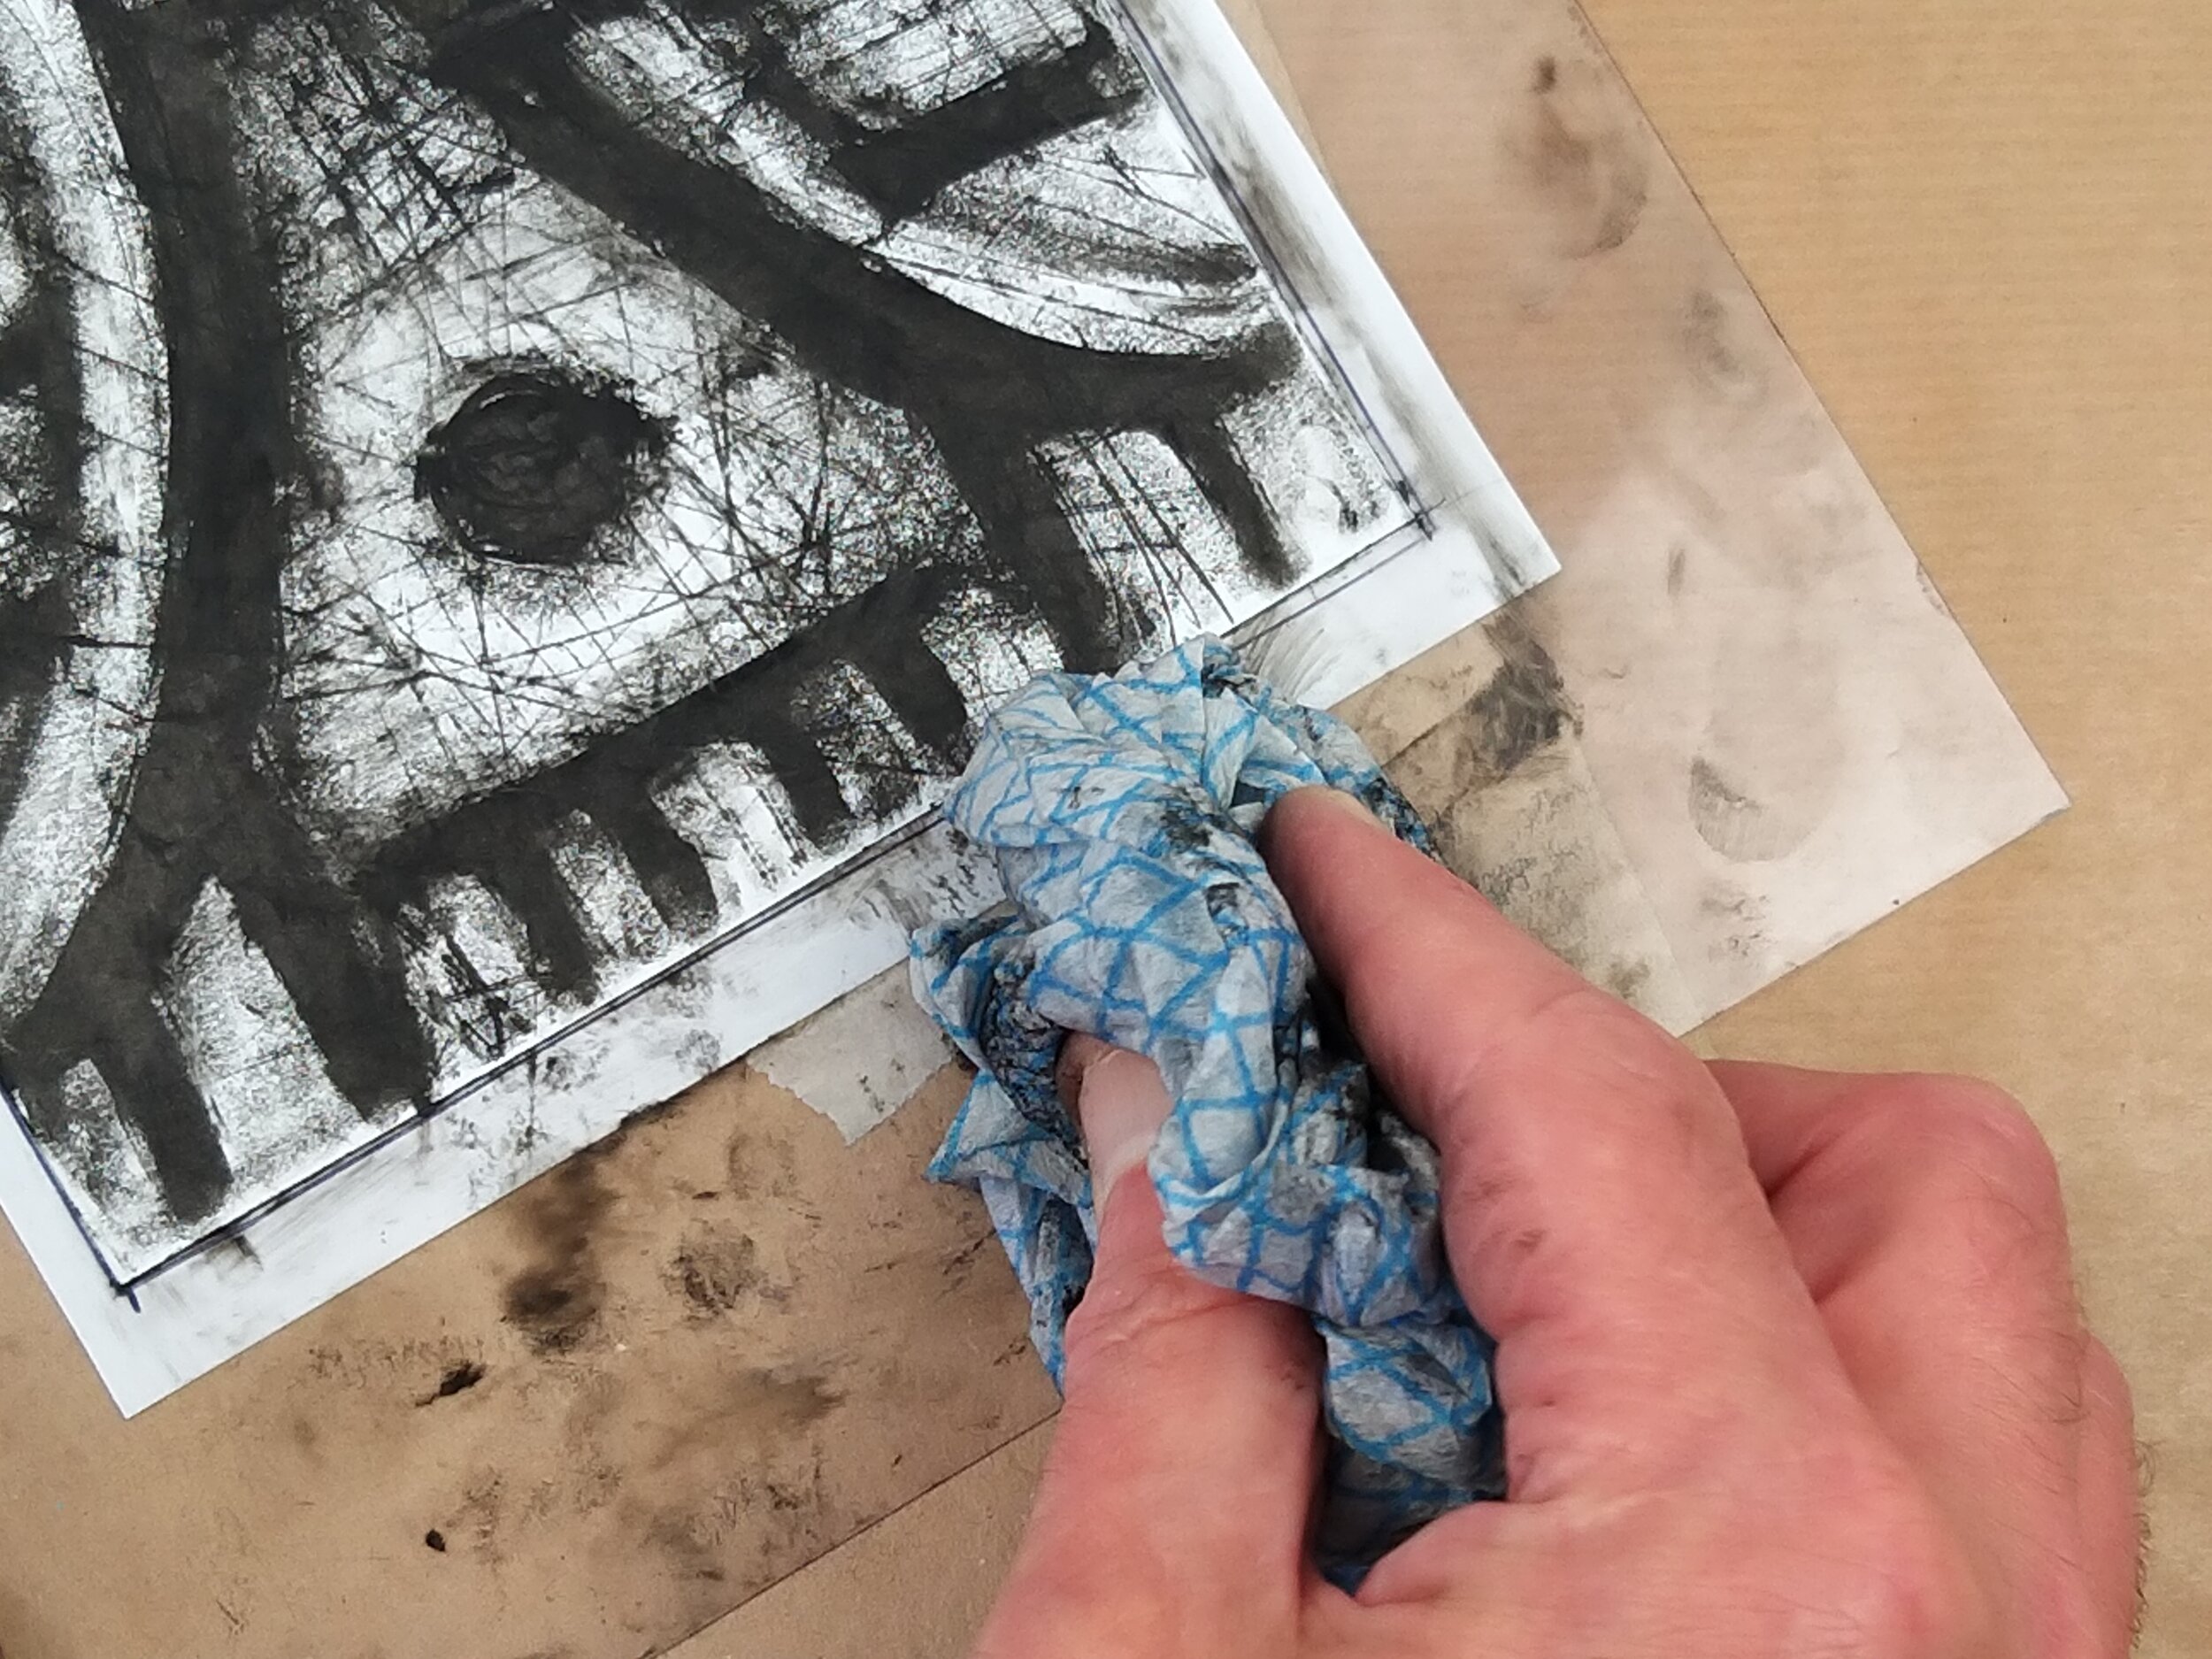
Cutting the stencil
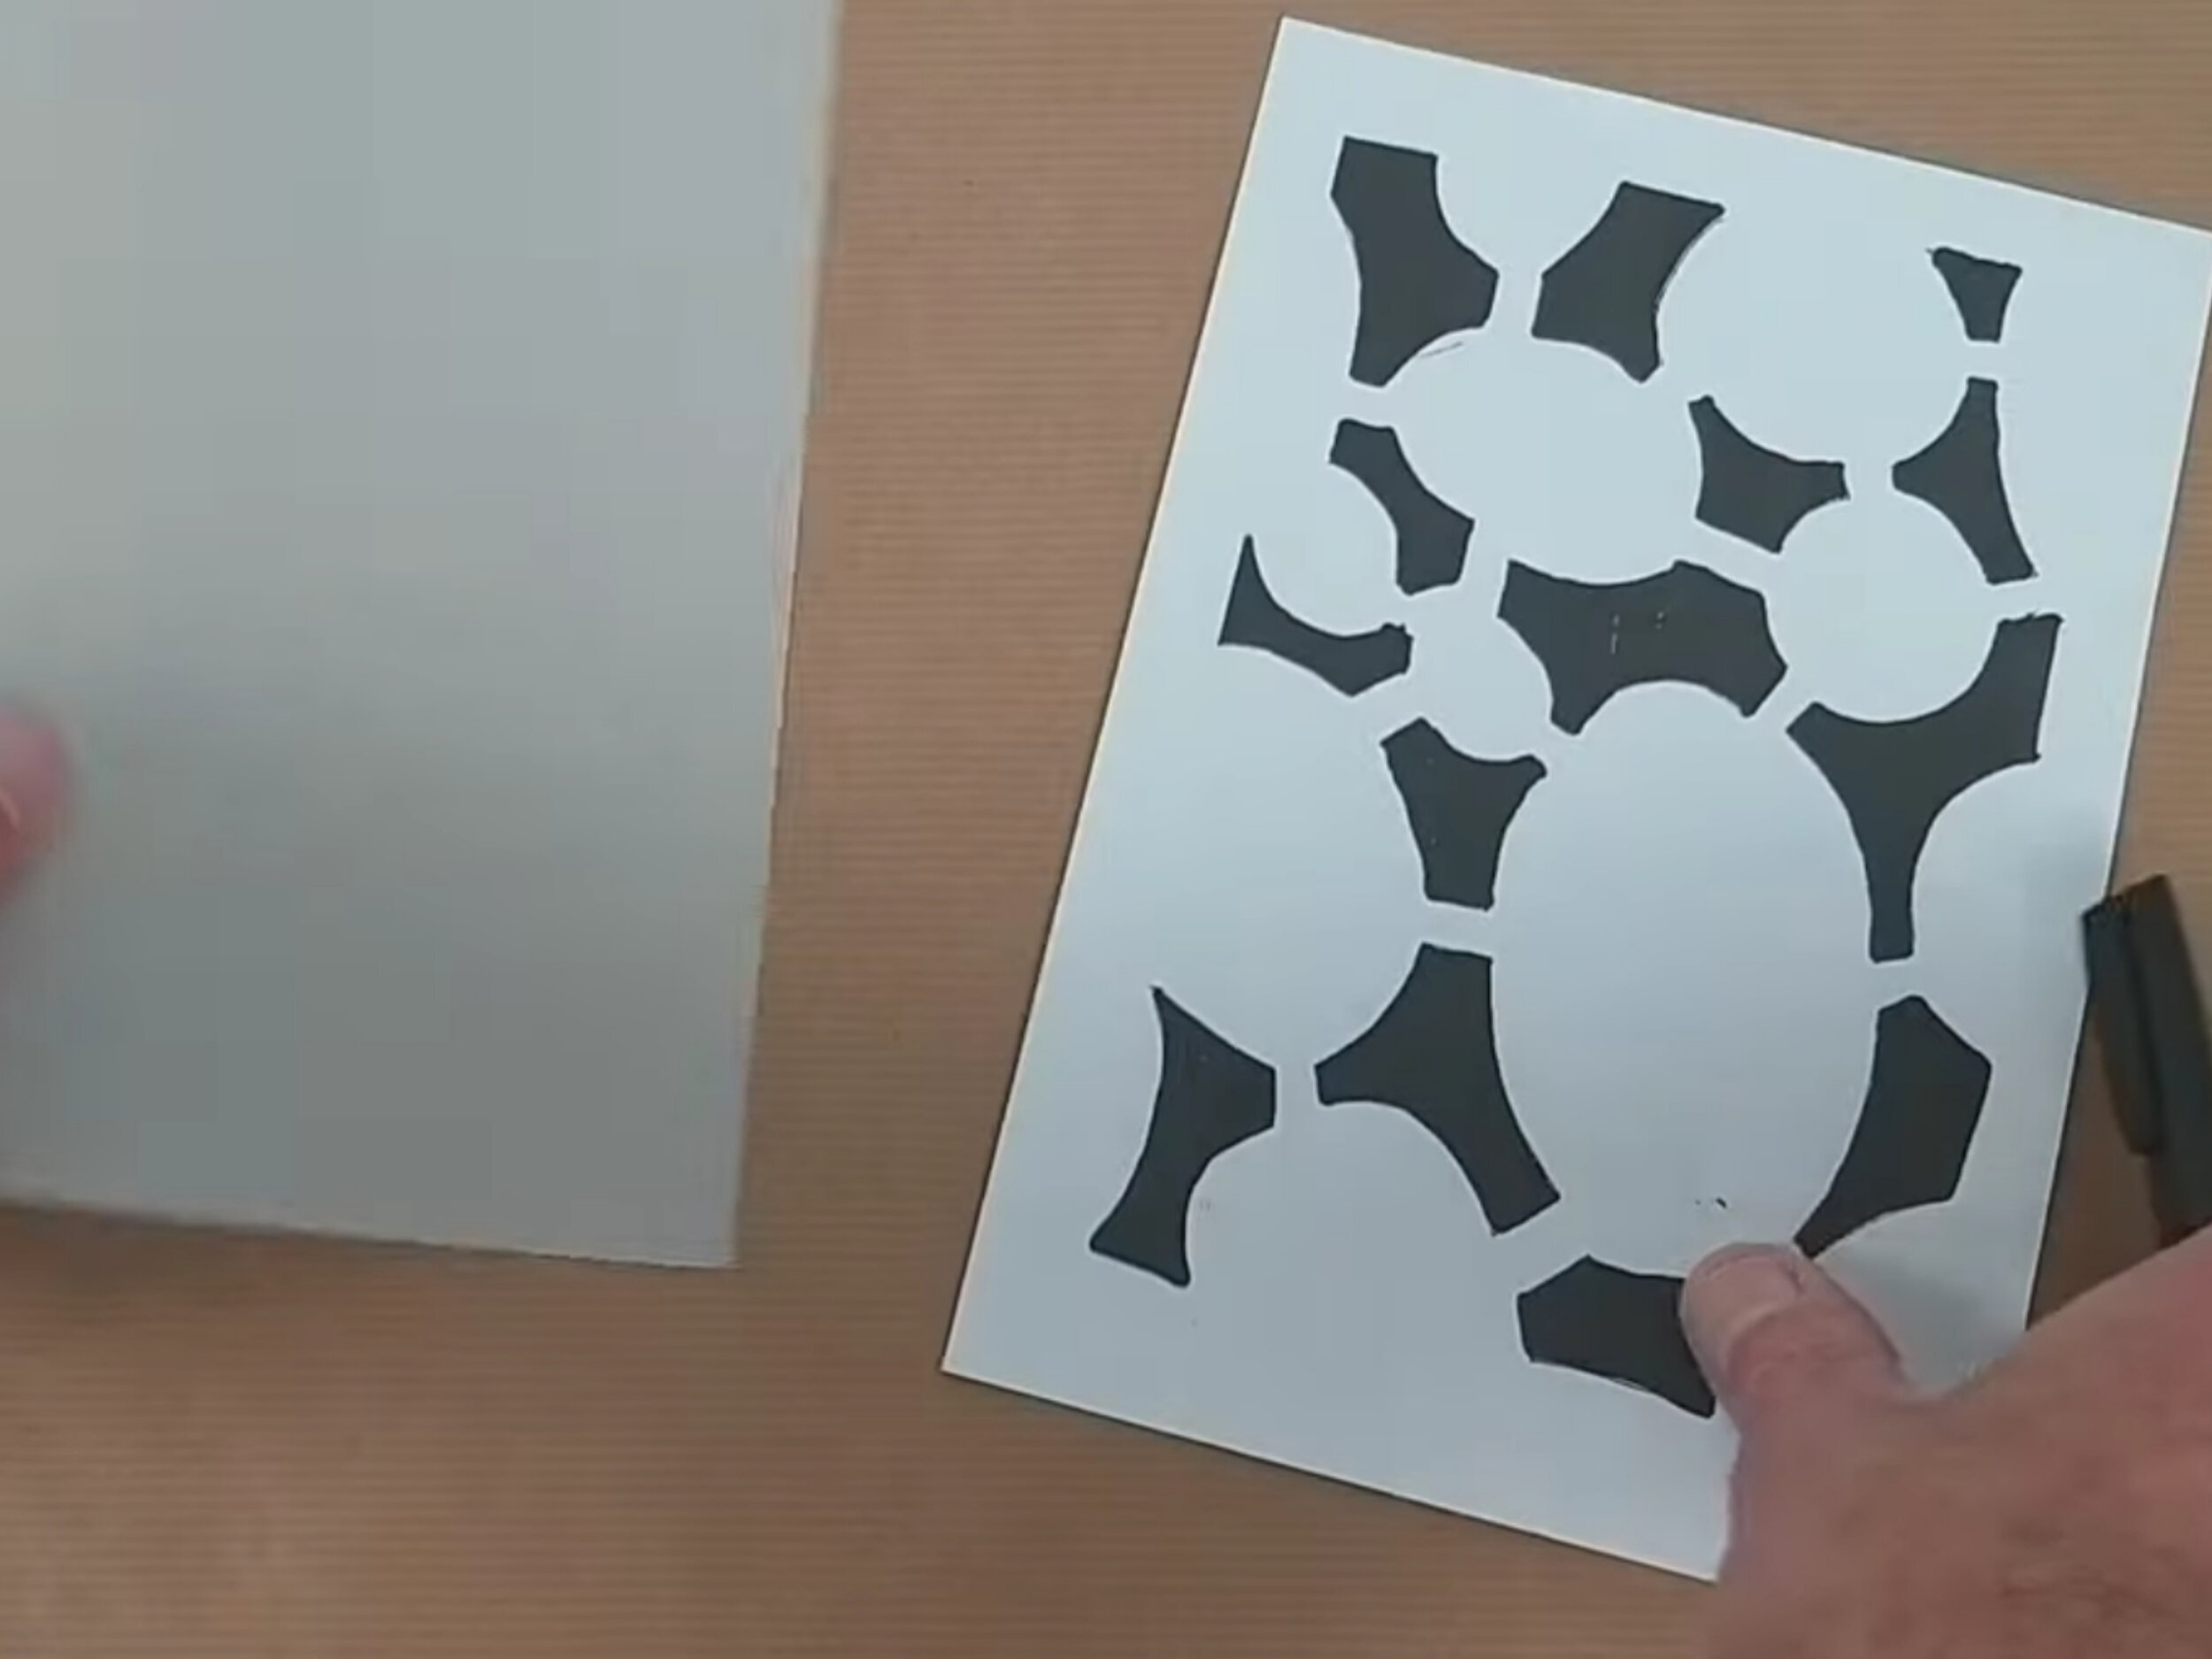
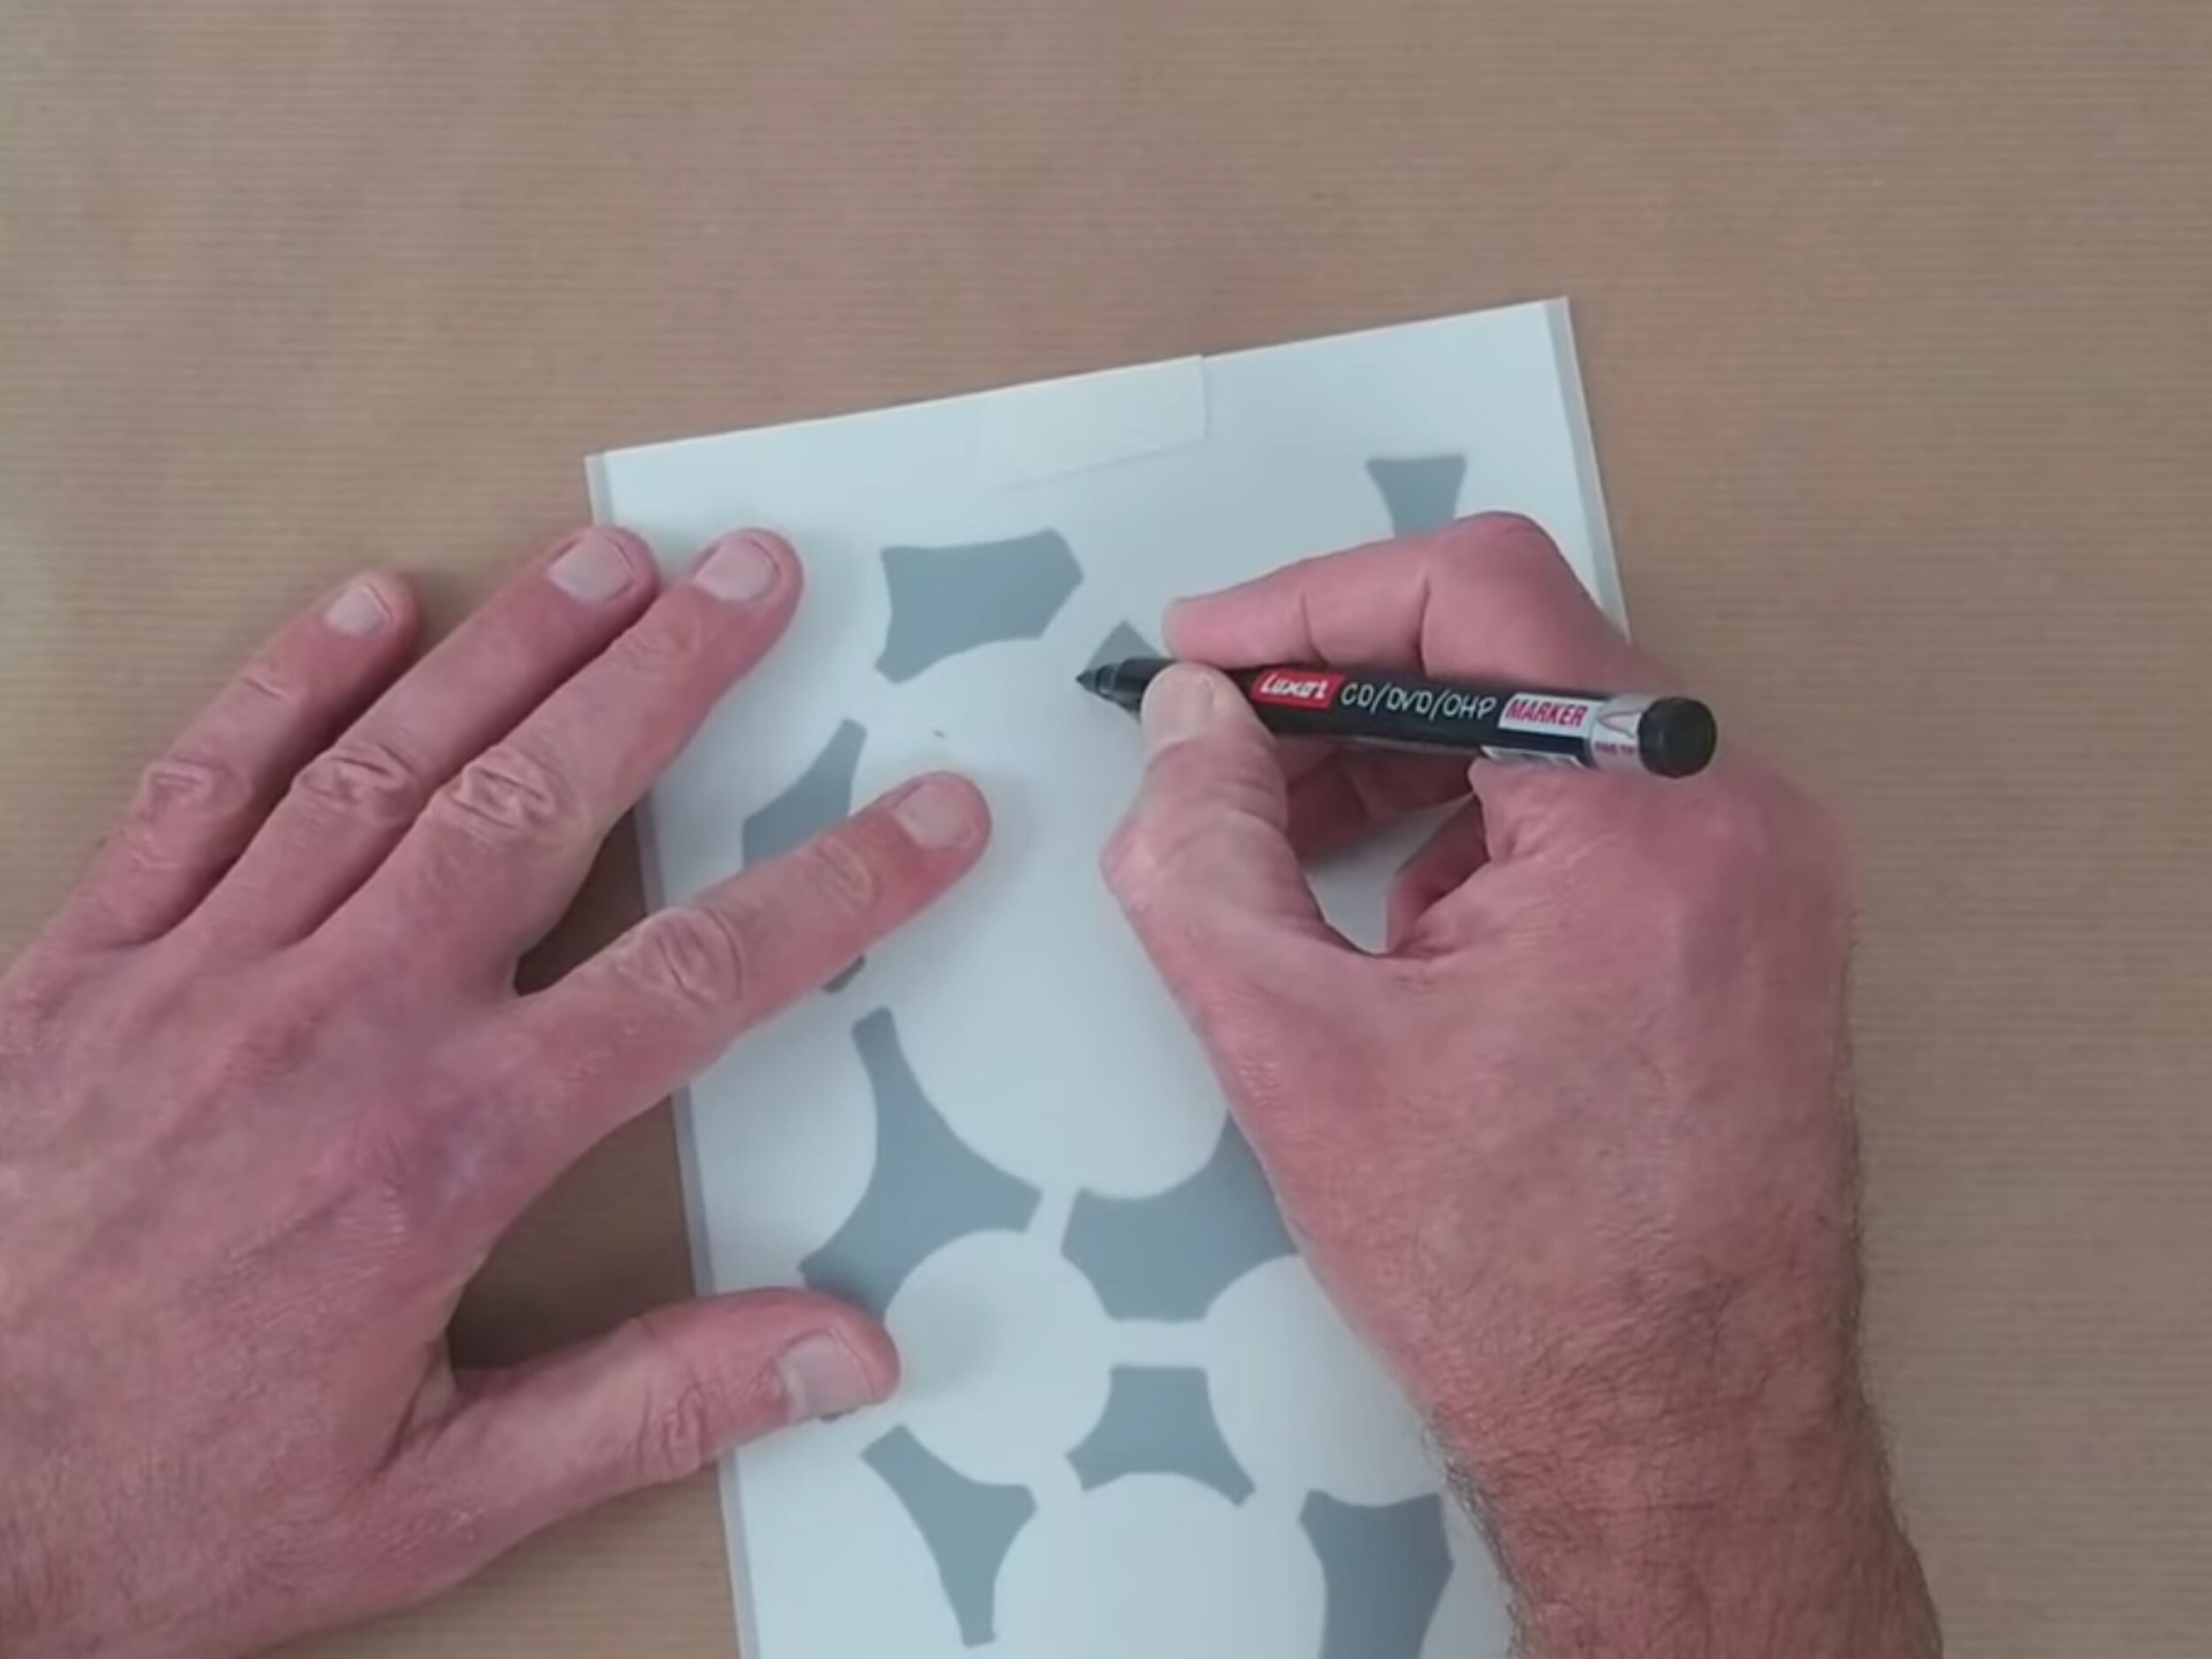
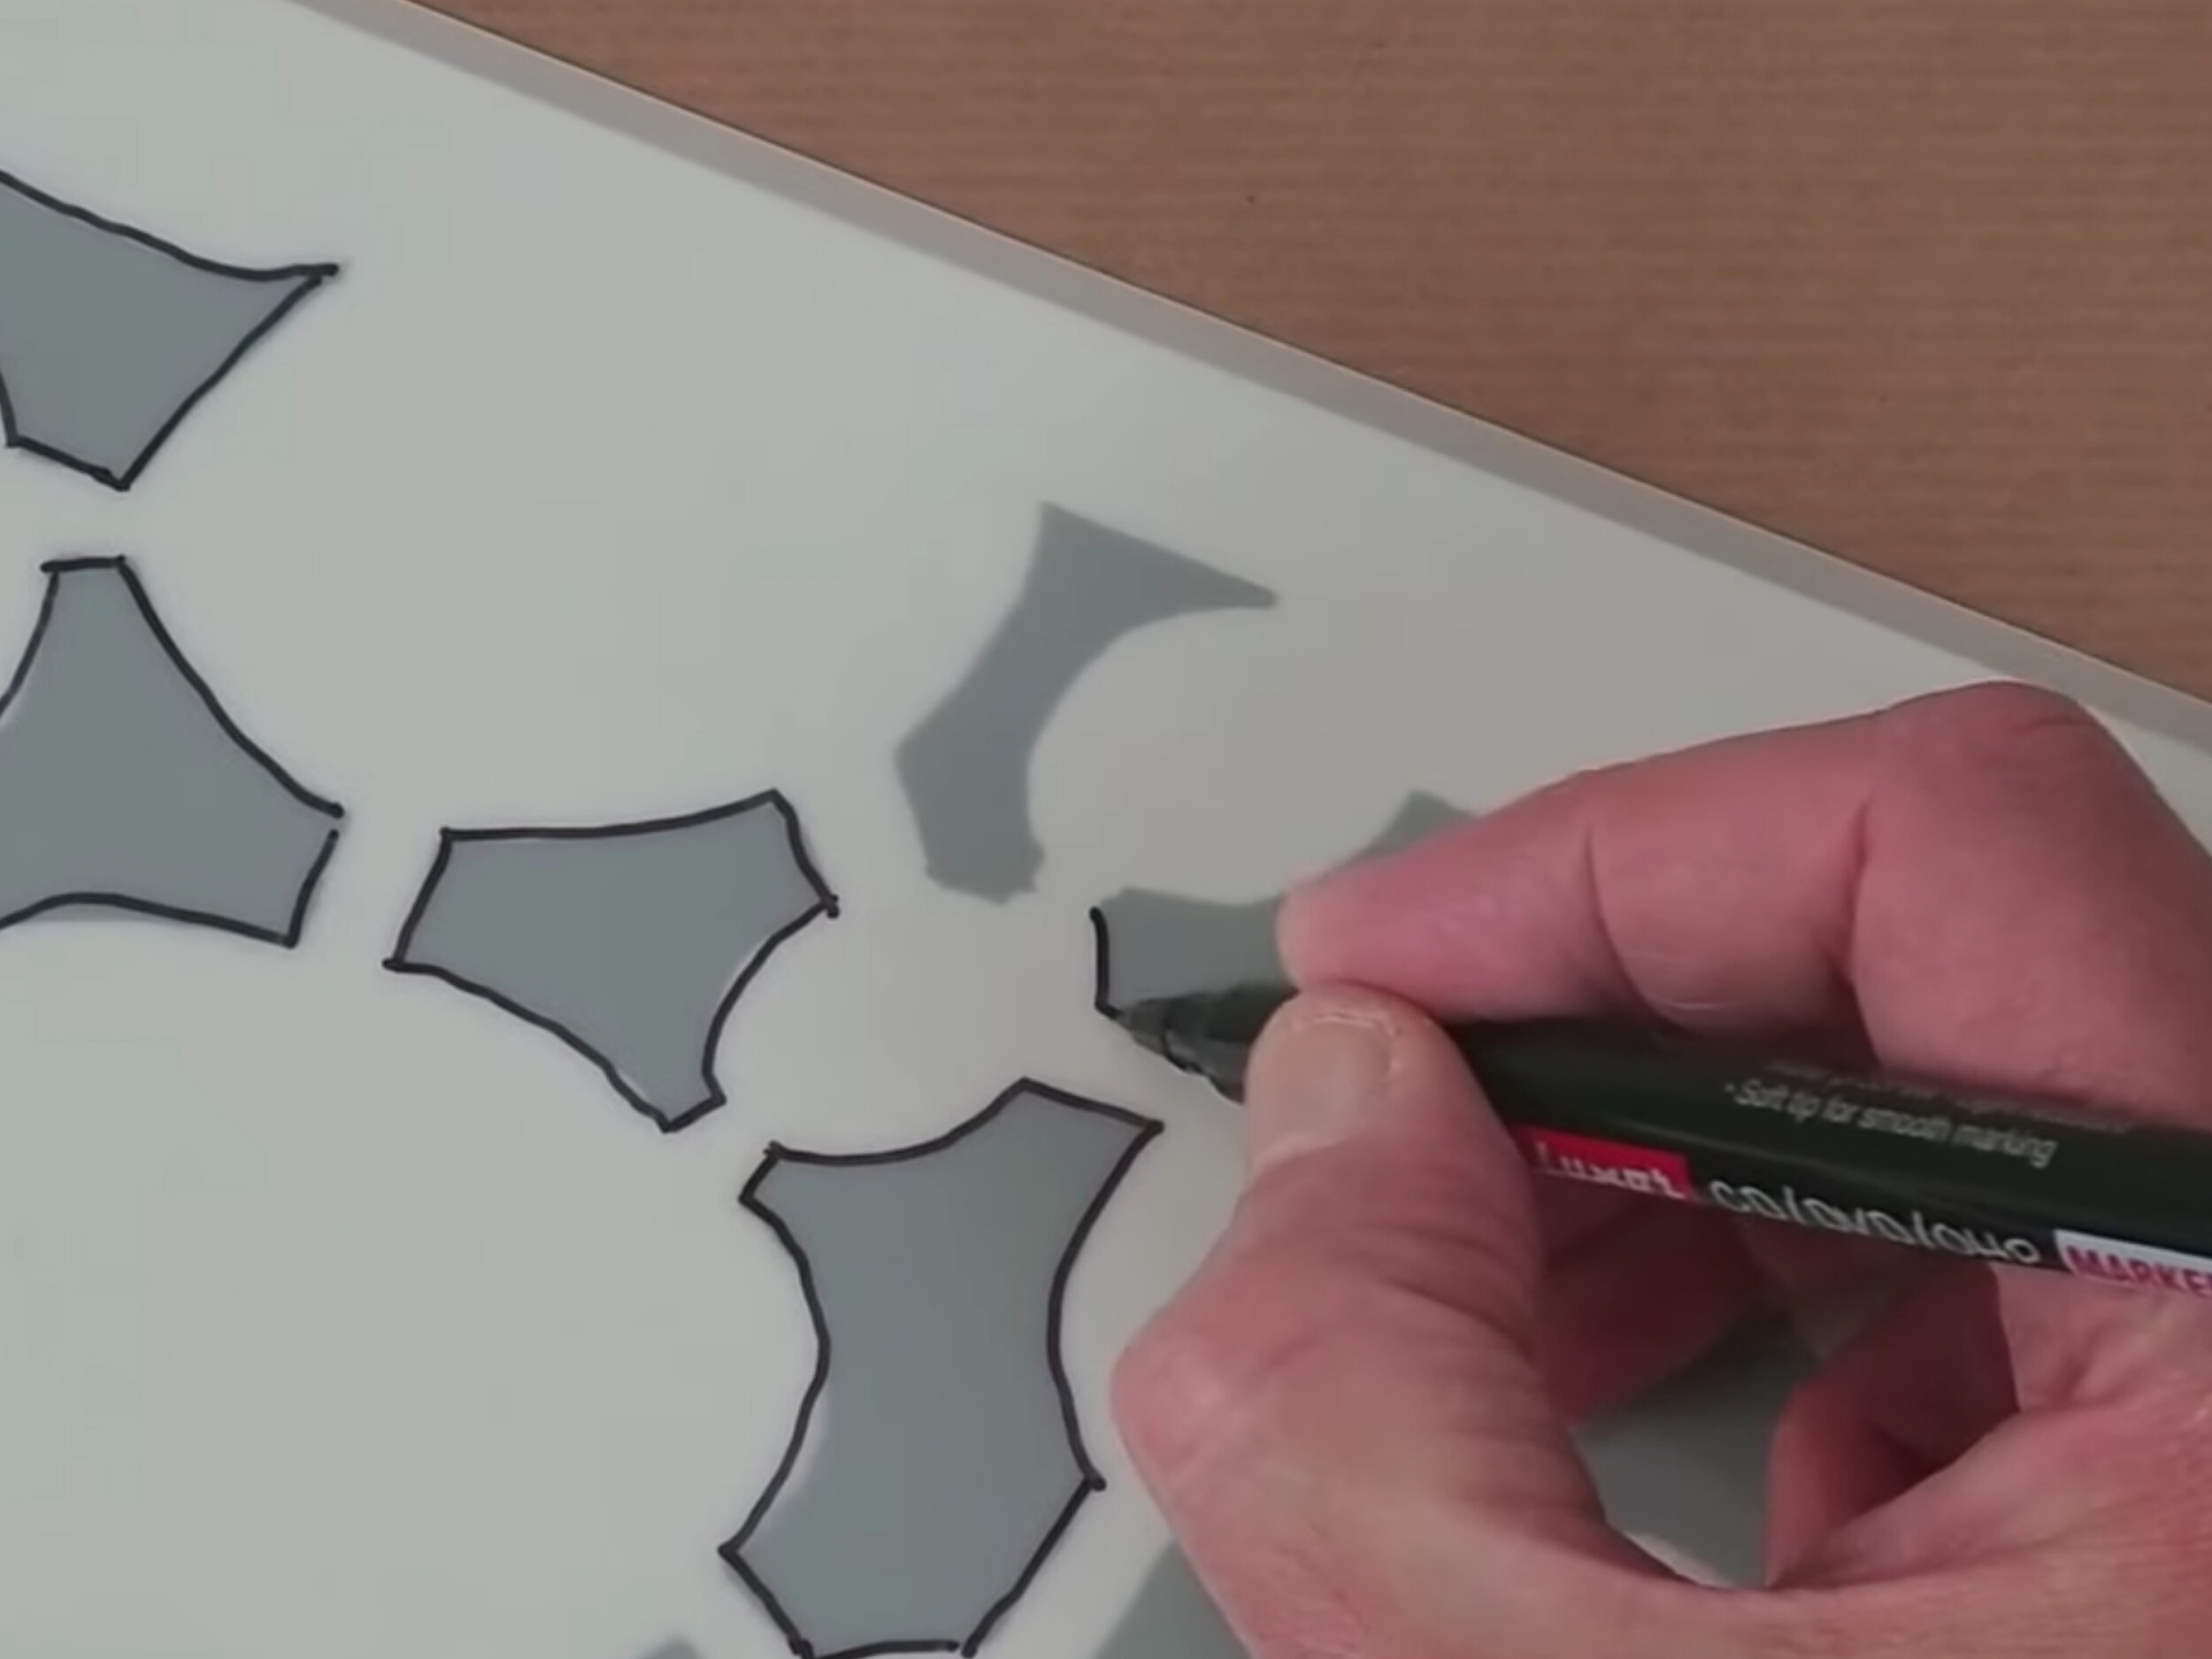
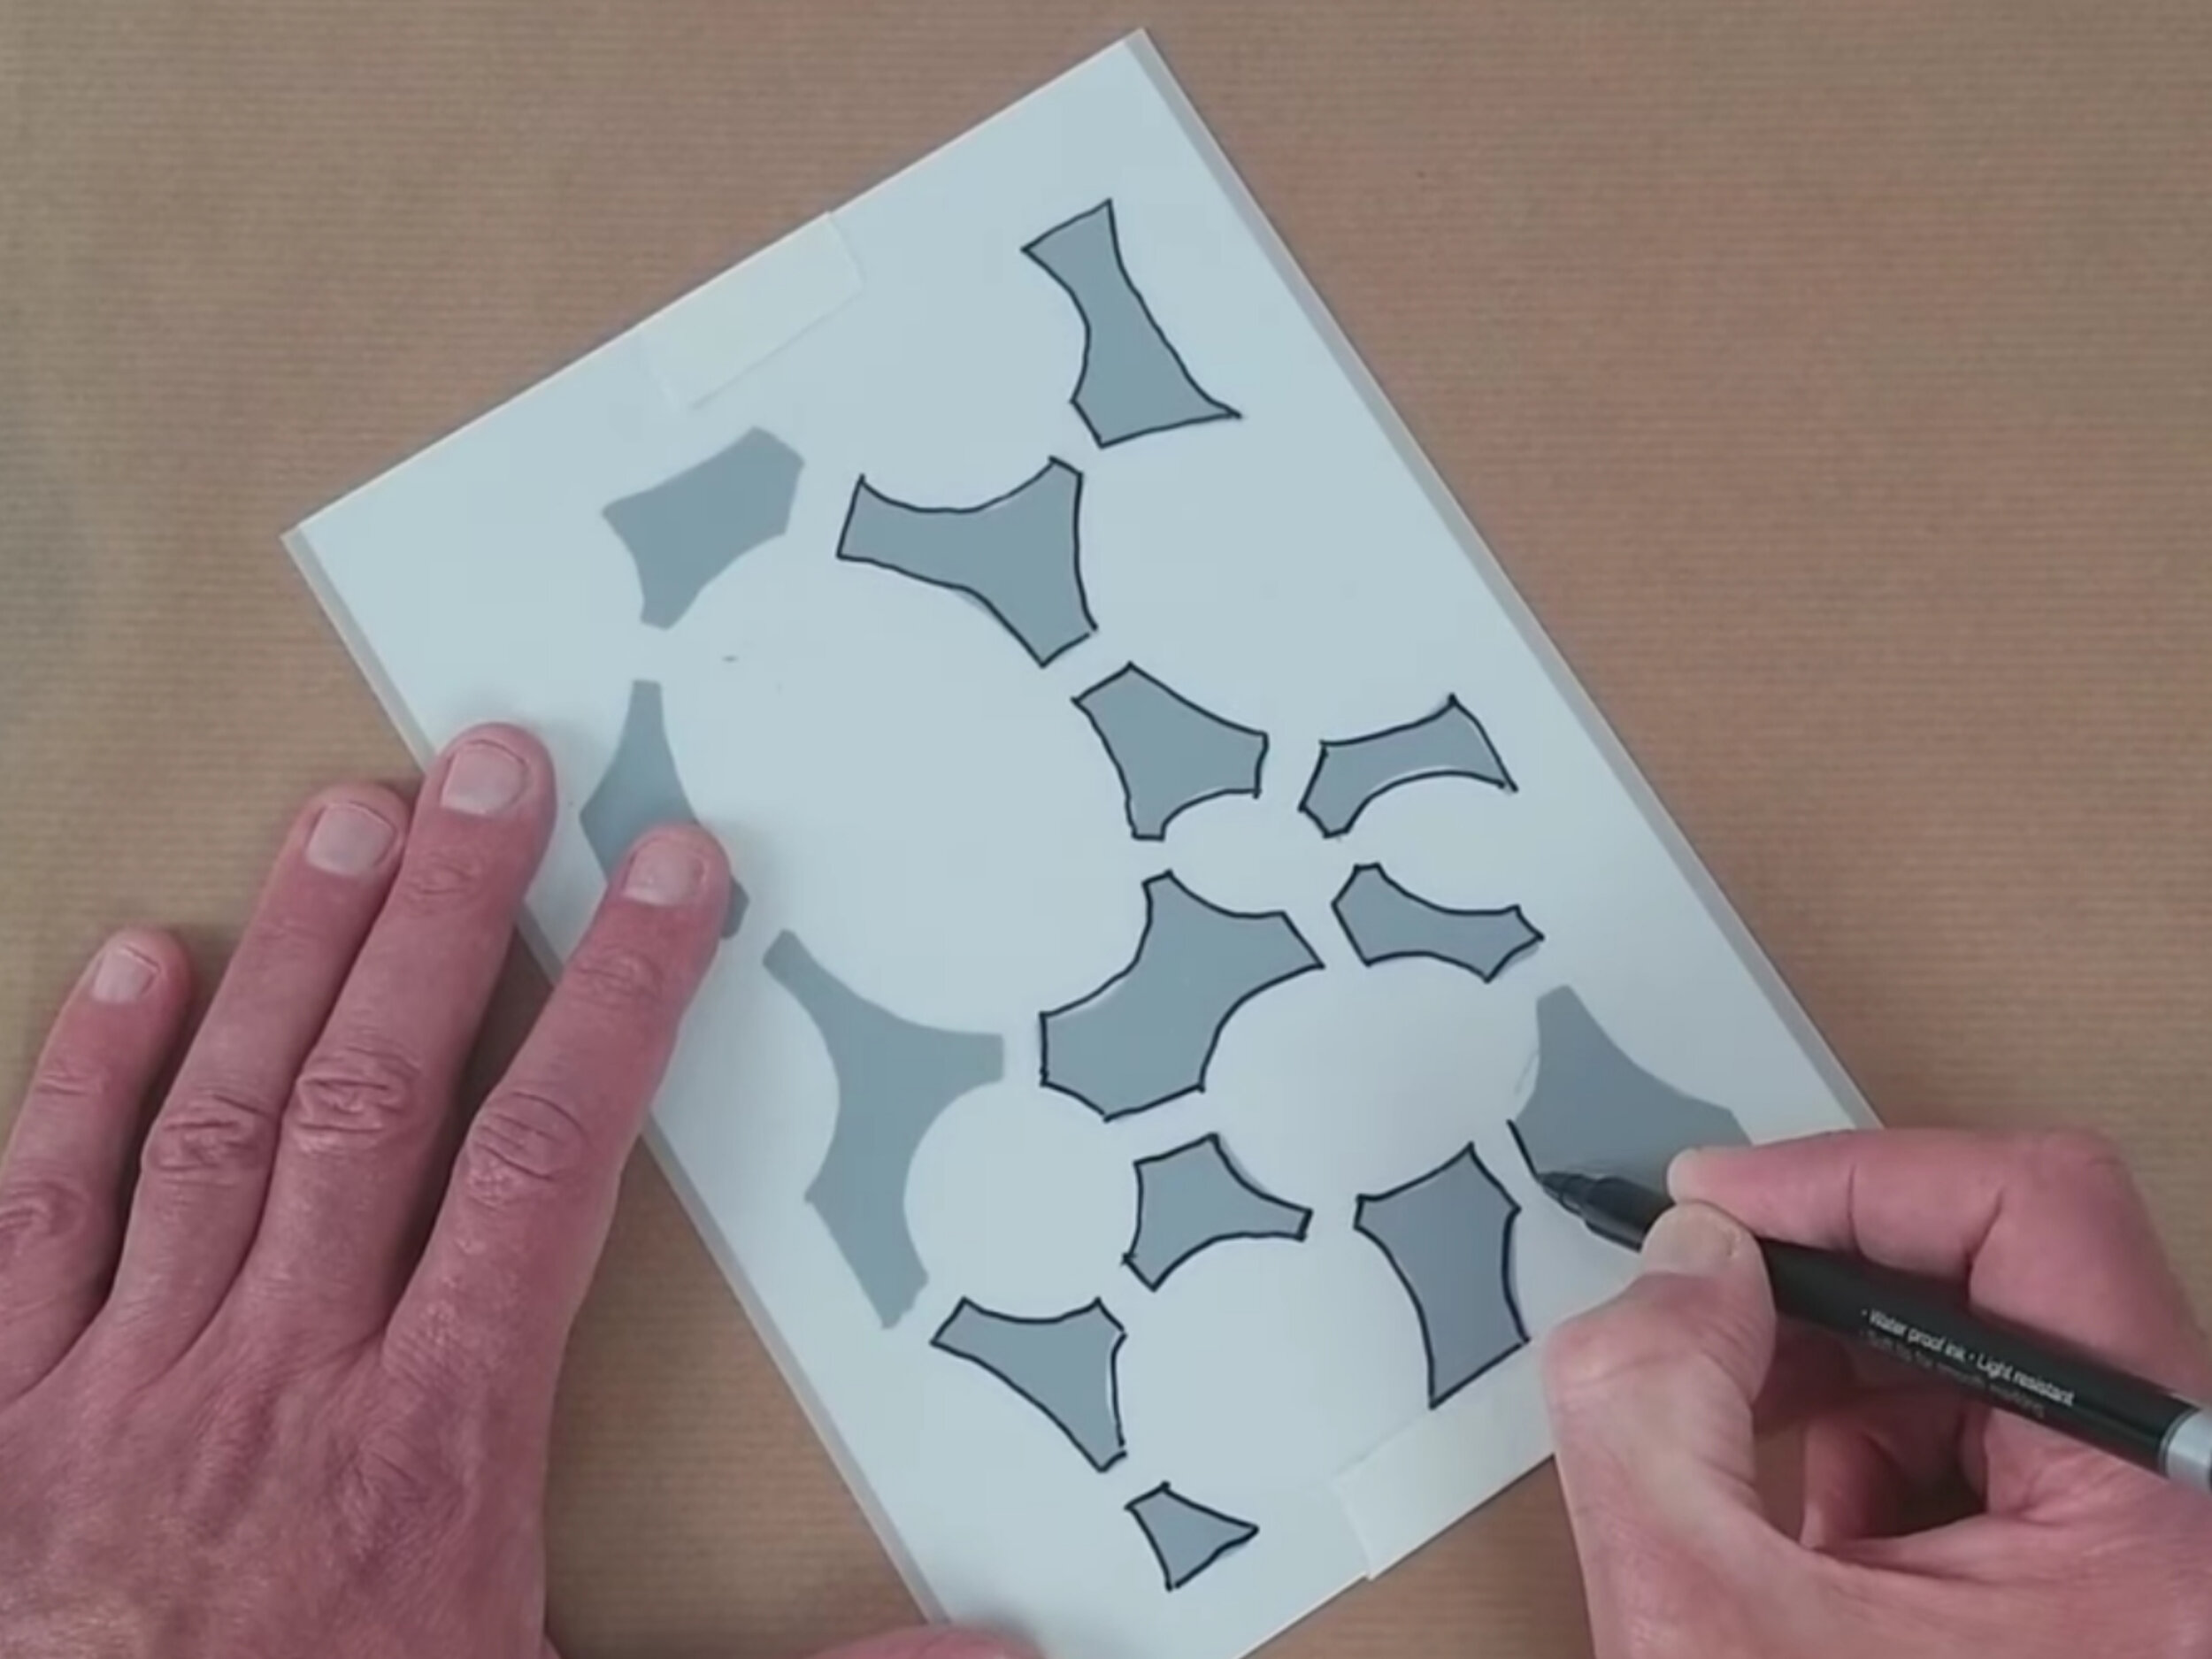
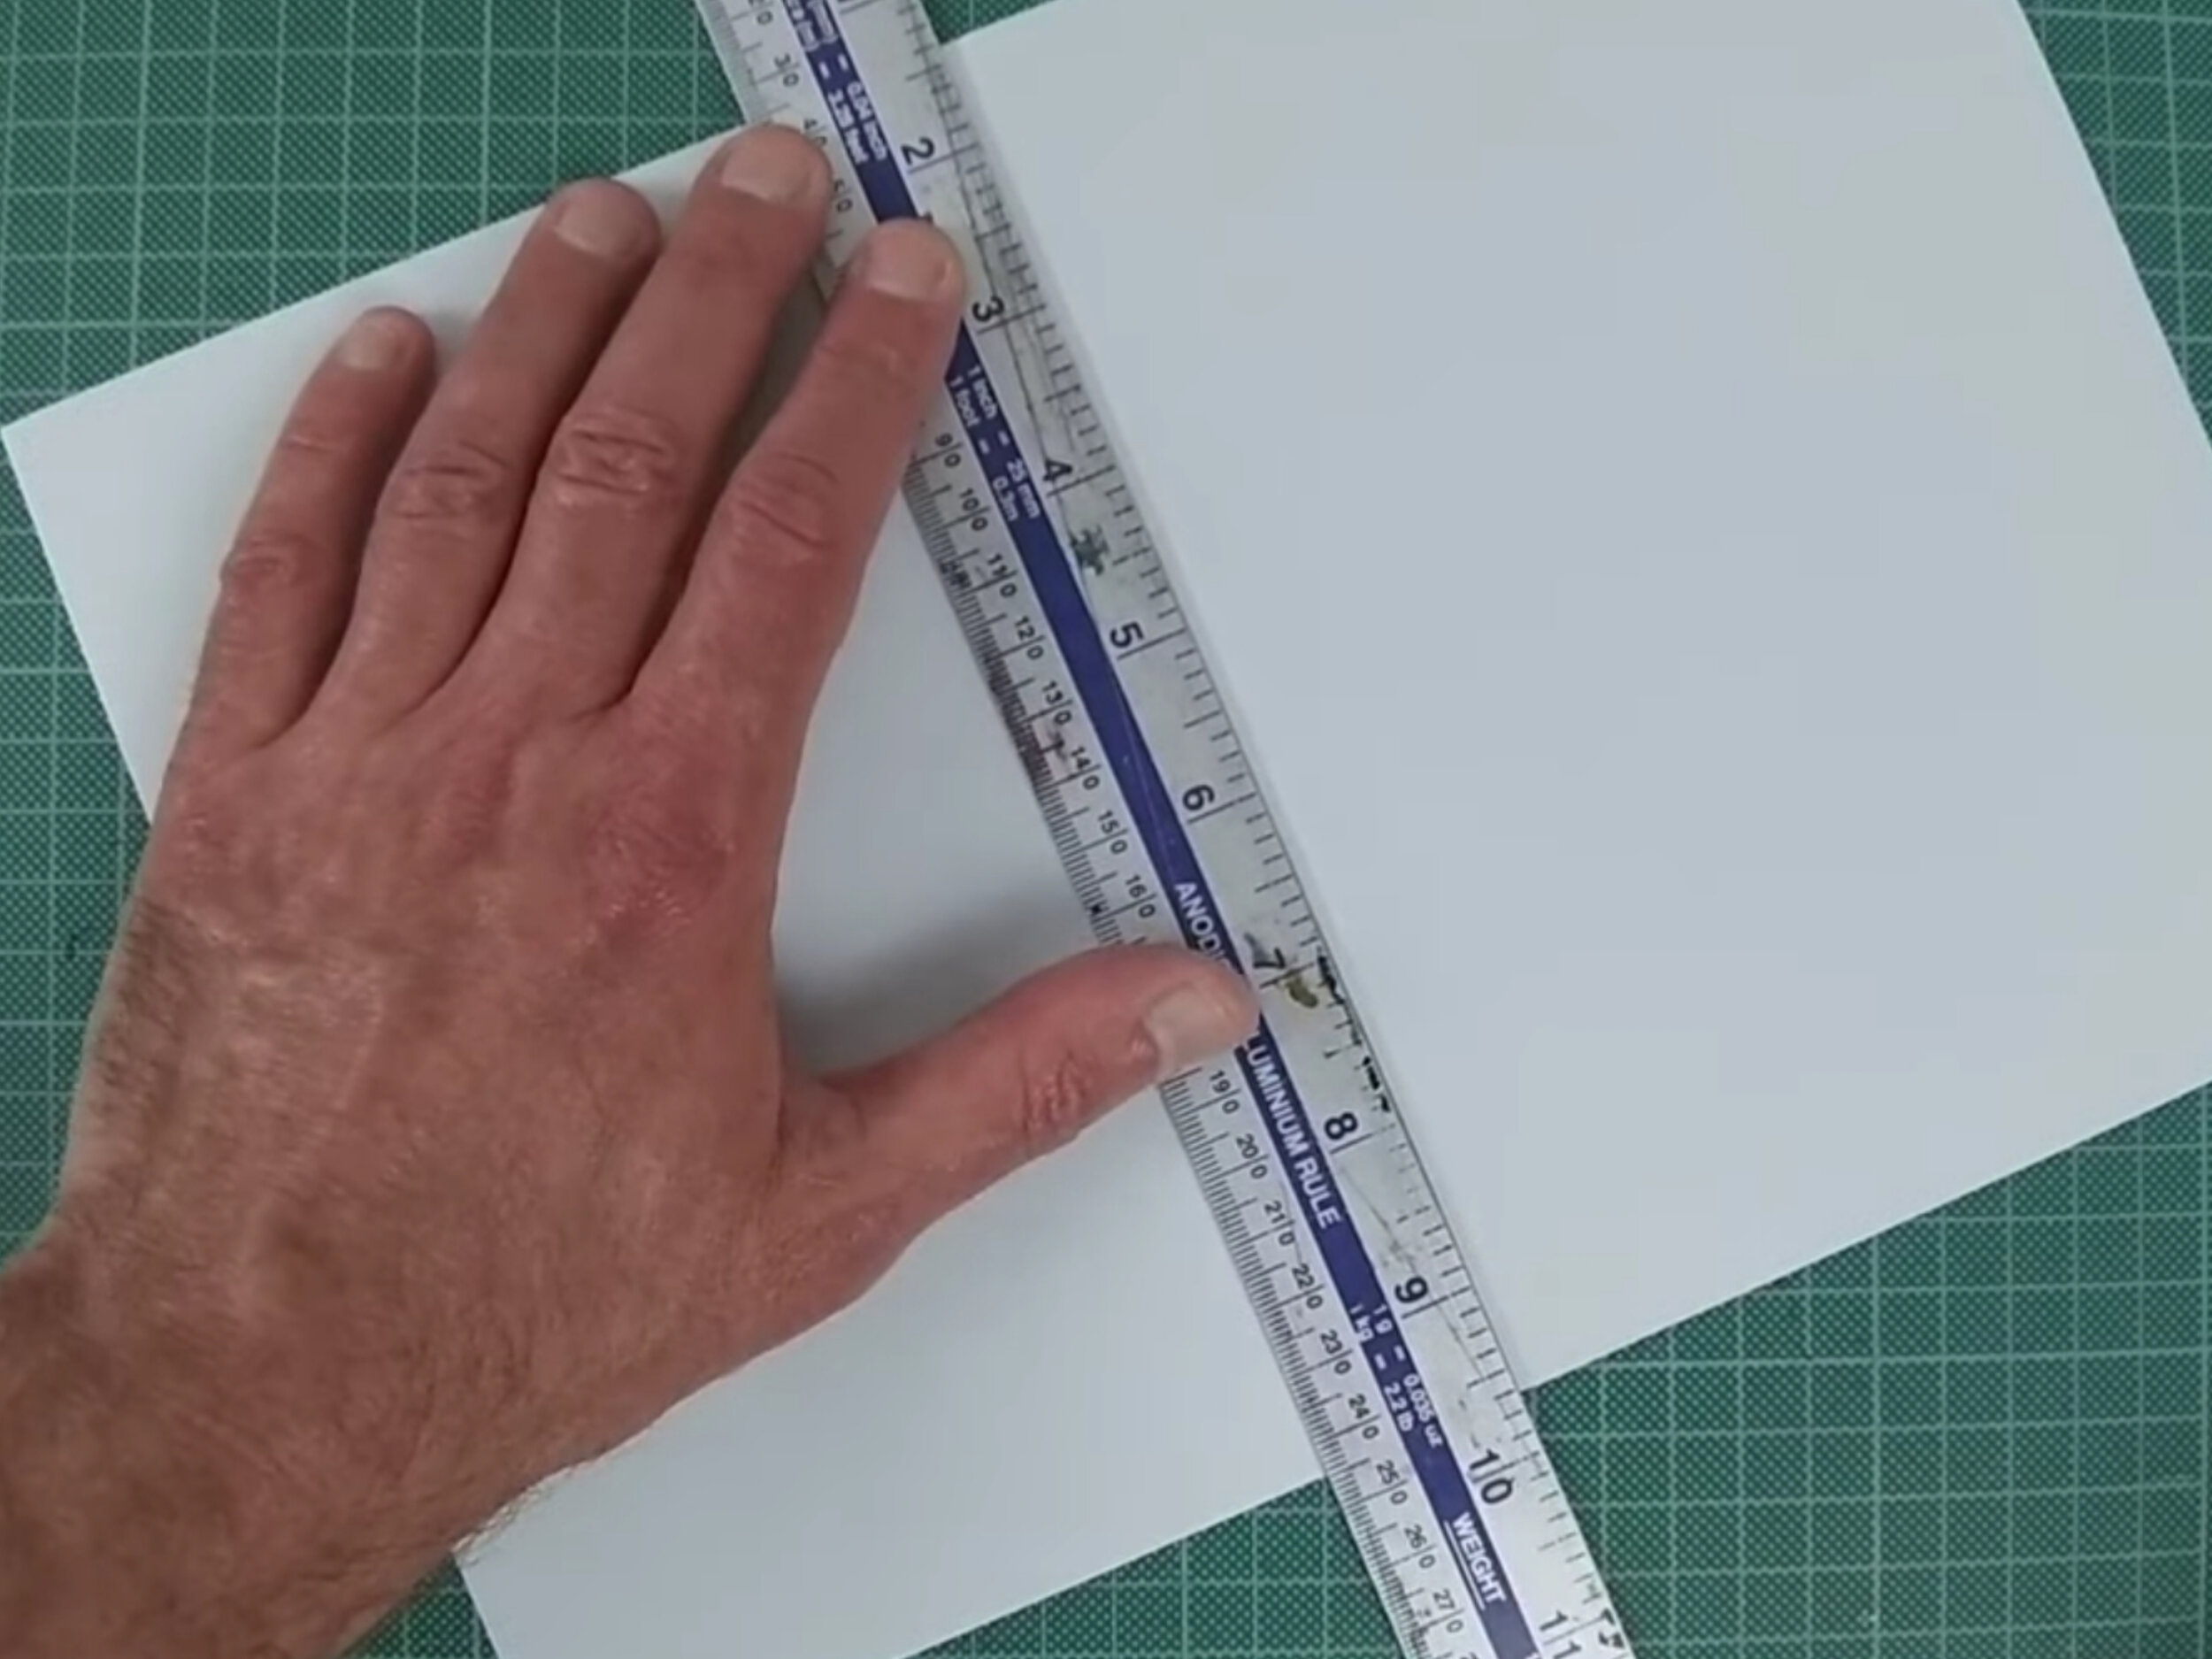
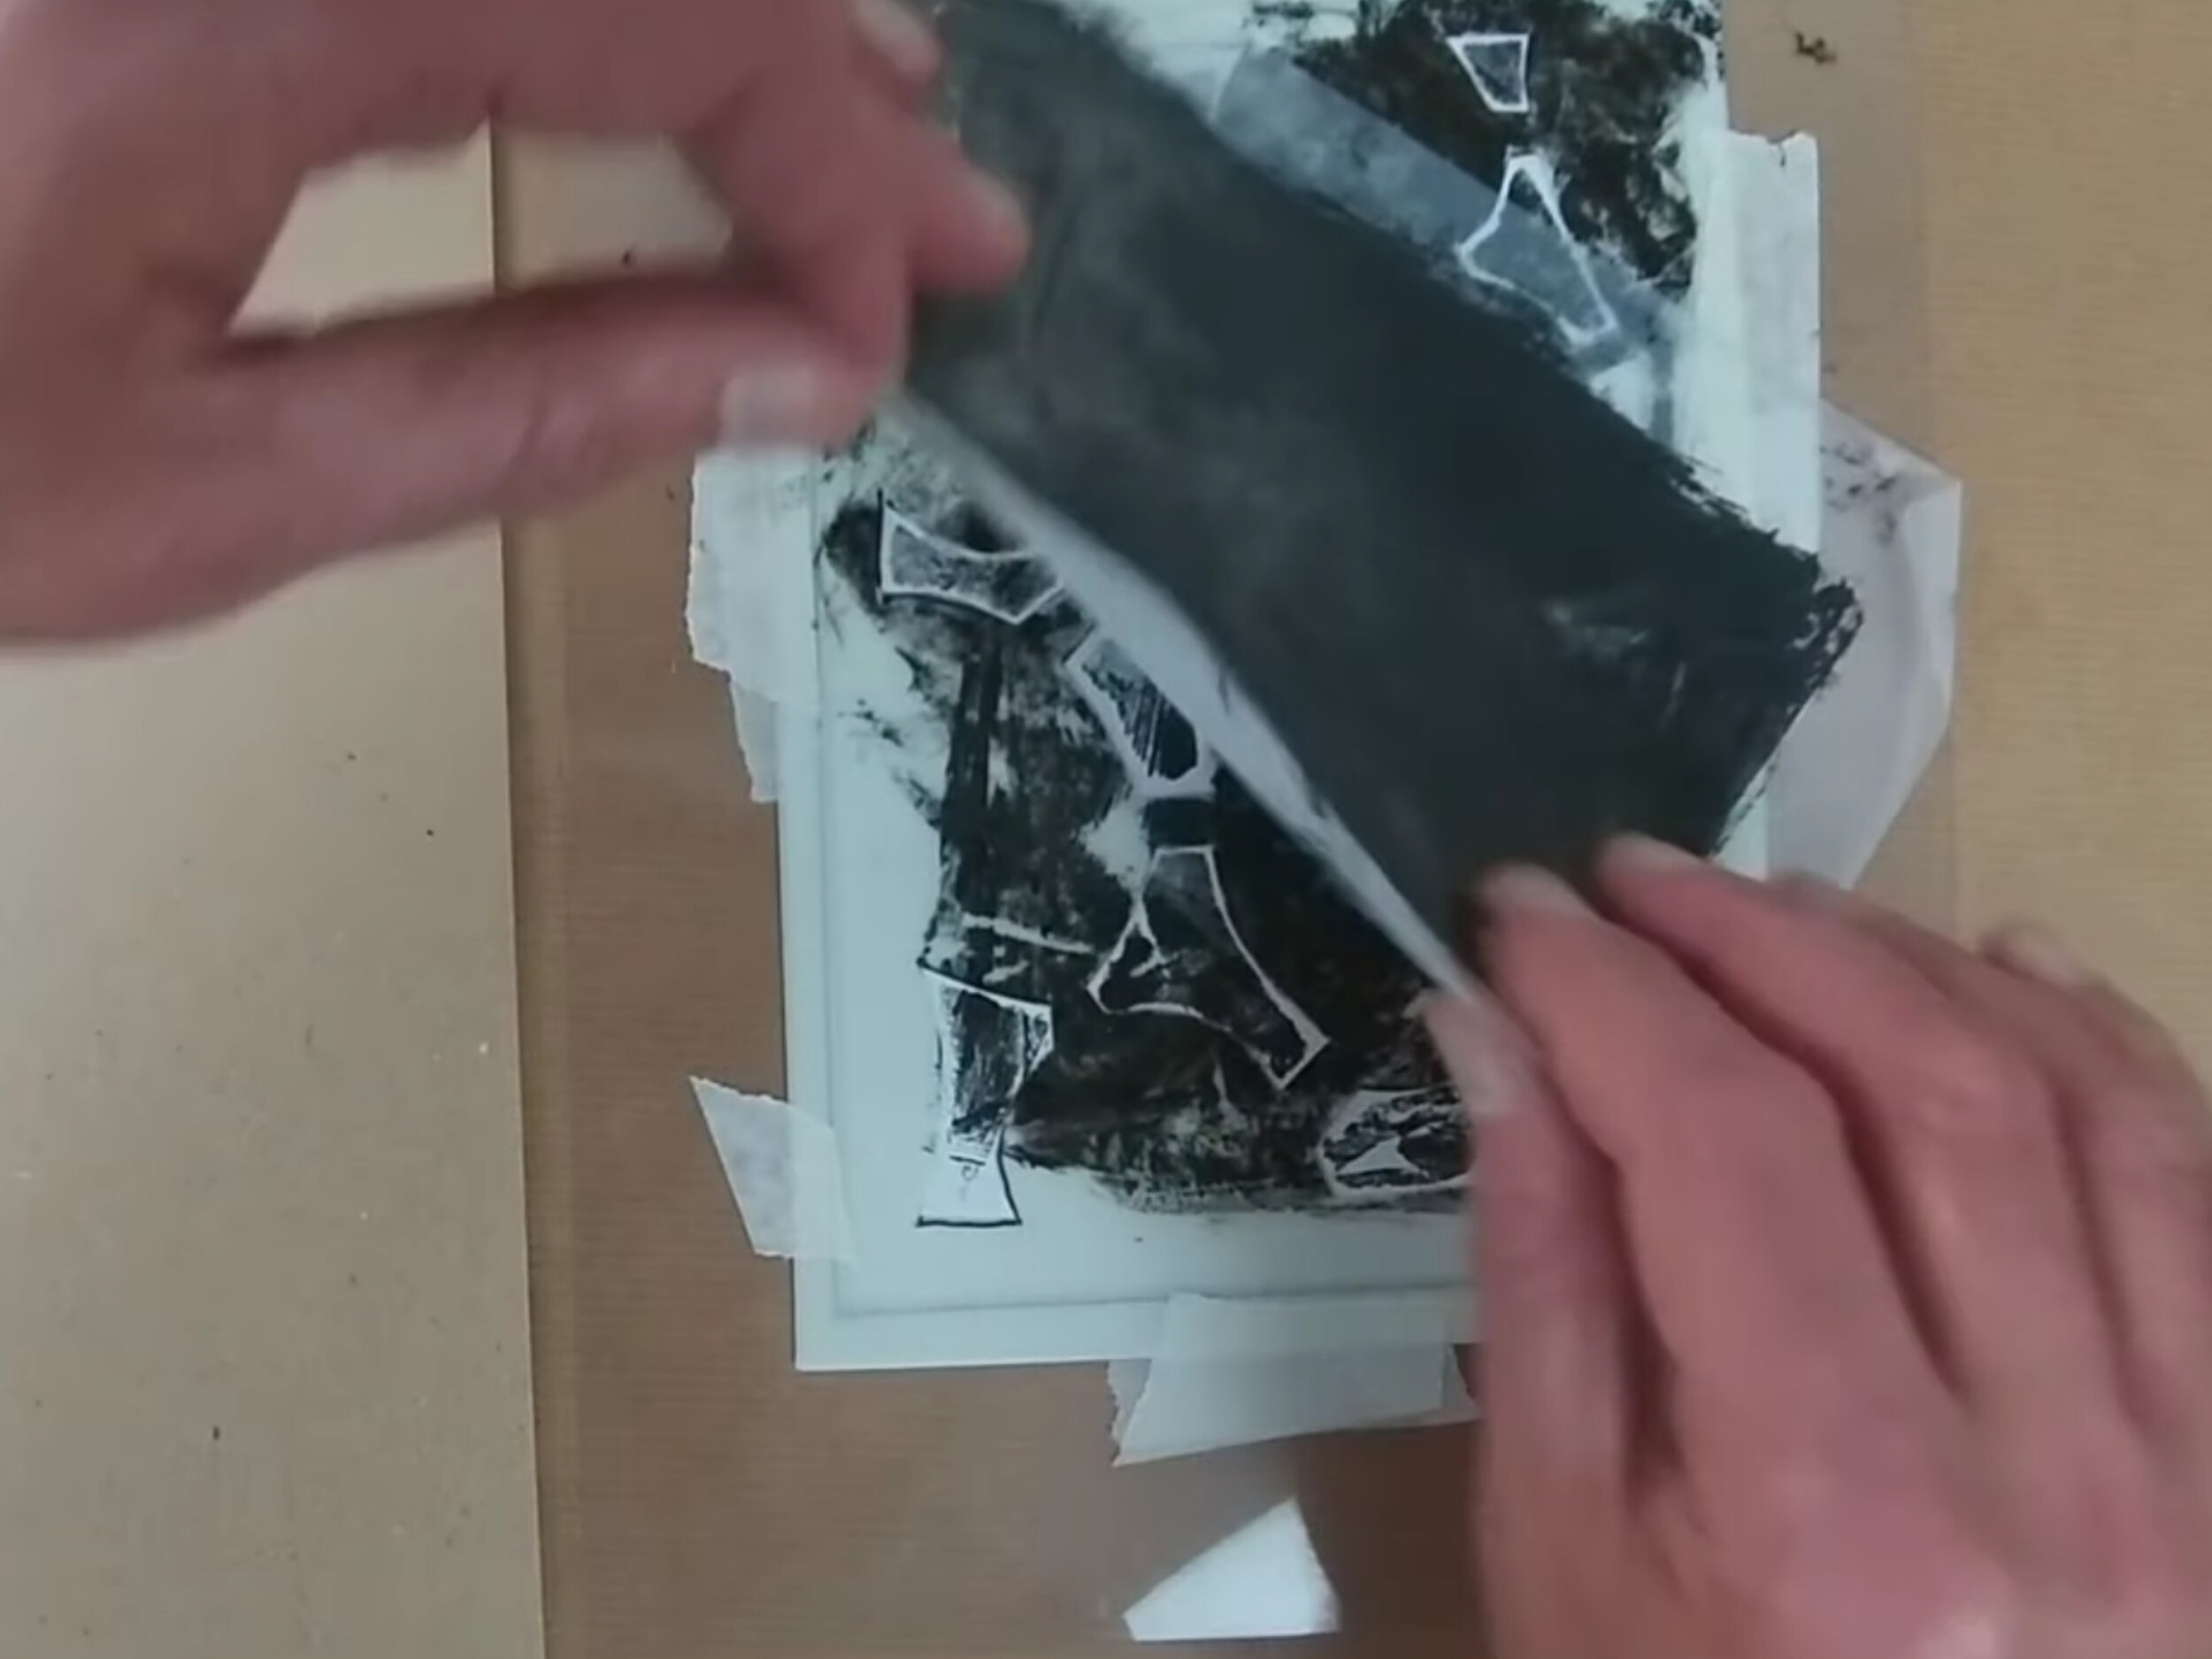
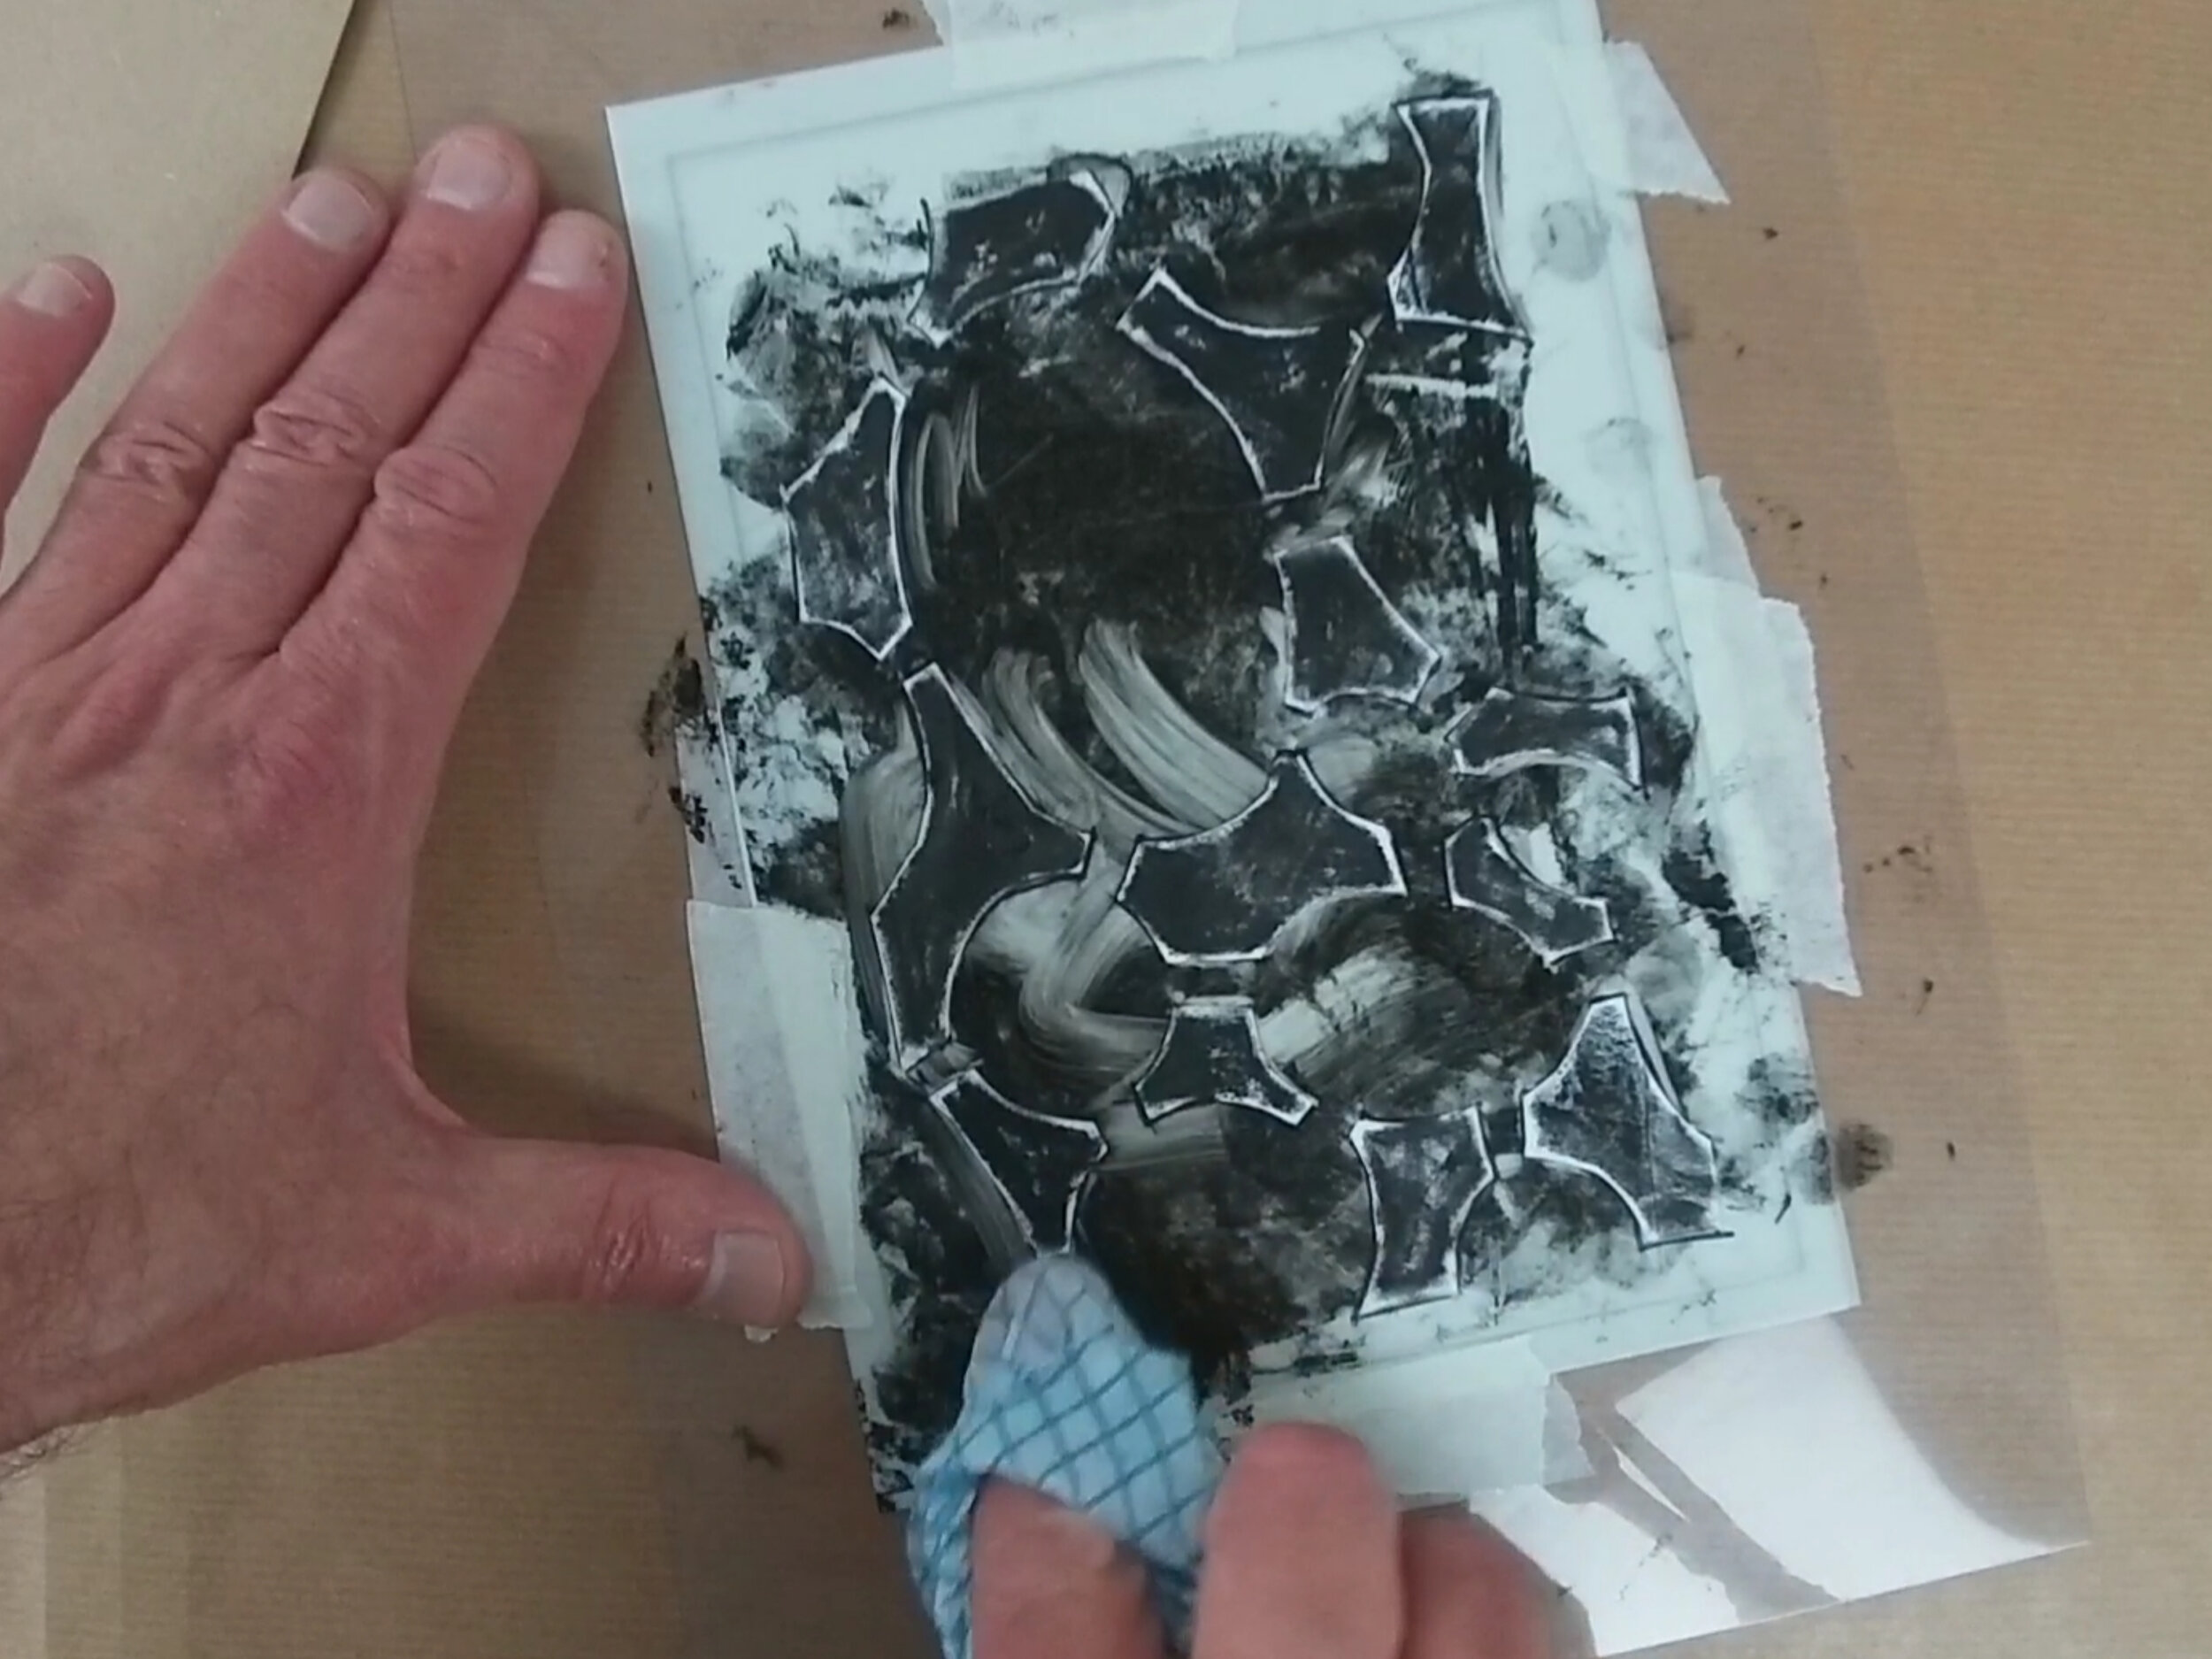
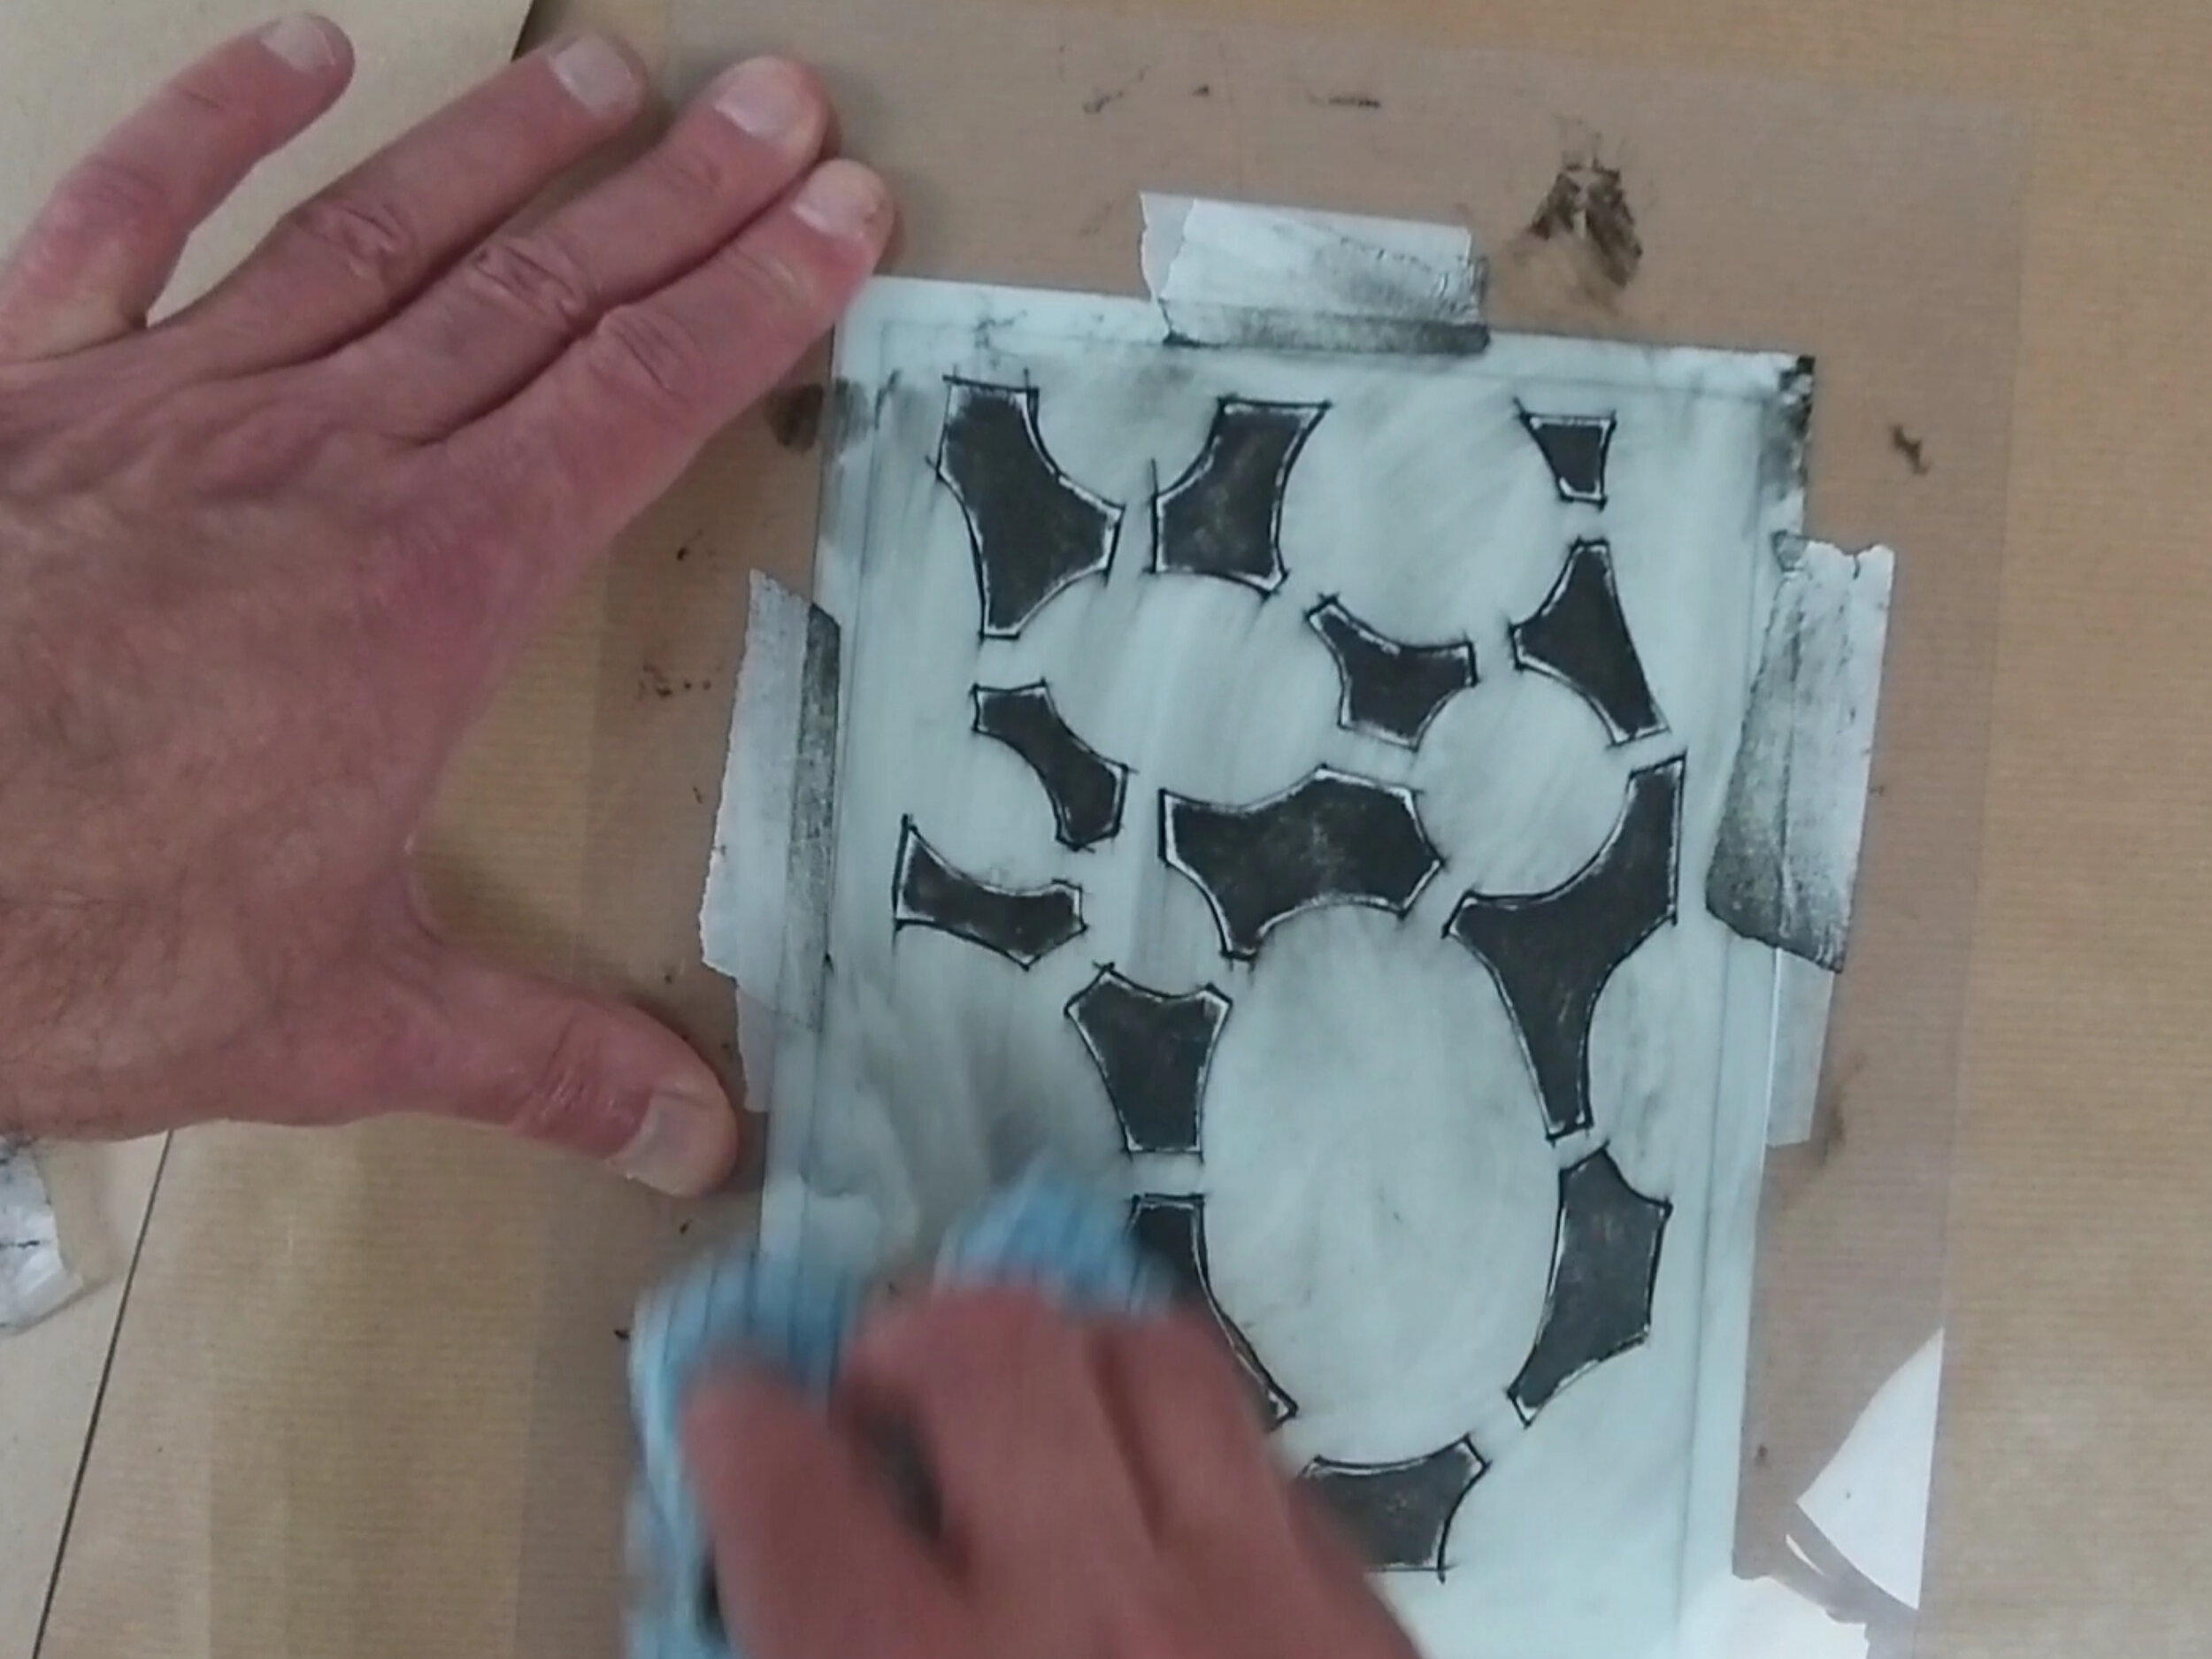
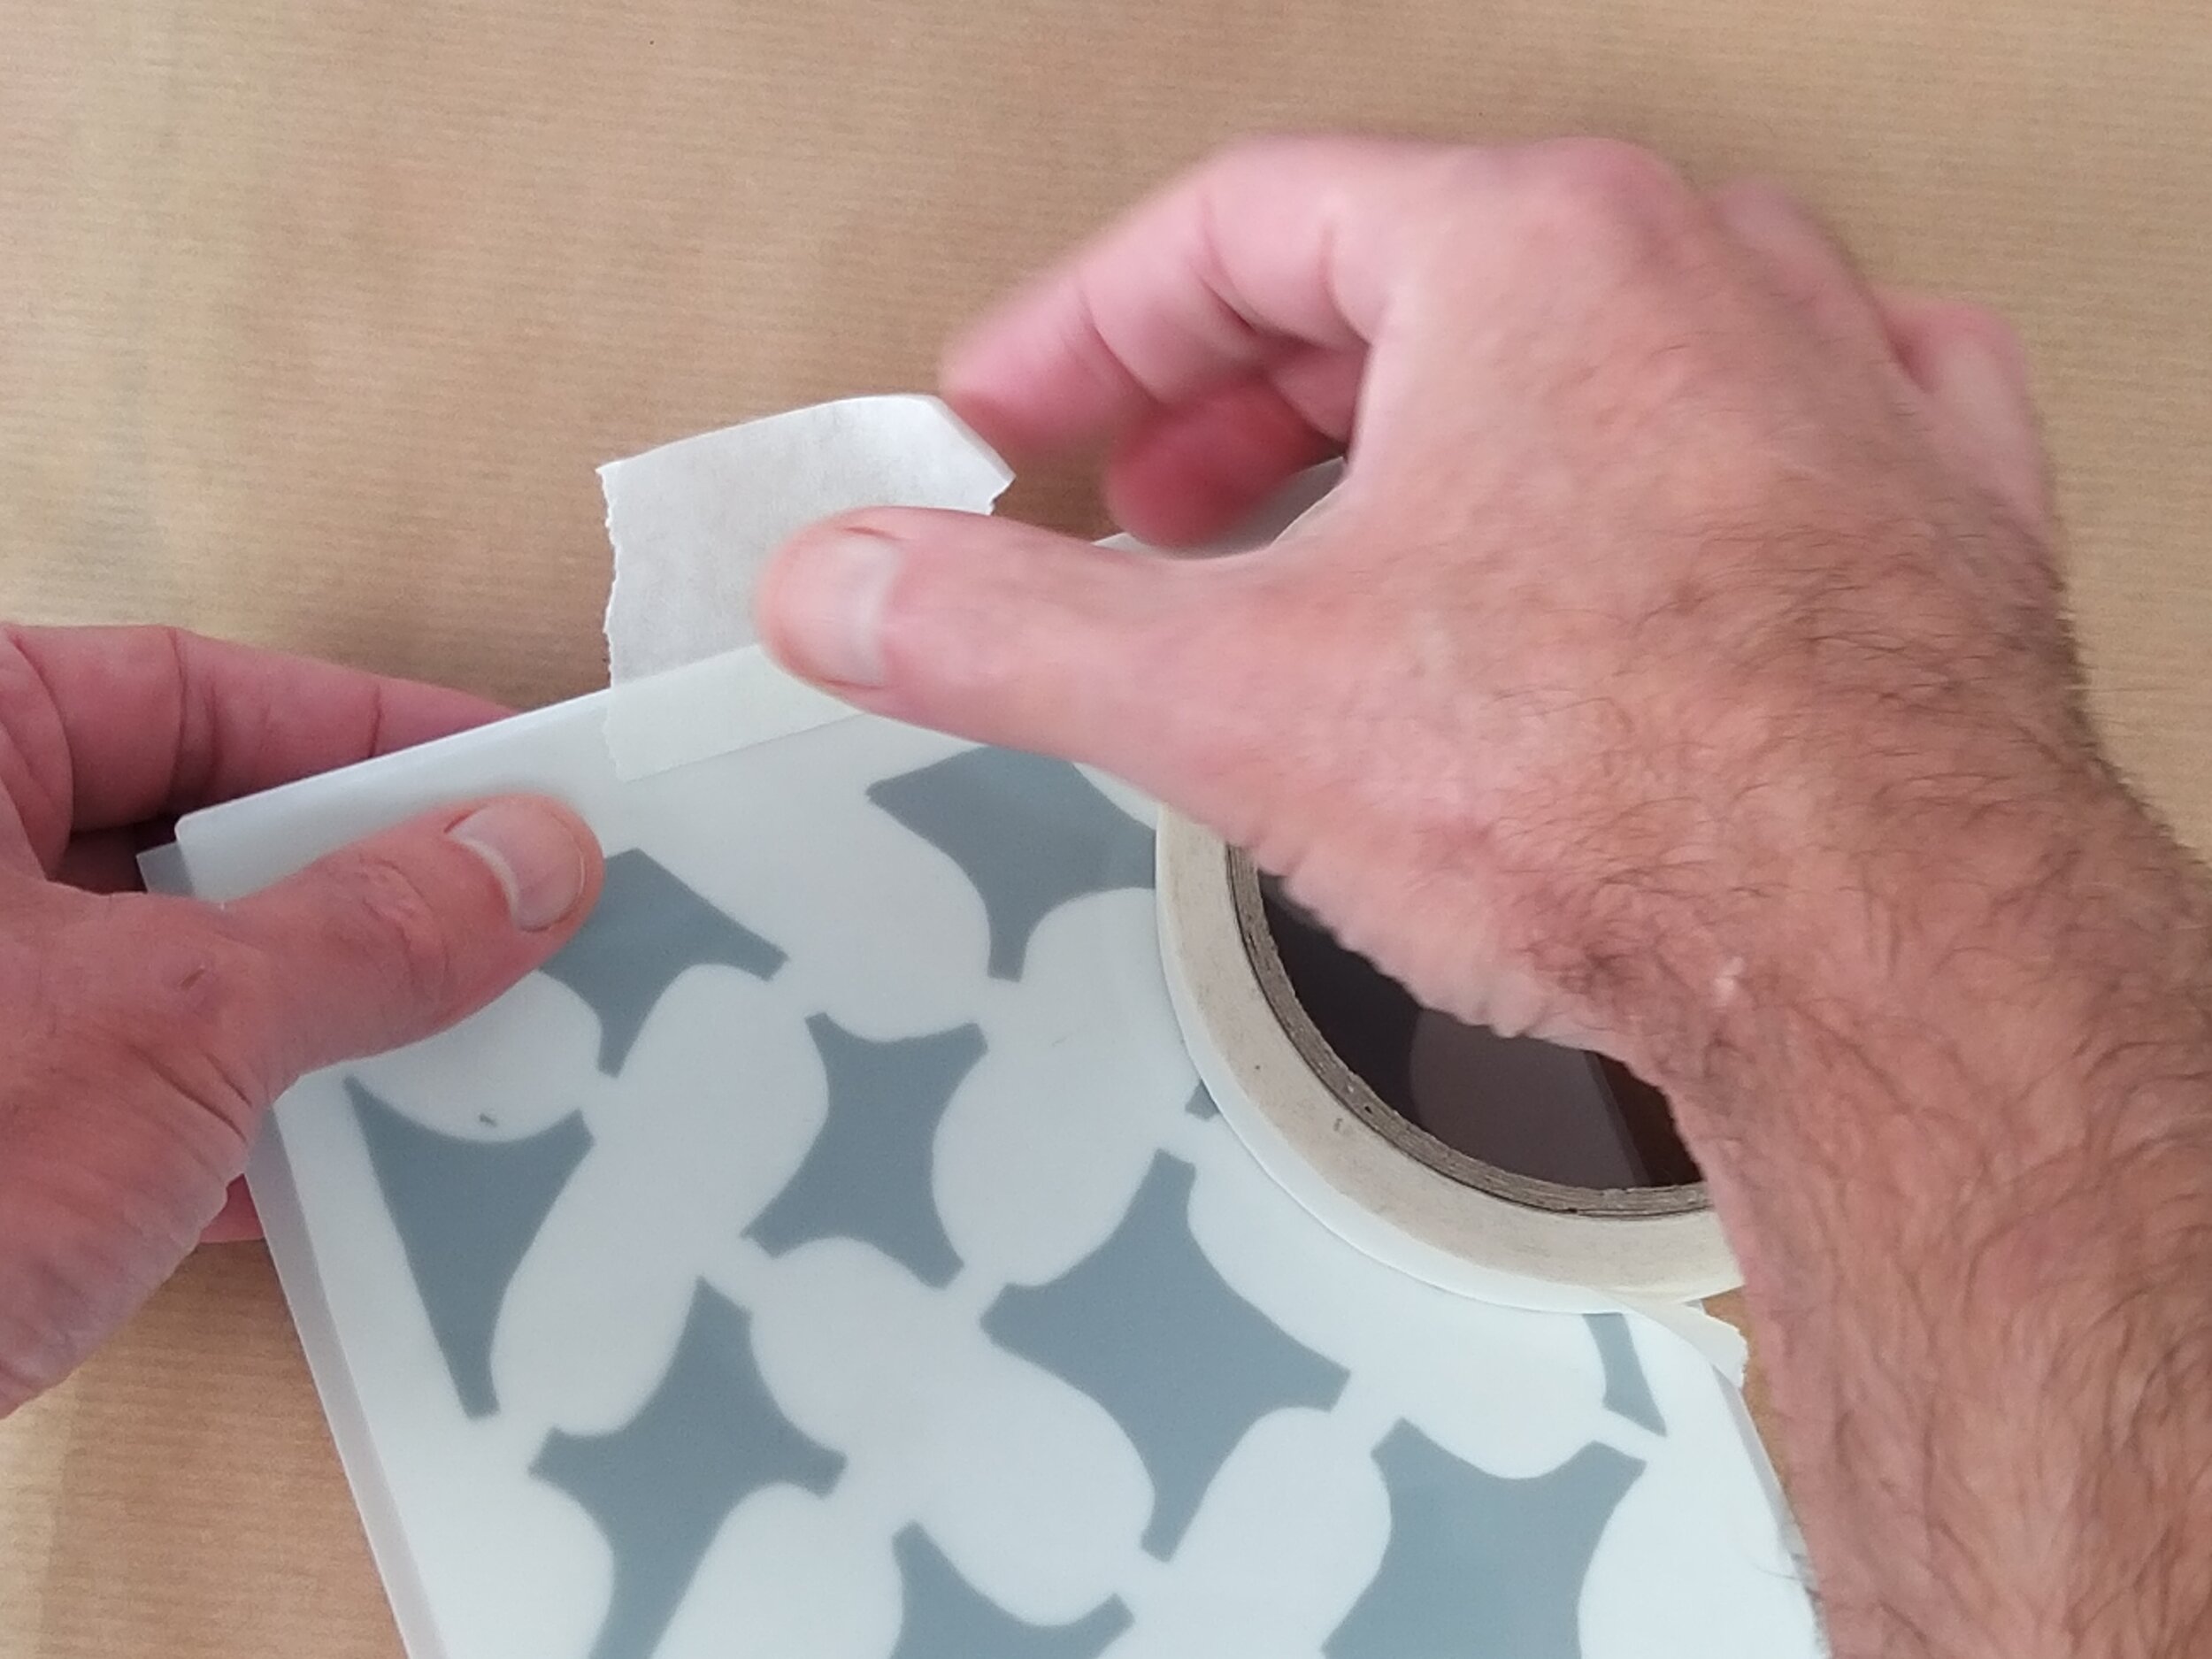
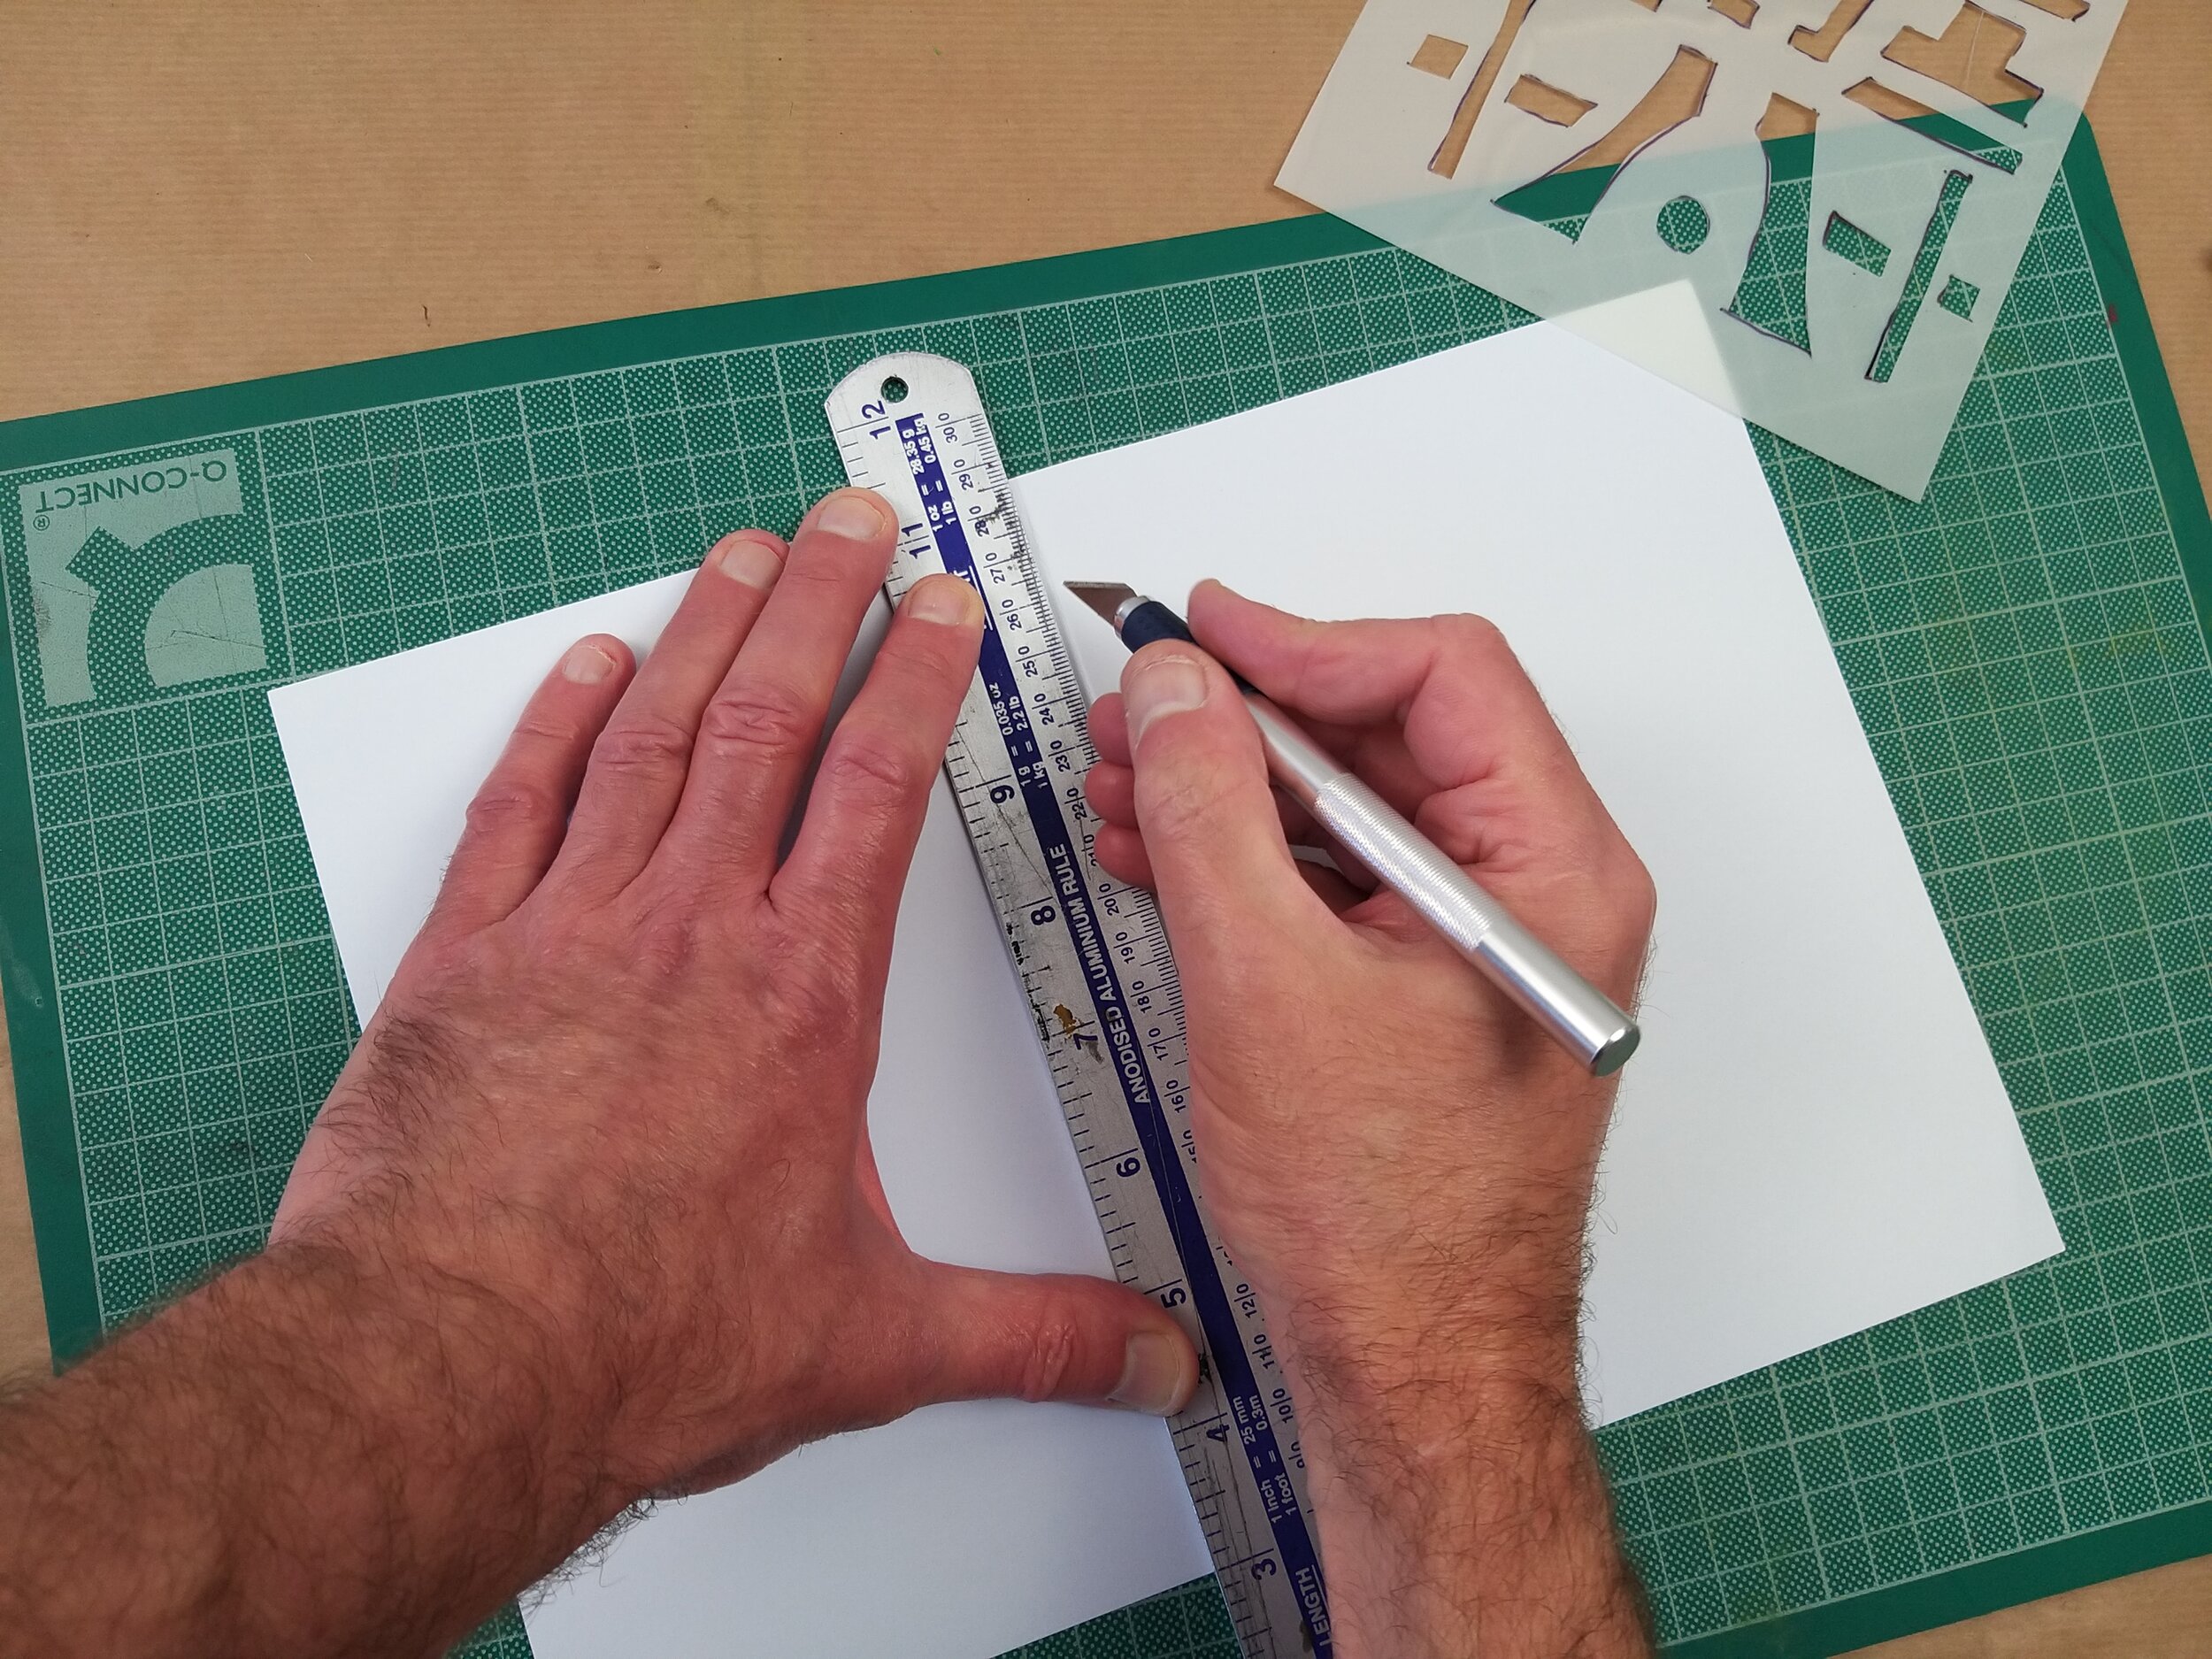
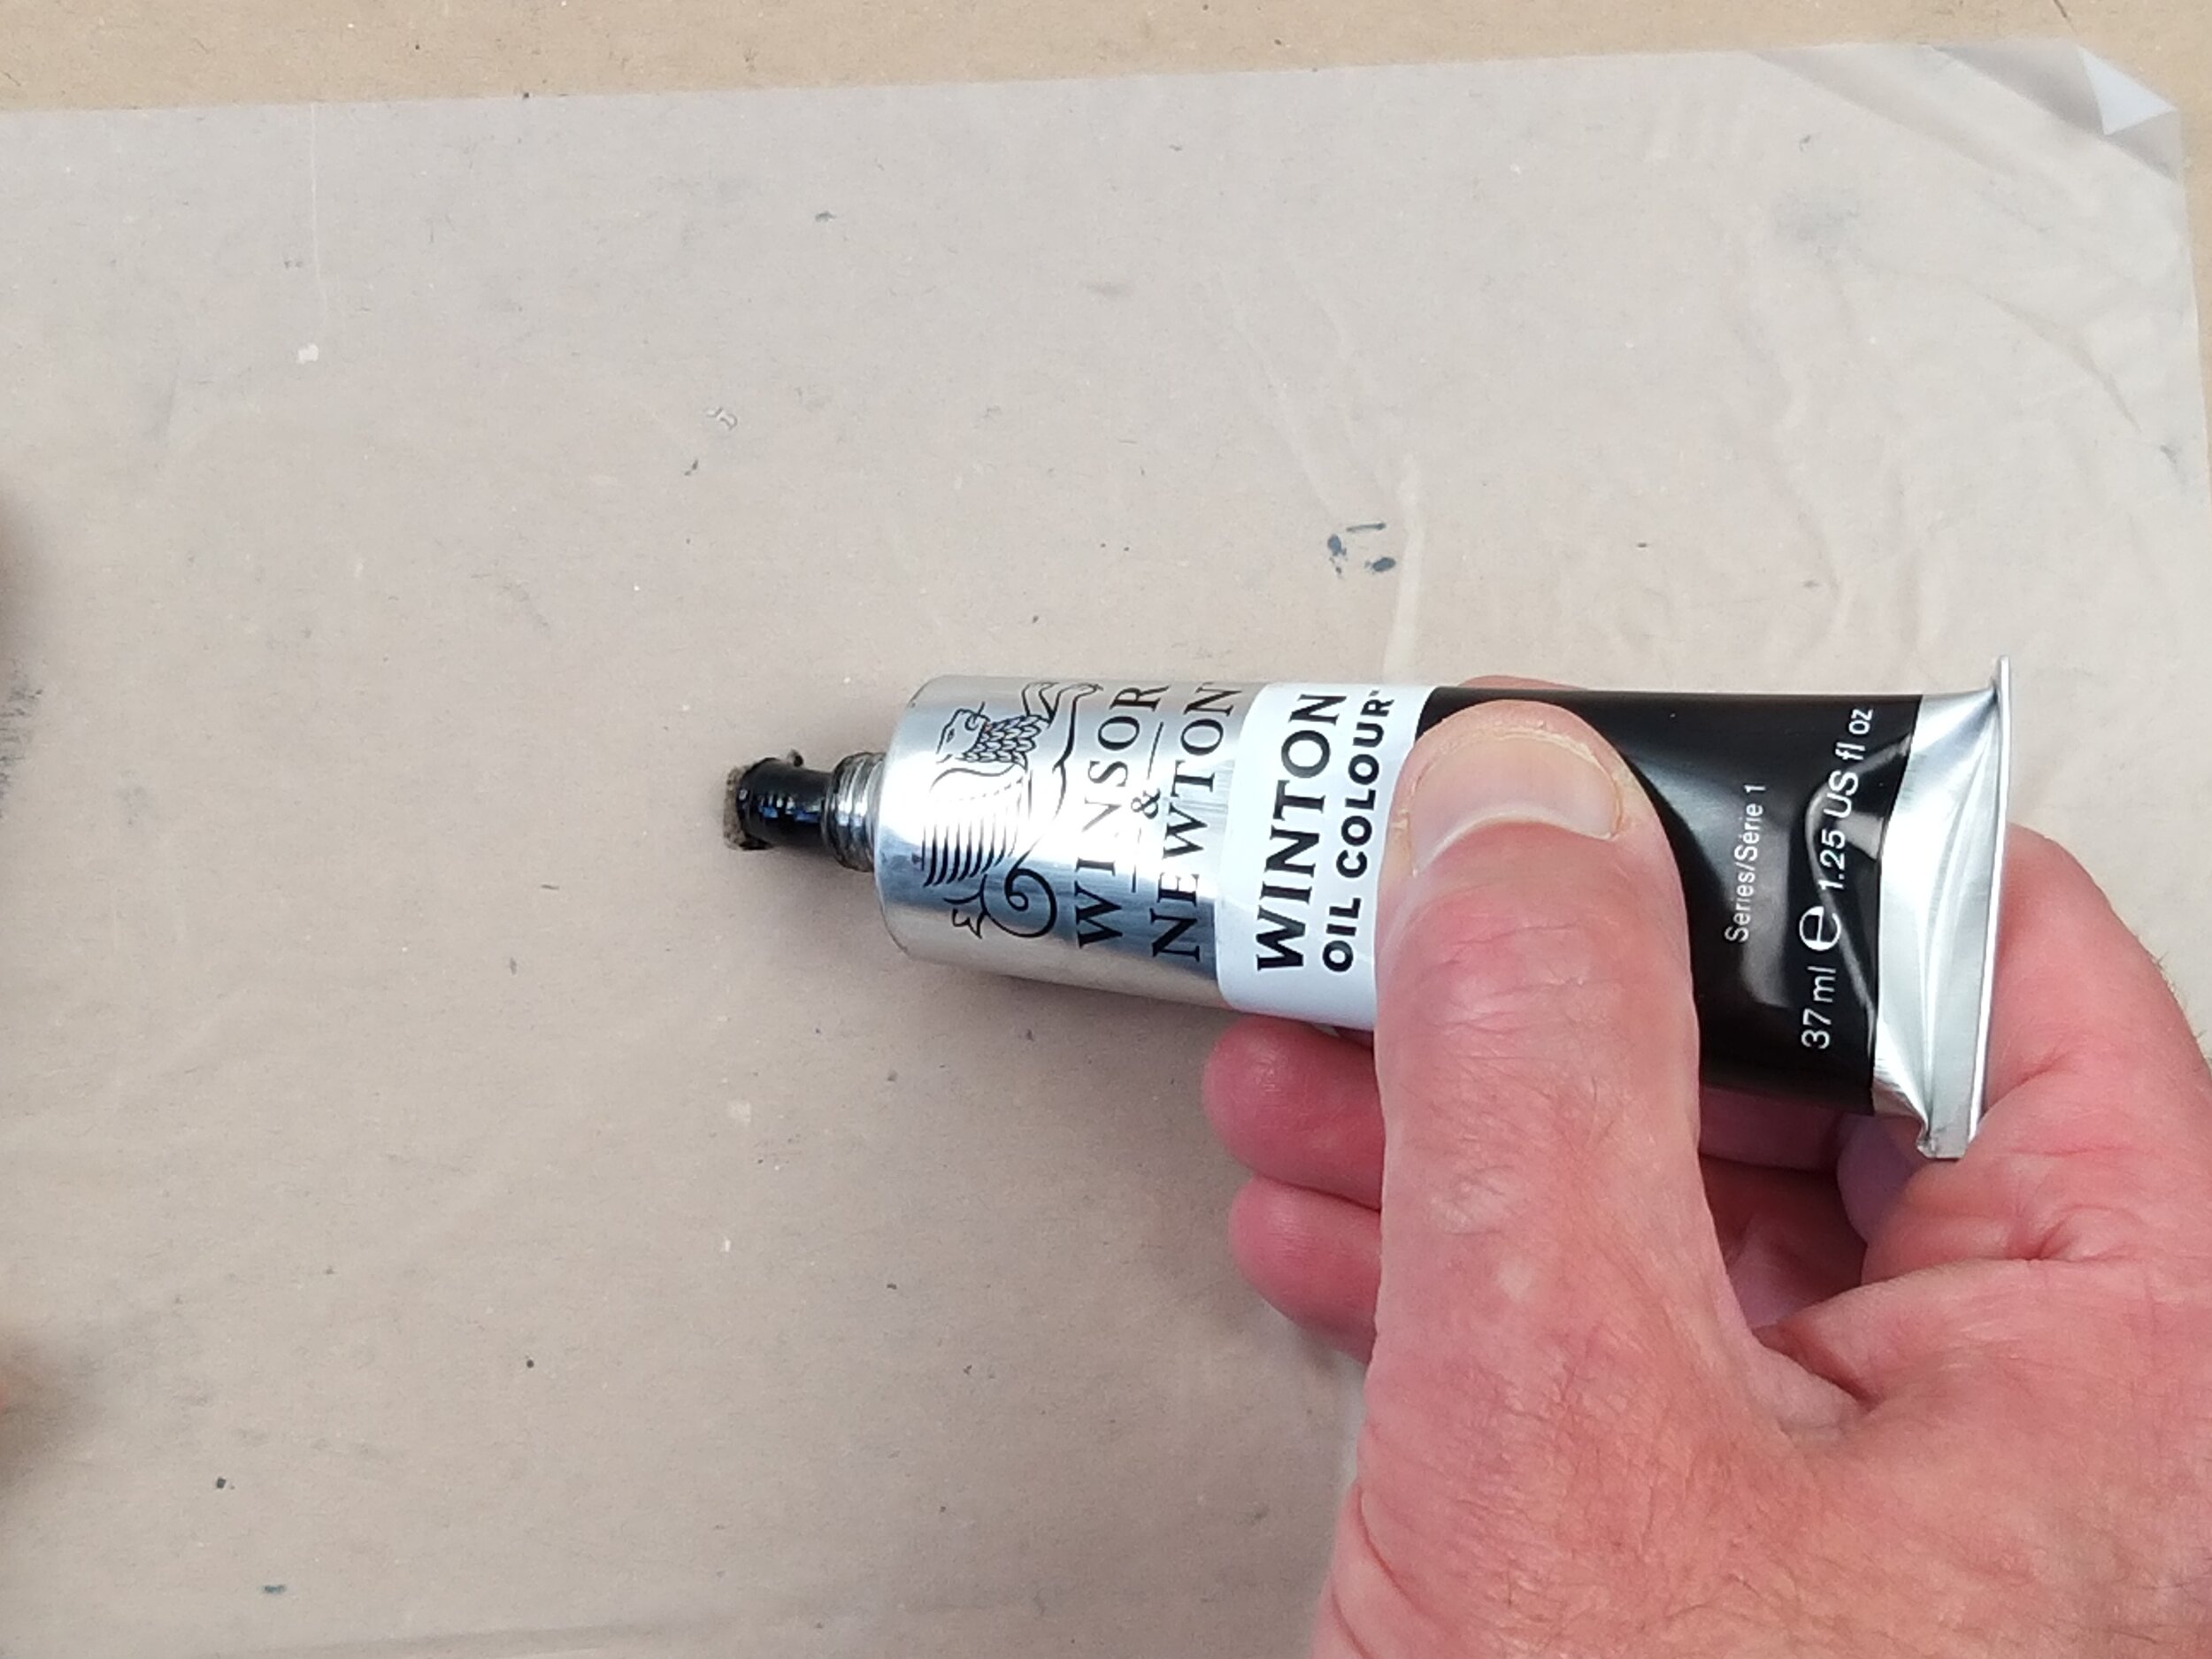
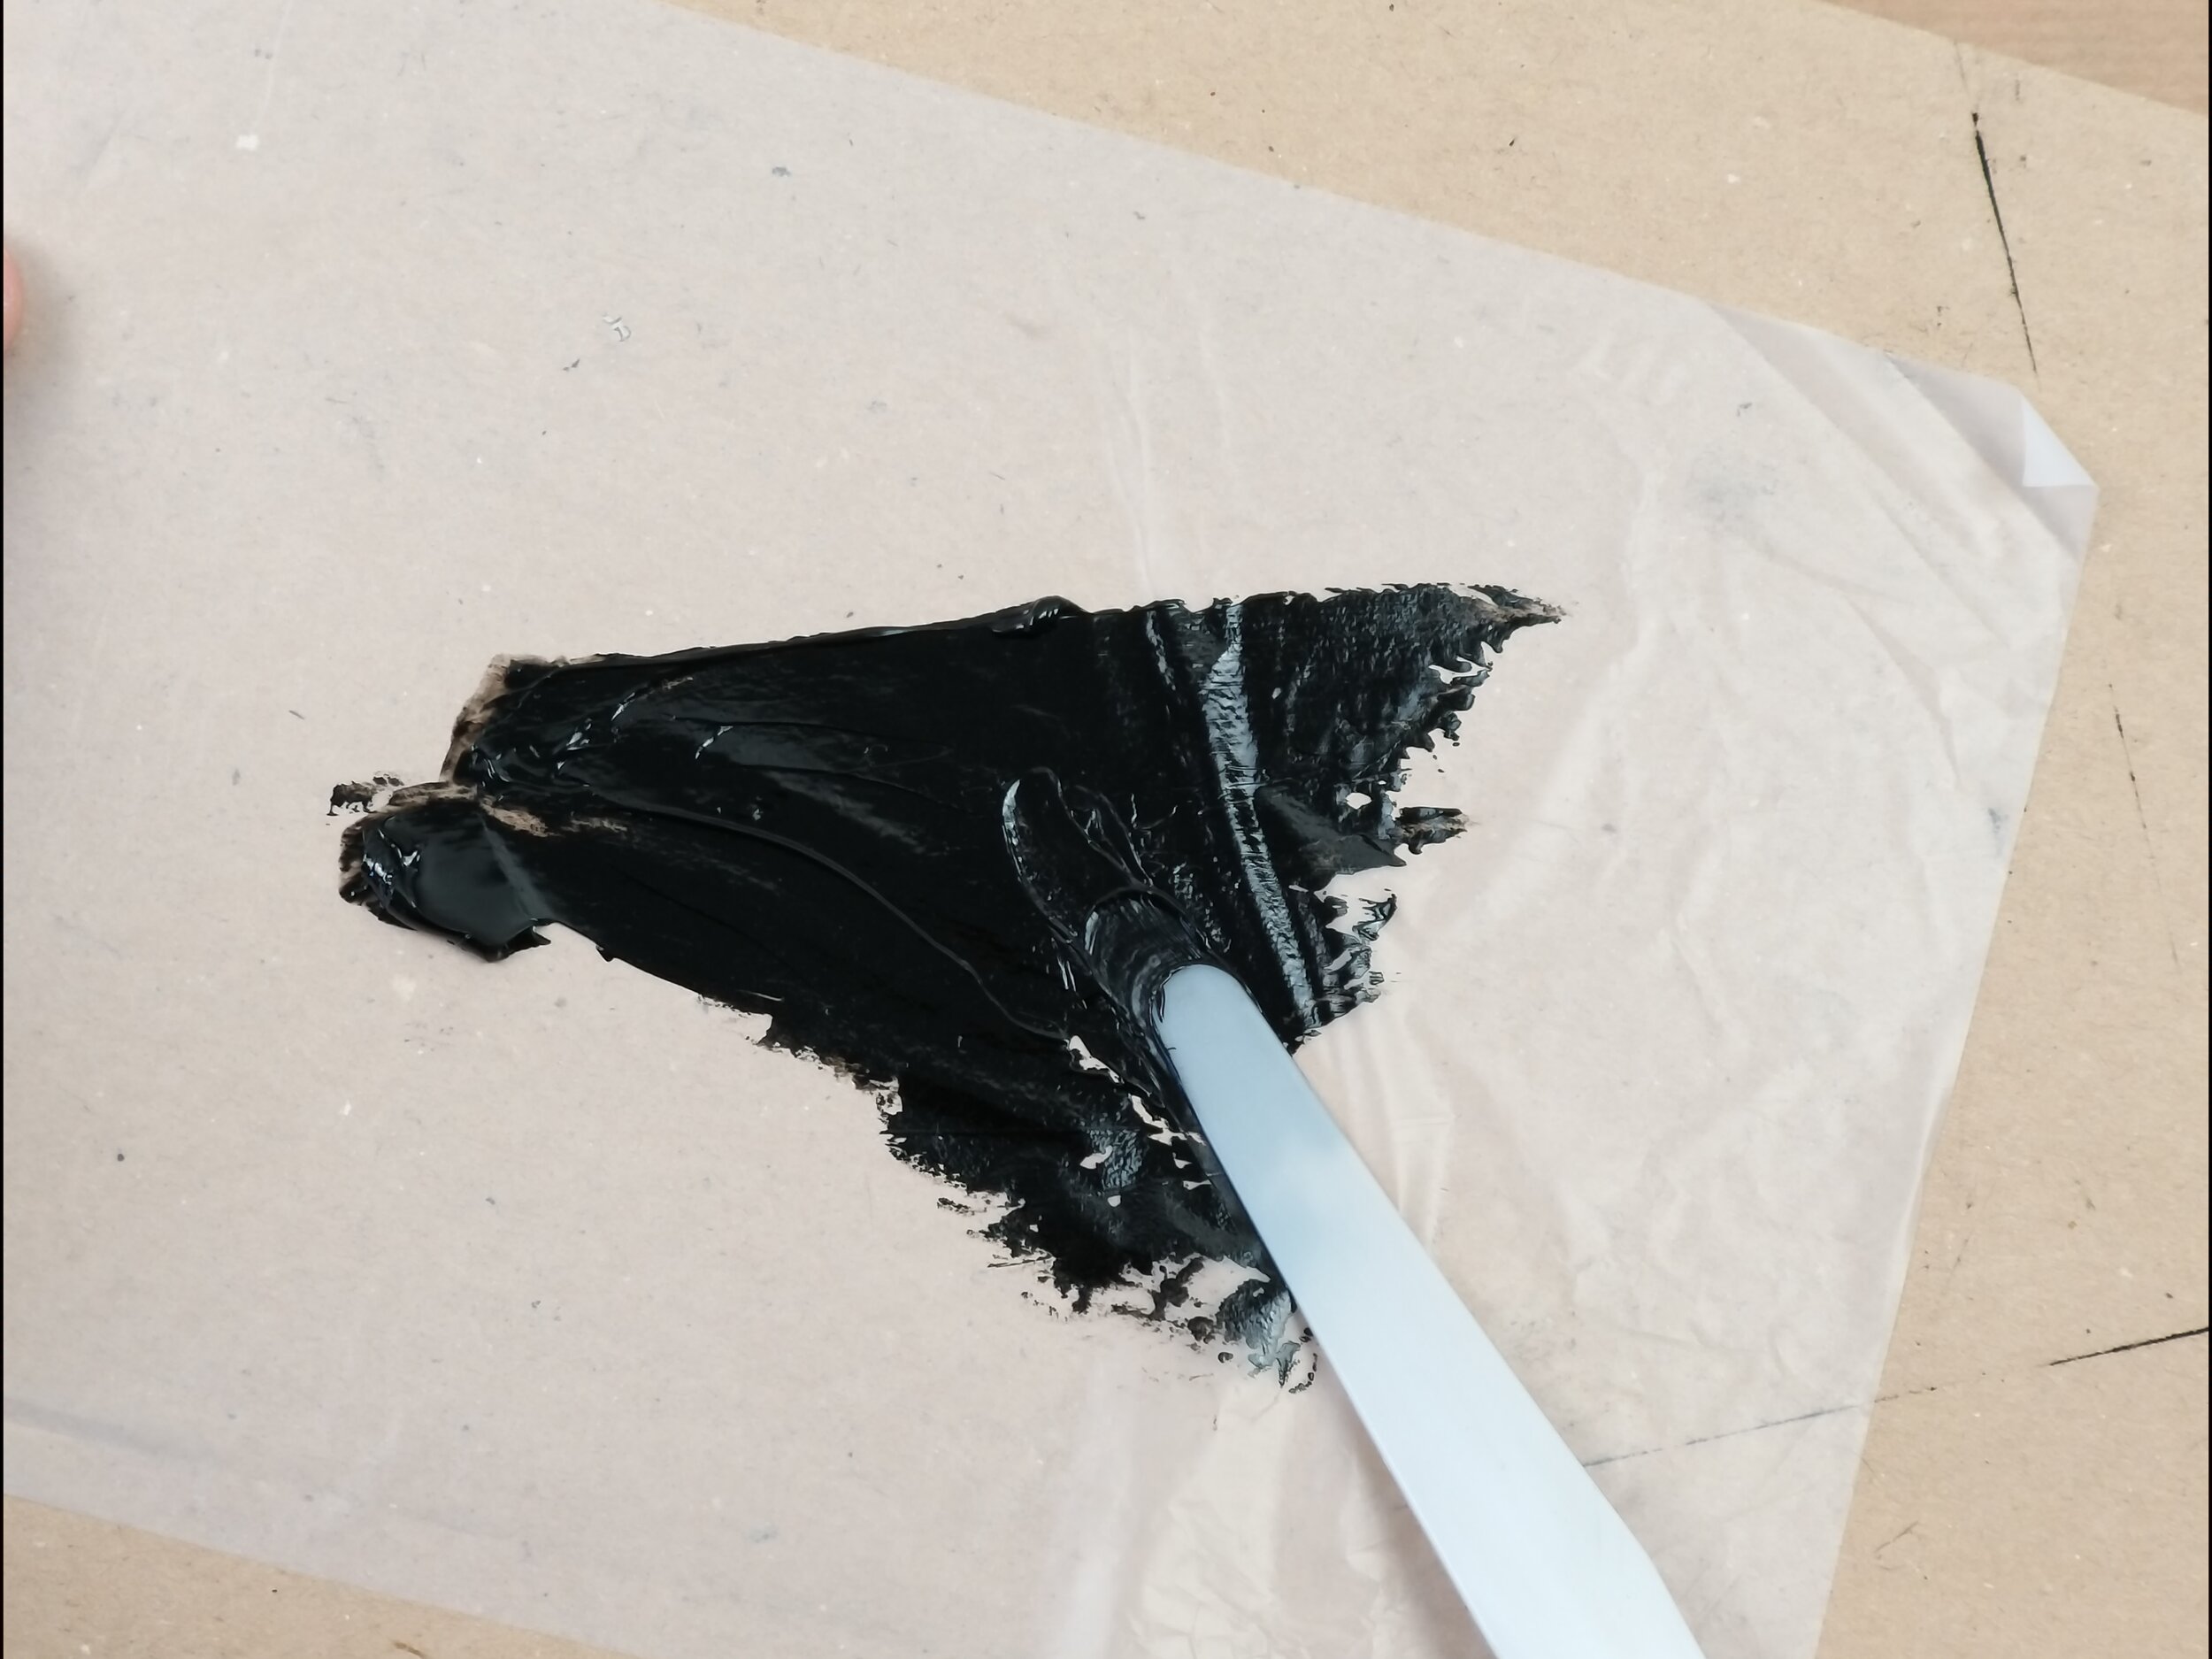
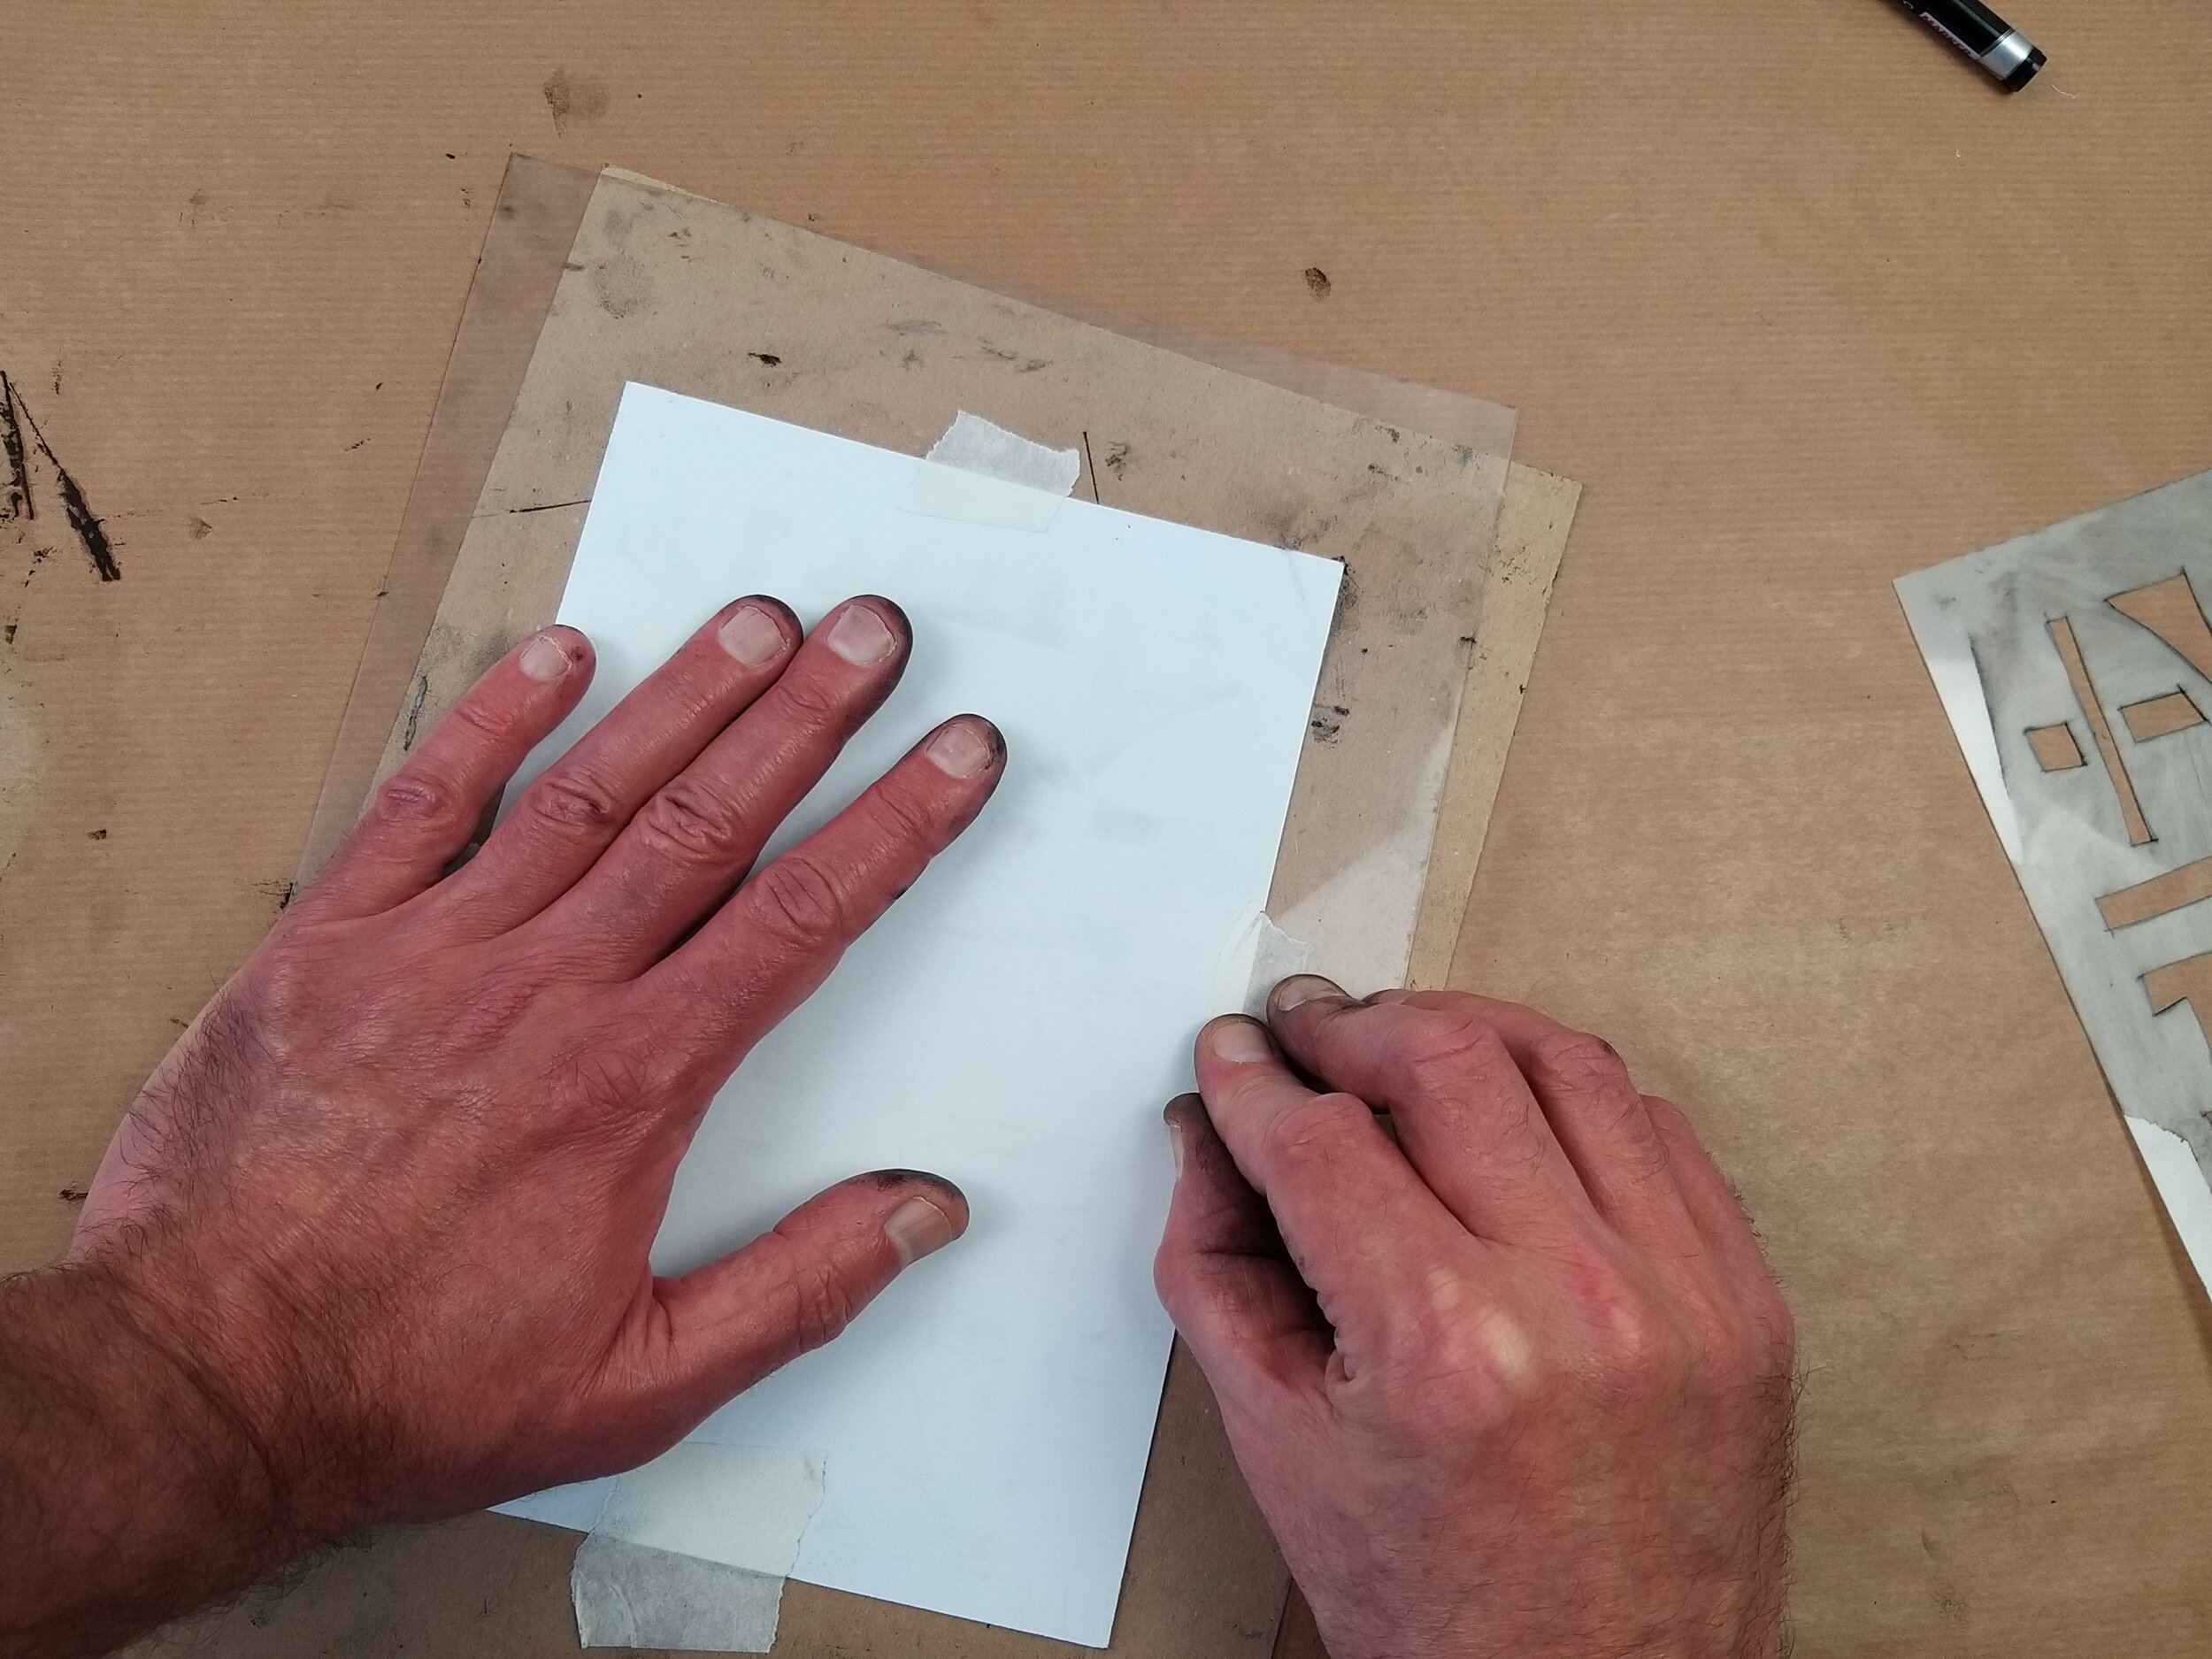
If this is the first time you have used the Mylar stencil sheets that are included with the kit, I would advise you to take your time, use a sharp craft knife (not included) and if possible use a cutting mat. Always hold the stencil firmly before cutting, you can even tape the stencil down with masking tape. The cutting of stencils will get easier the more you practice and its a really valuable skill to learn, no need to invest in those expensive and unoriginal designs available to buy, much better to make your own.
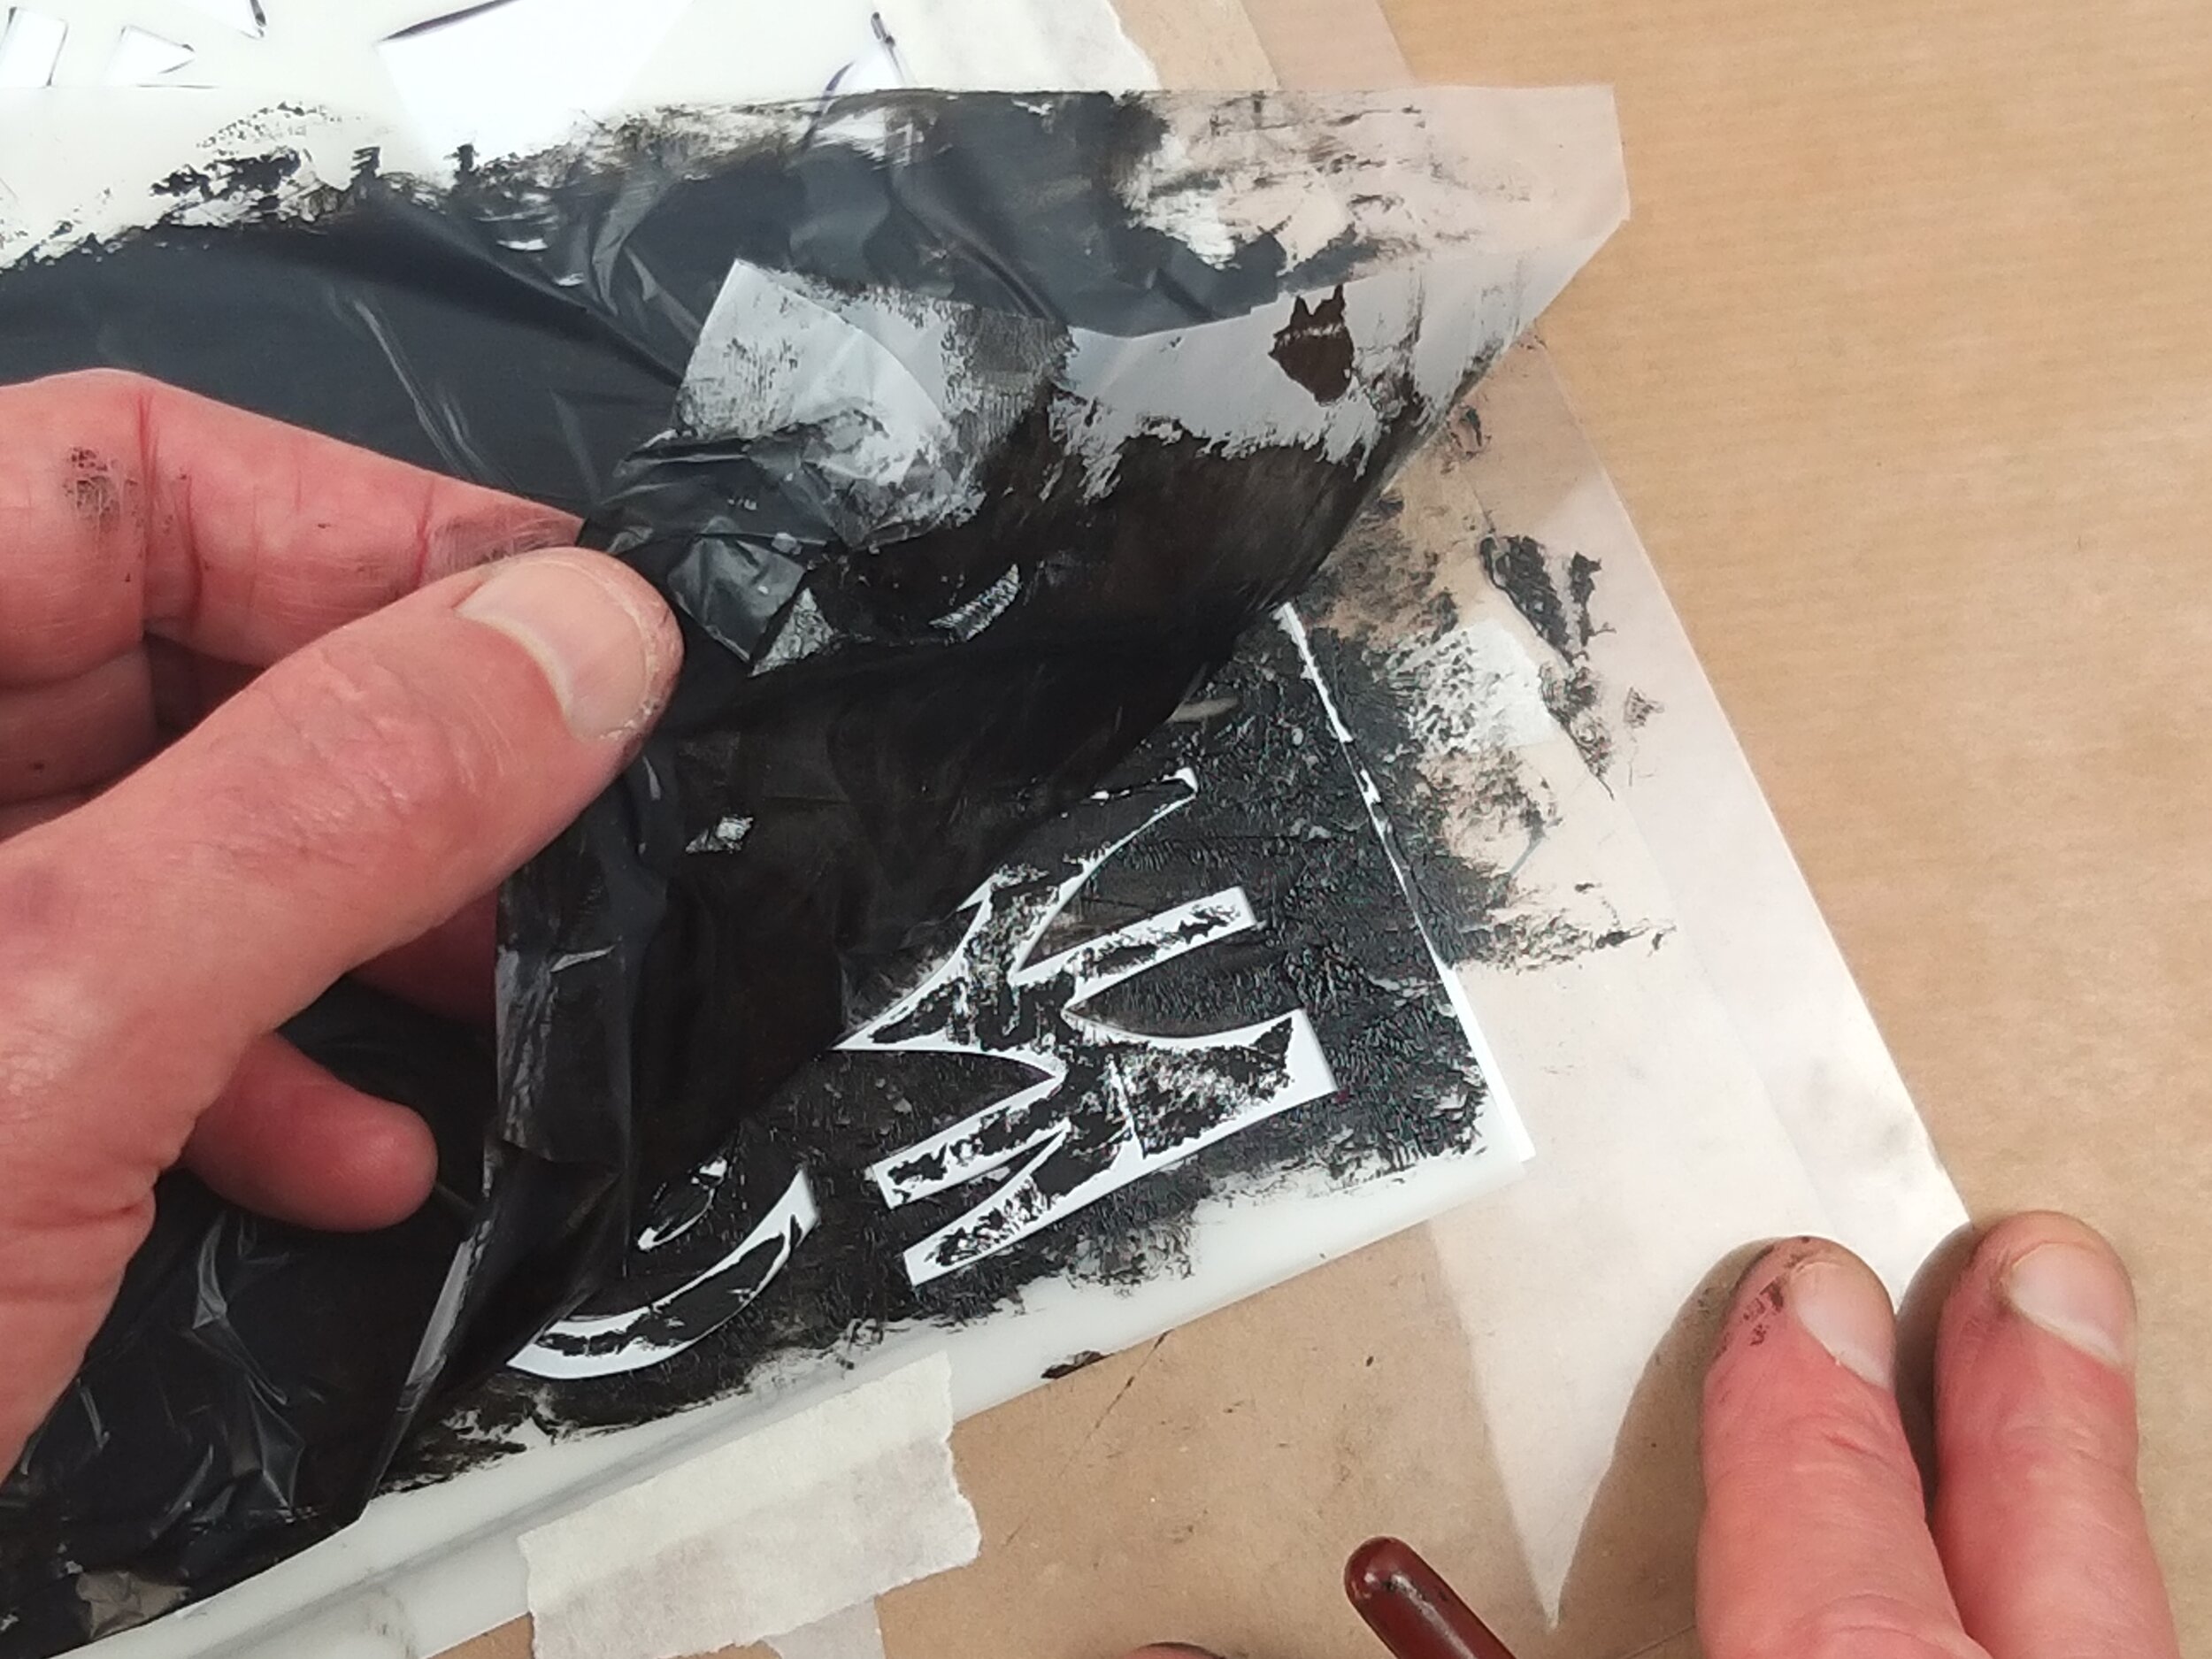
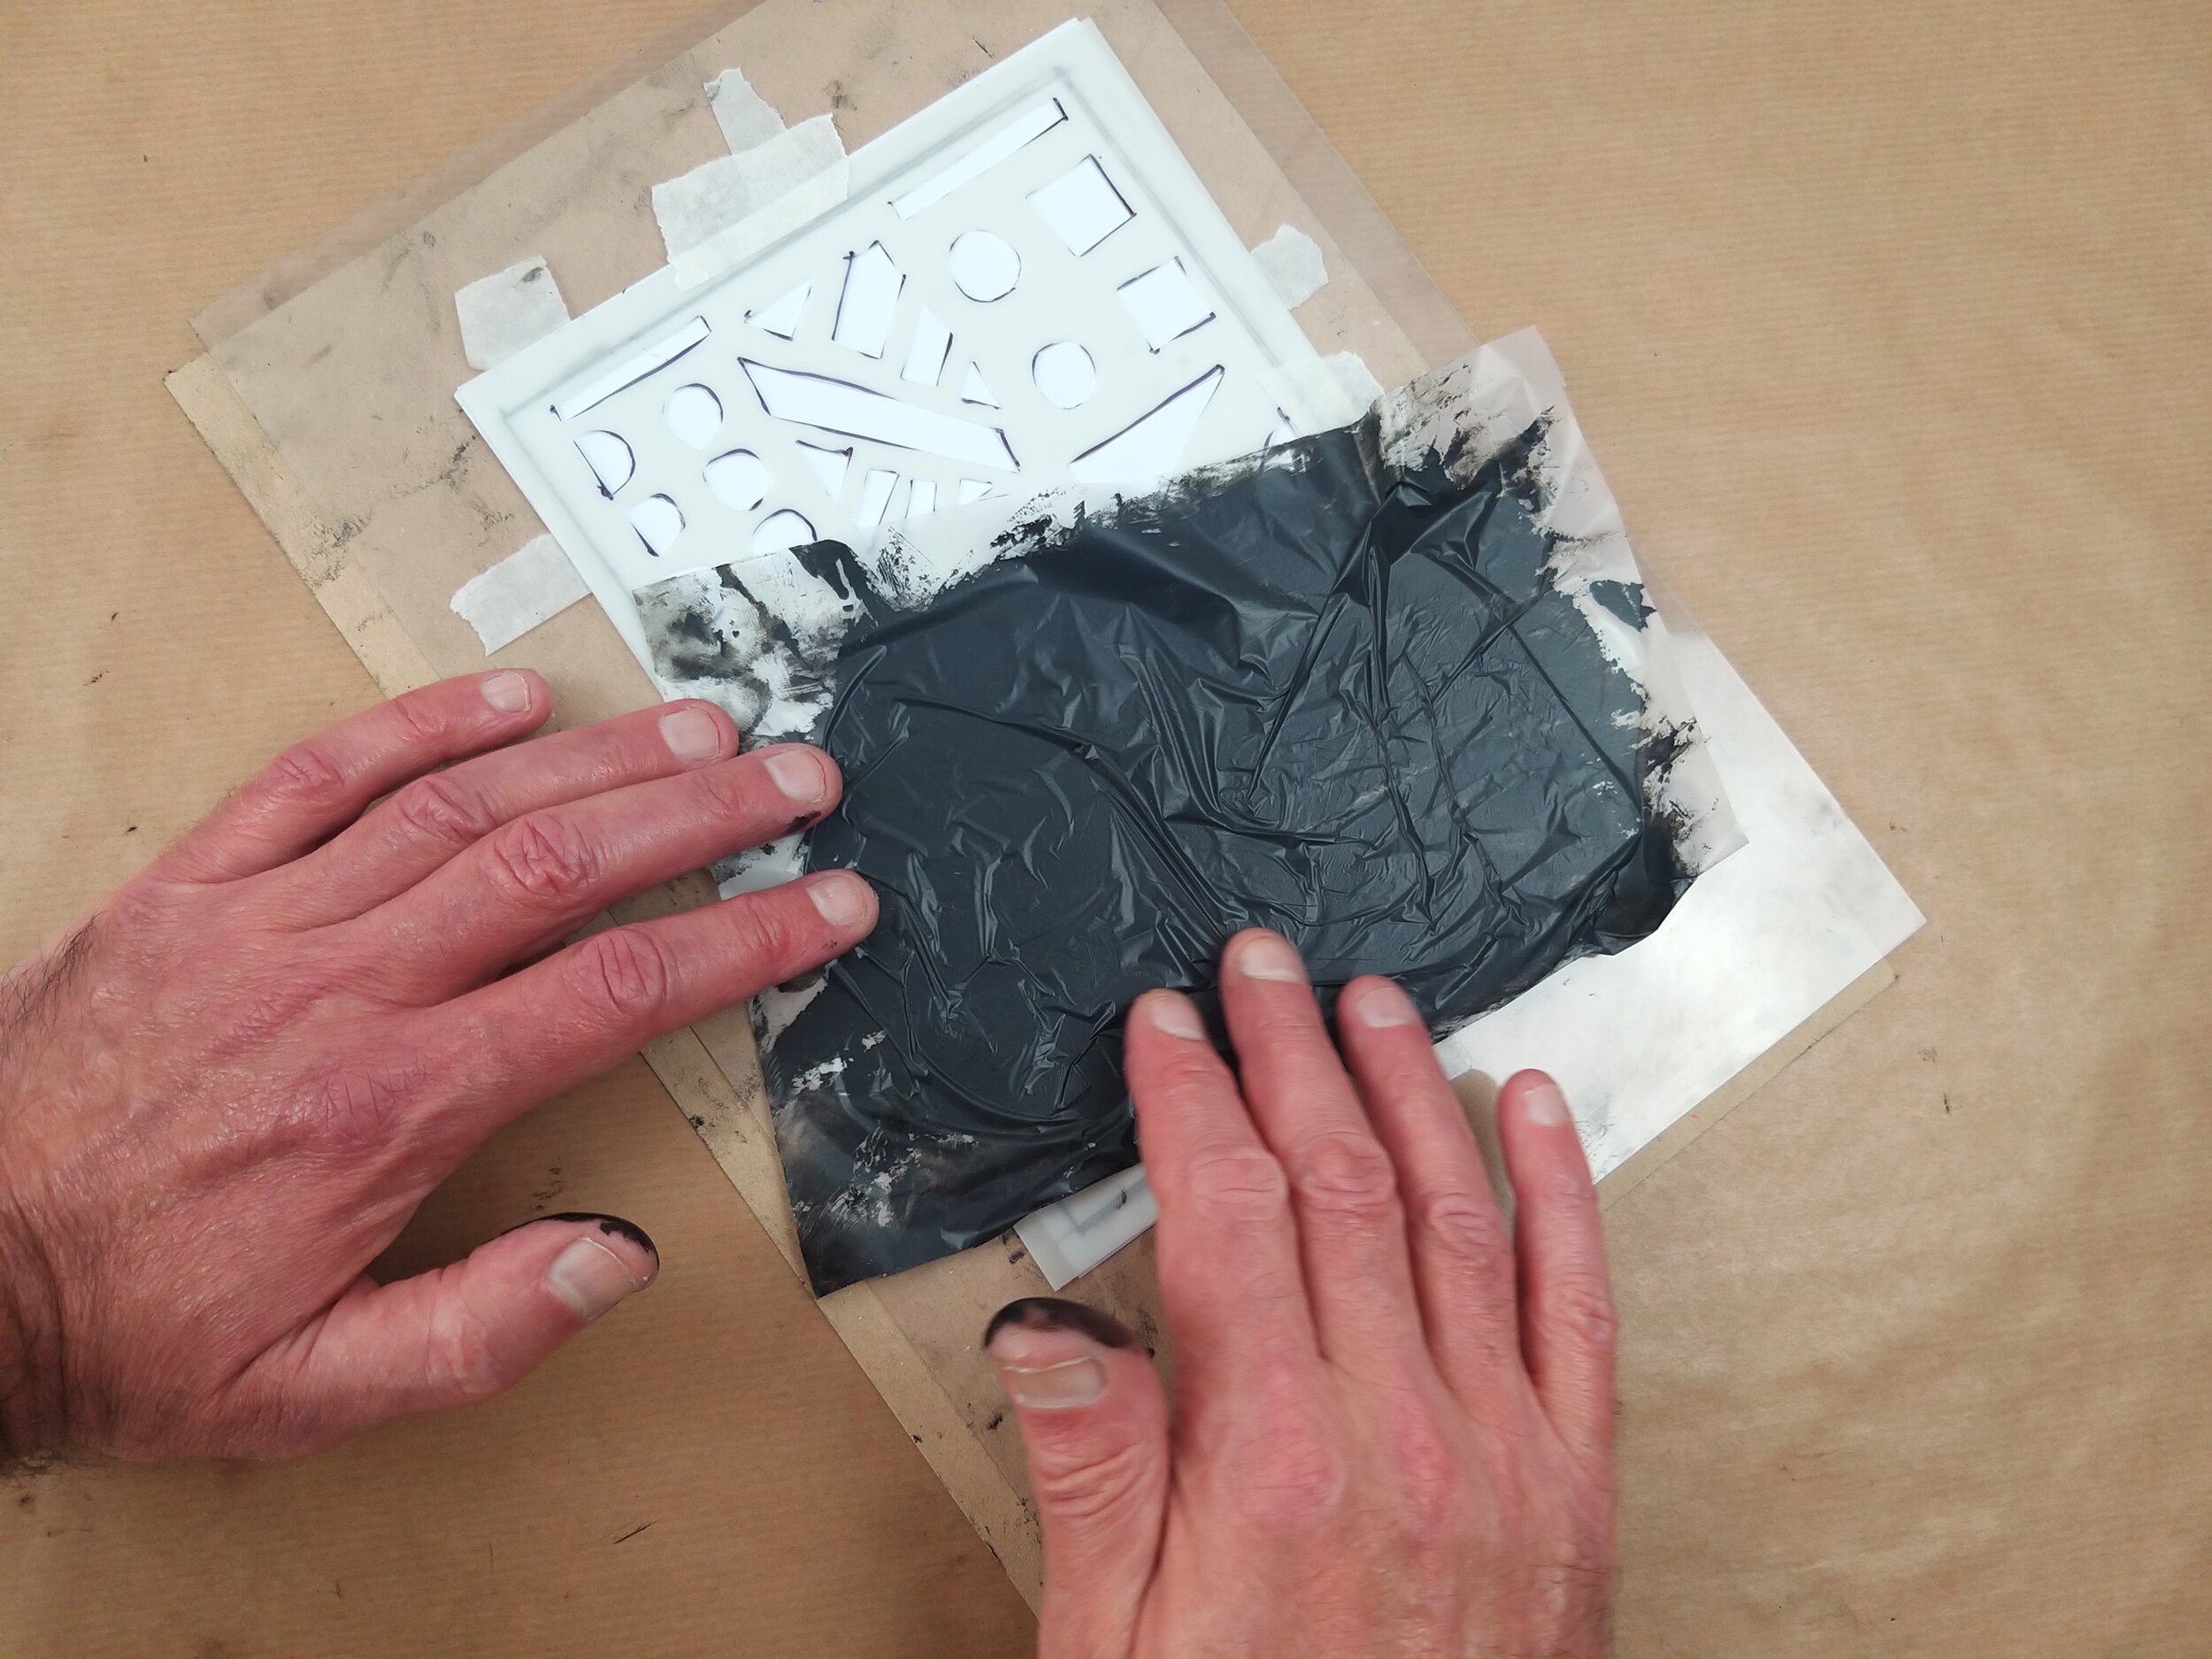
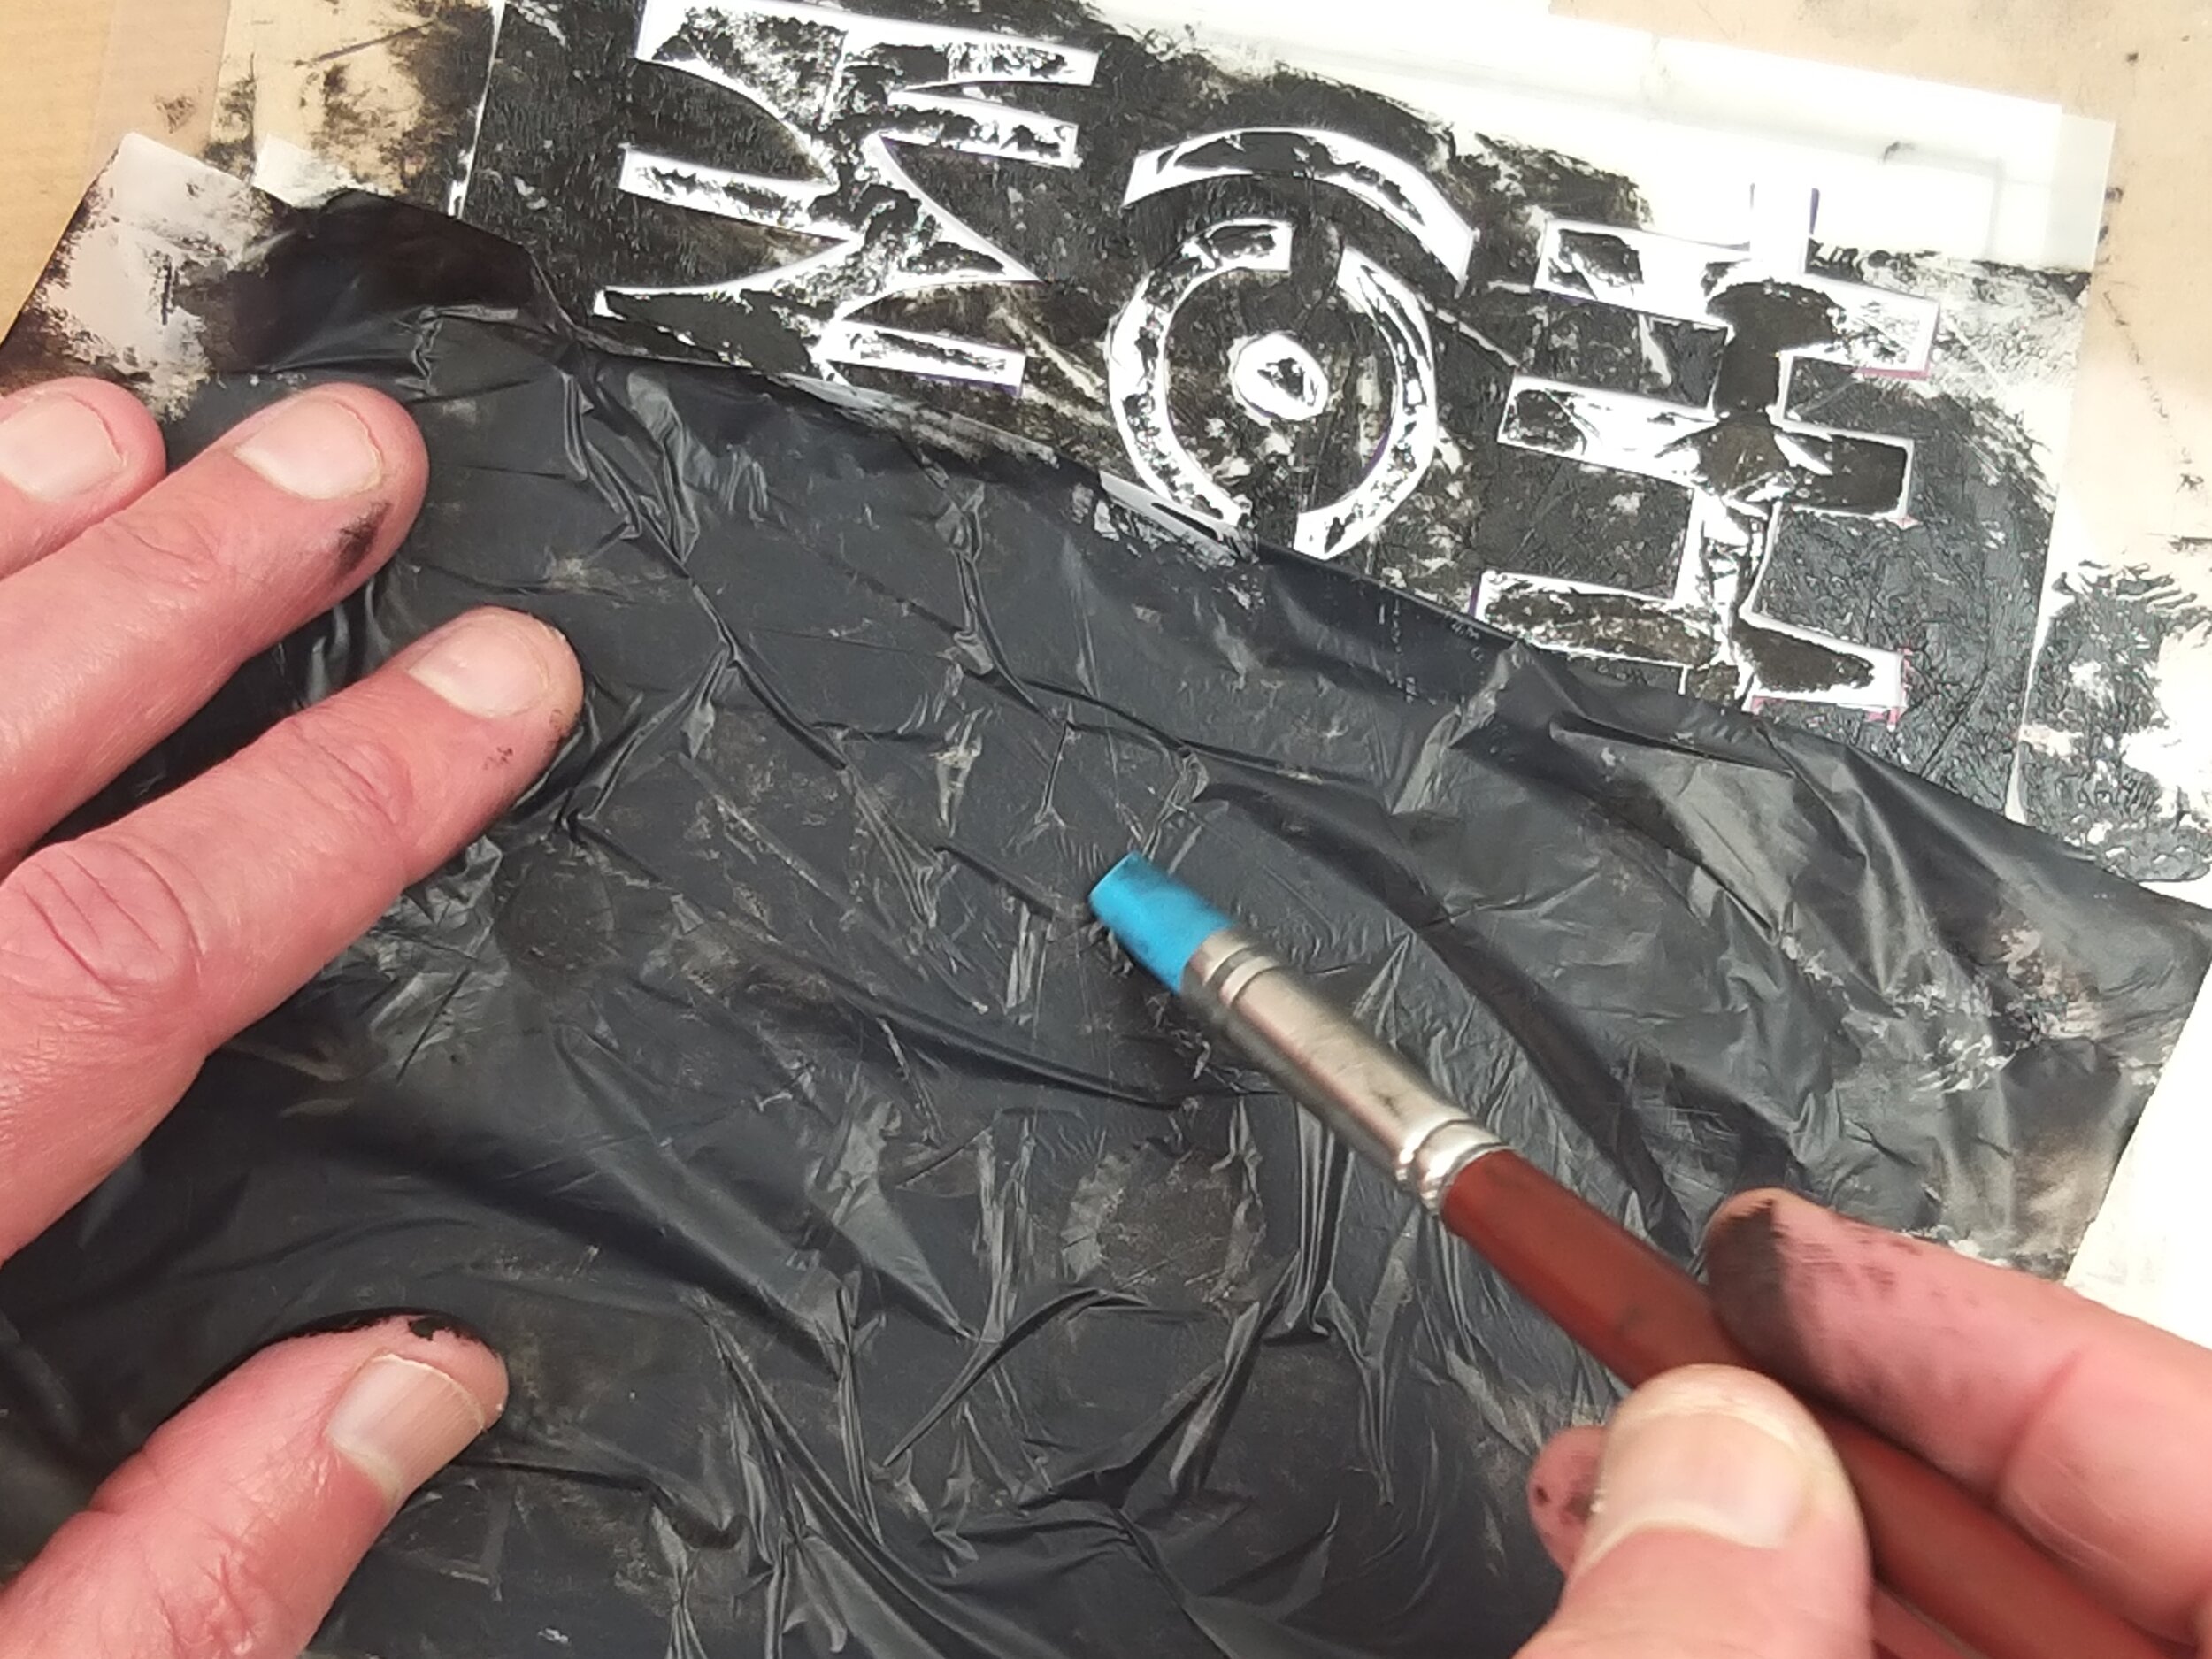
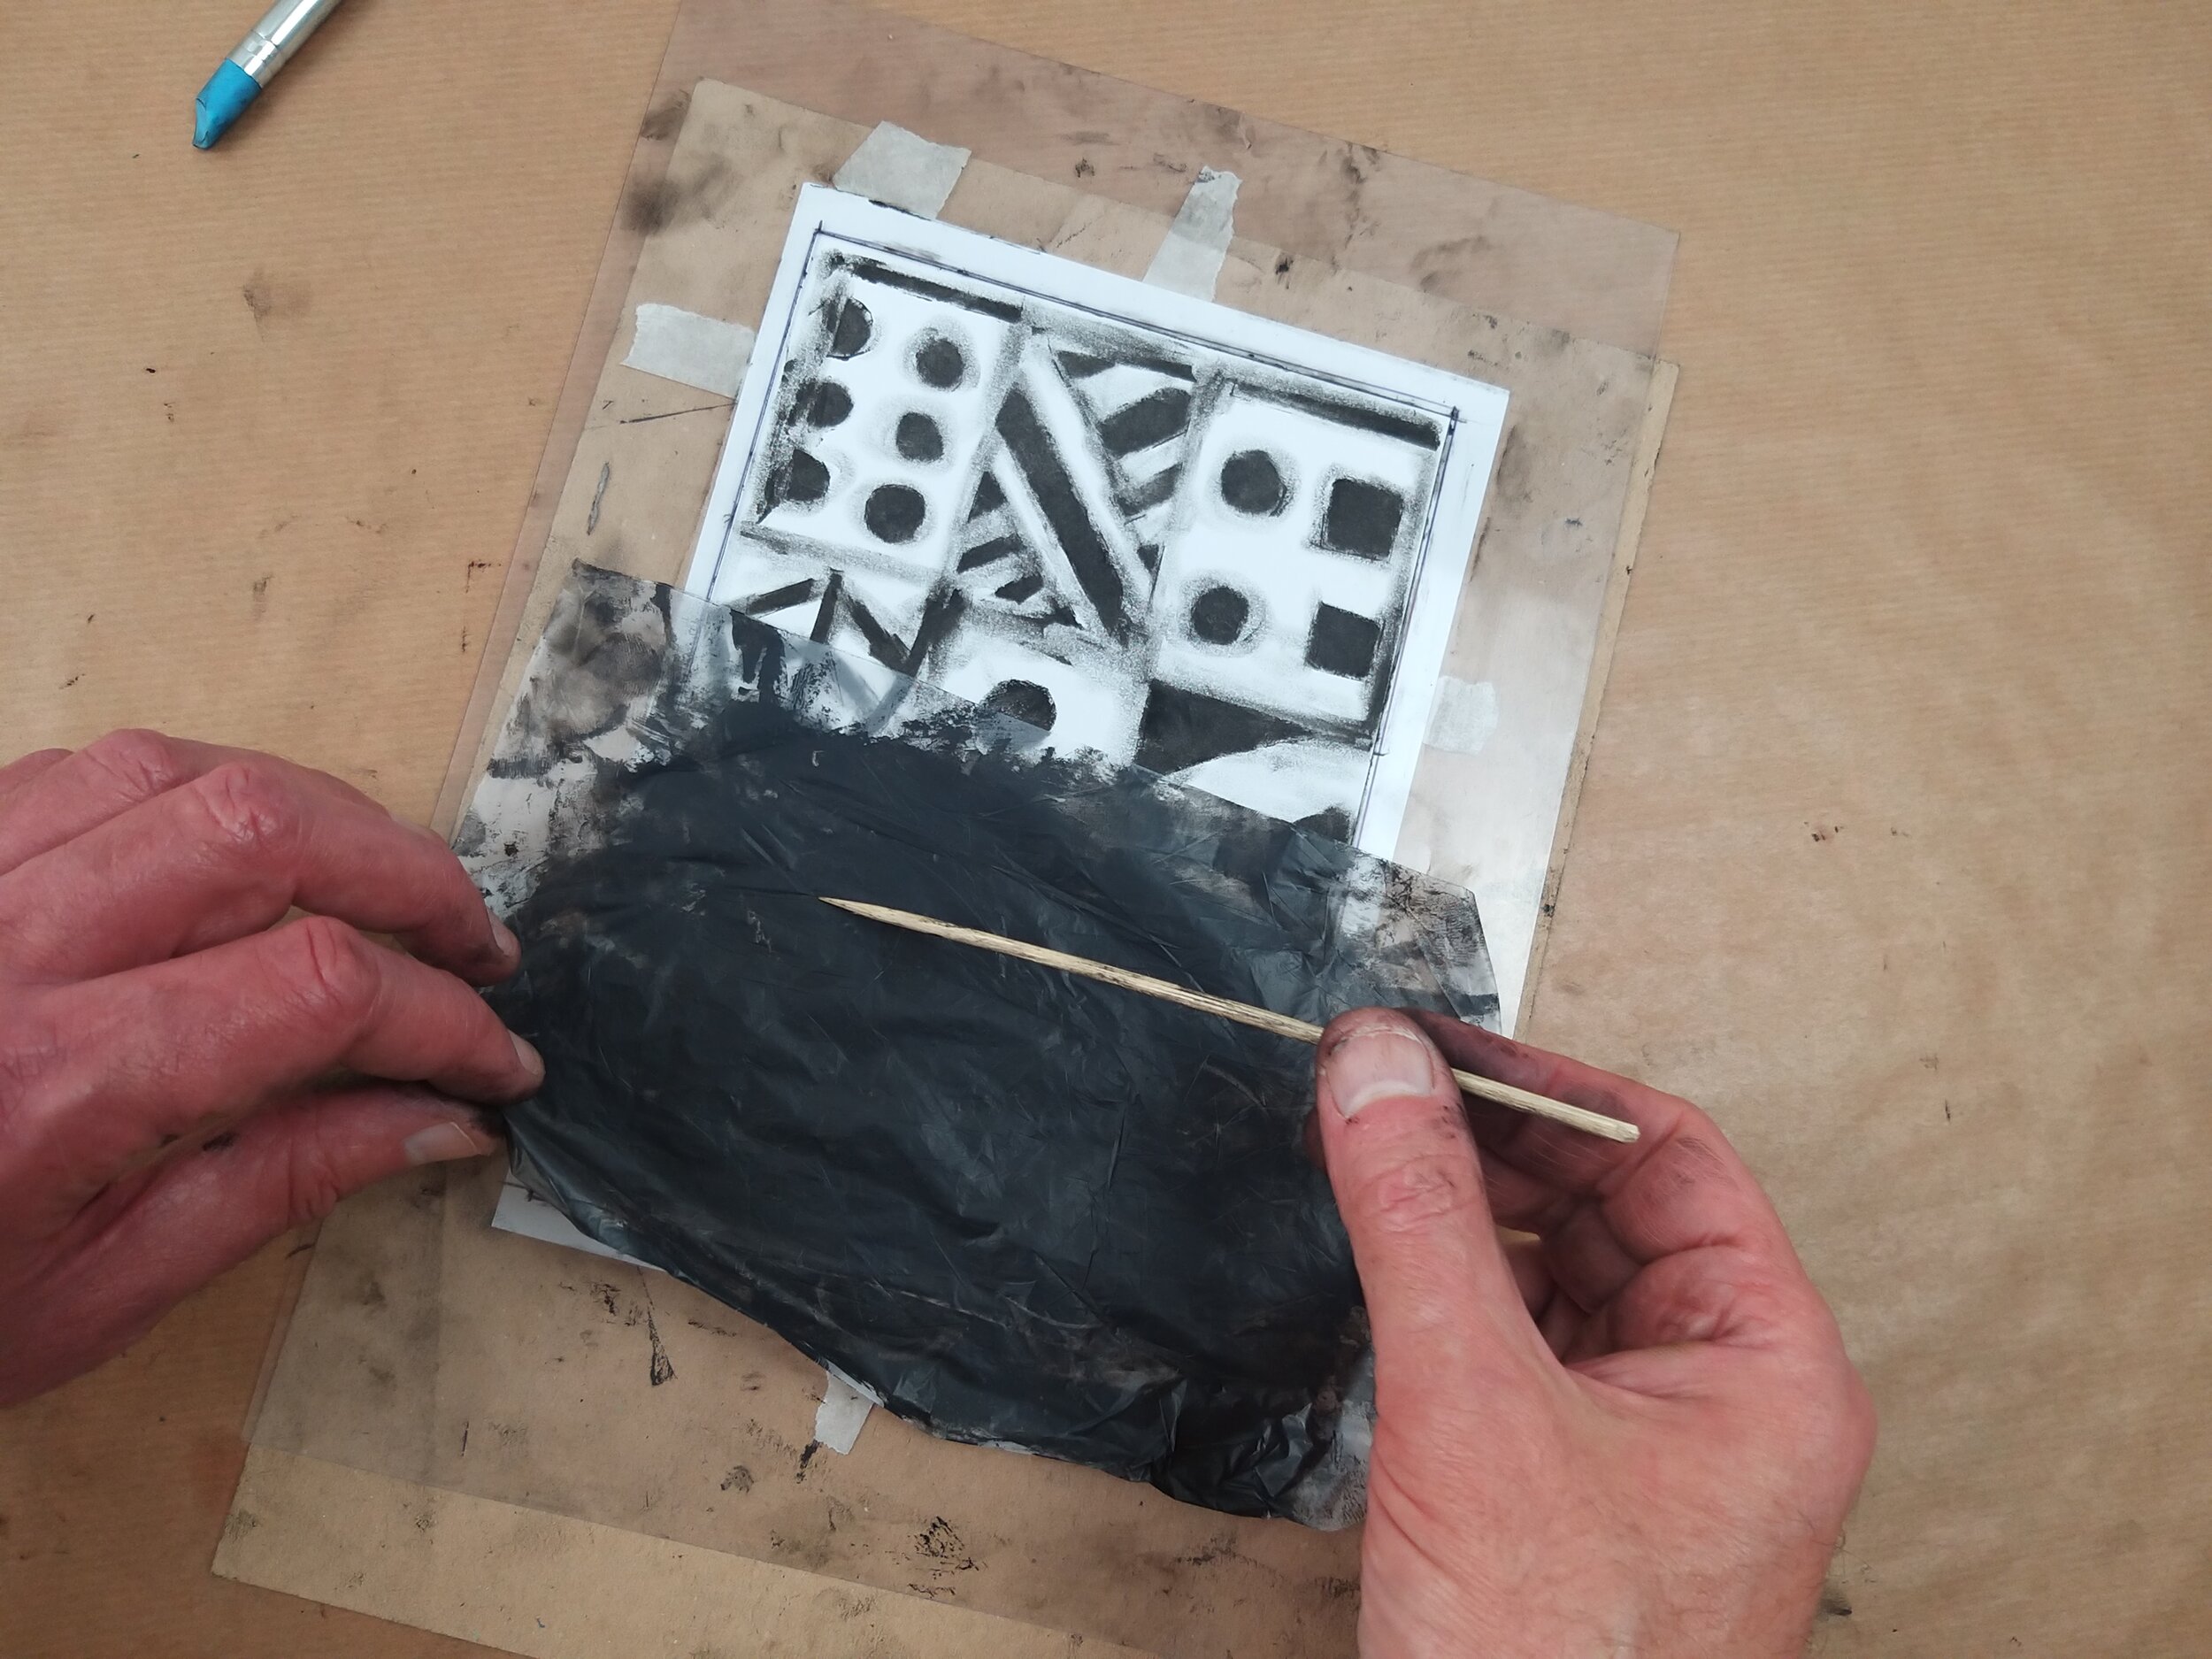
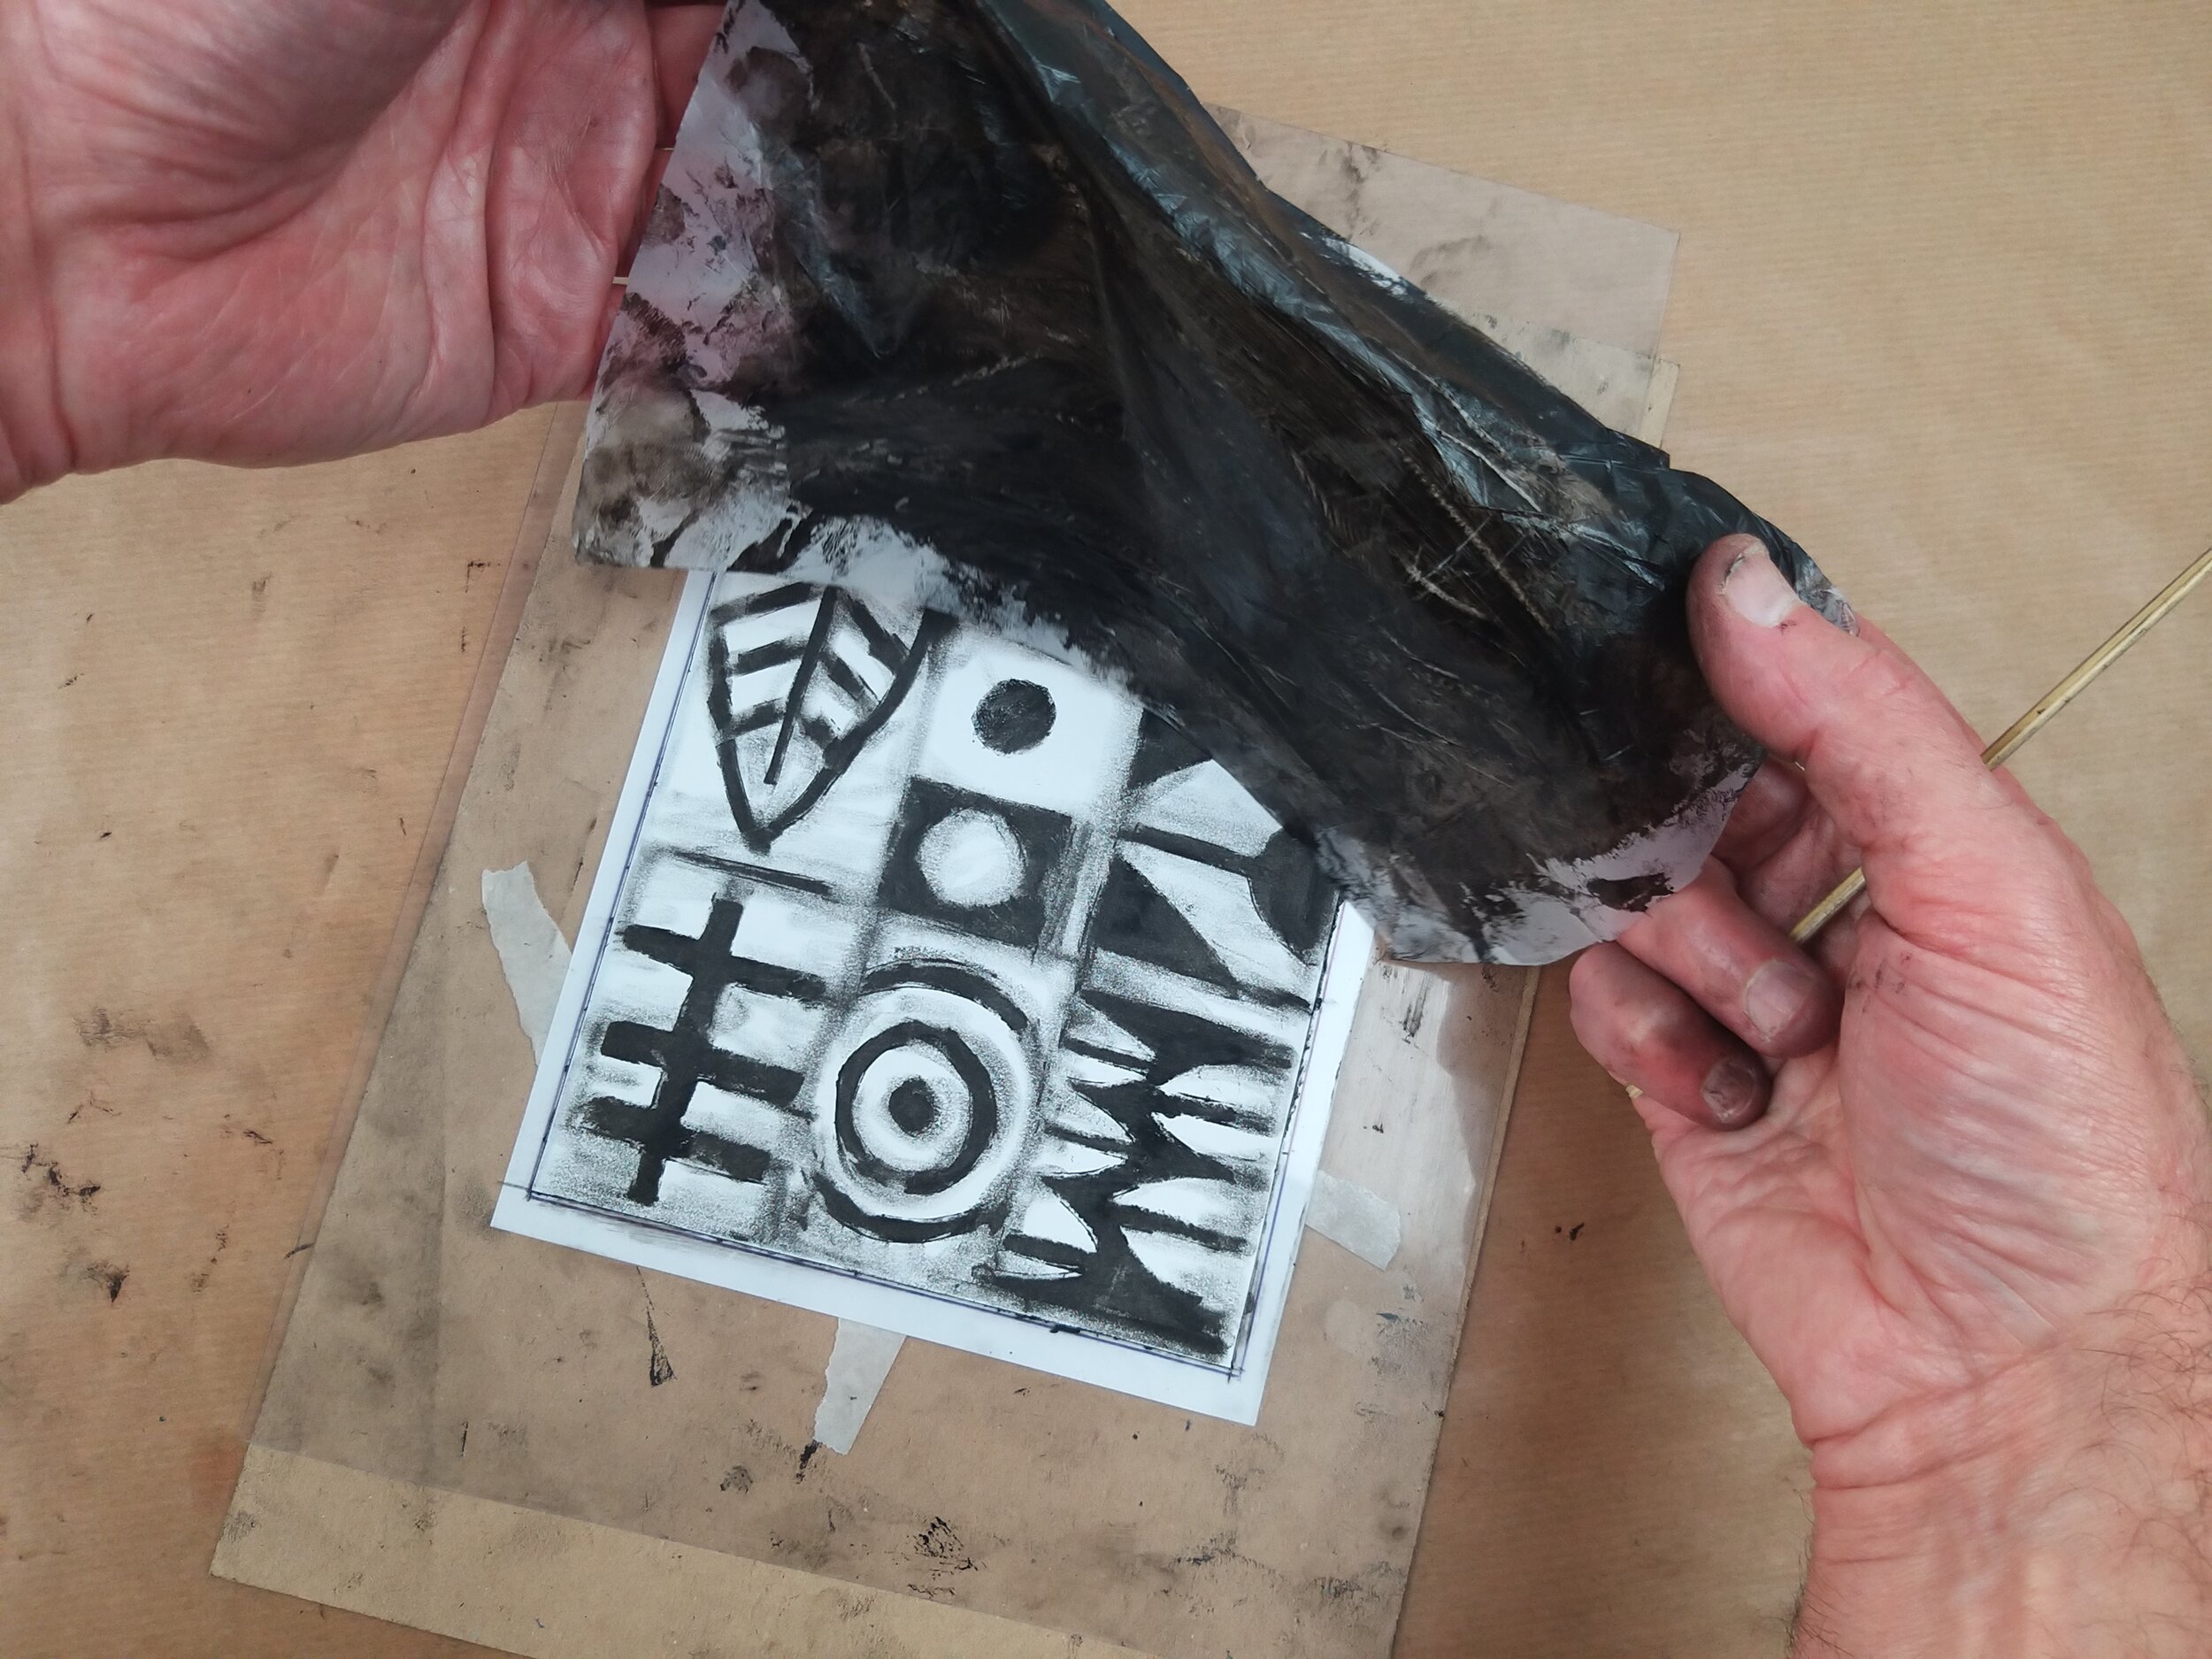
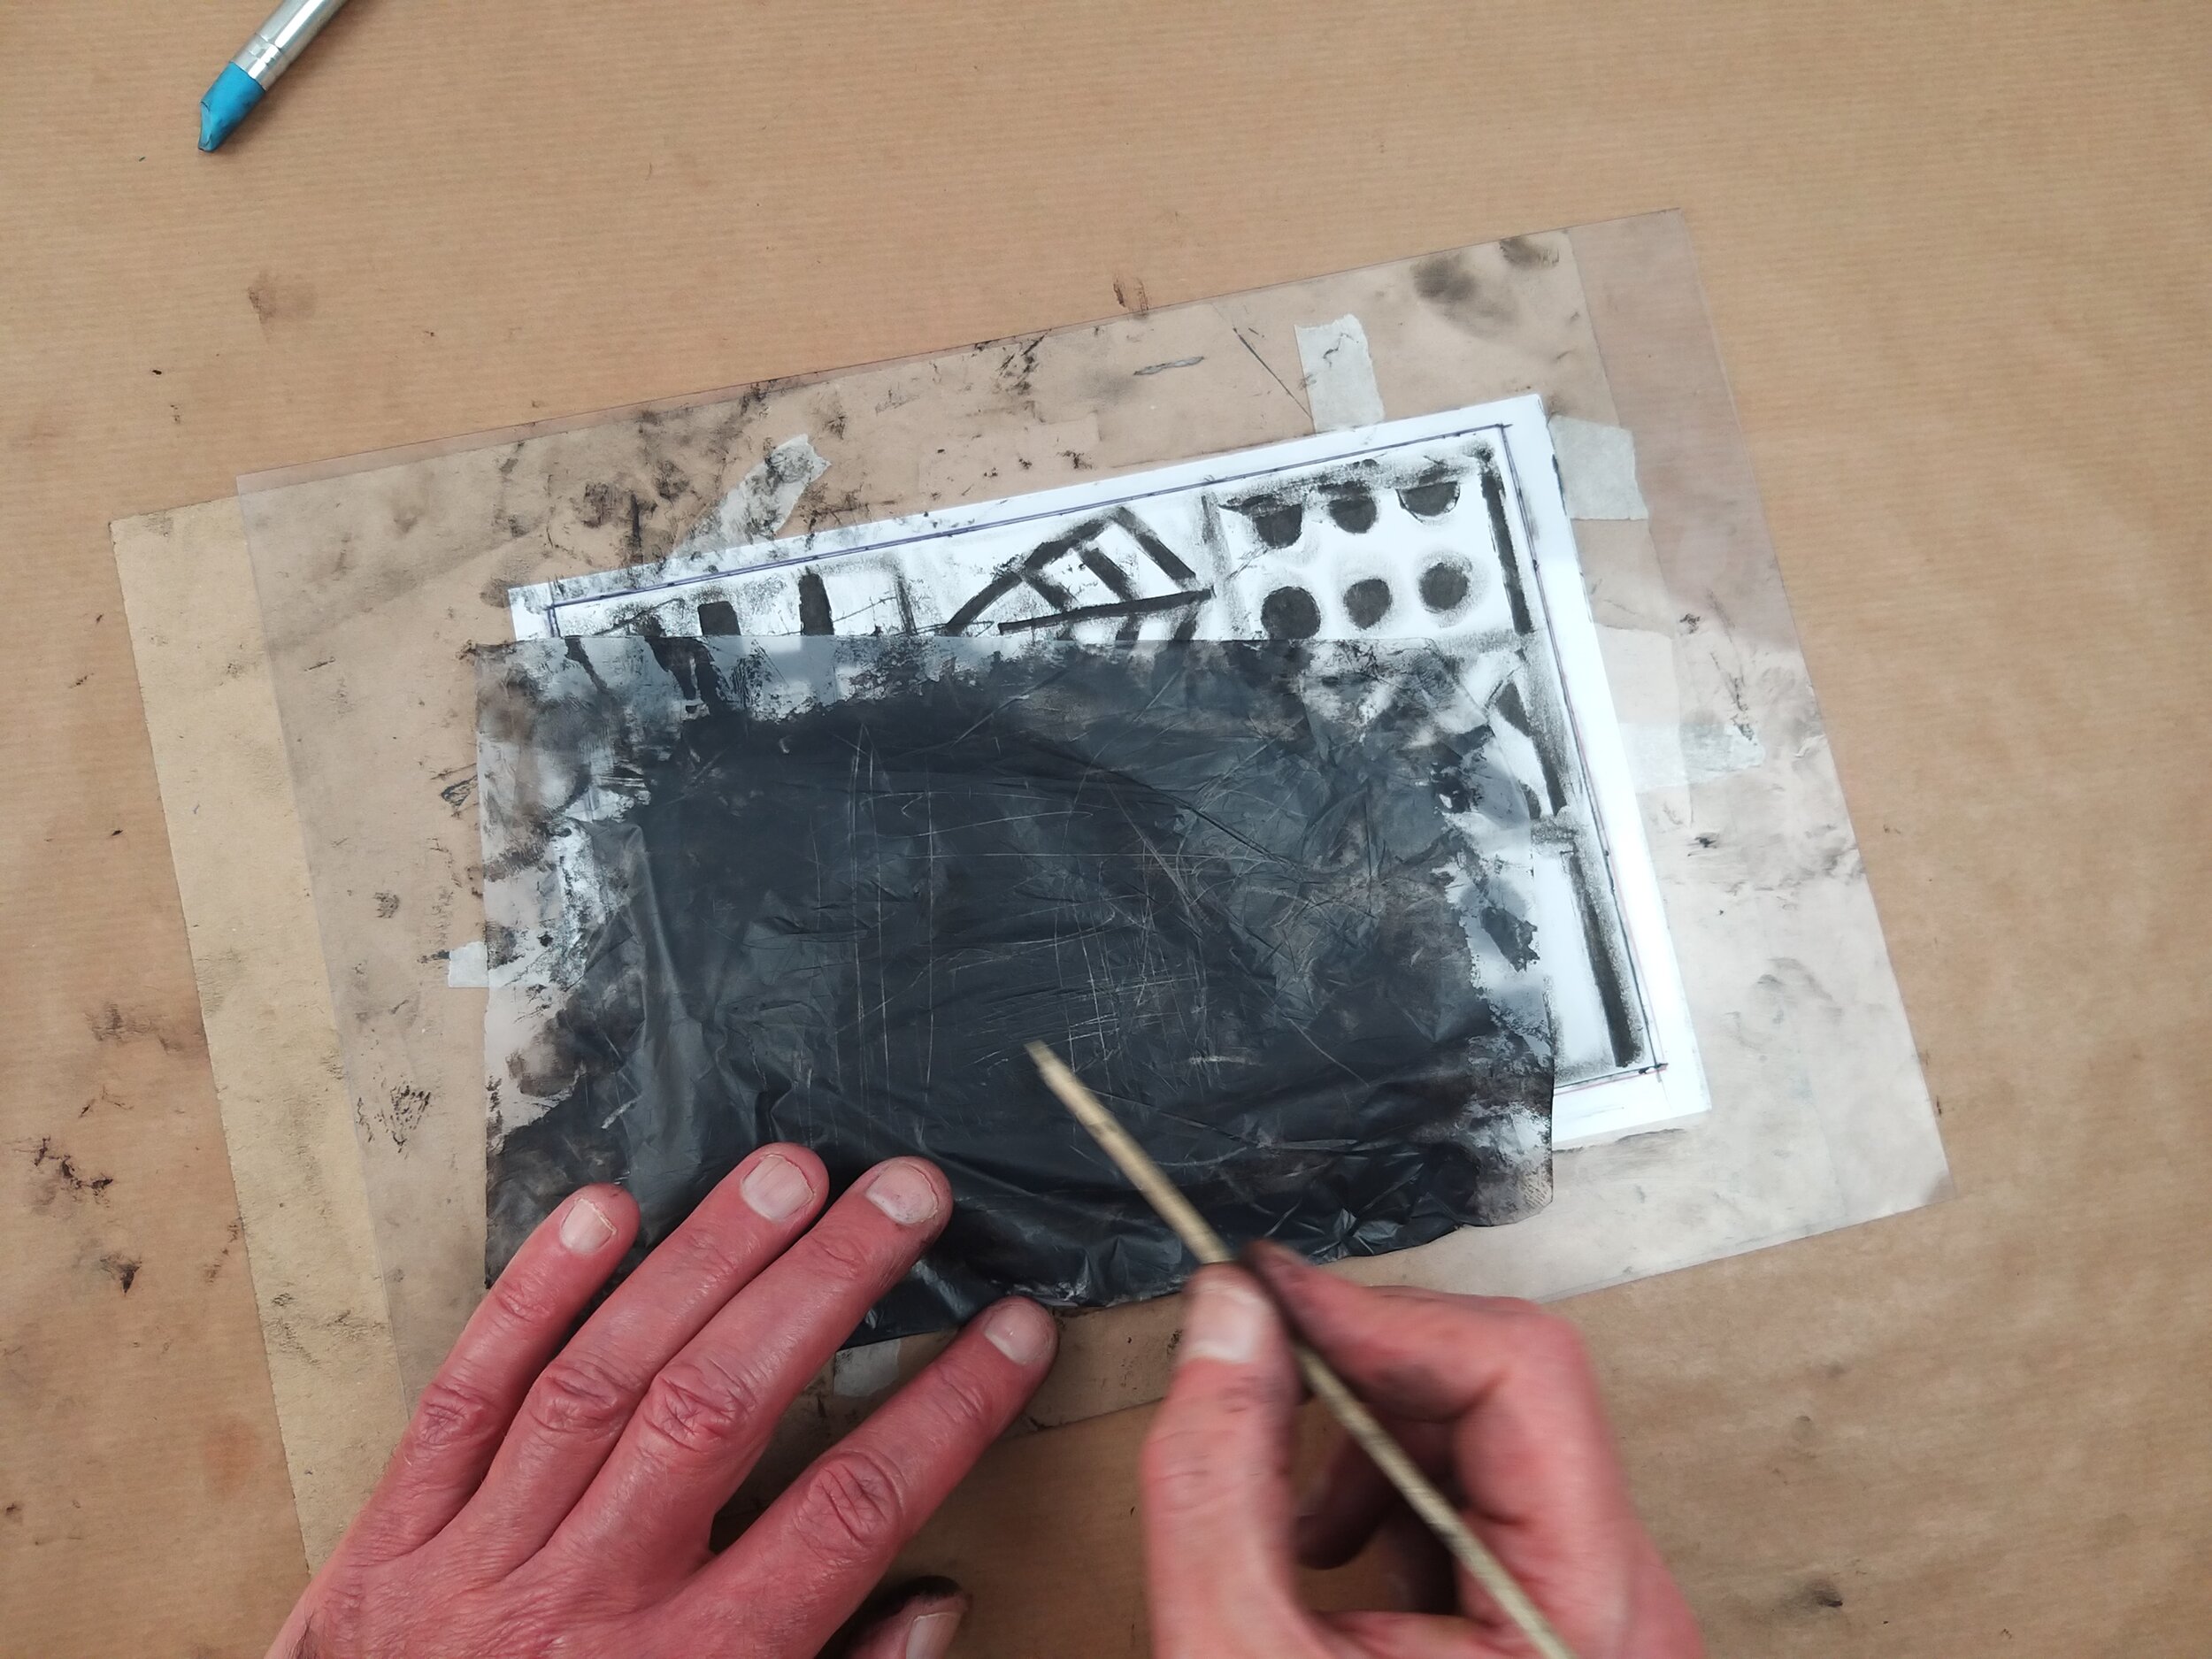
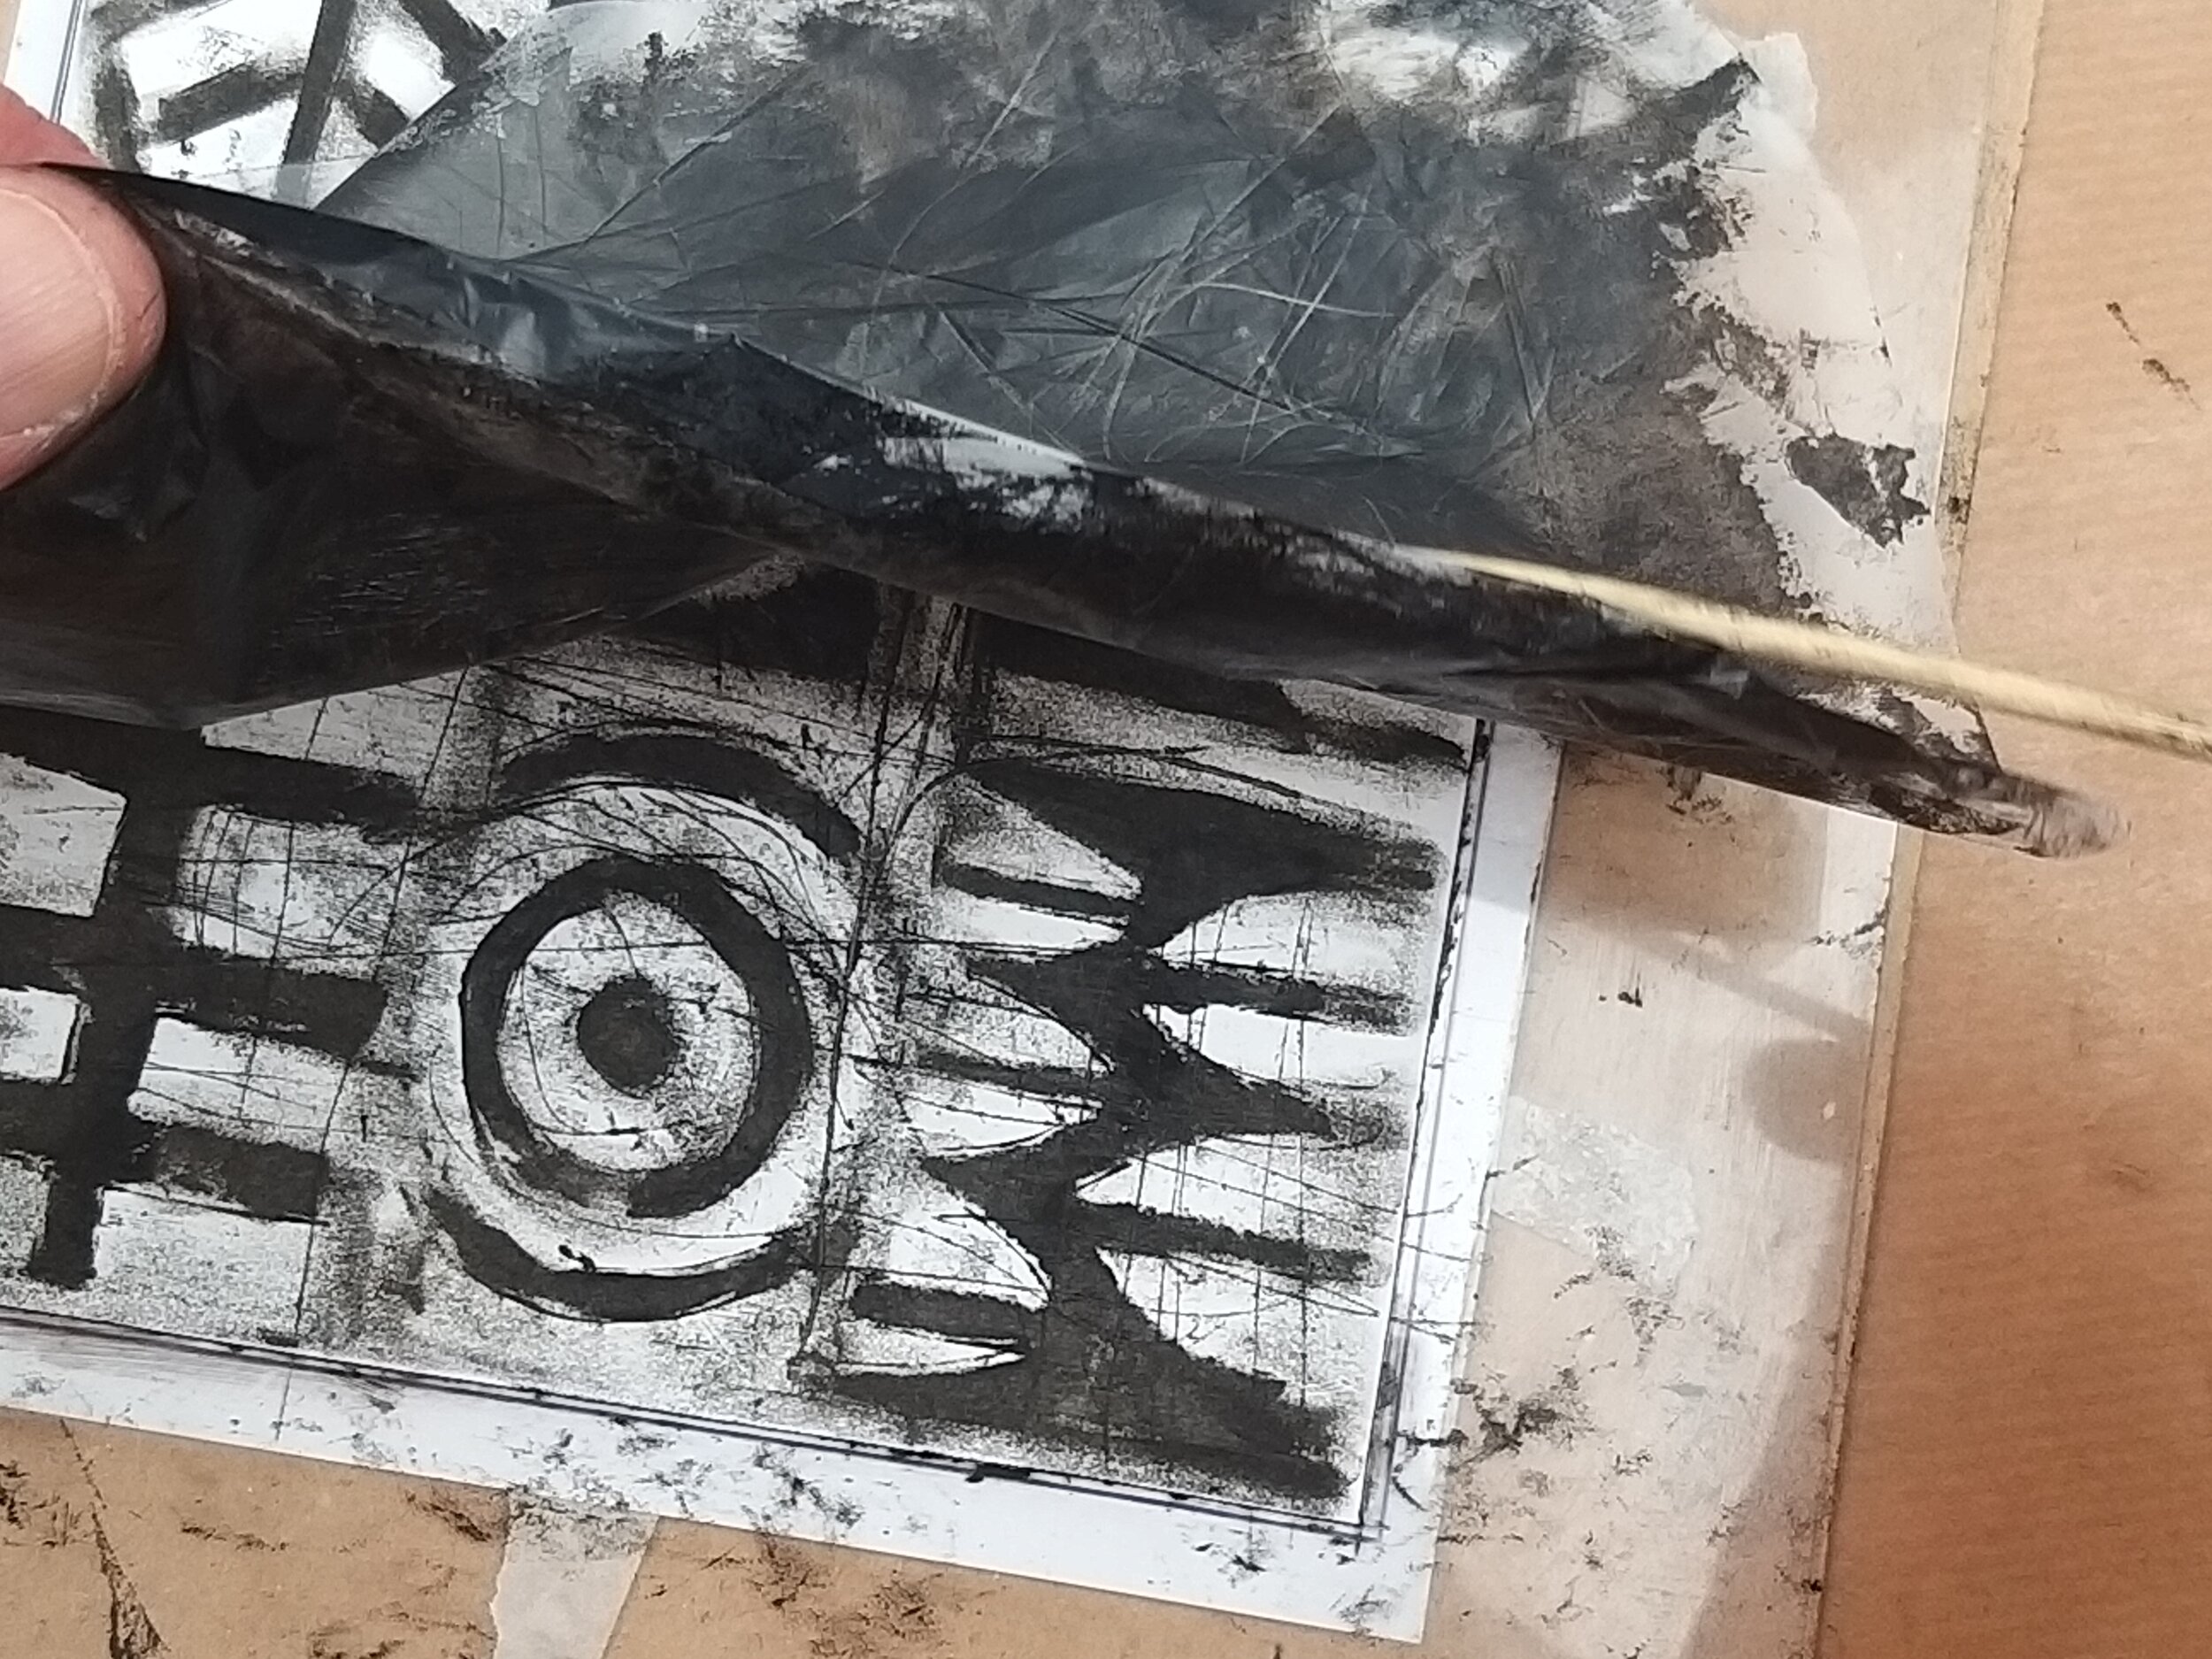
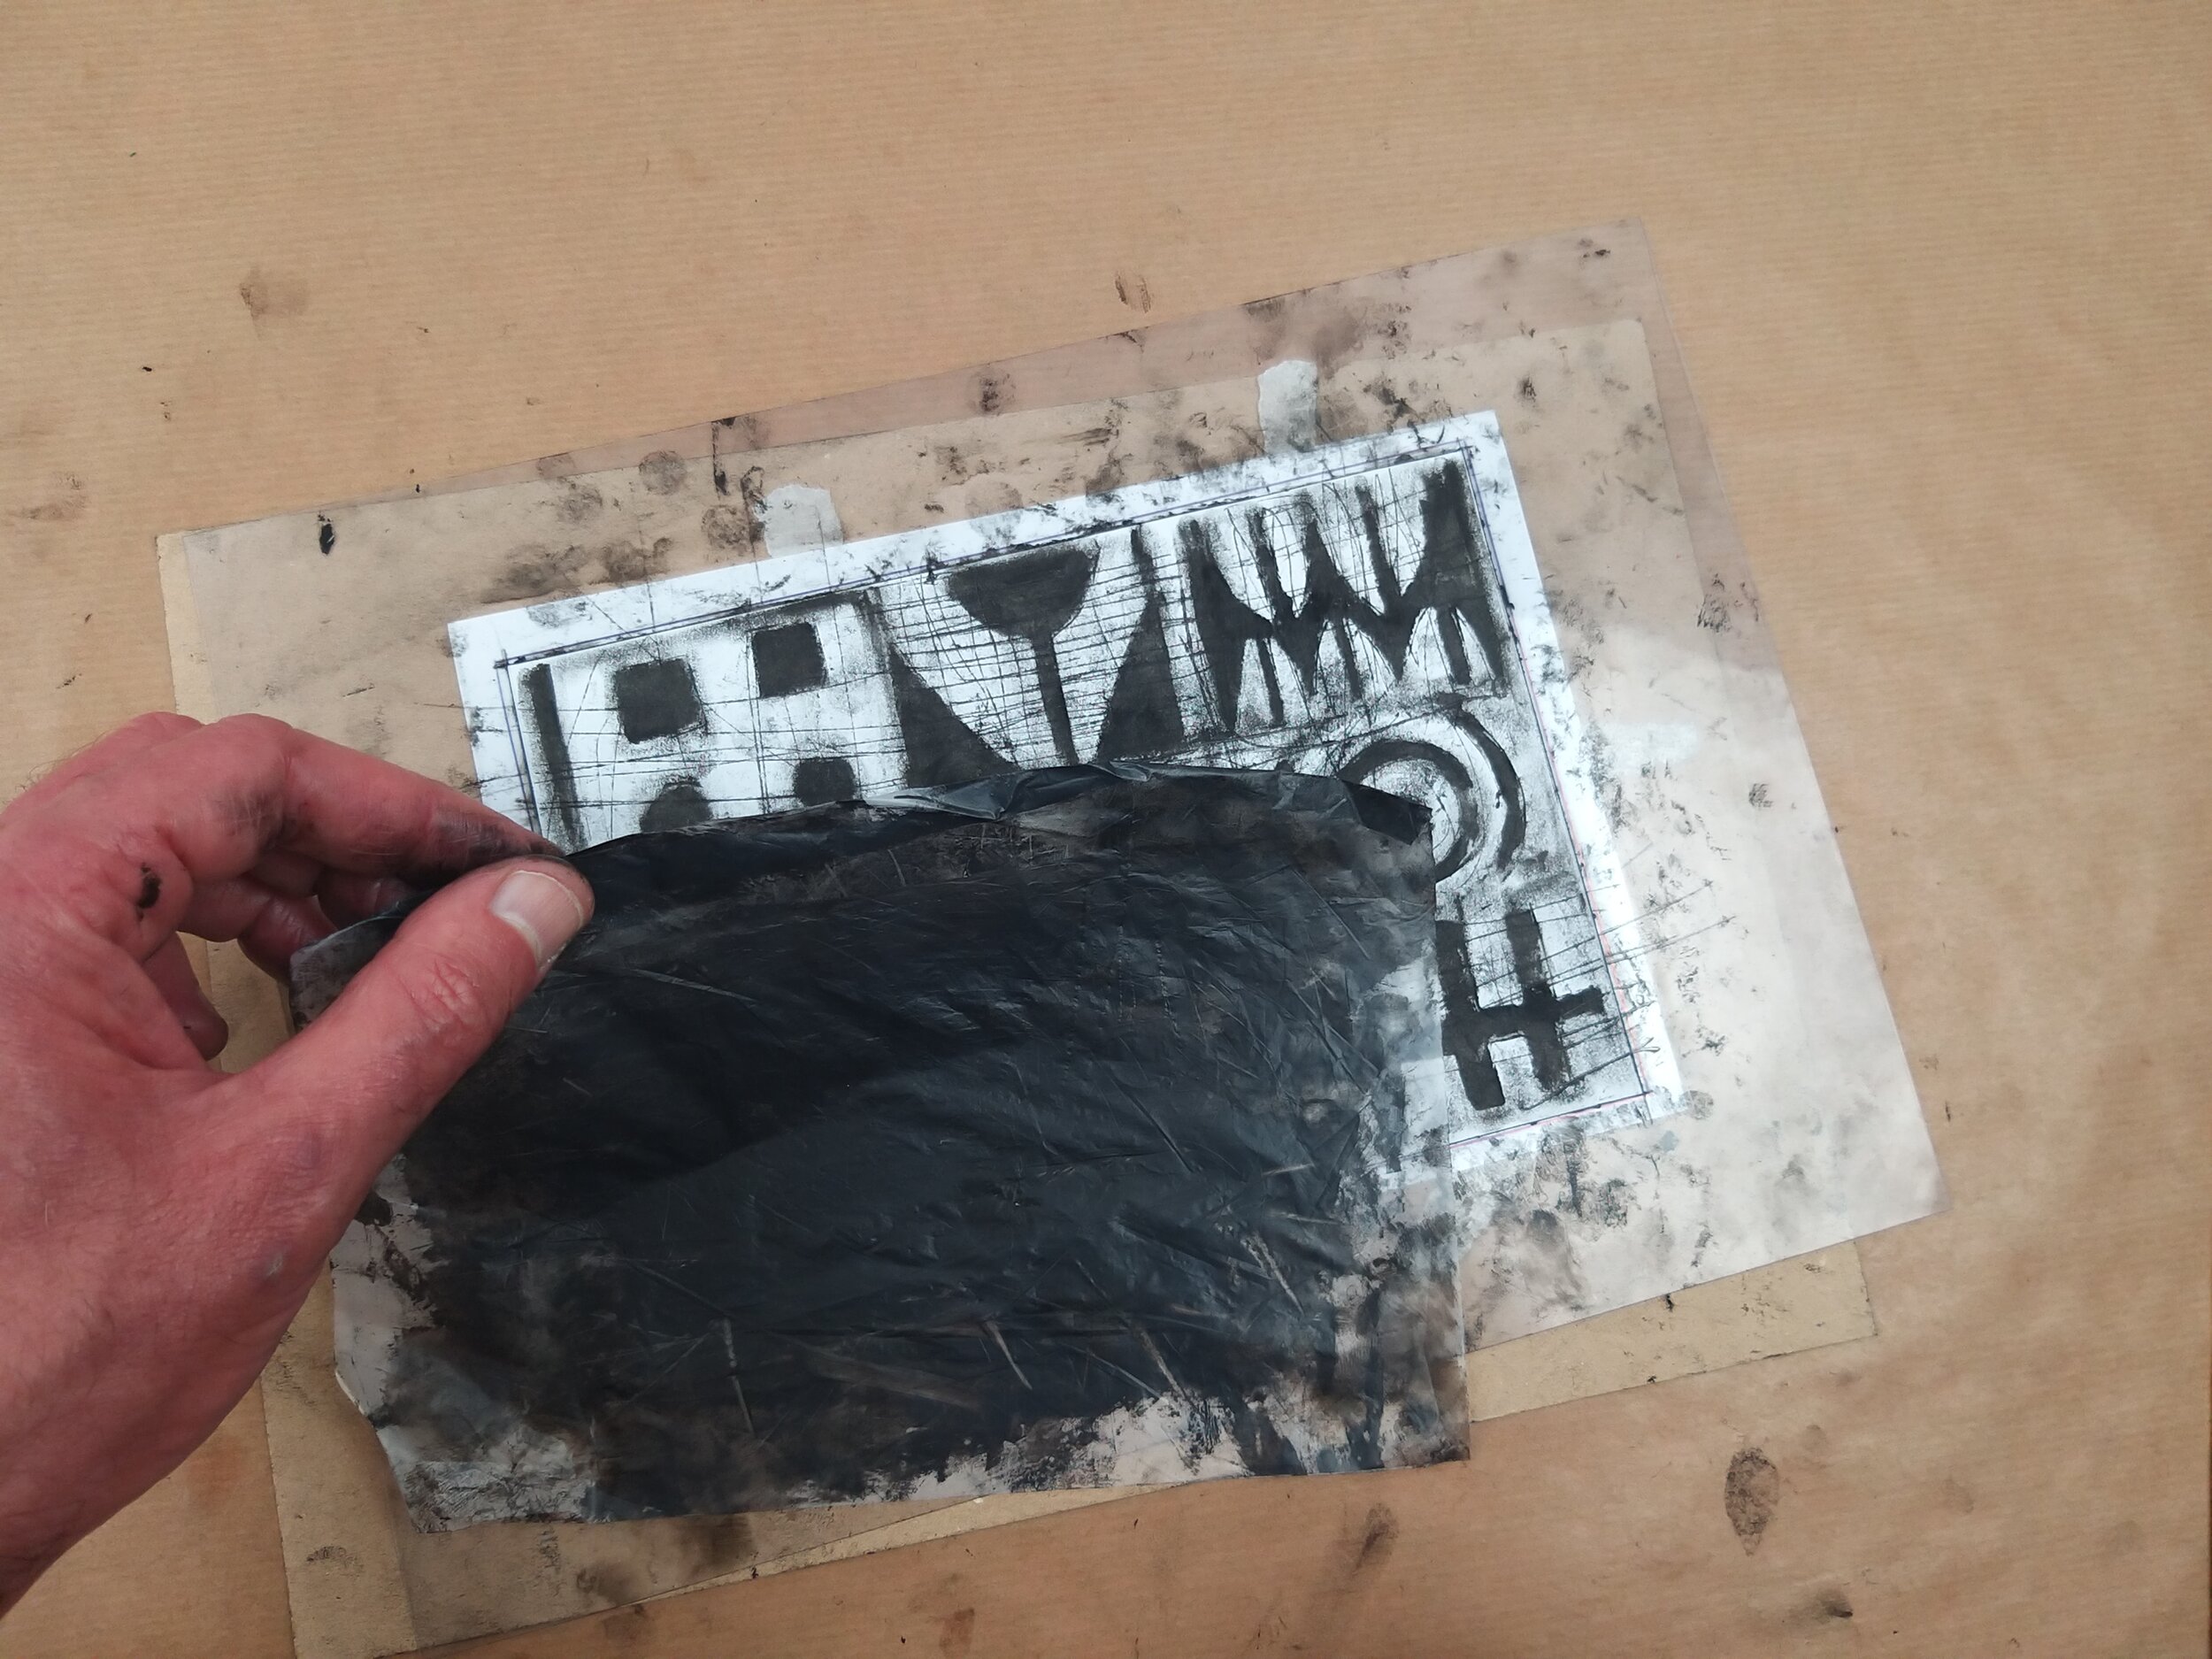
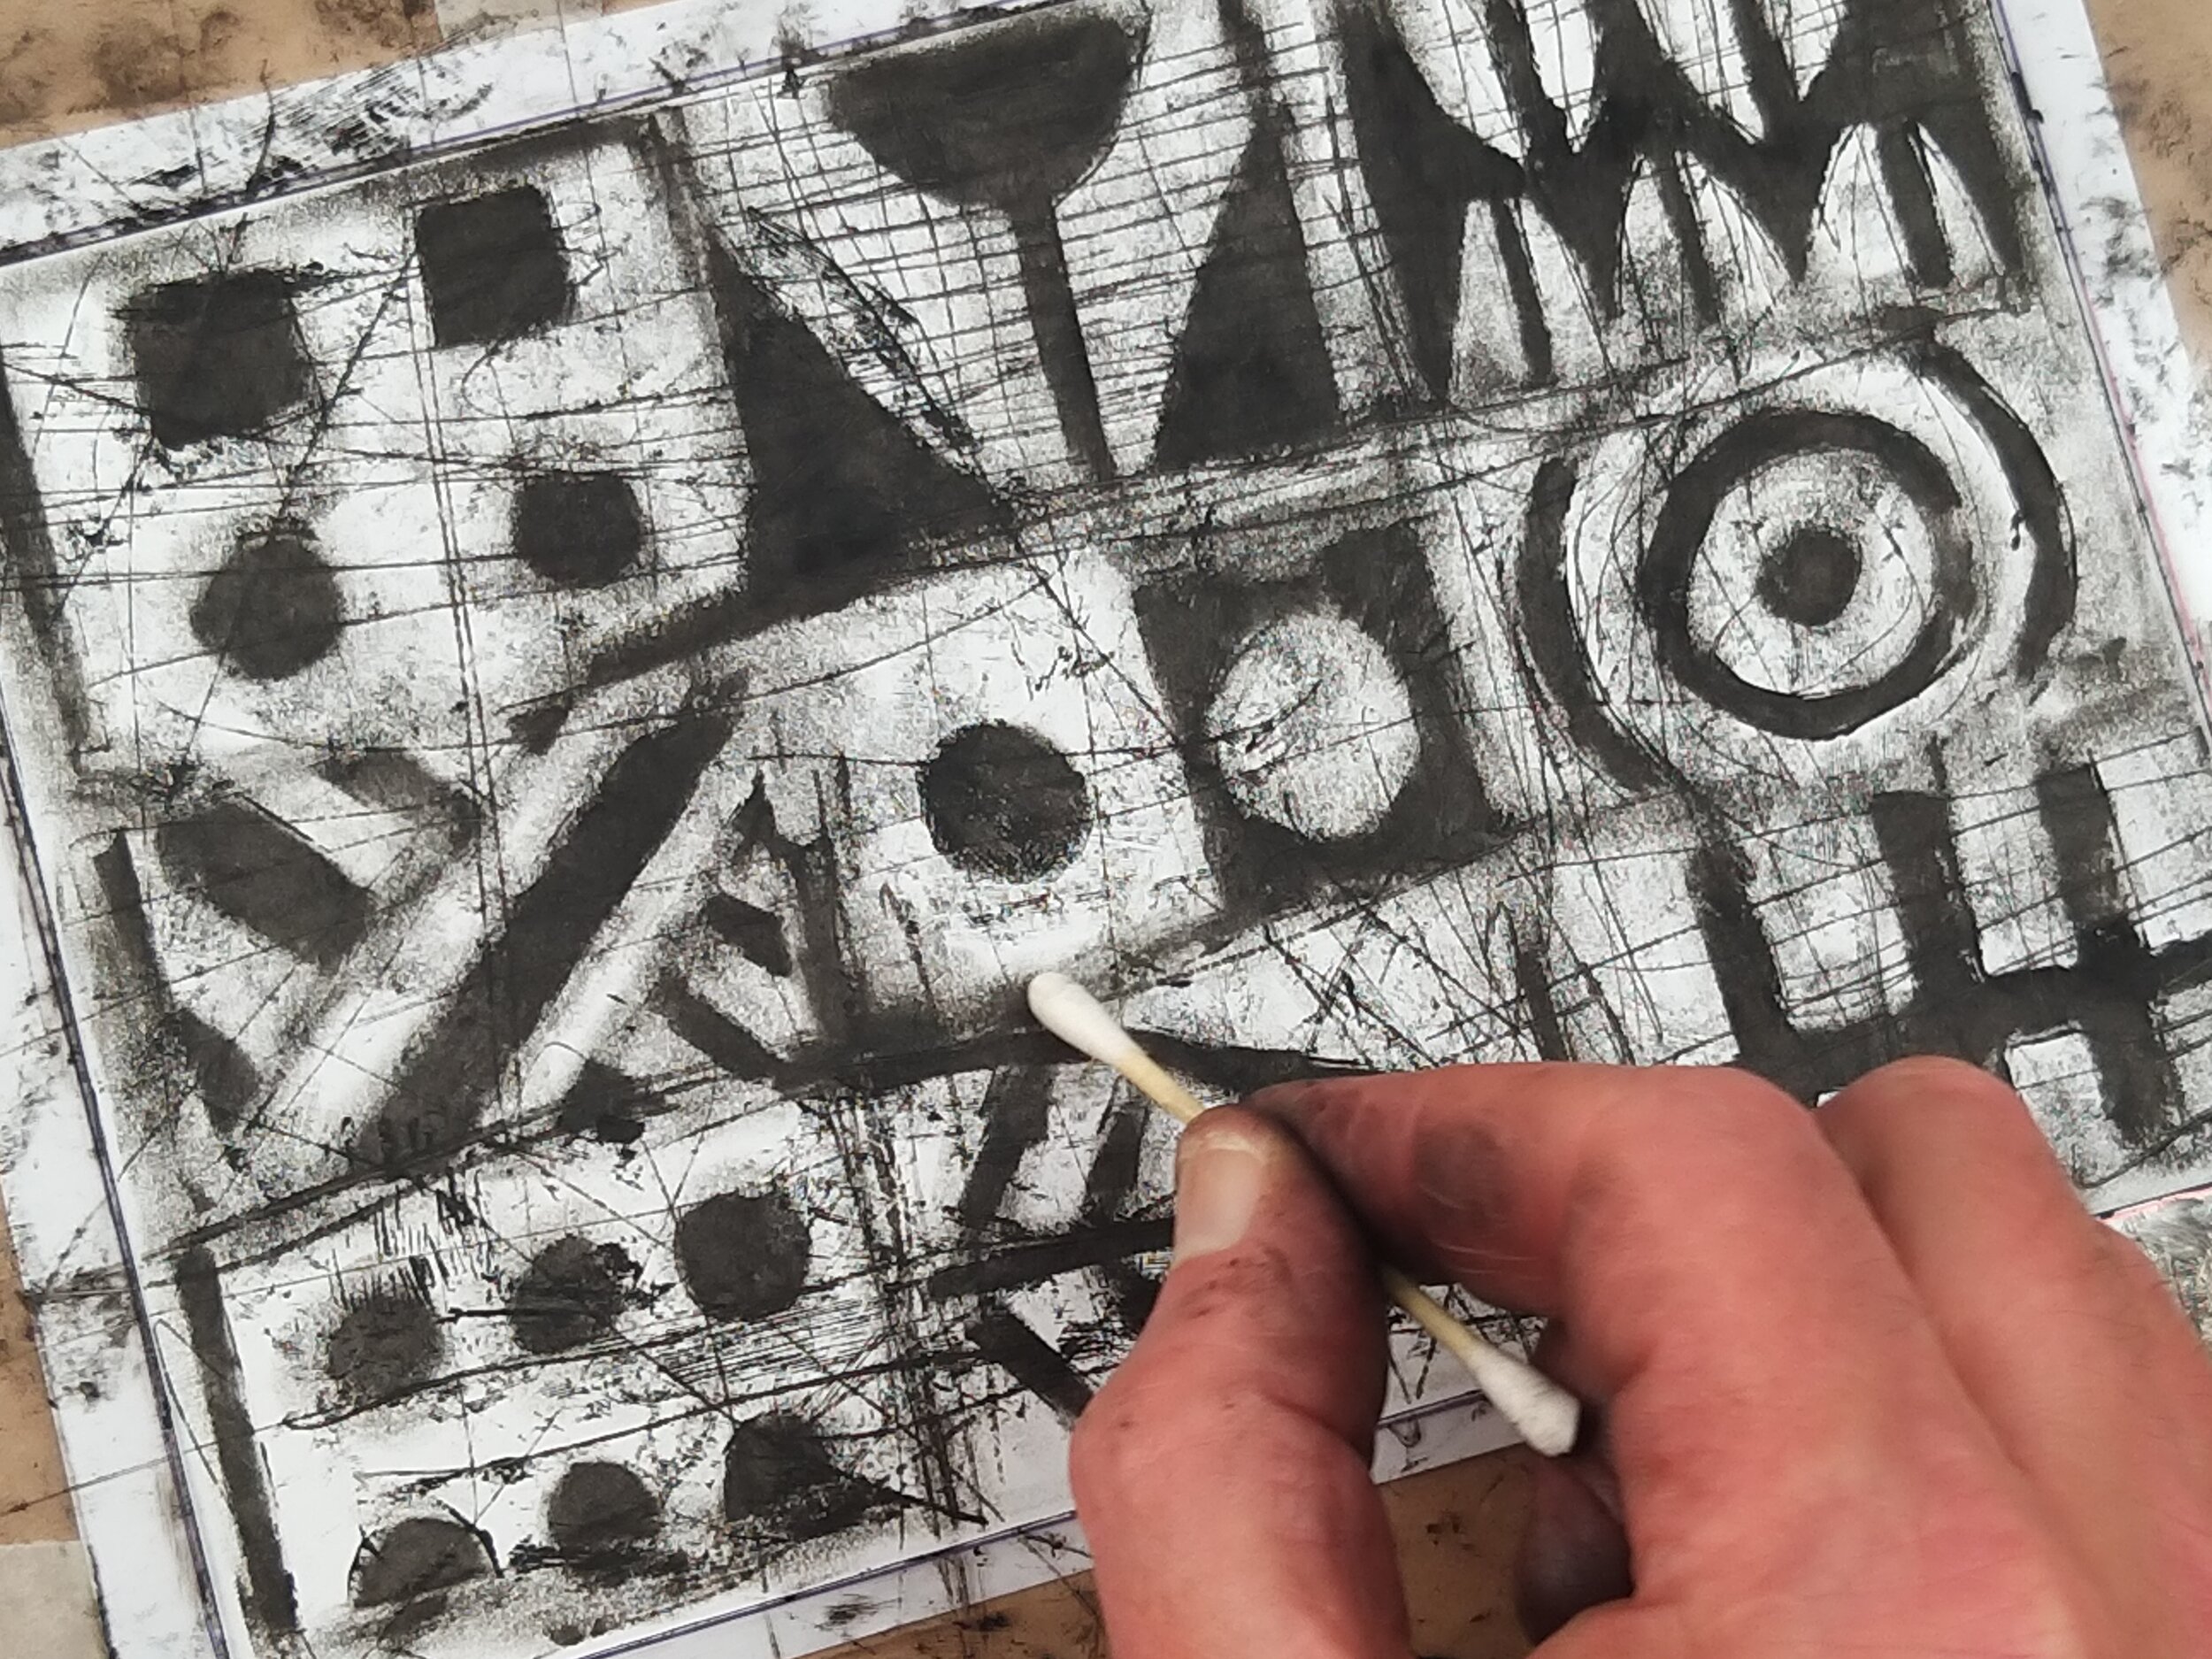
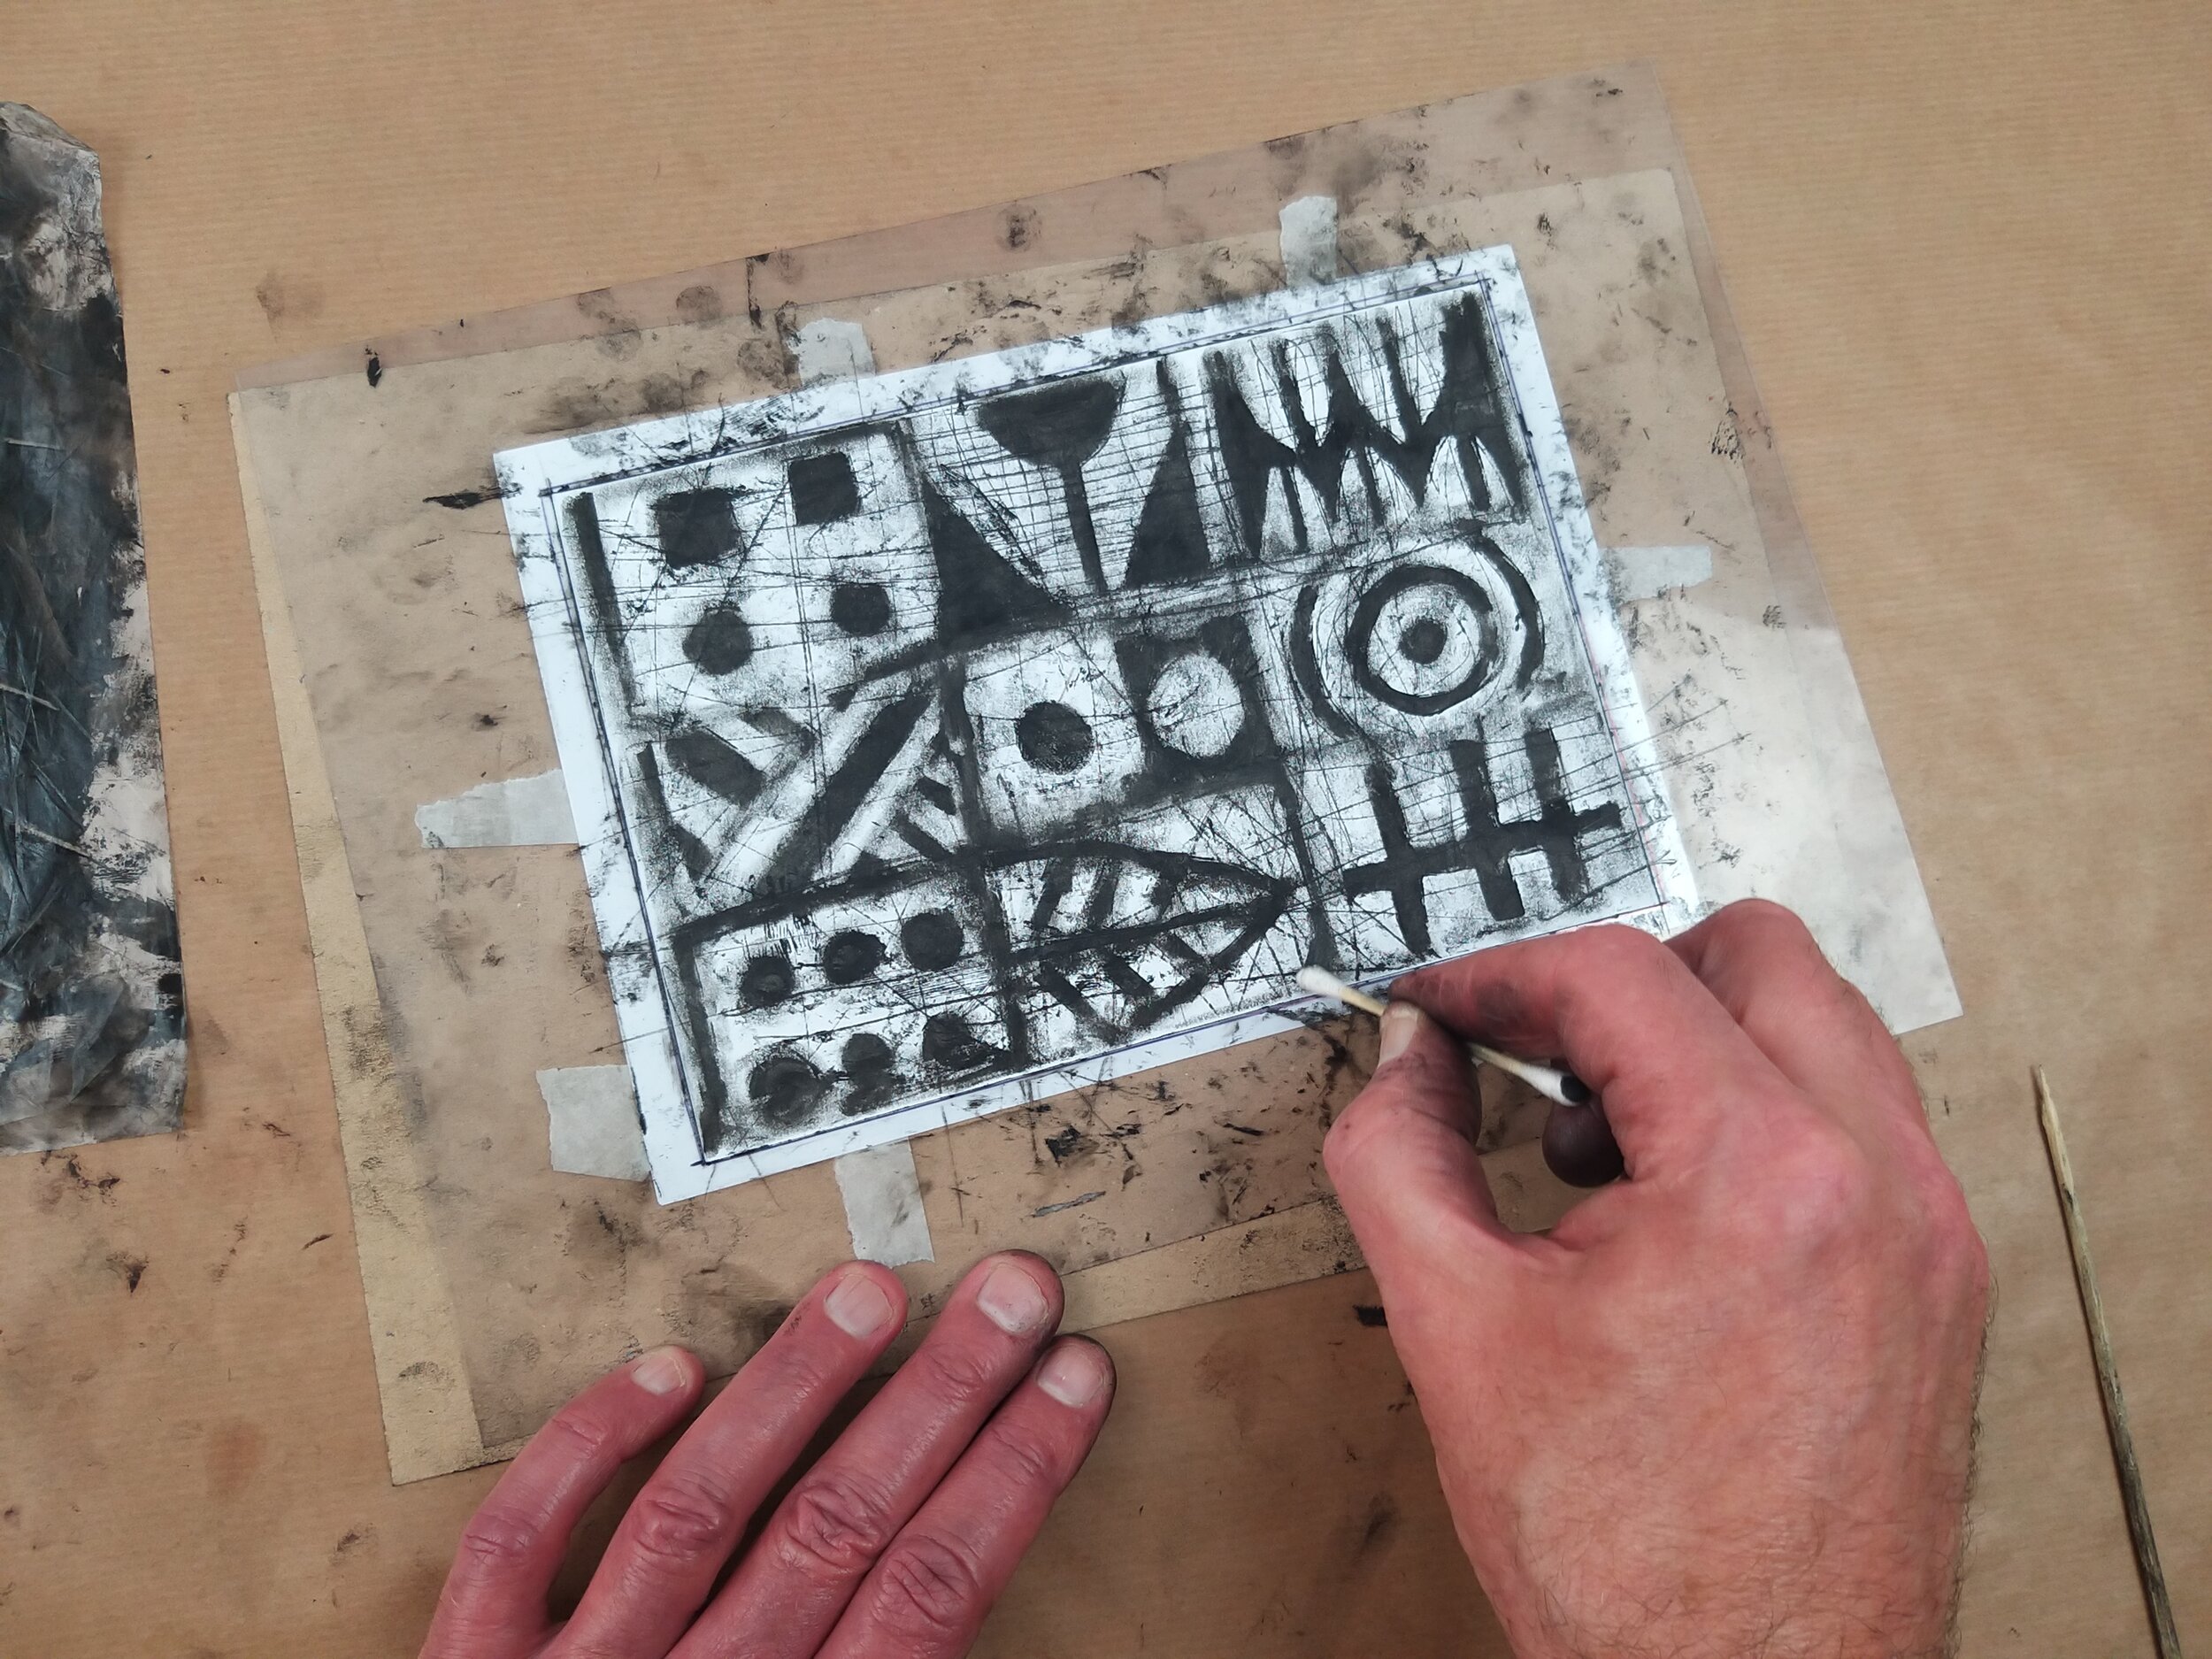
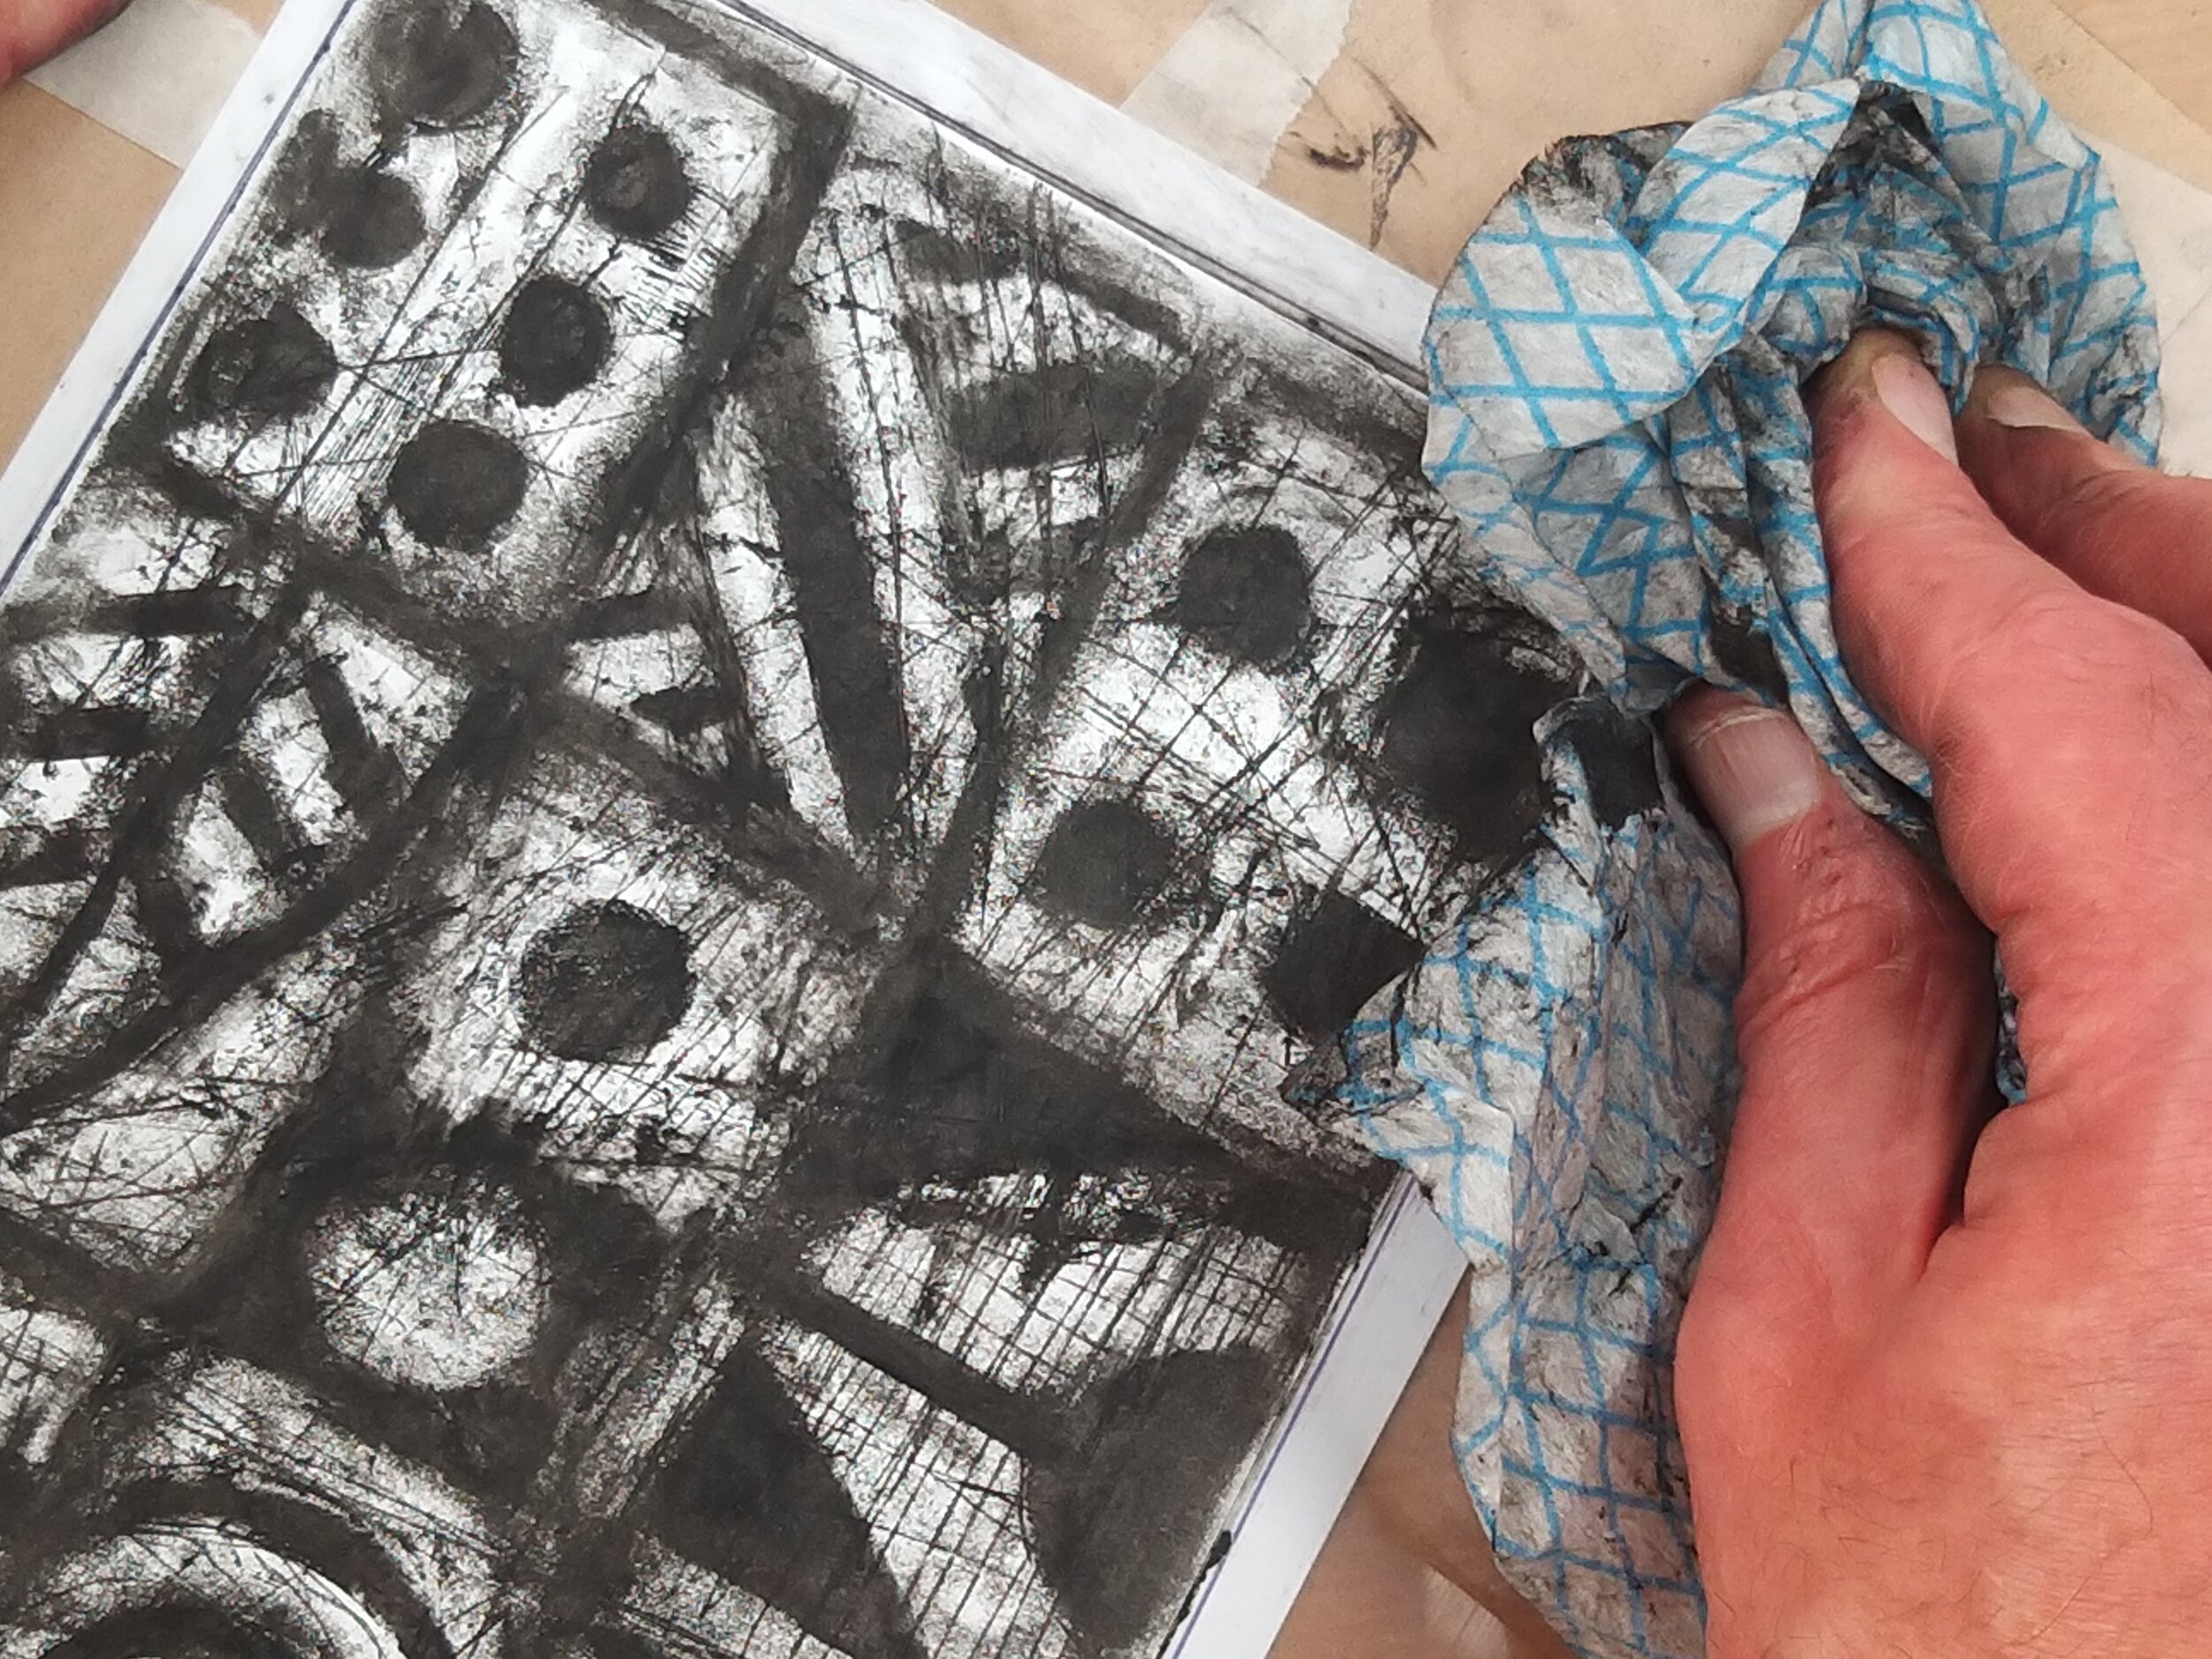
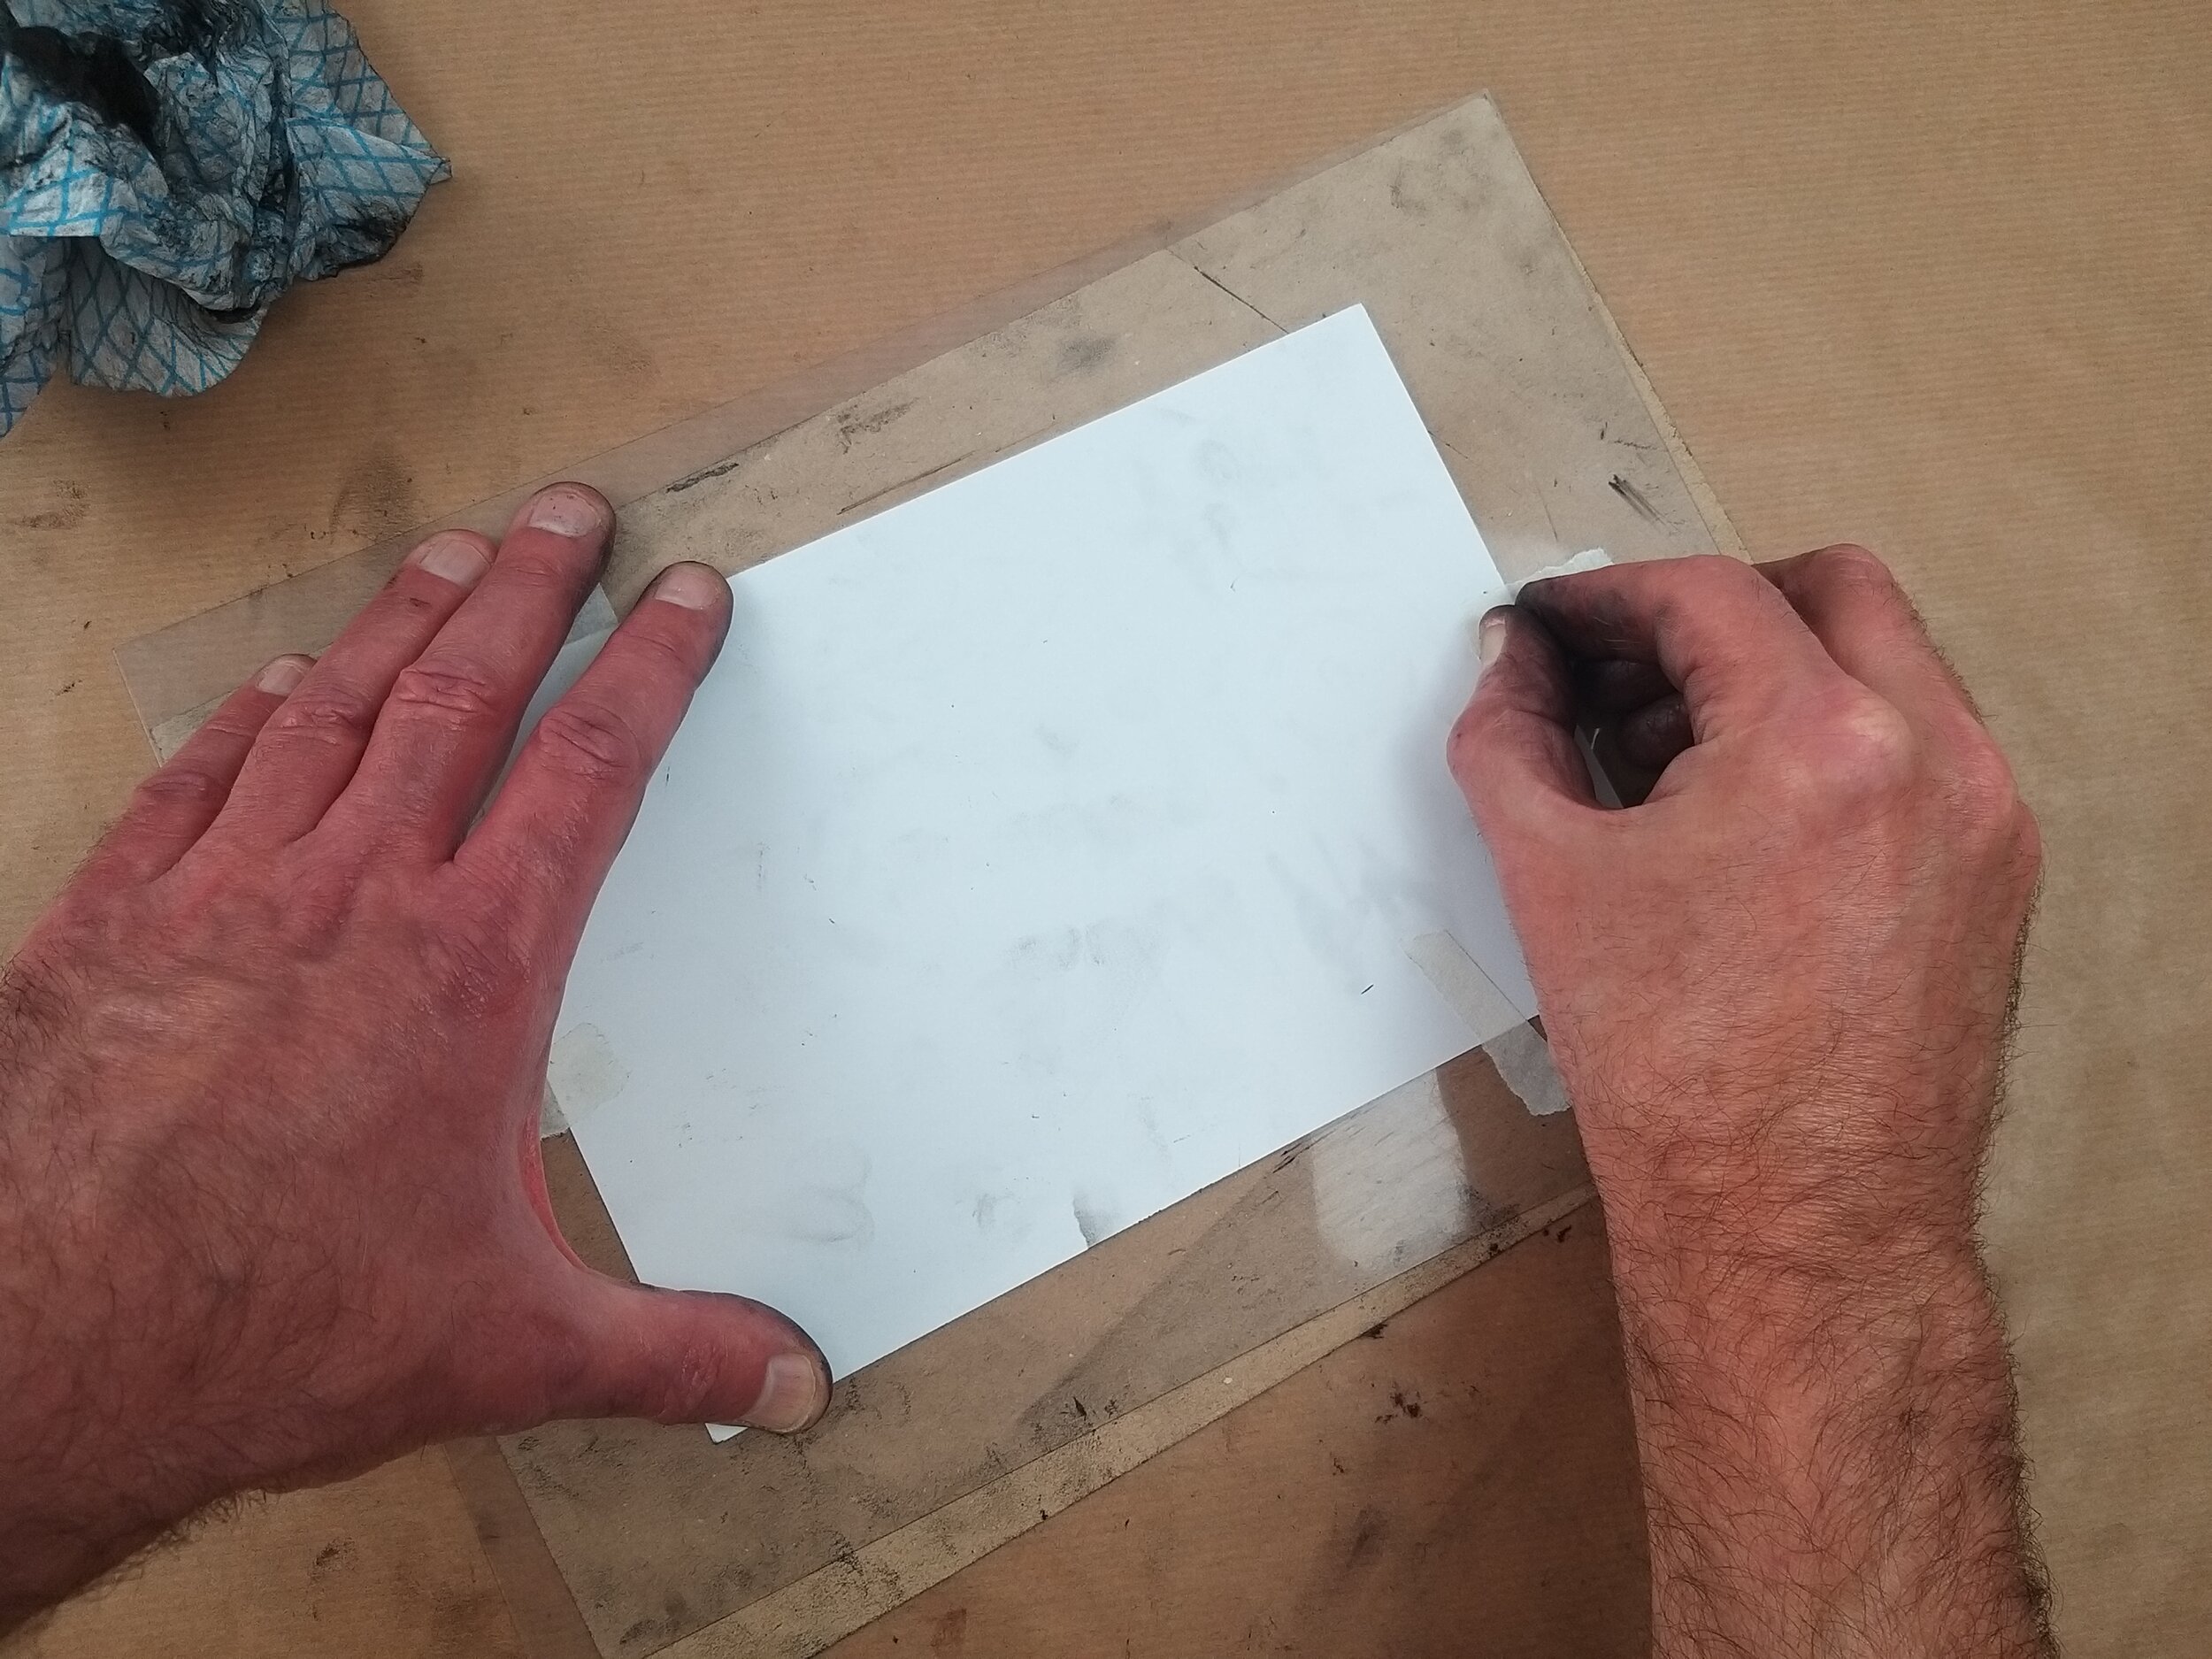
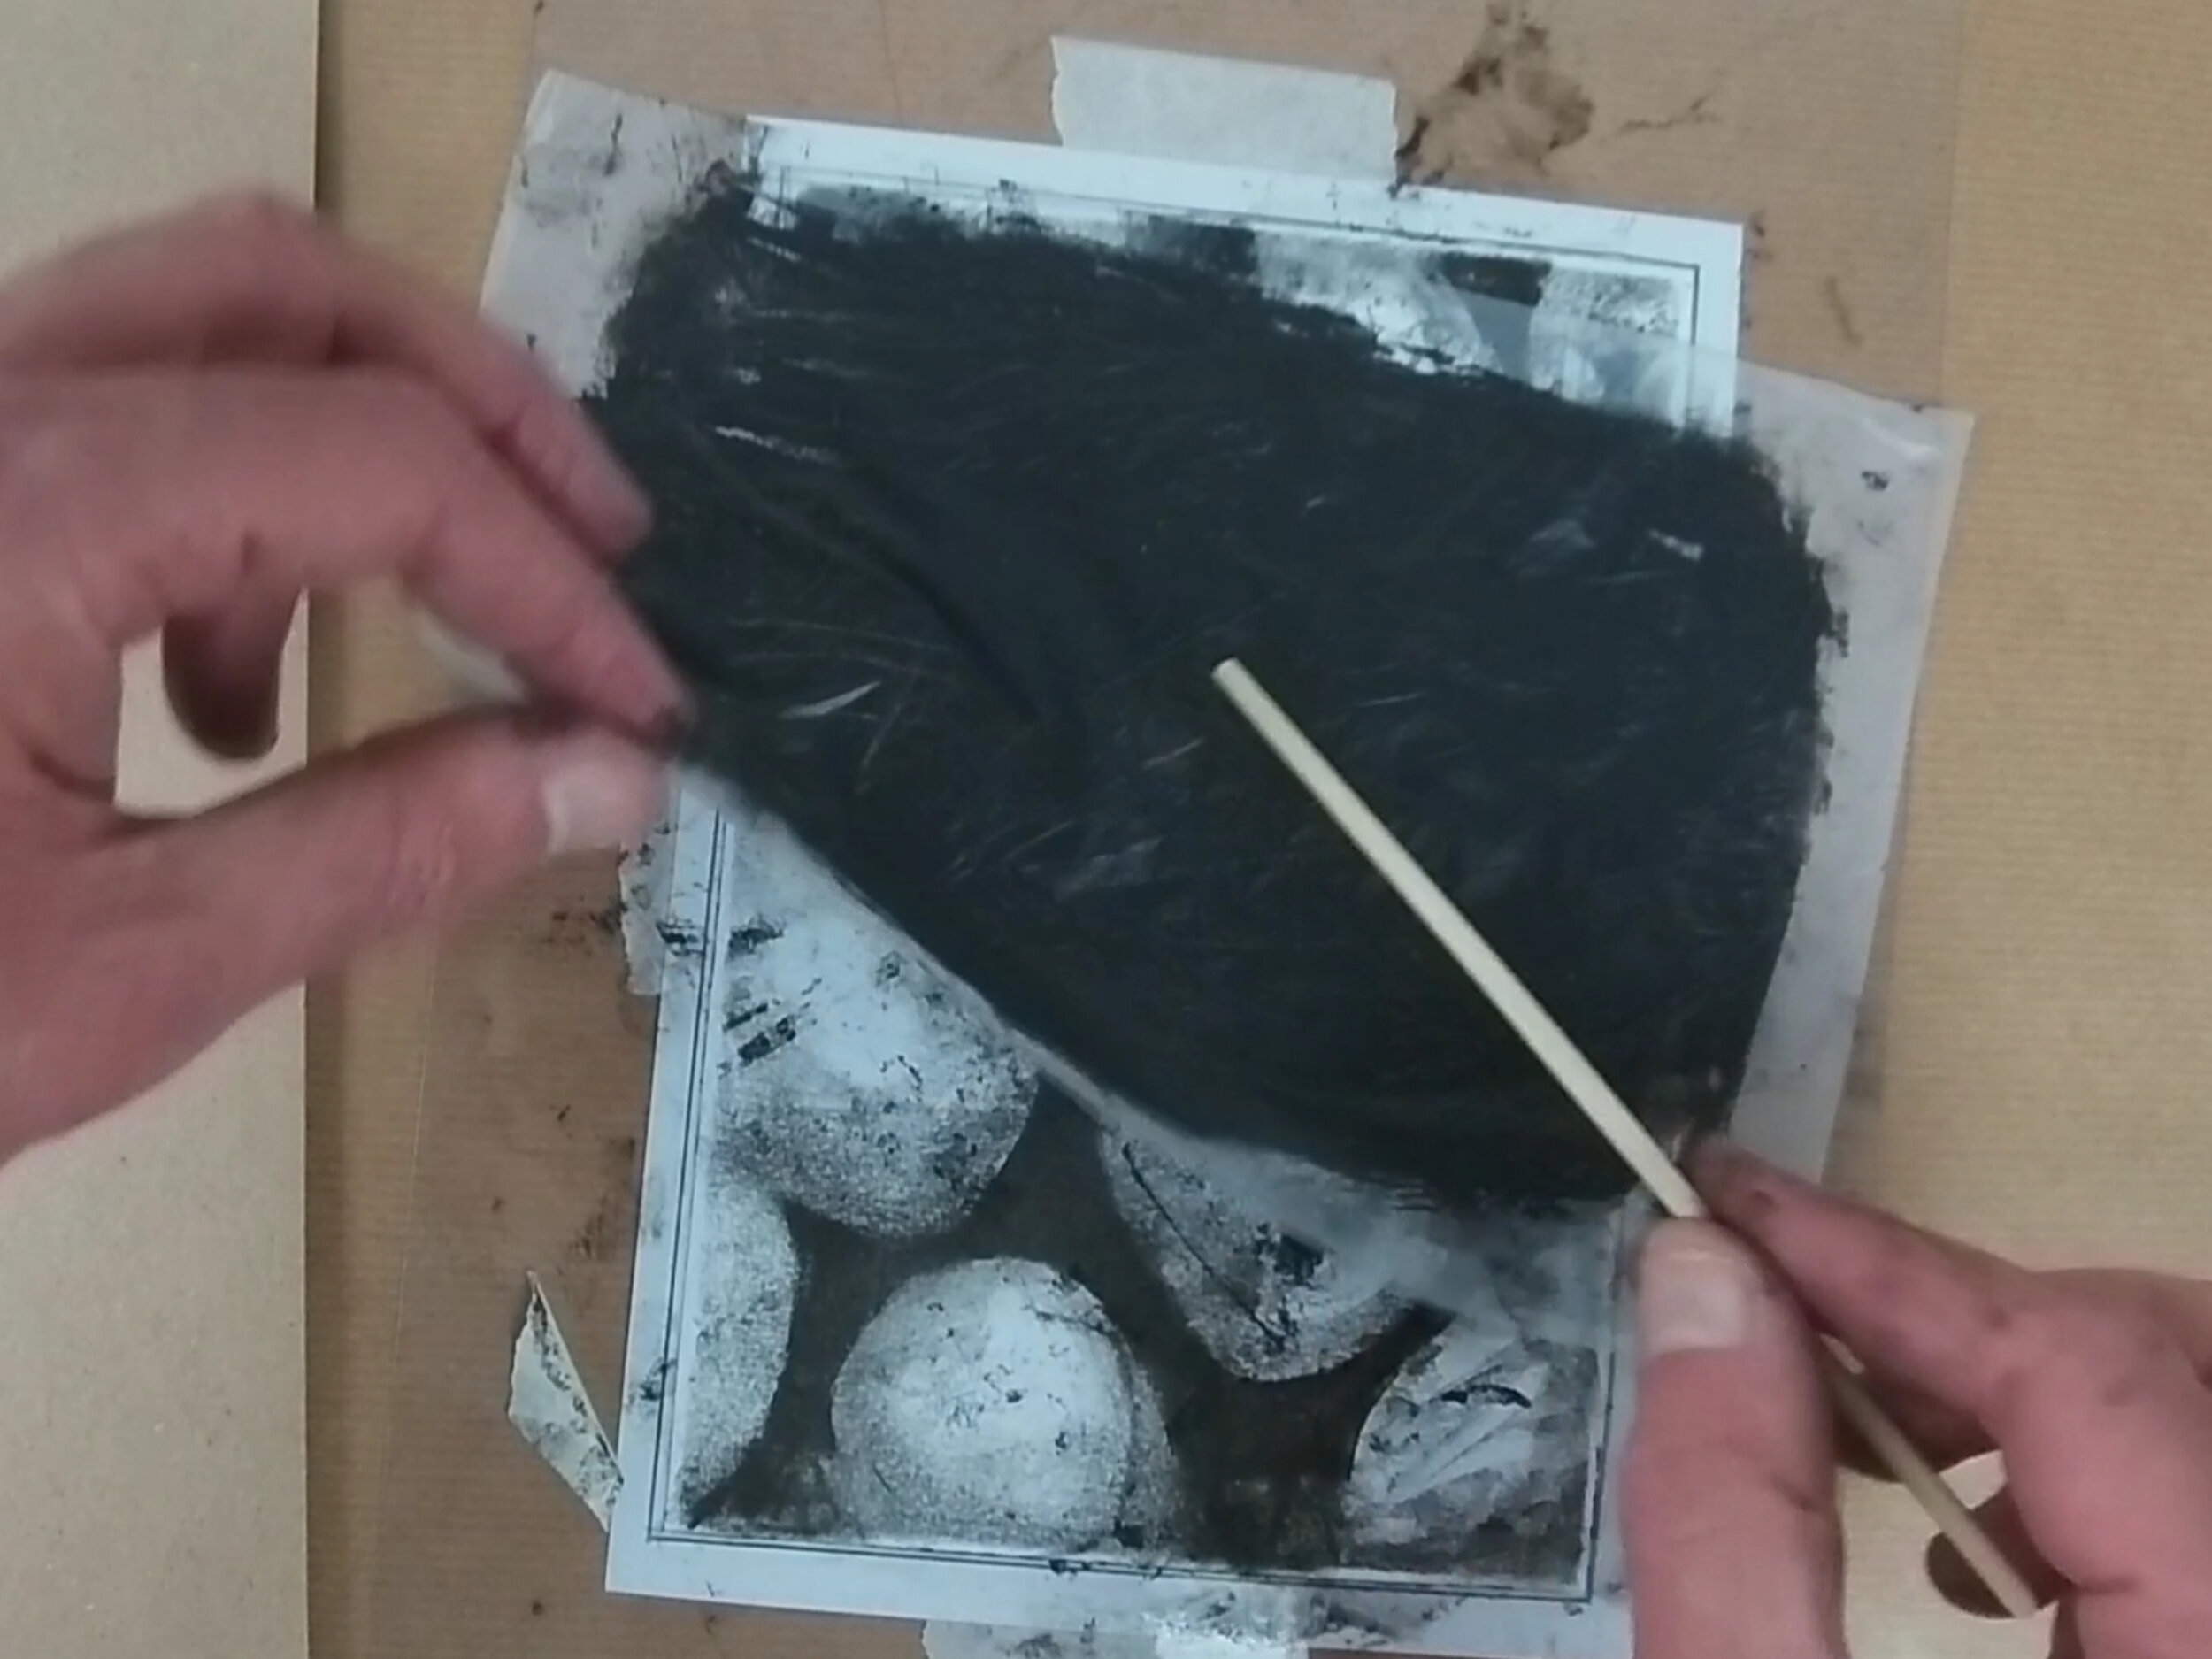
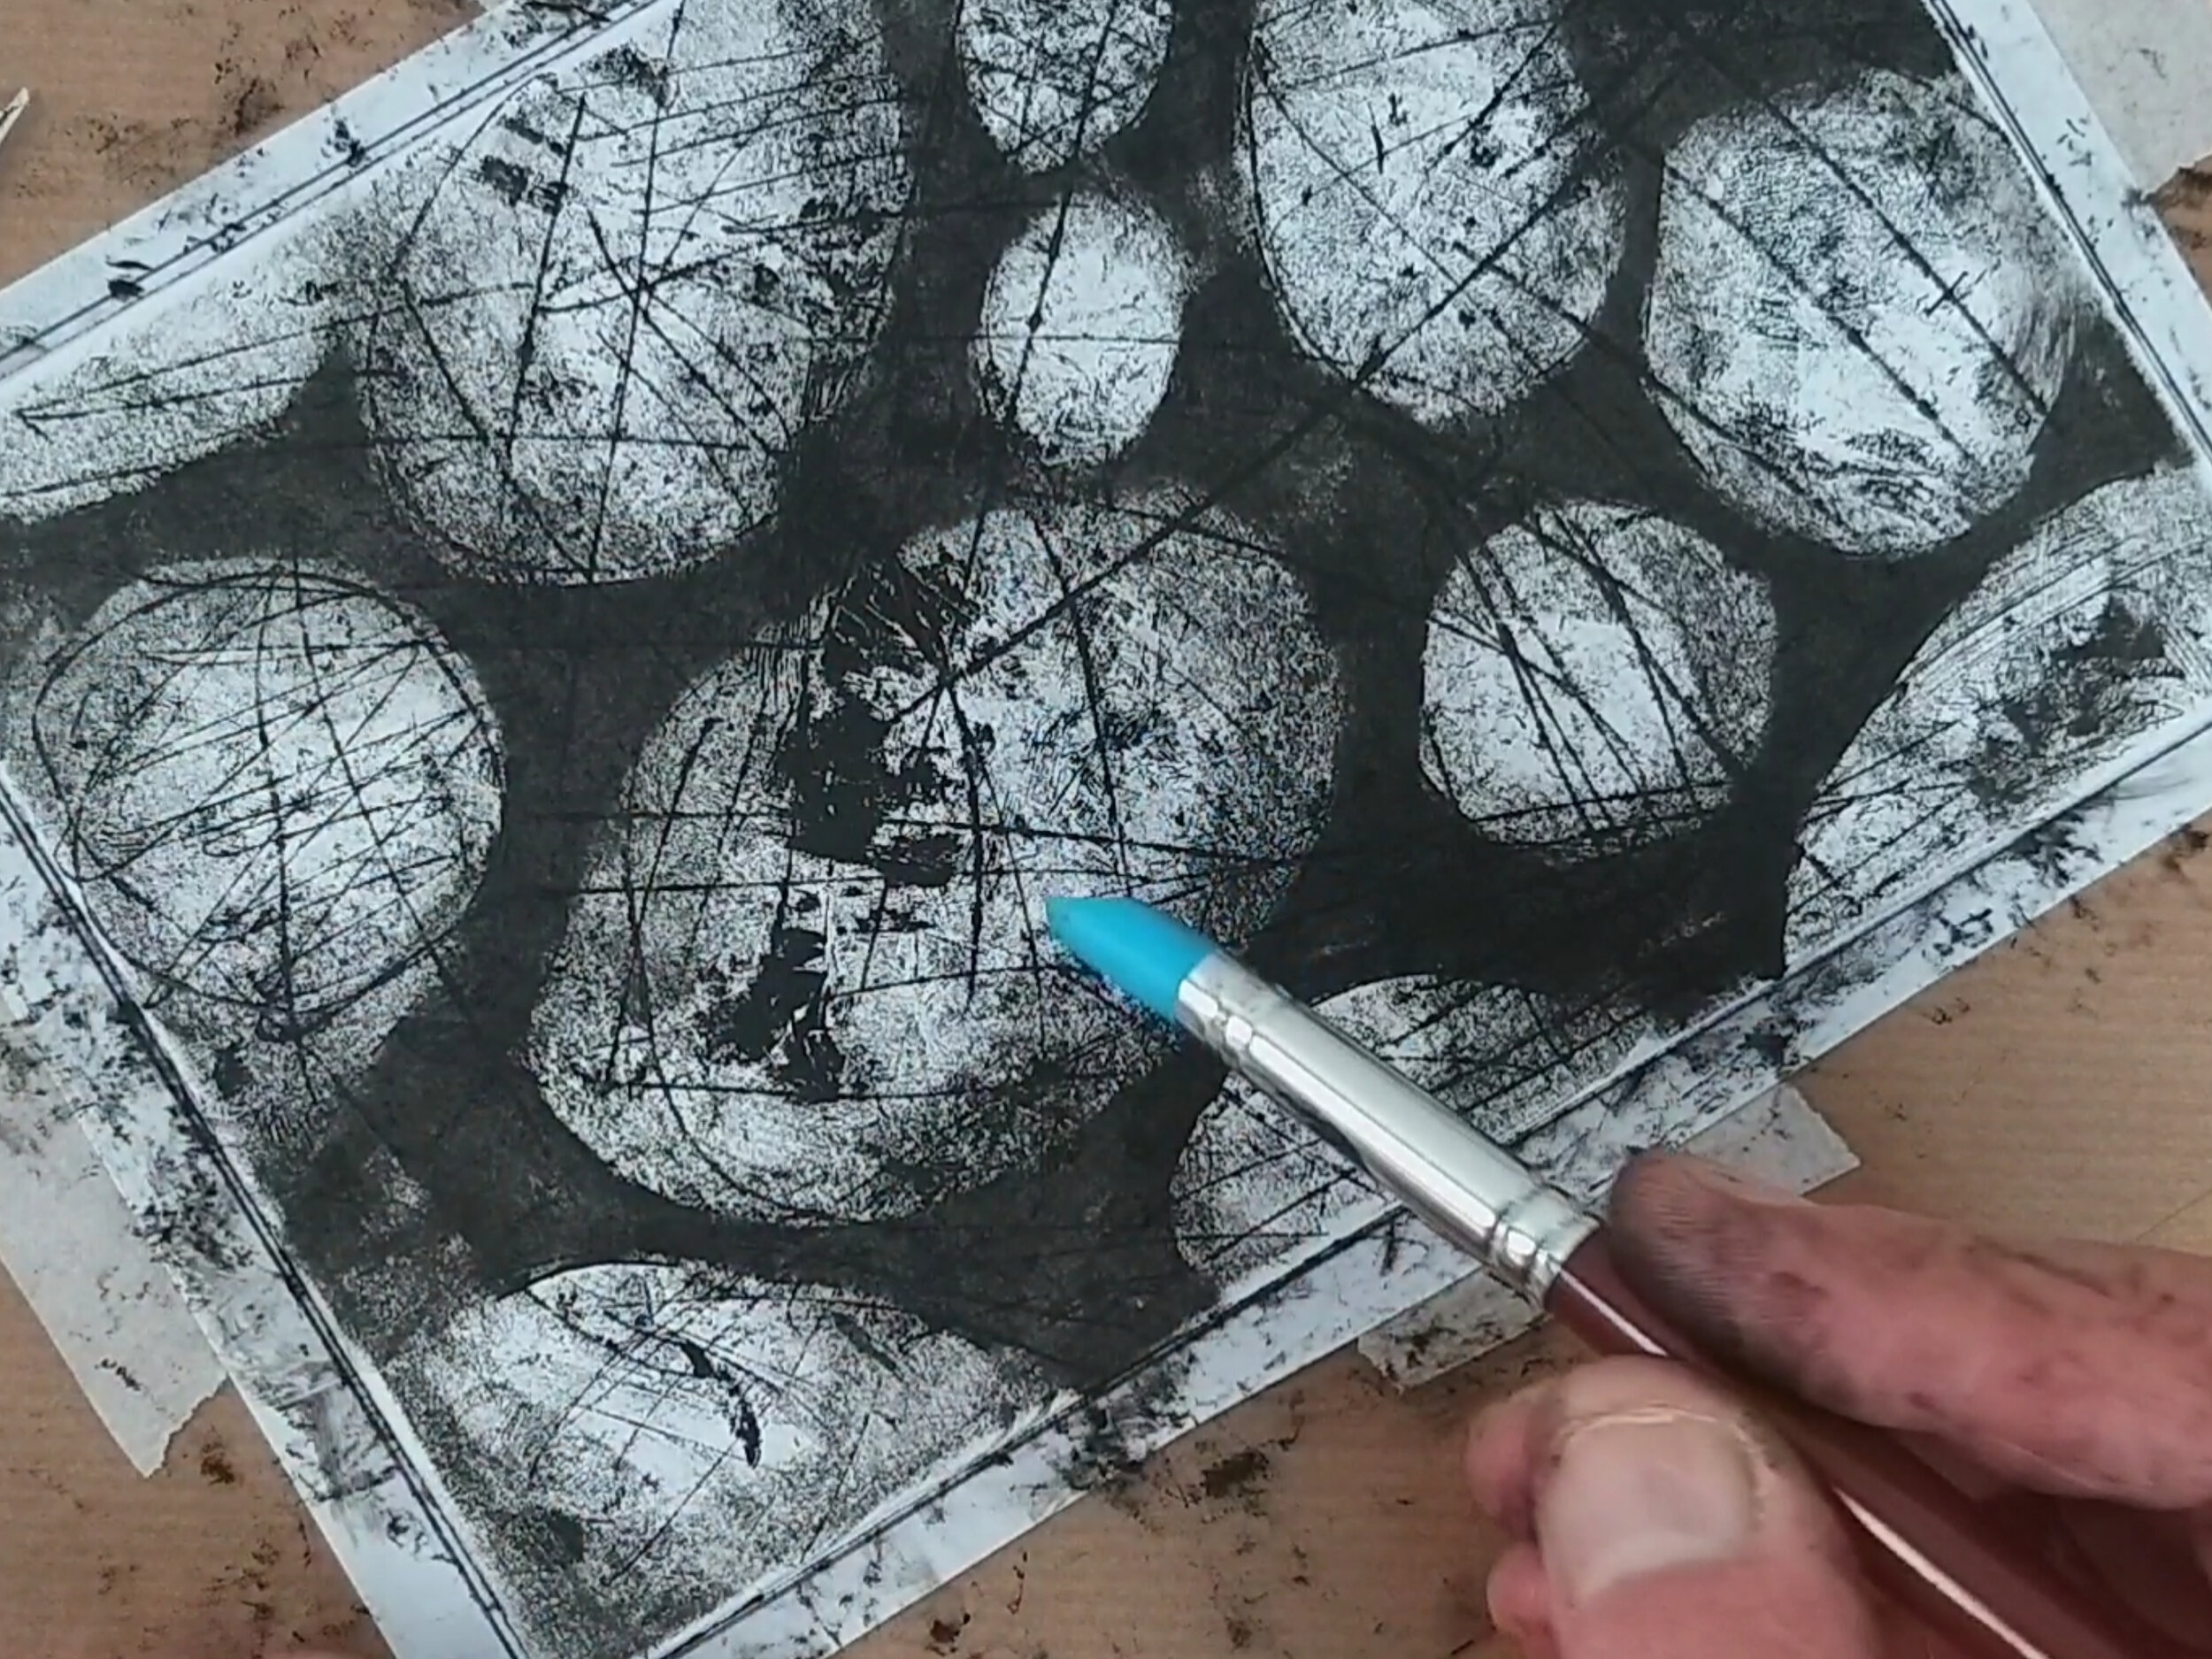
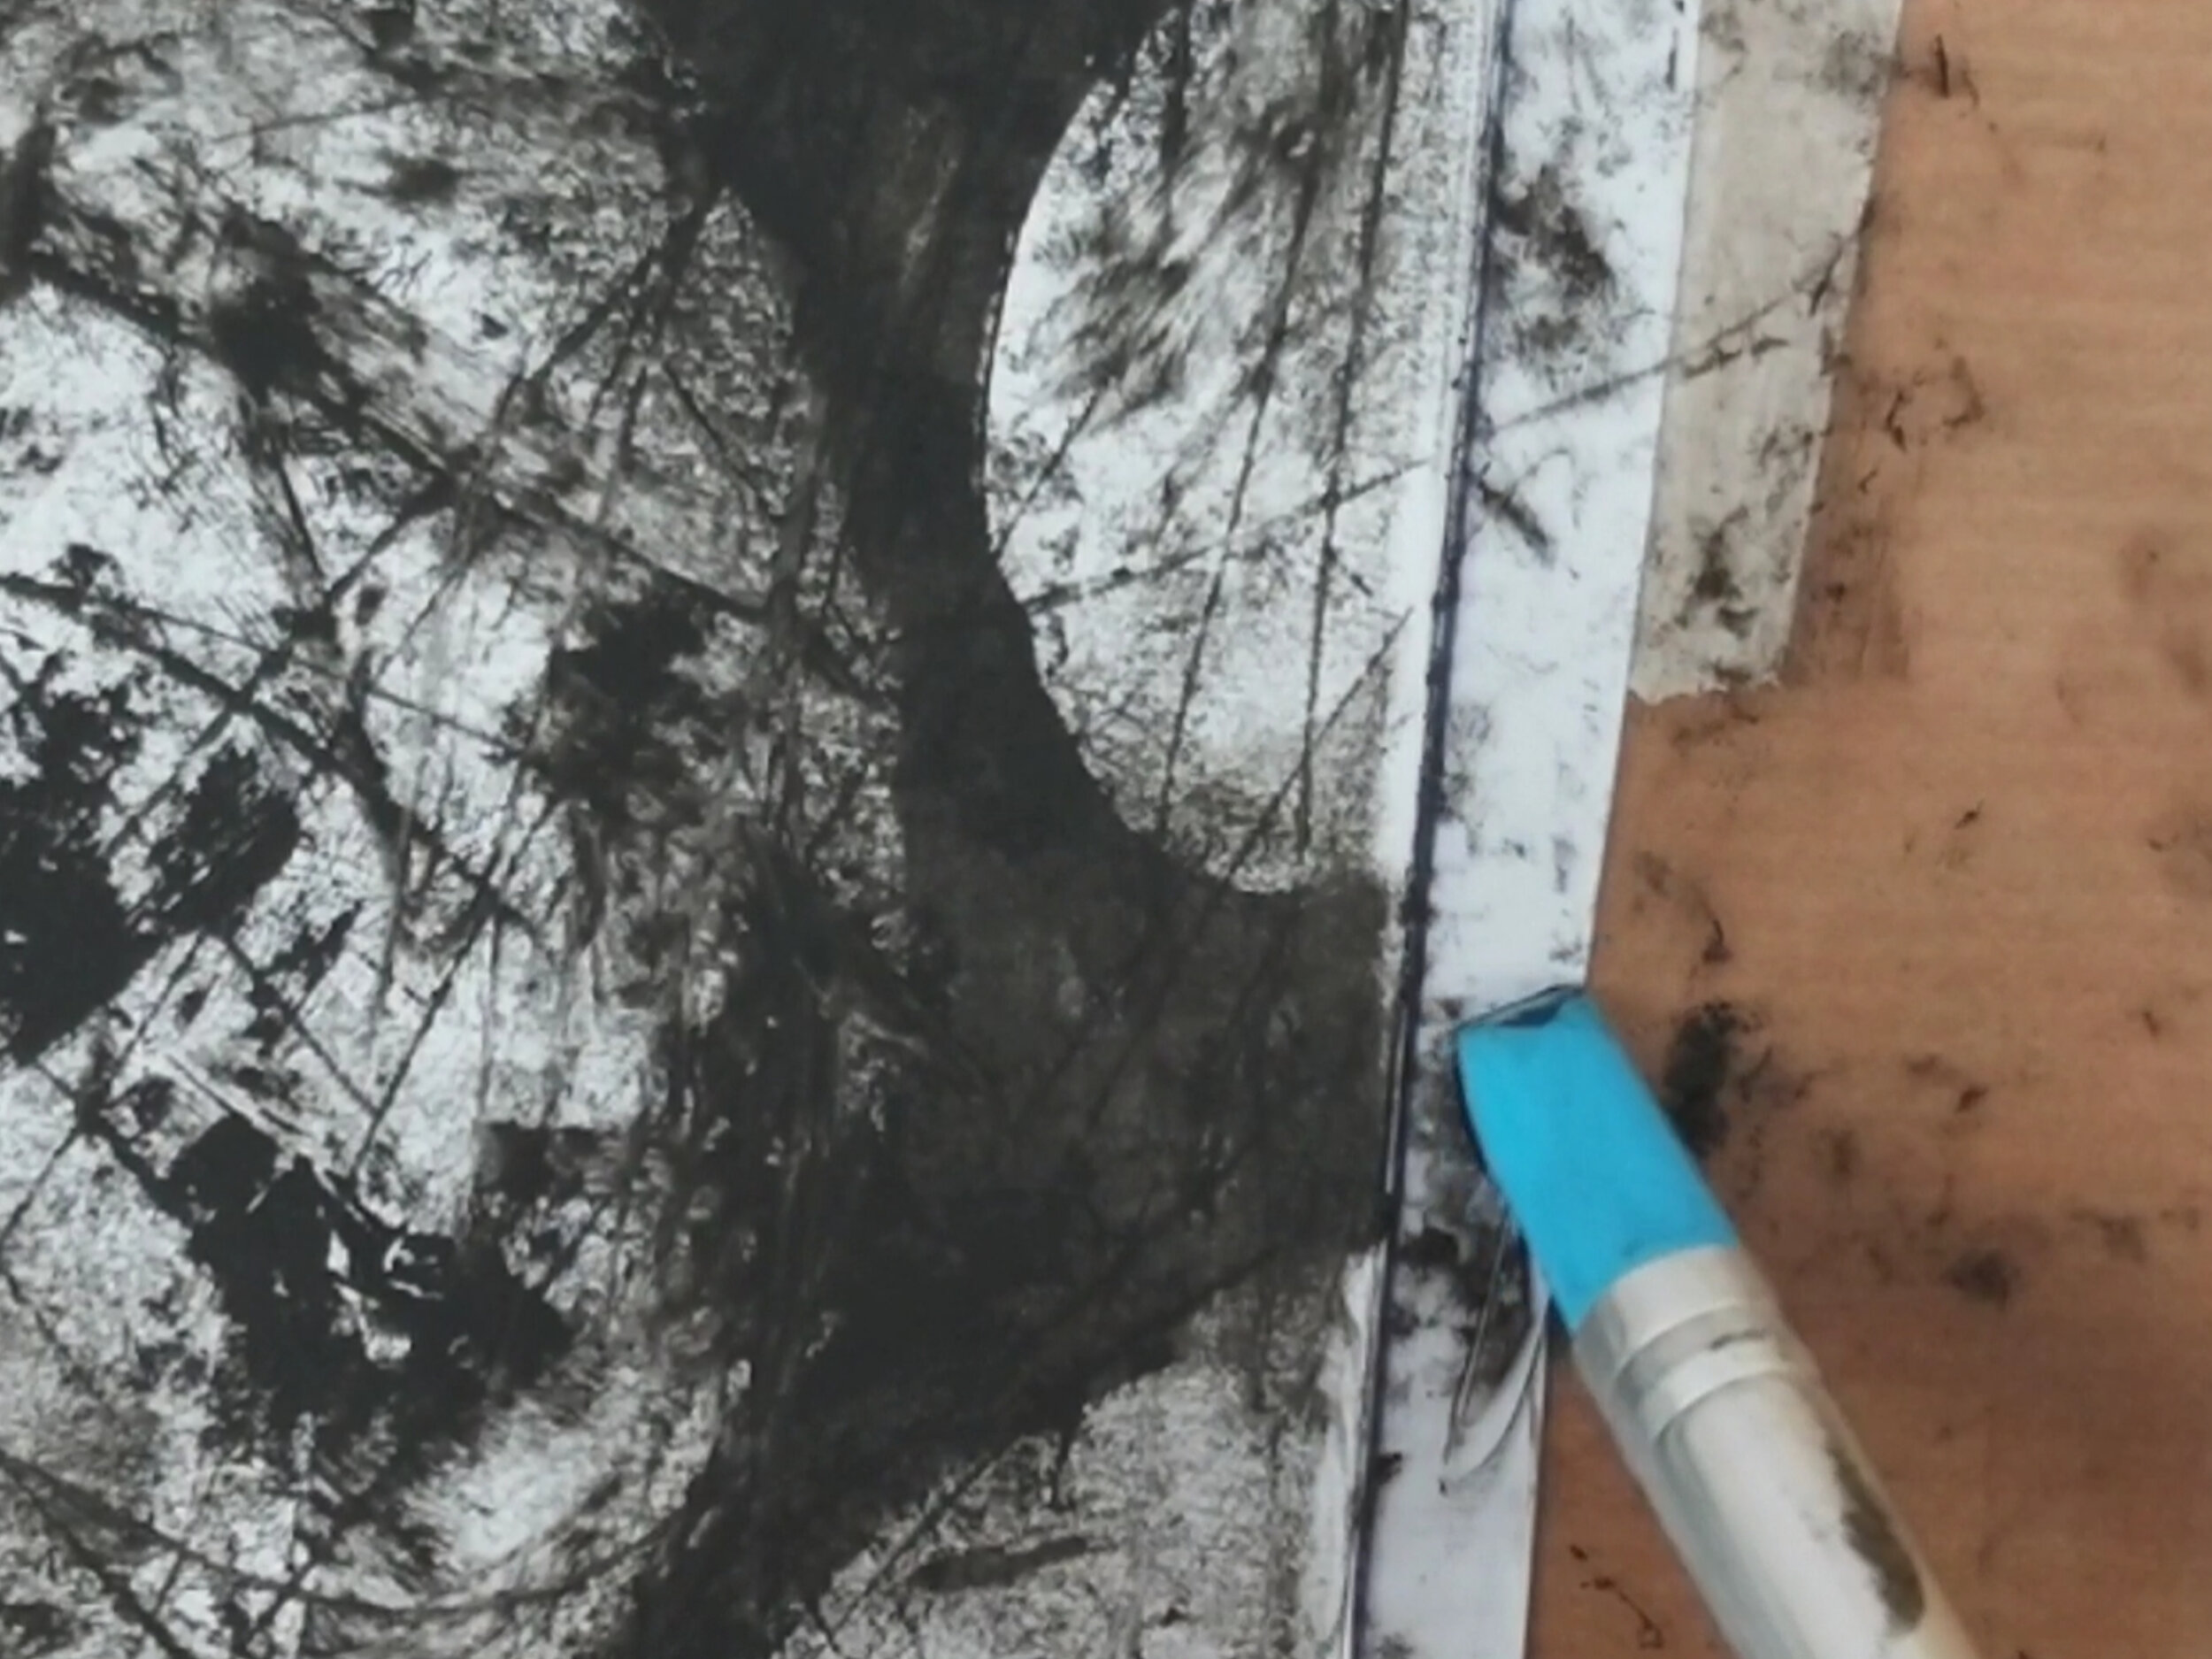
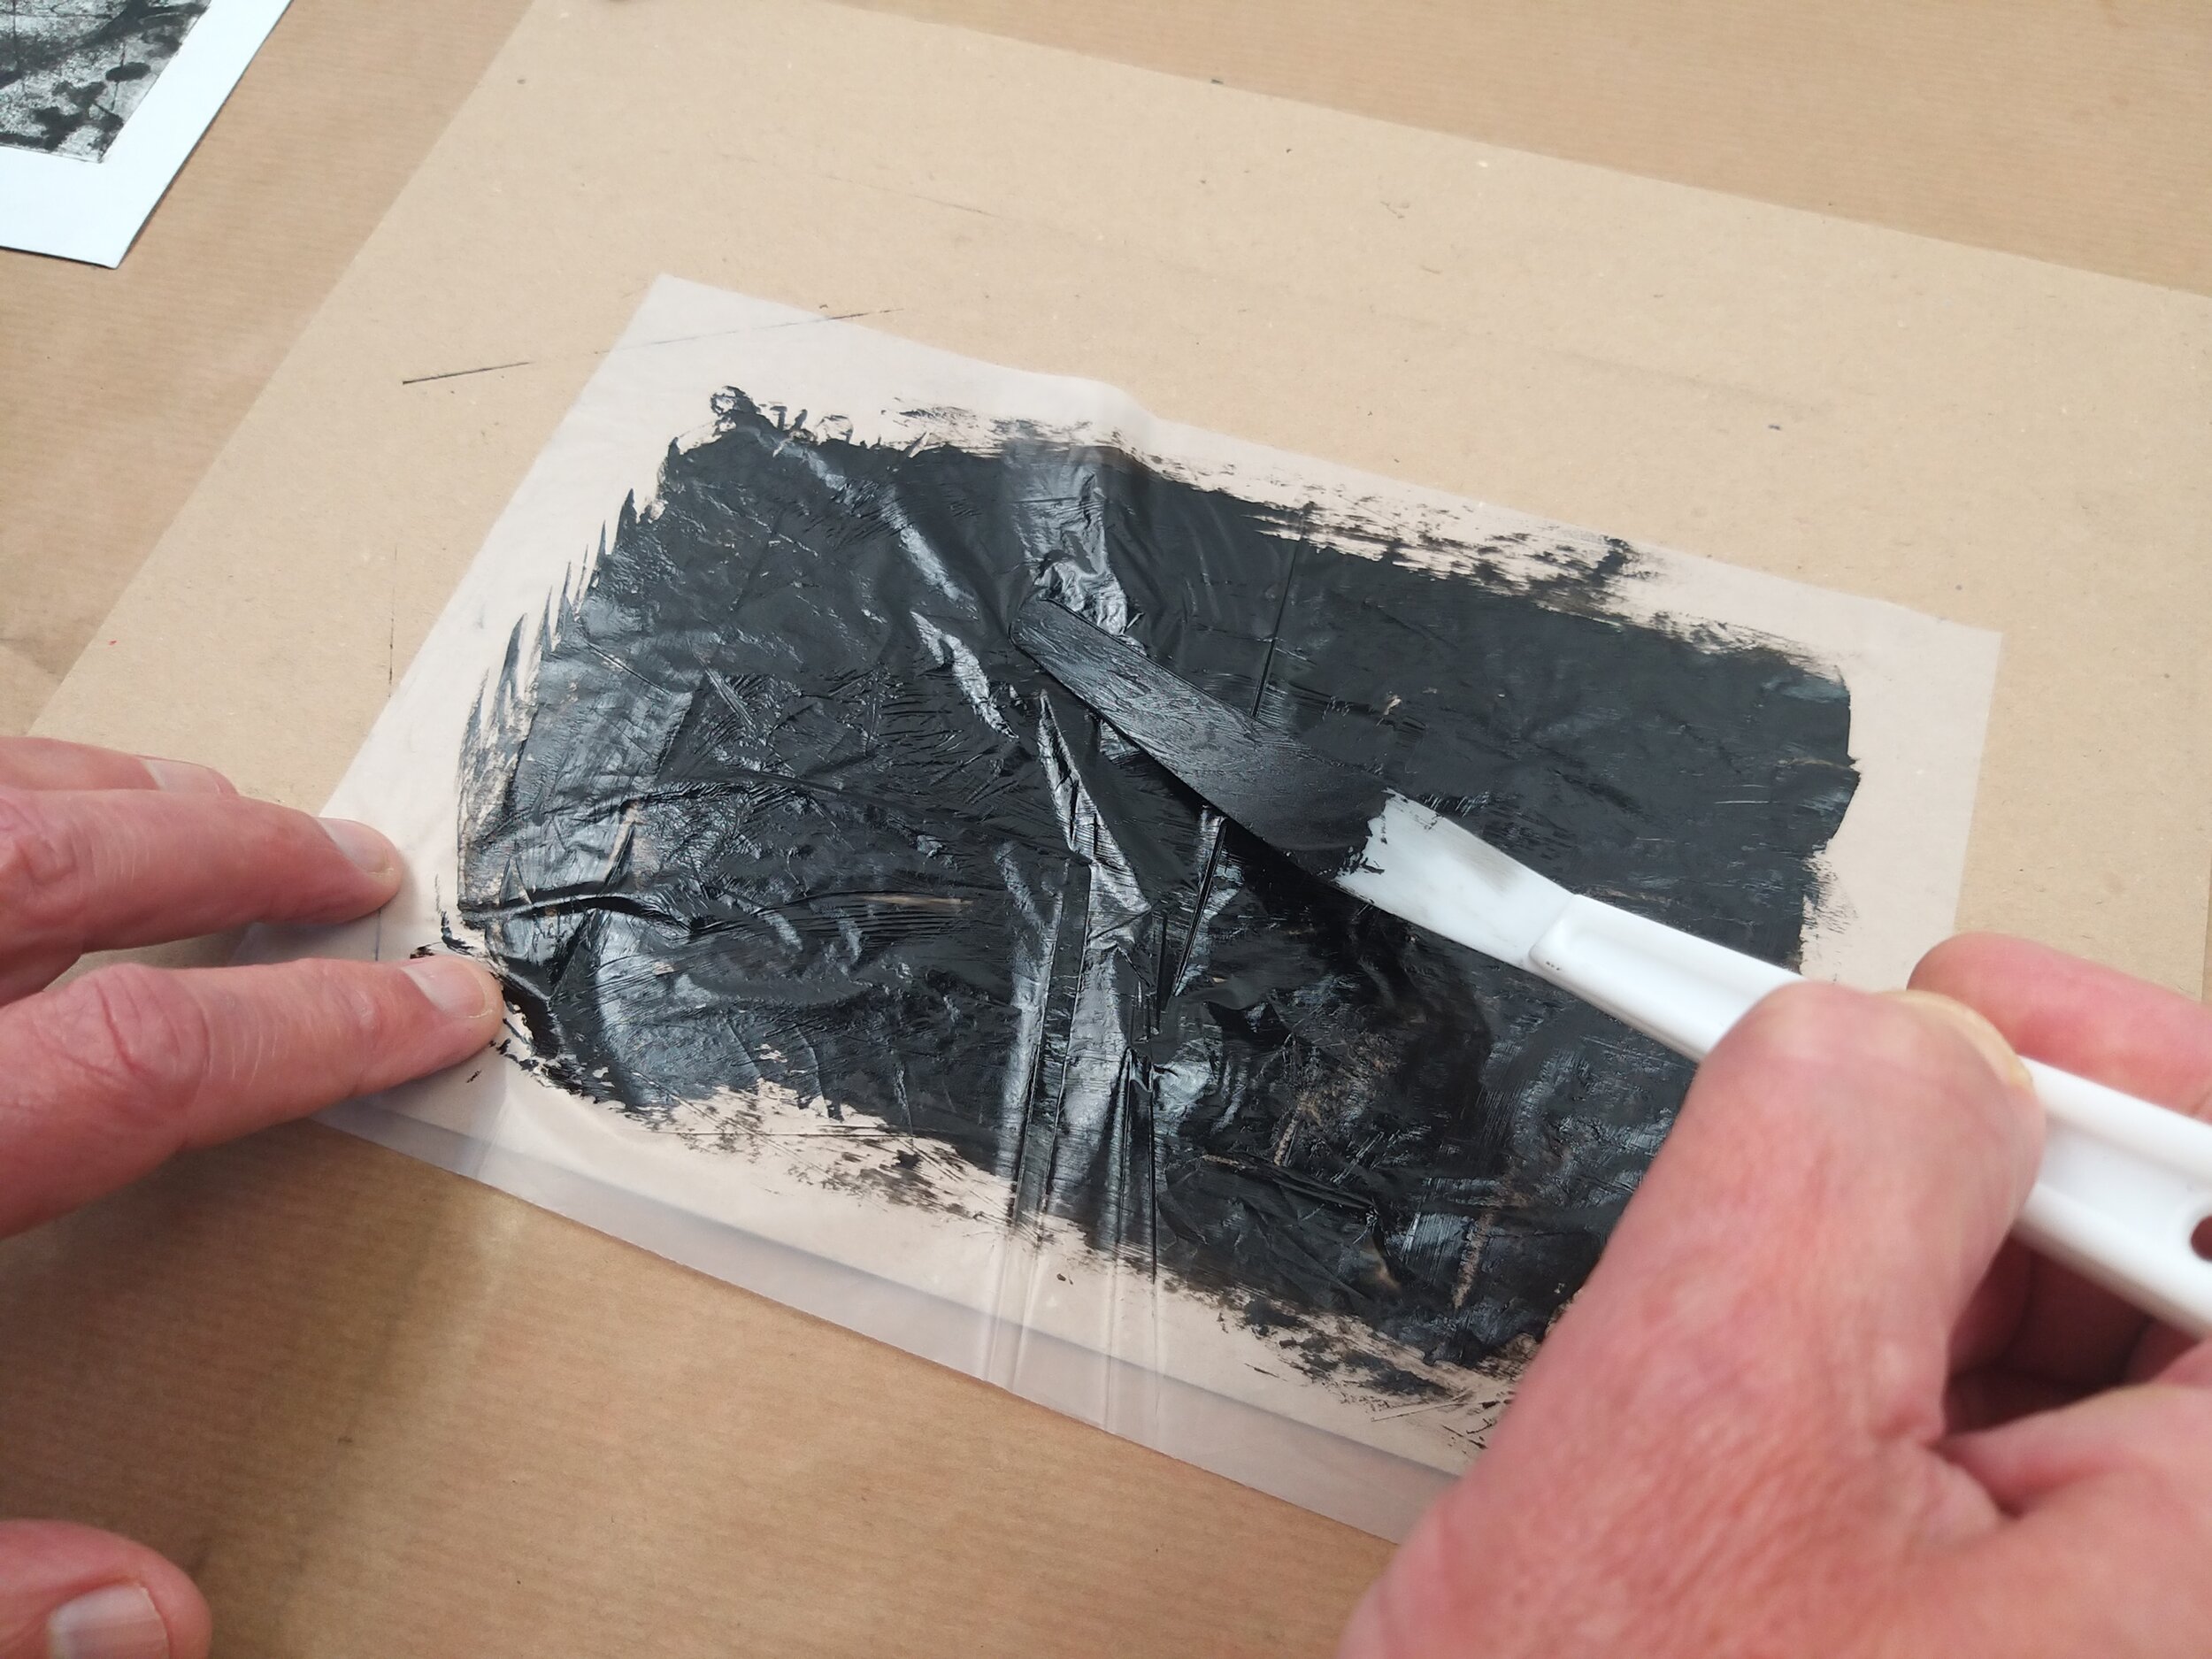
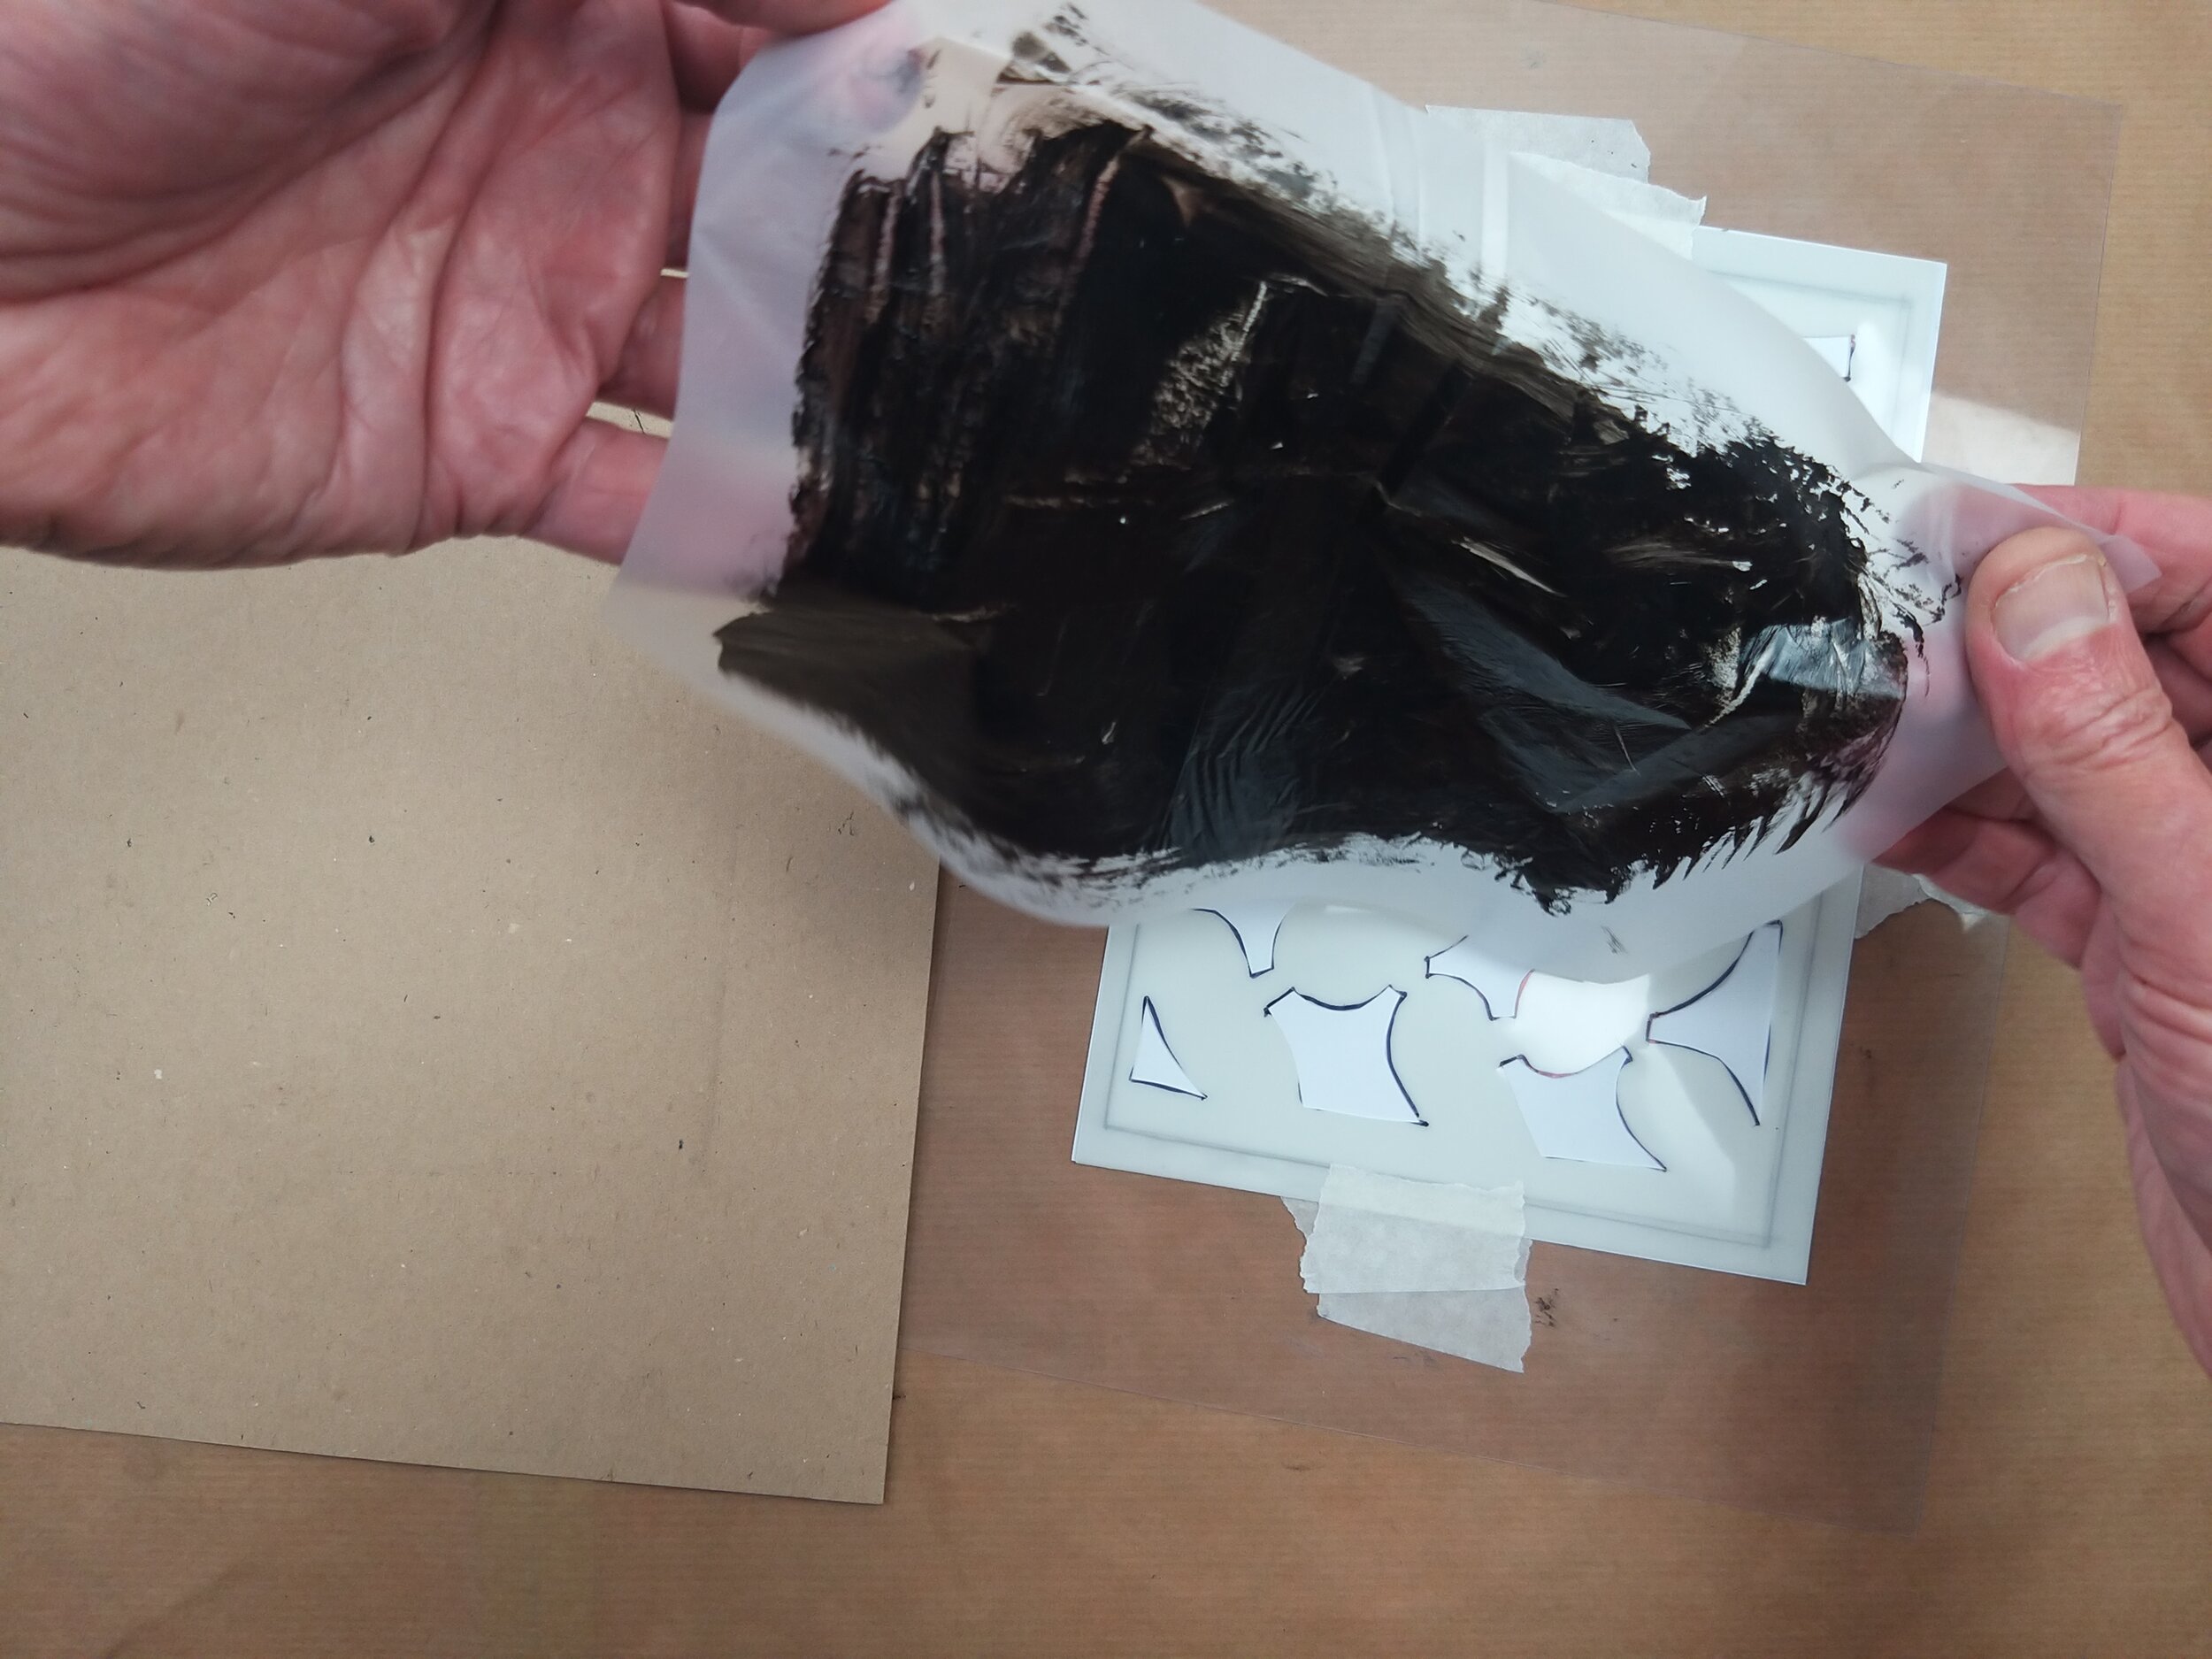
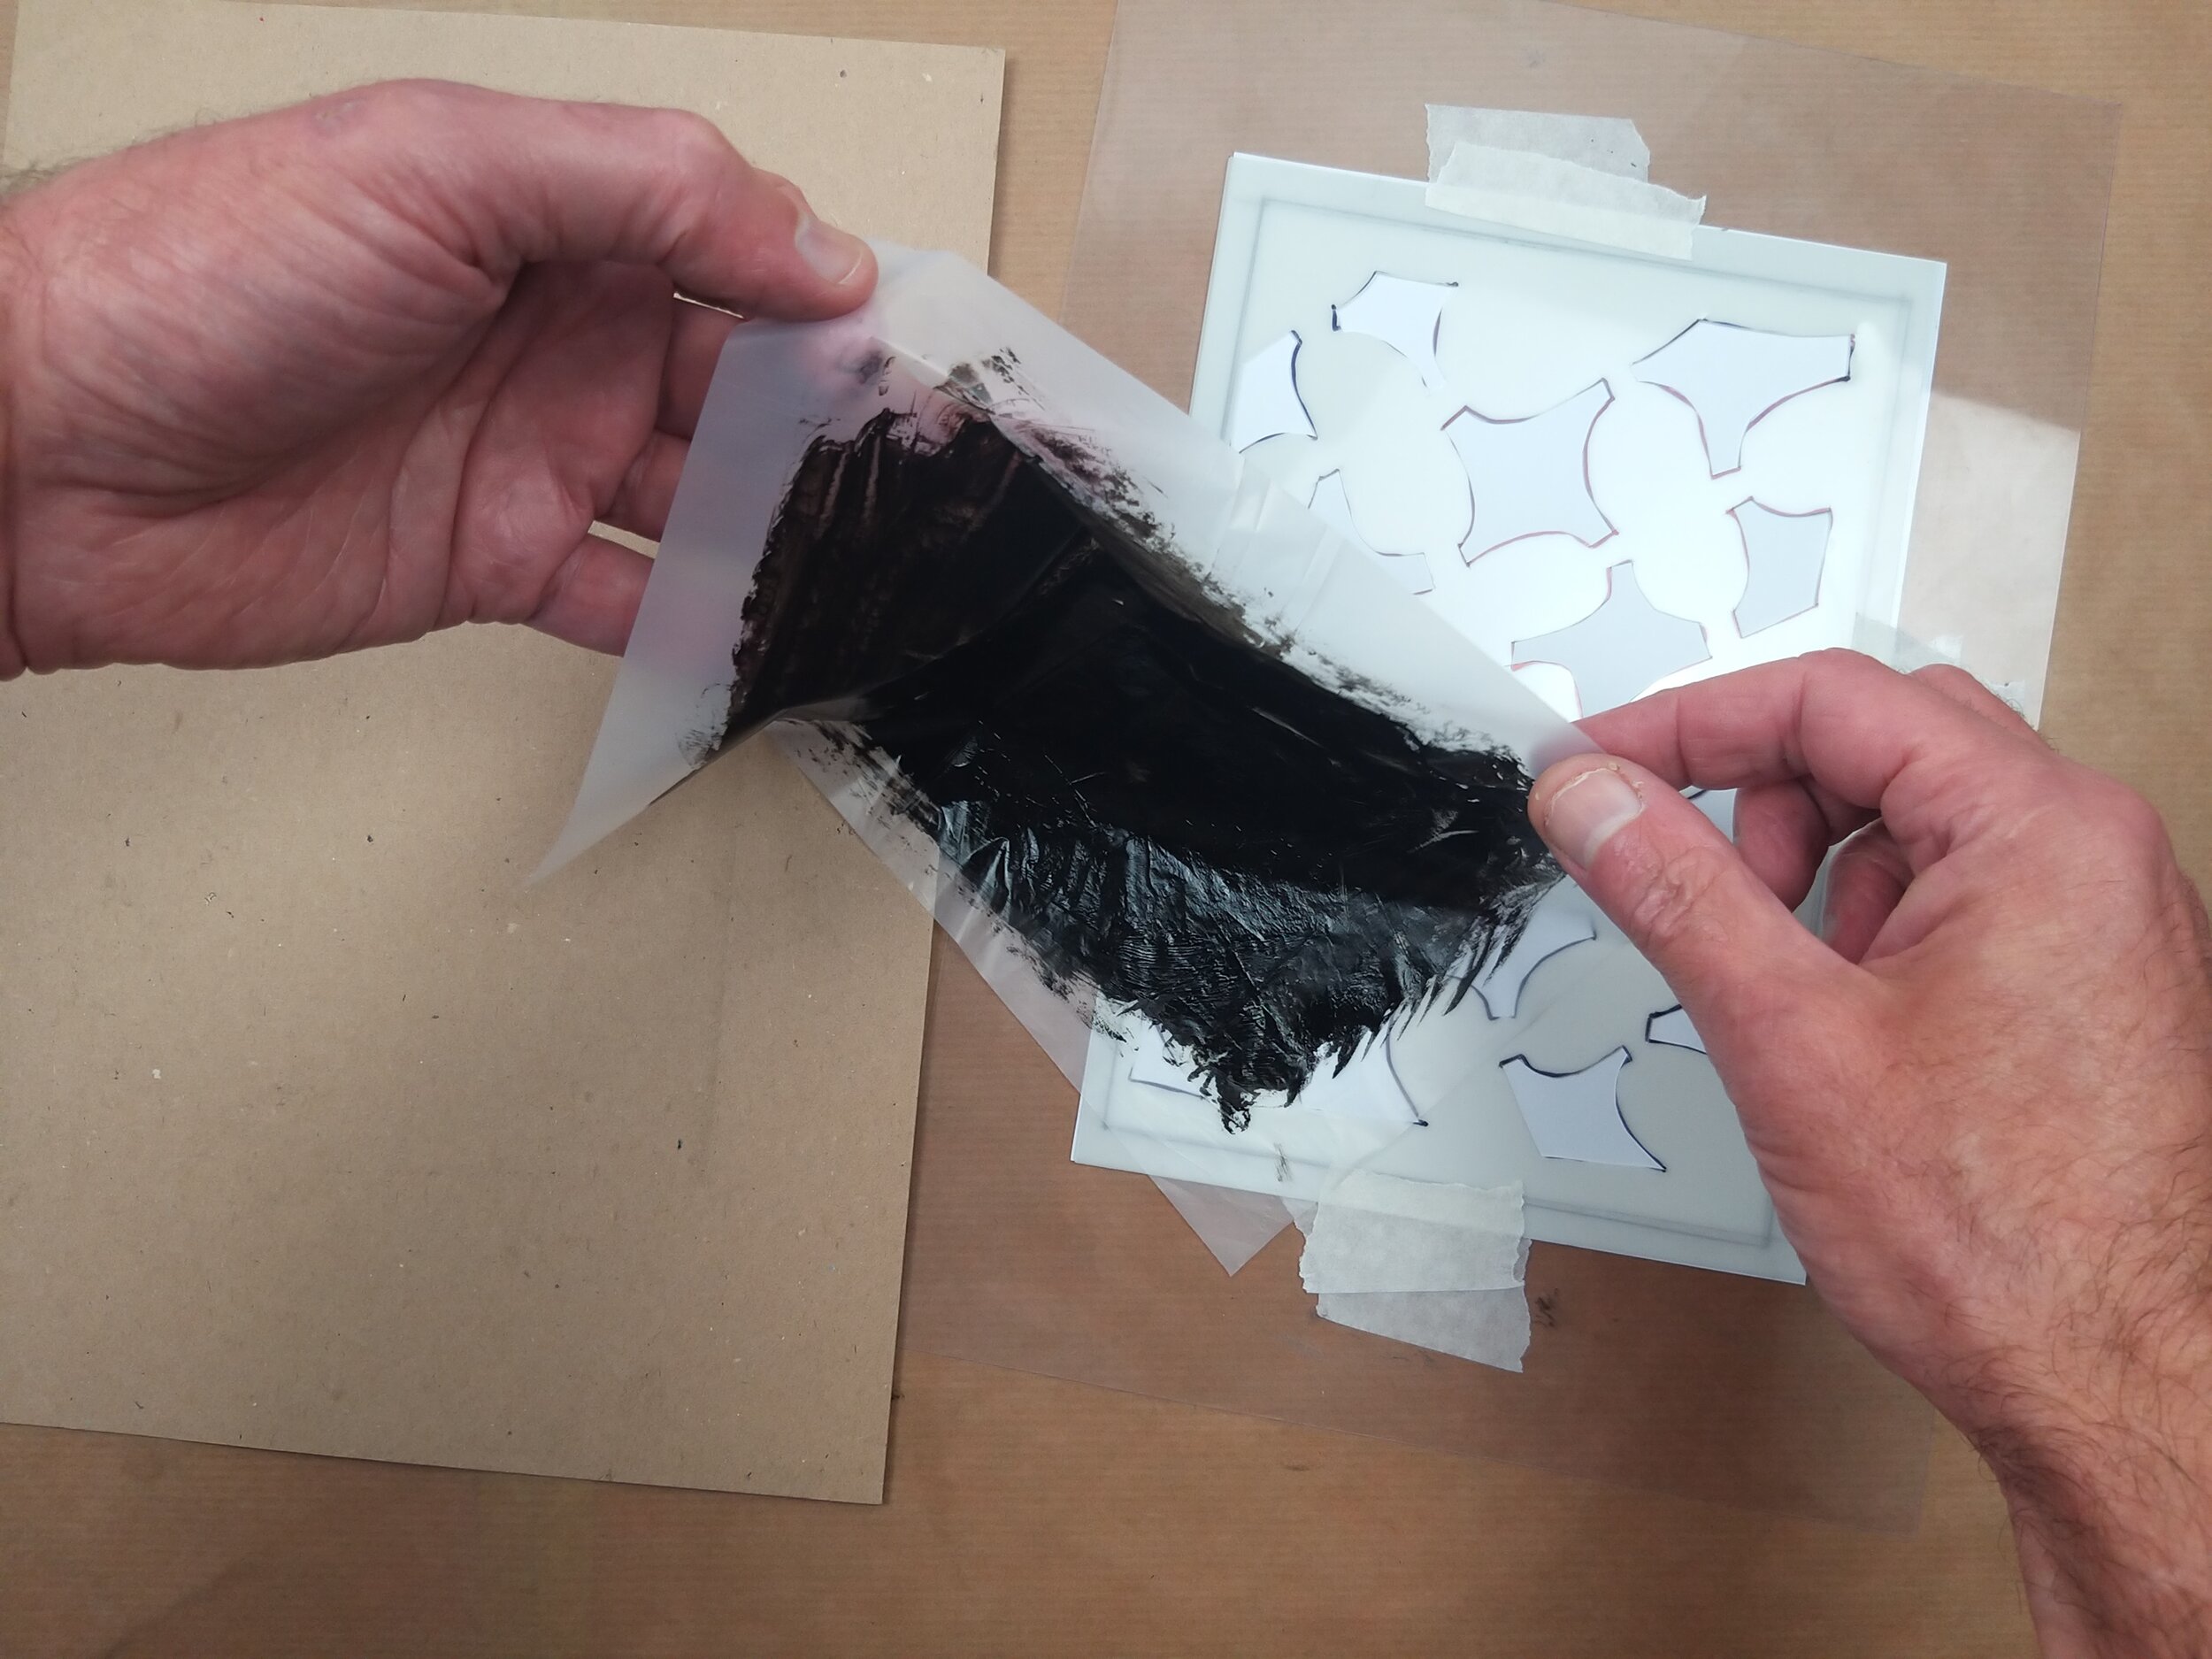
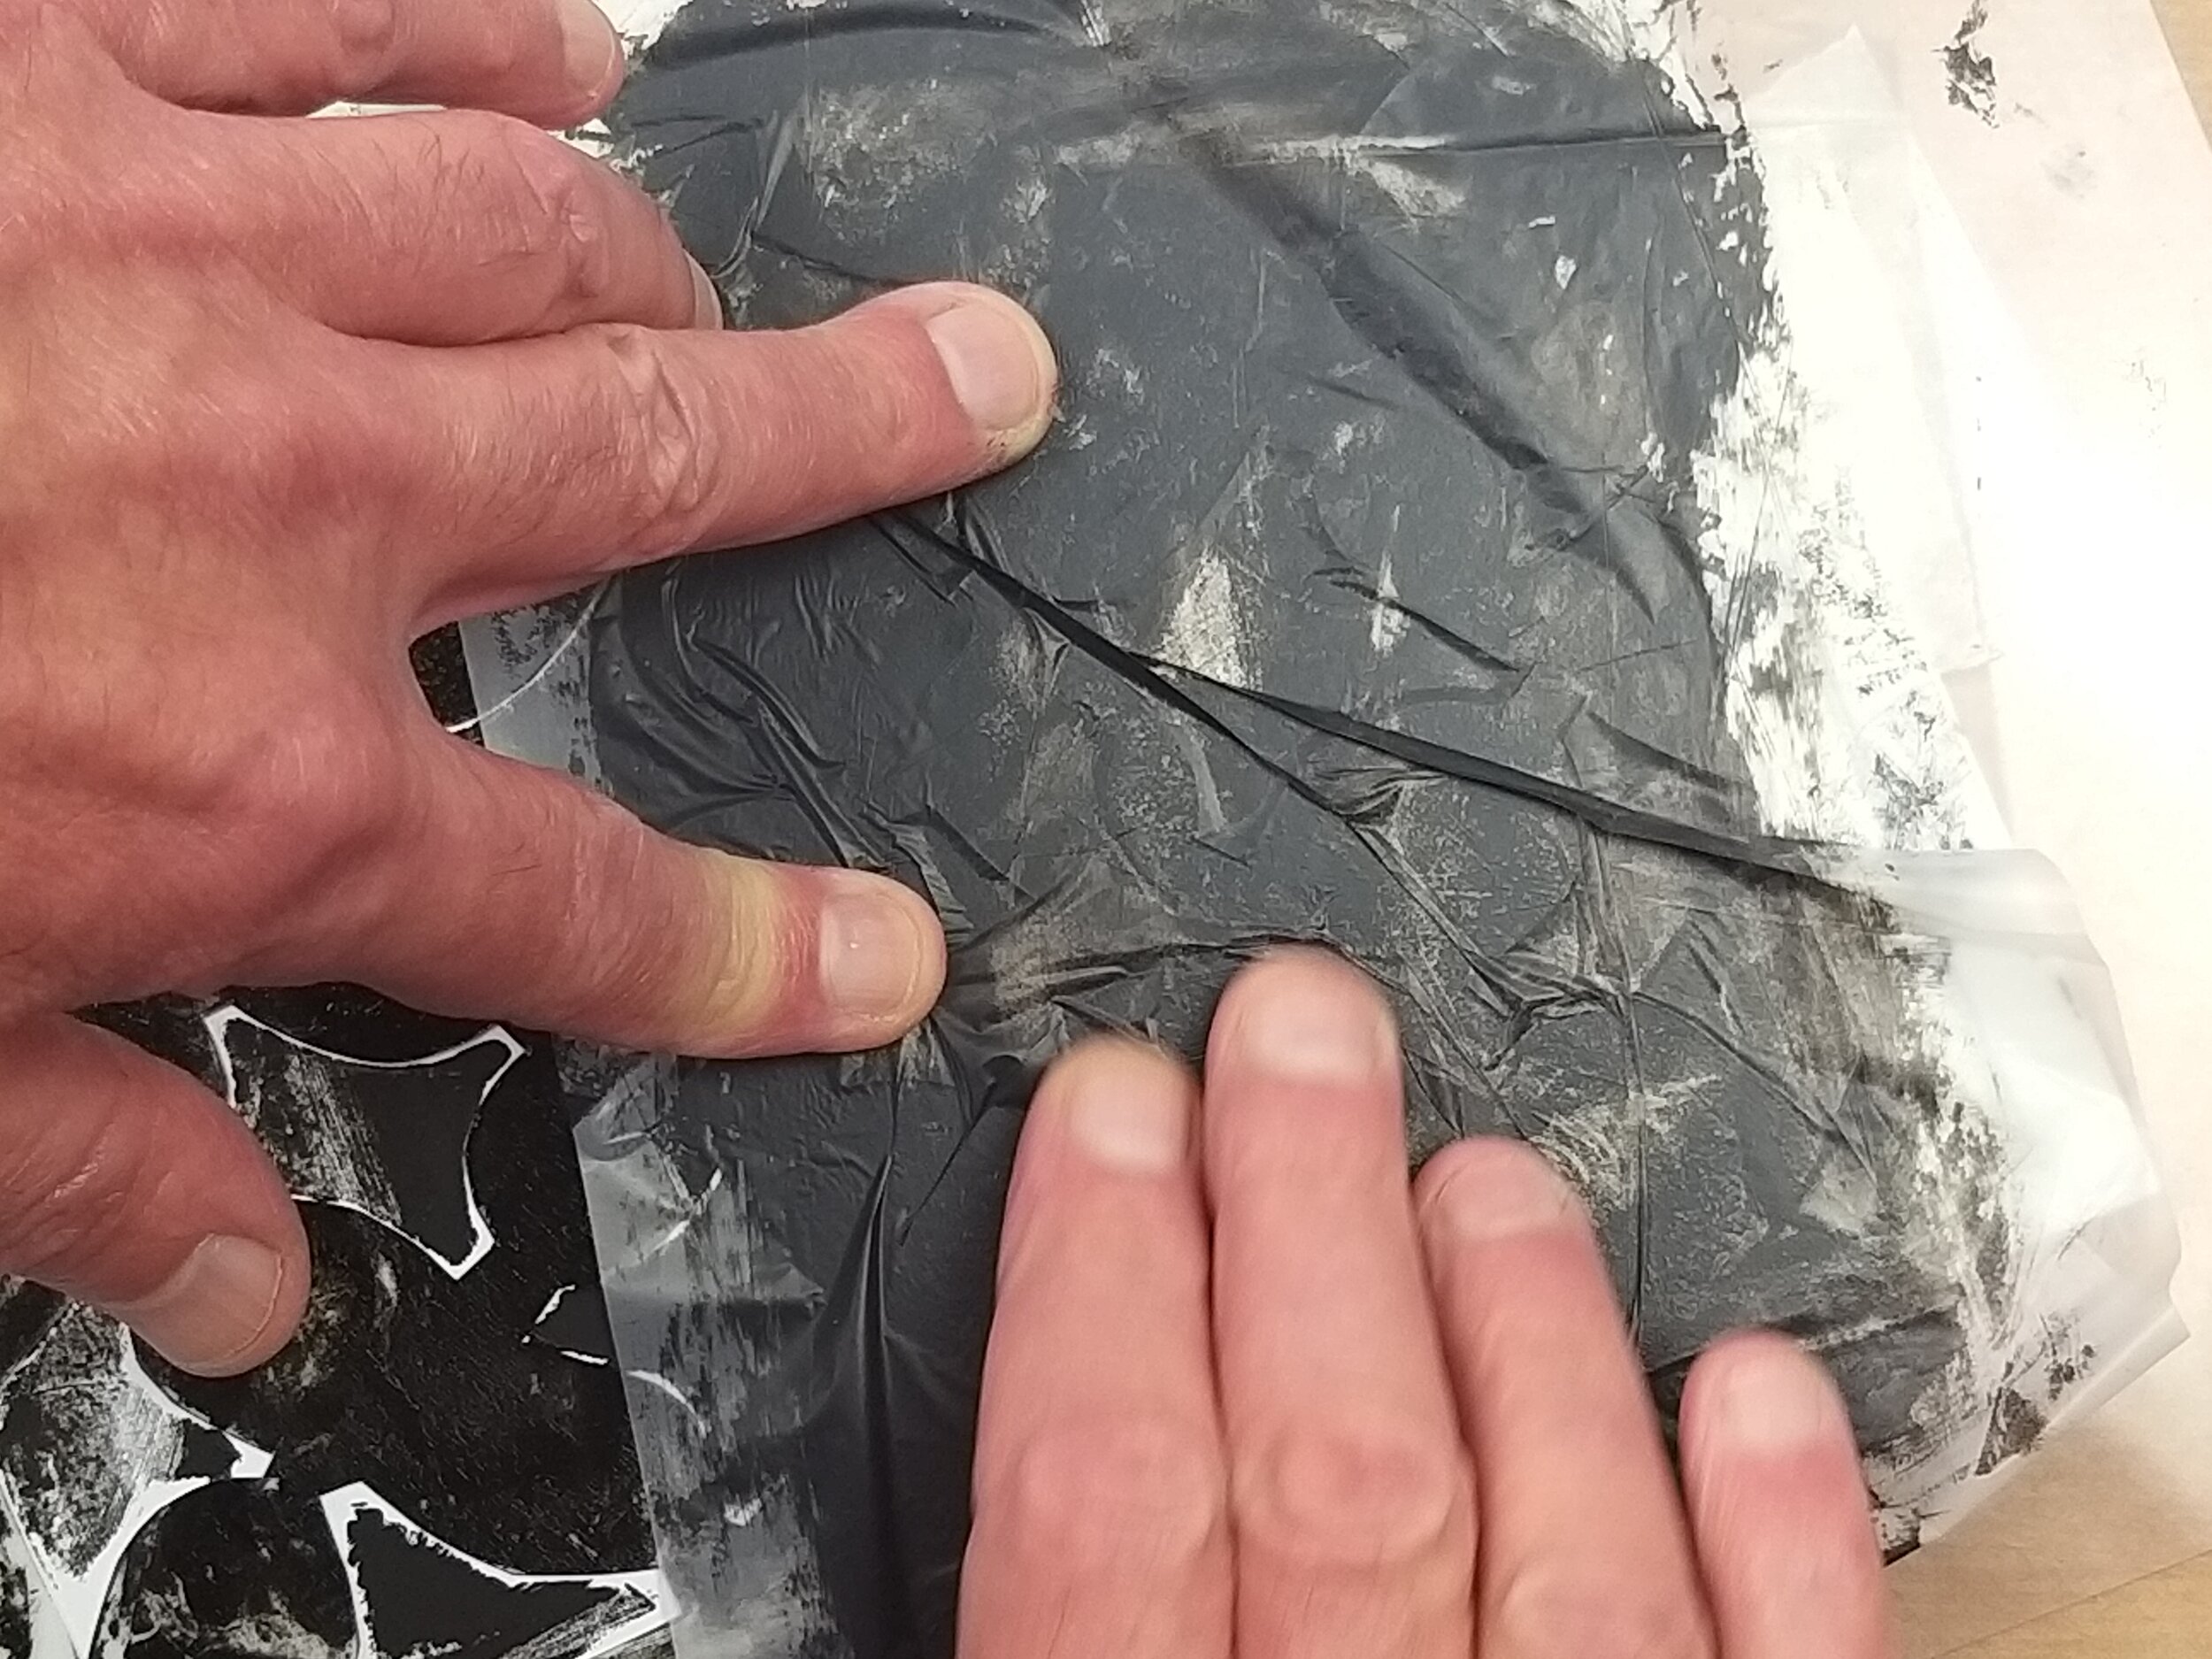
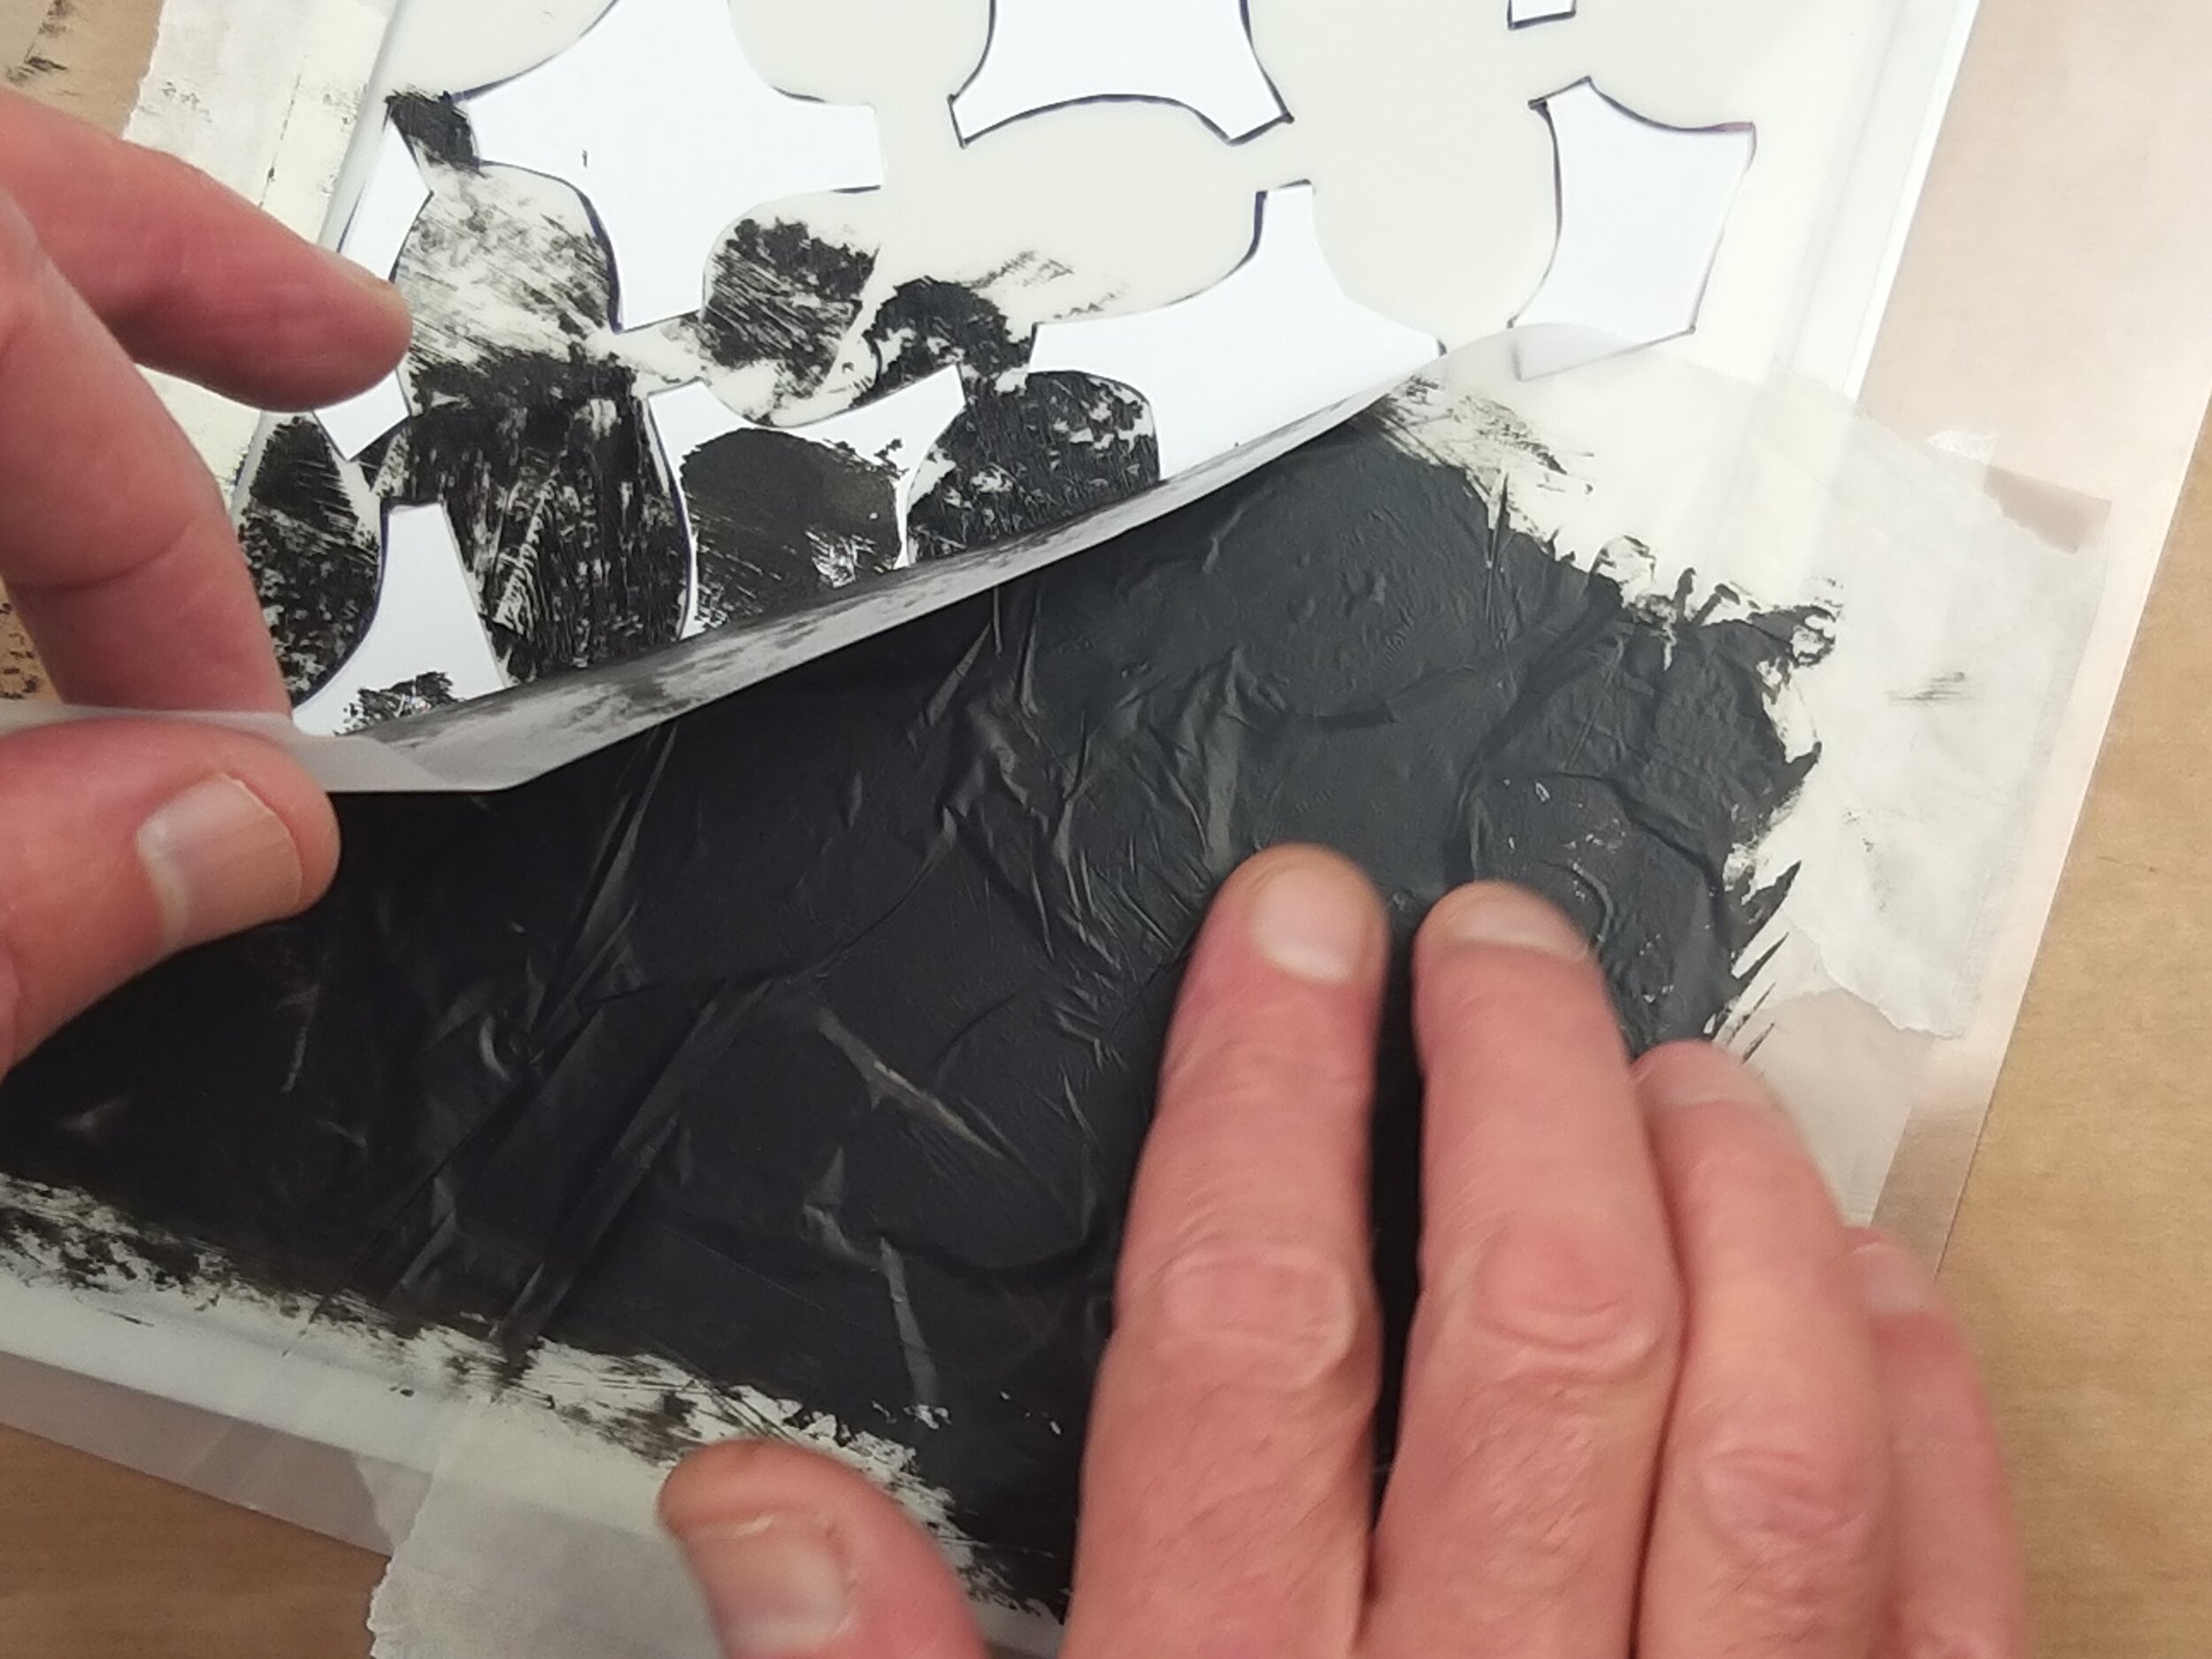
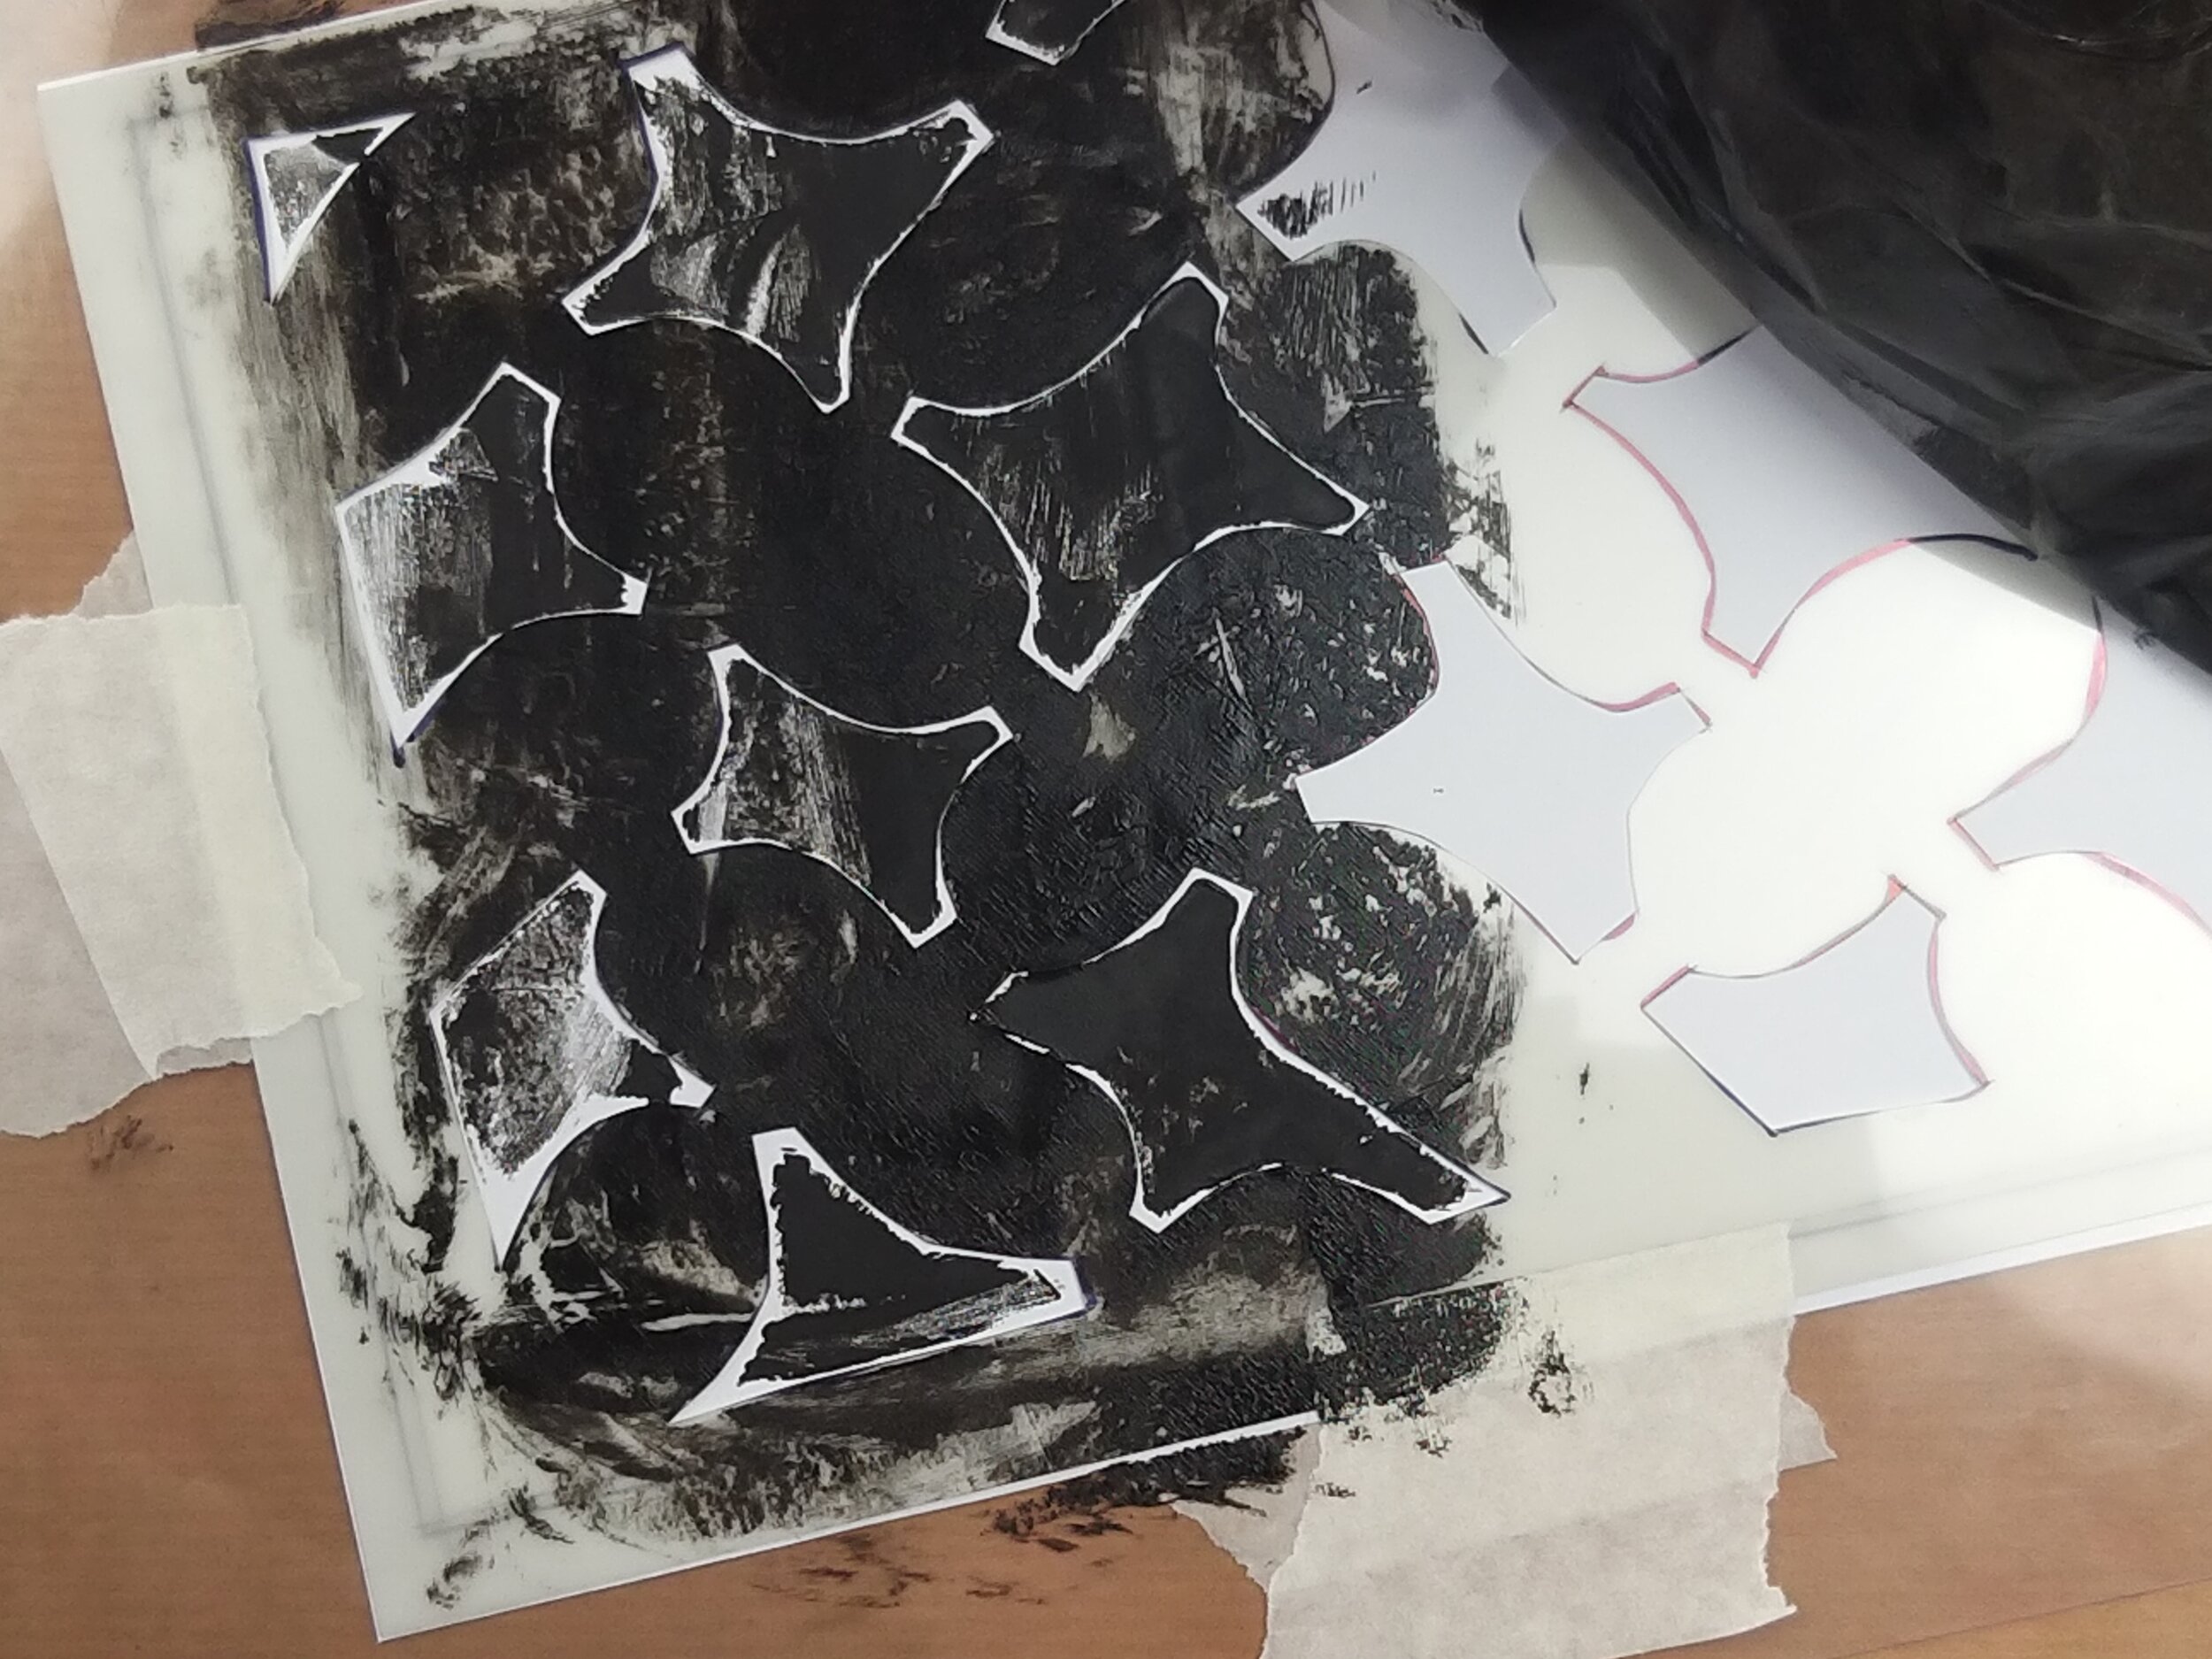
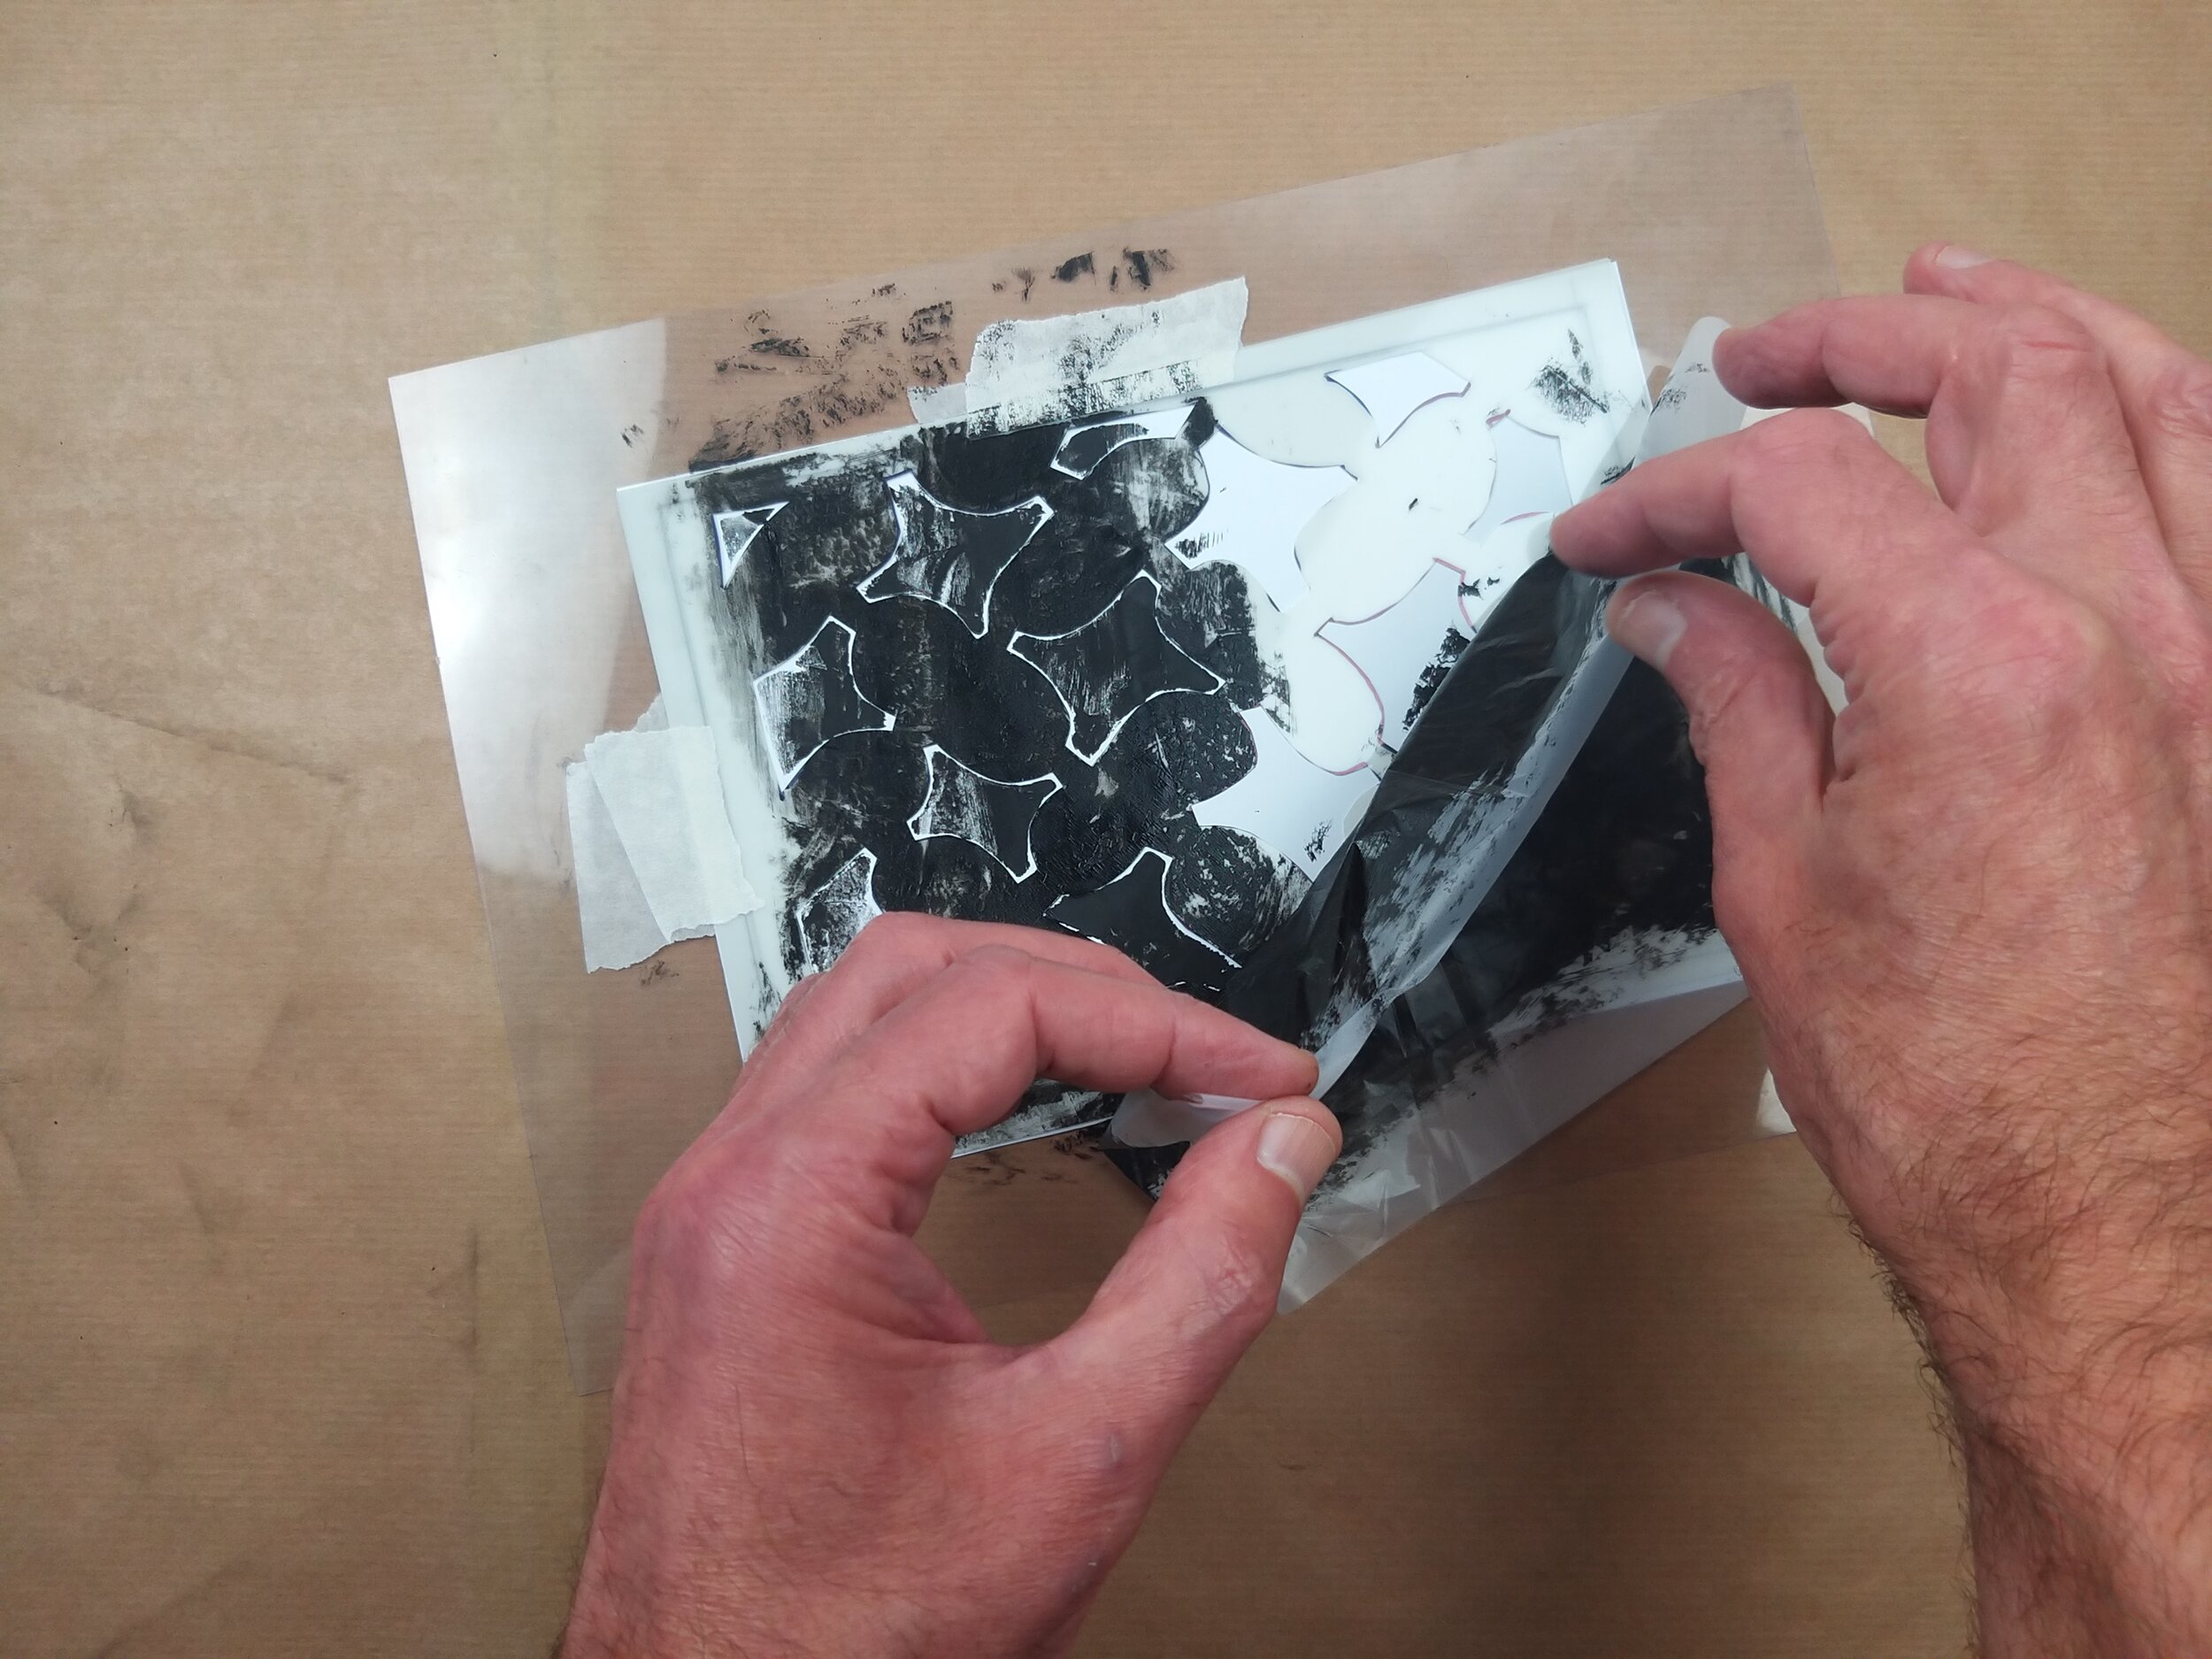
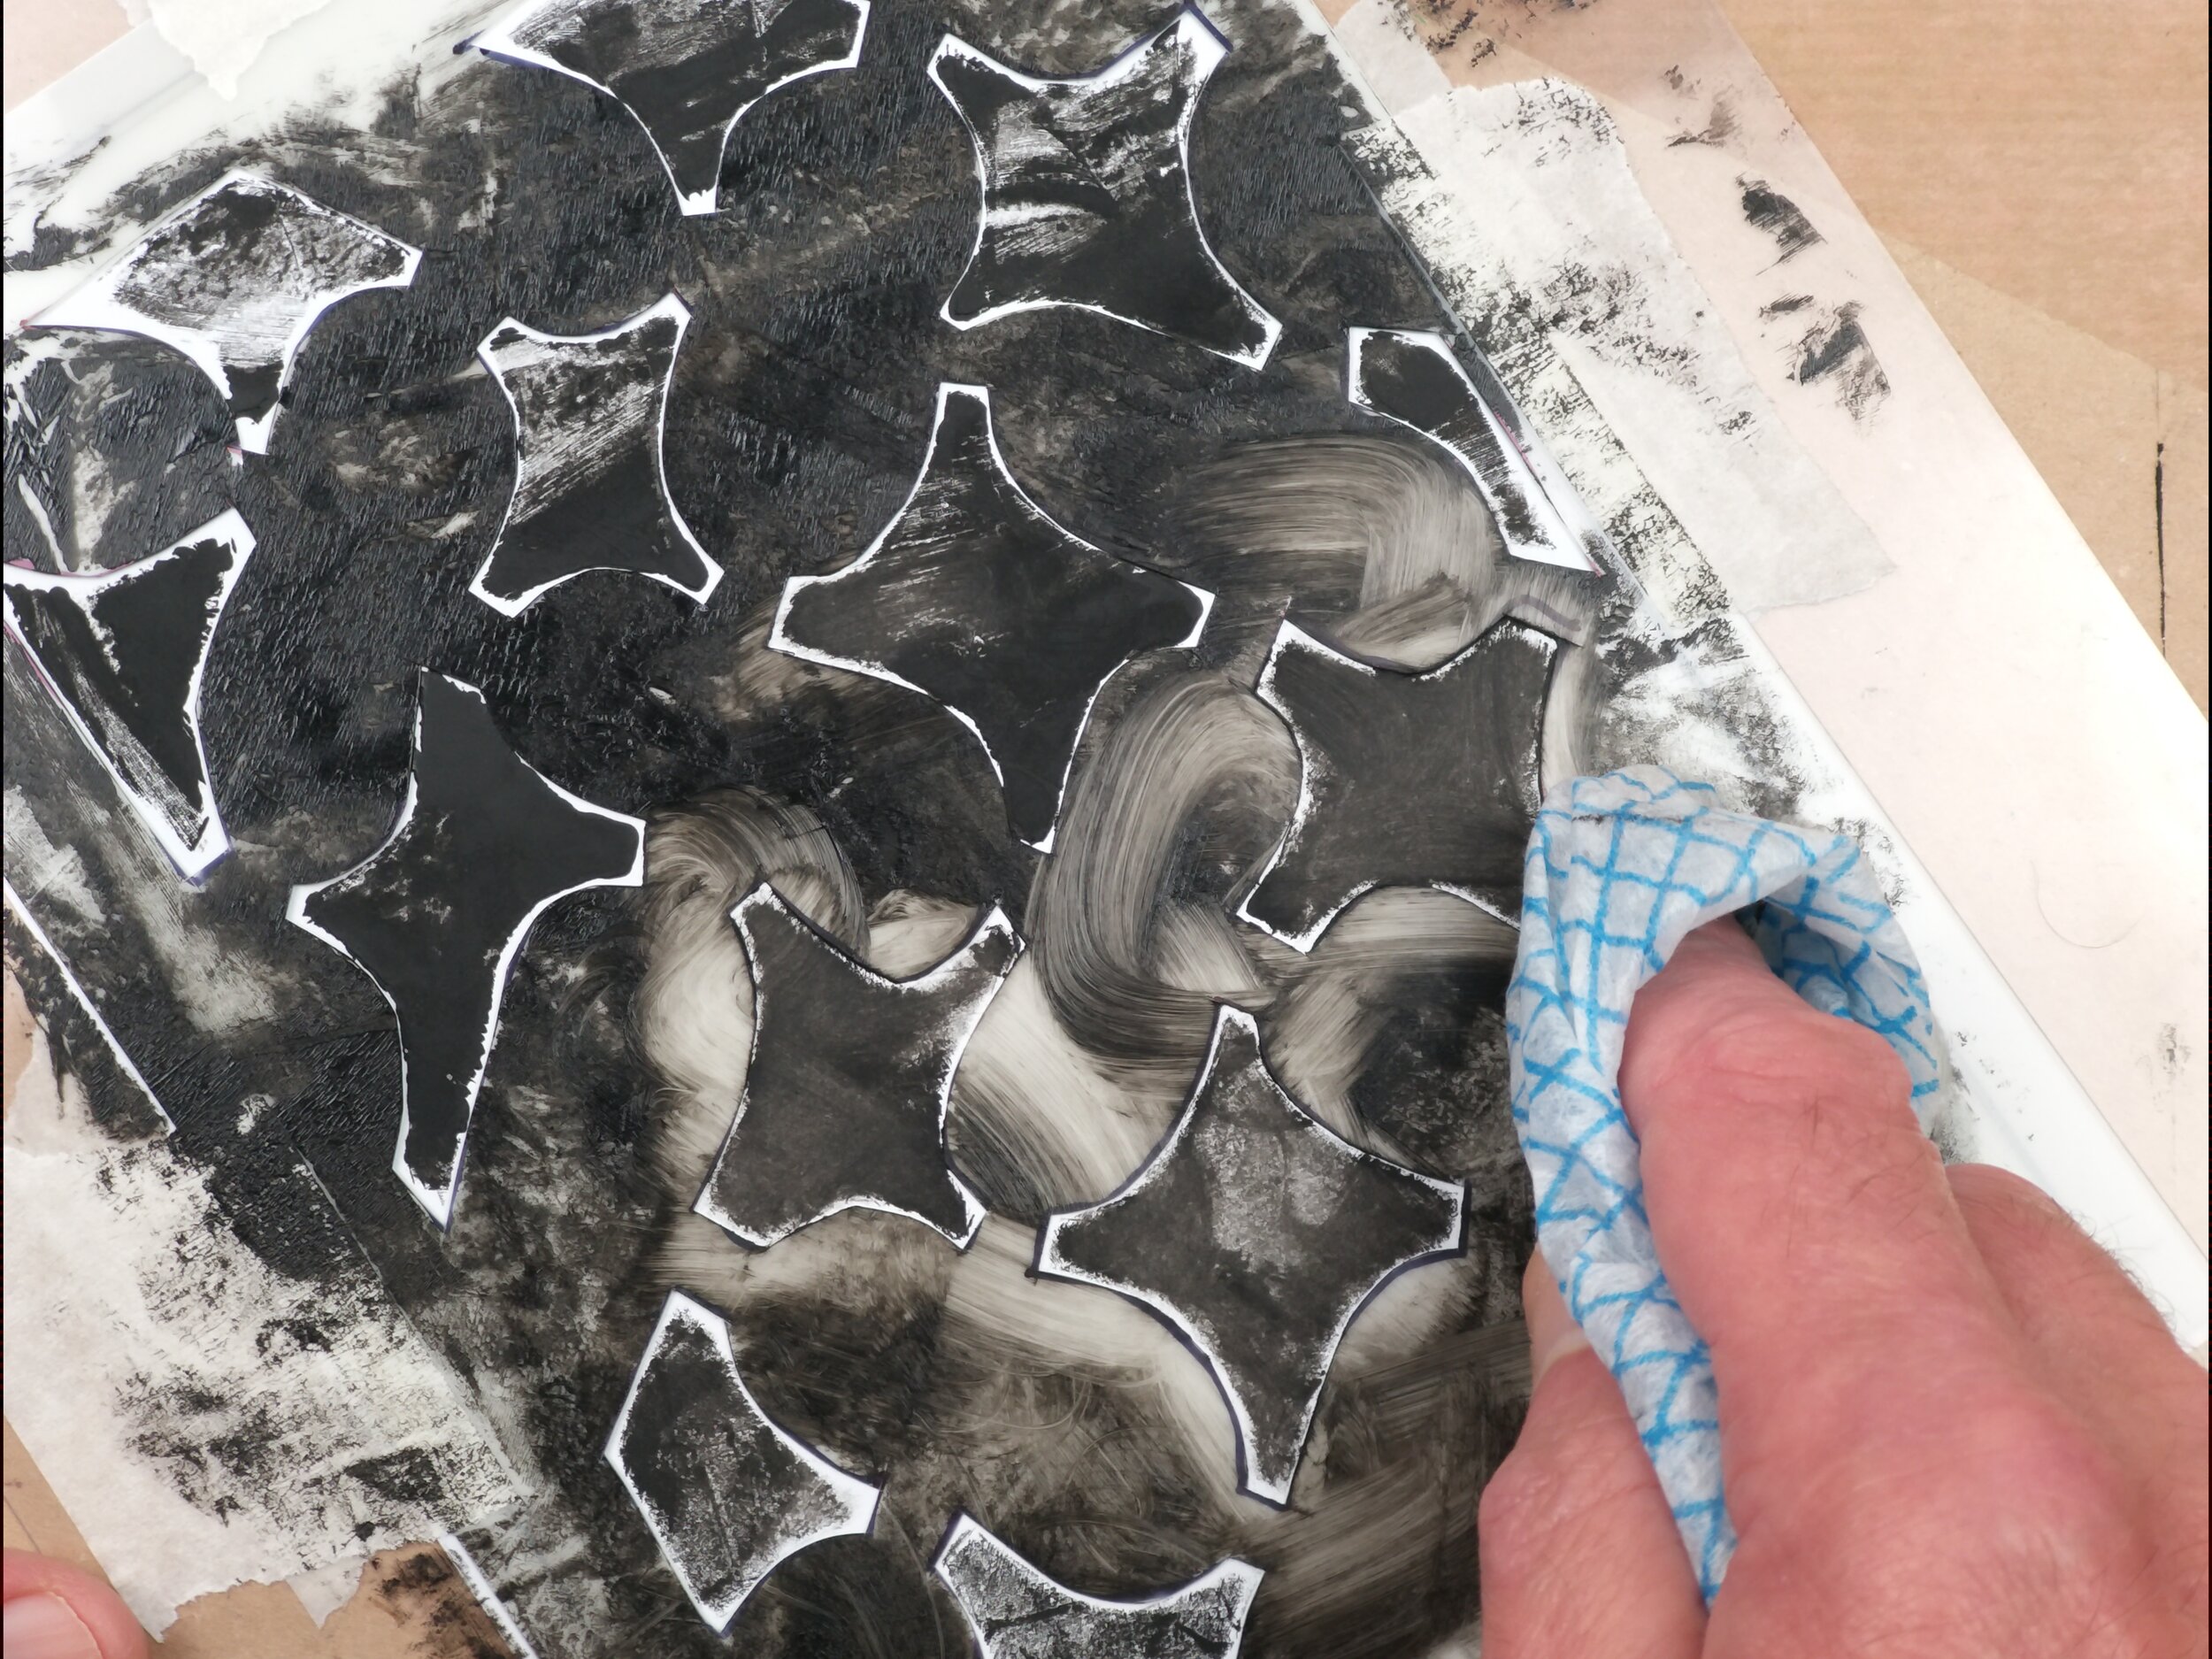
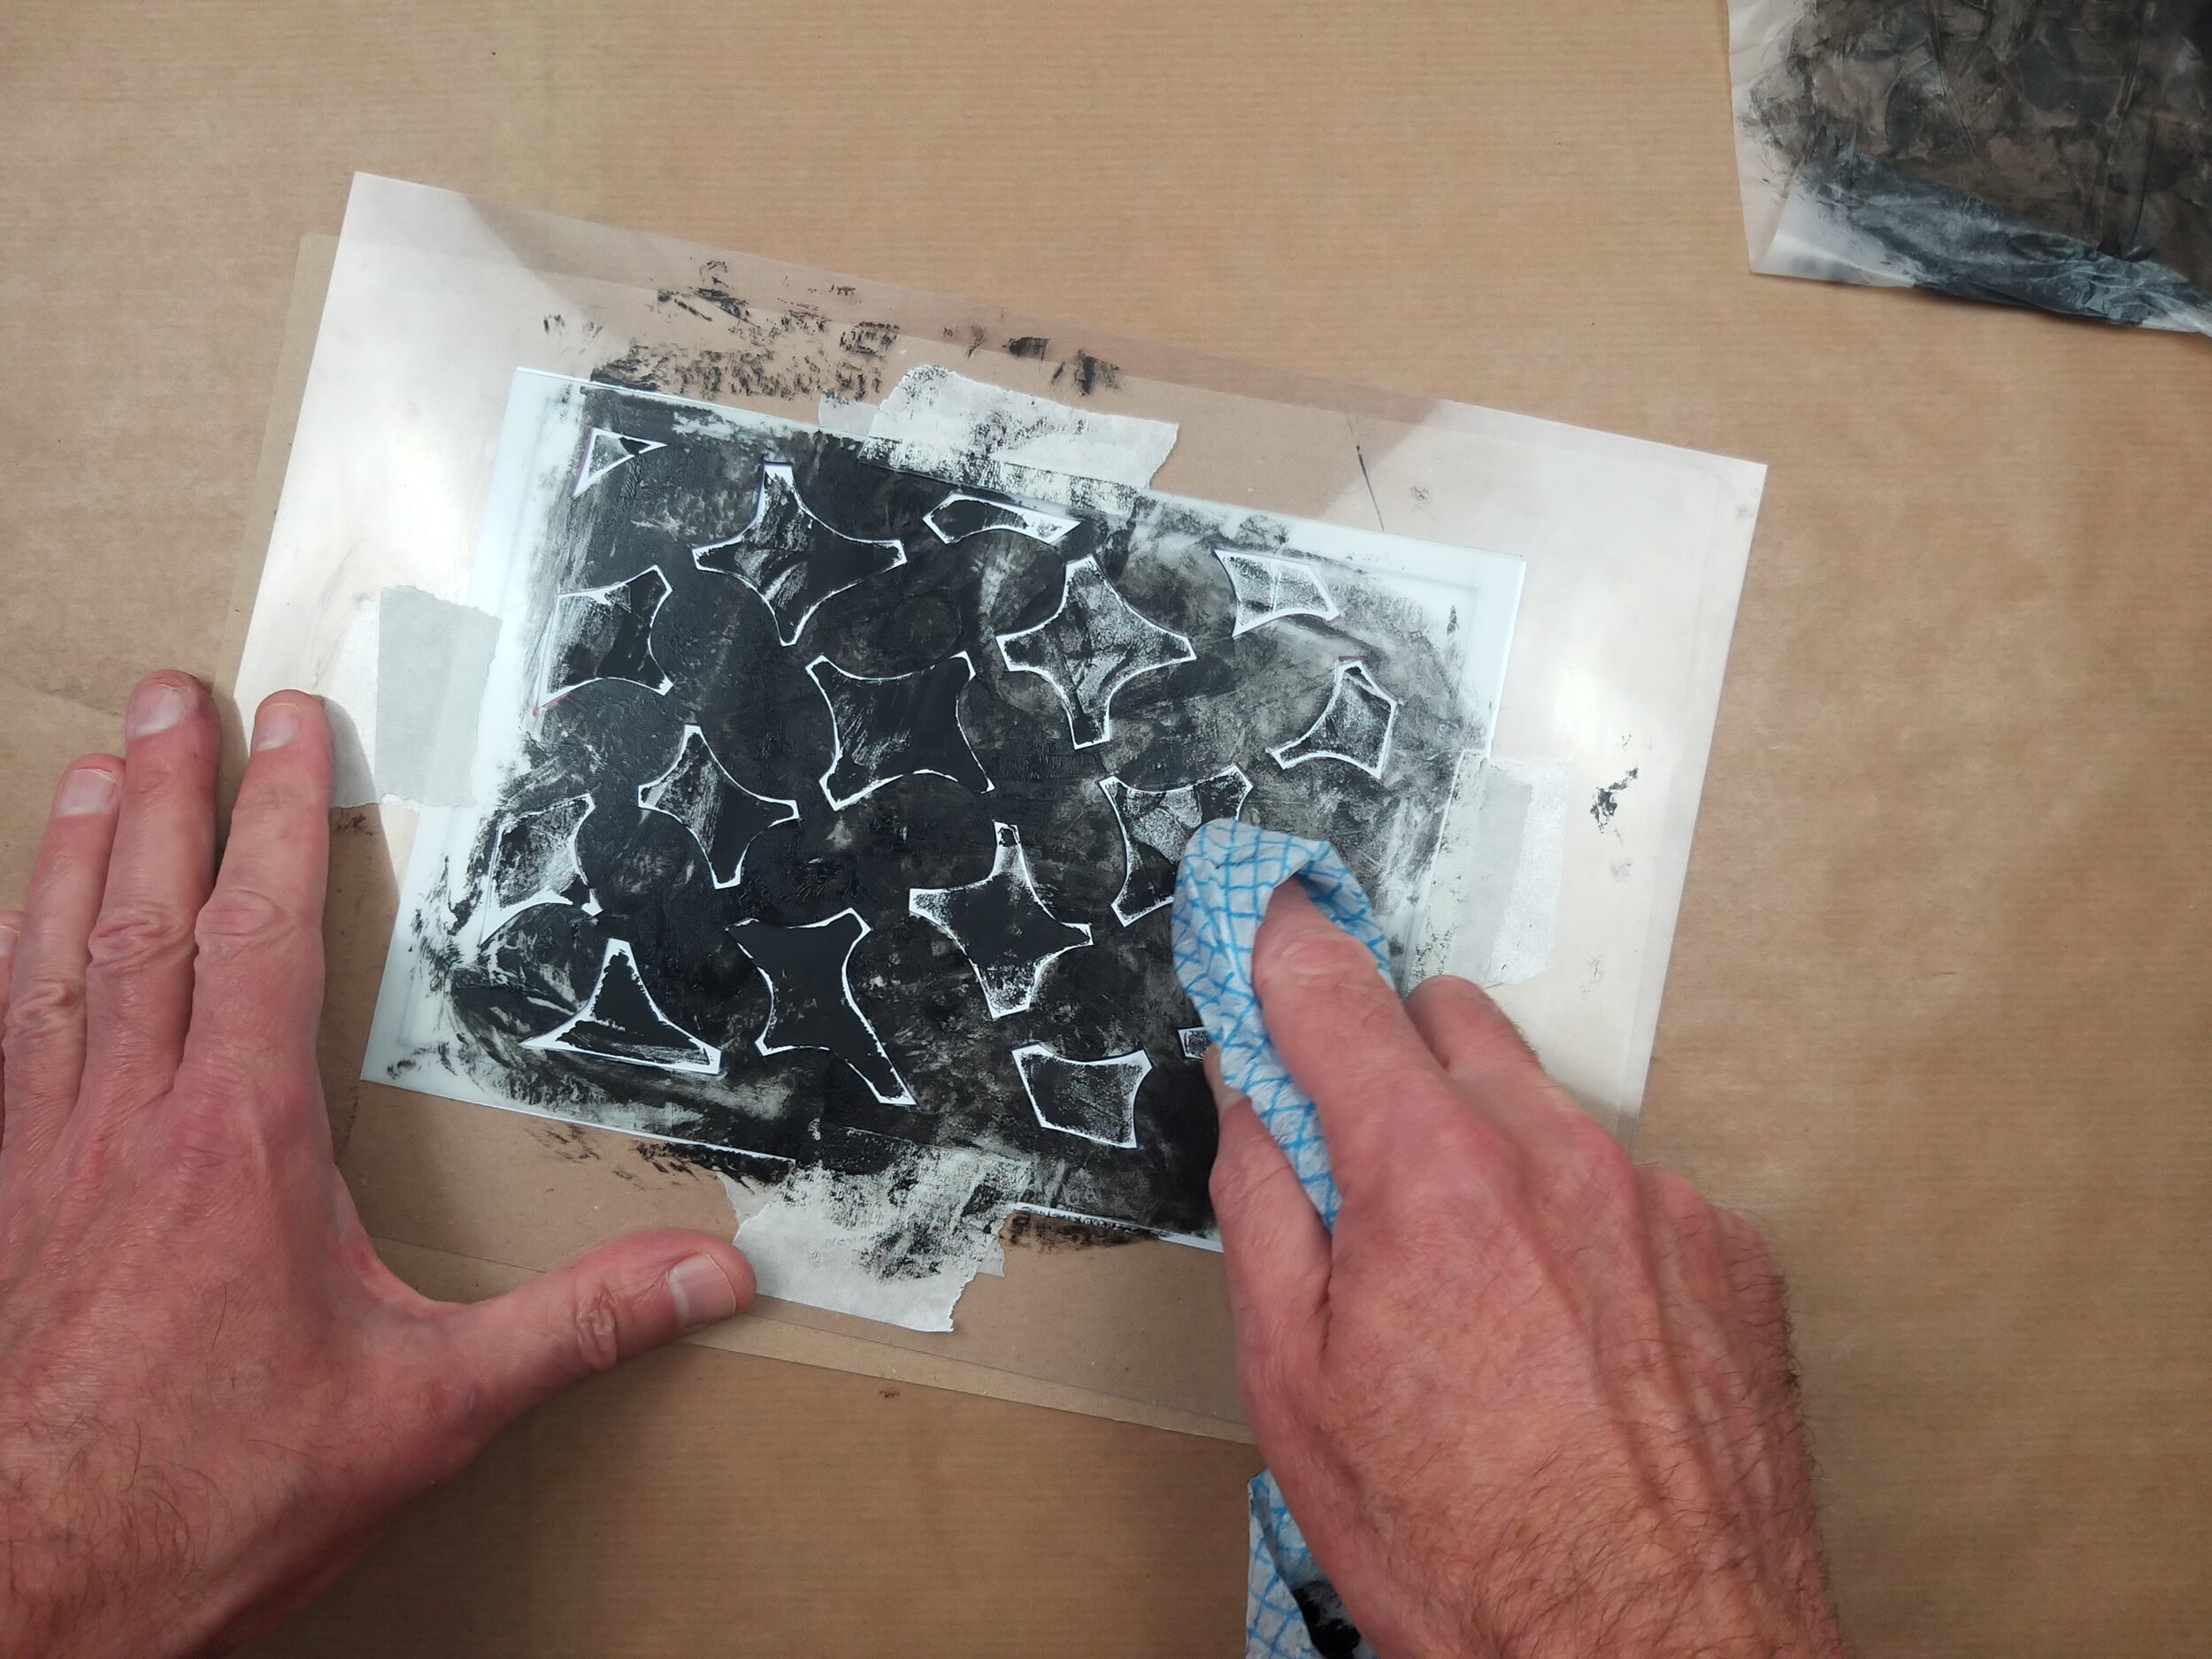
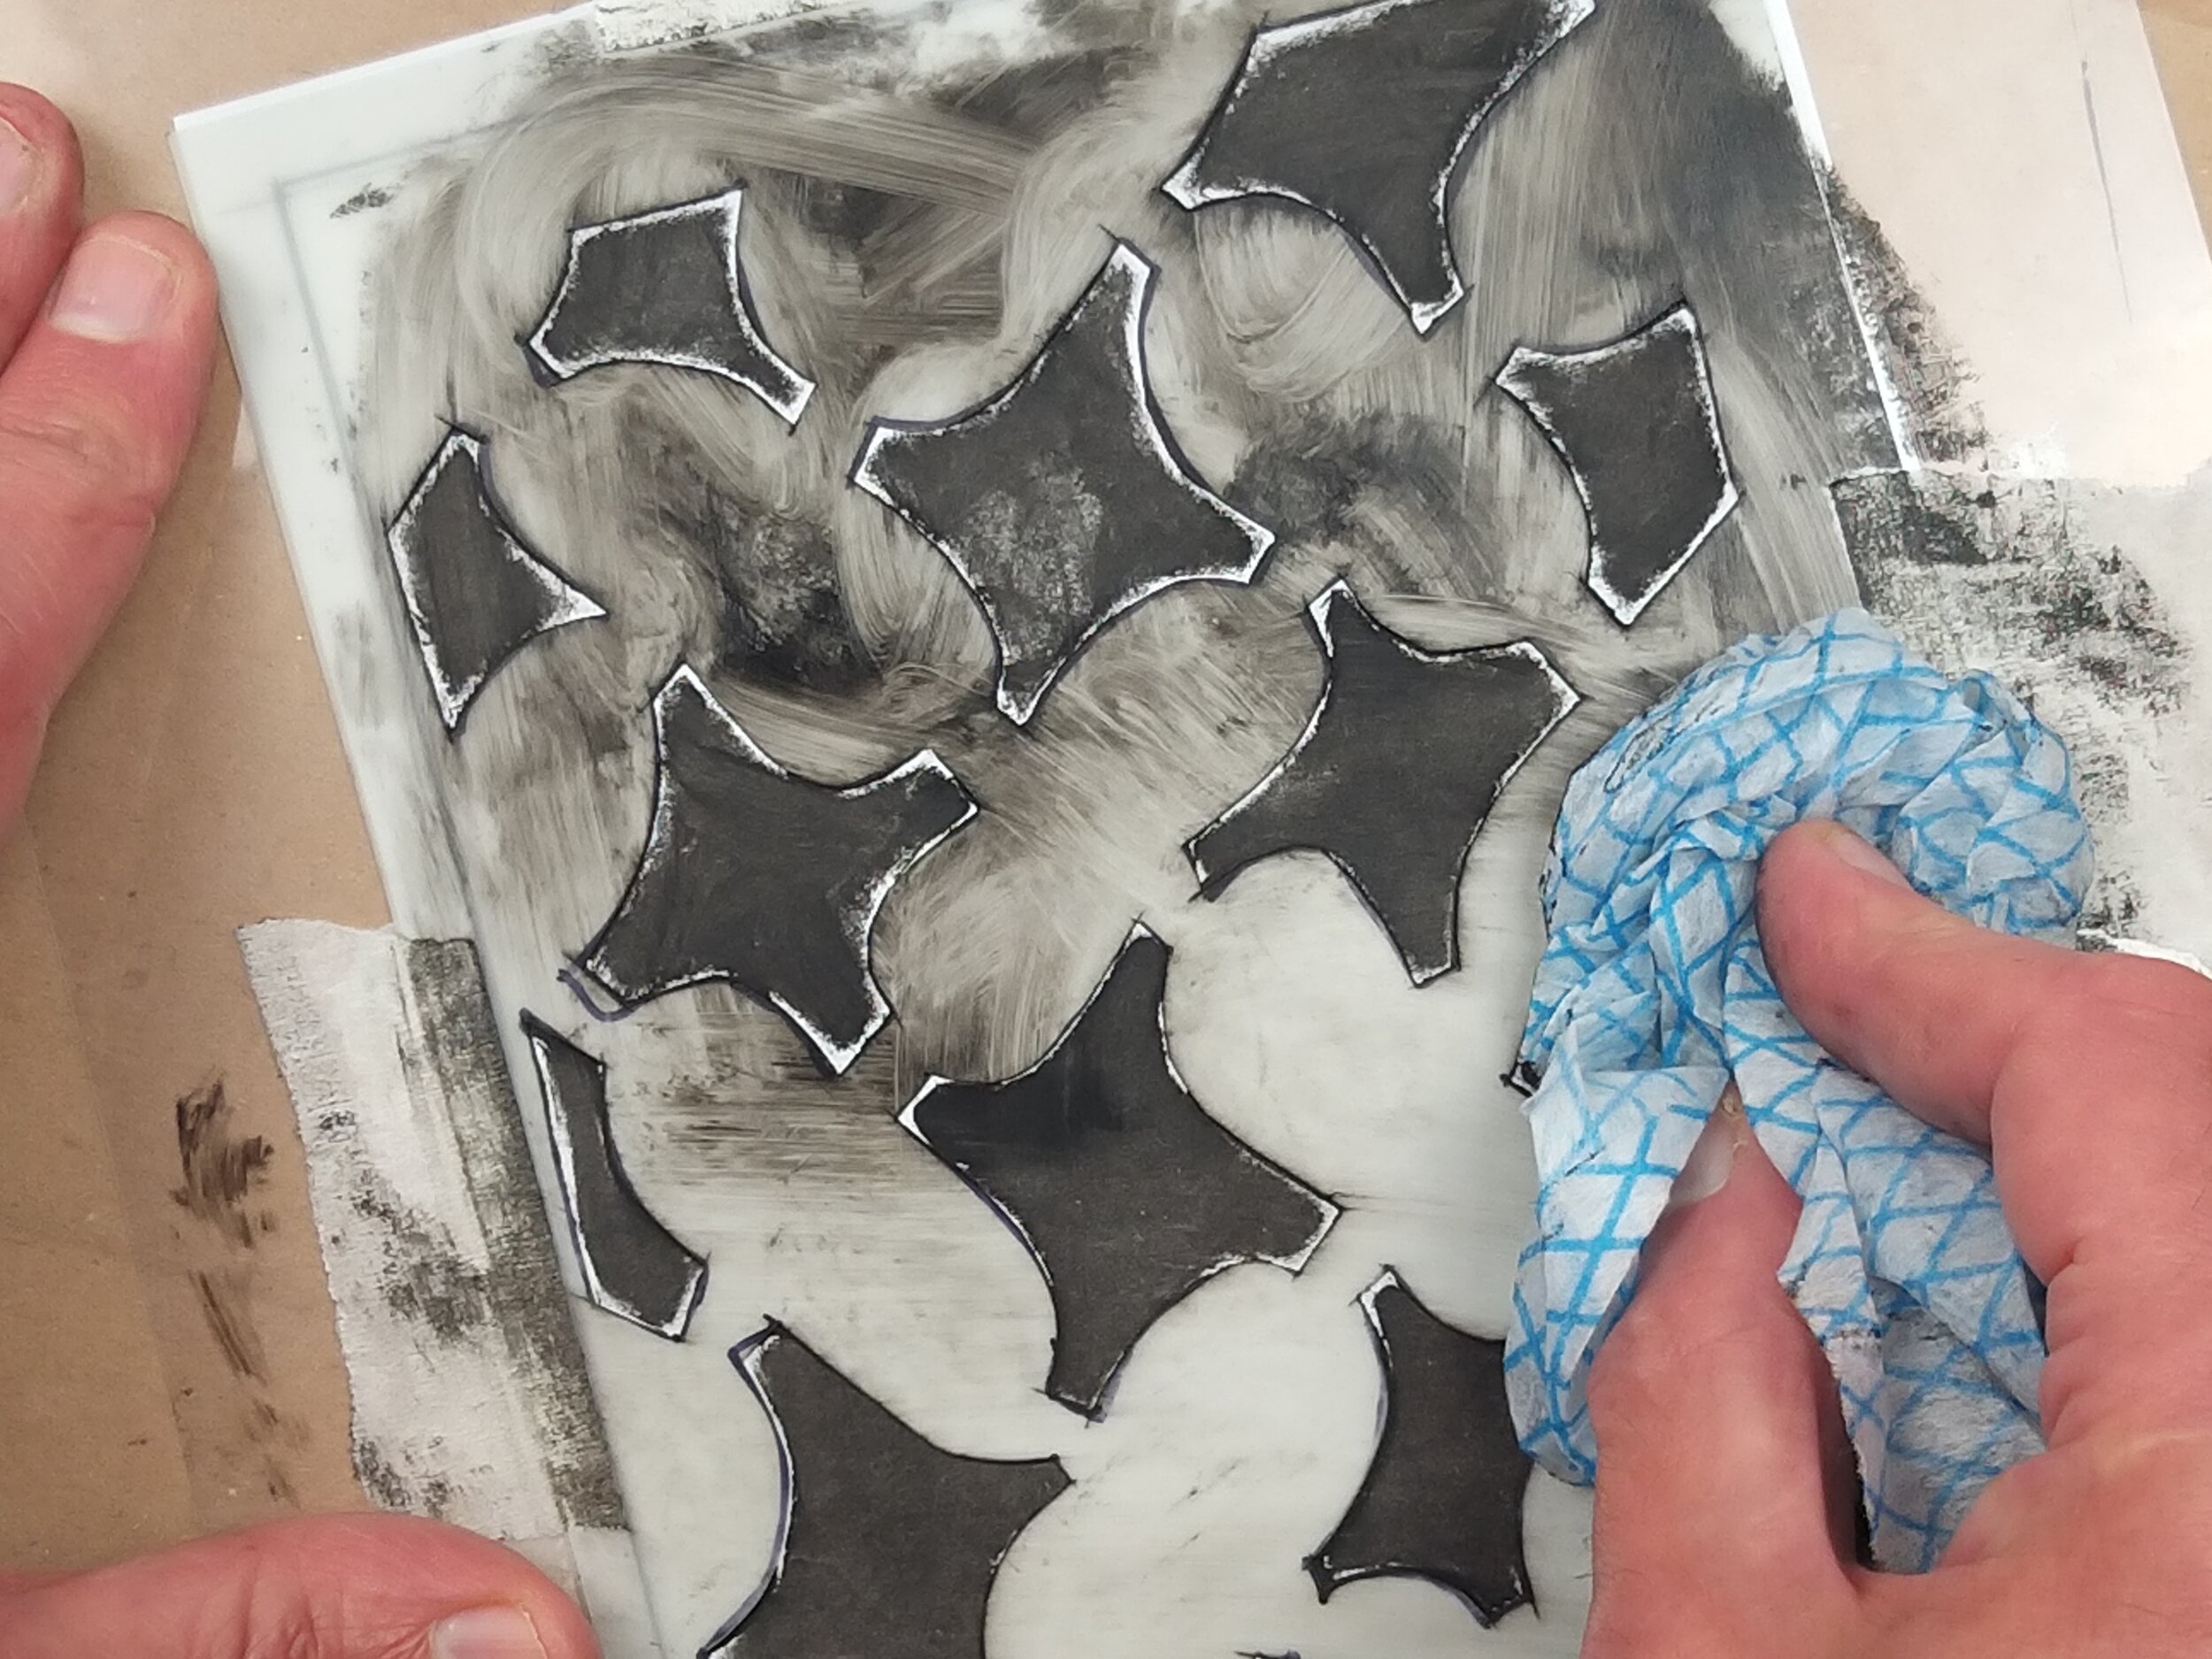
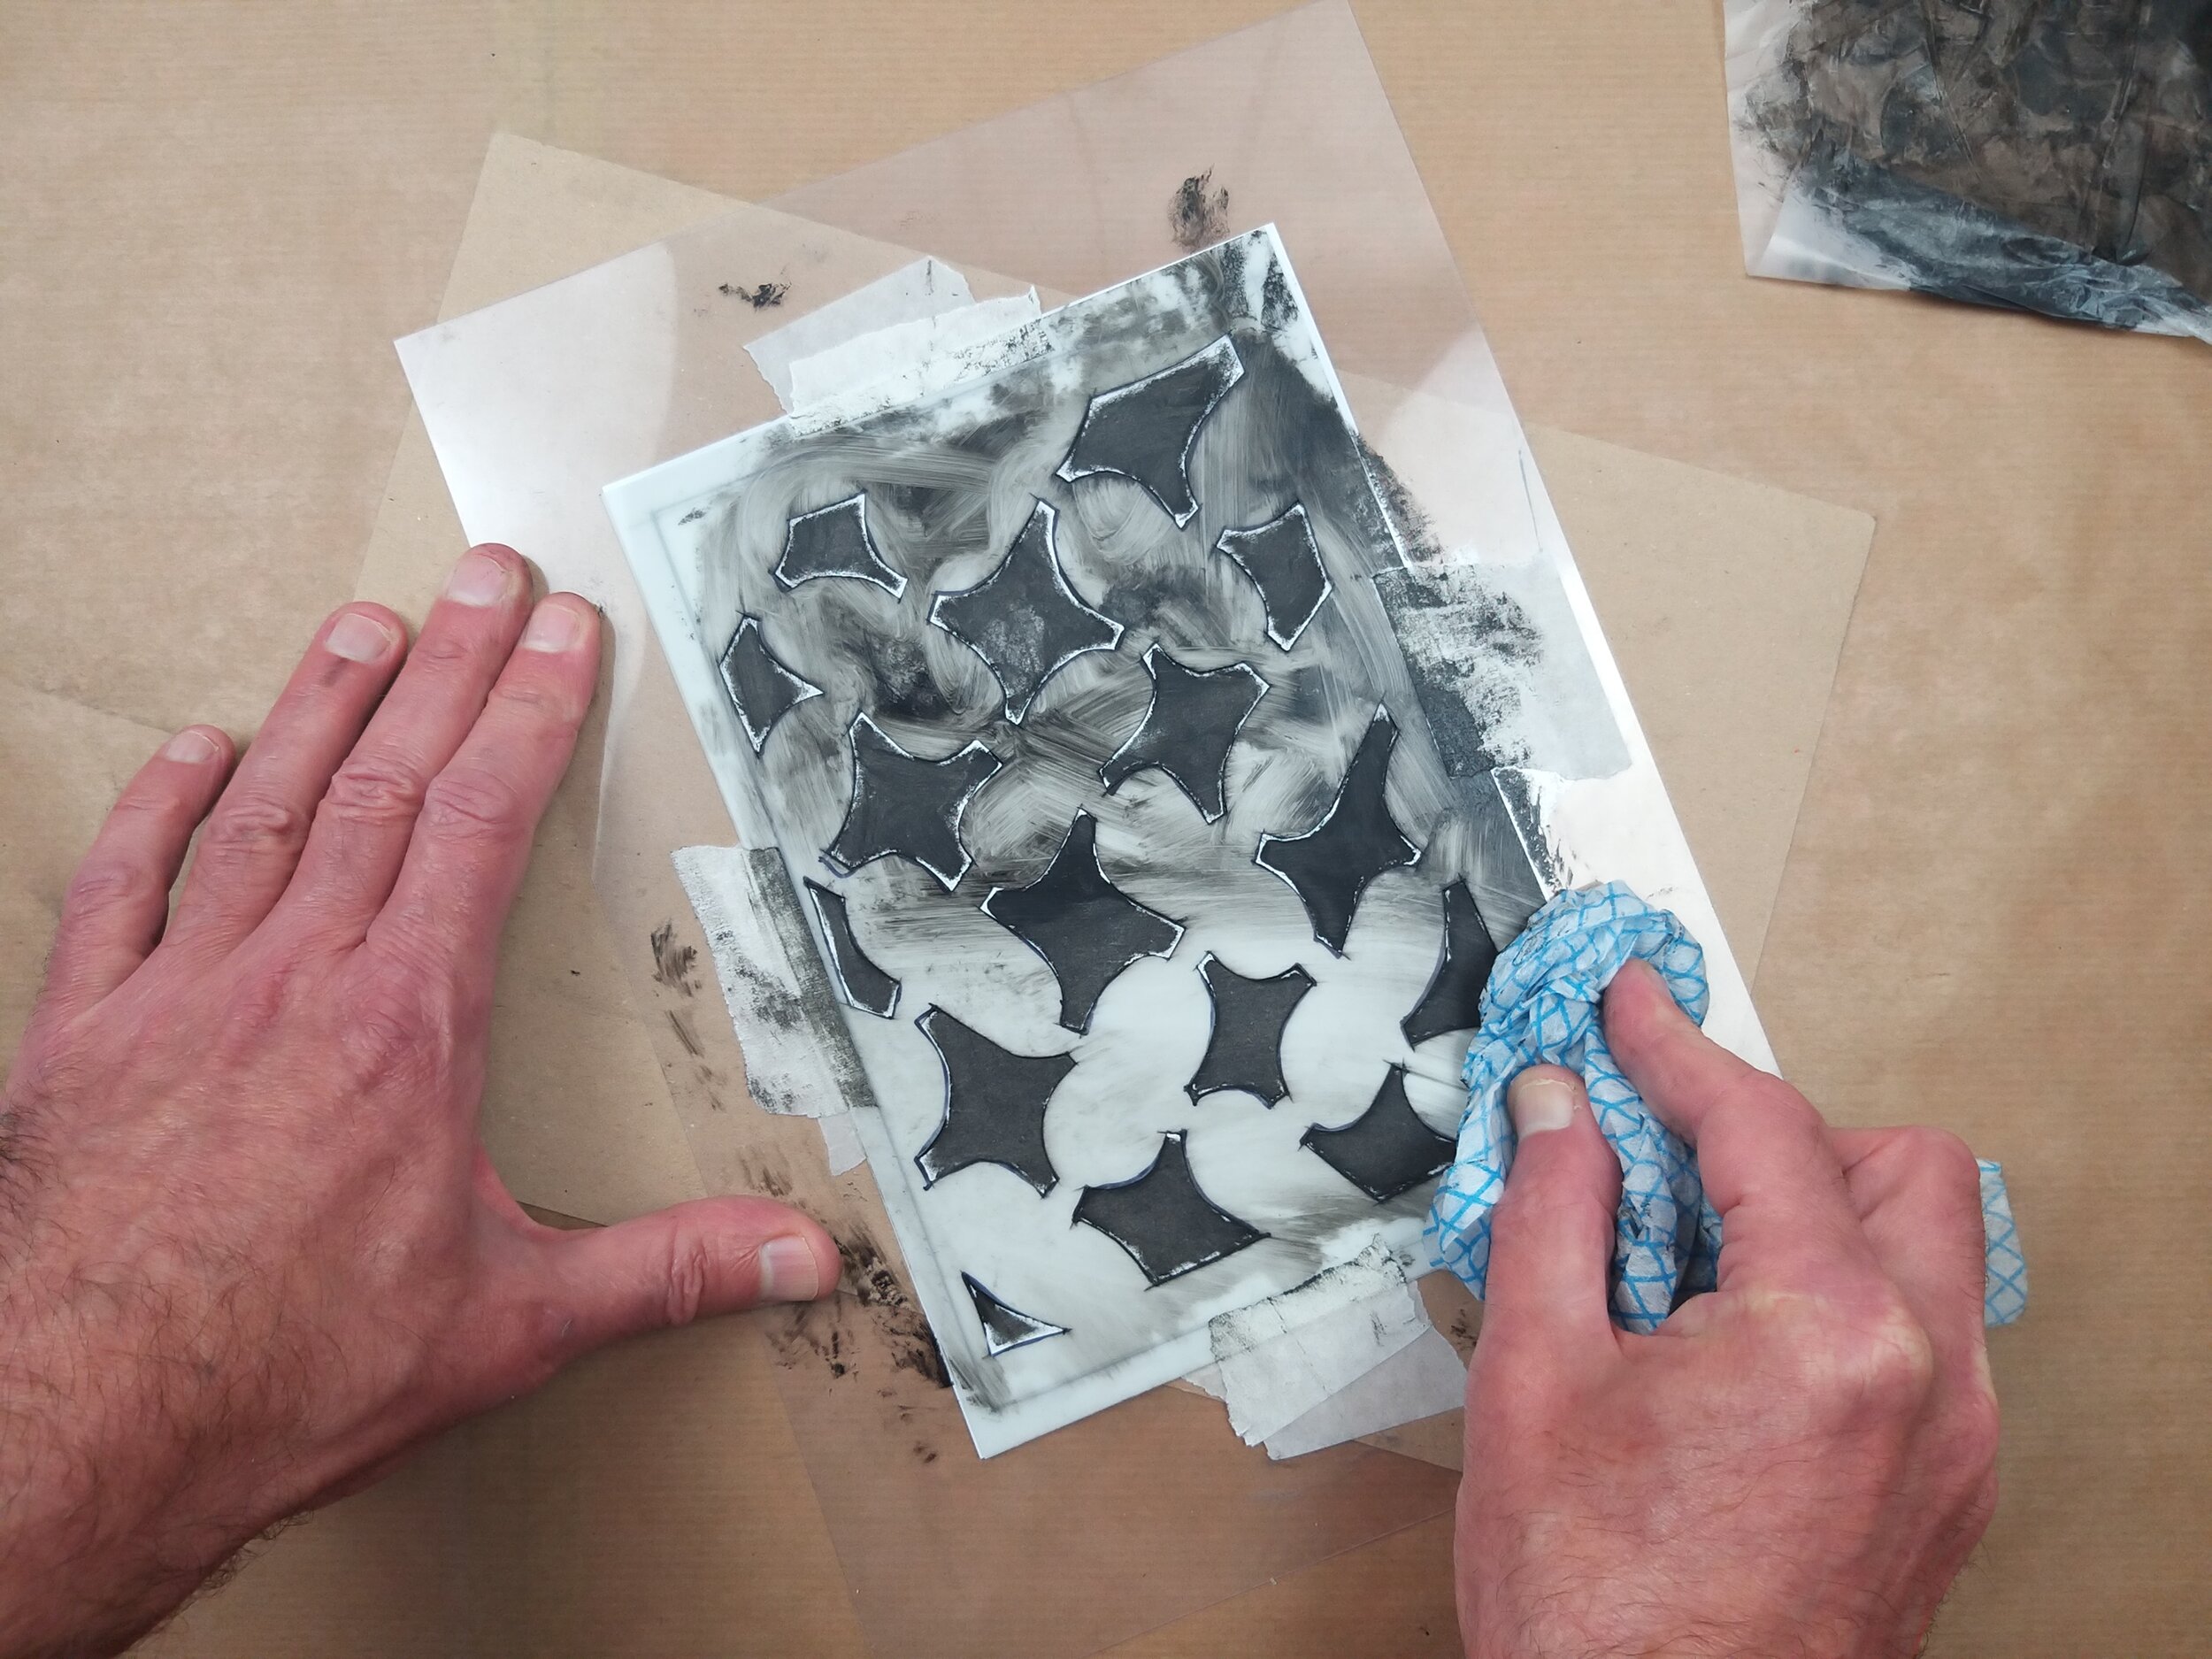
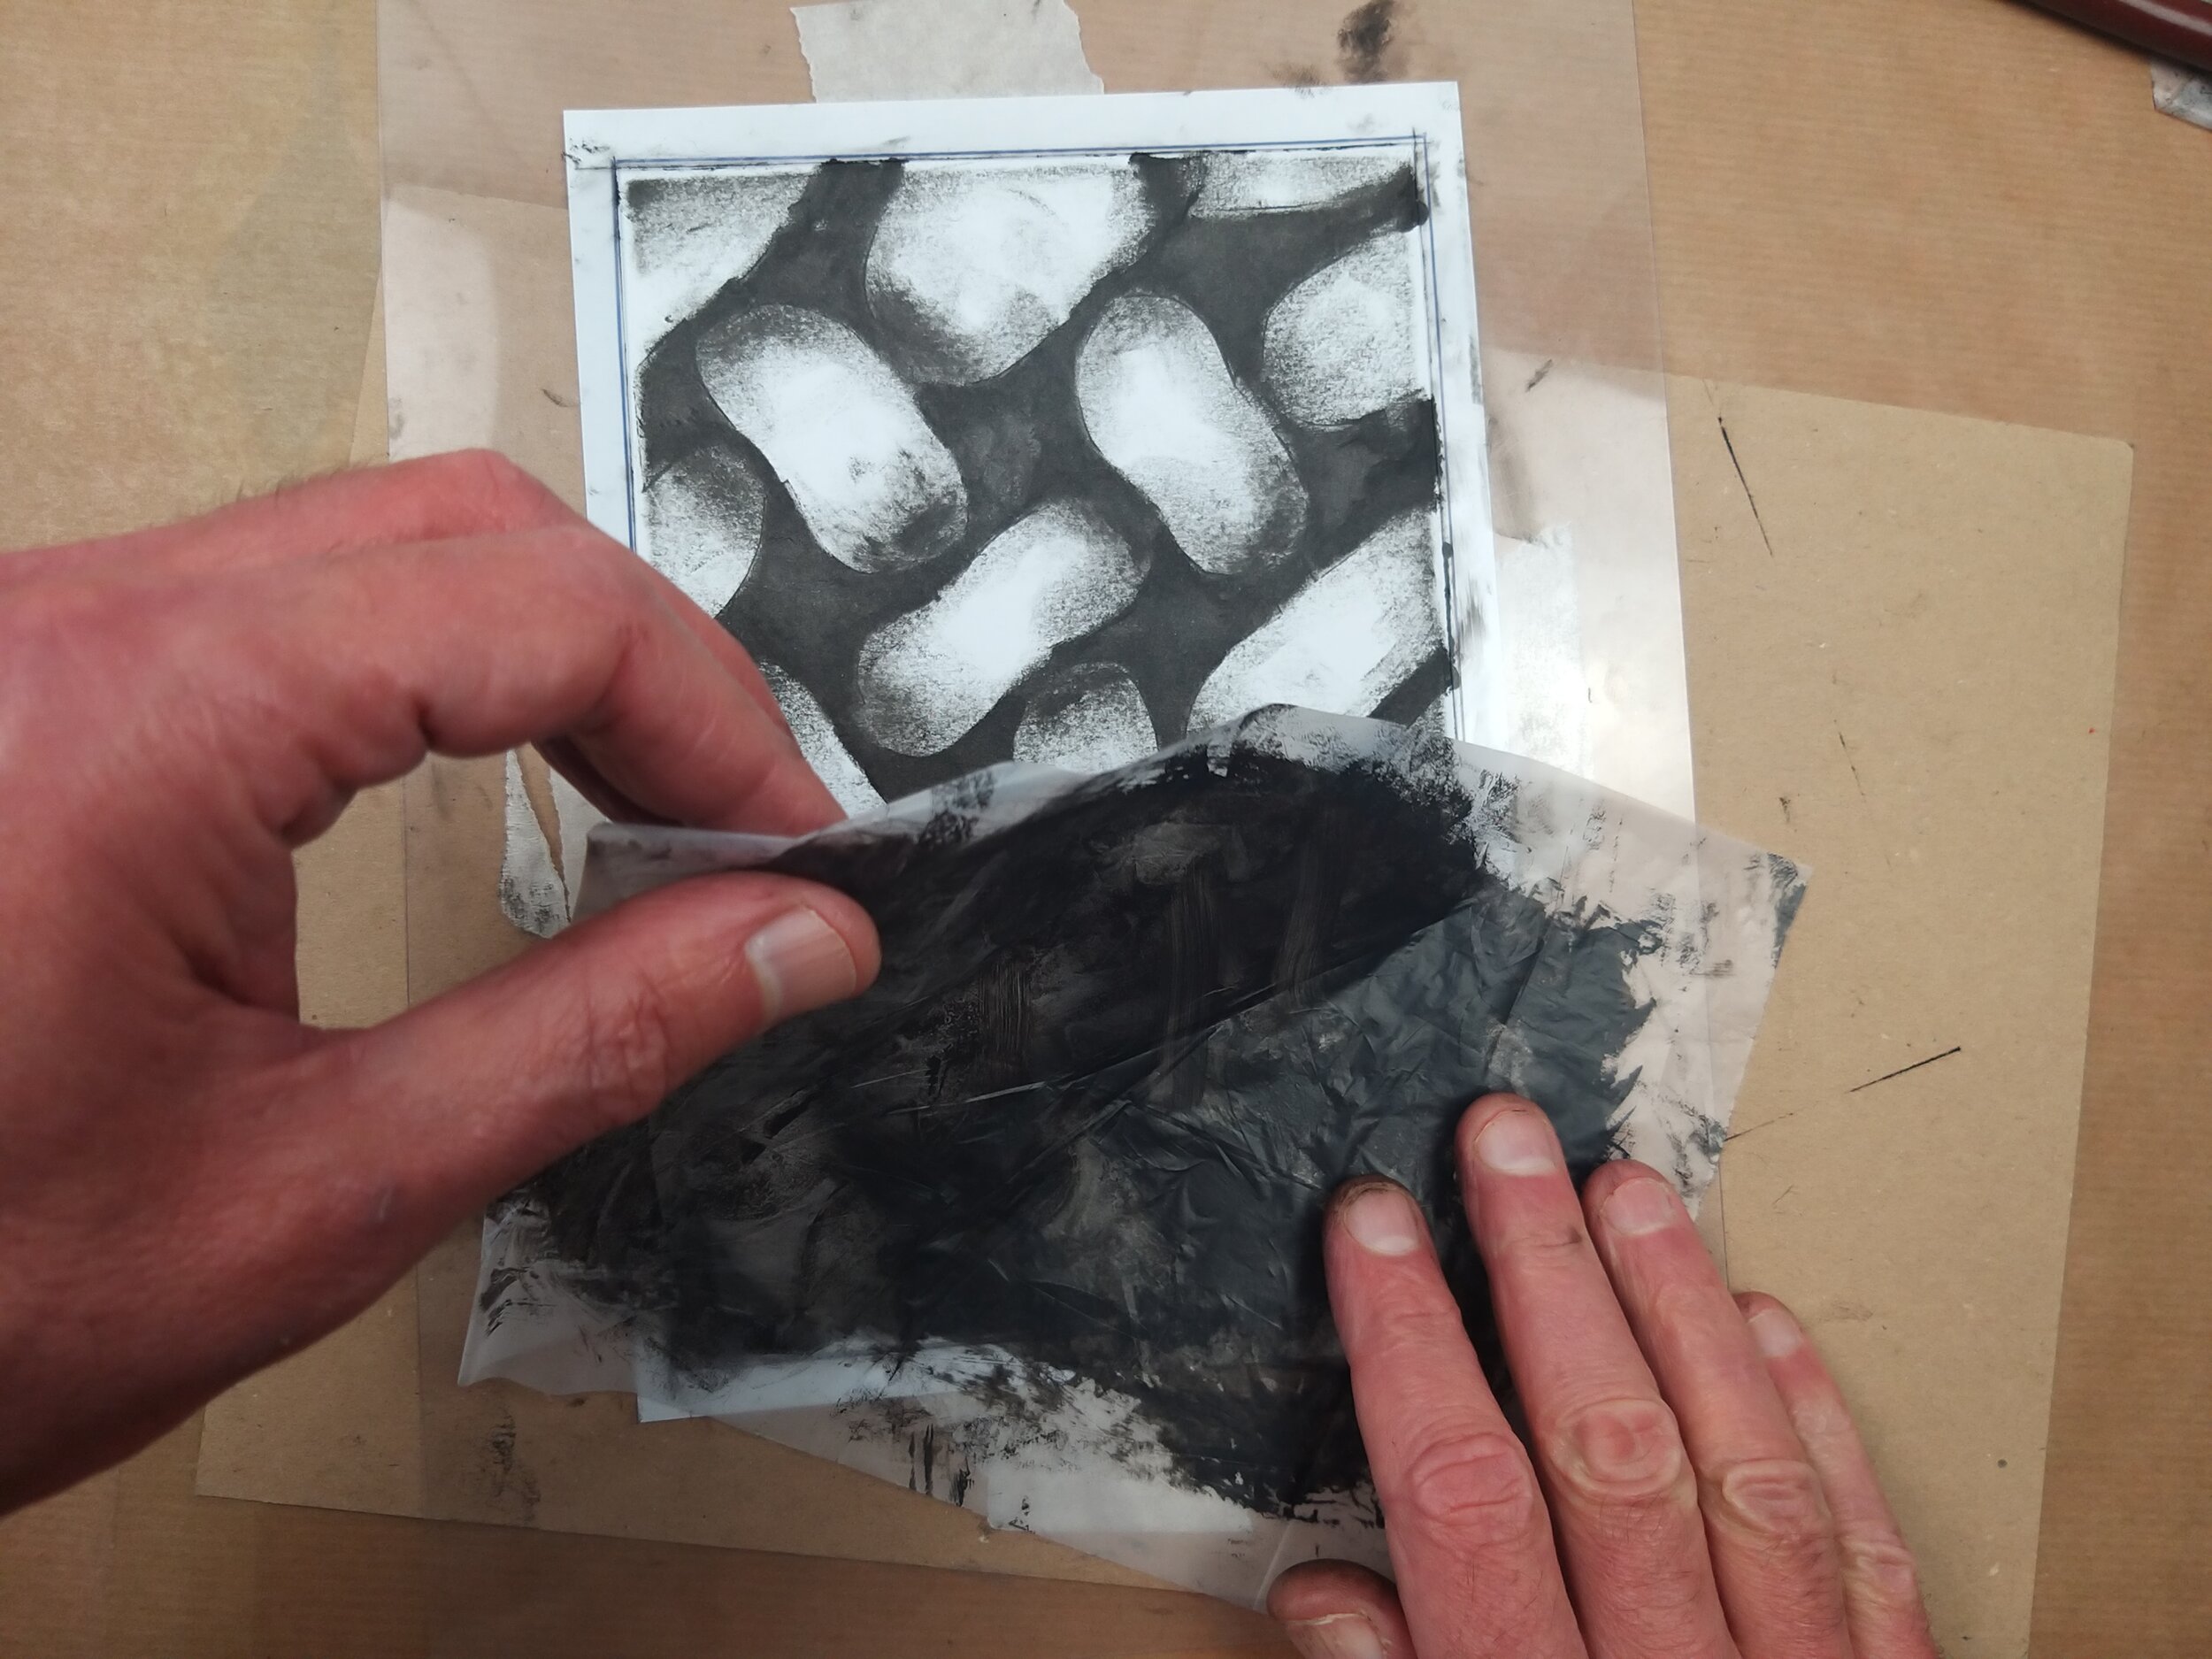
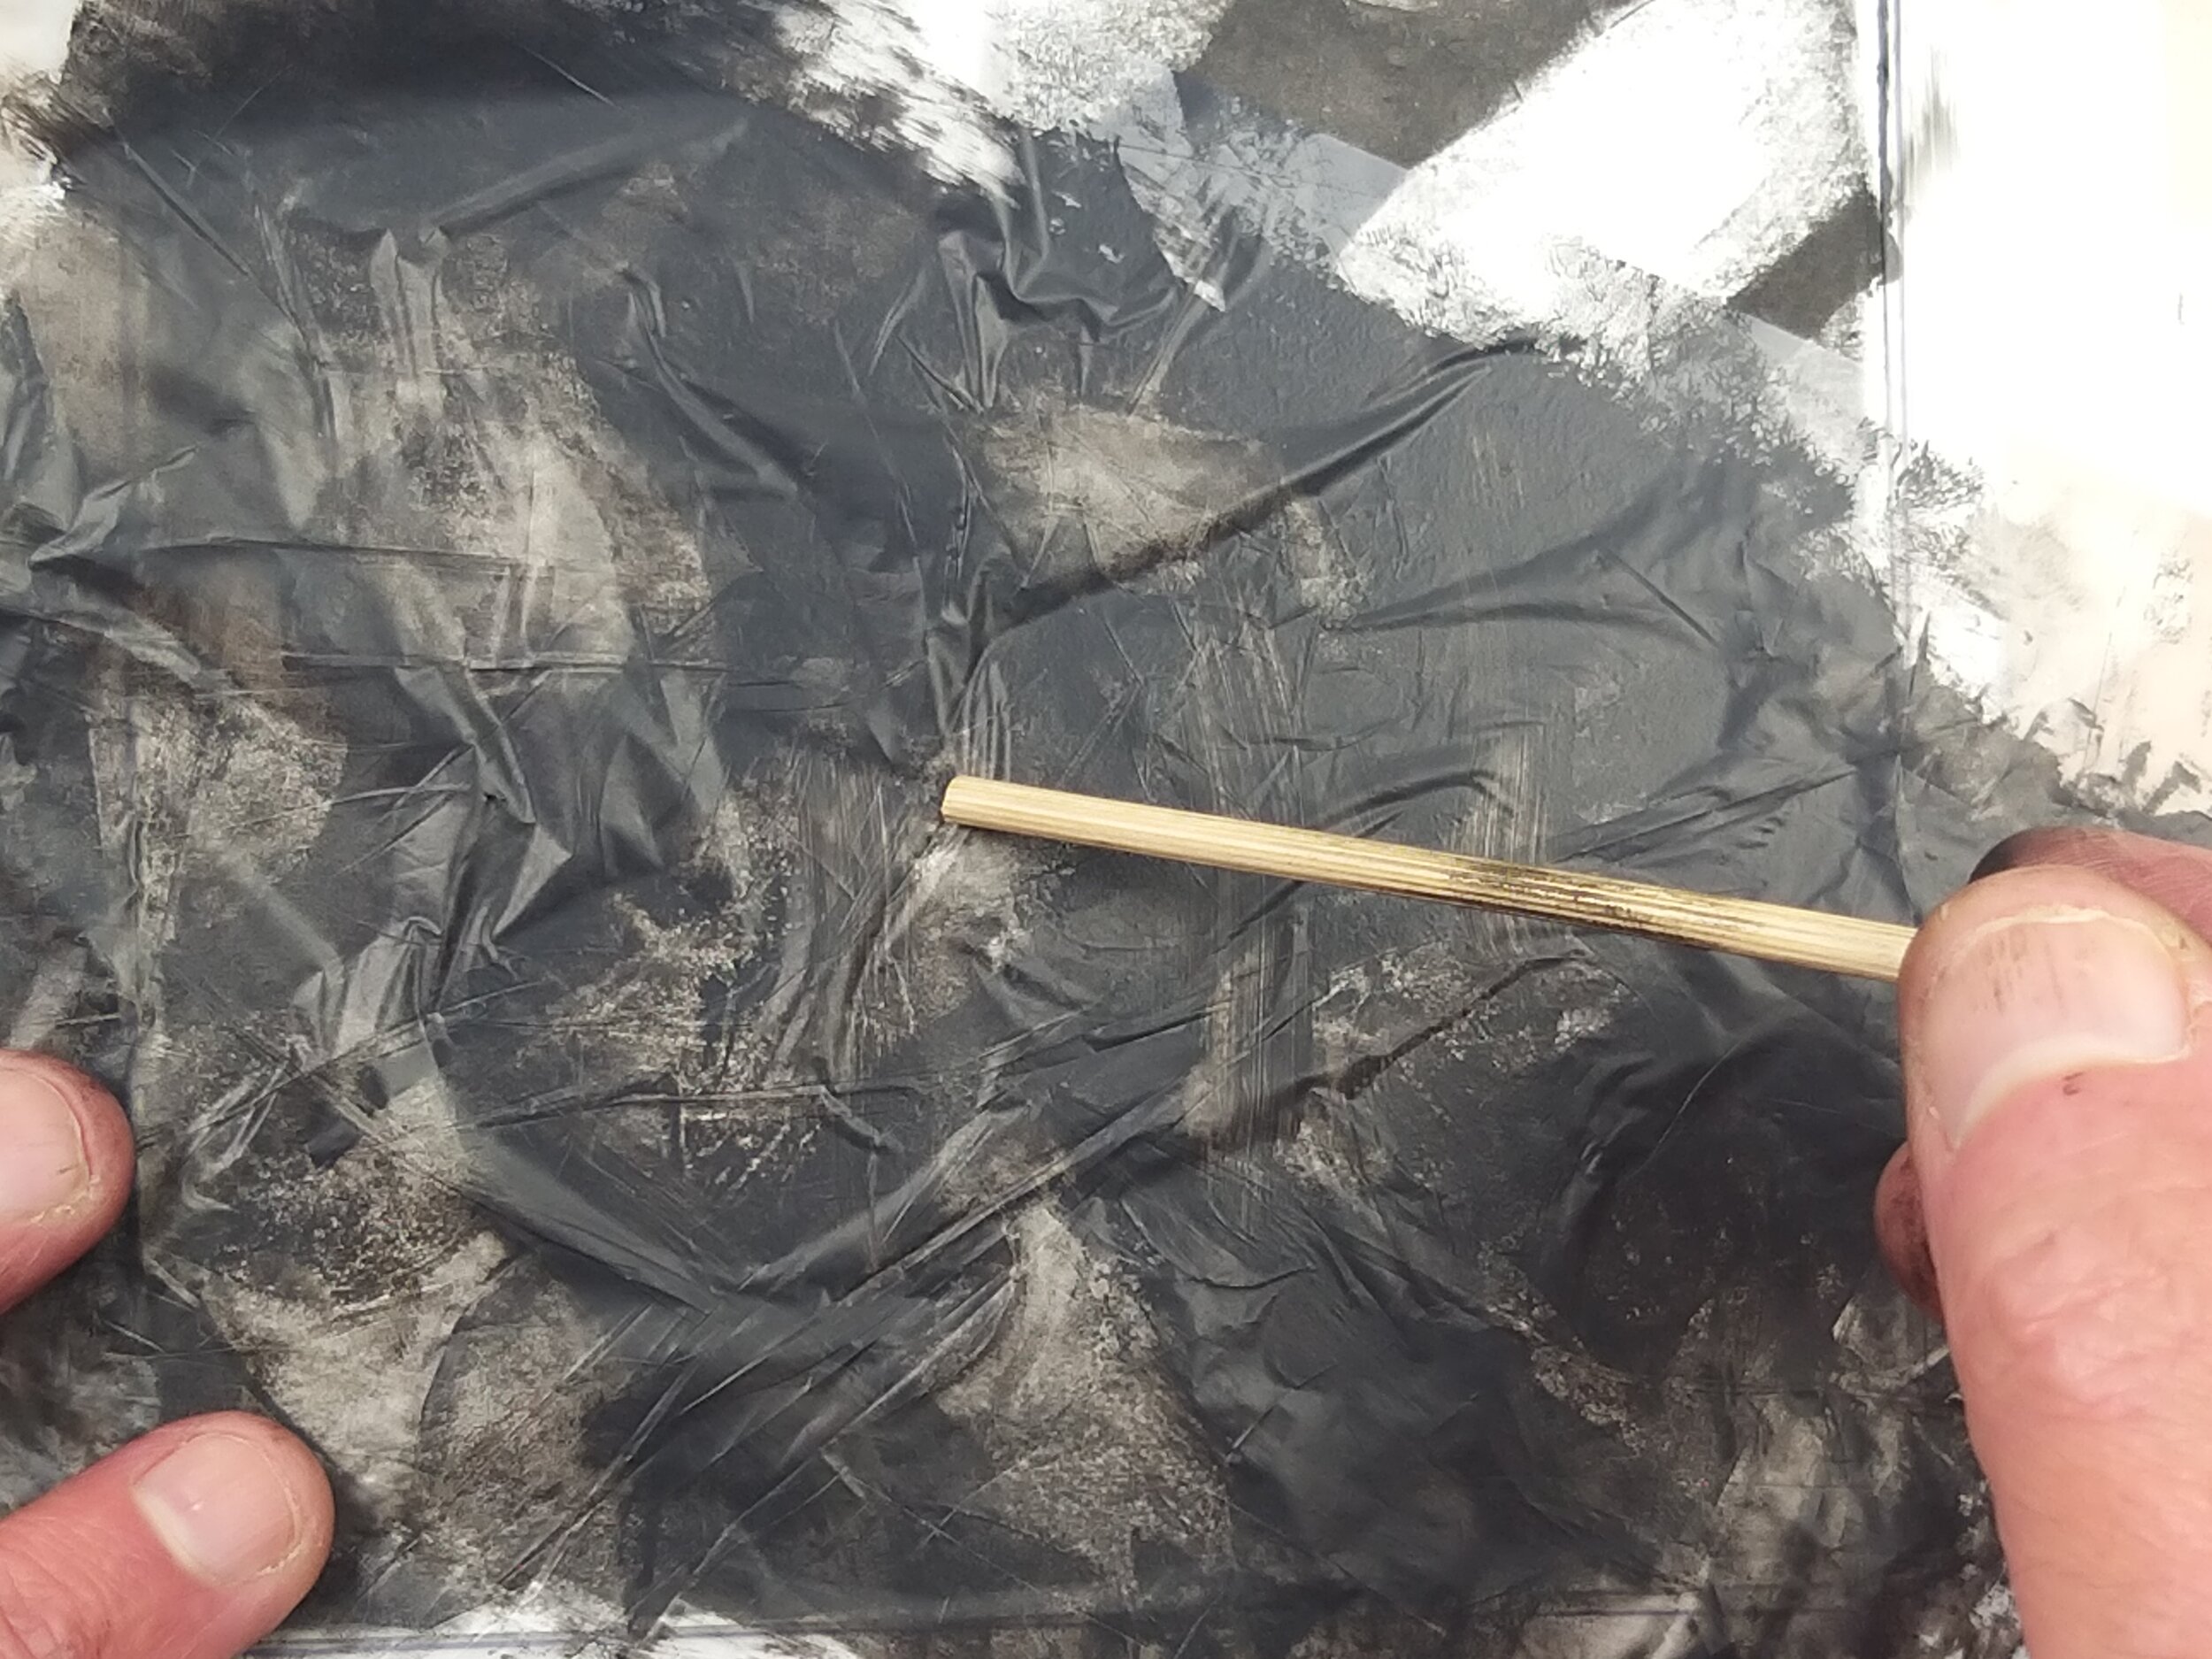
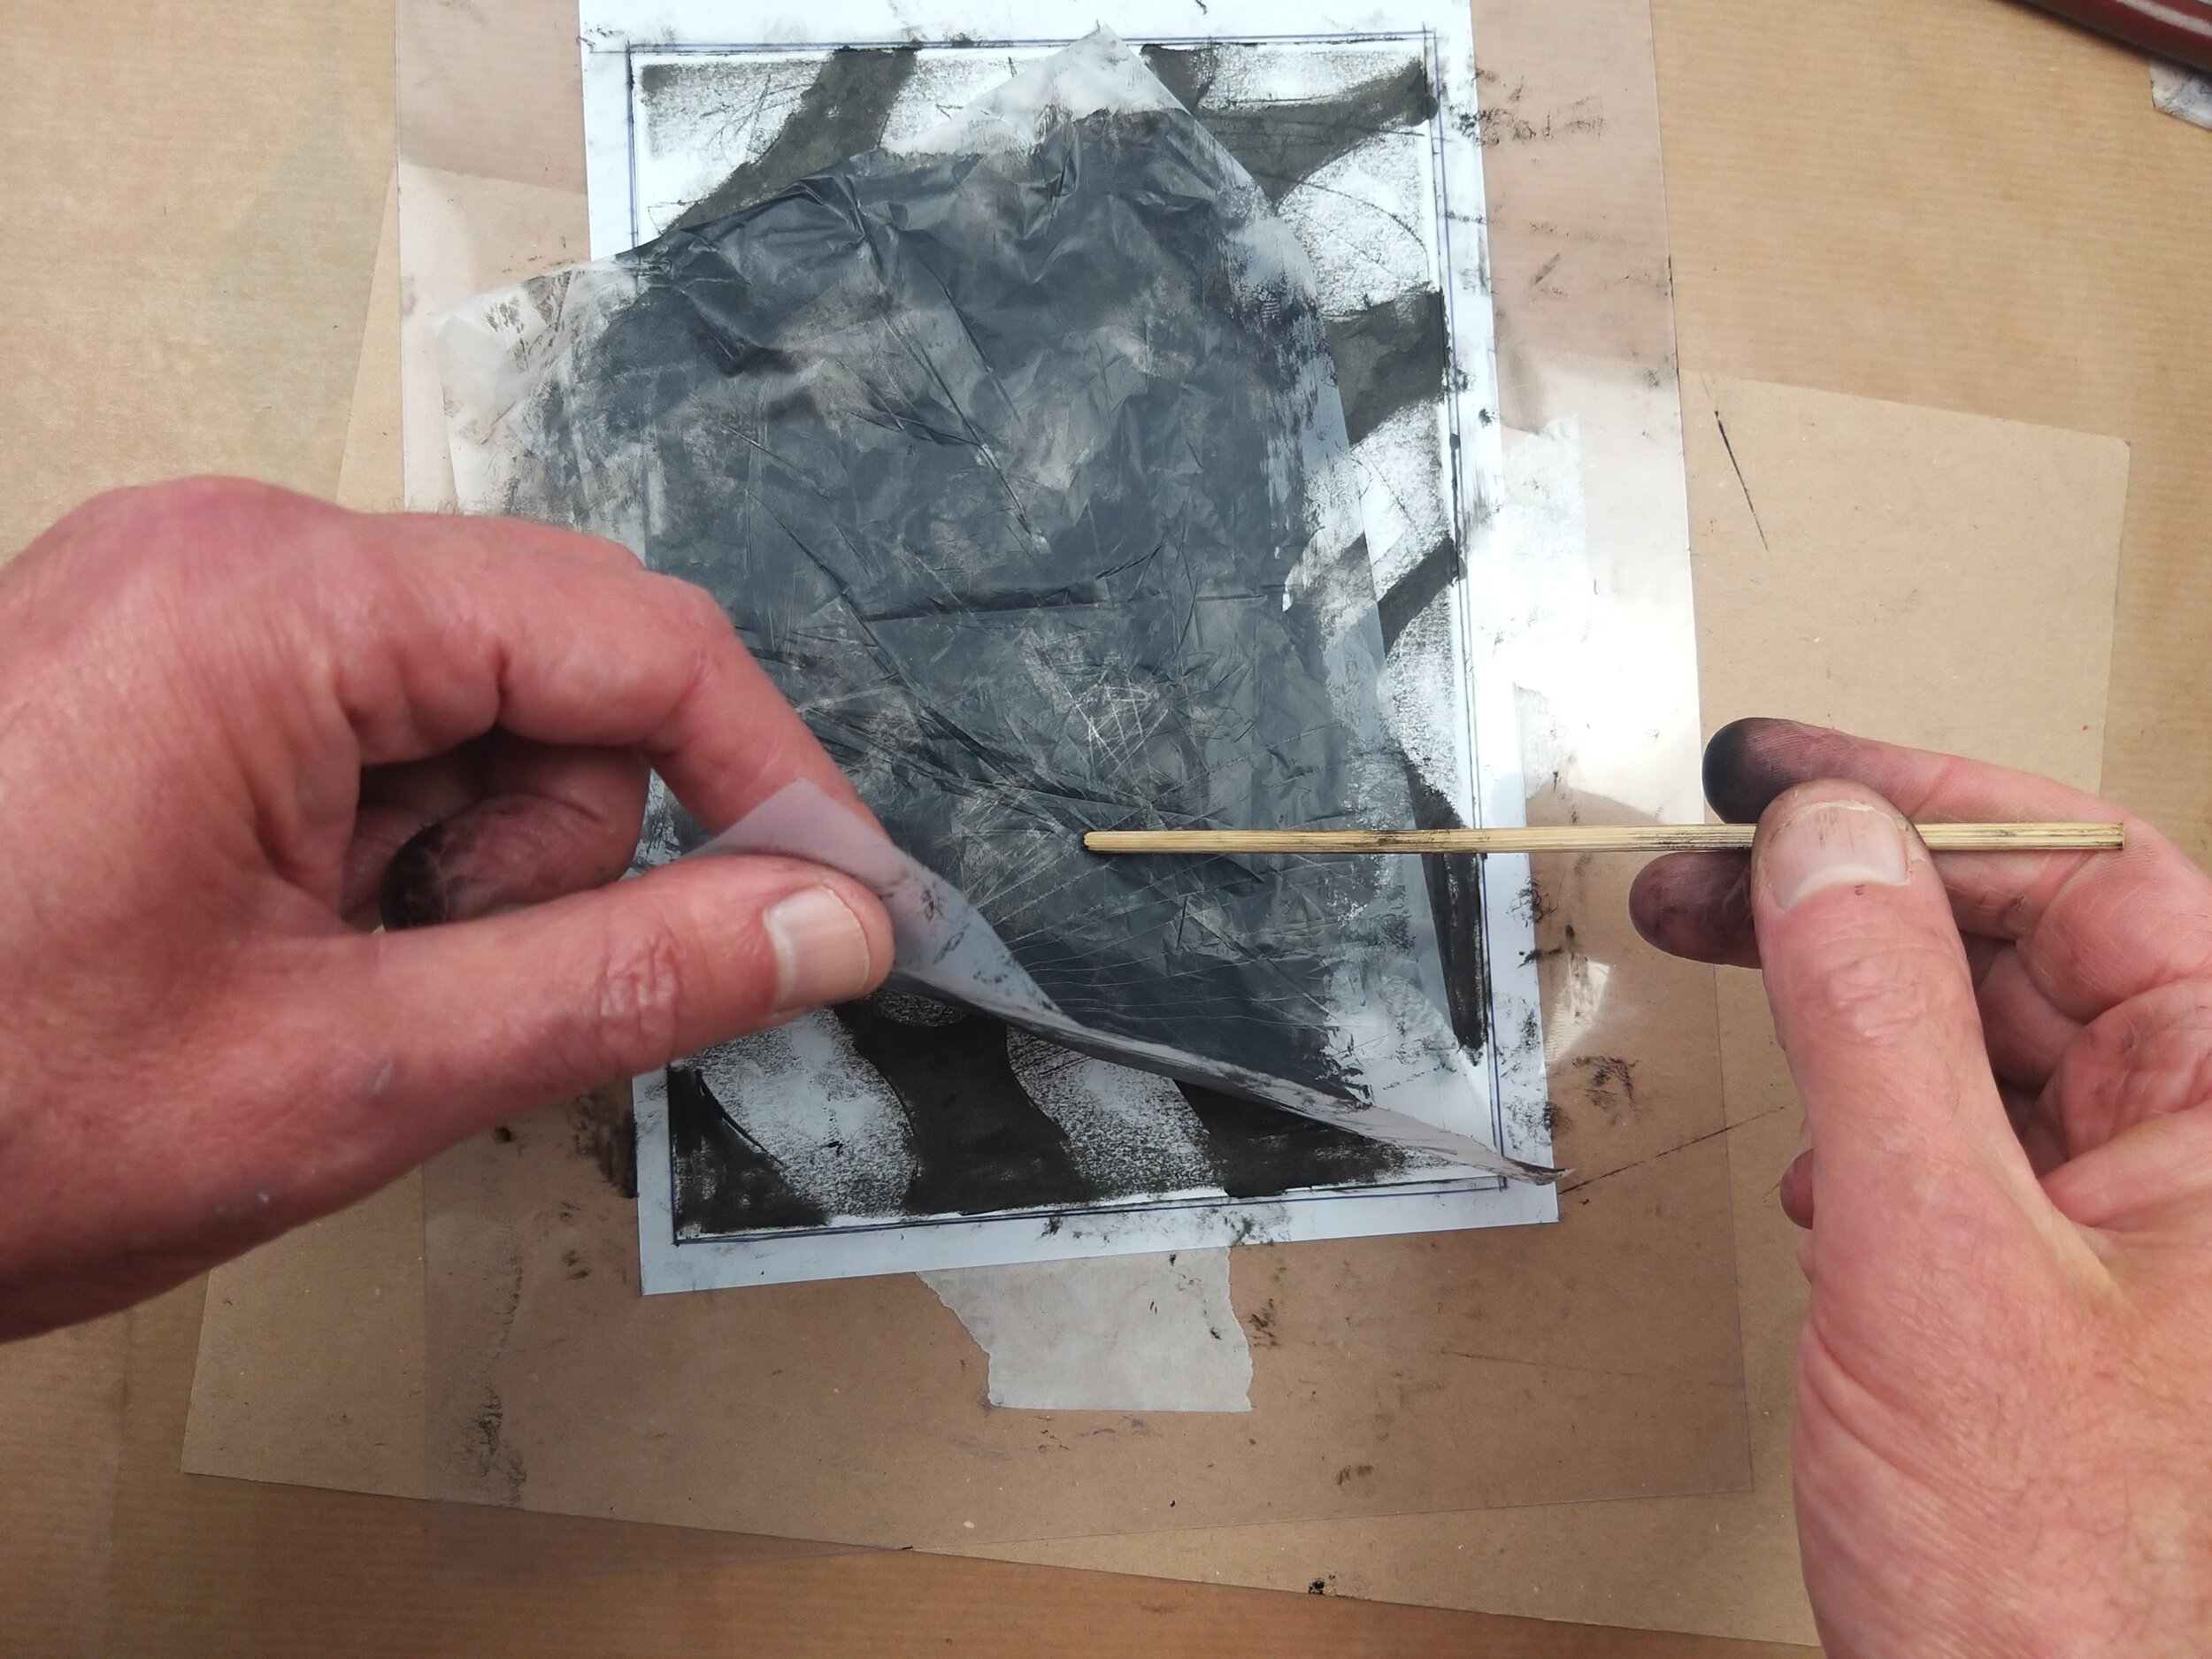
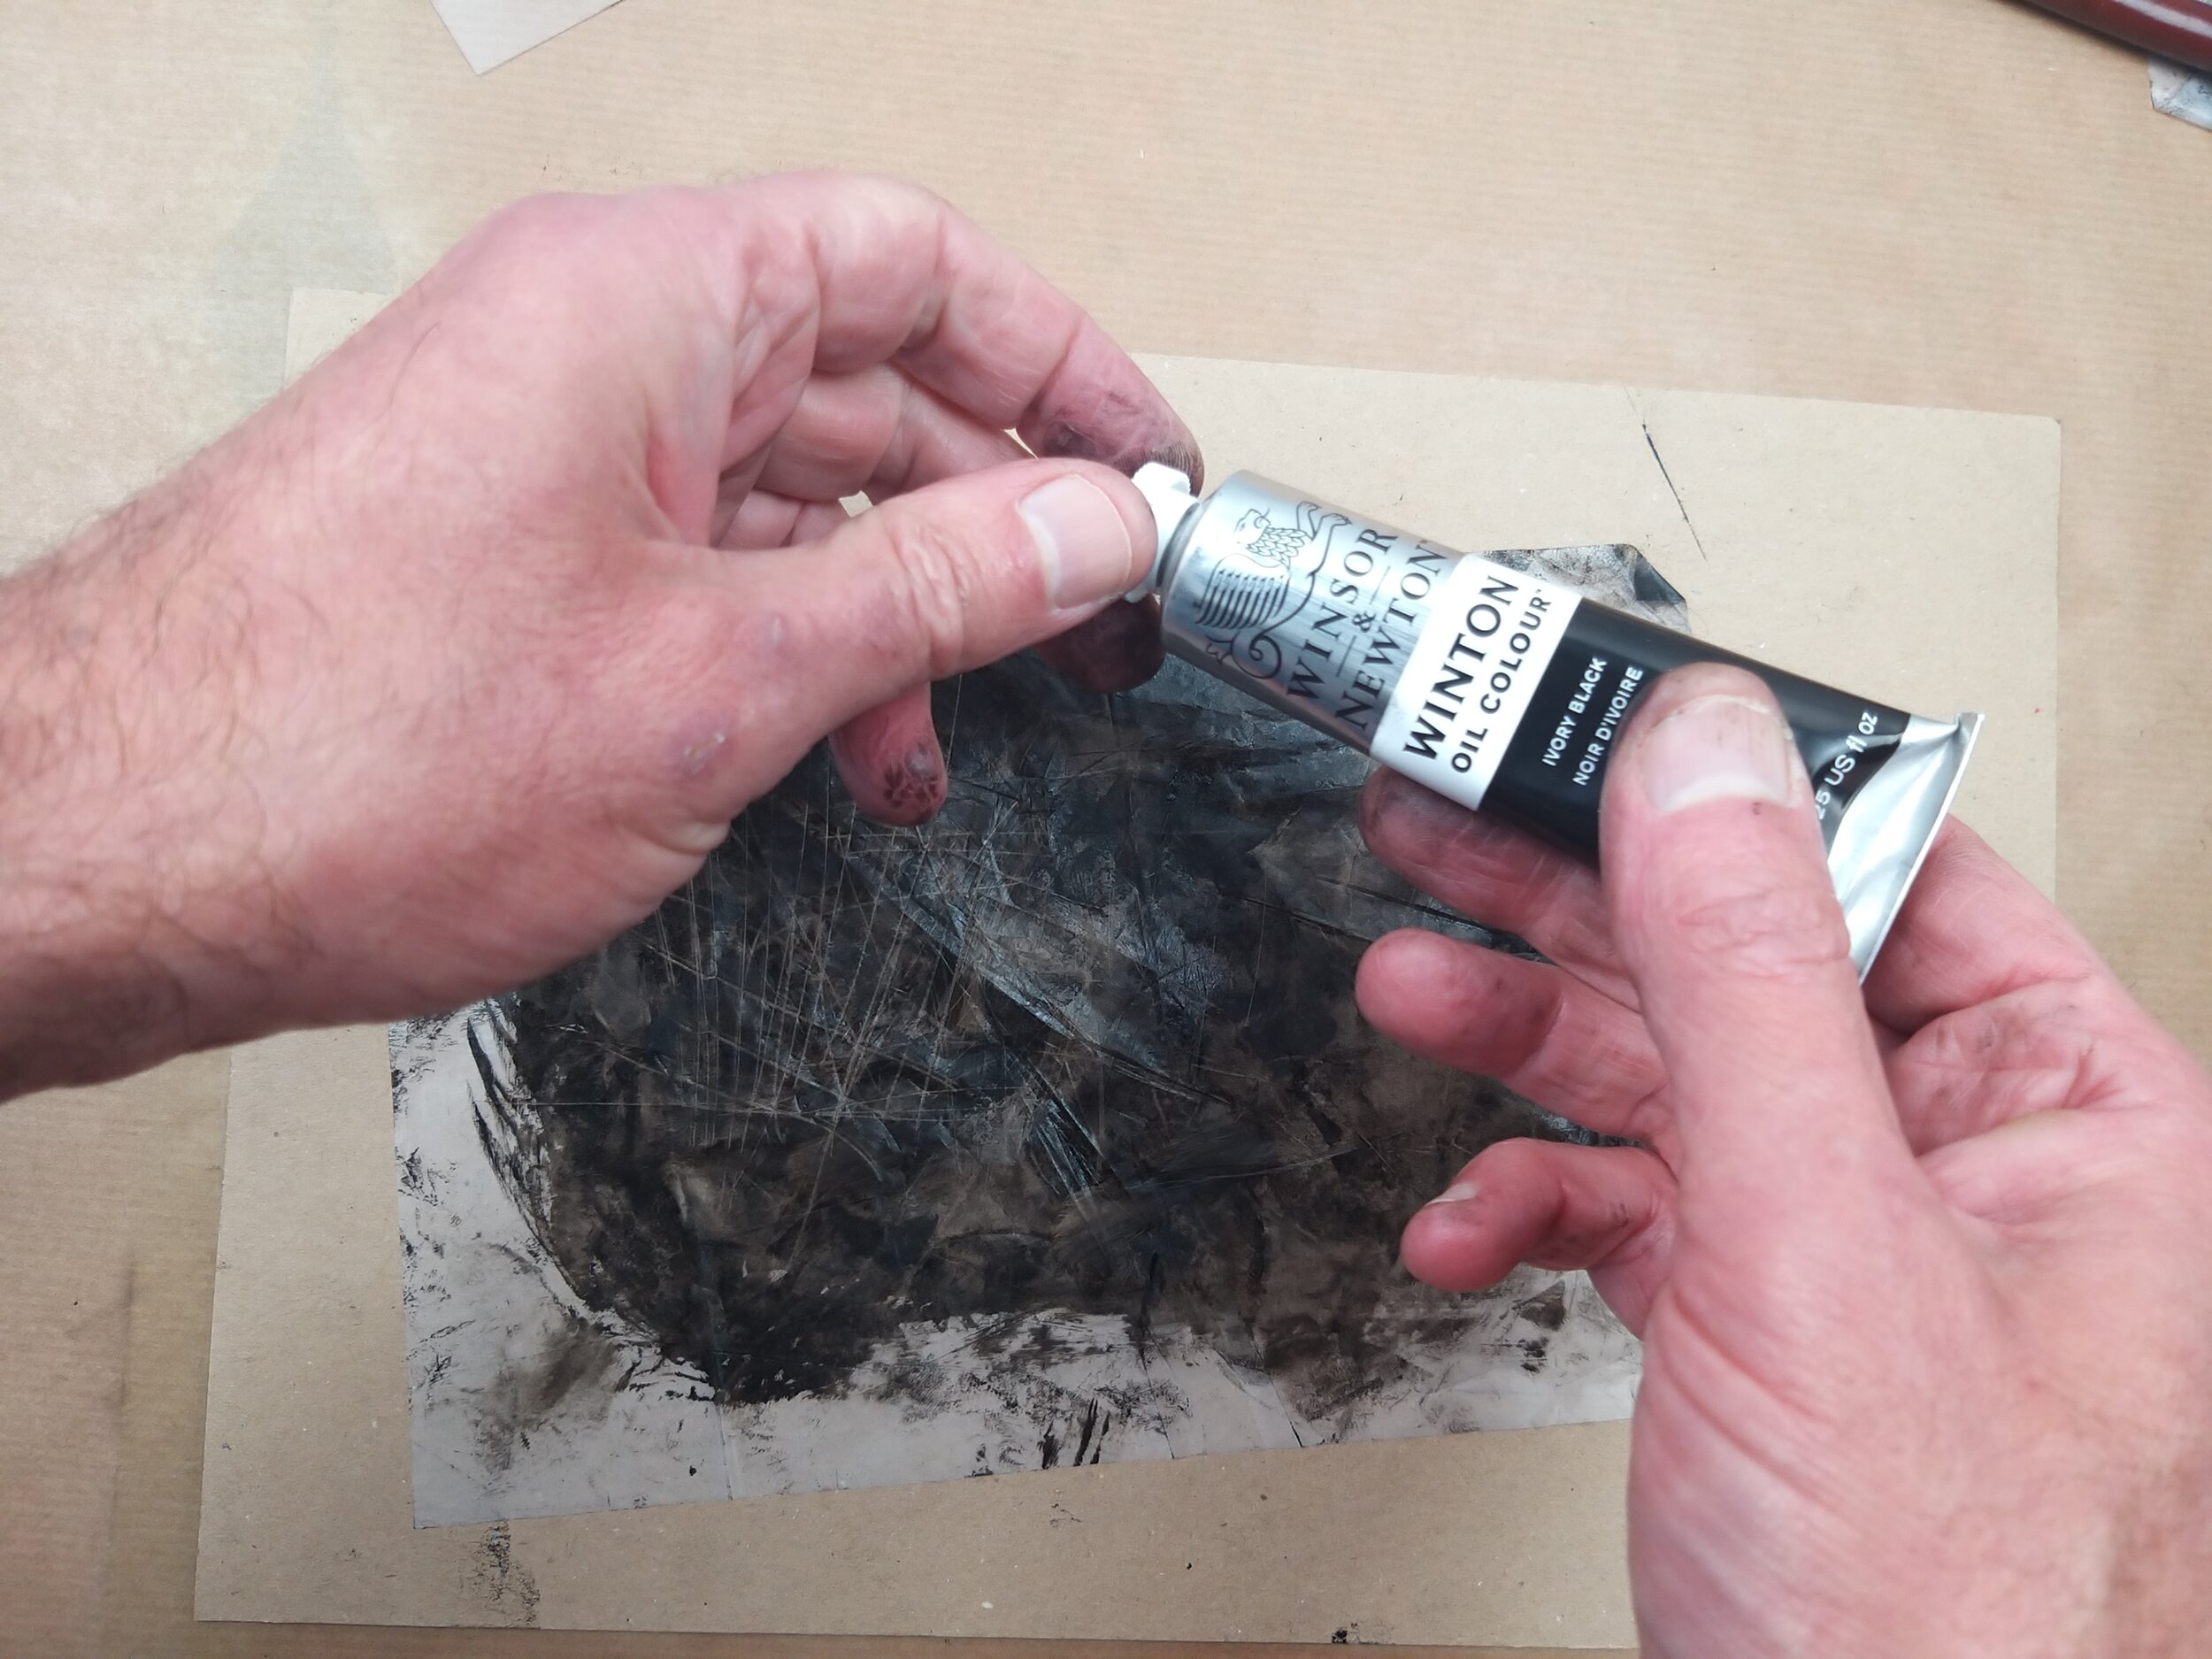
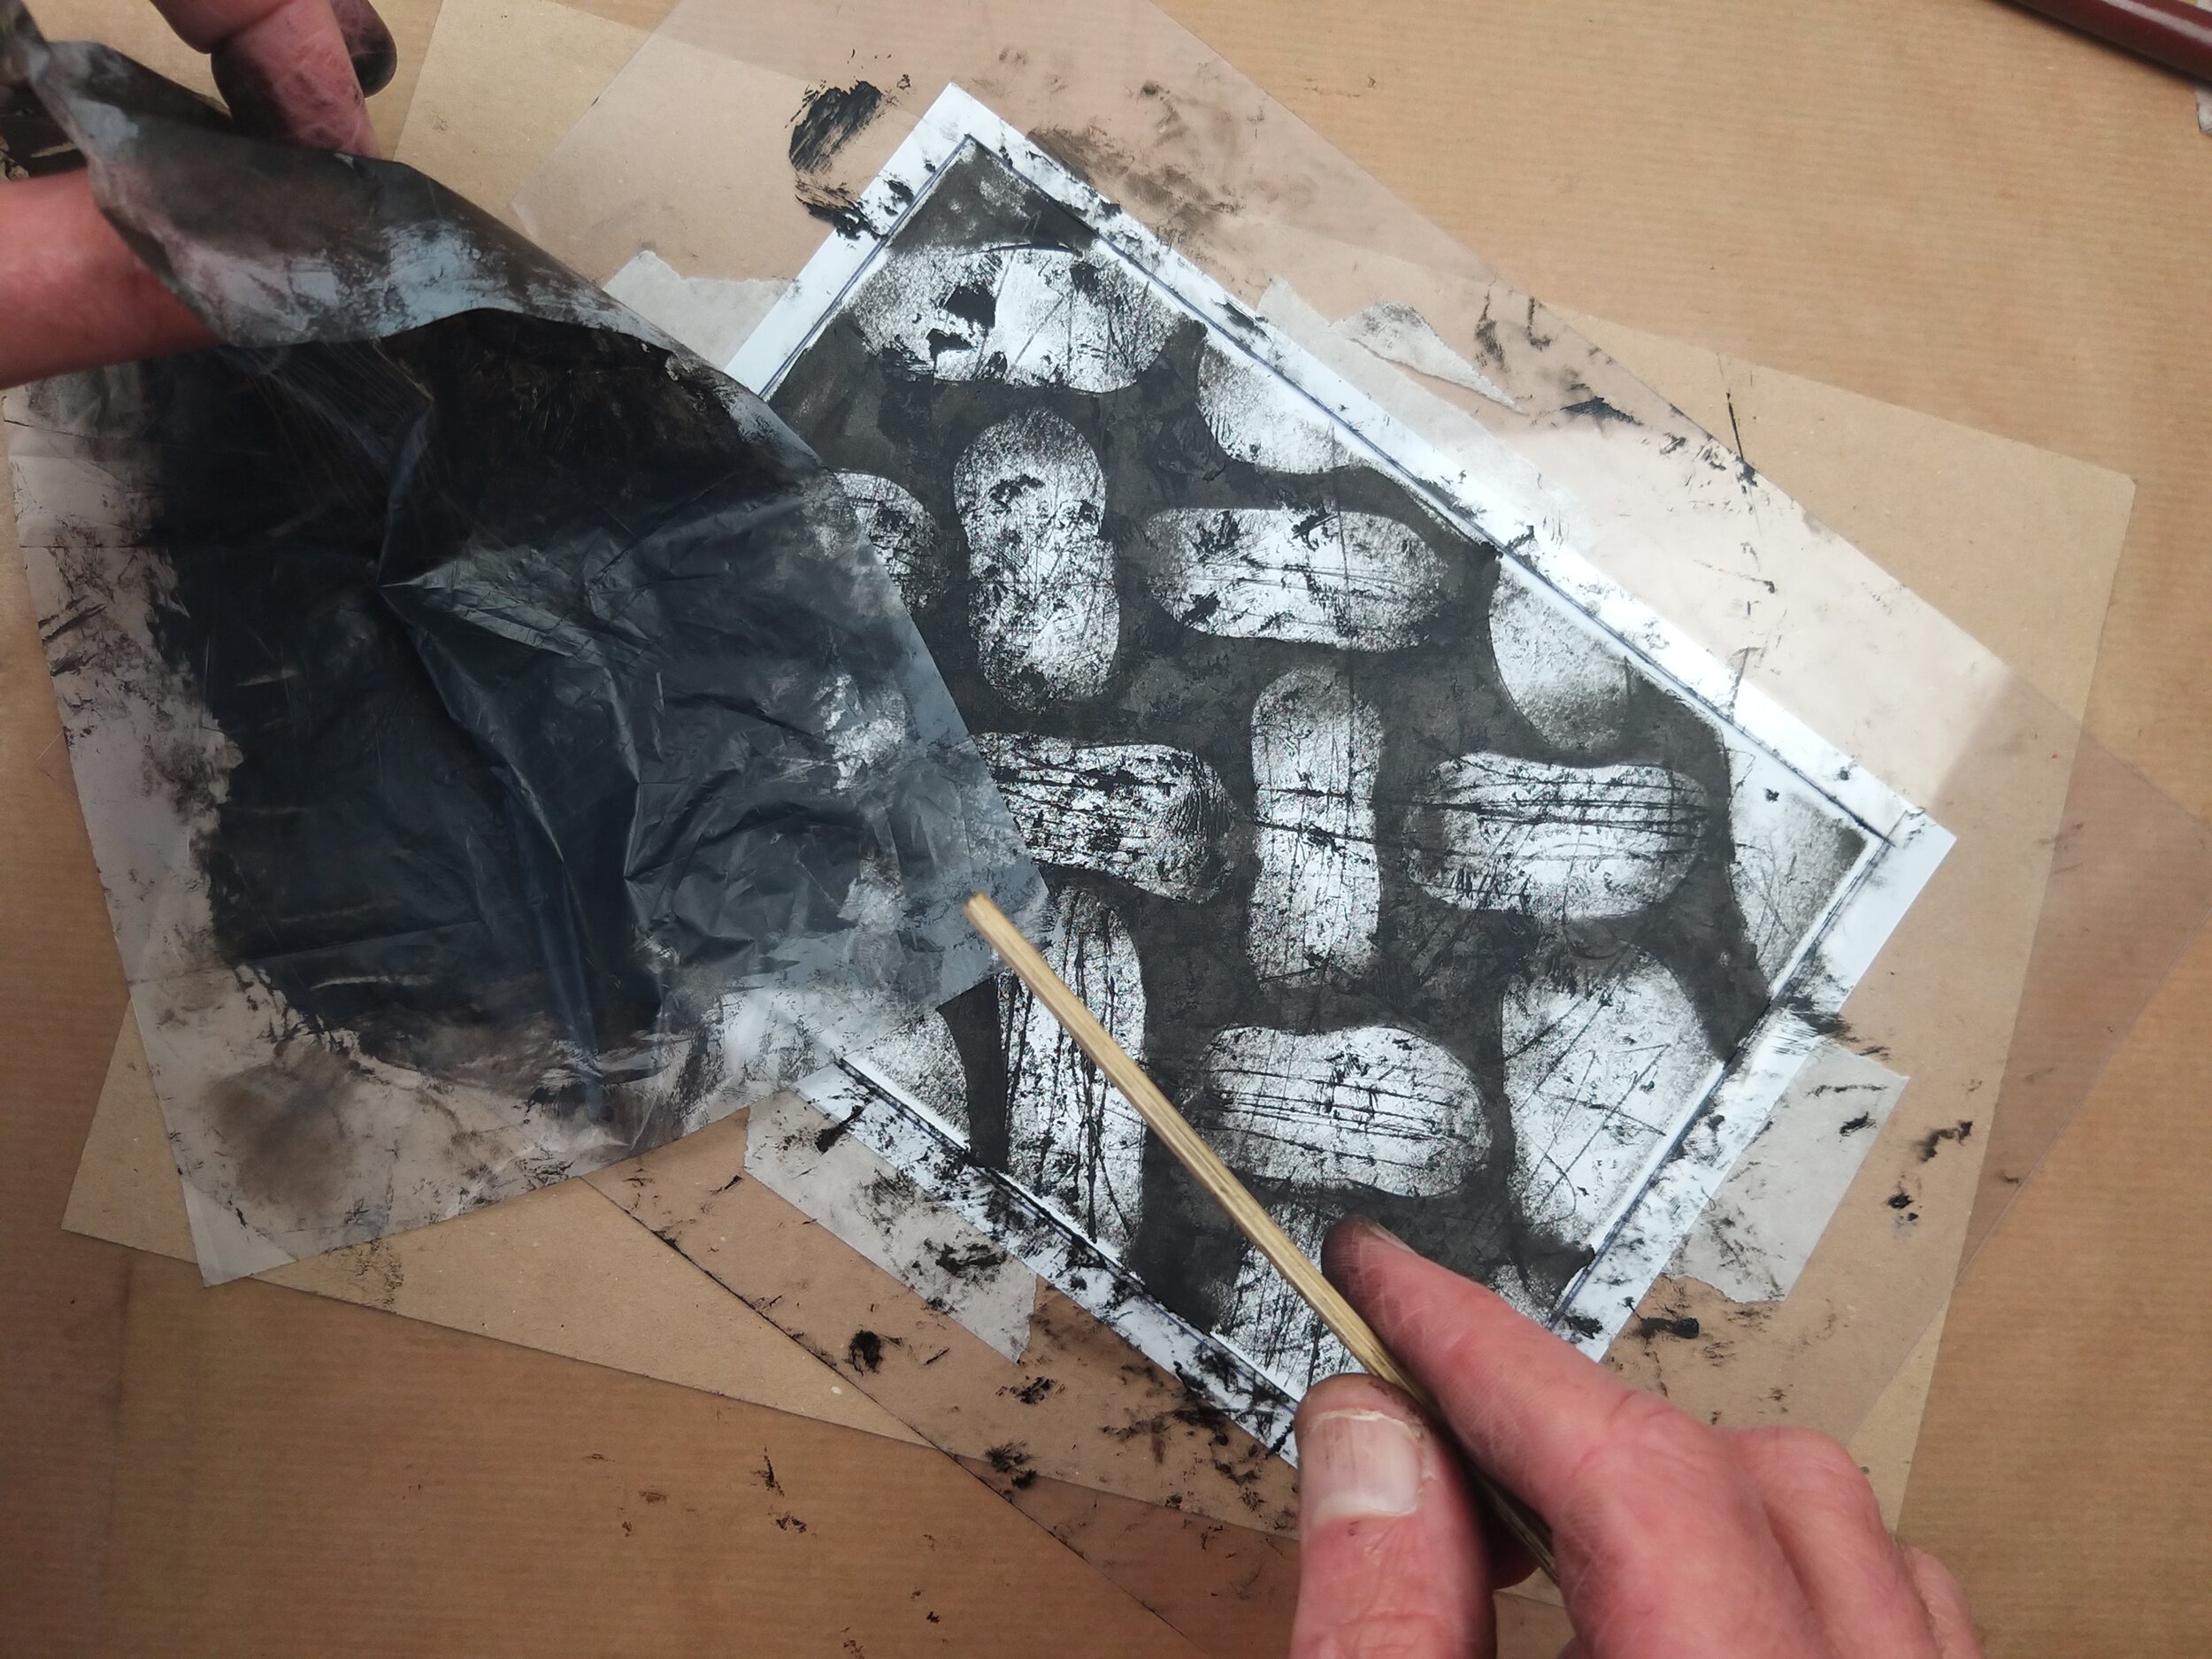
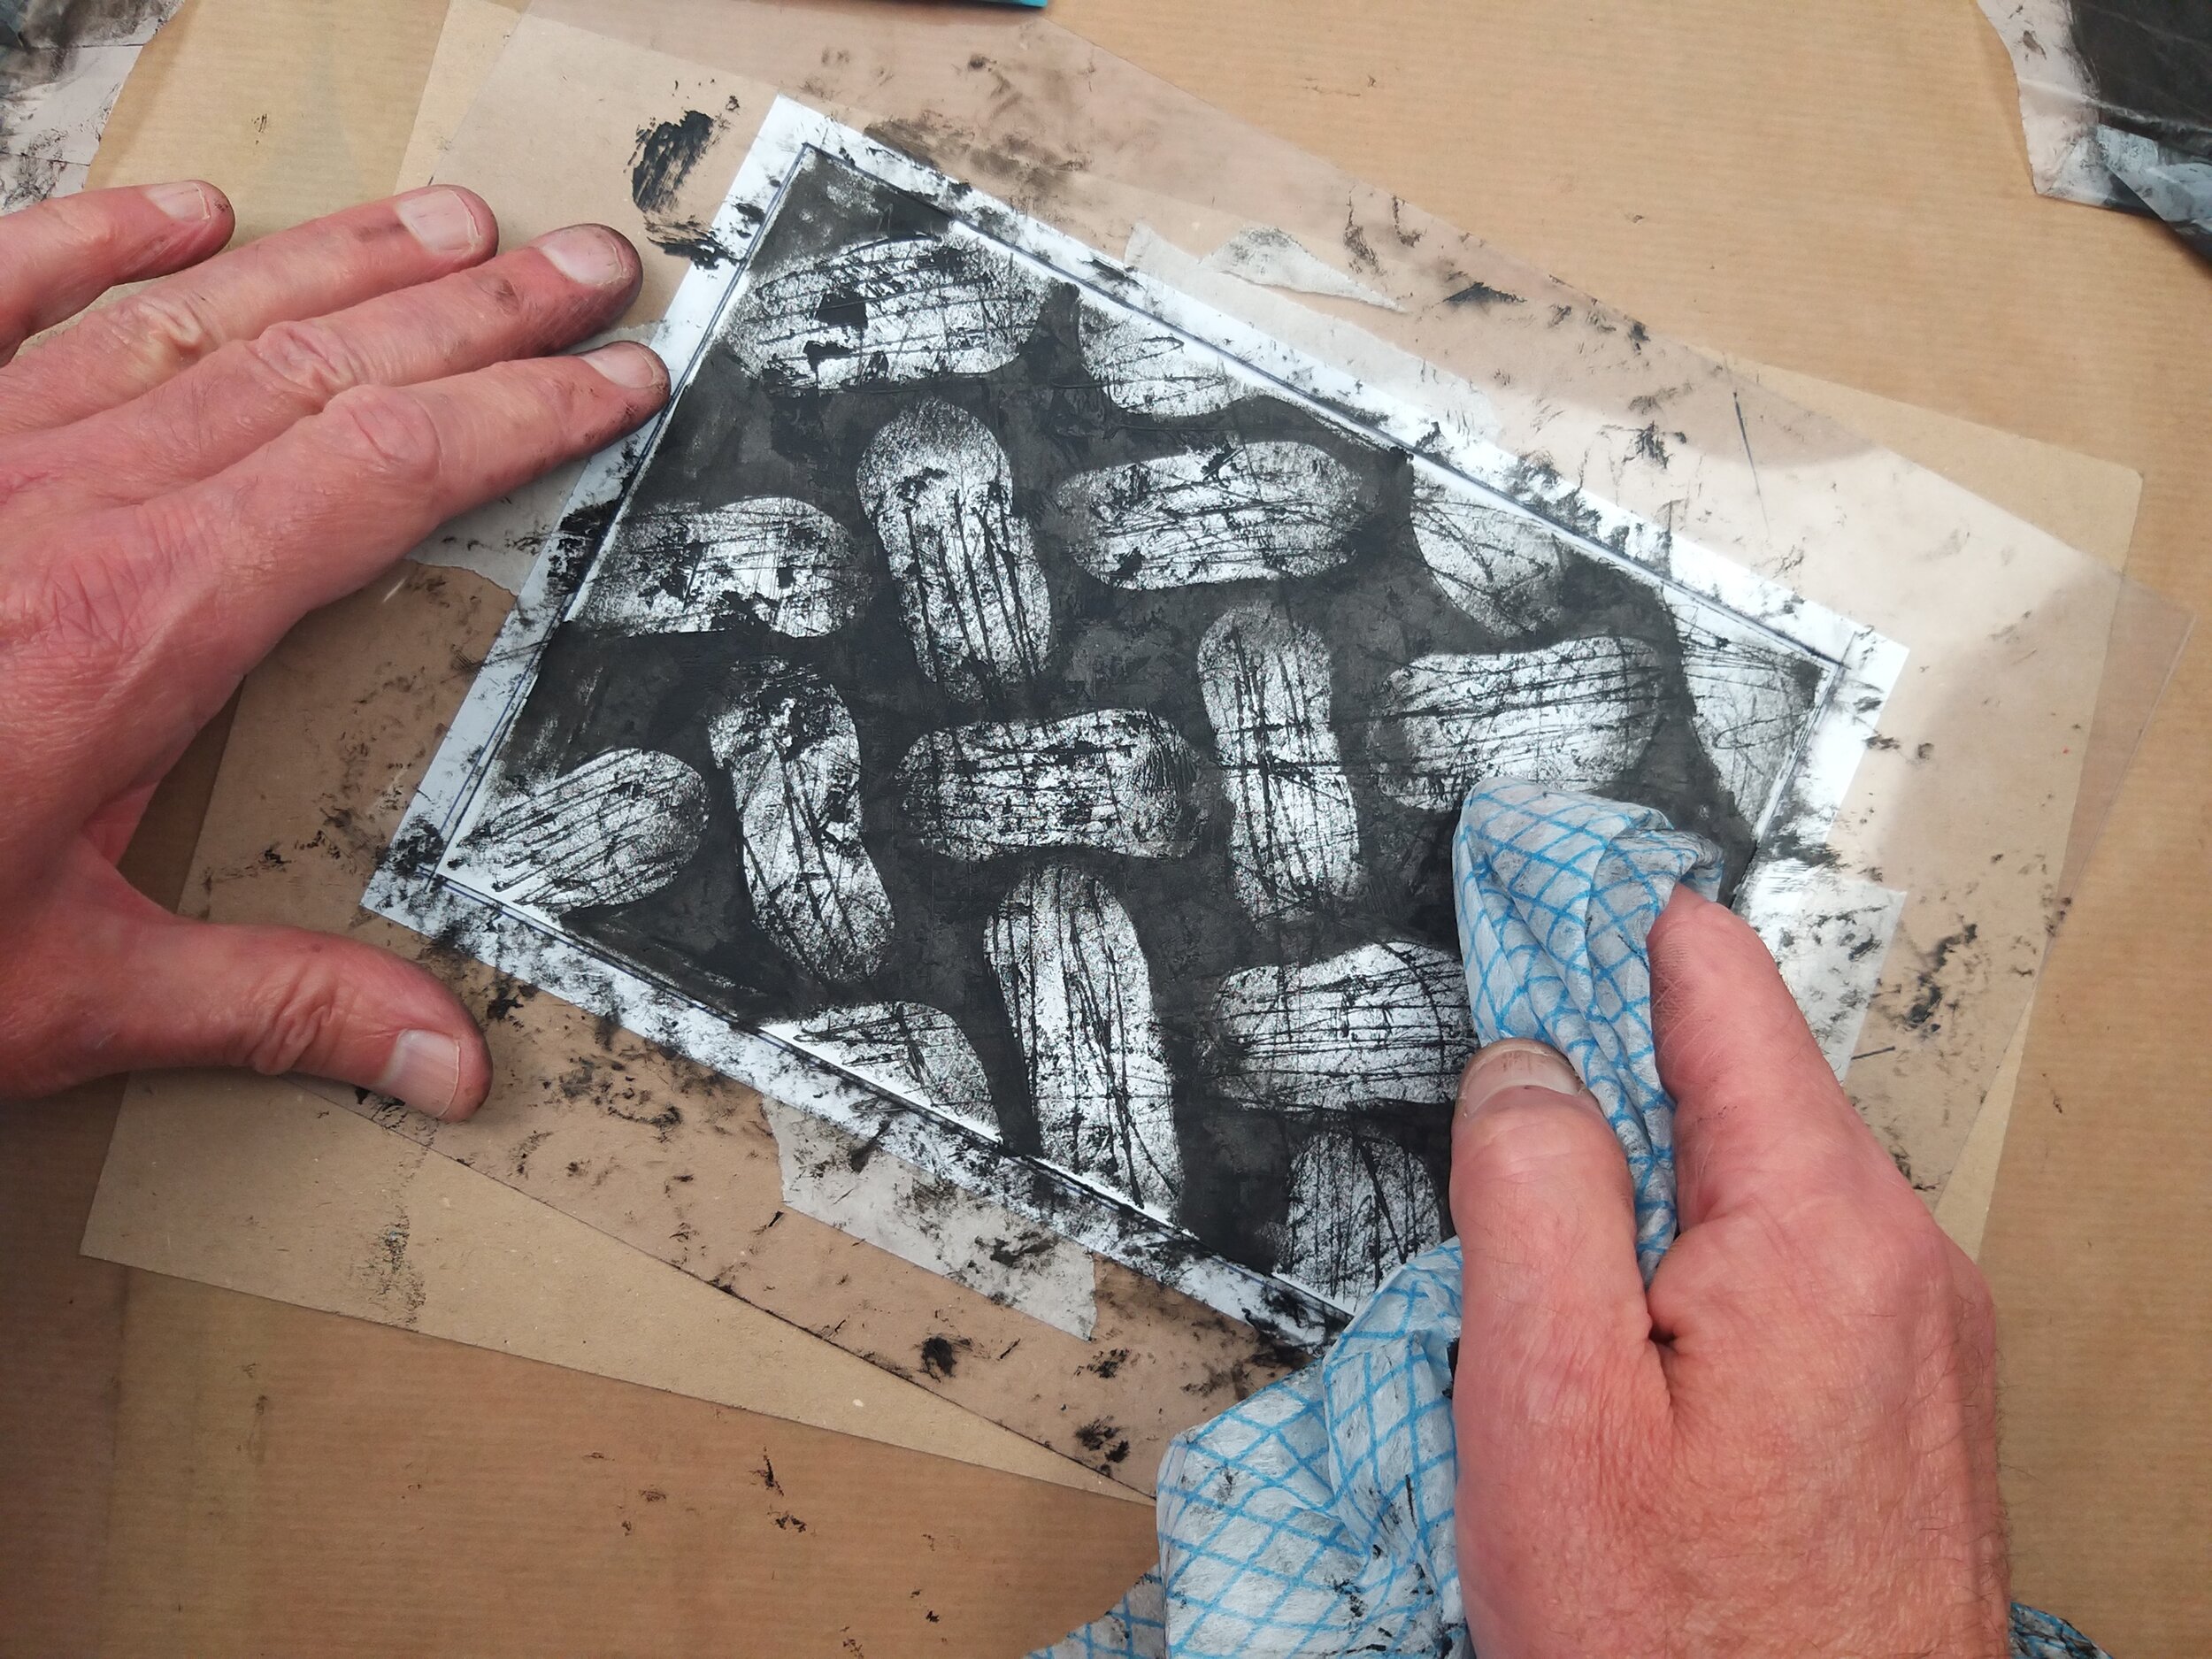
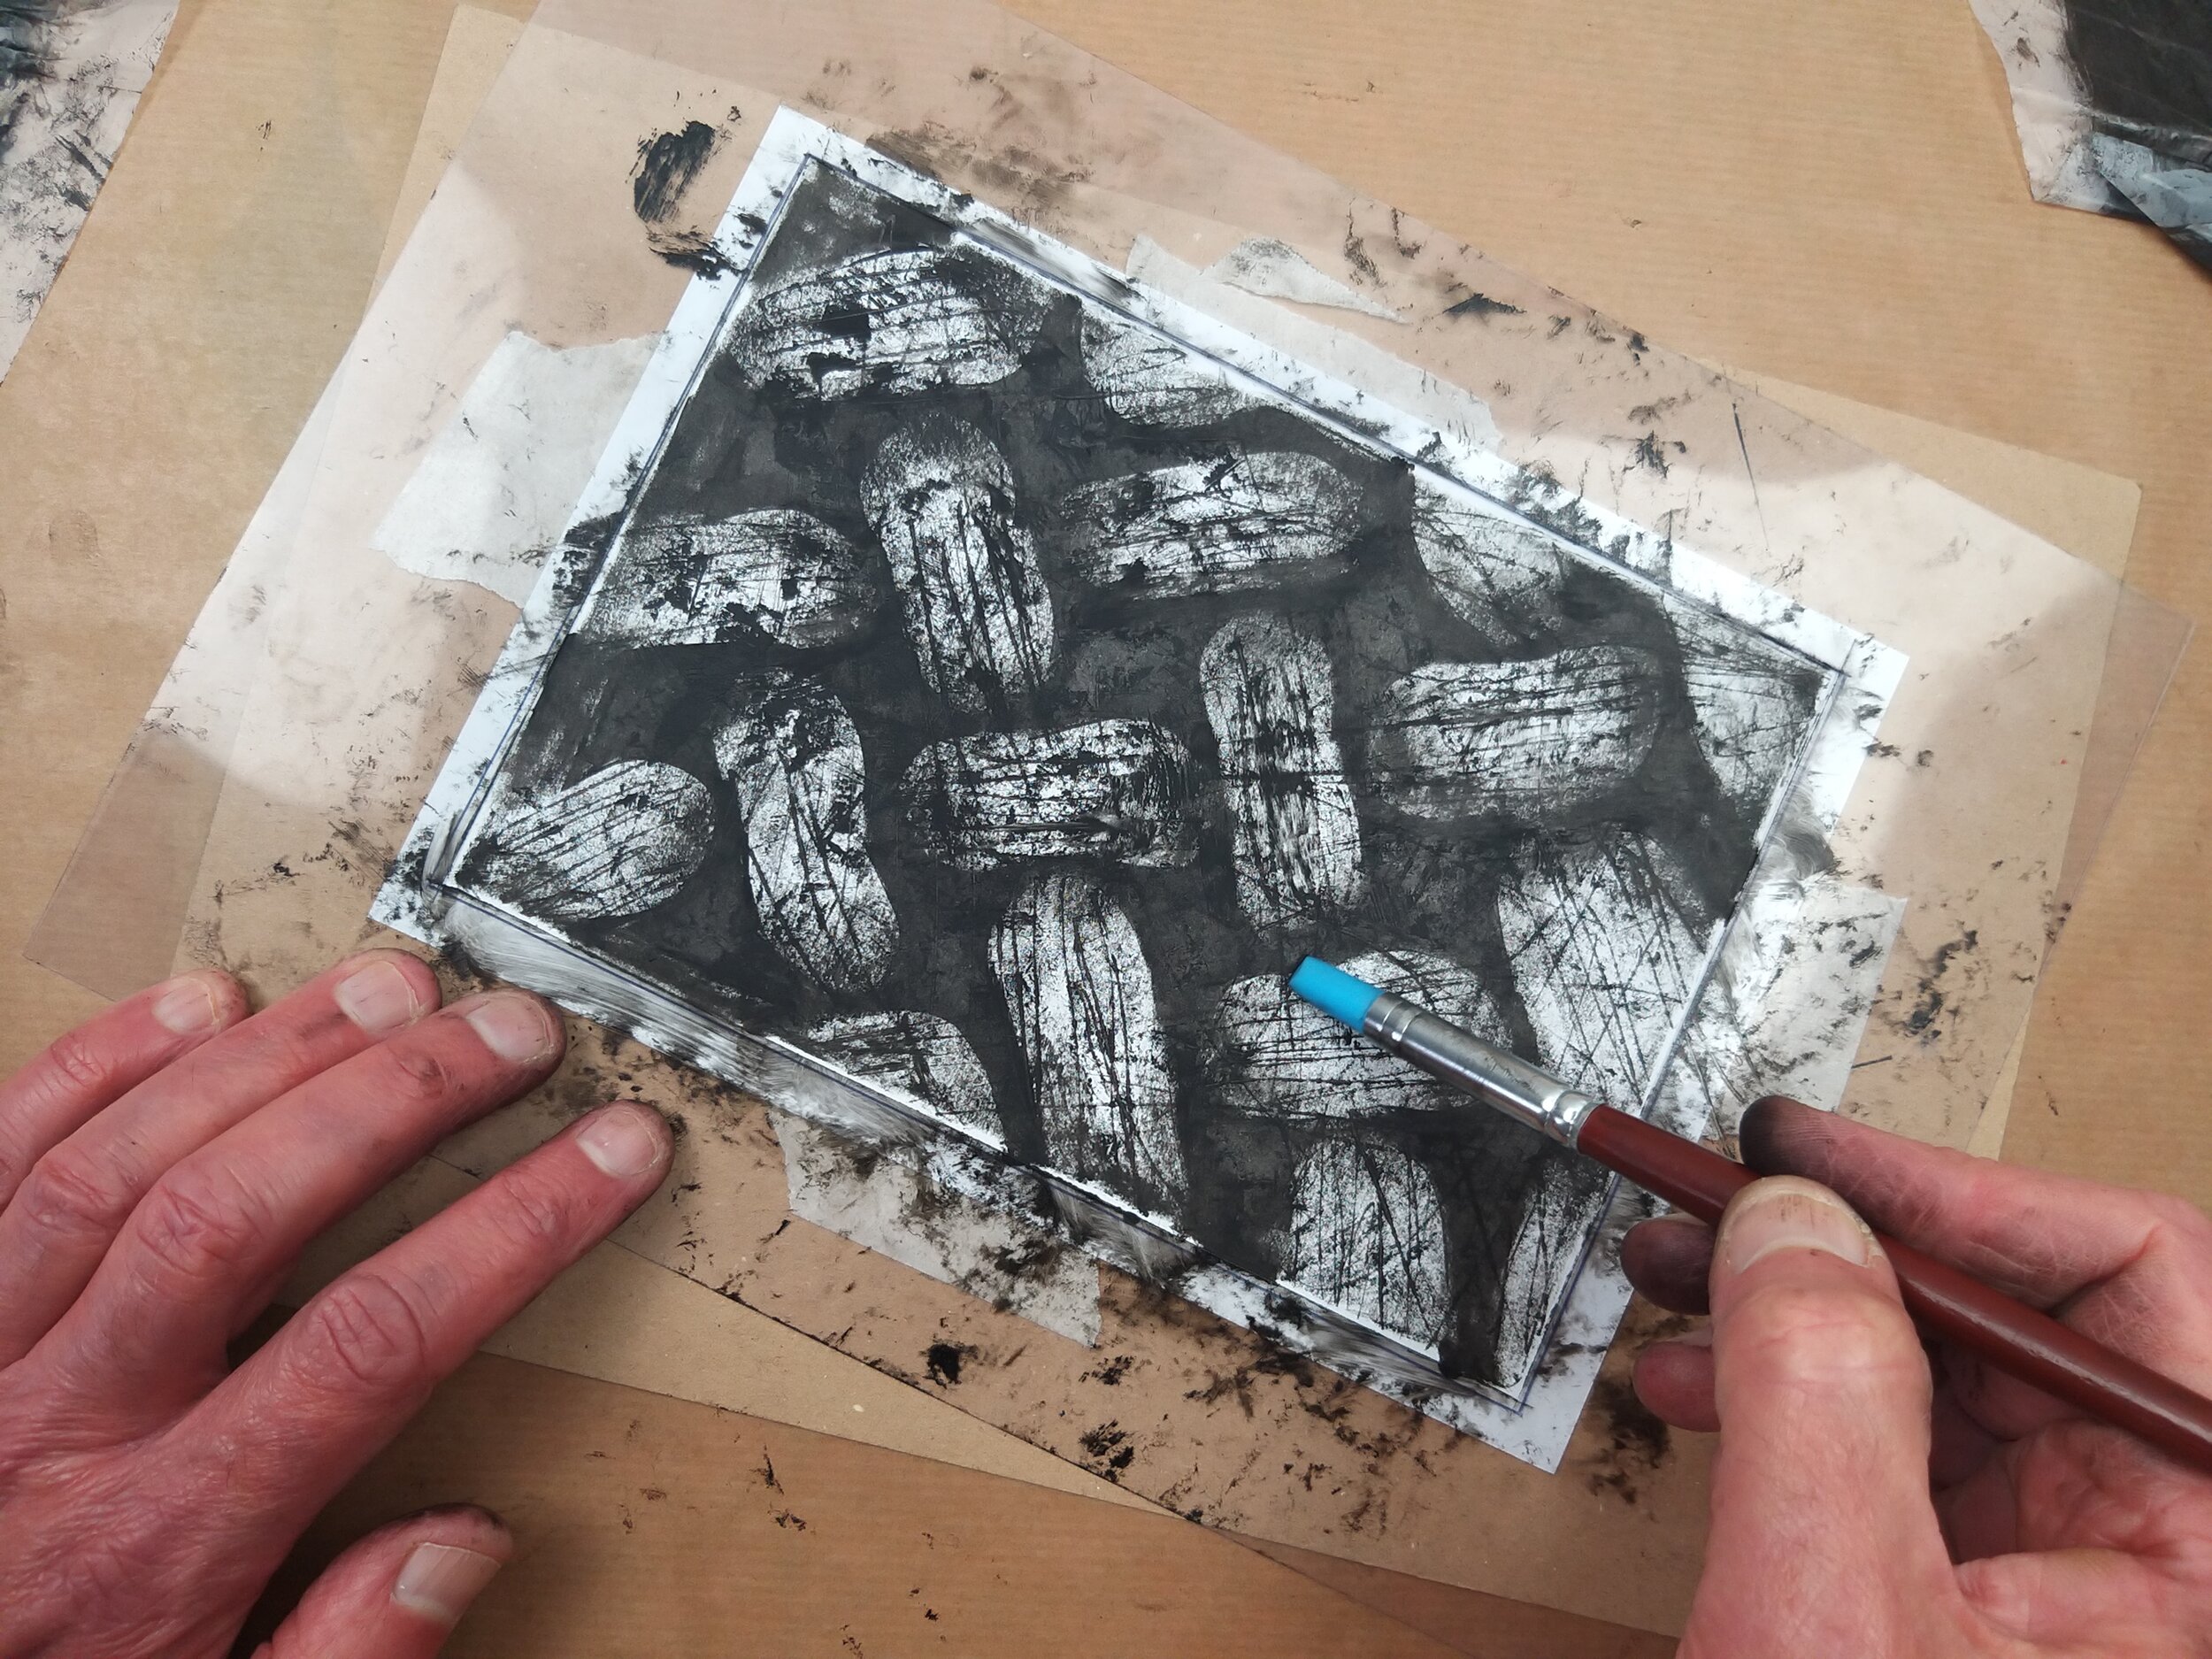
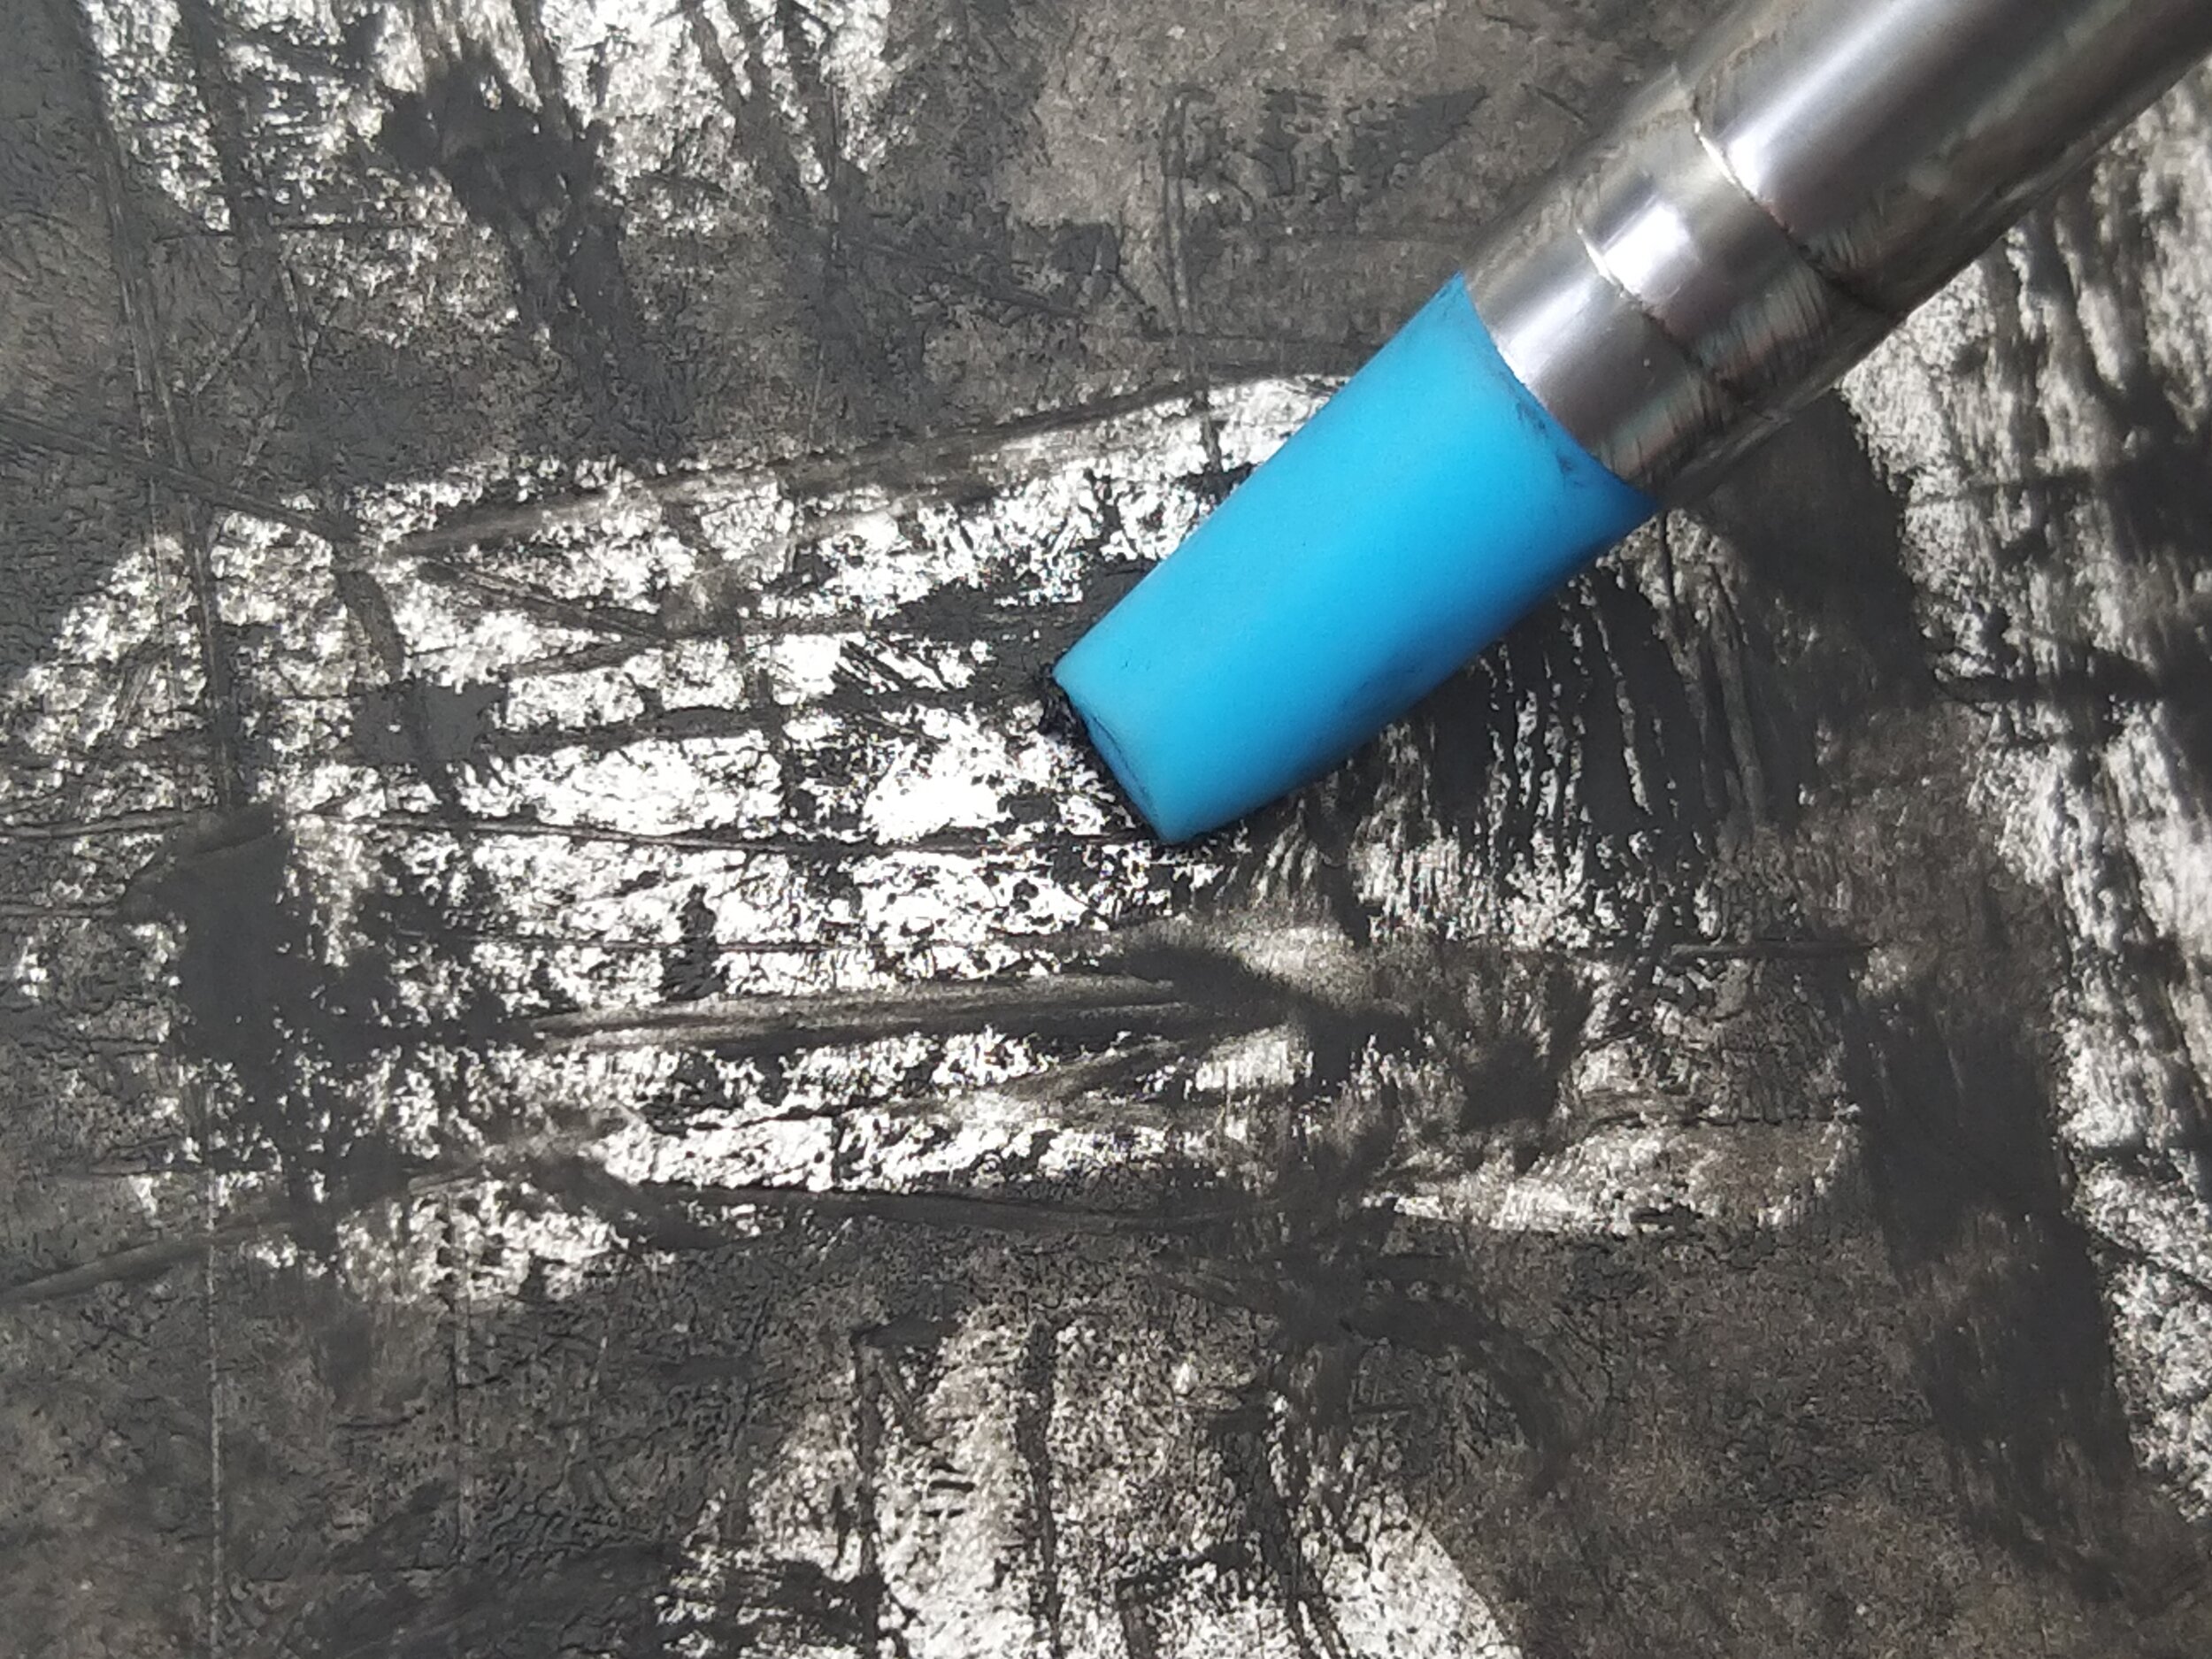
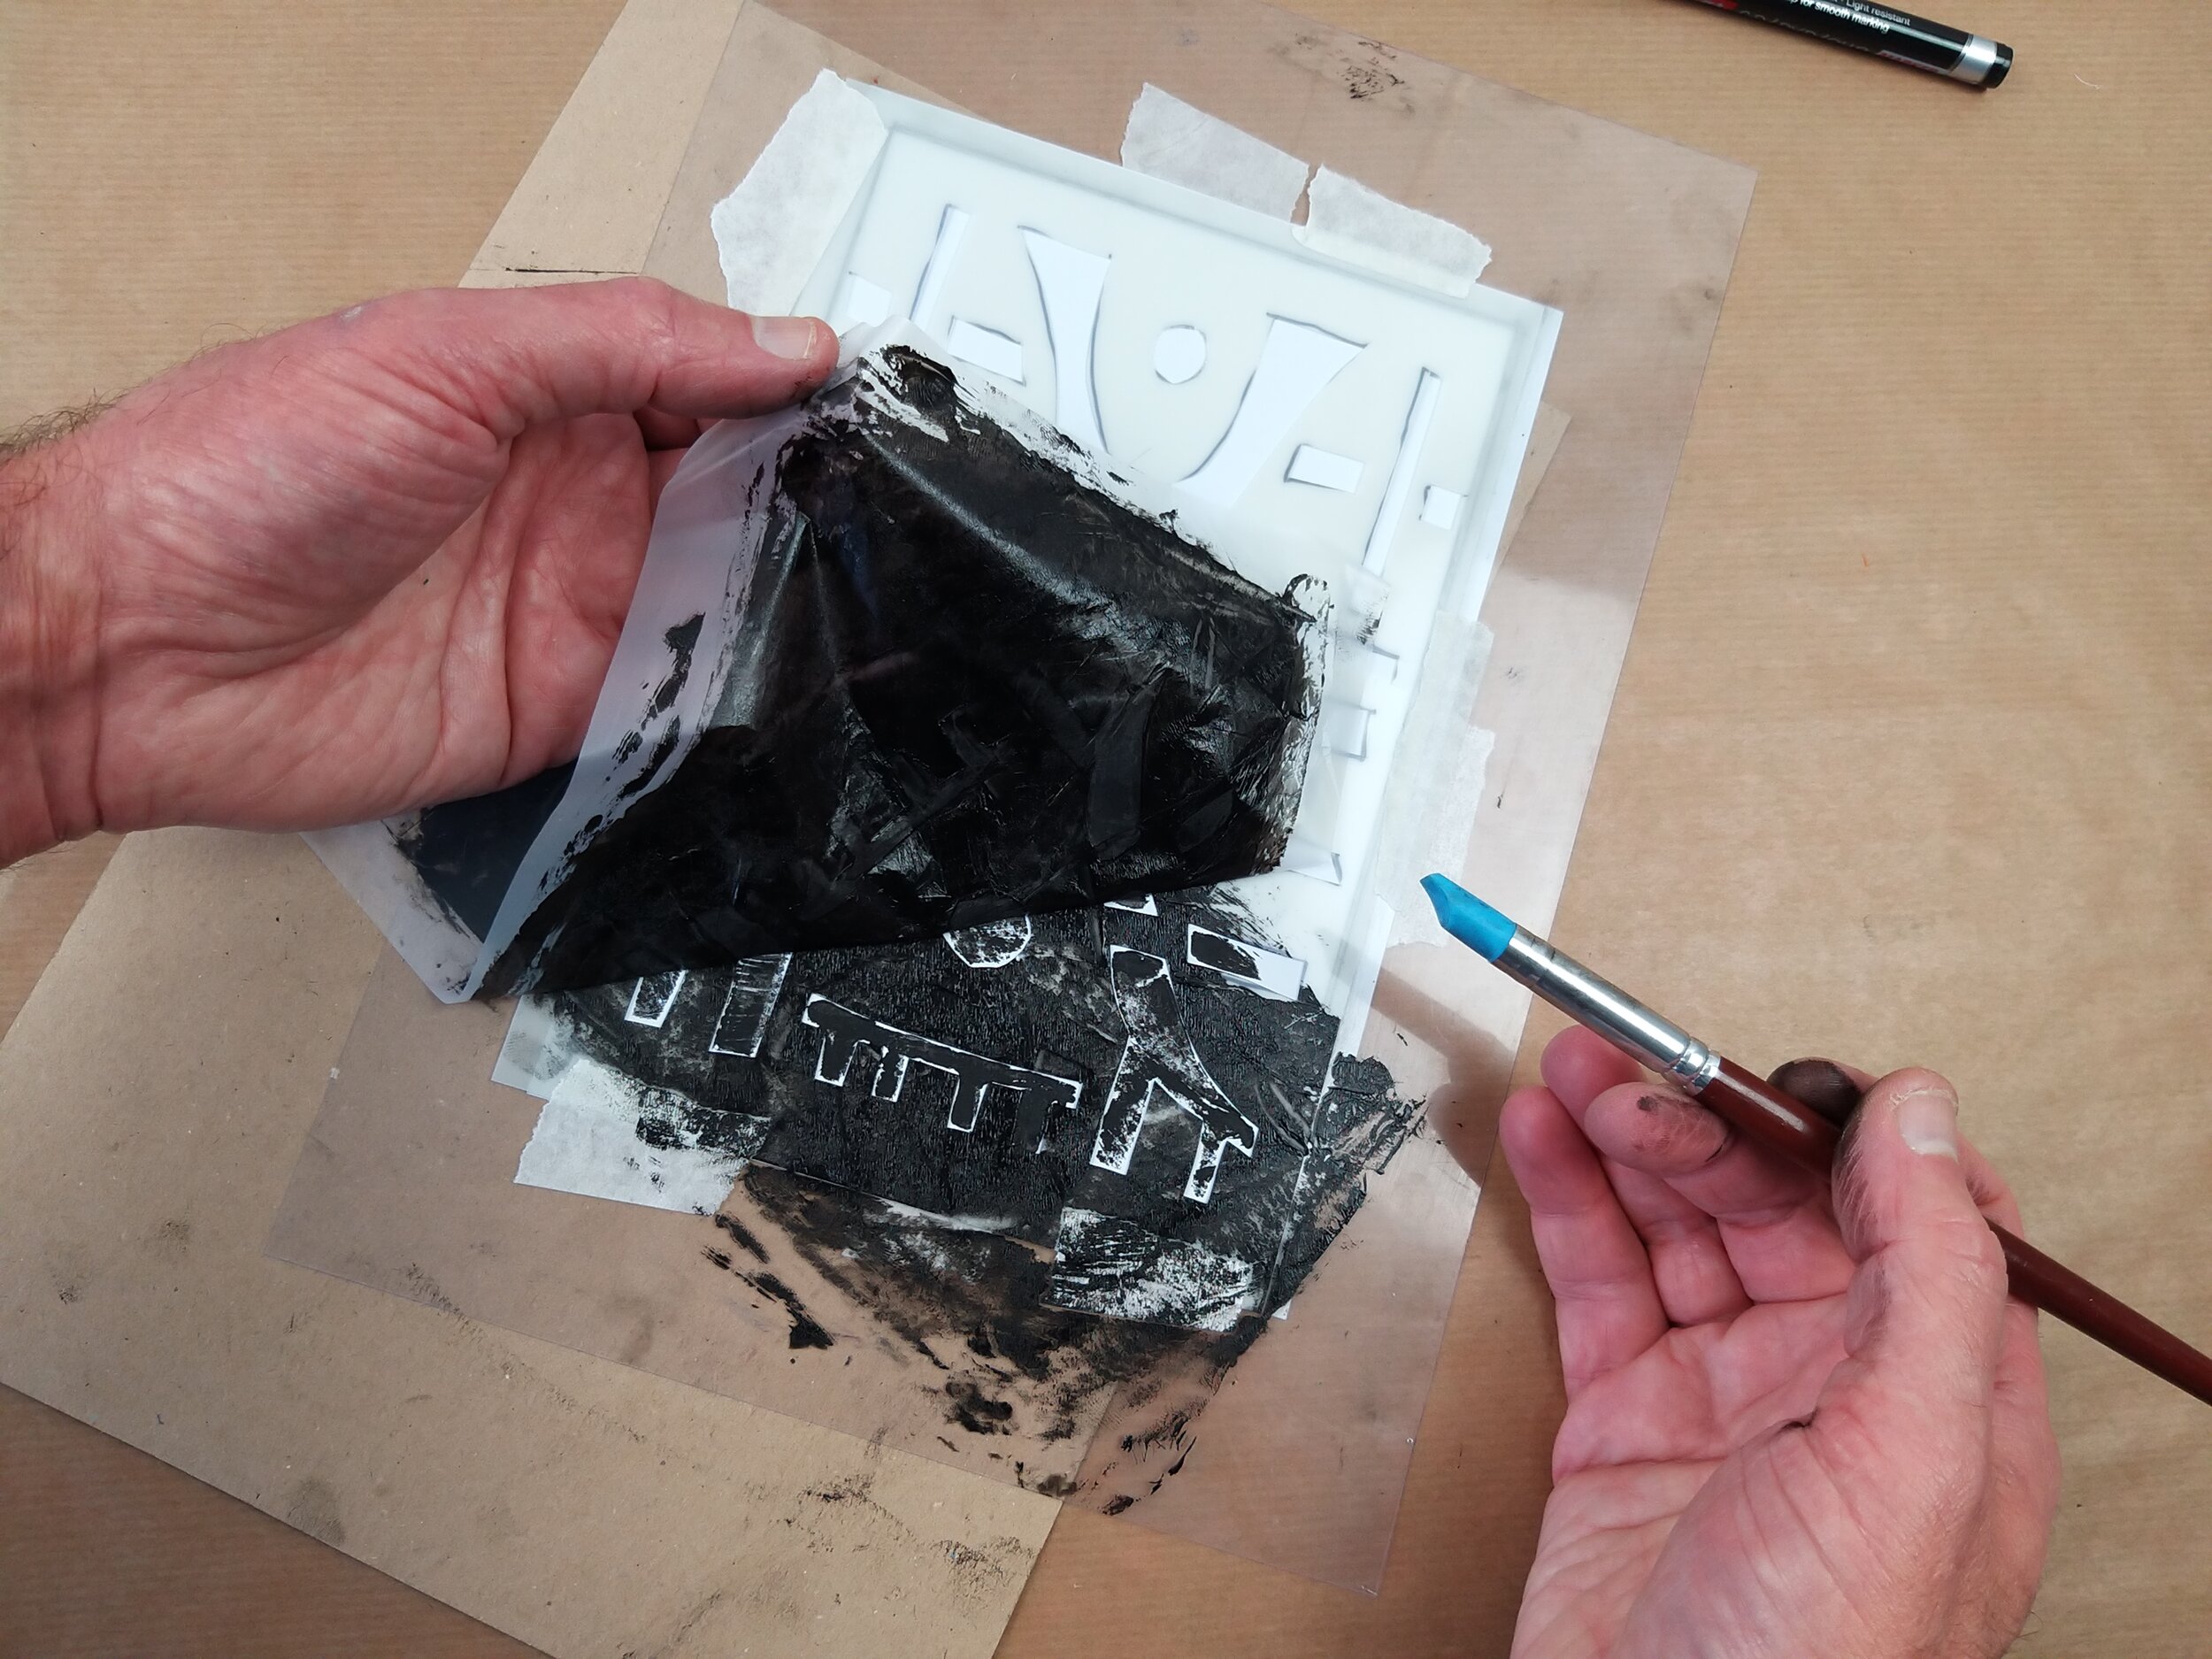
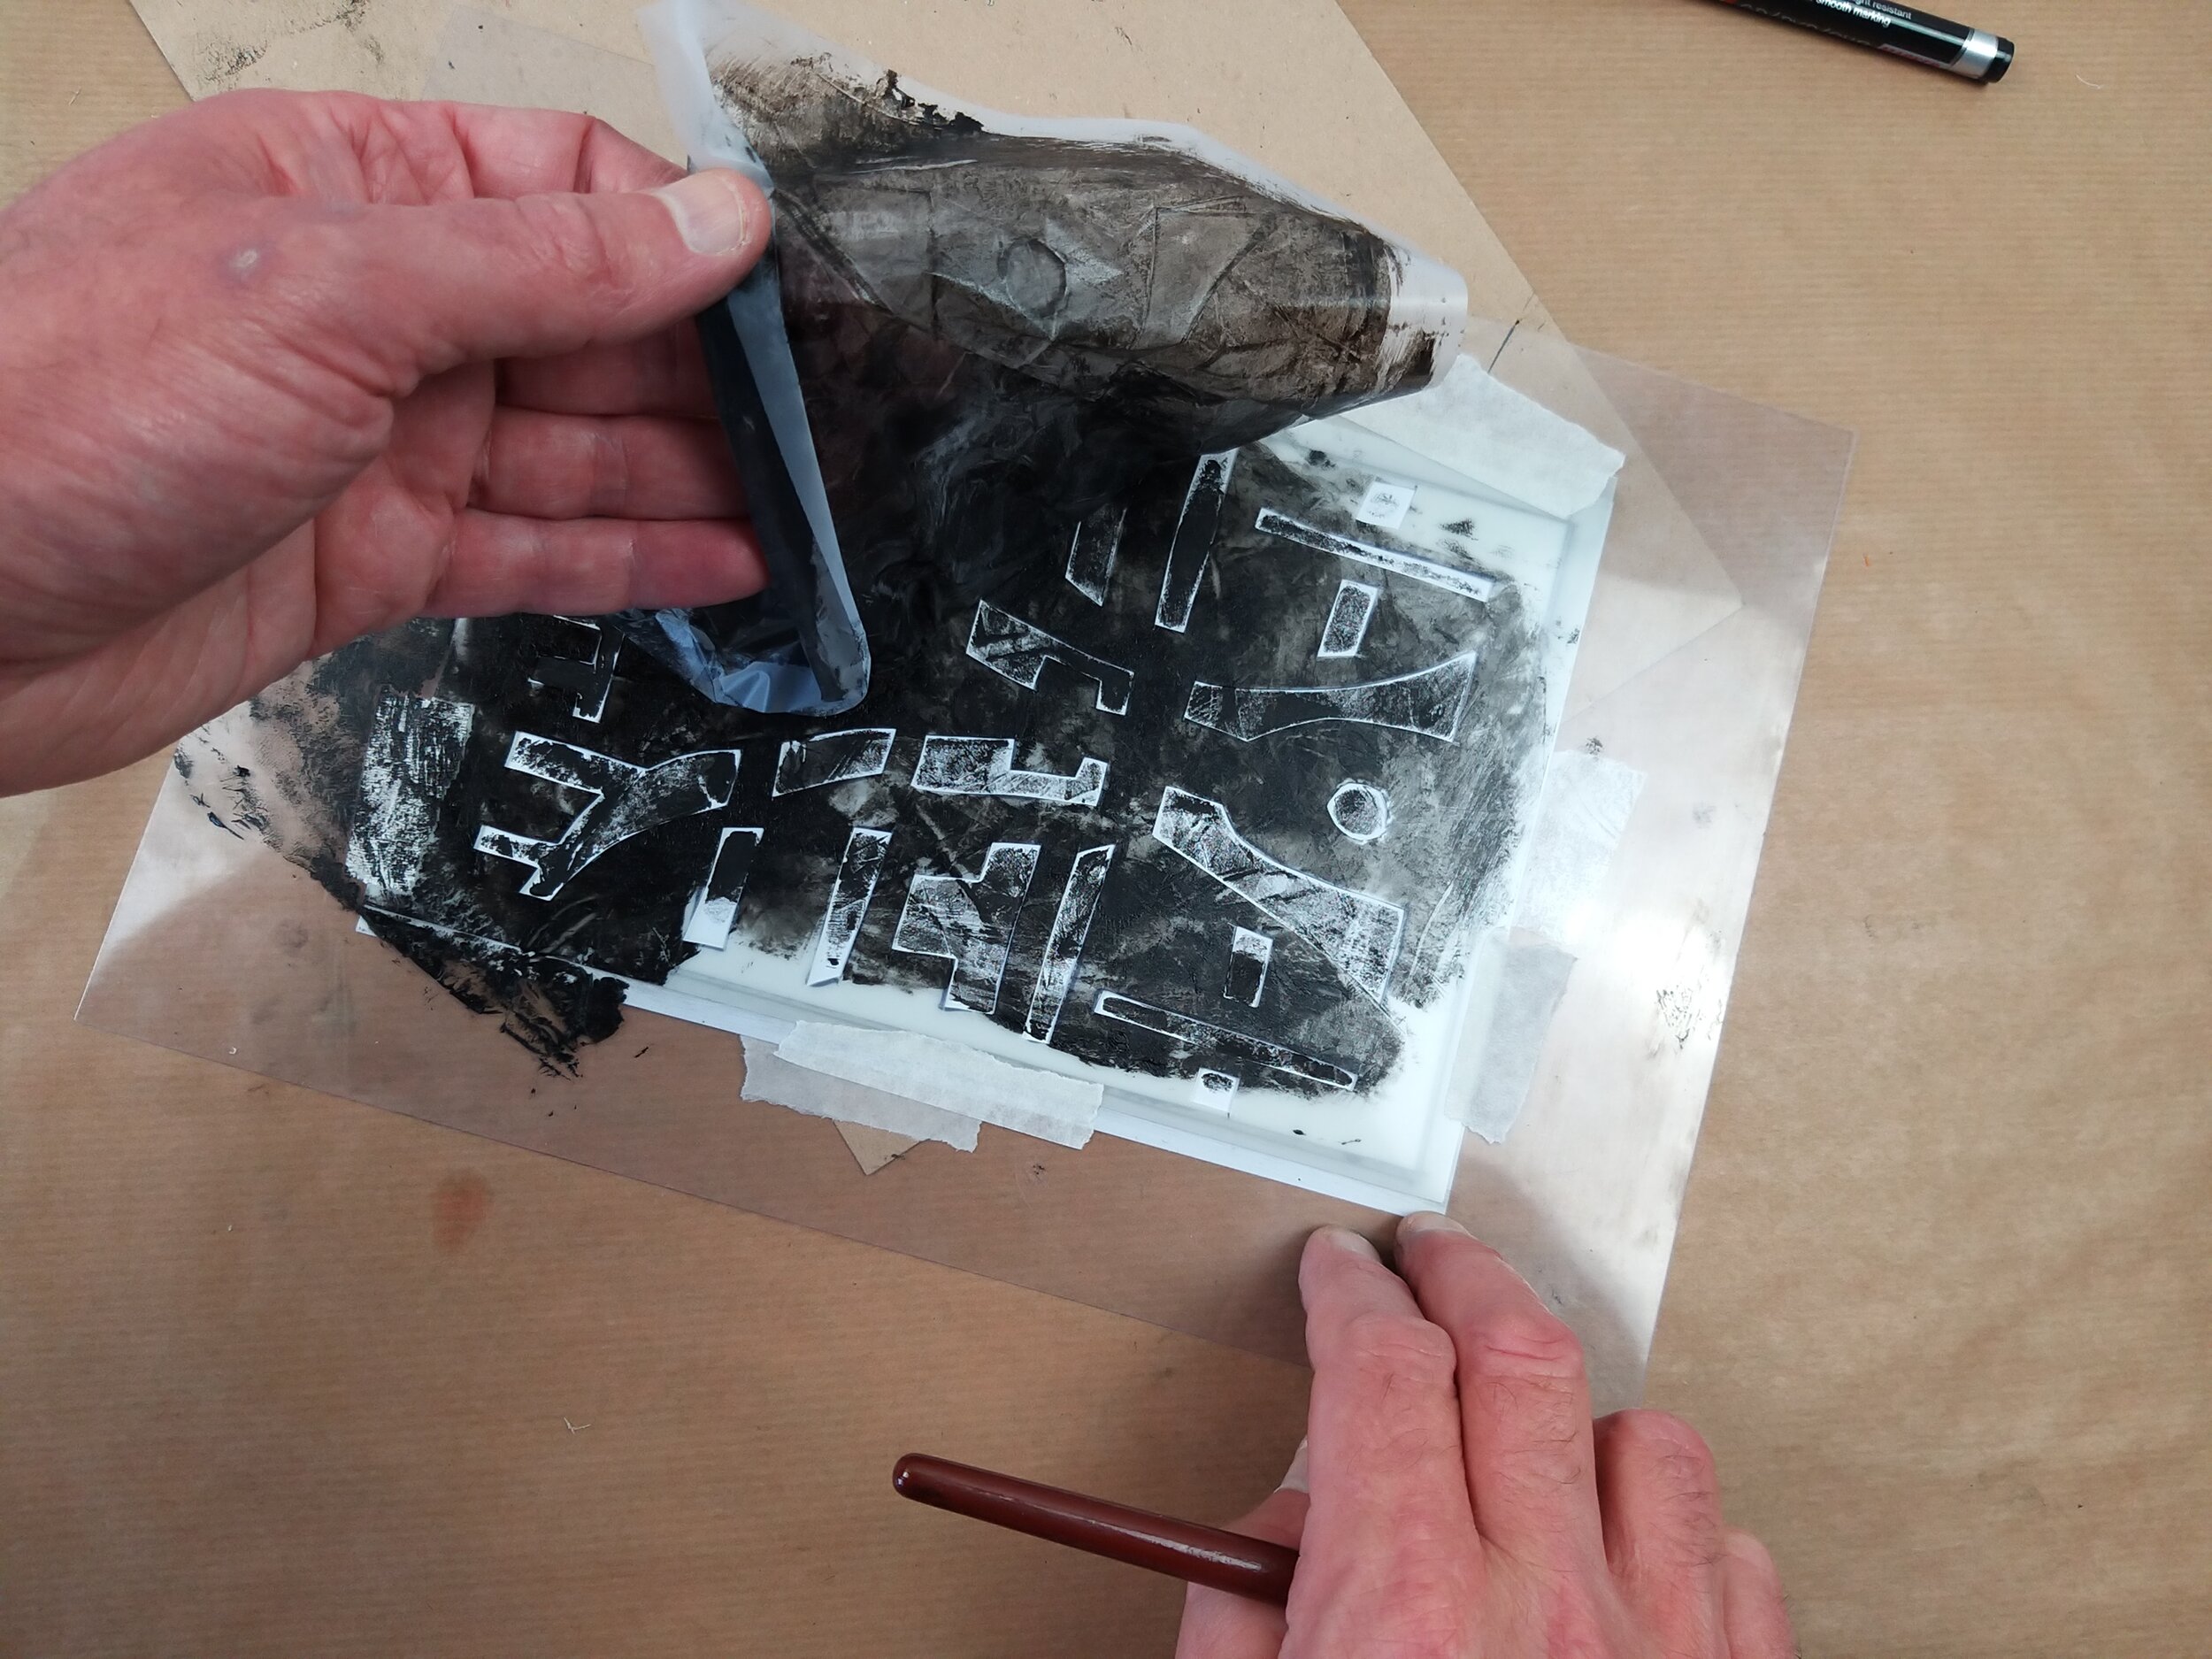
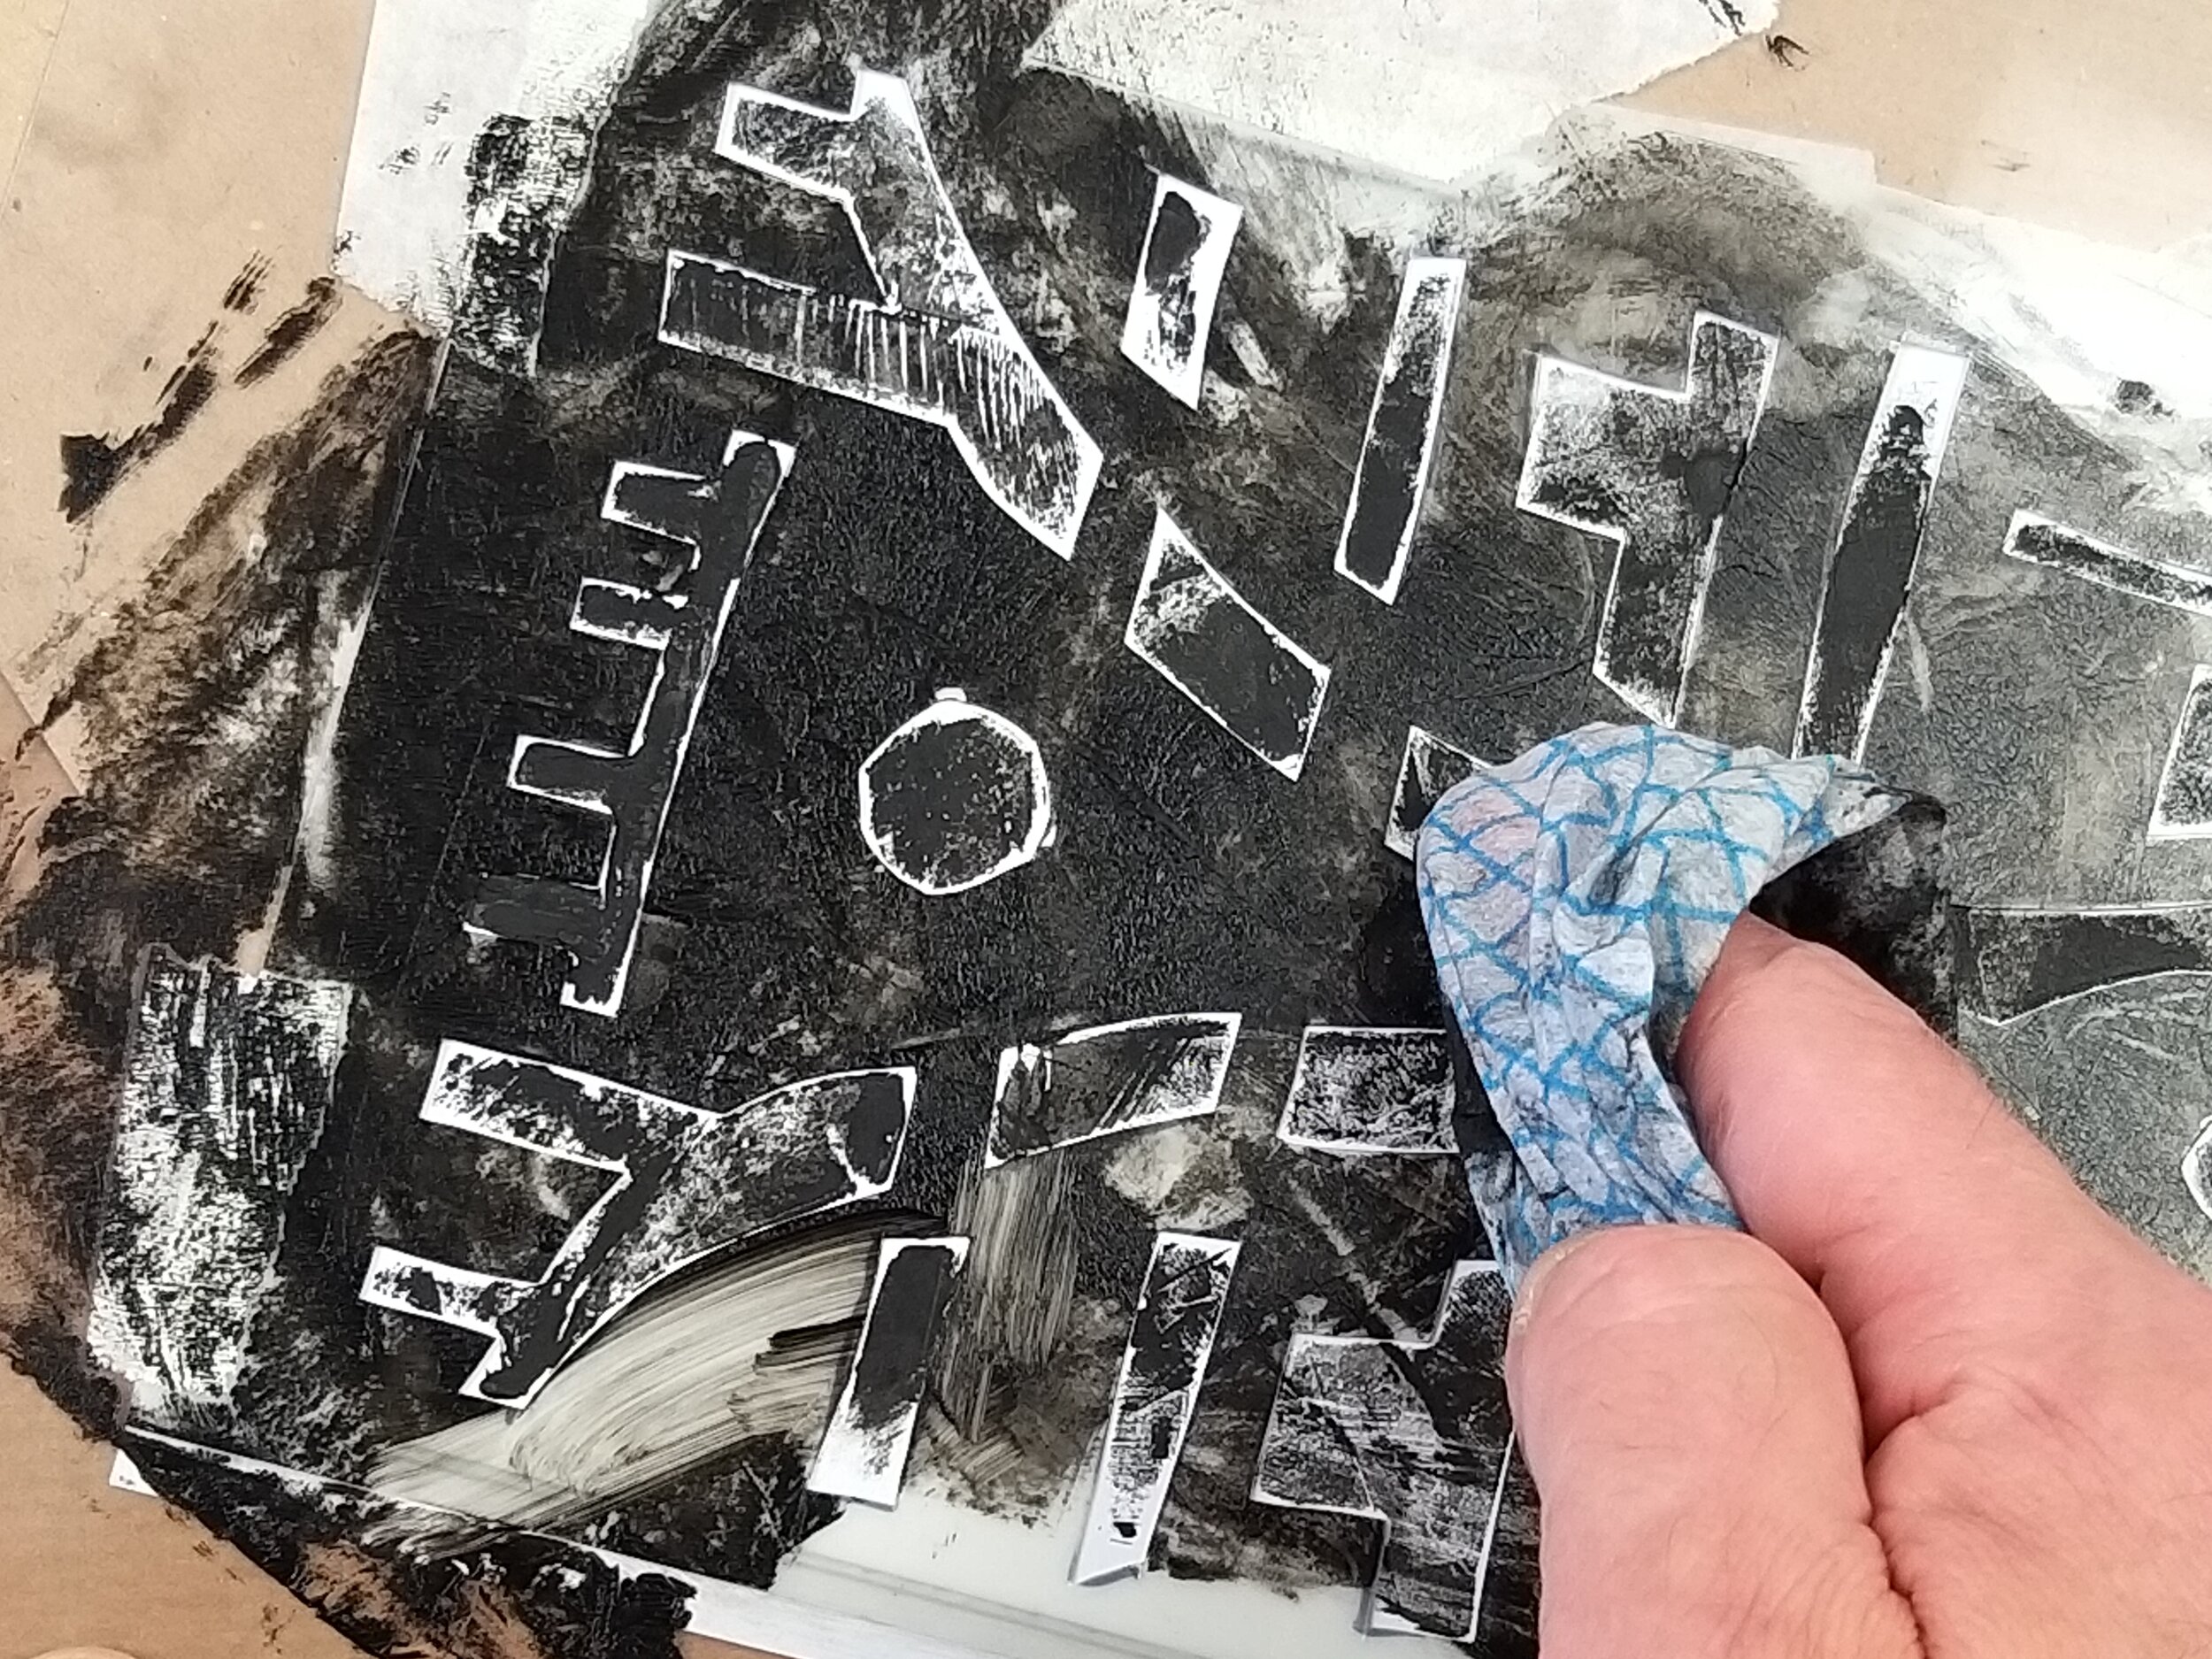
Project 1 step by step photographs
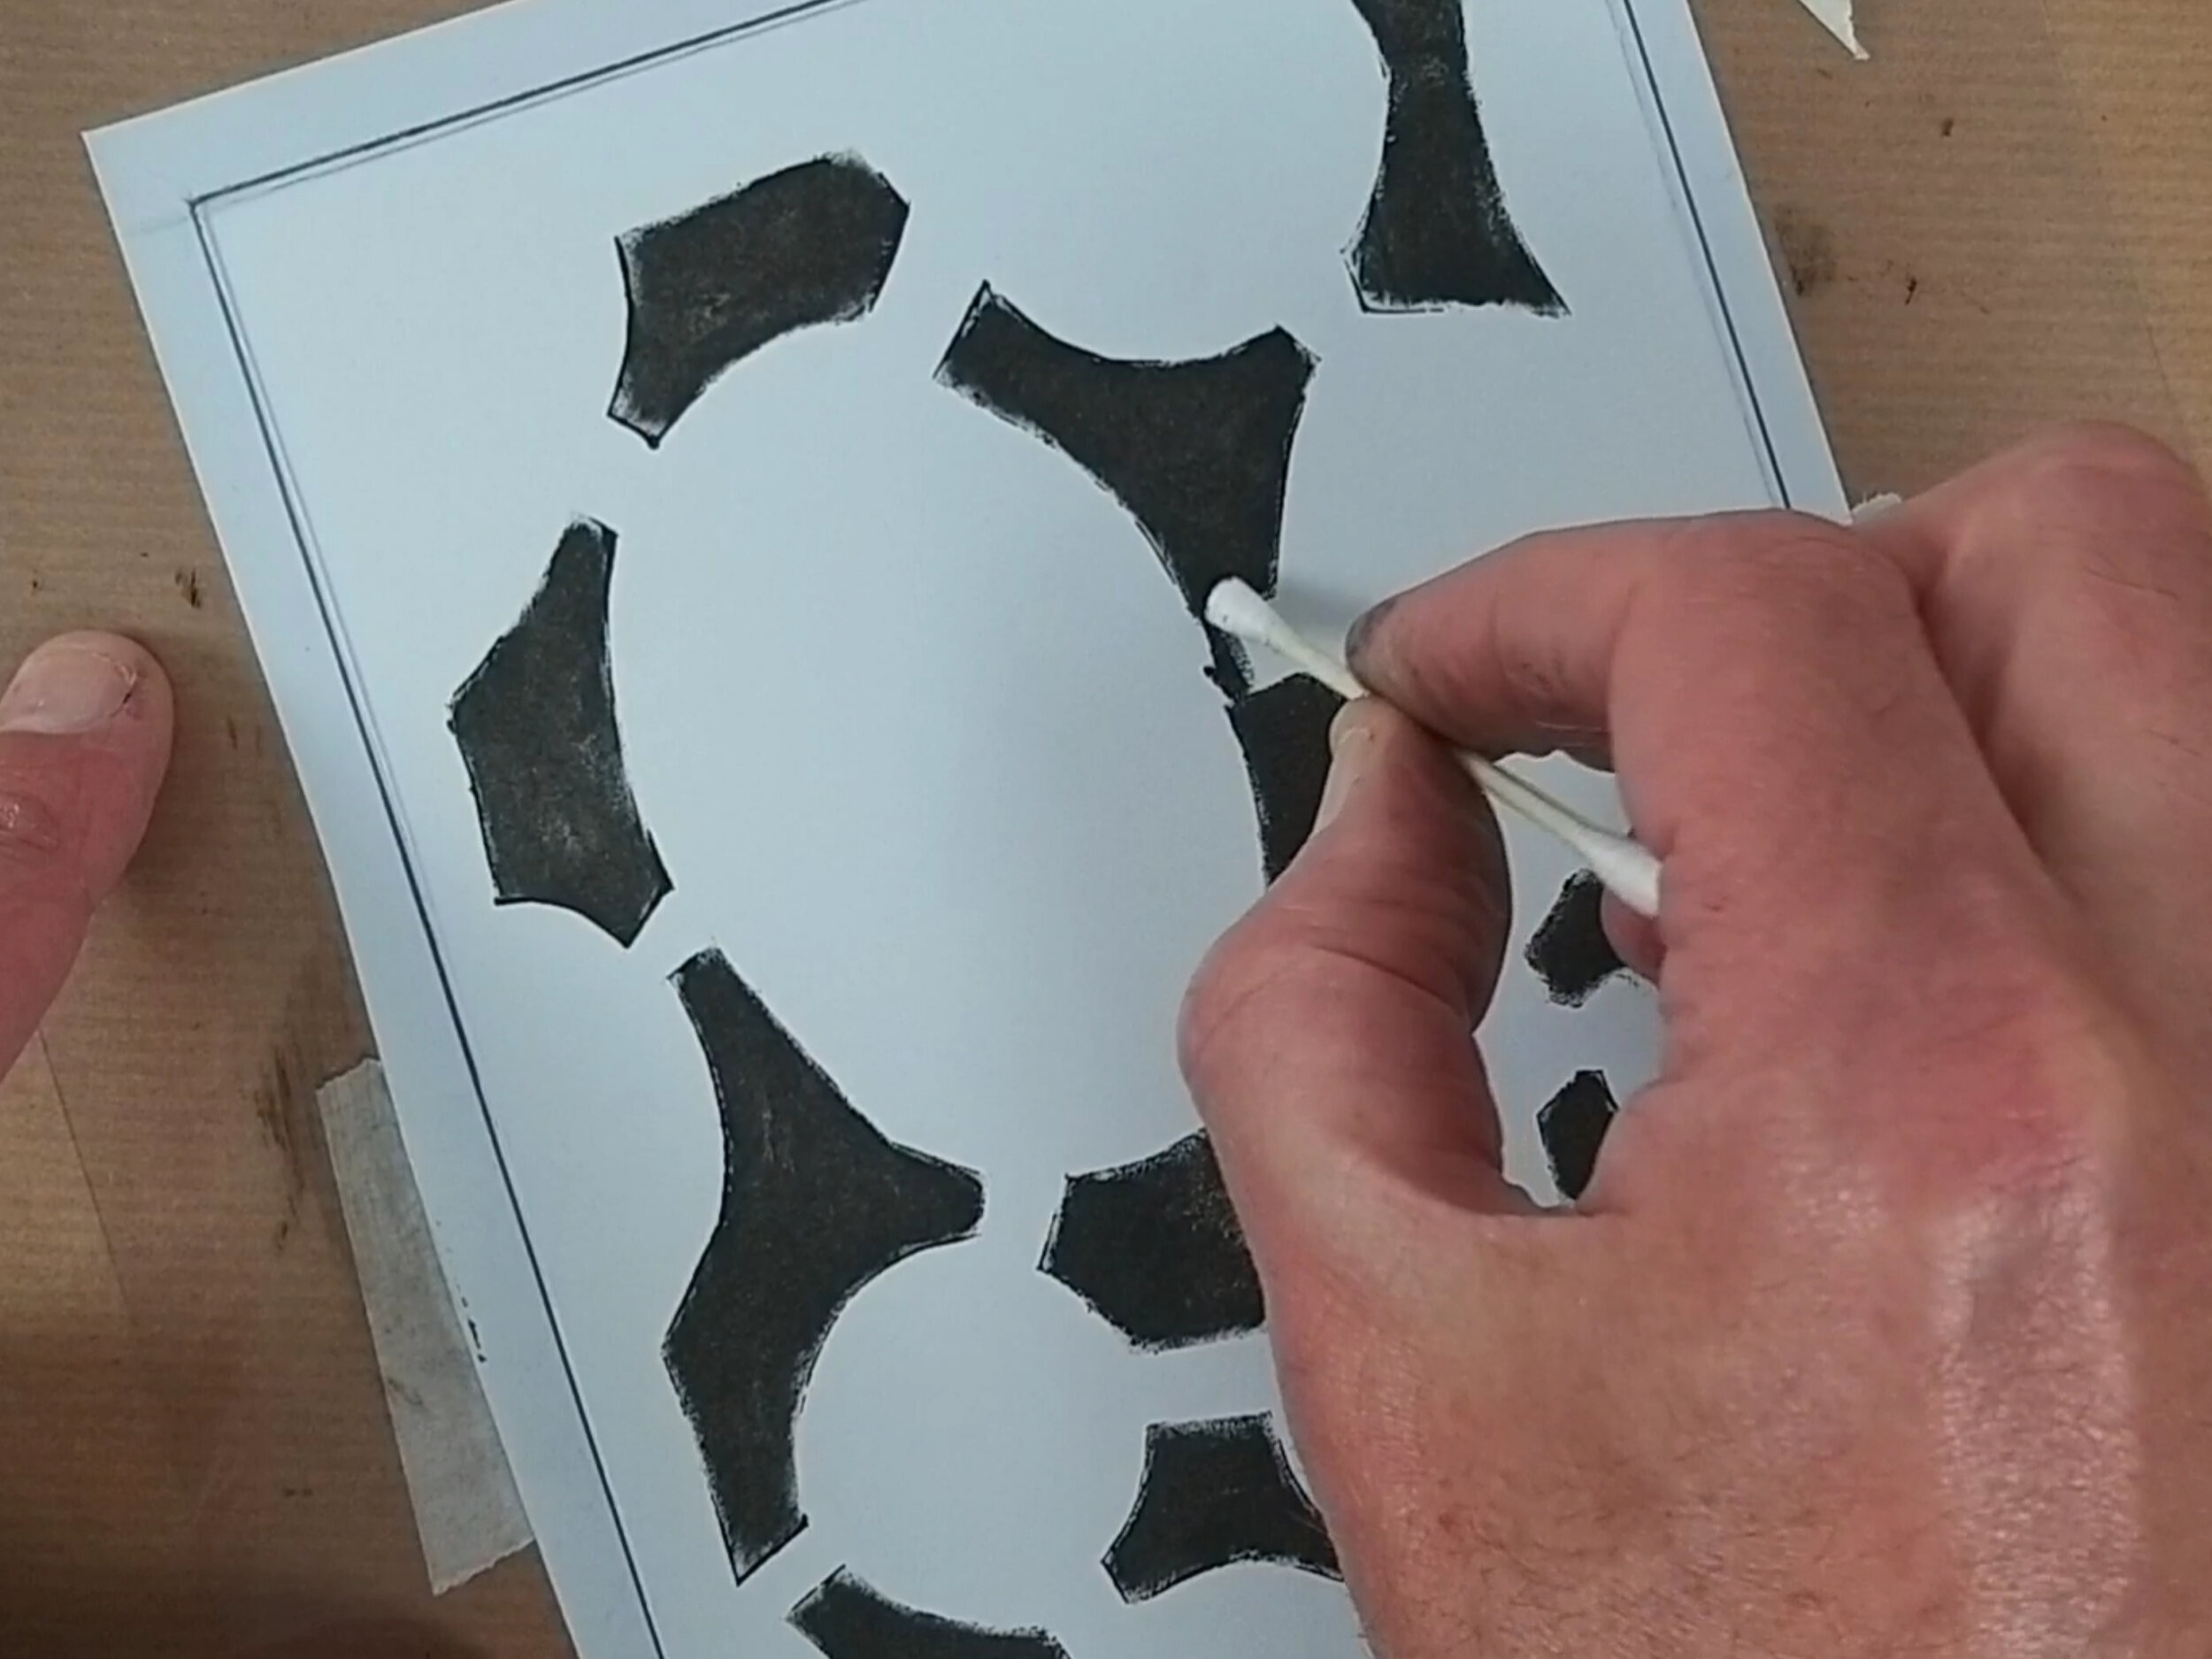
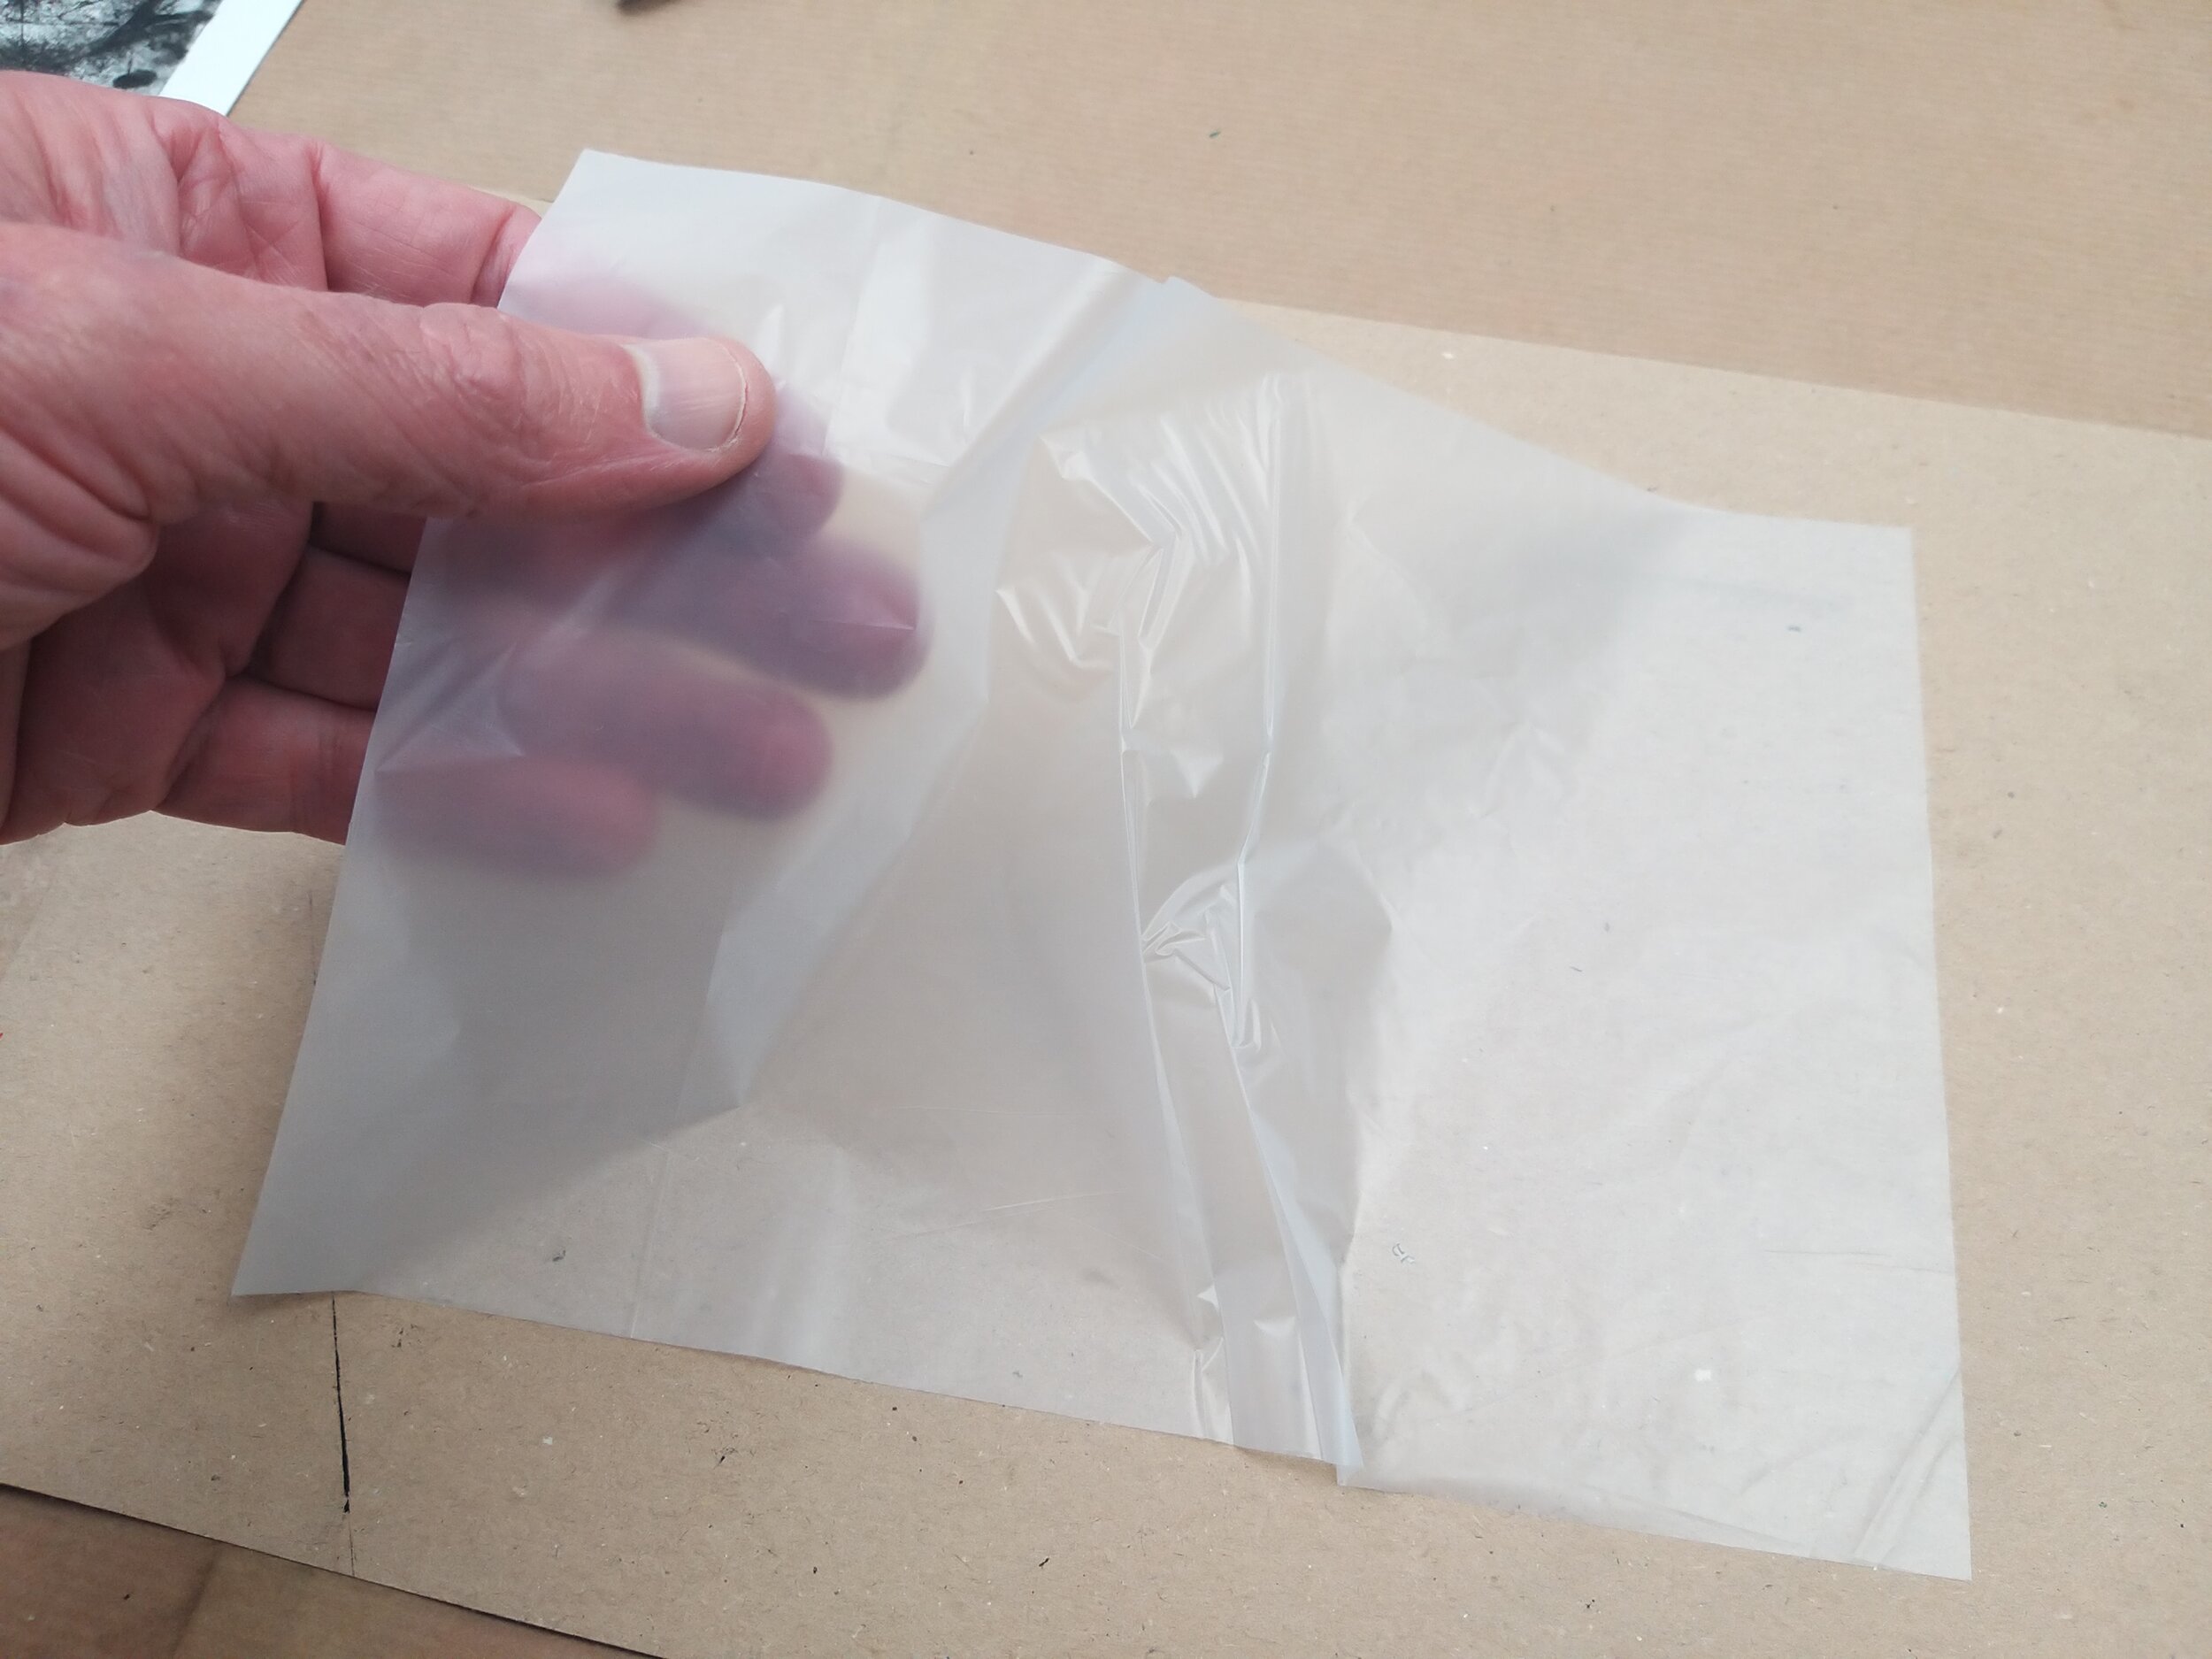
Use the arrows to follow the progress of this first project, I have tried to make this as easy to follow as possible and remember that additional materials or equipment are shown as a guide. For this project and the others I recommend a good quality craft knife, some masking tape and a cutting mat is useful although not essential.

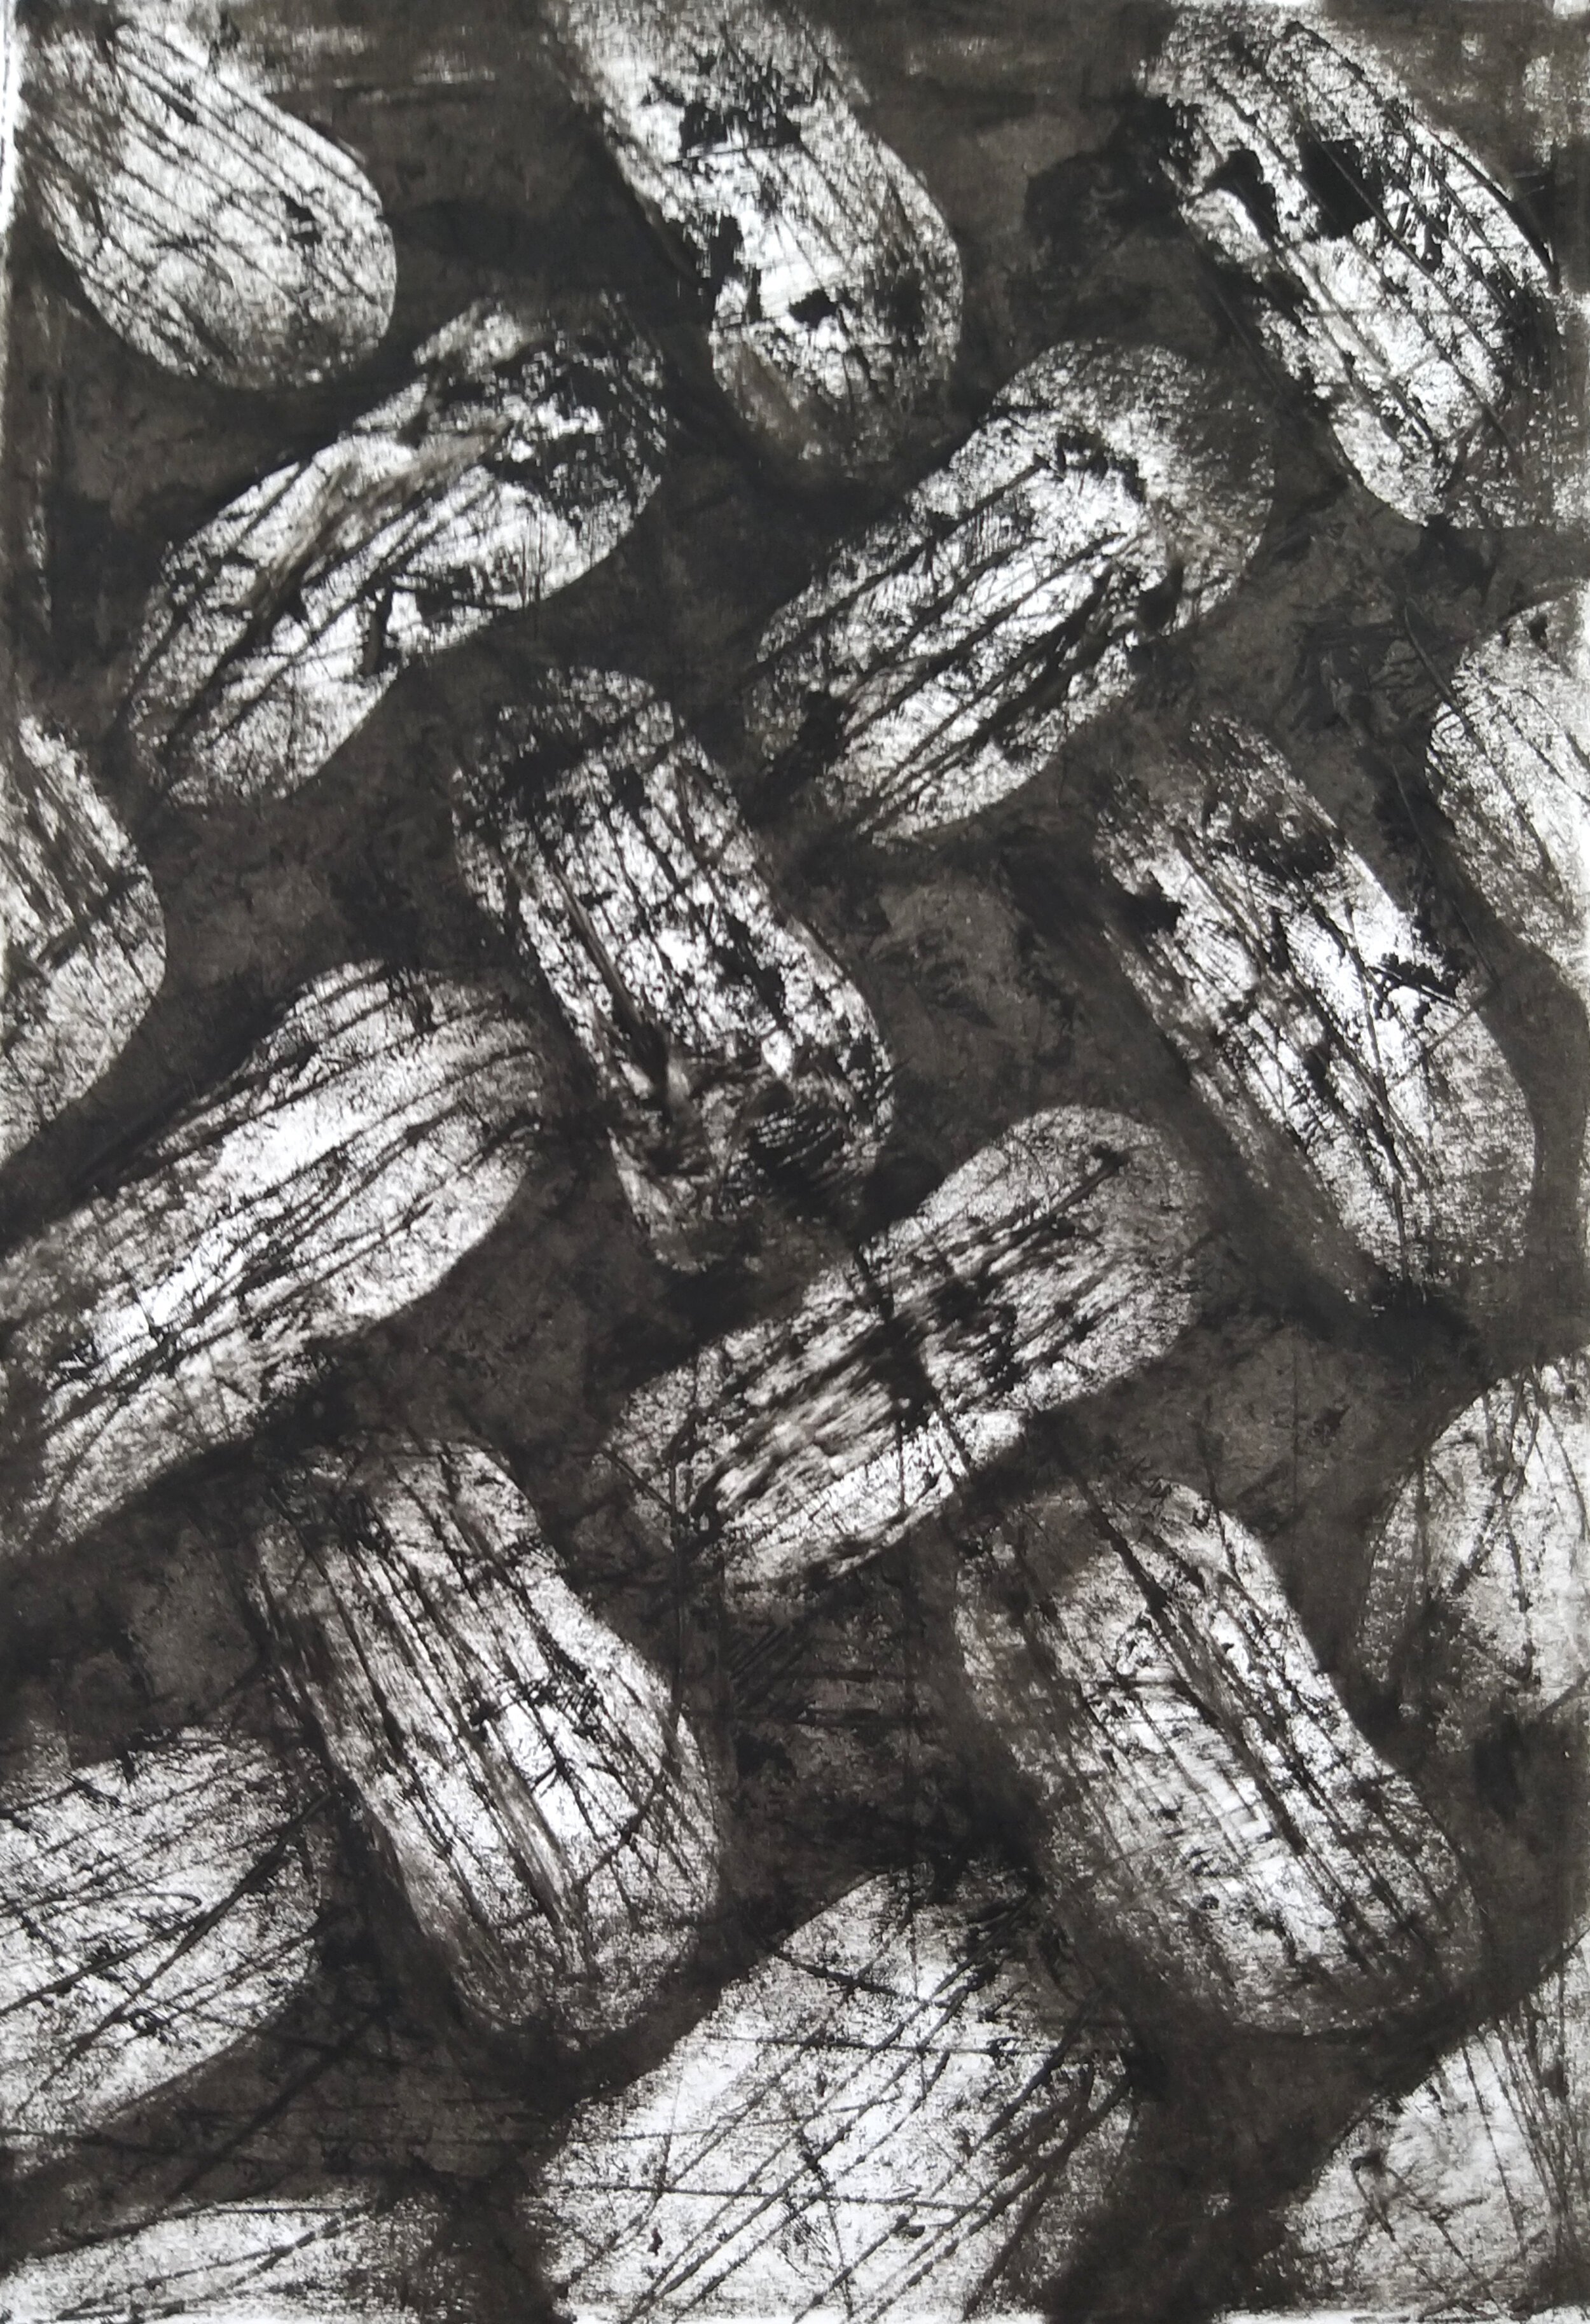
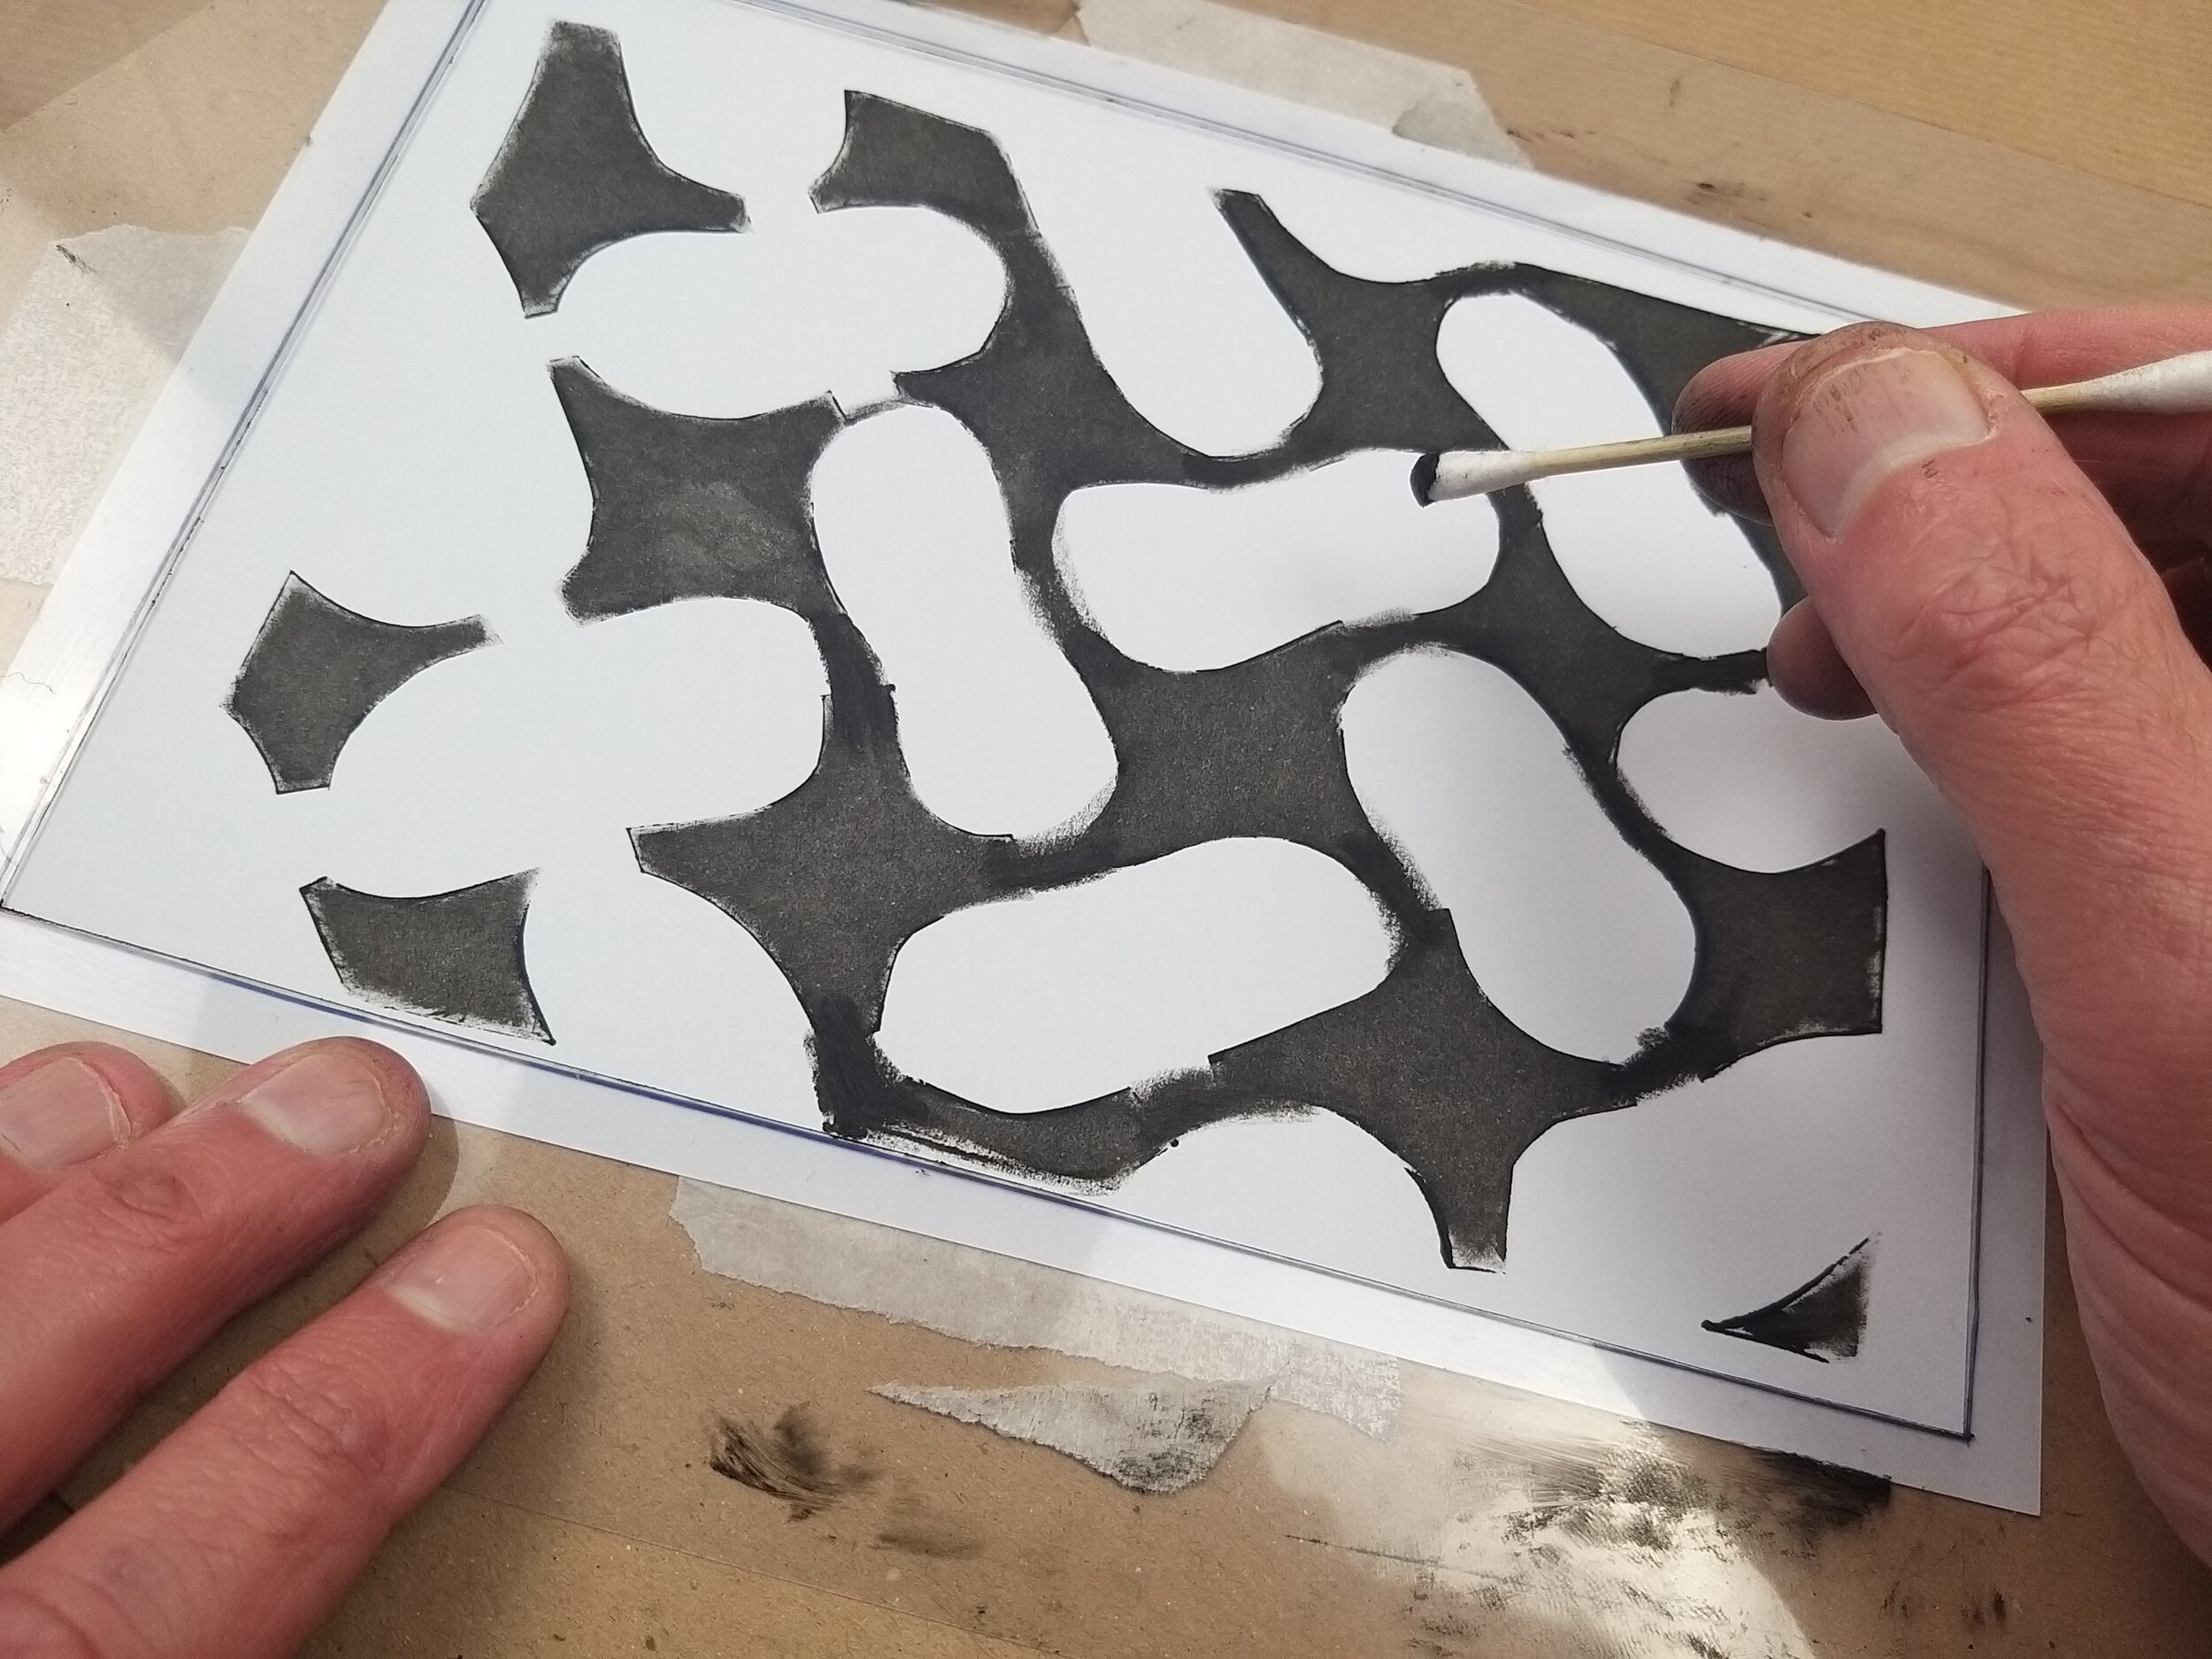
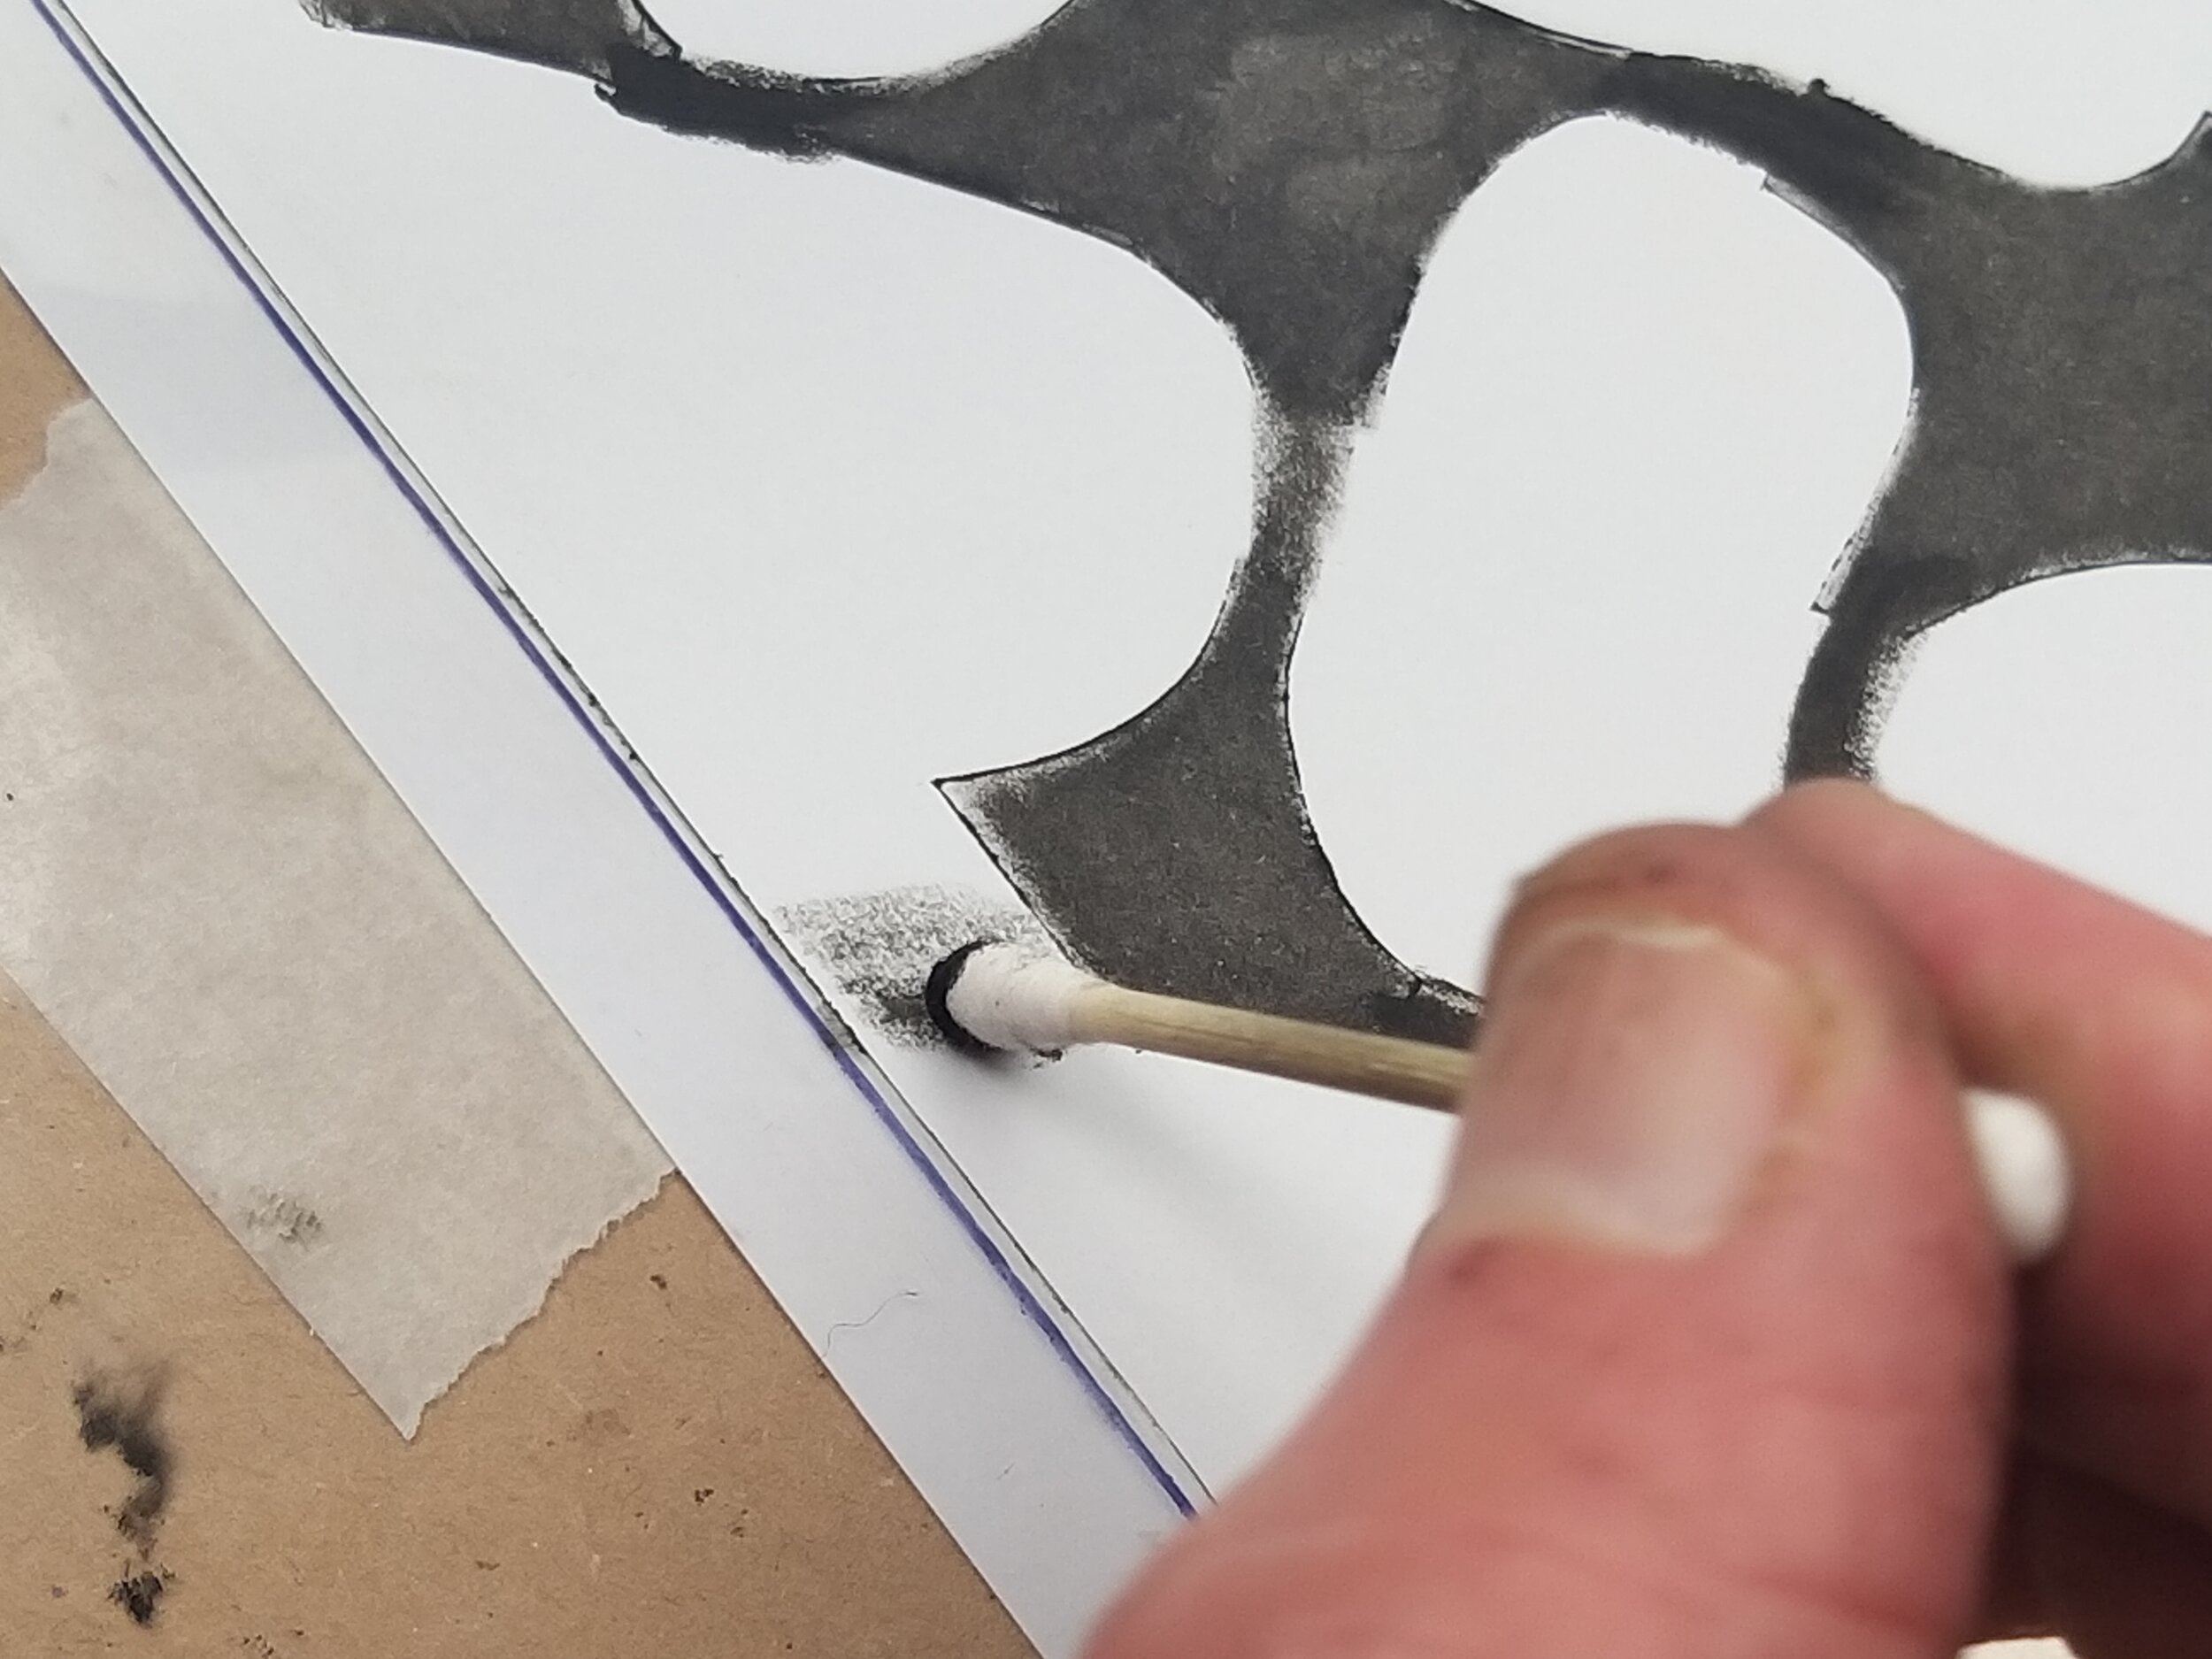
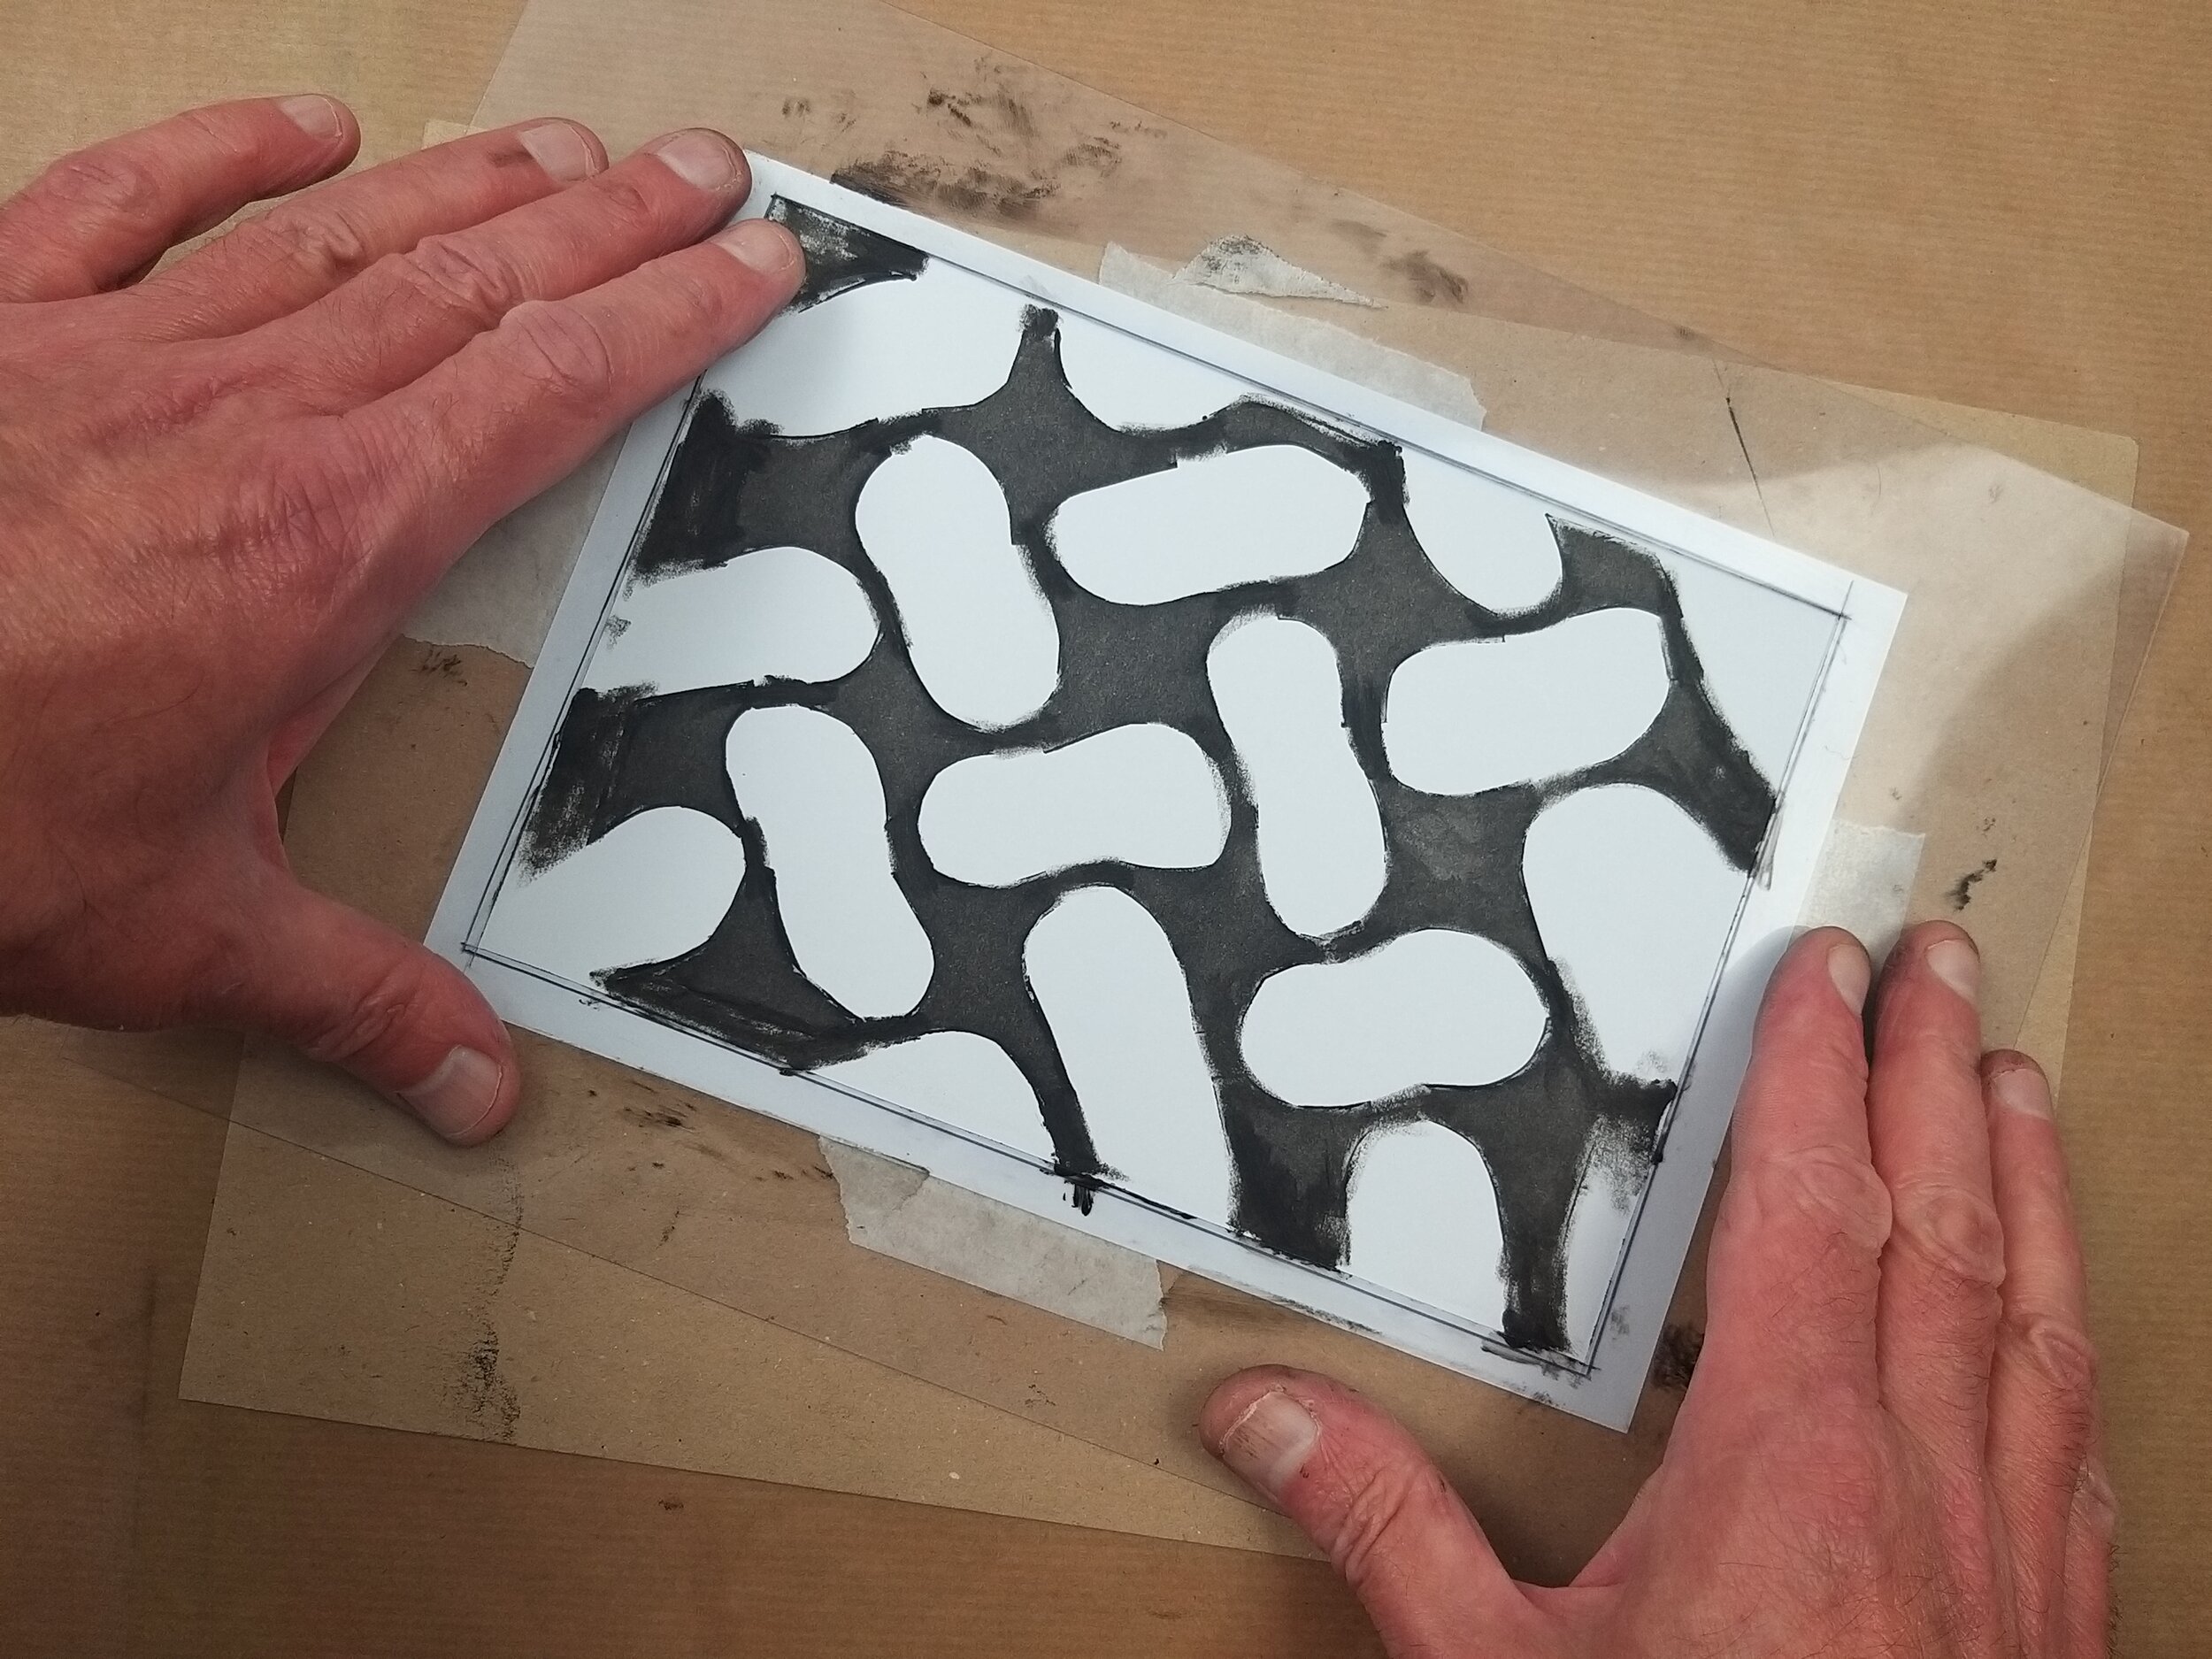
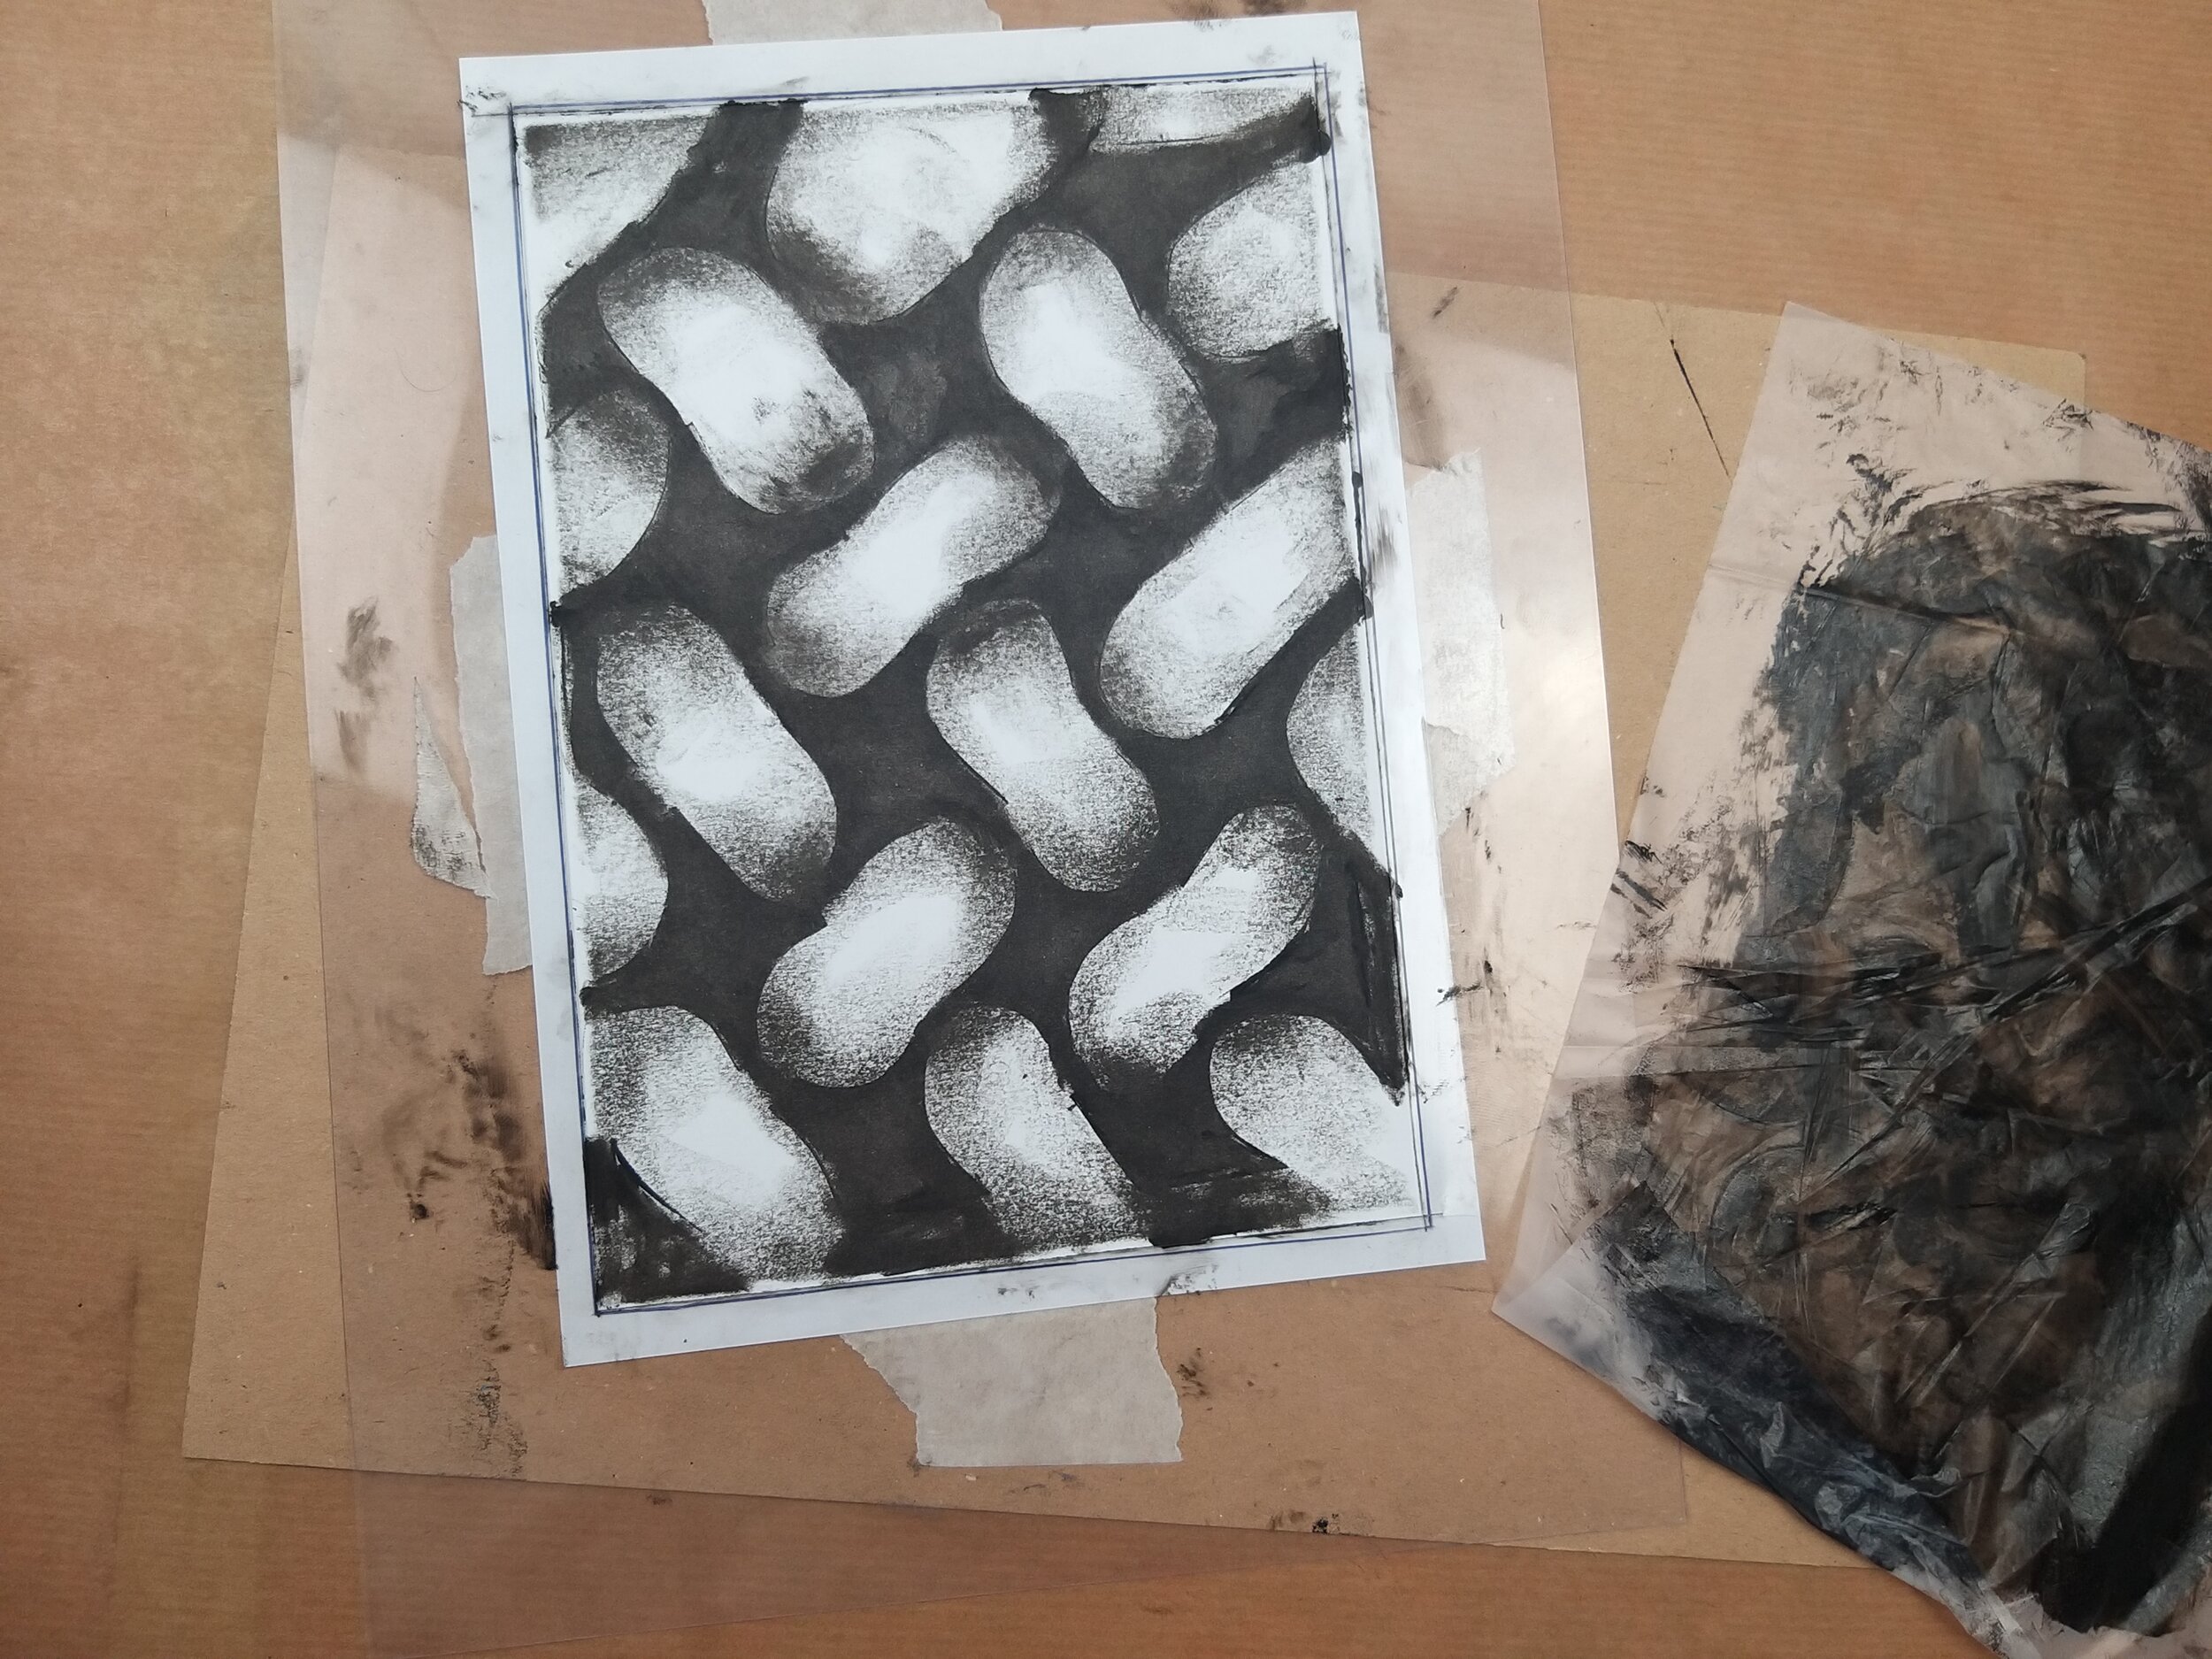
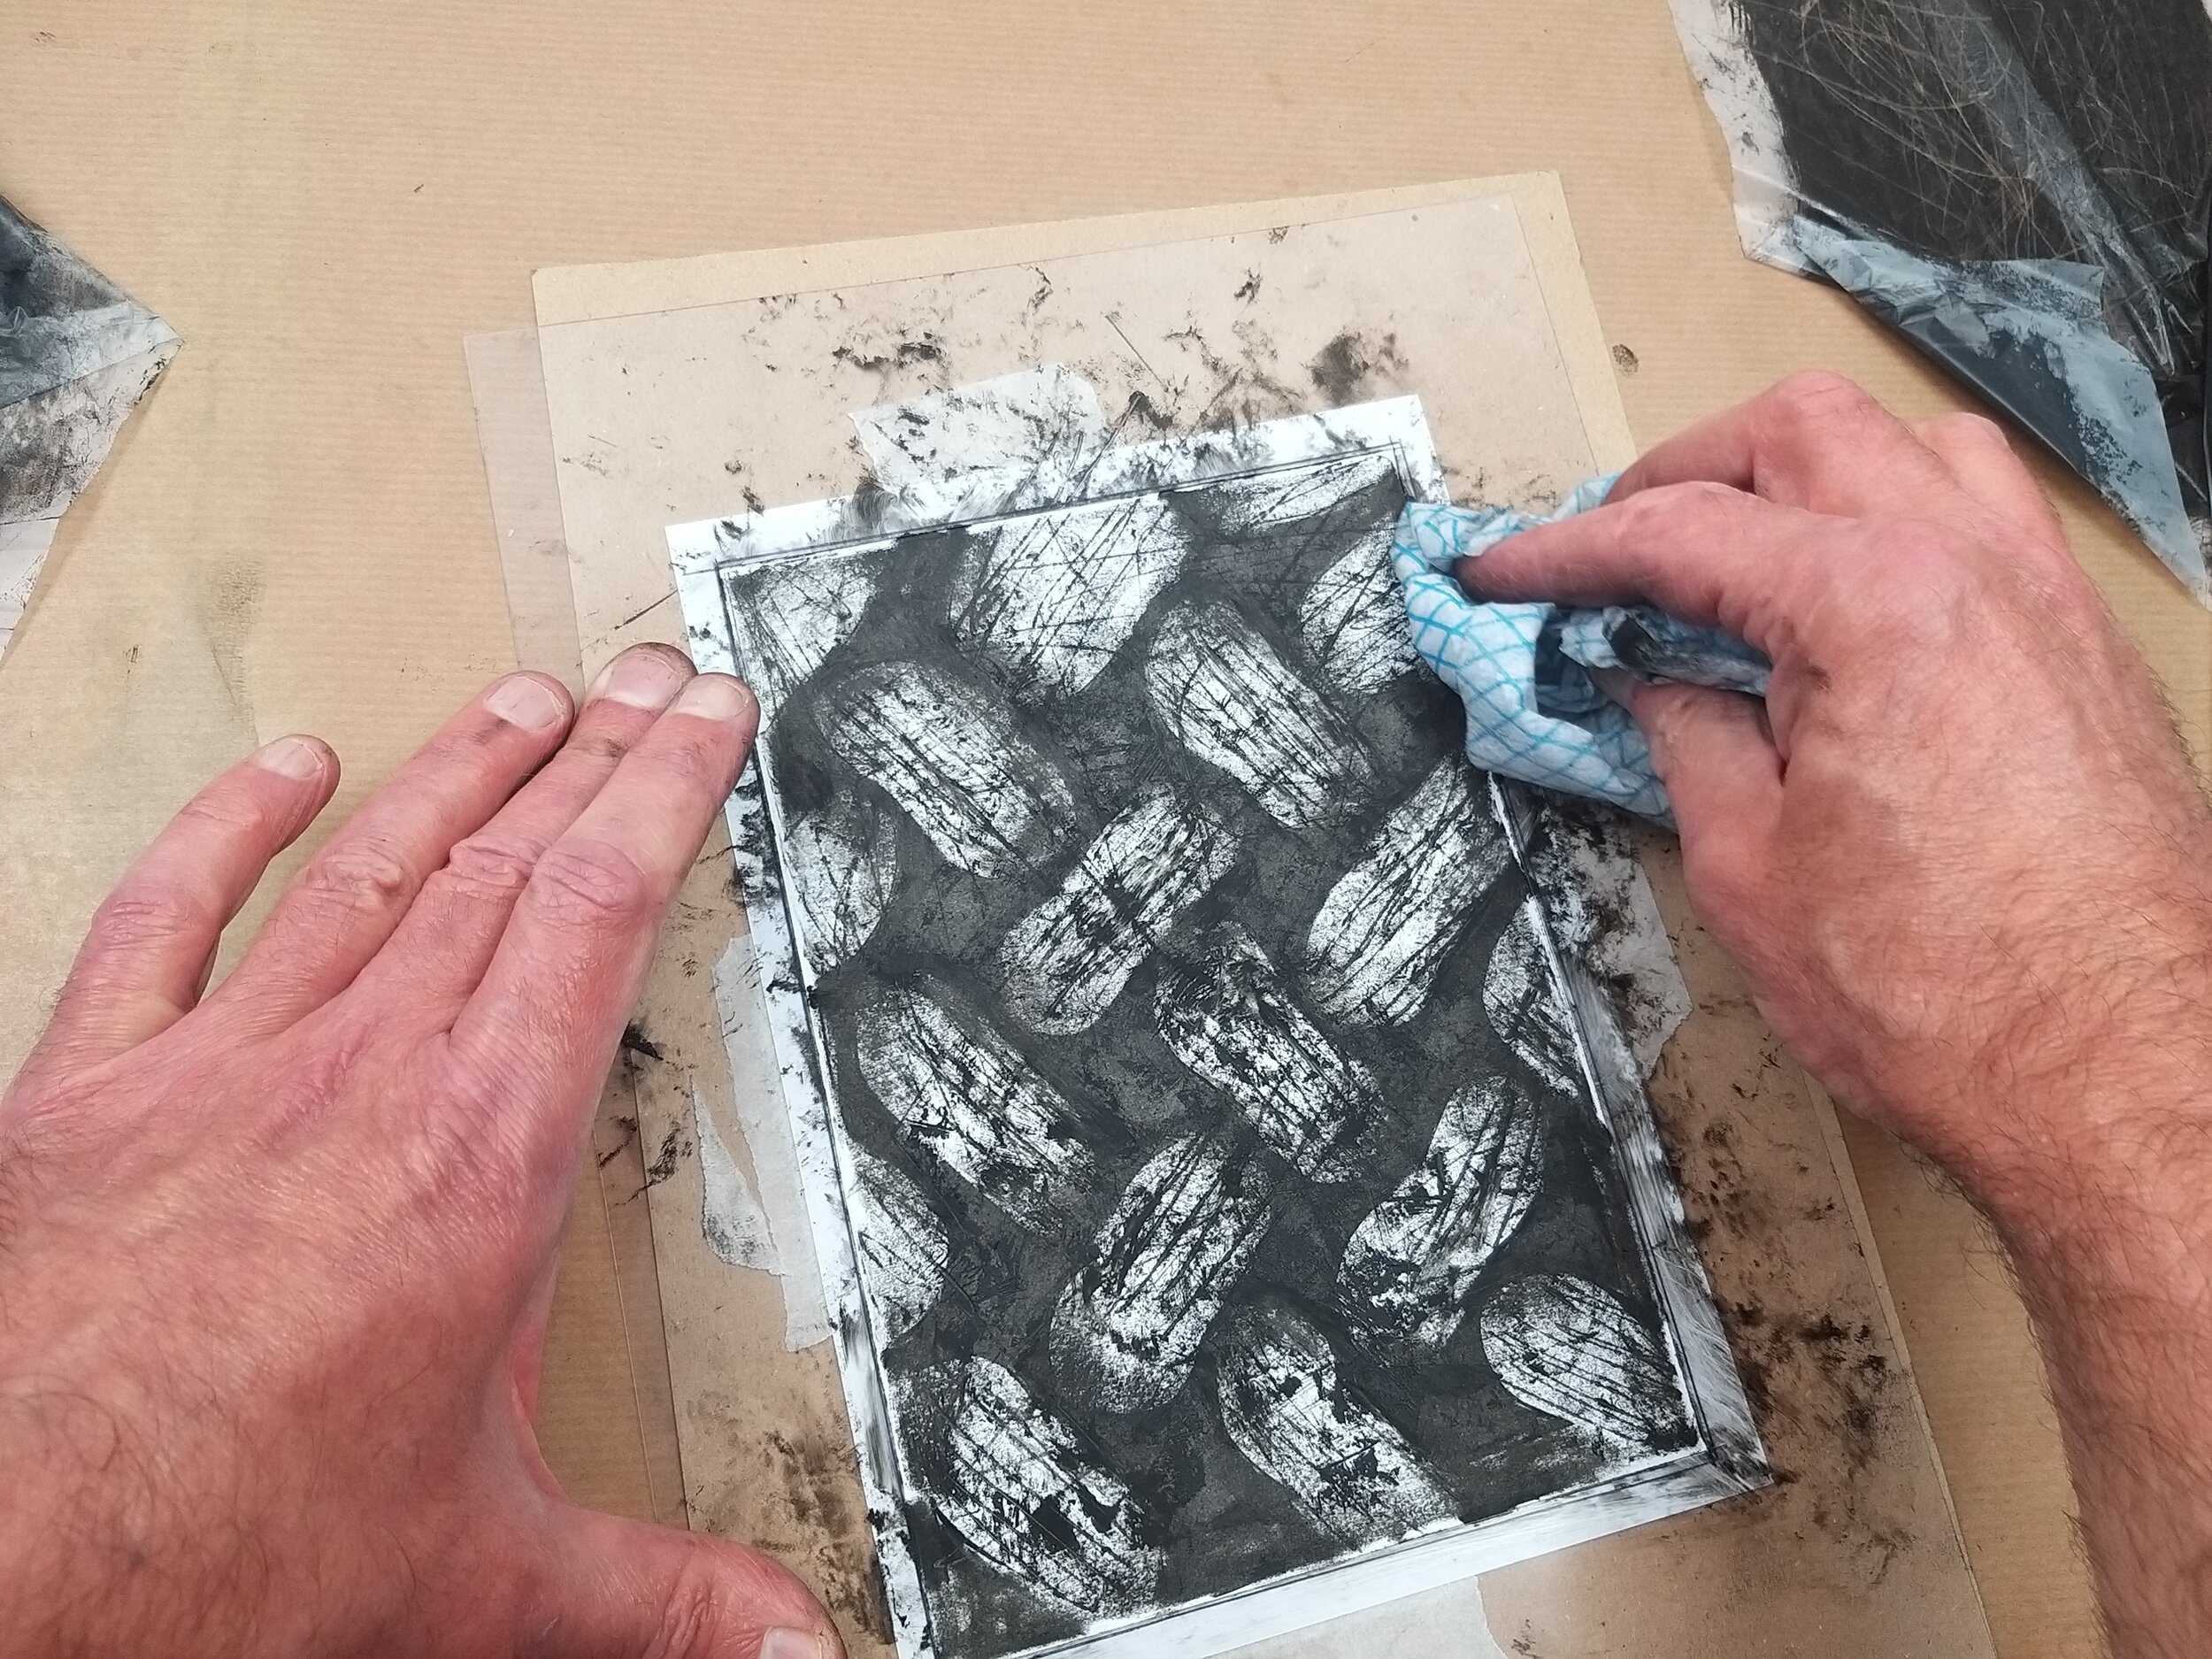
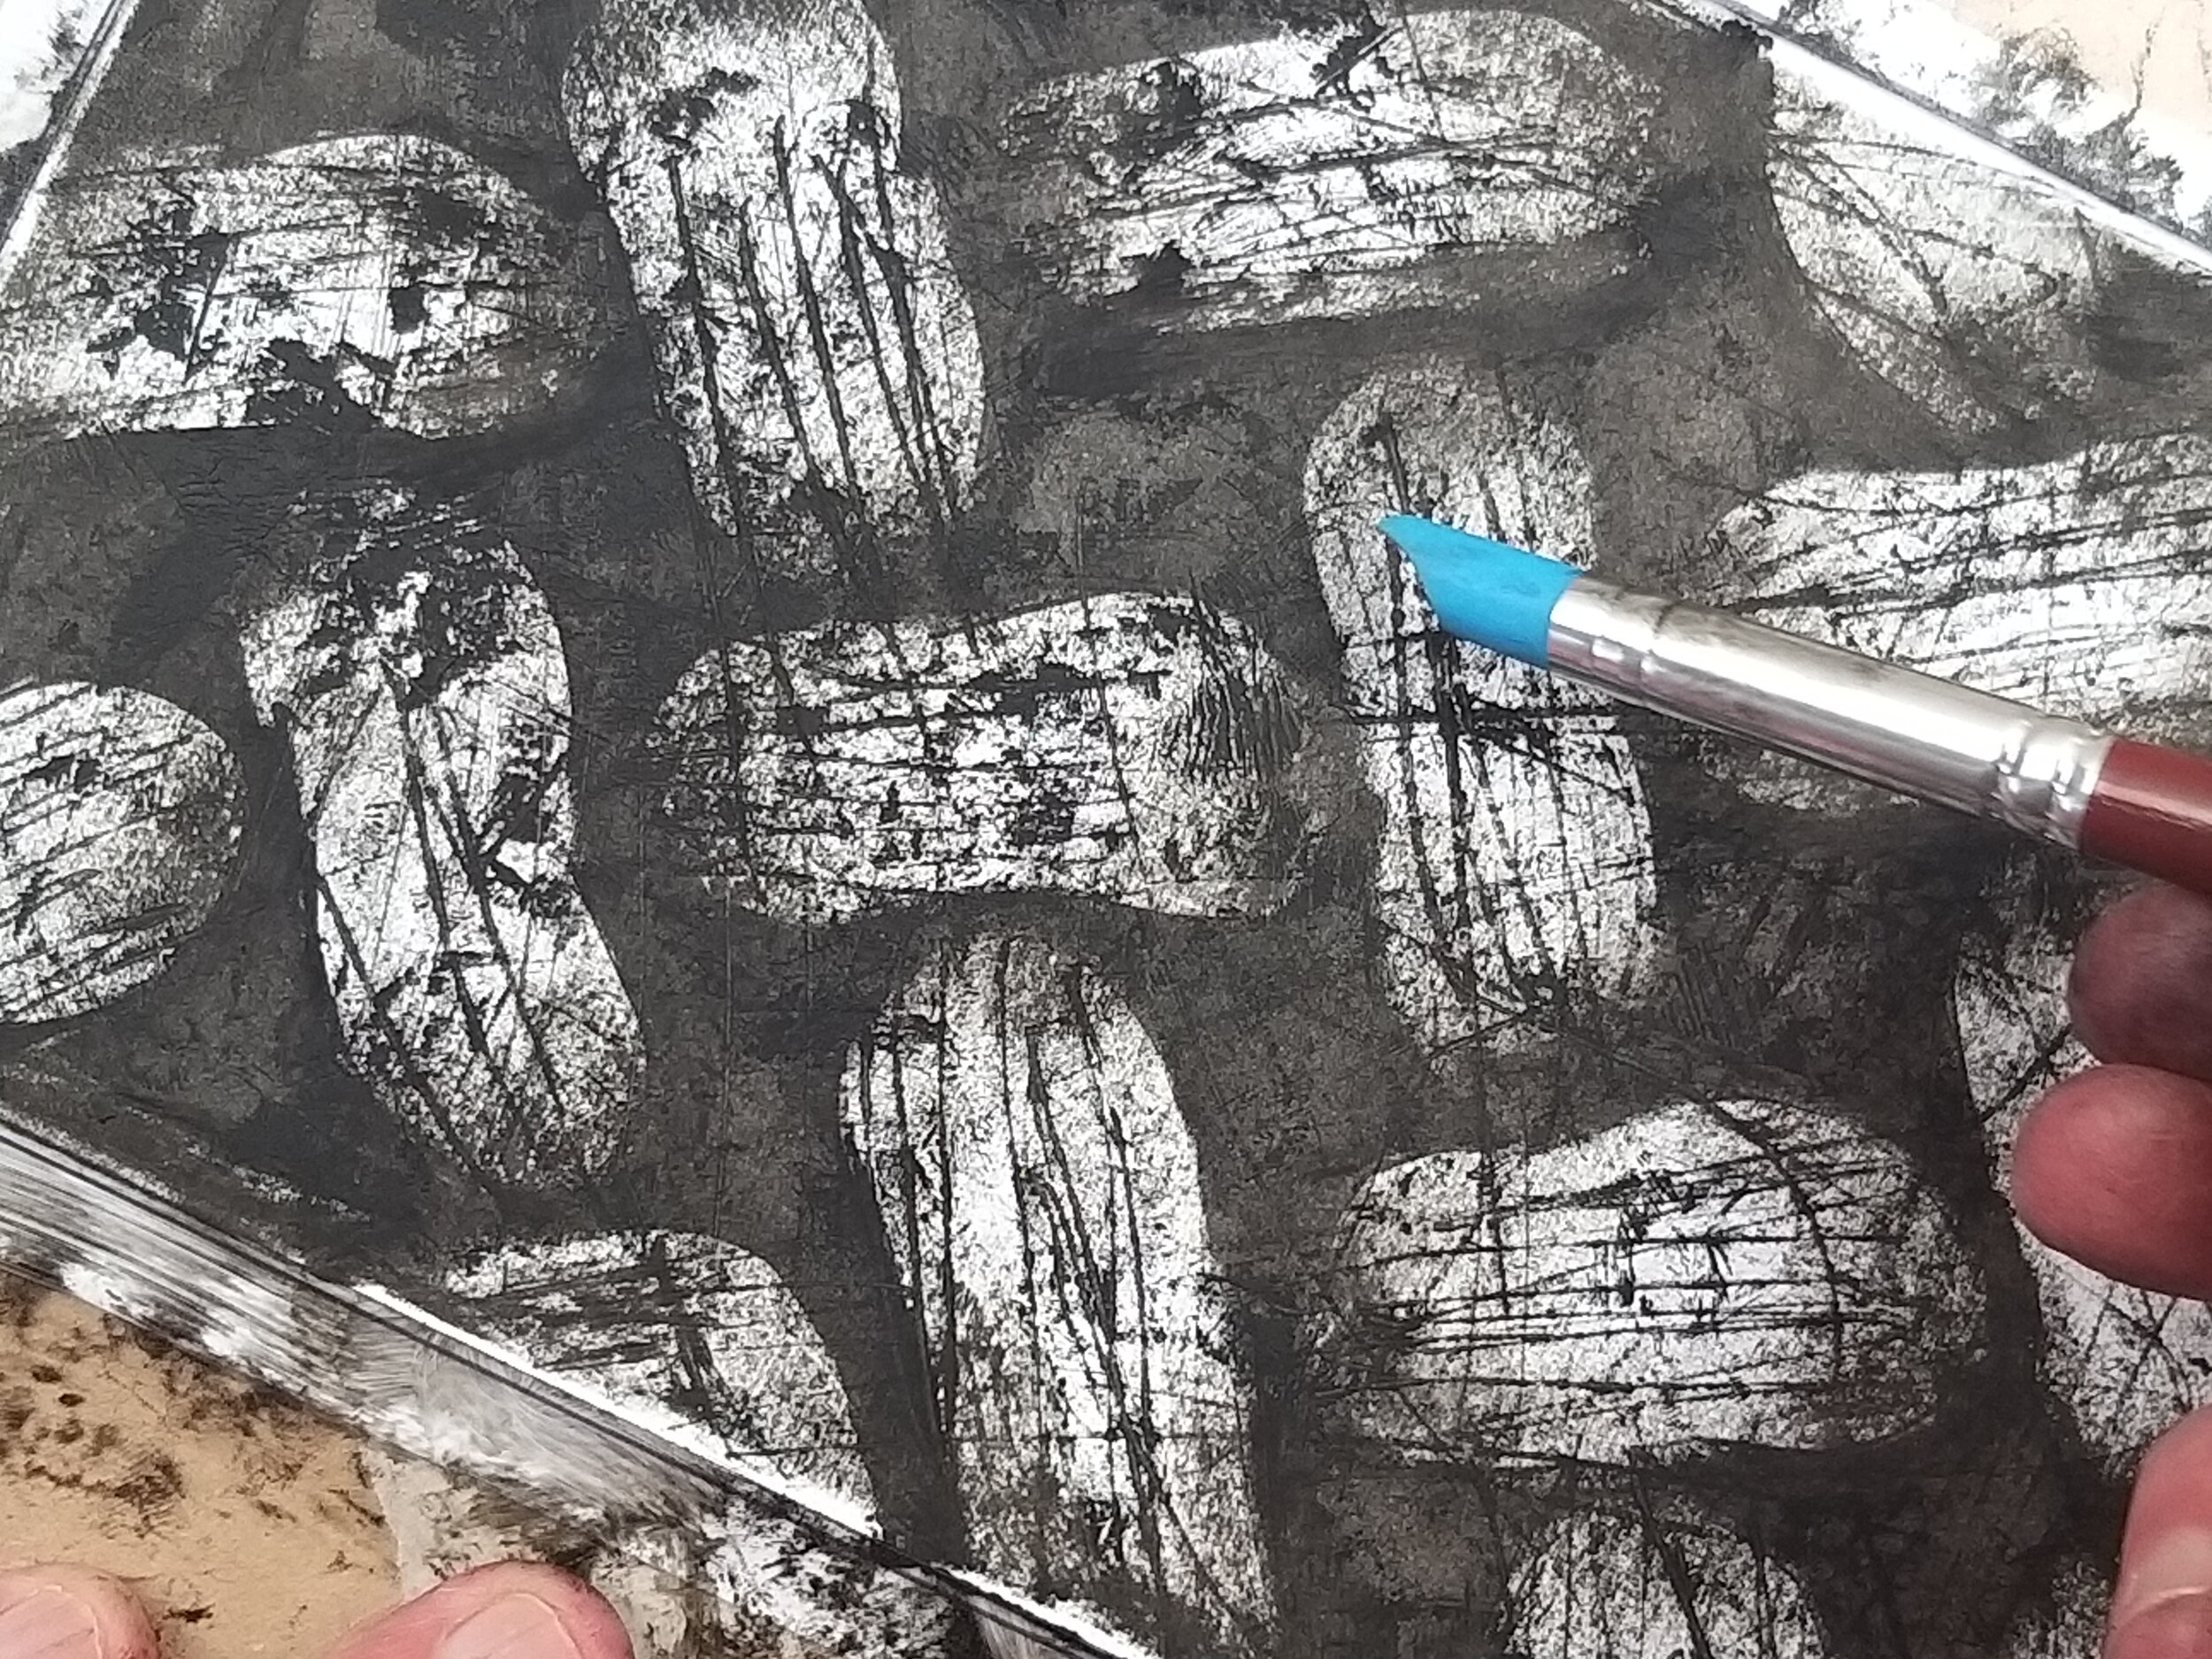
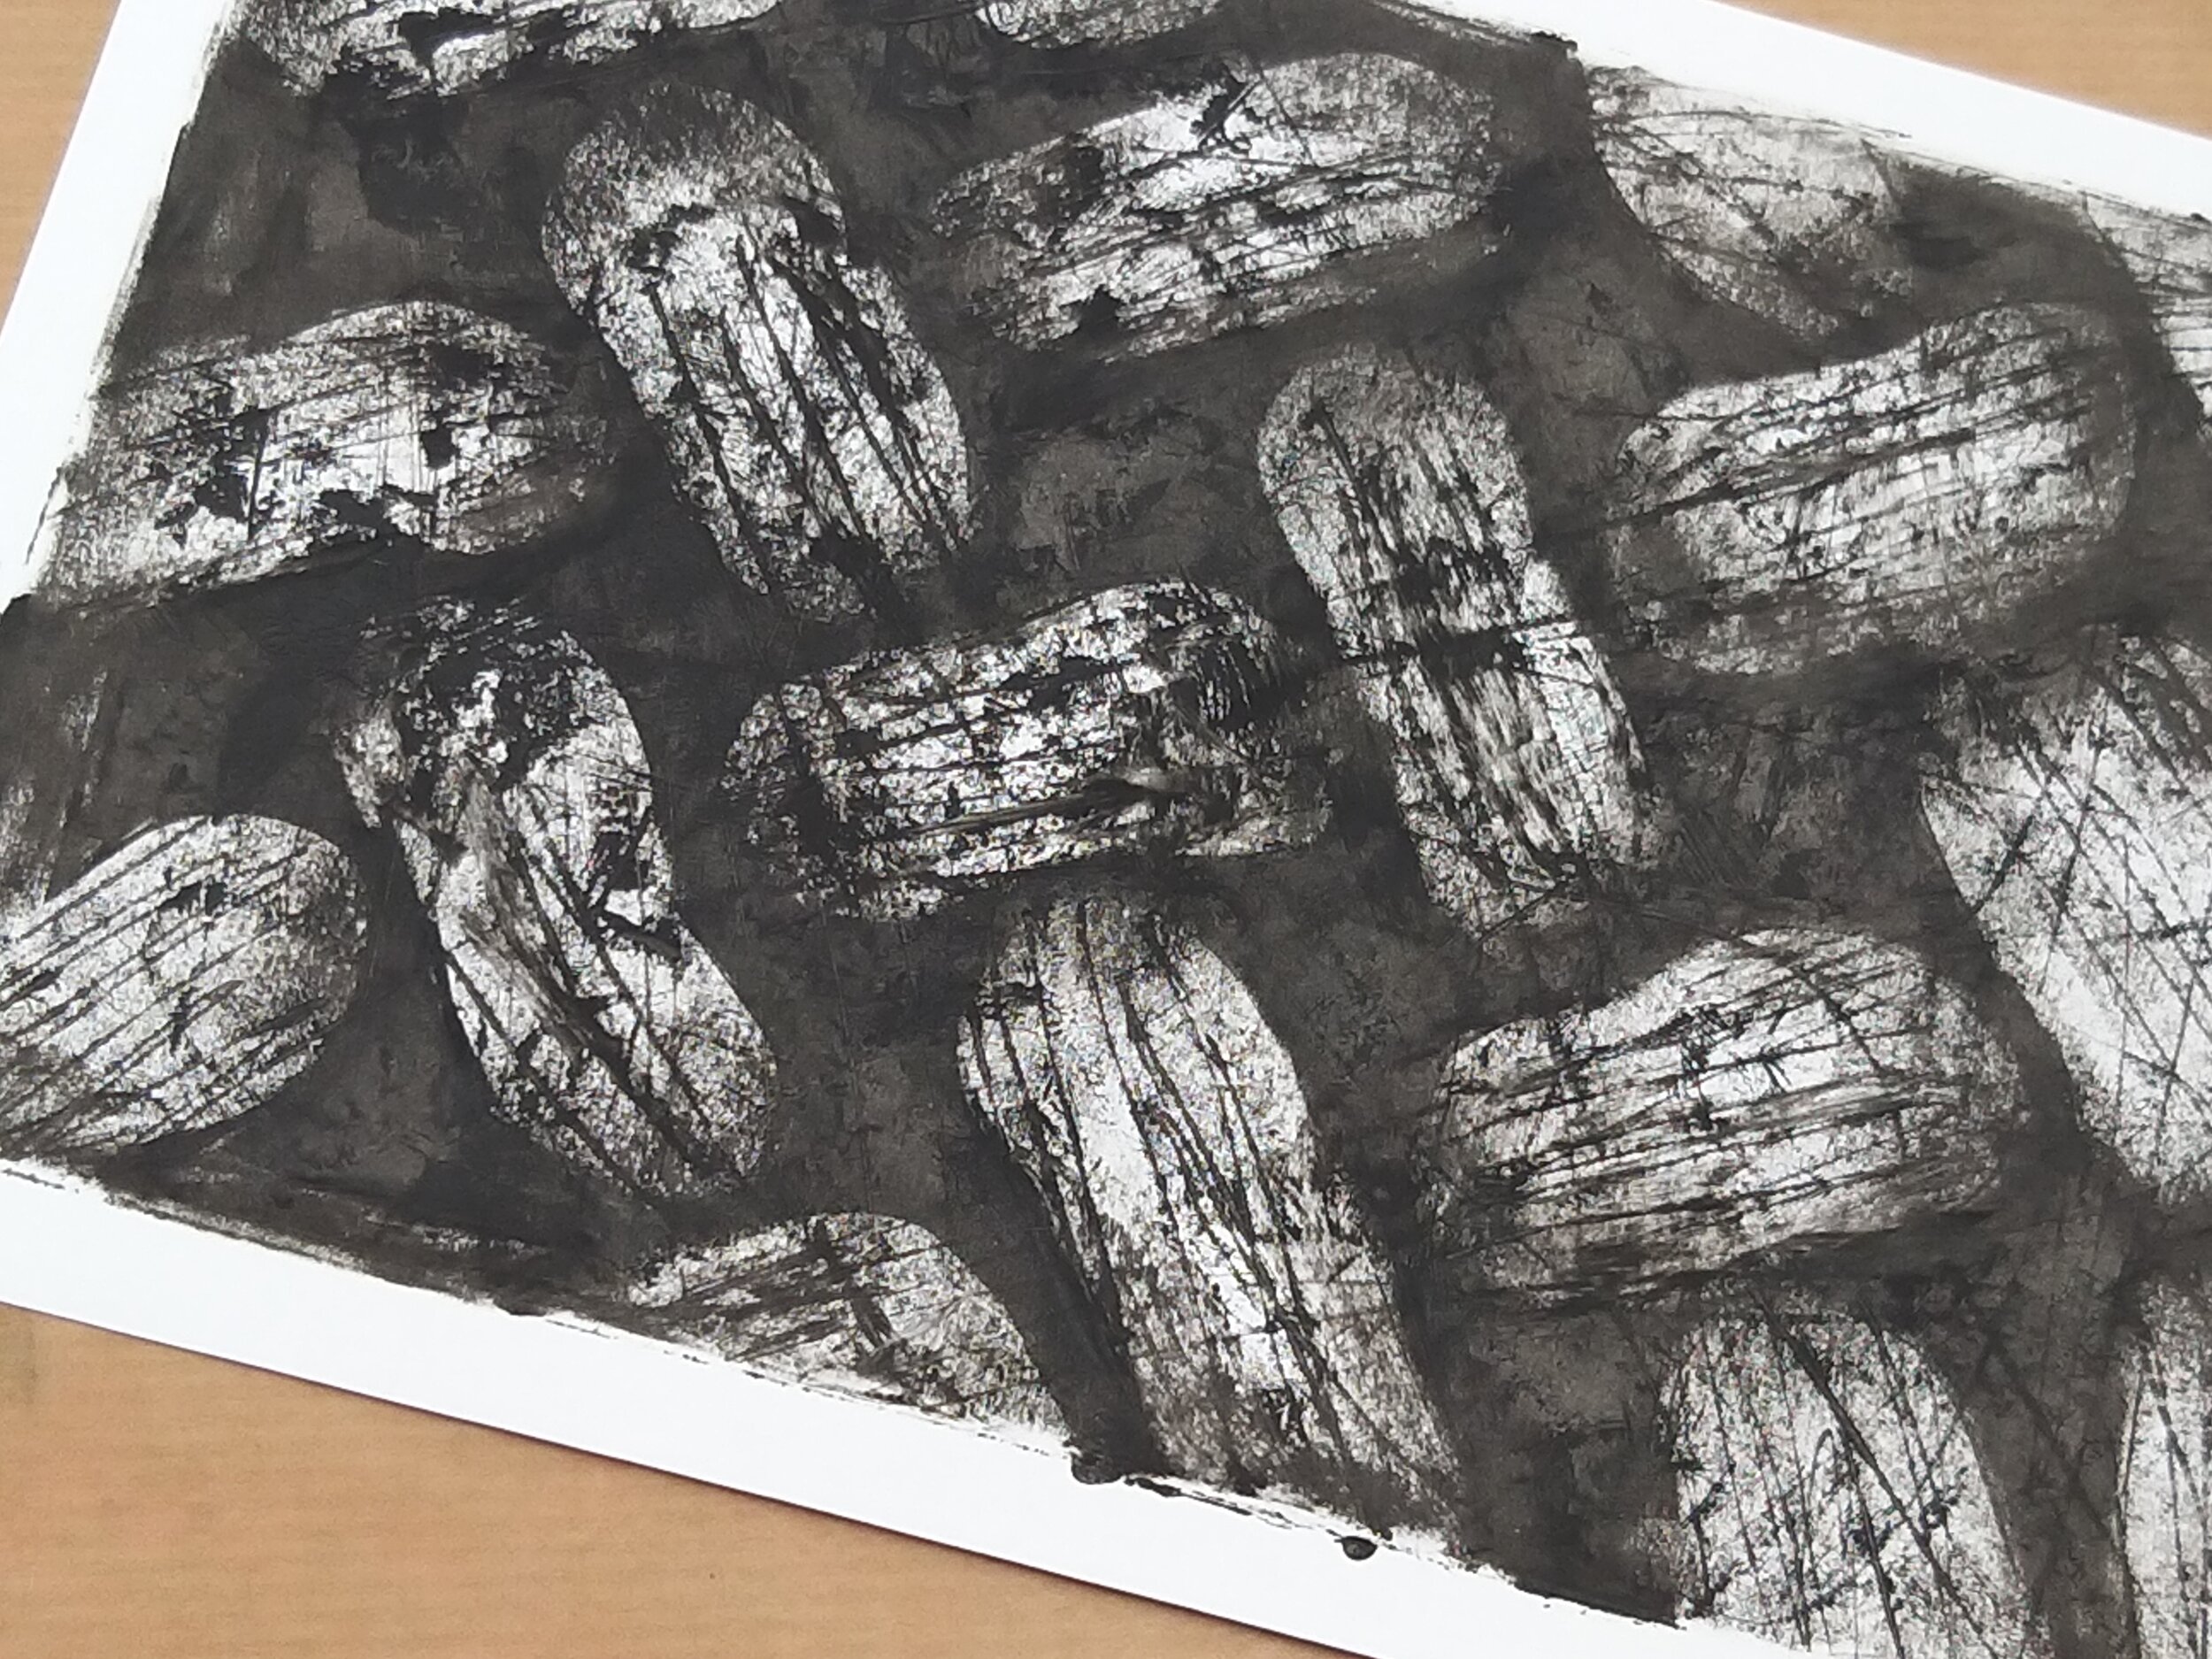
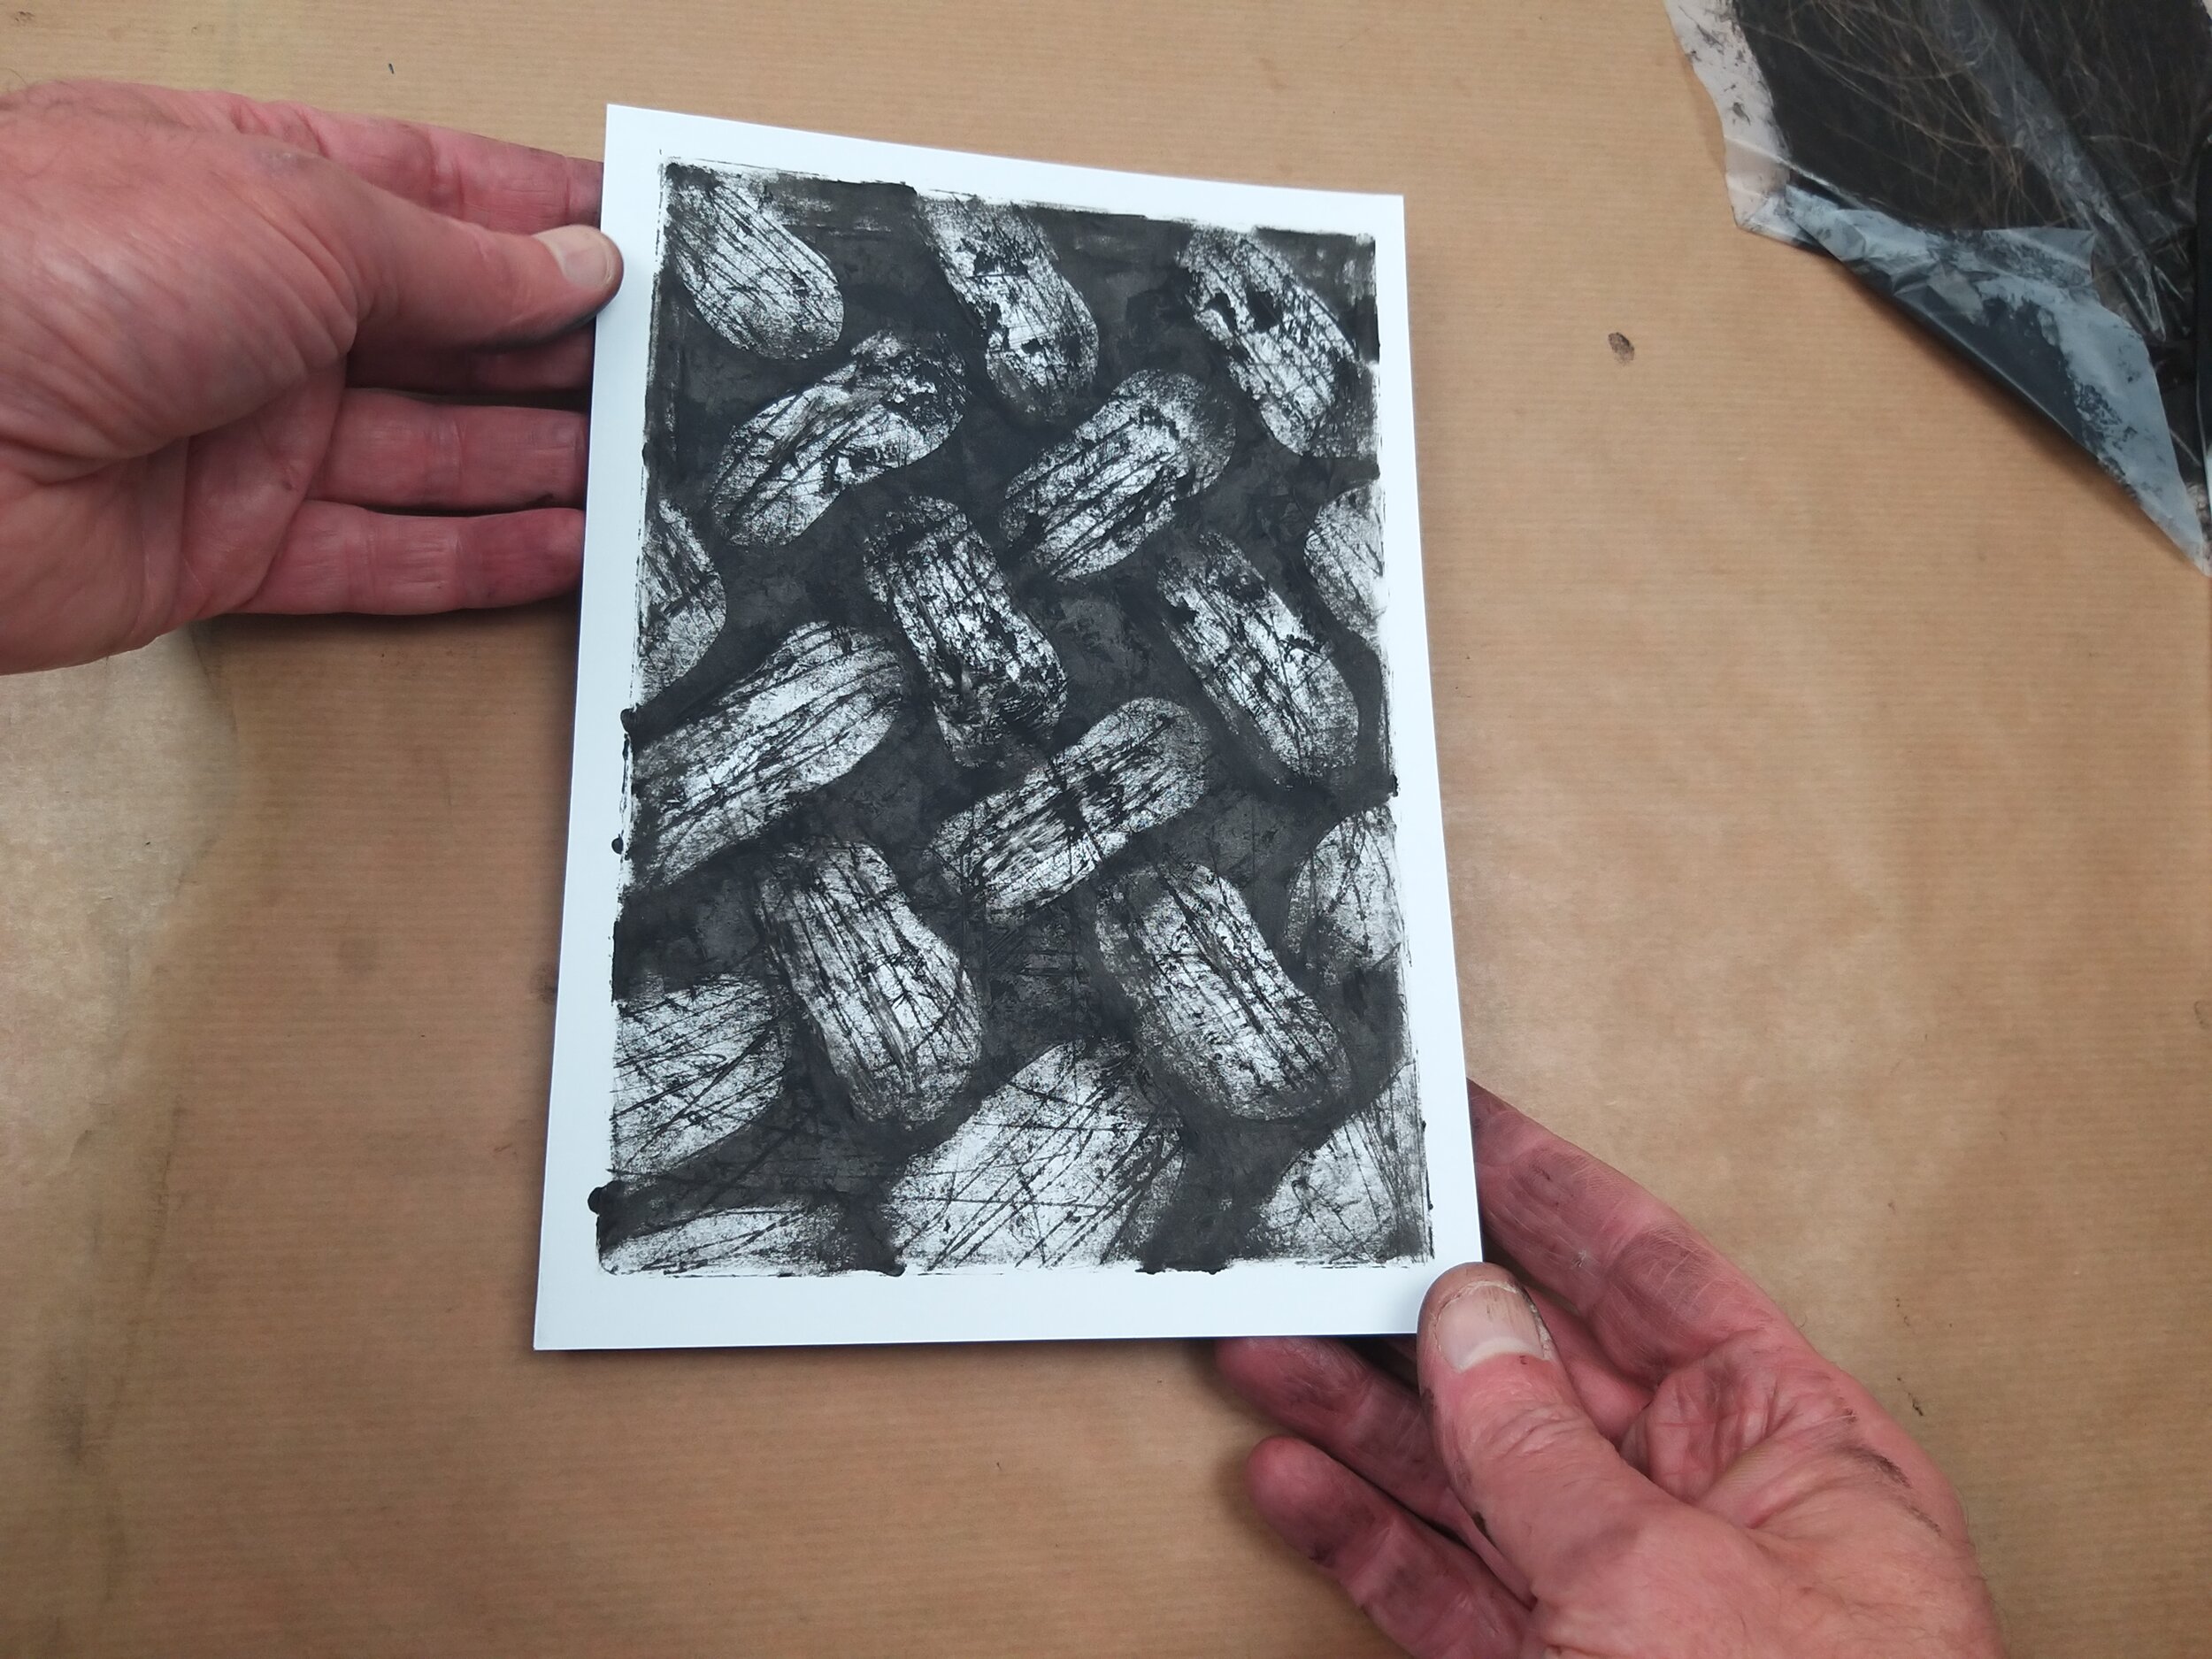
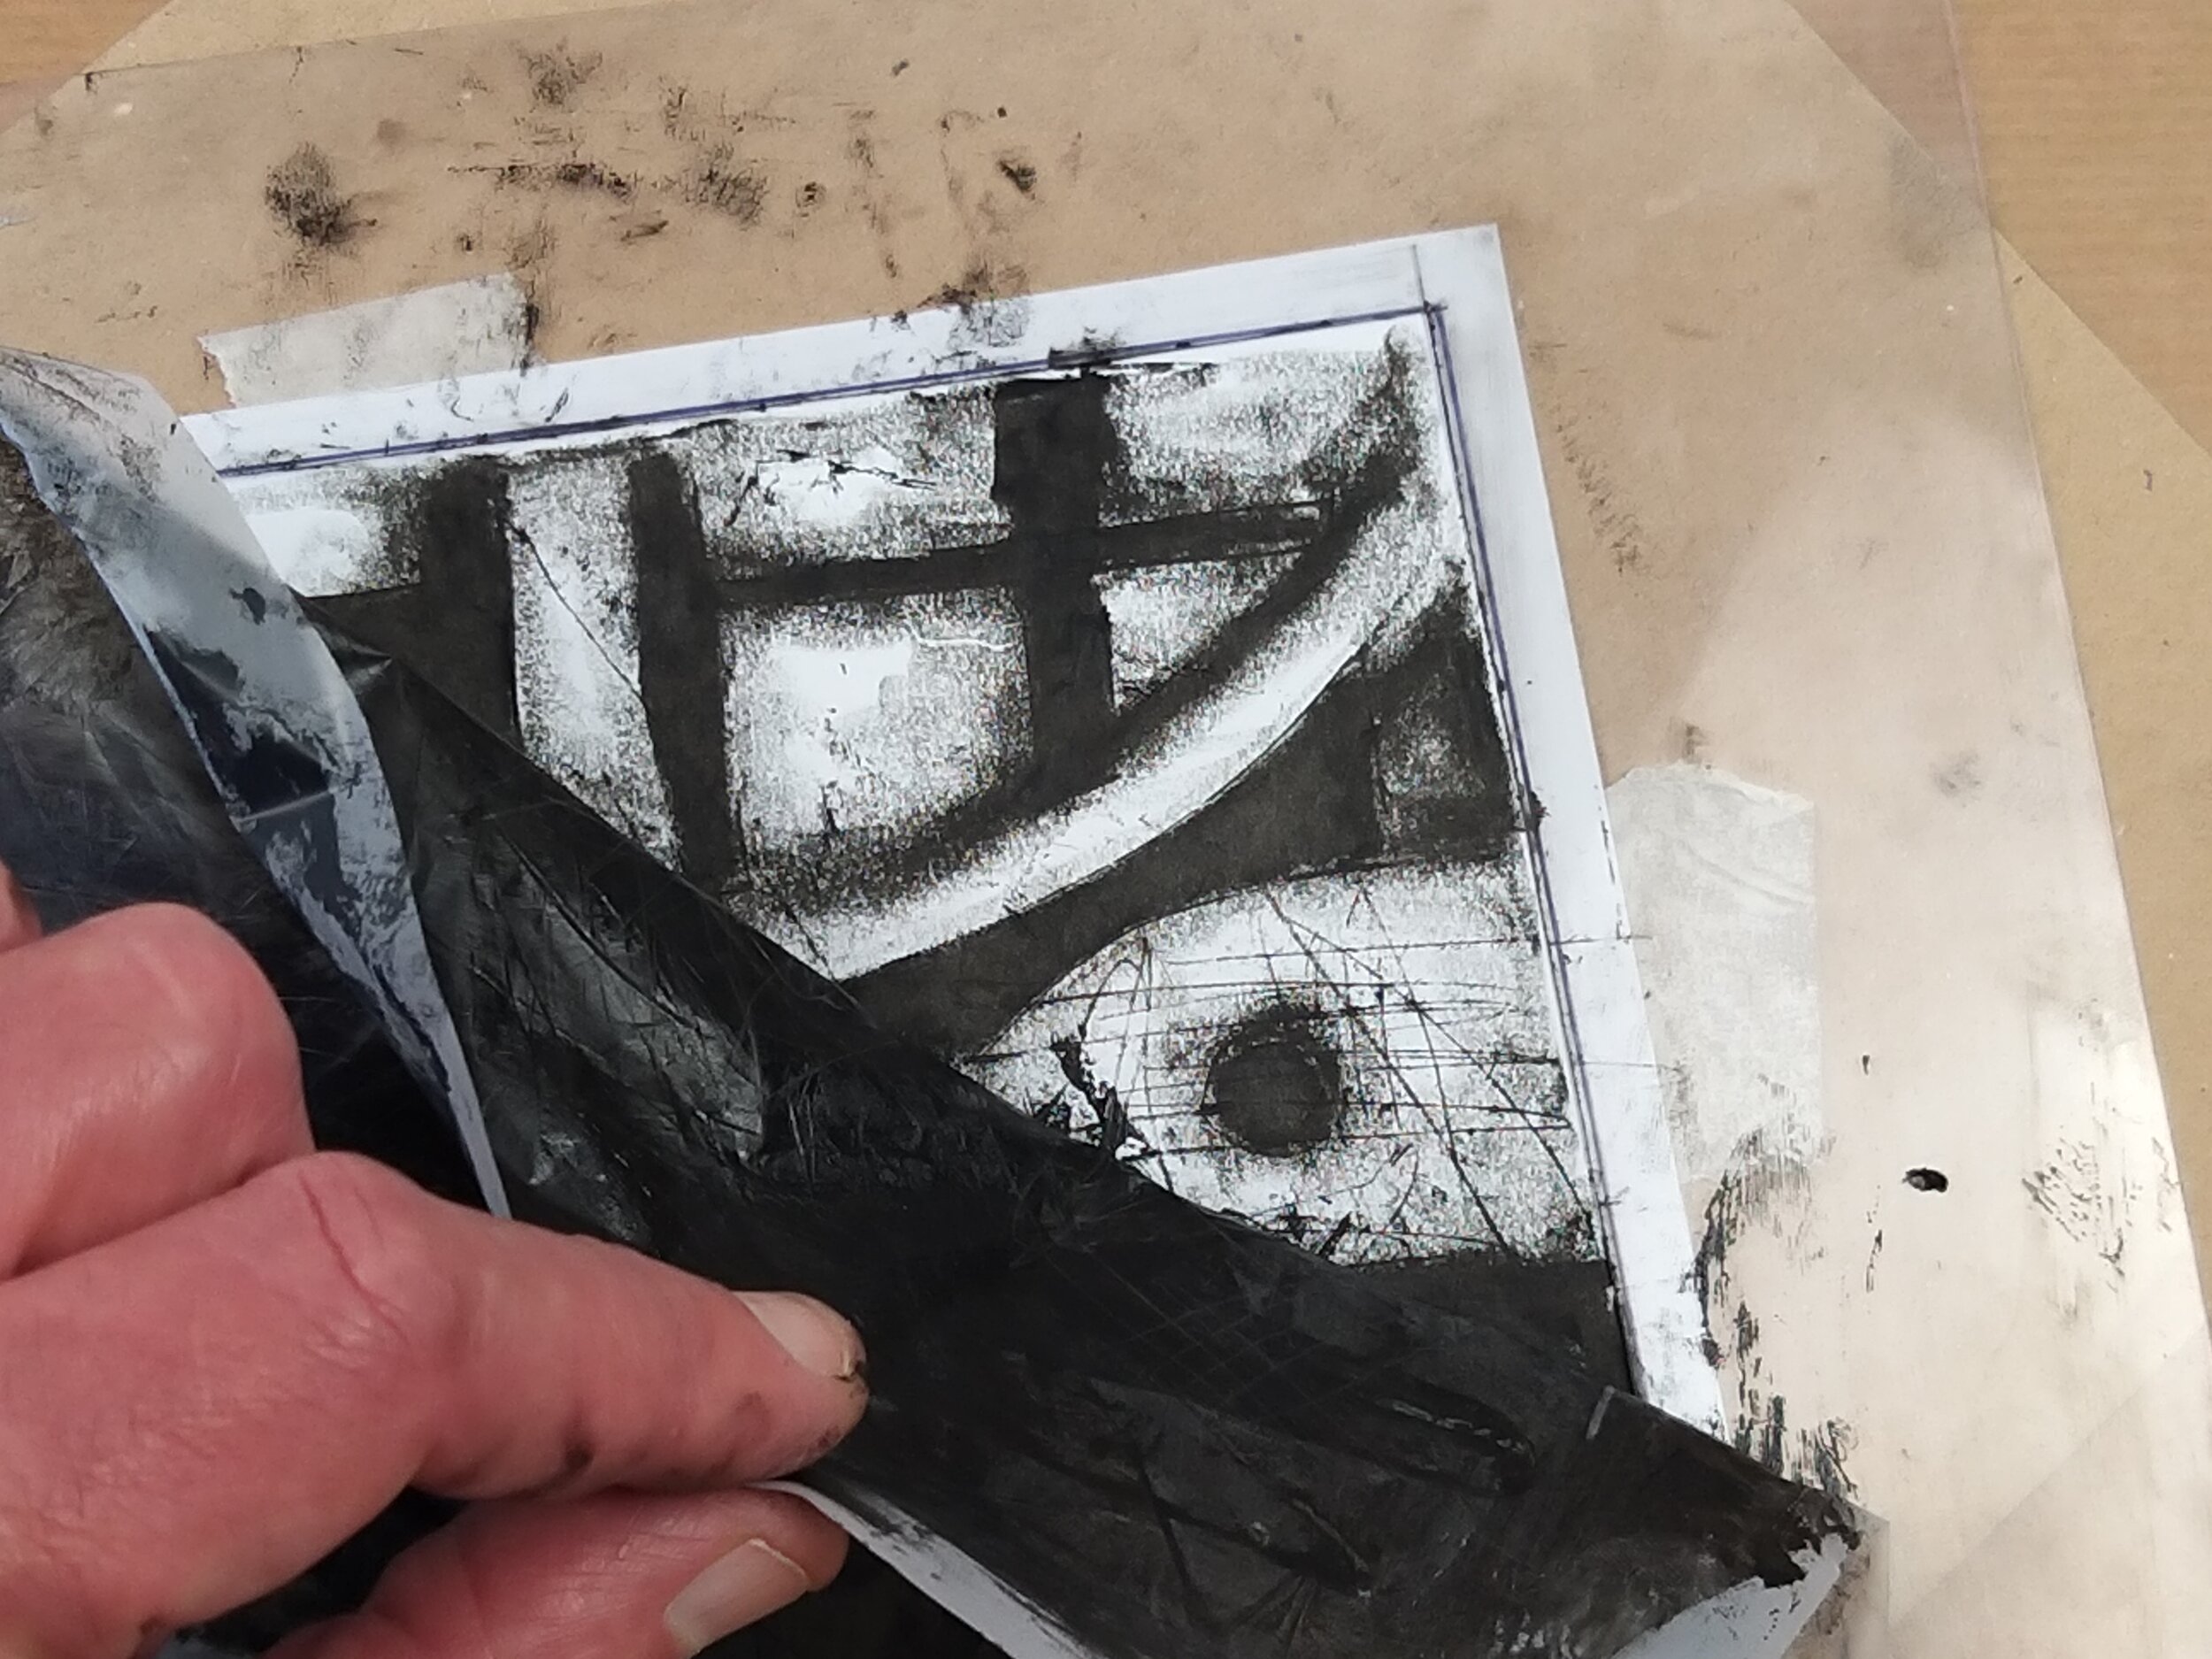
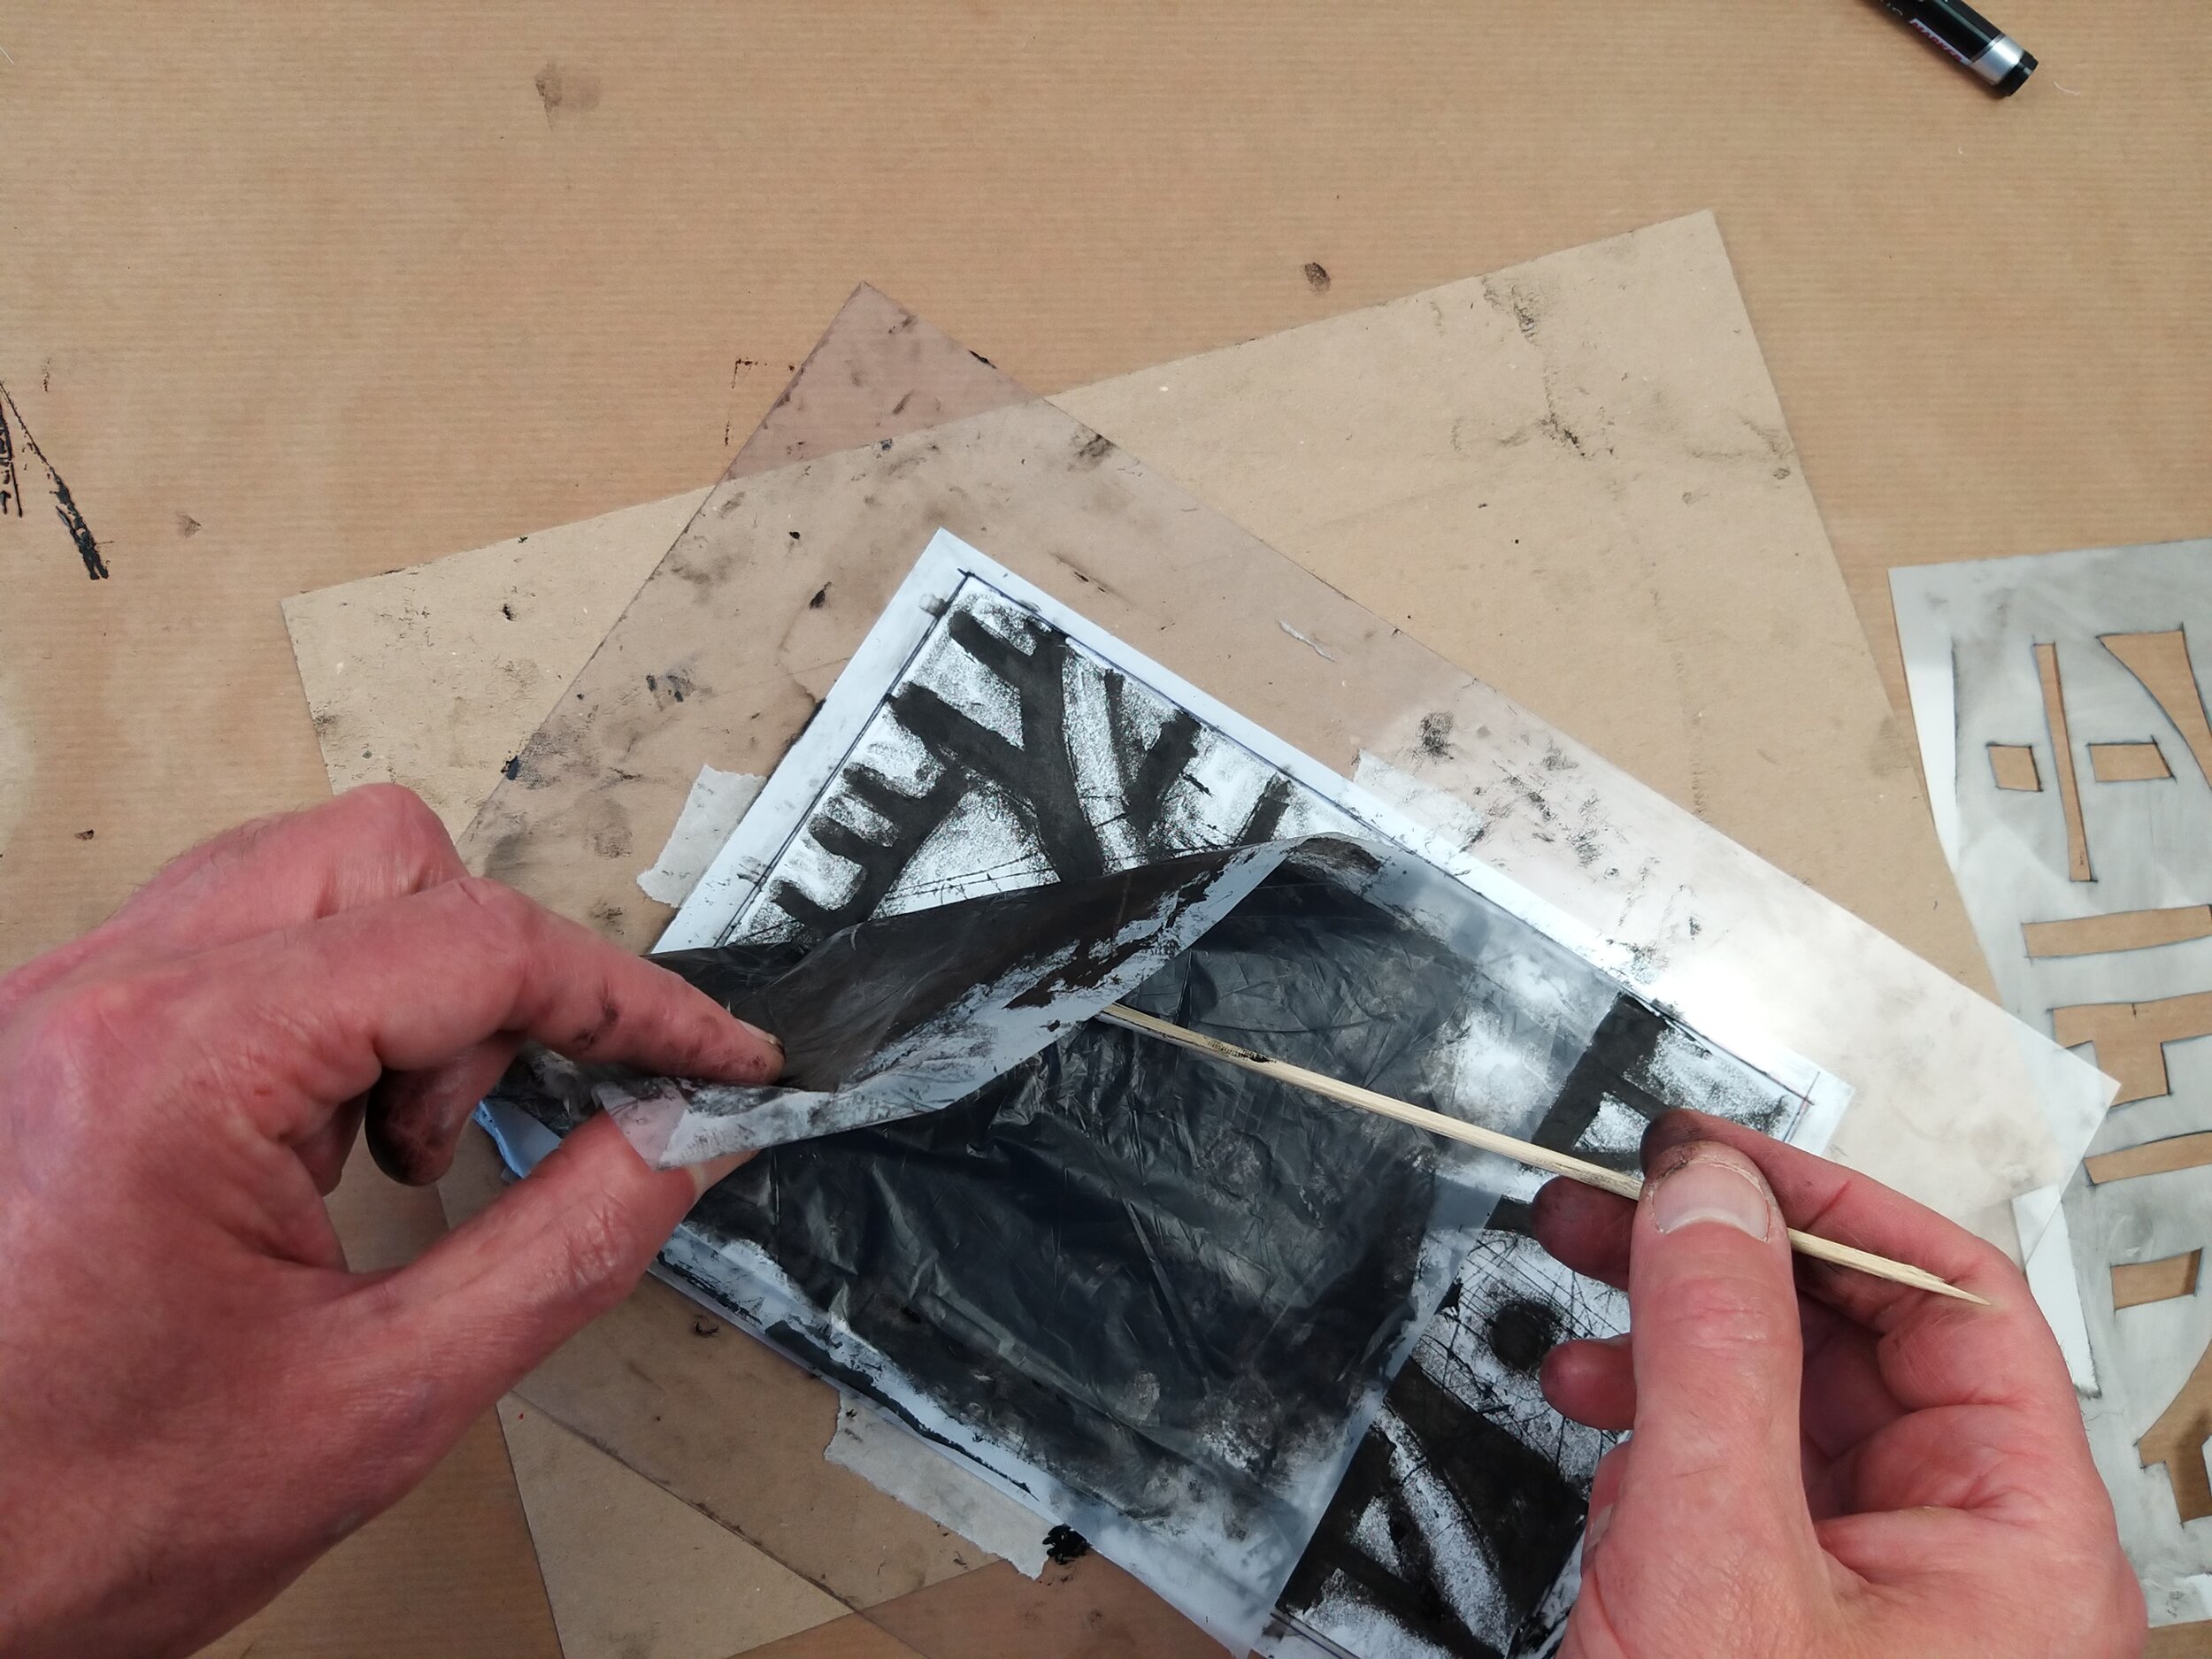
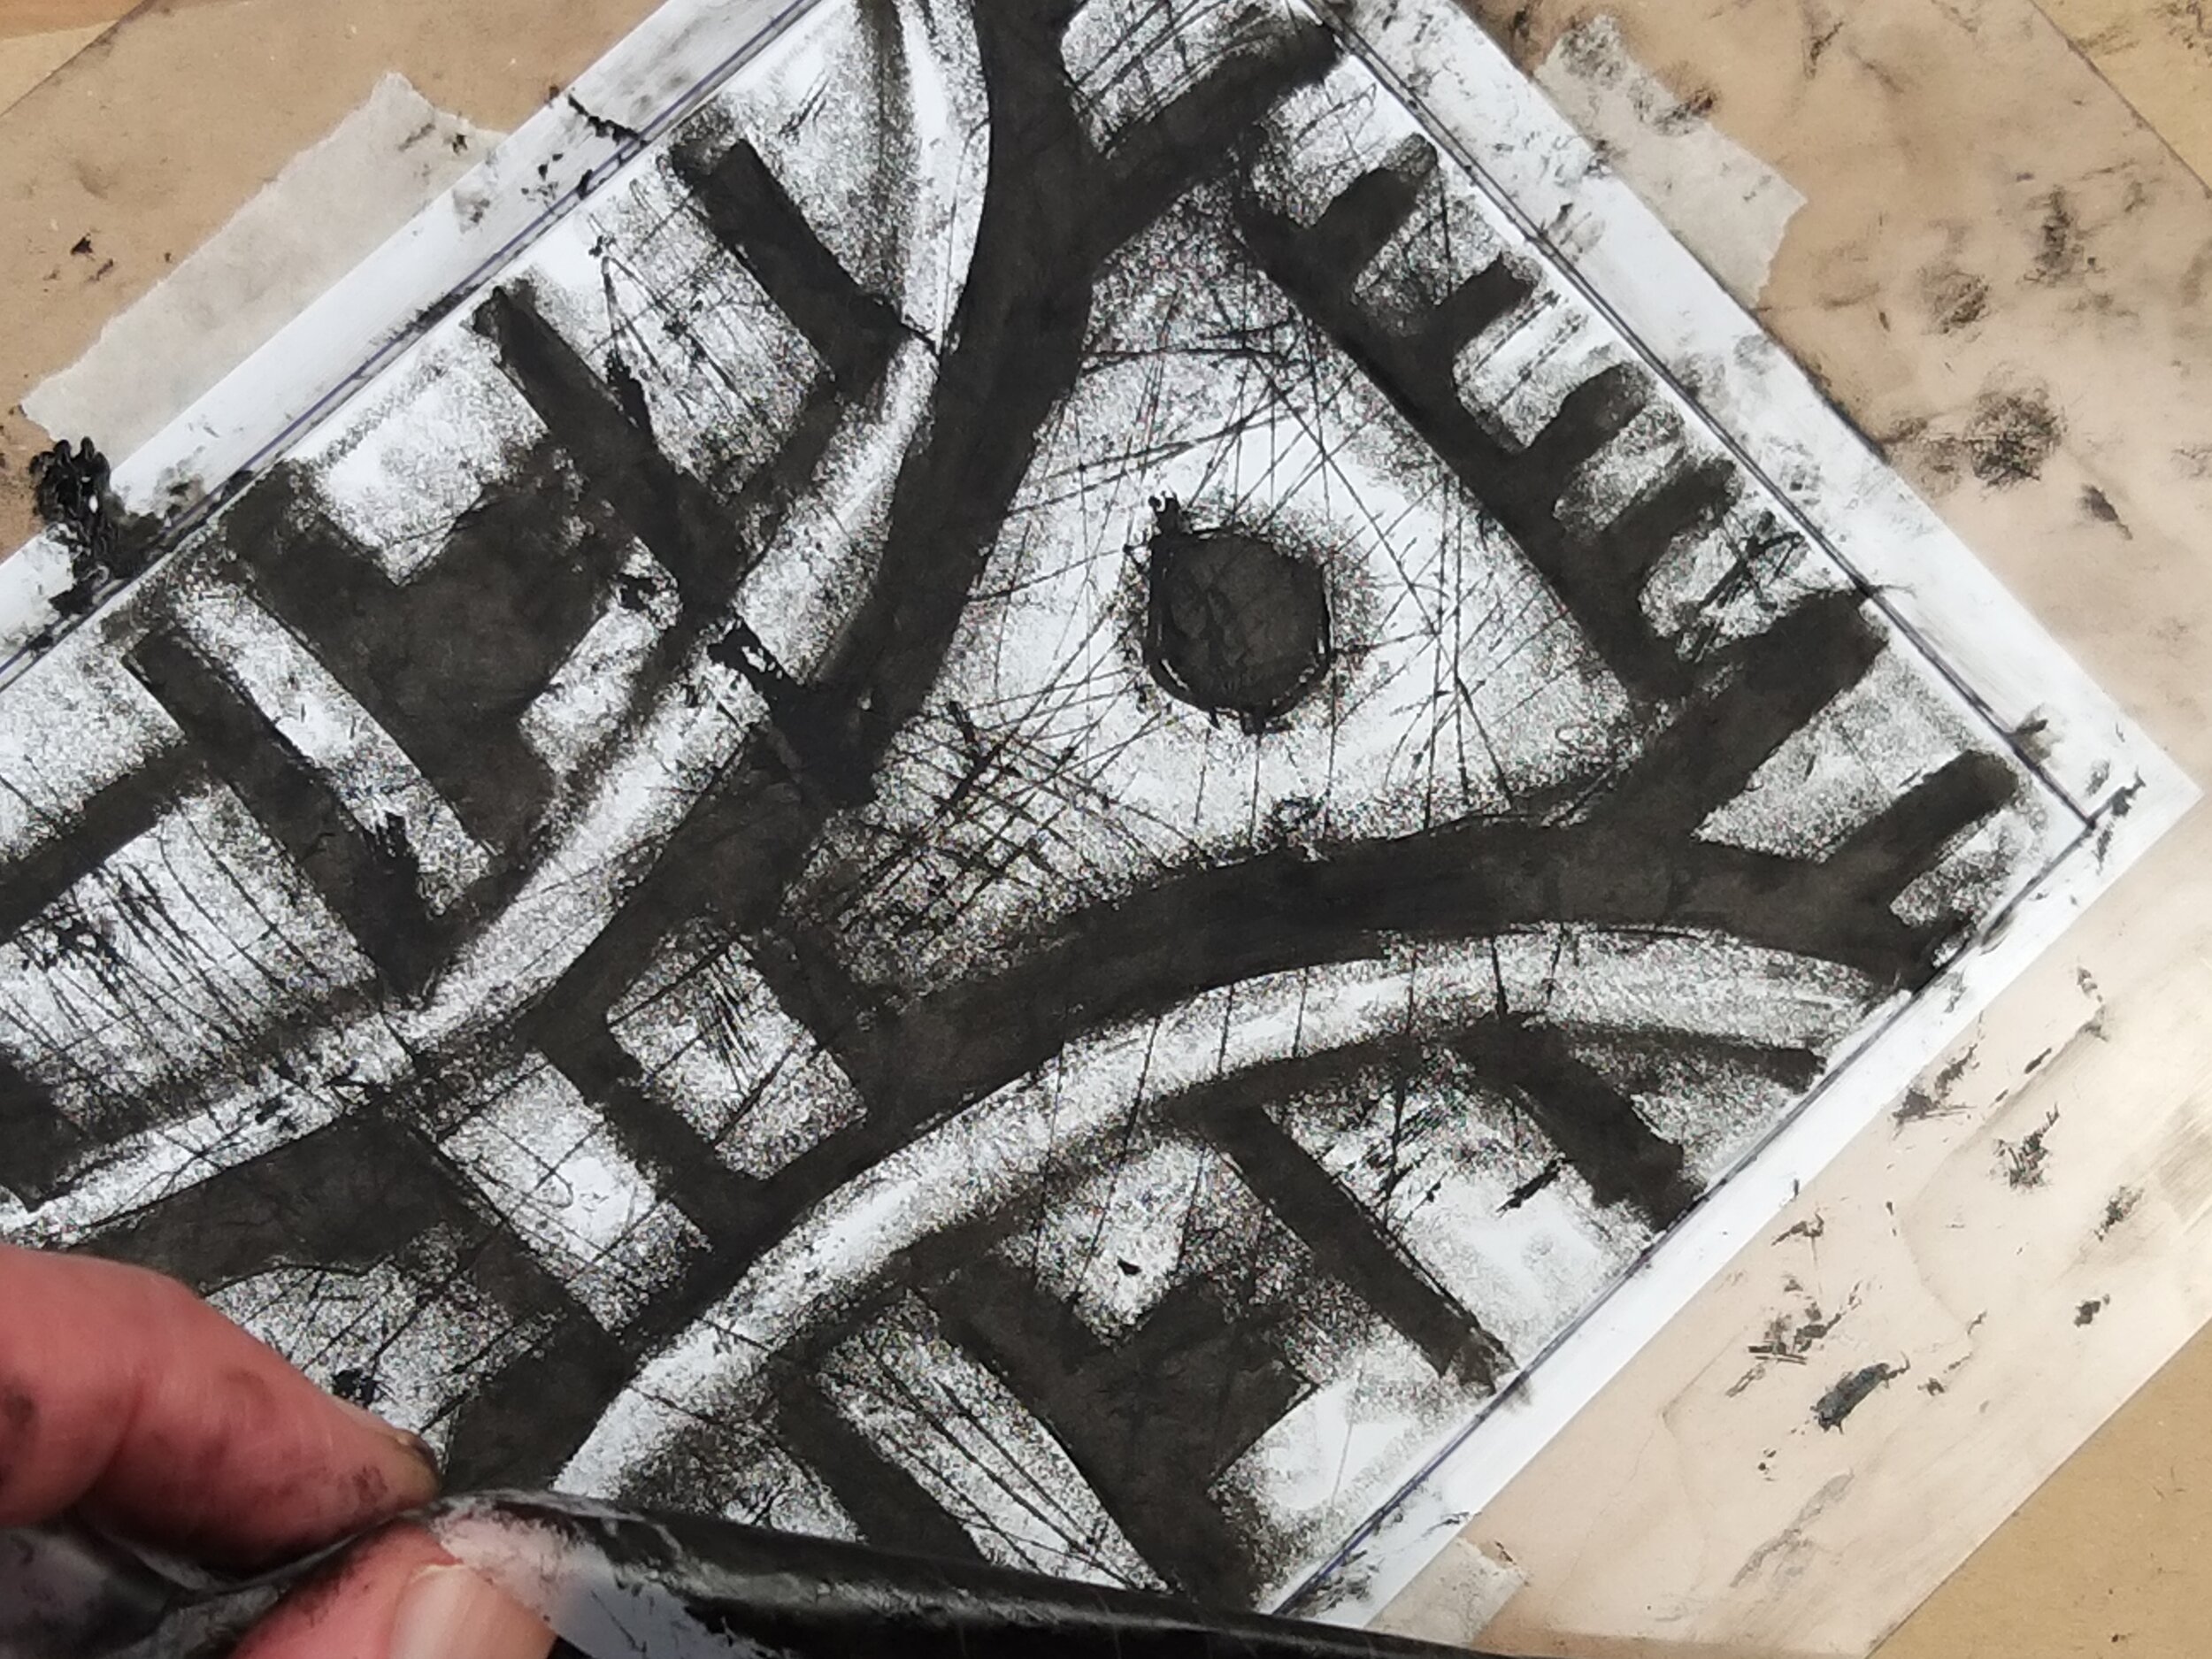
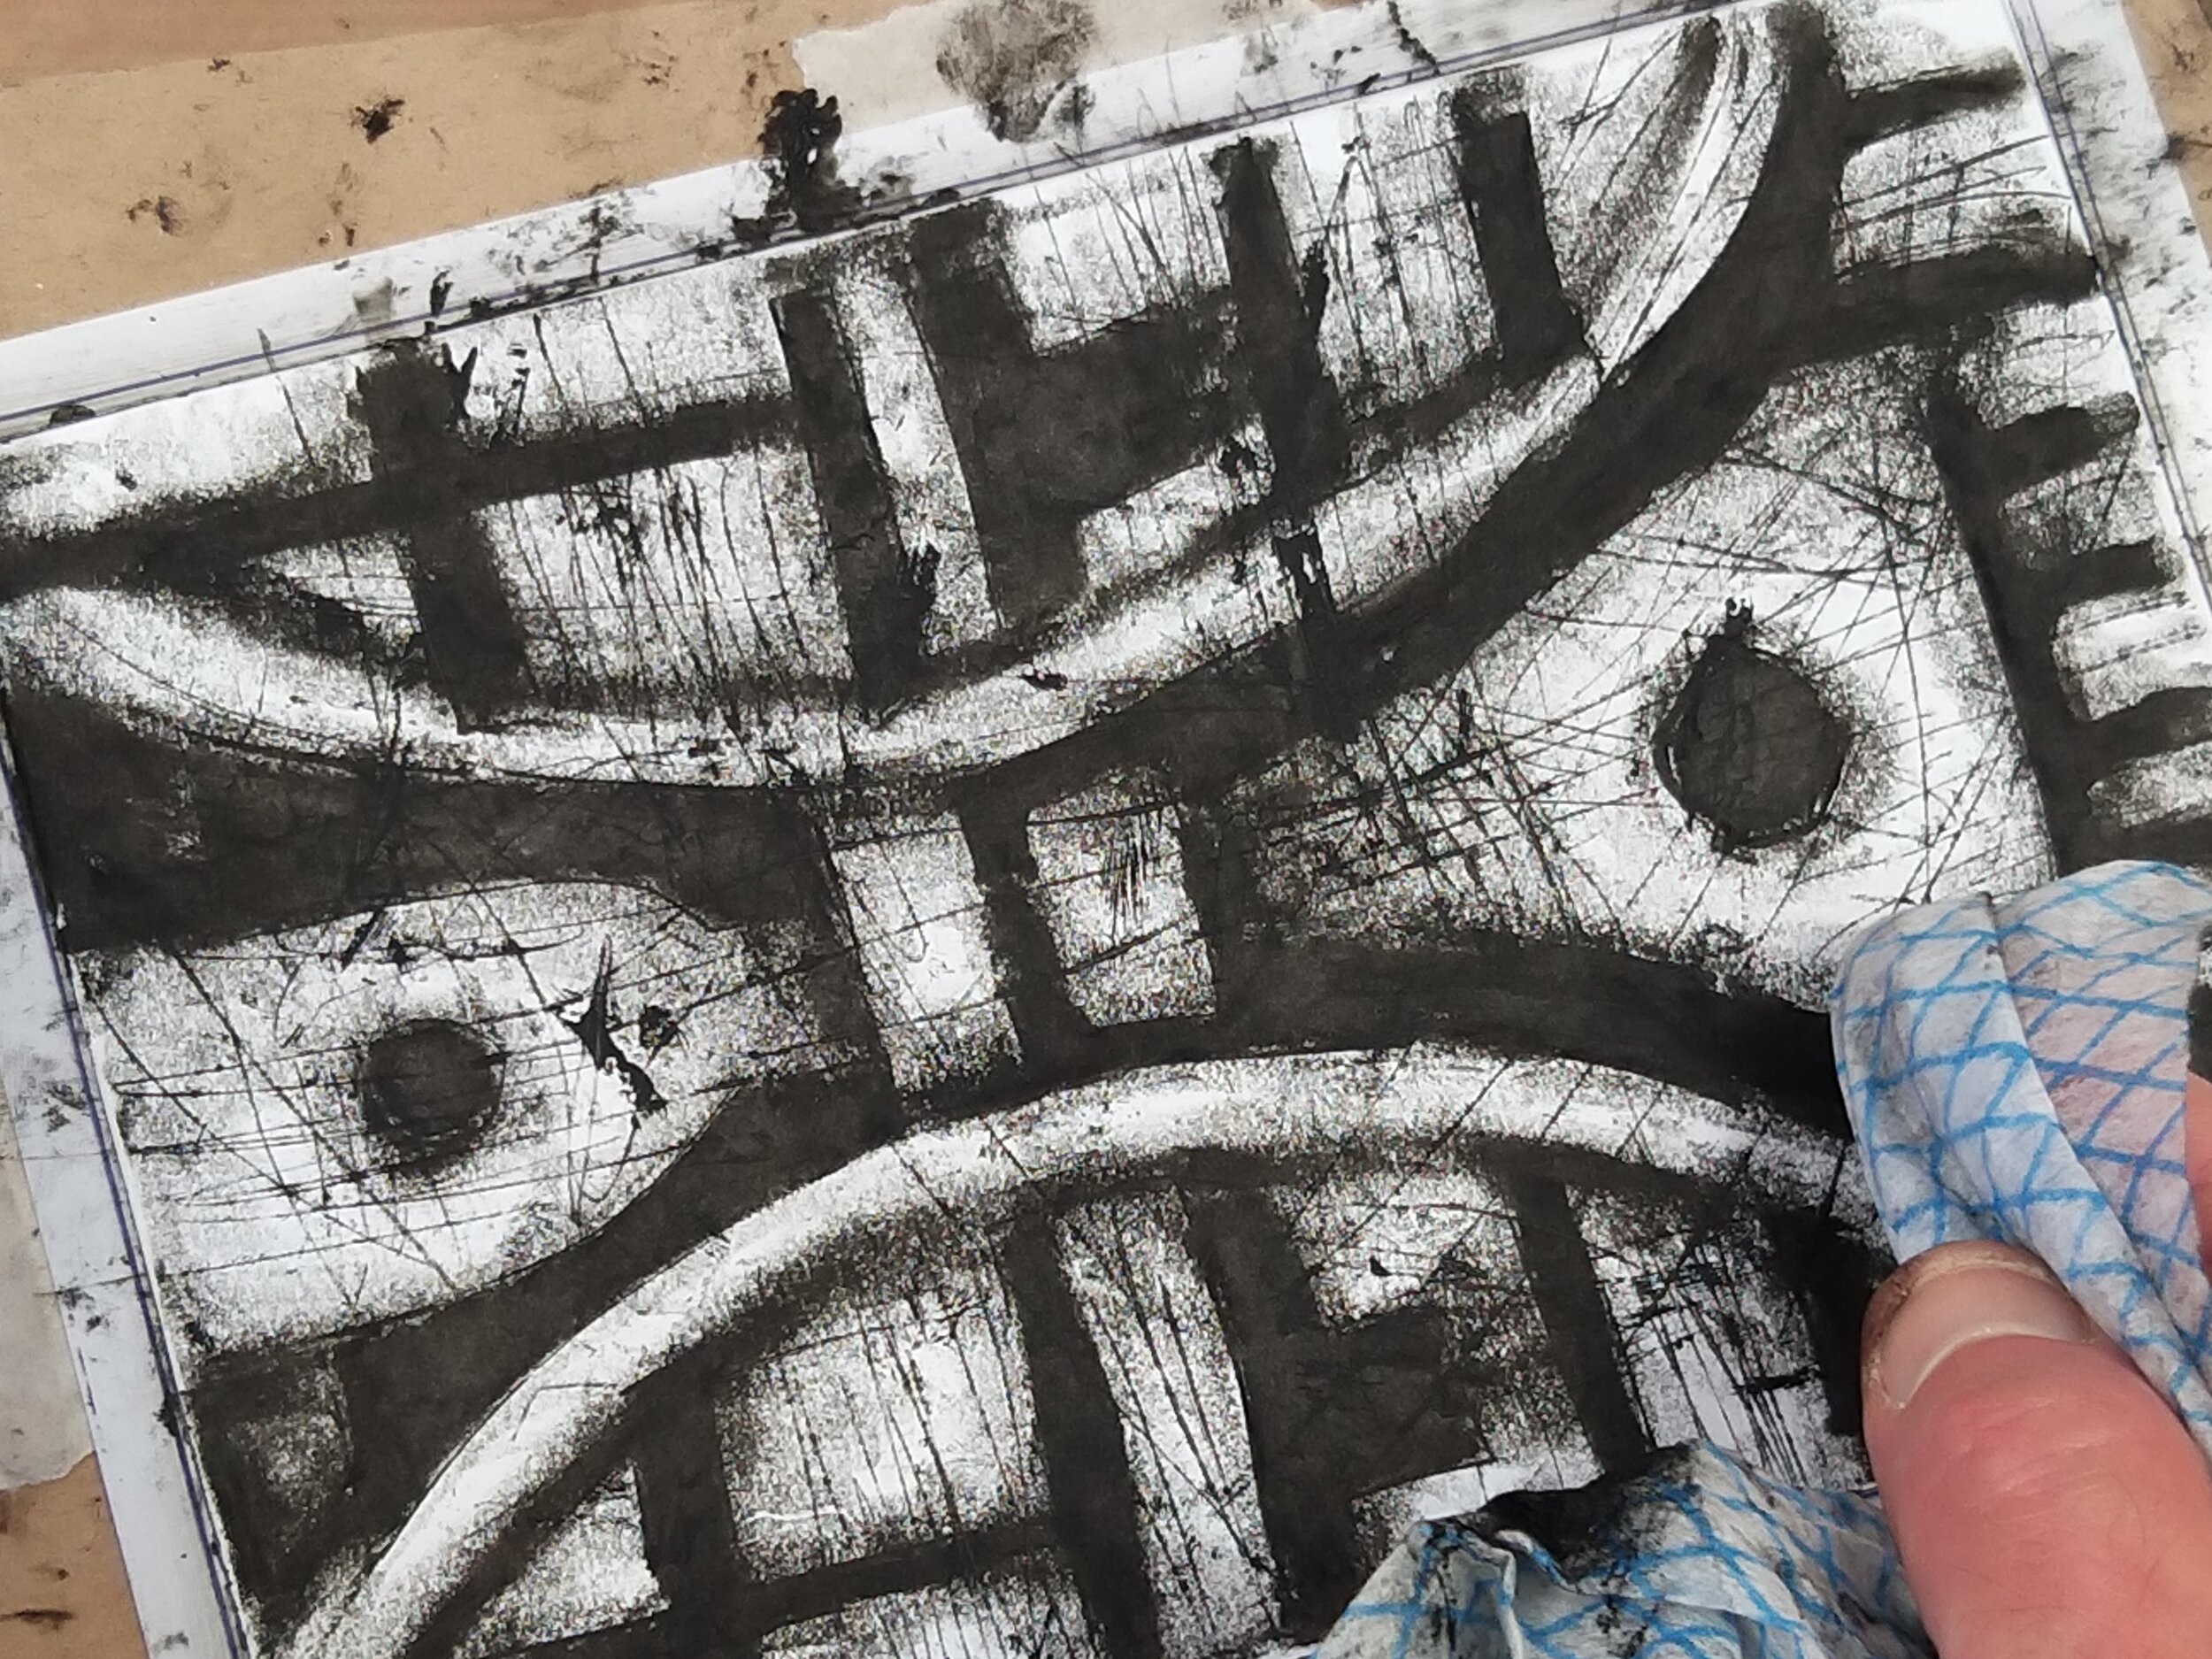
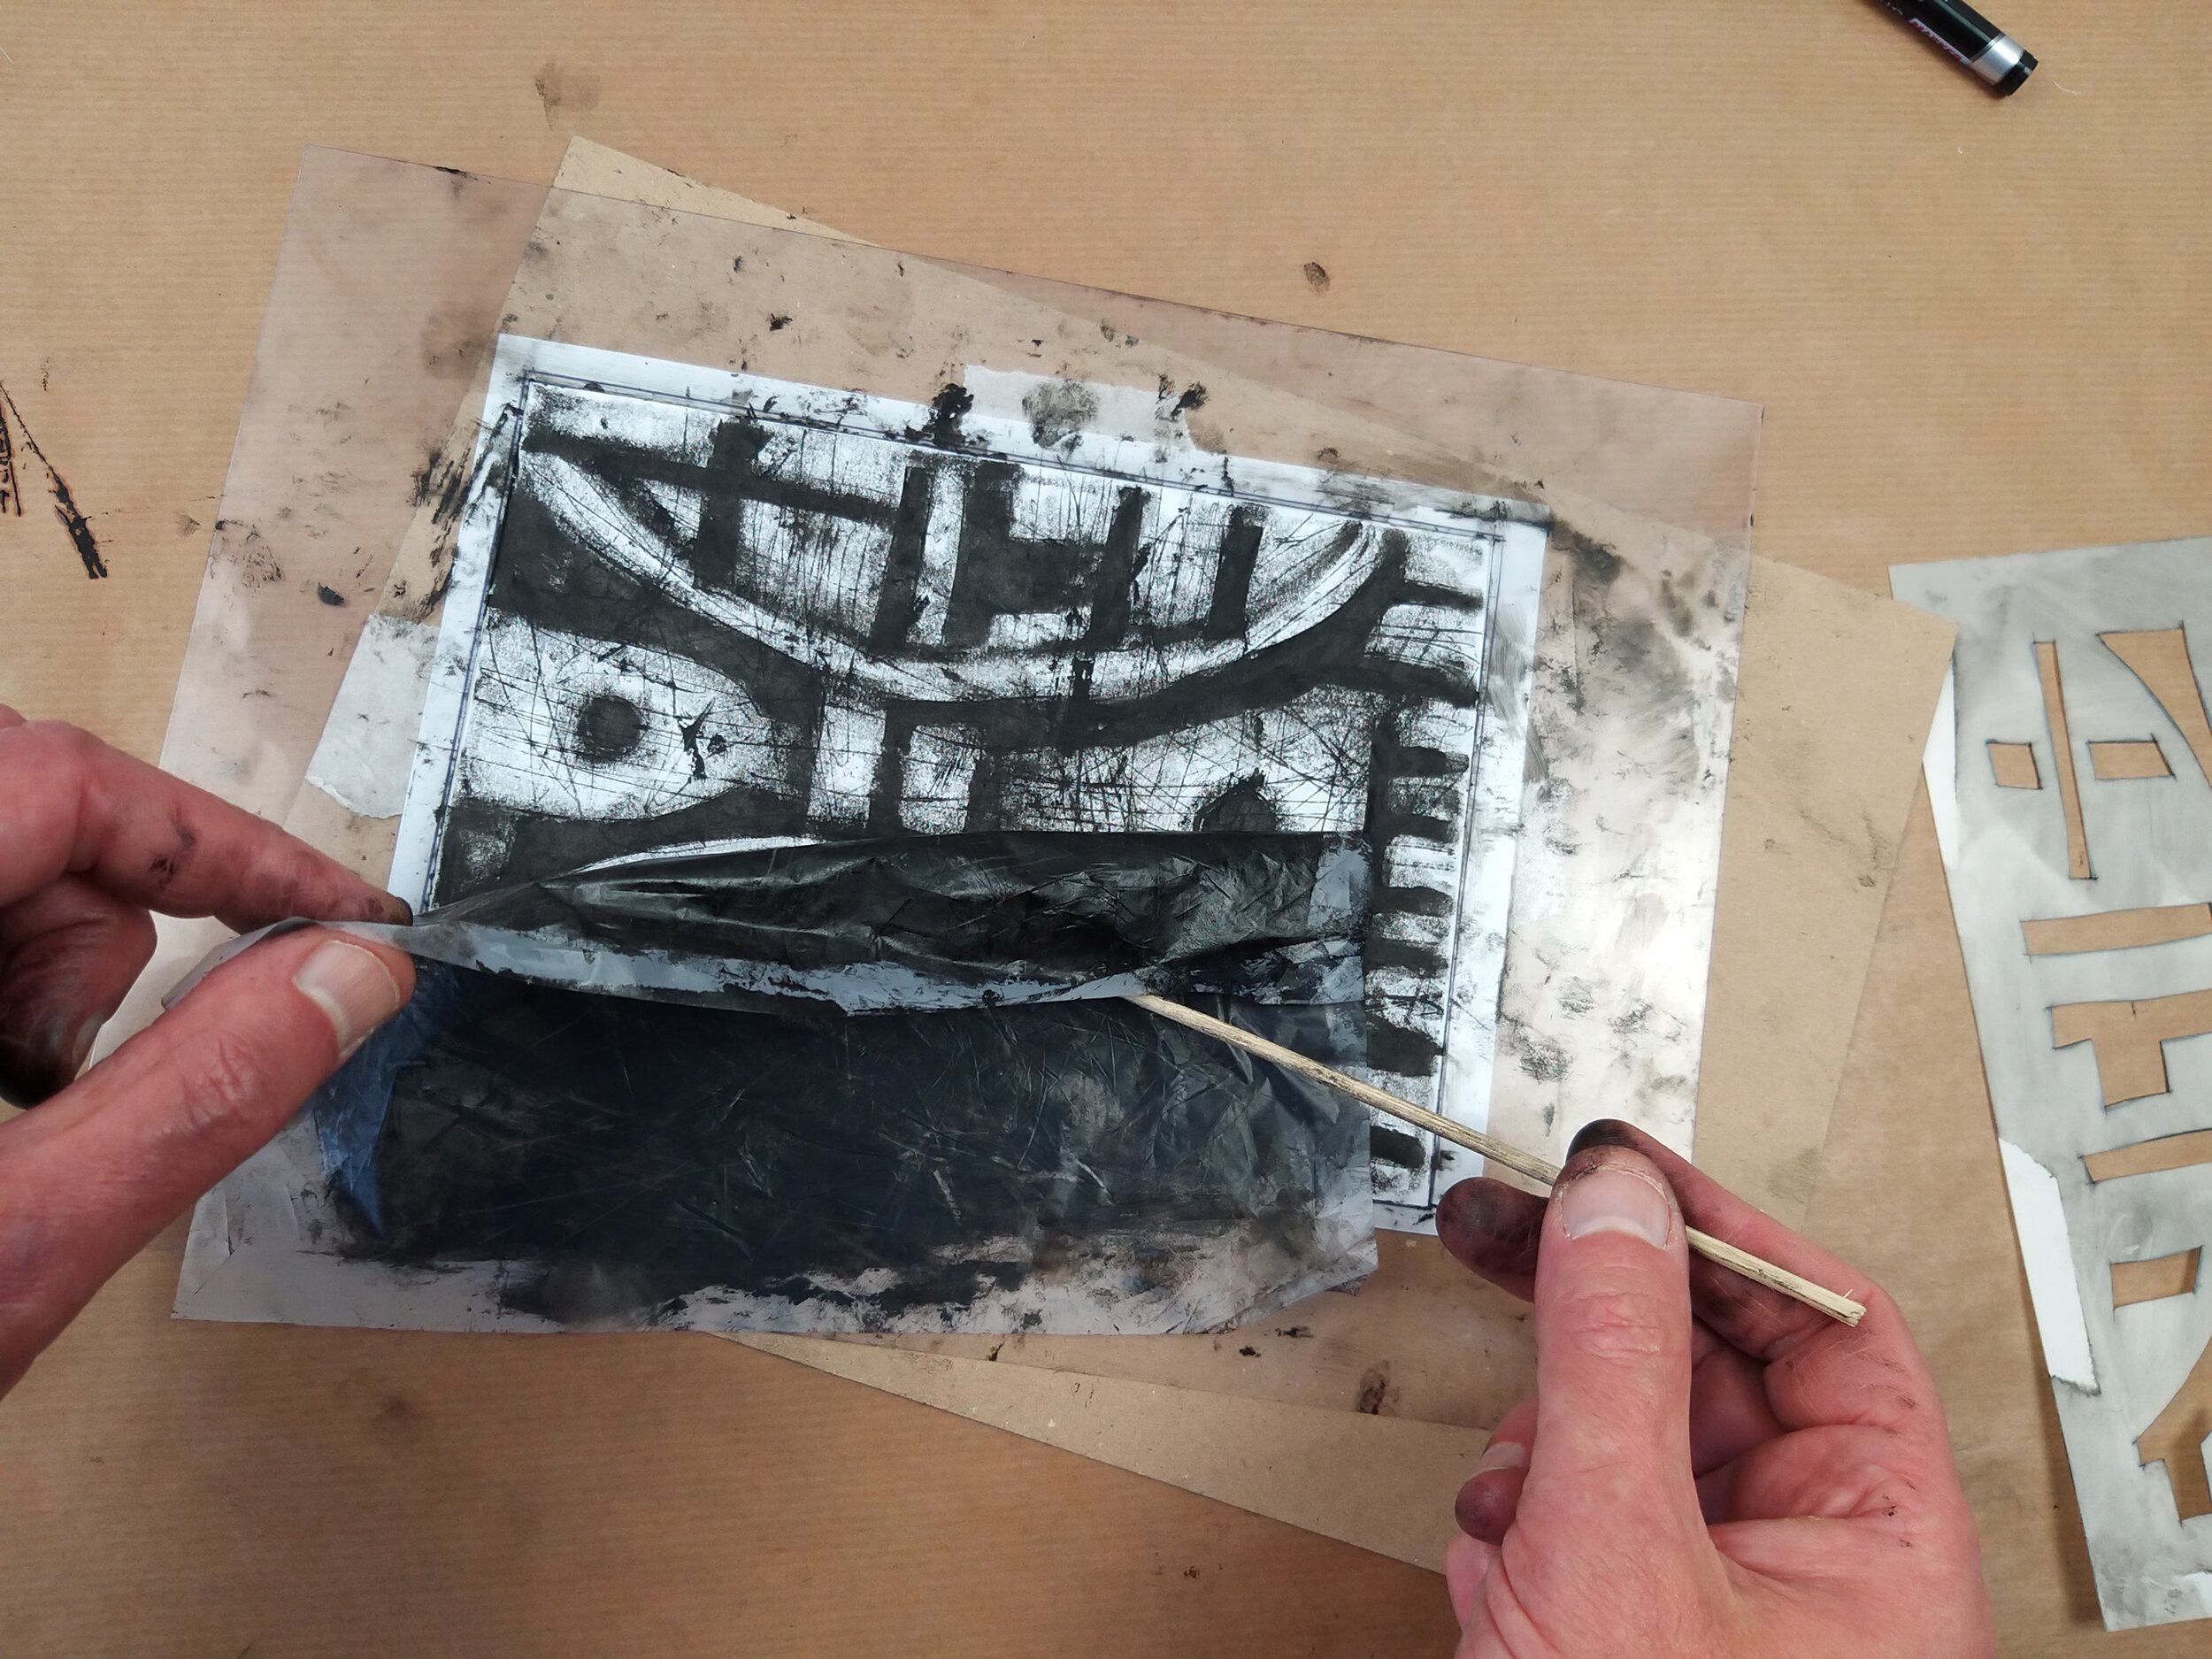
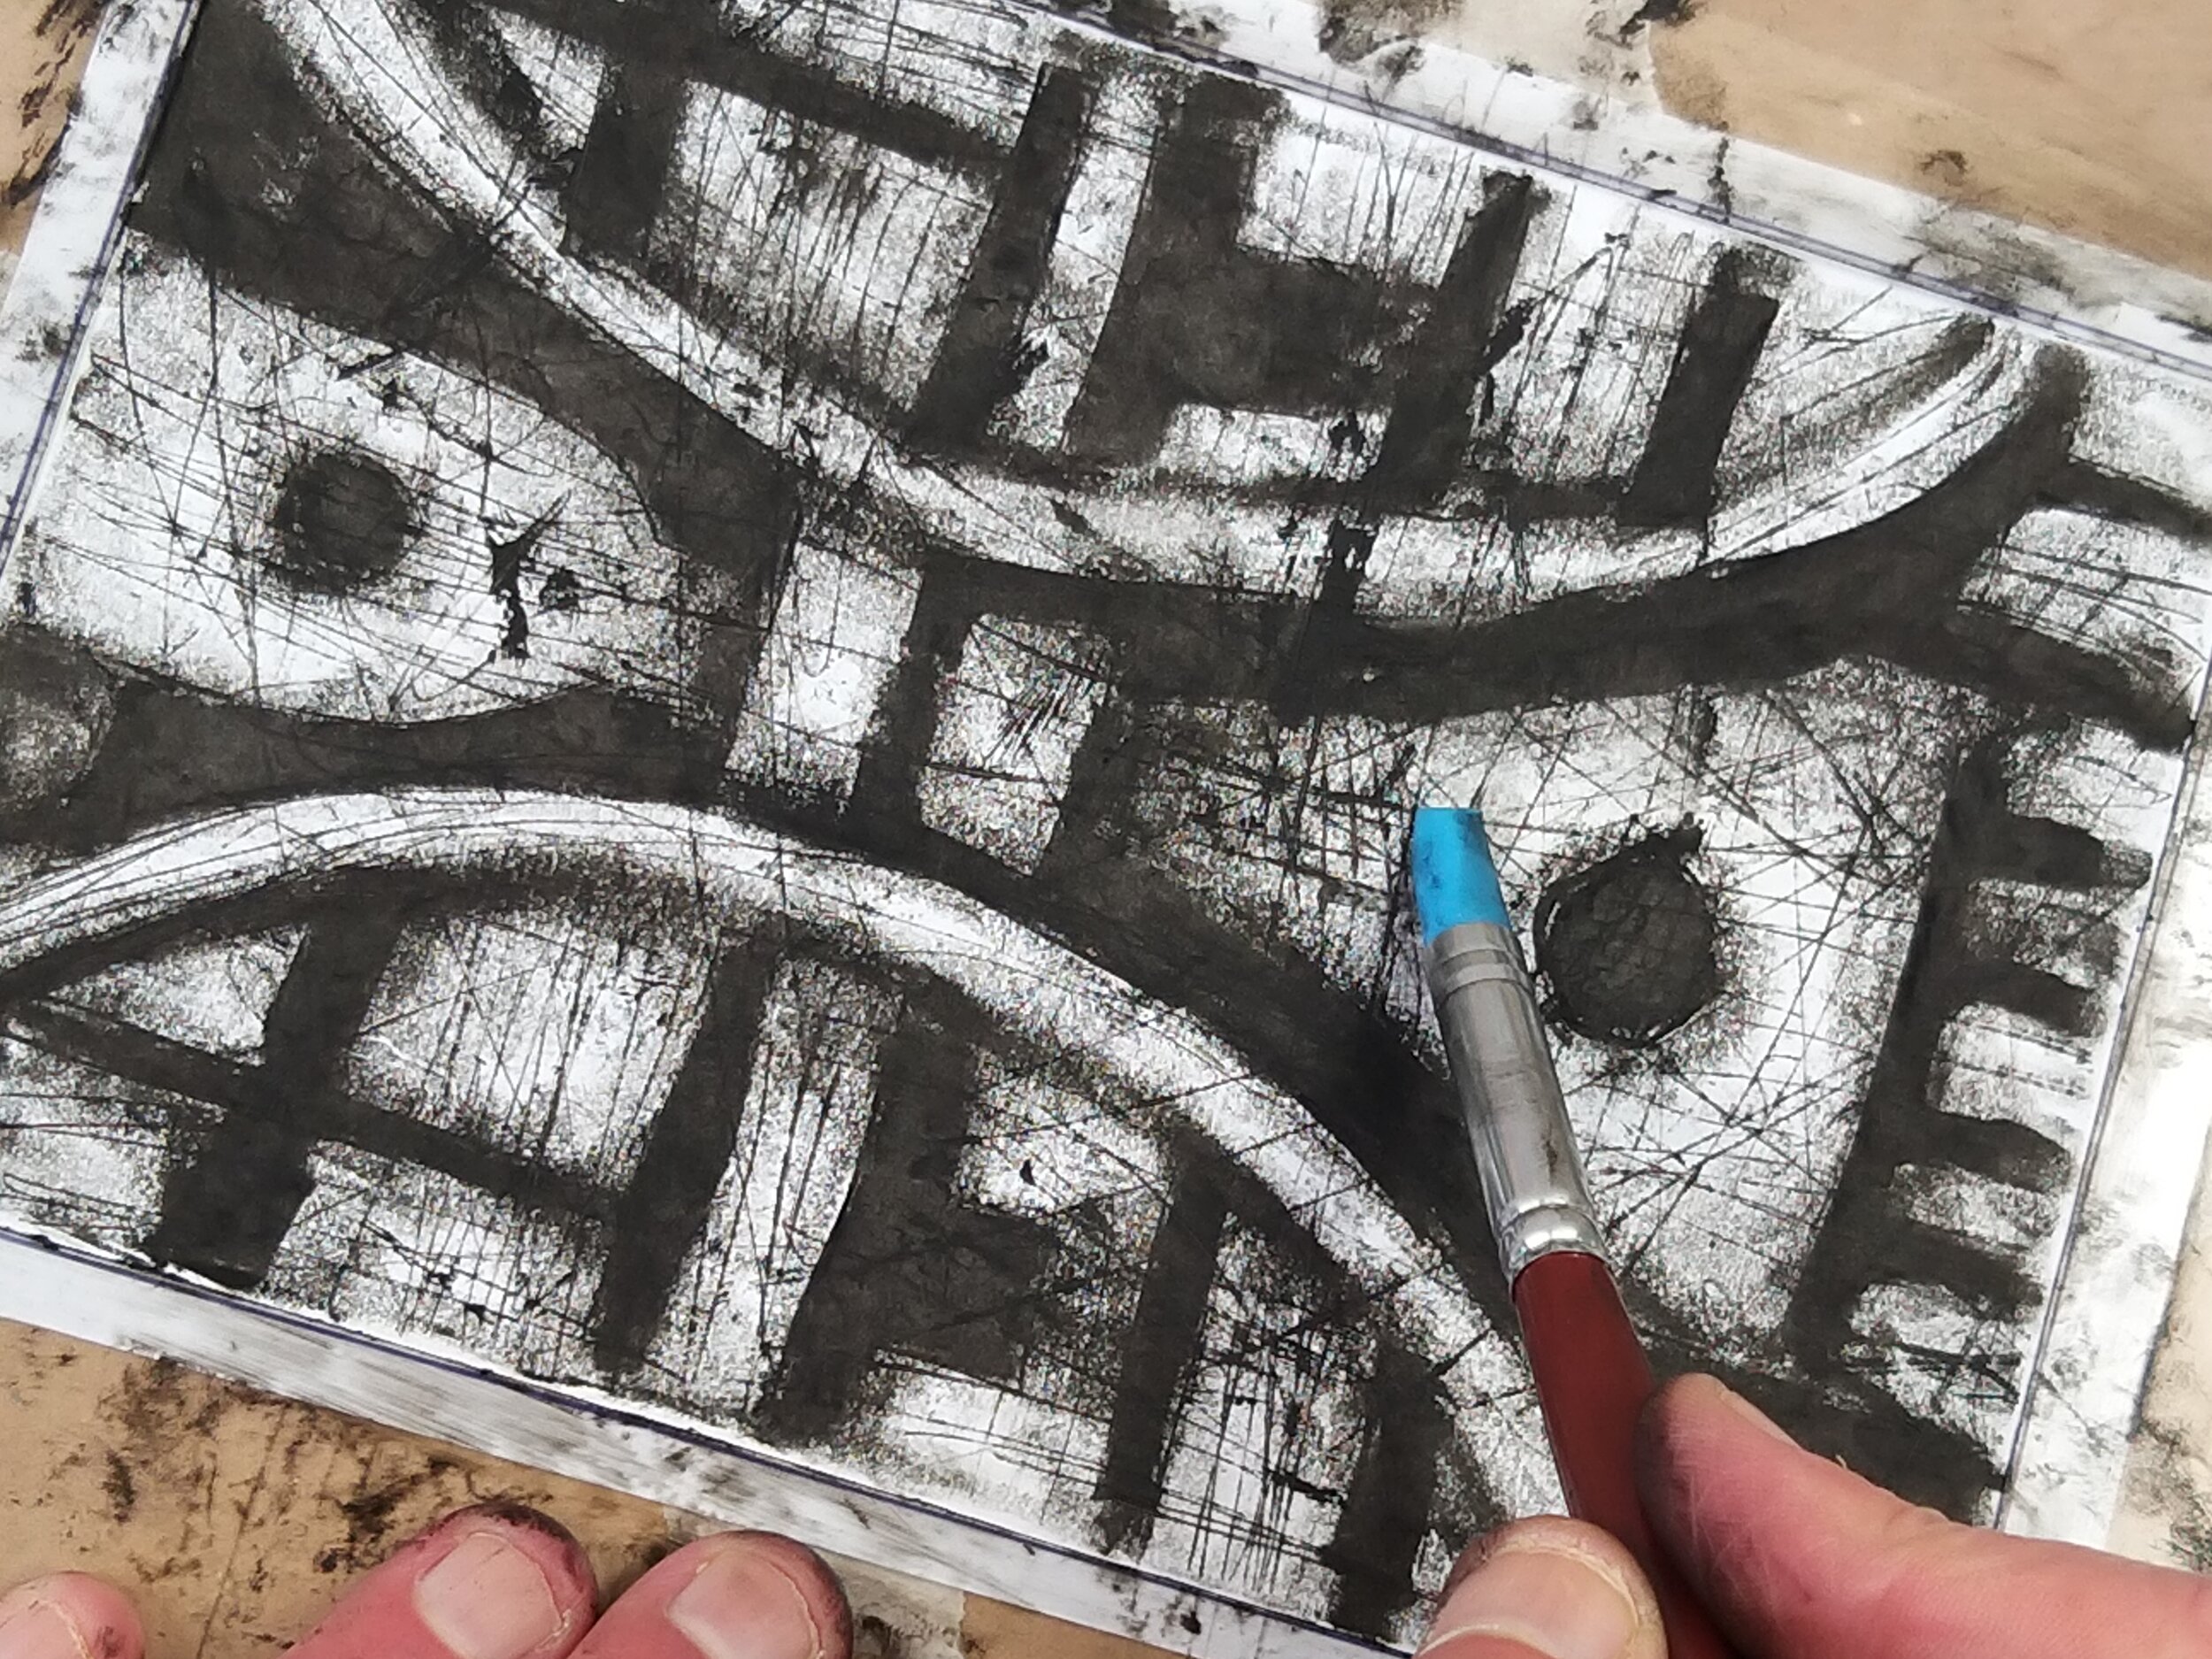
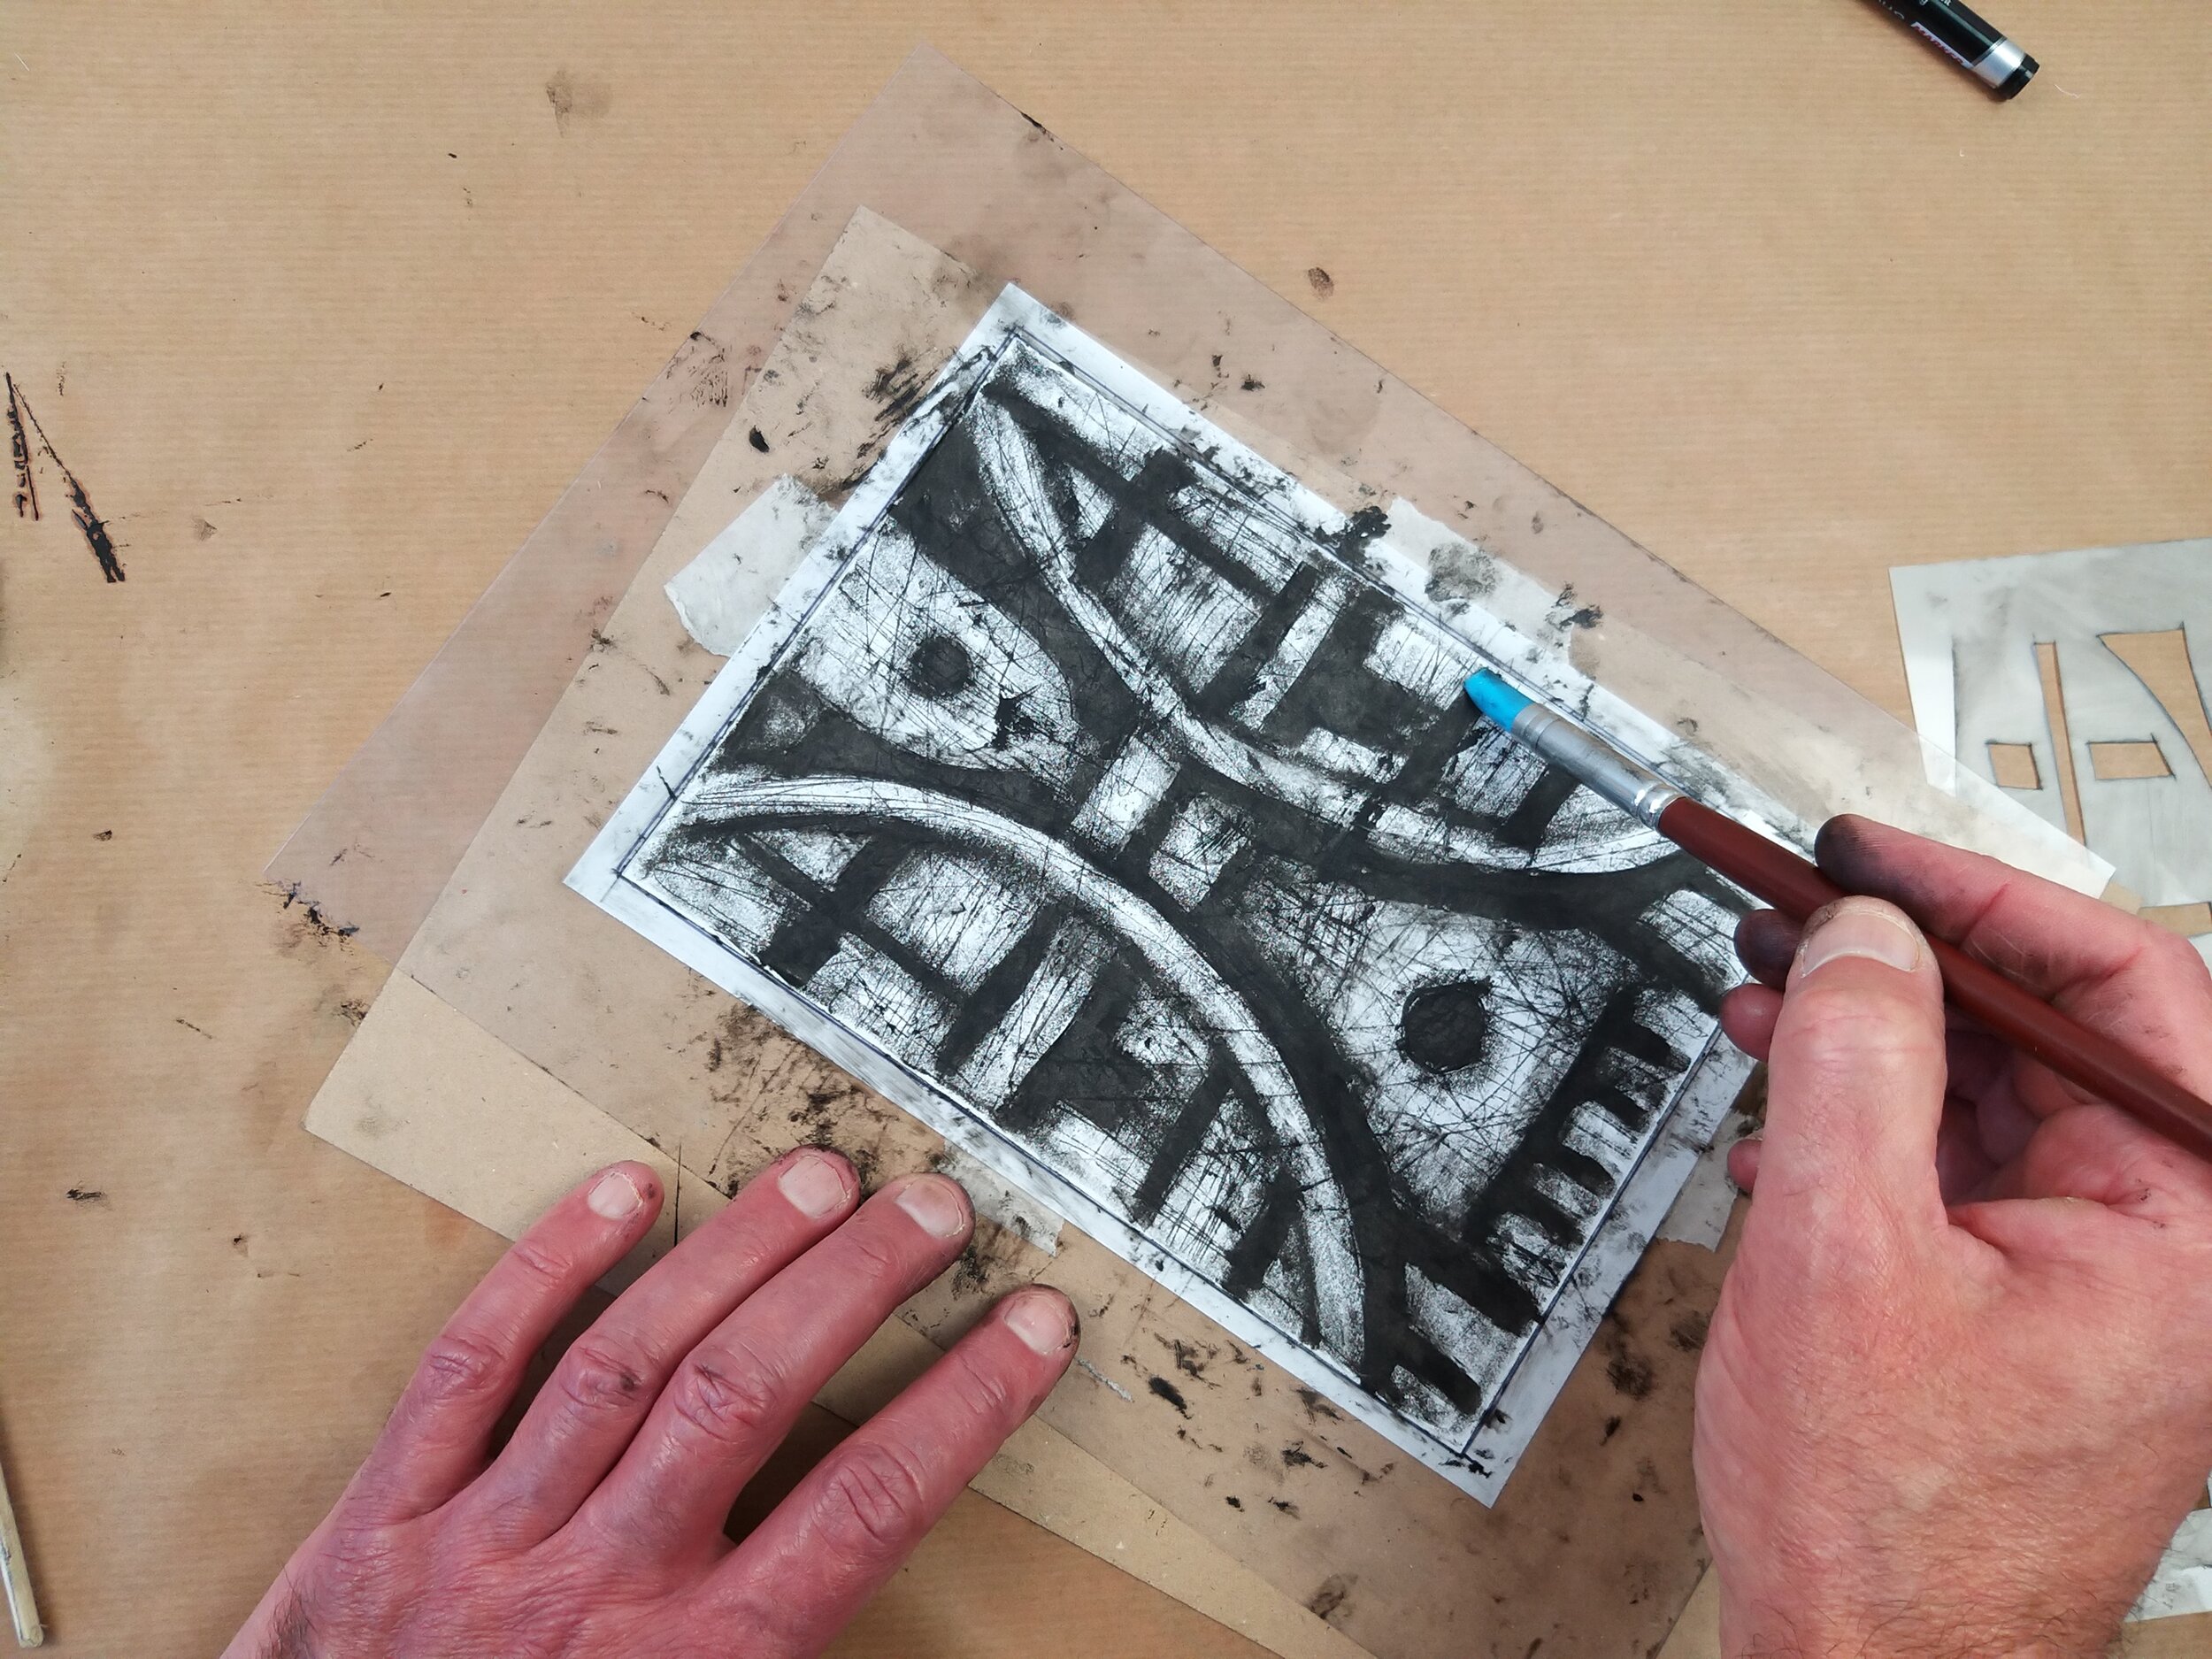
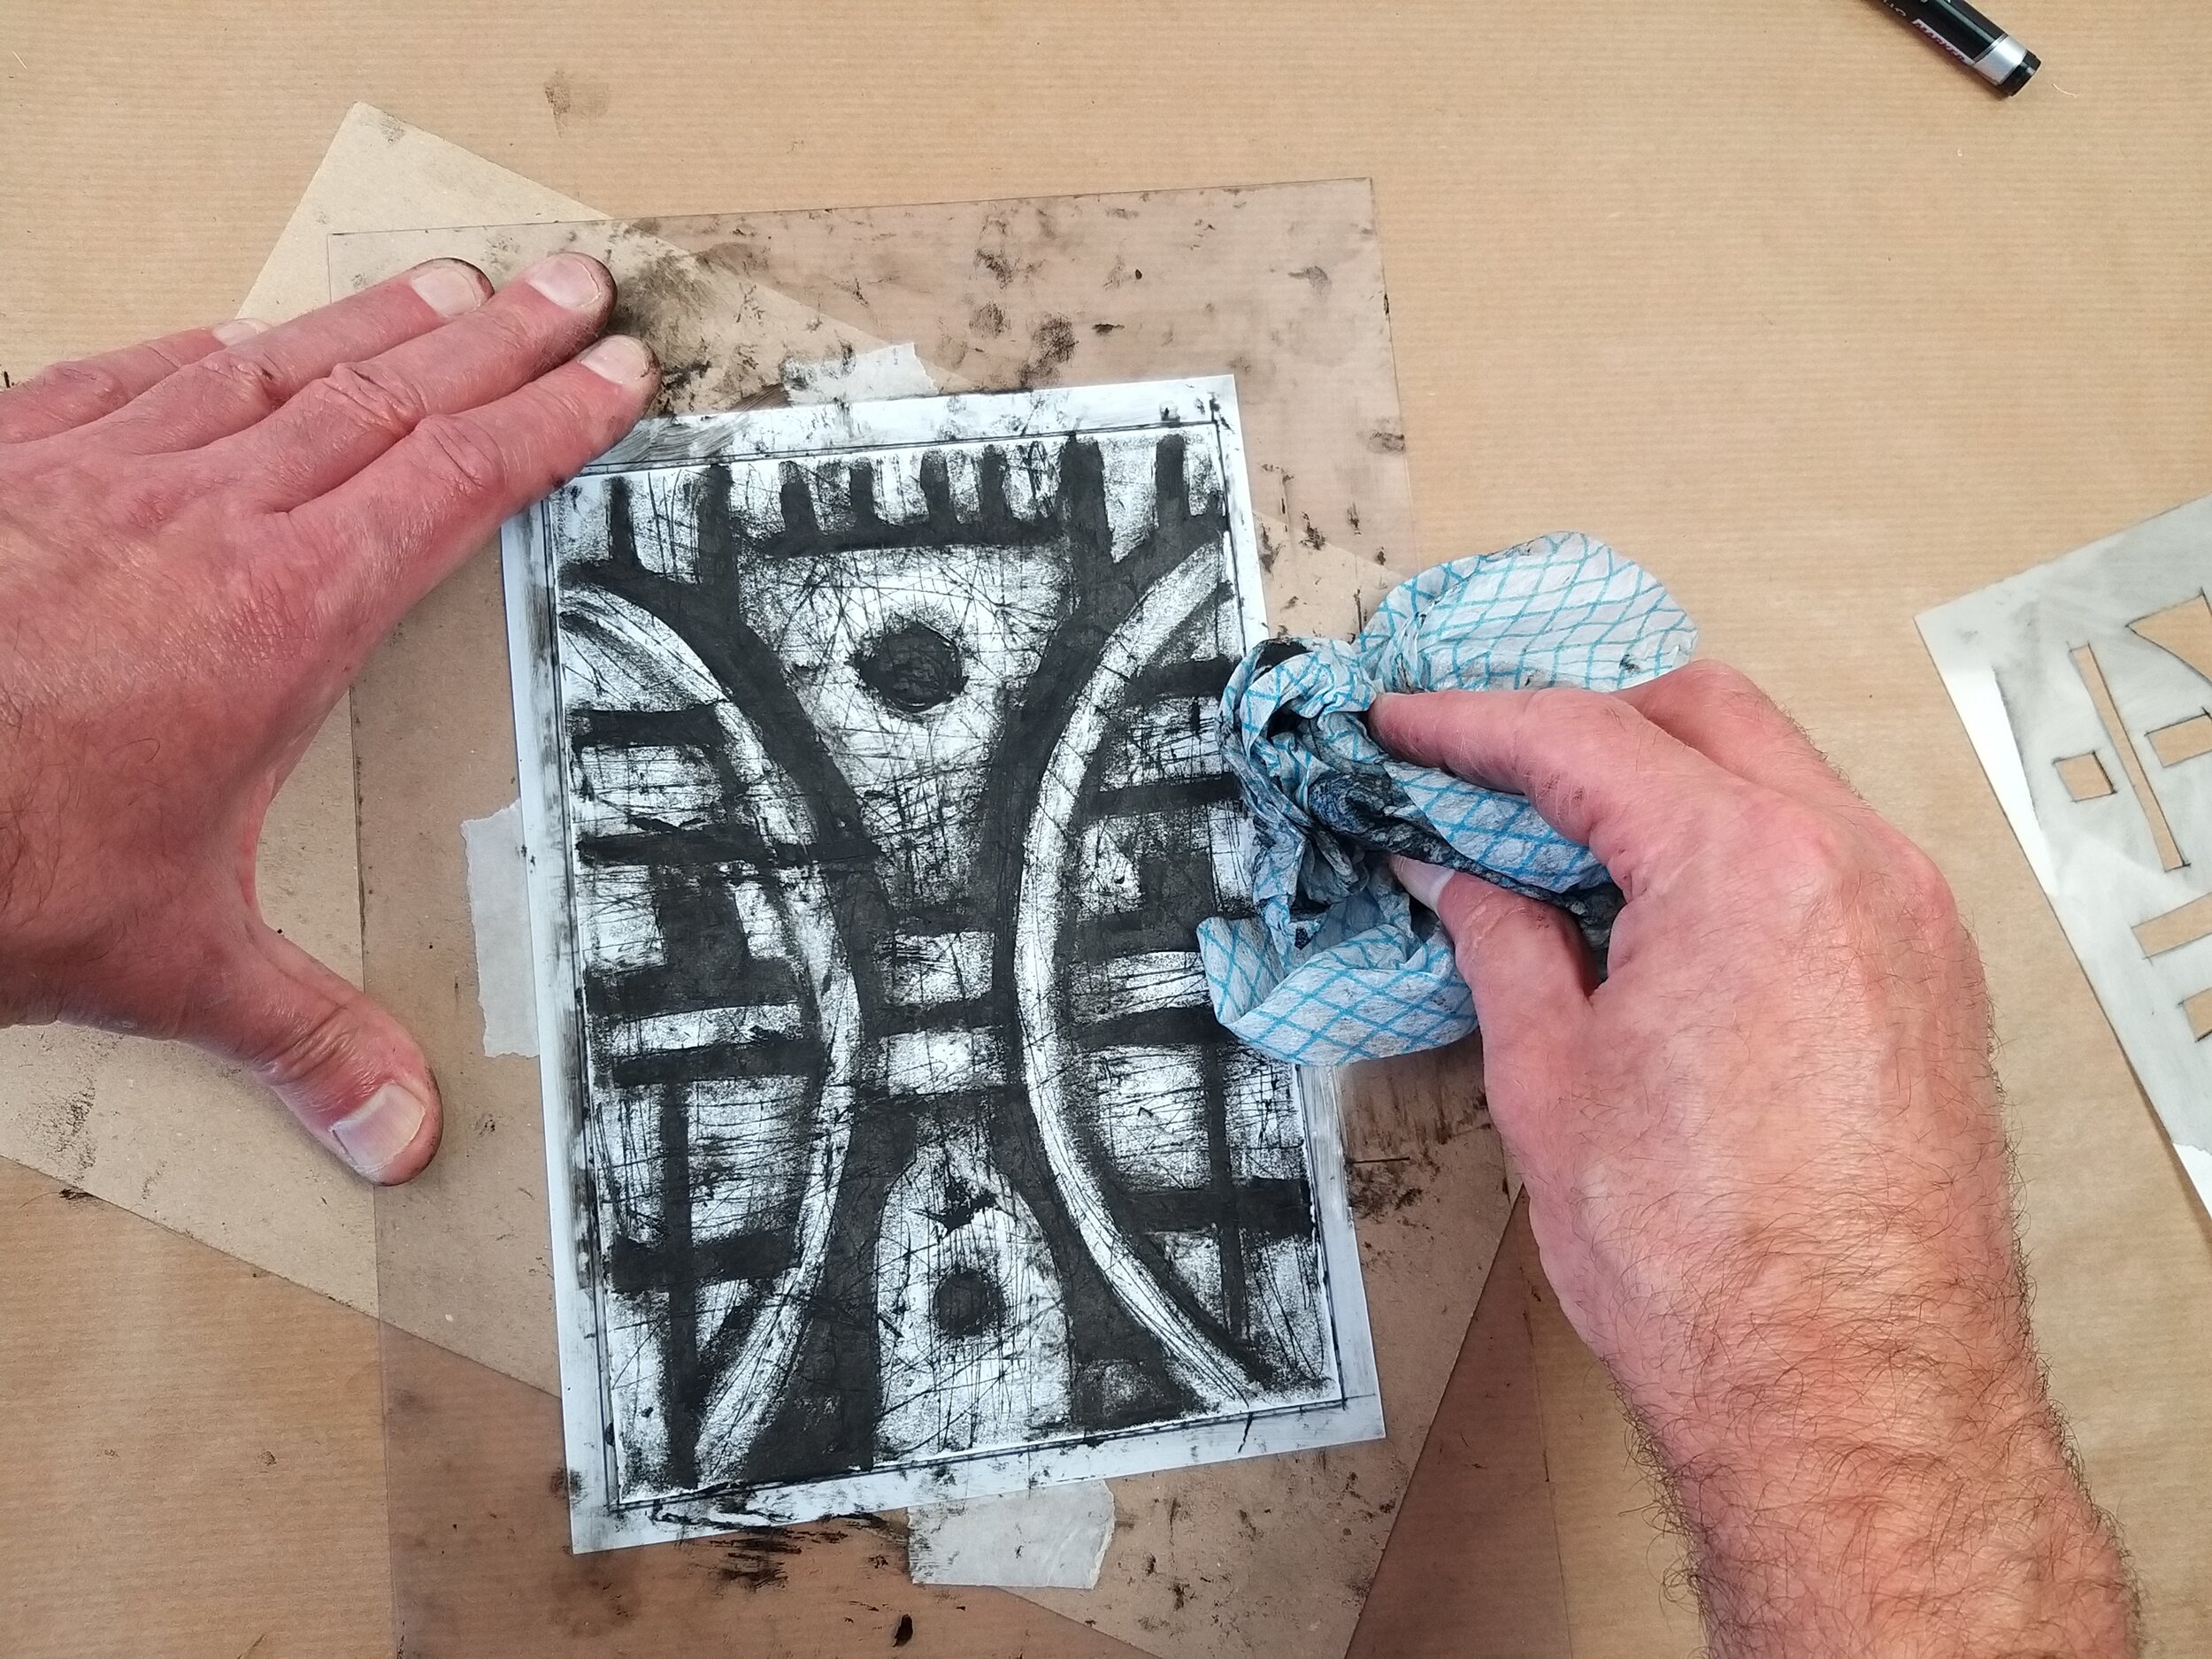
Project 2 : WEAVE


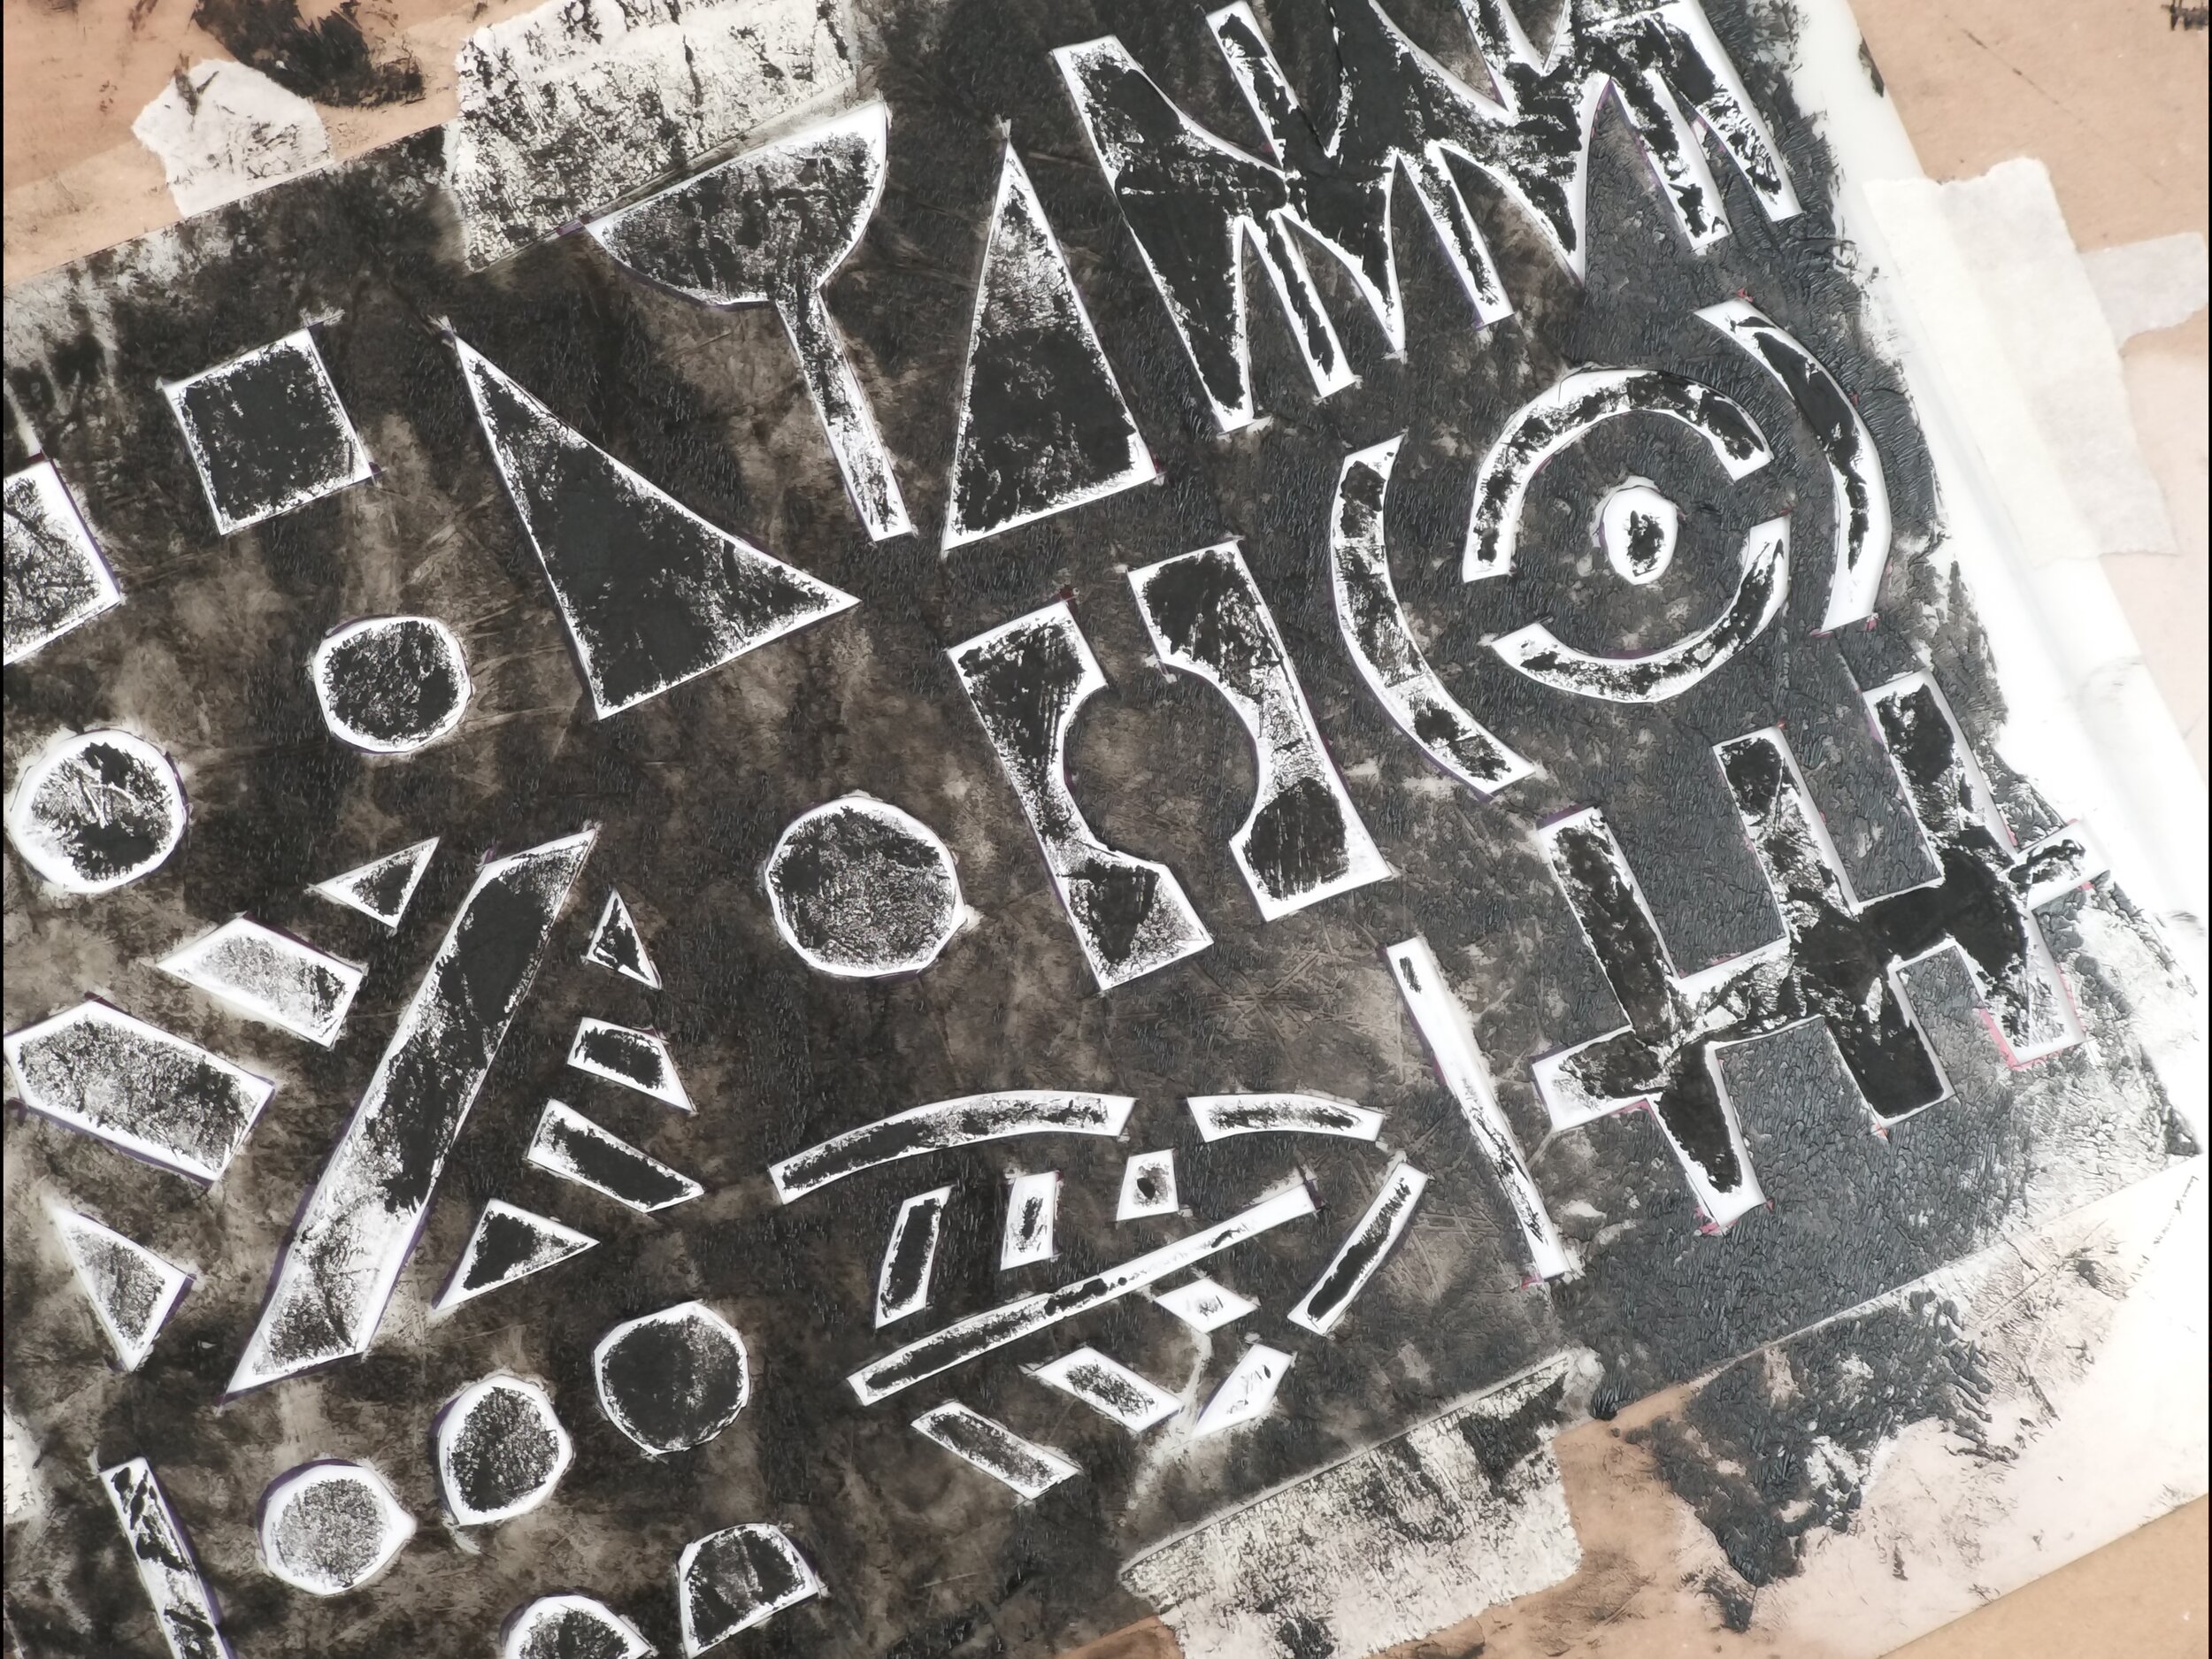
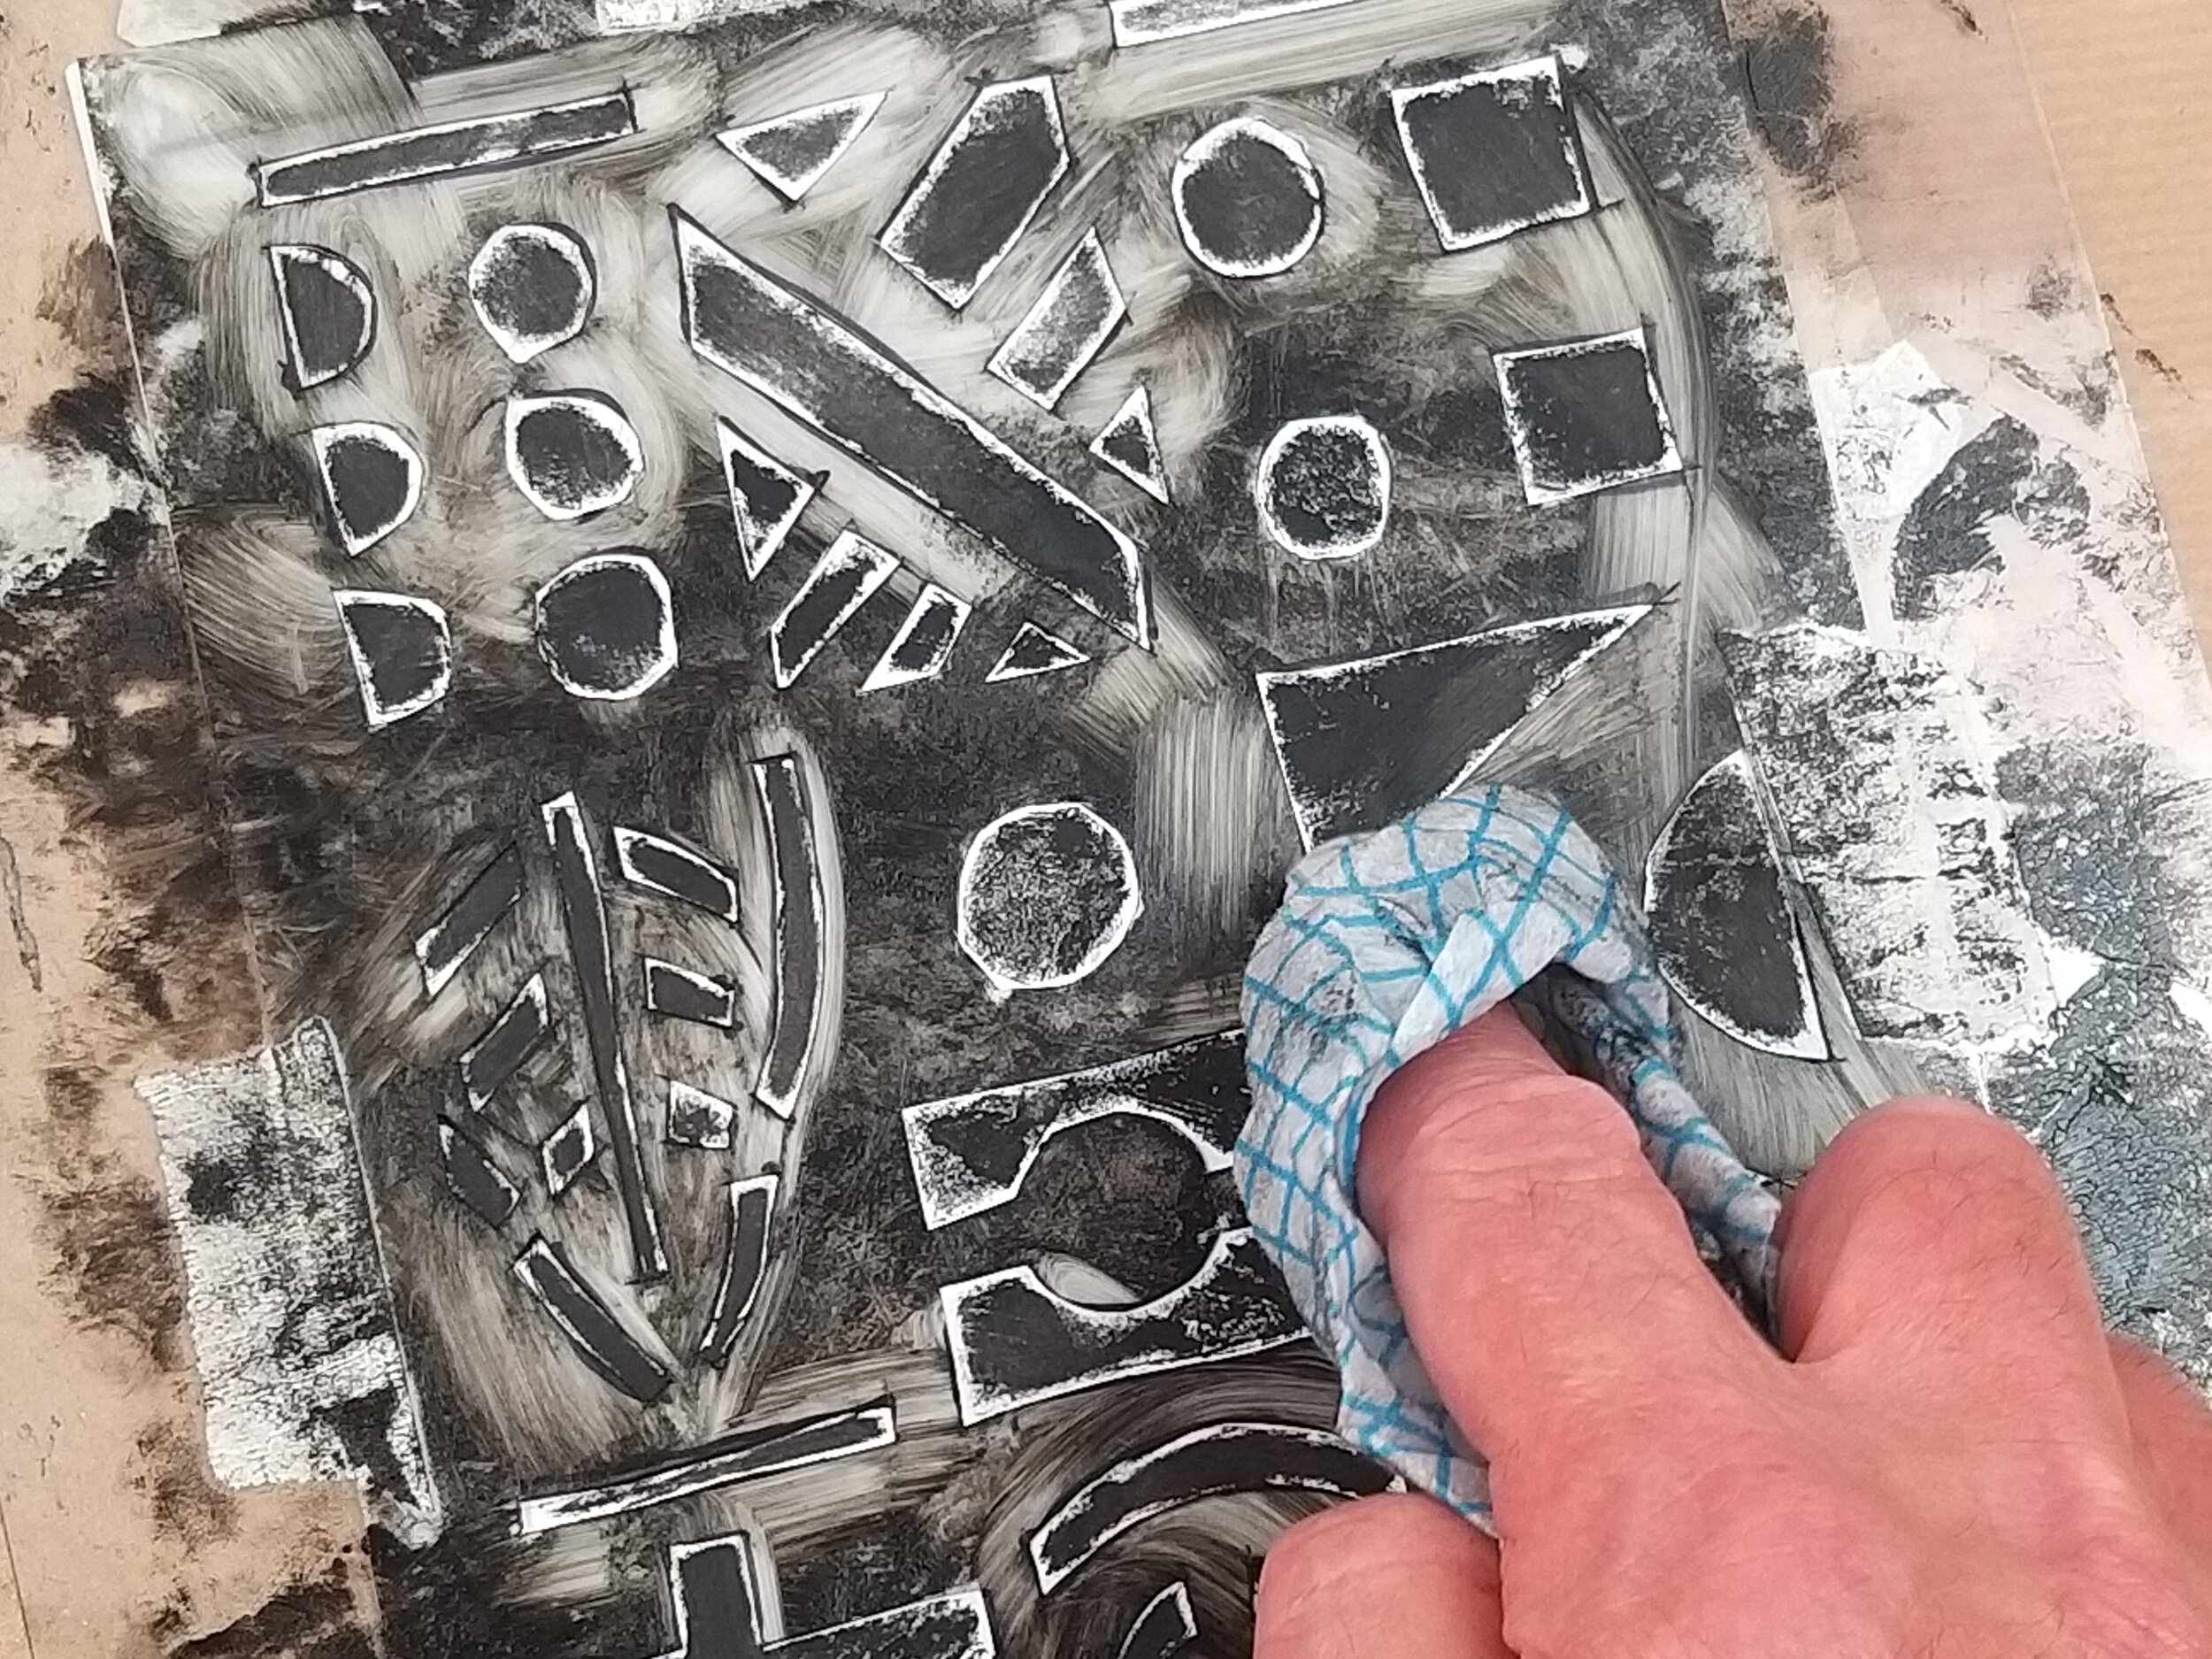
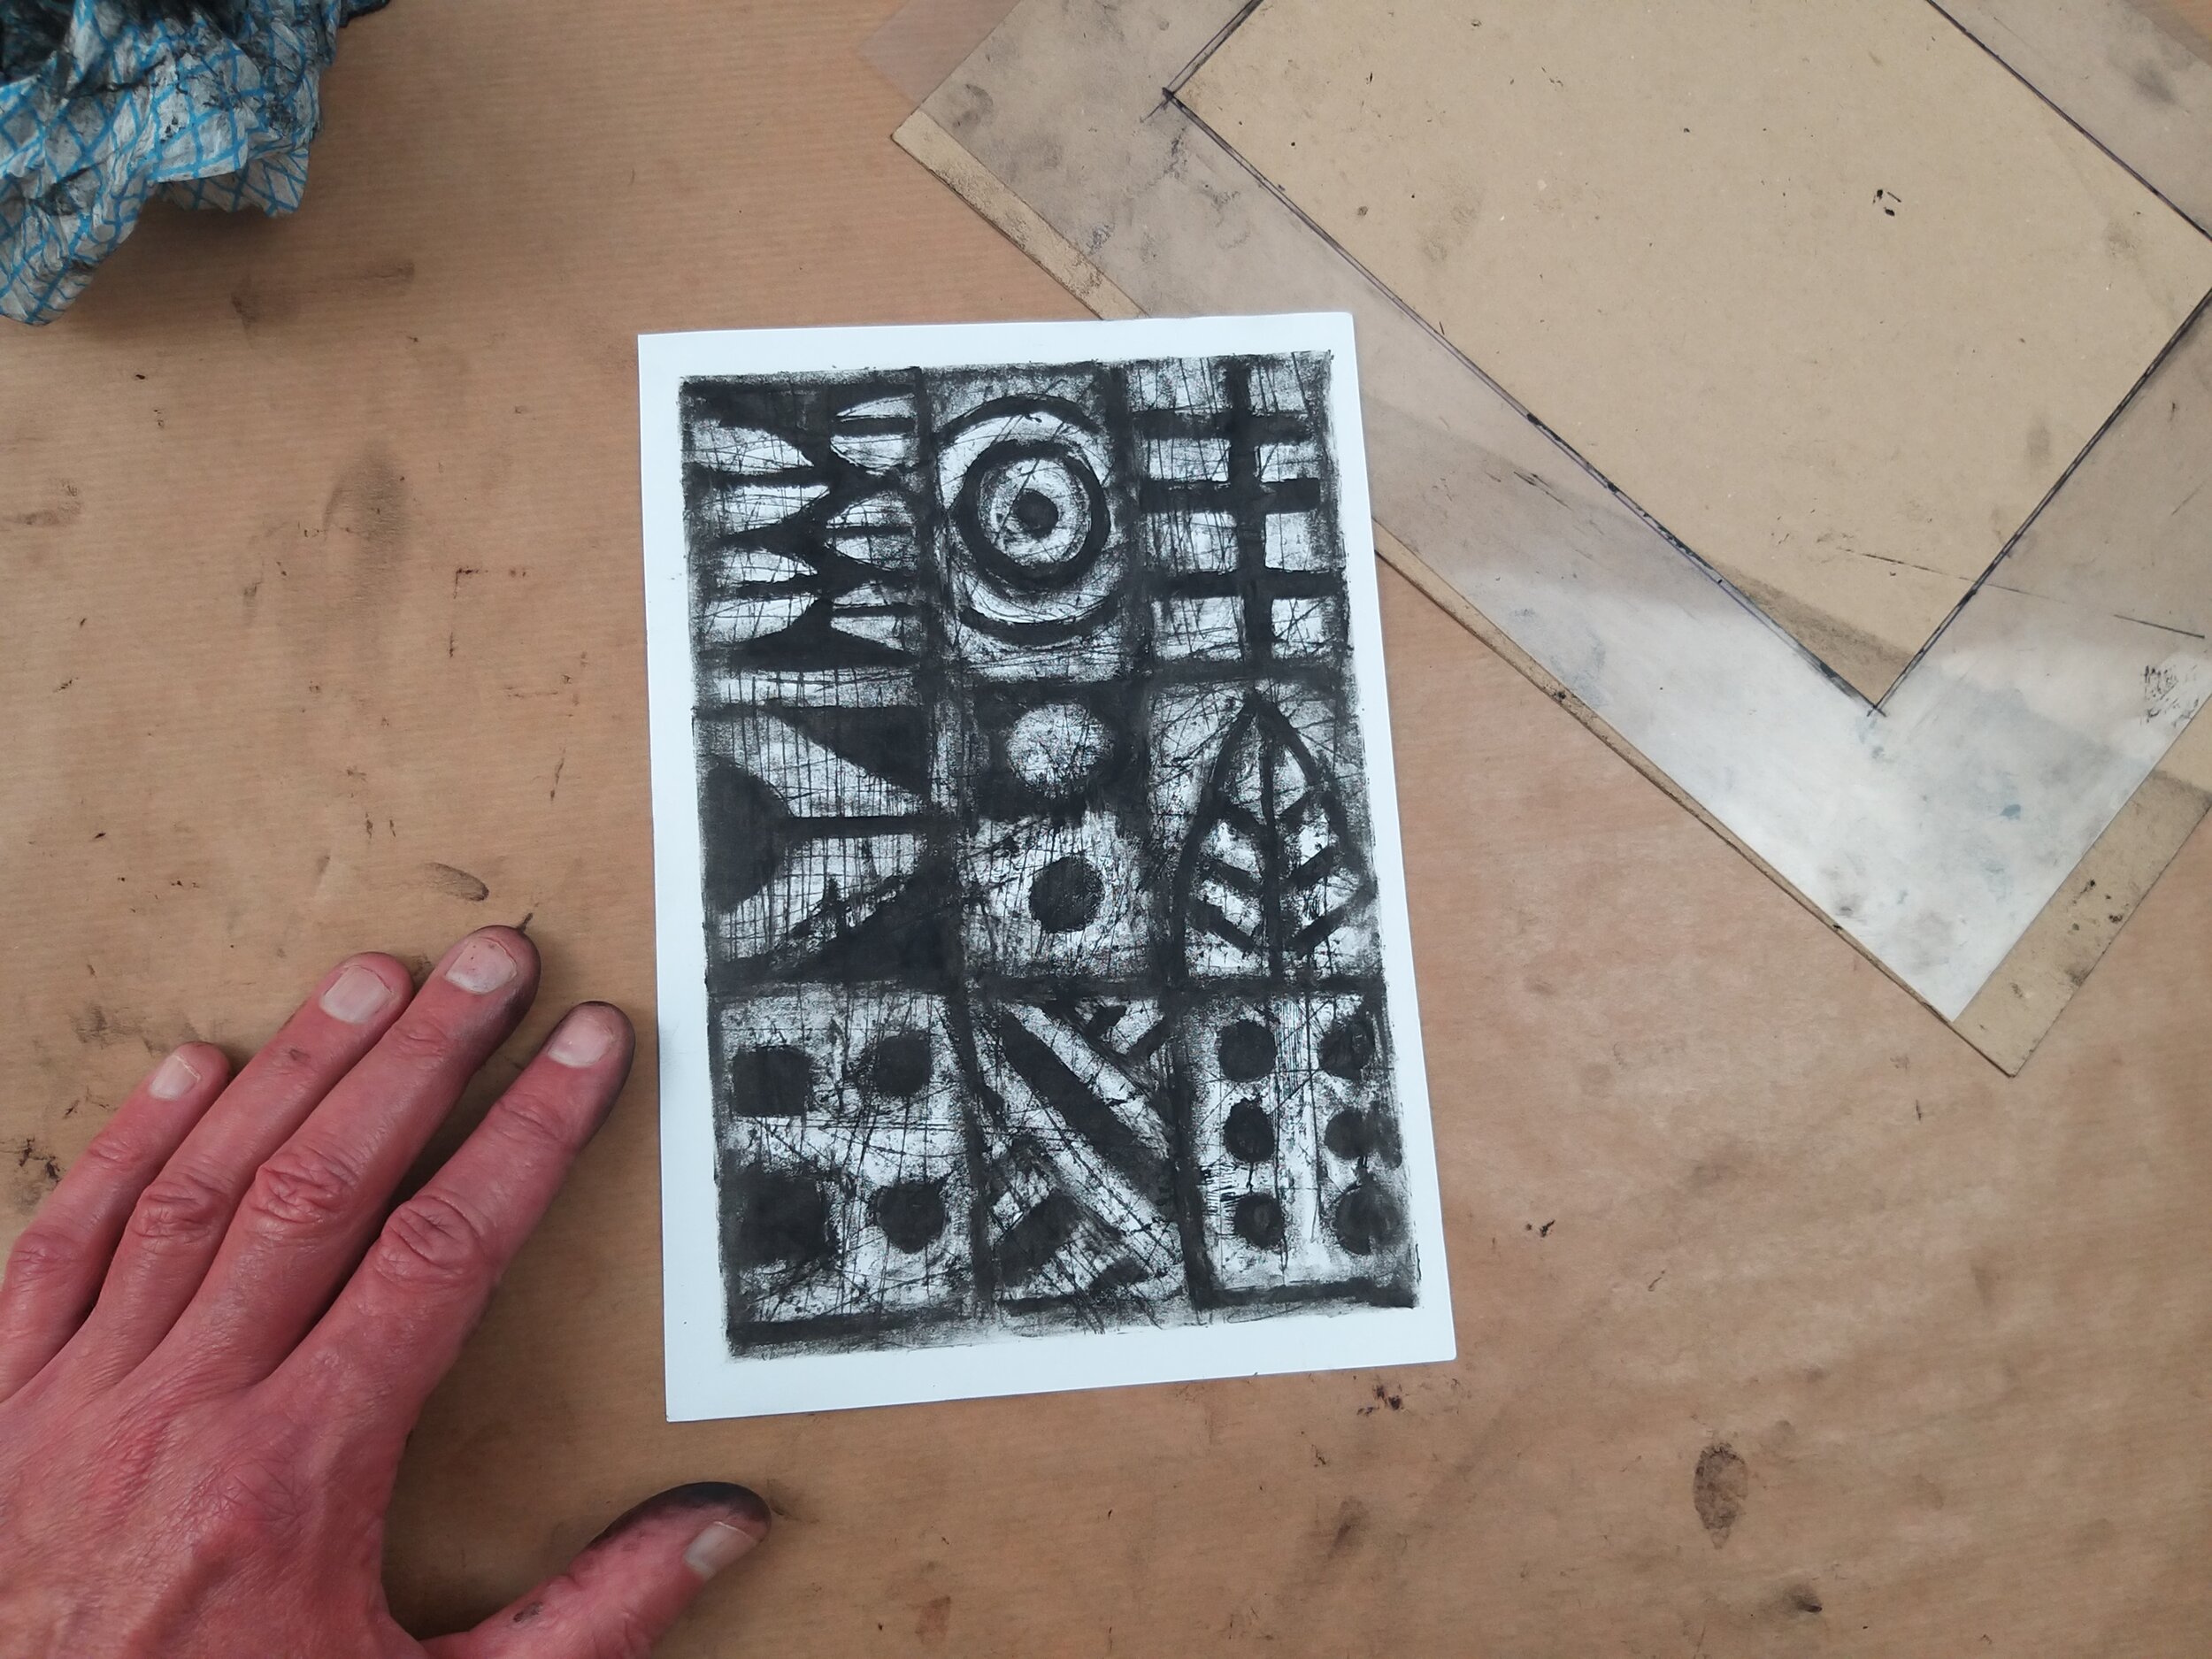
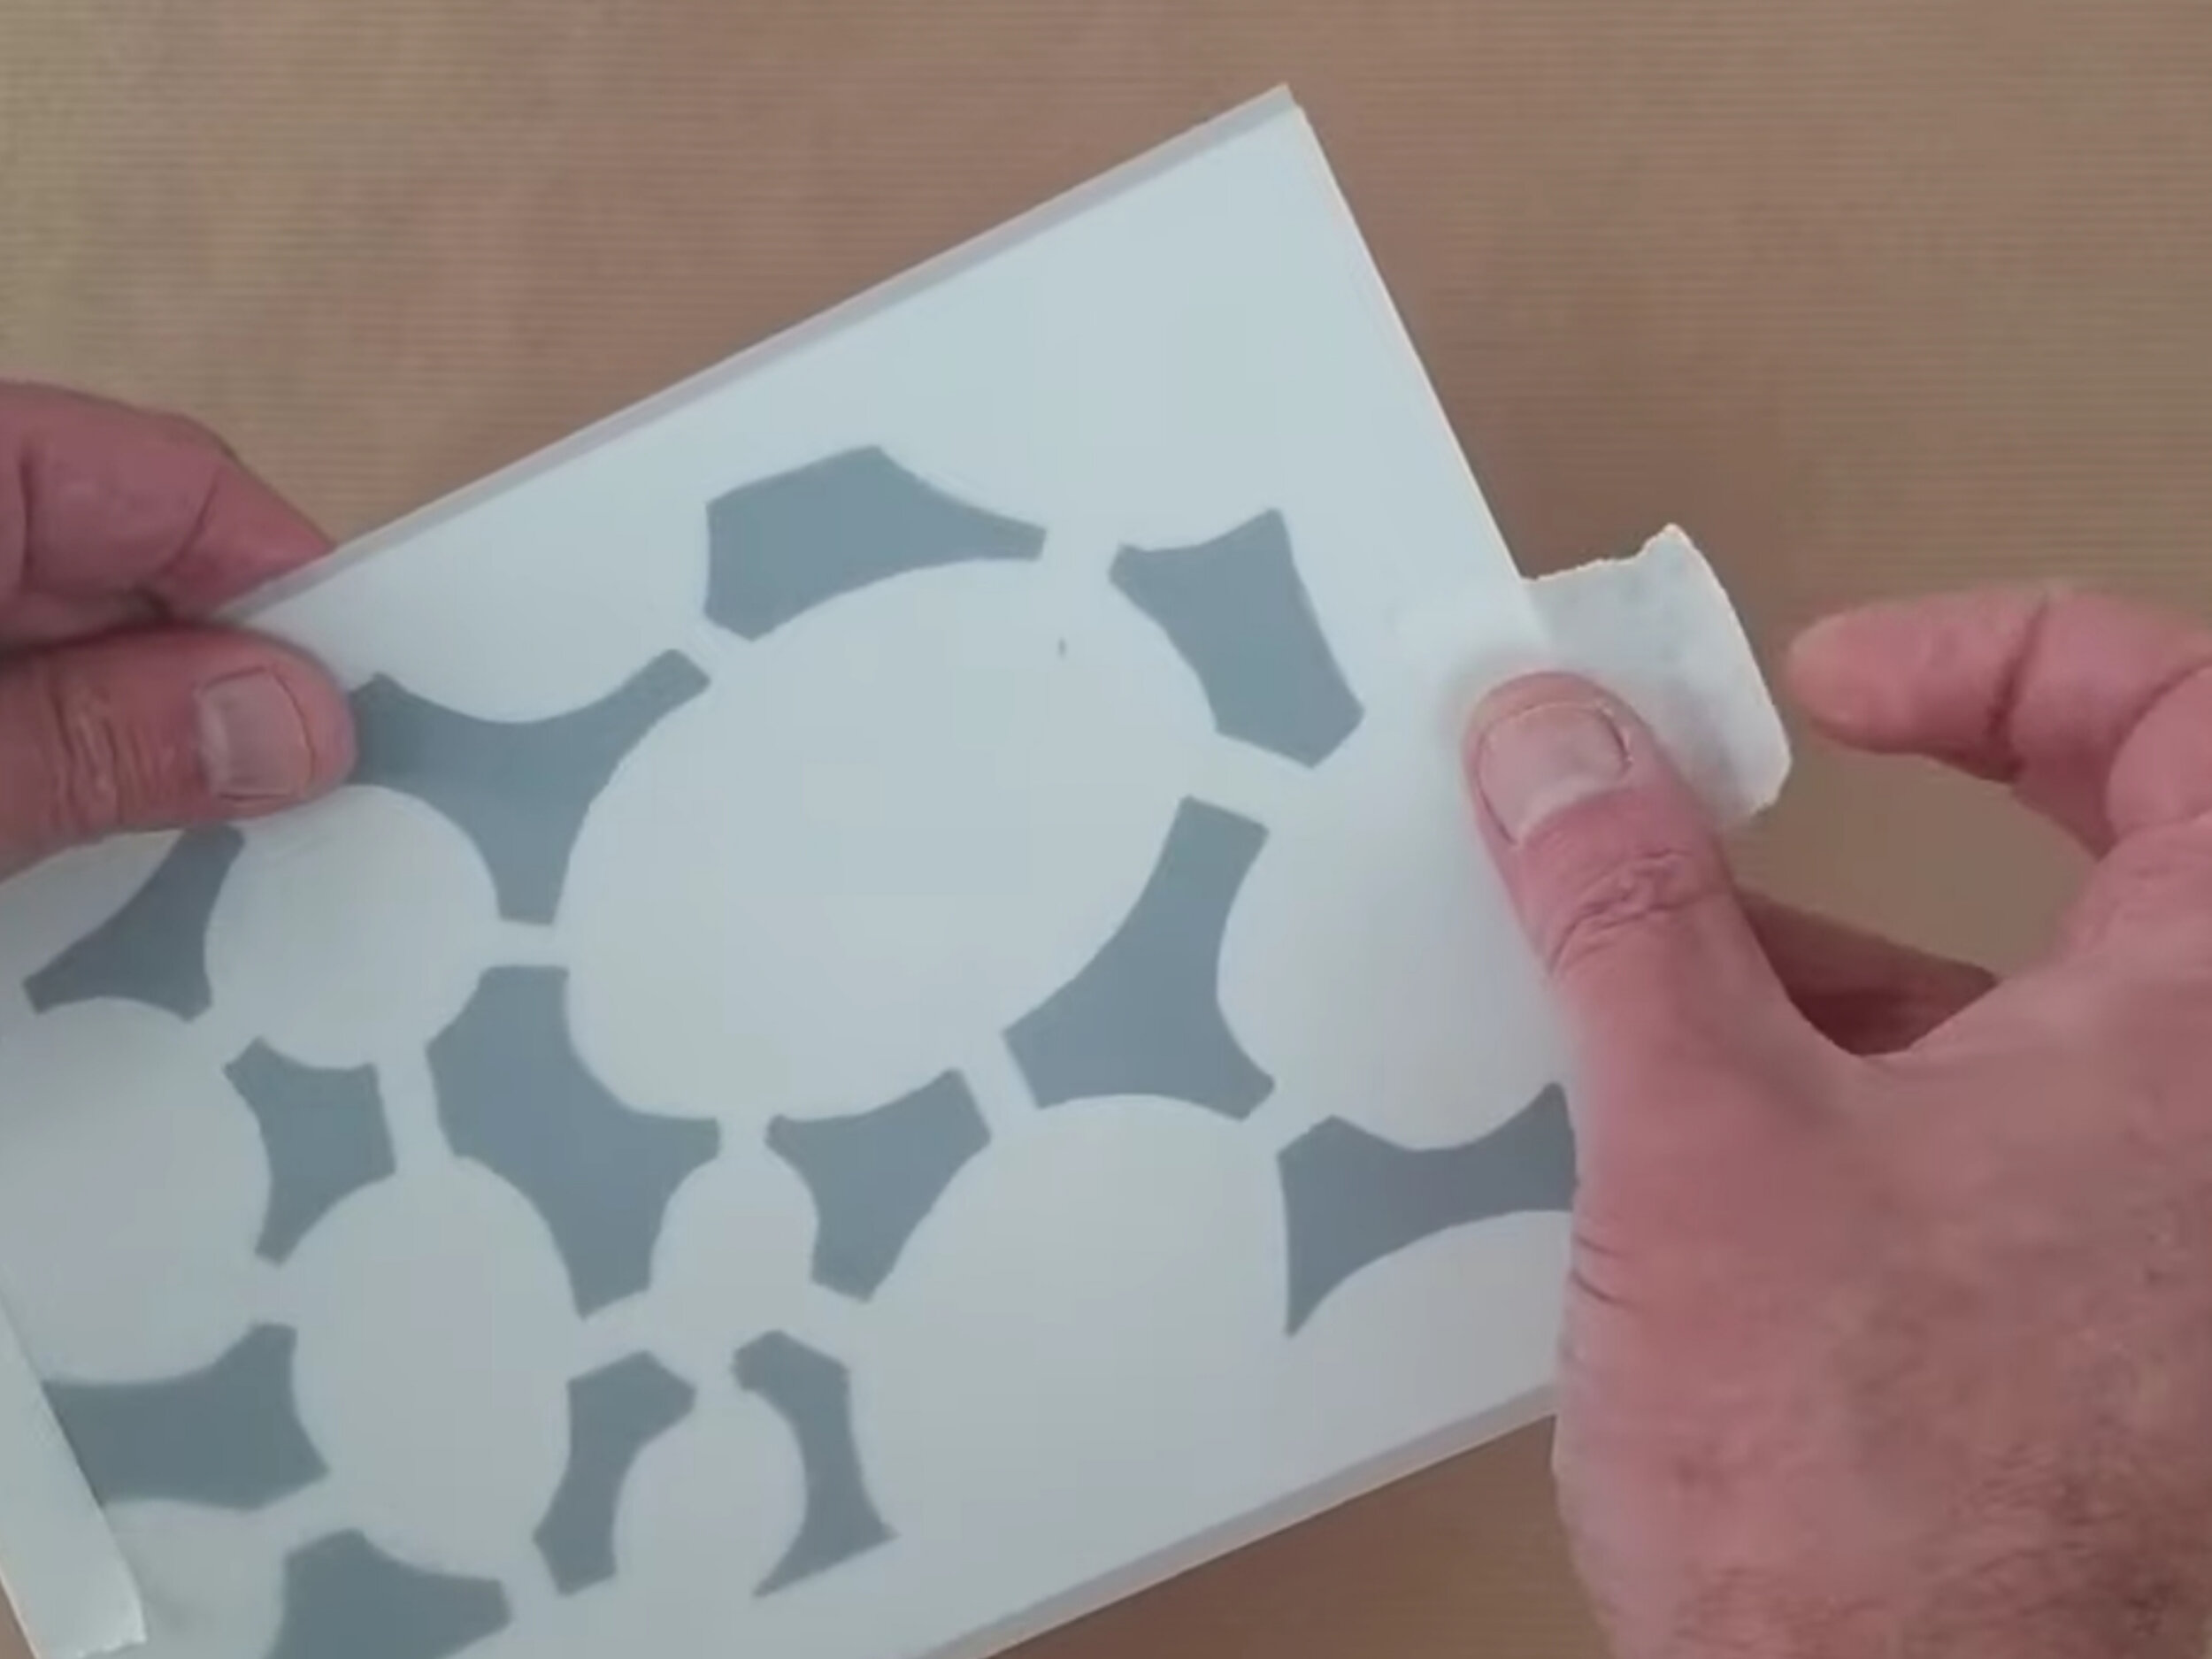
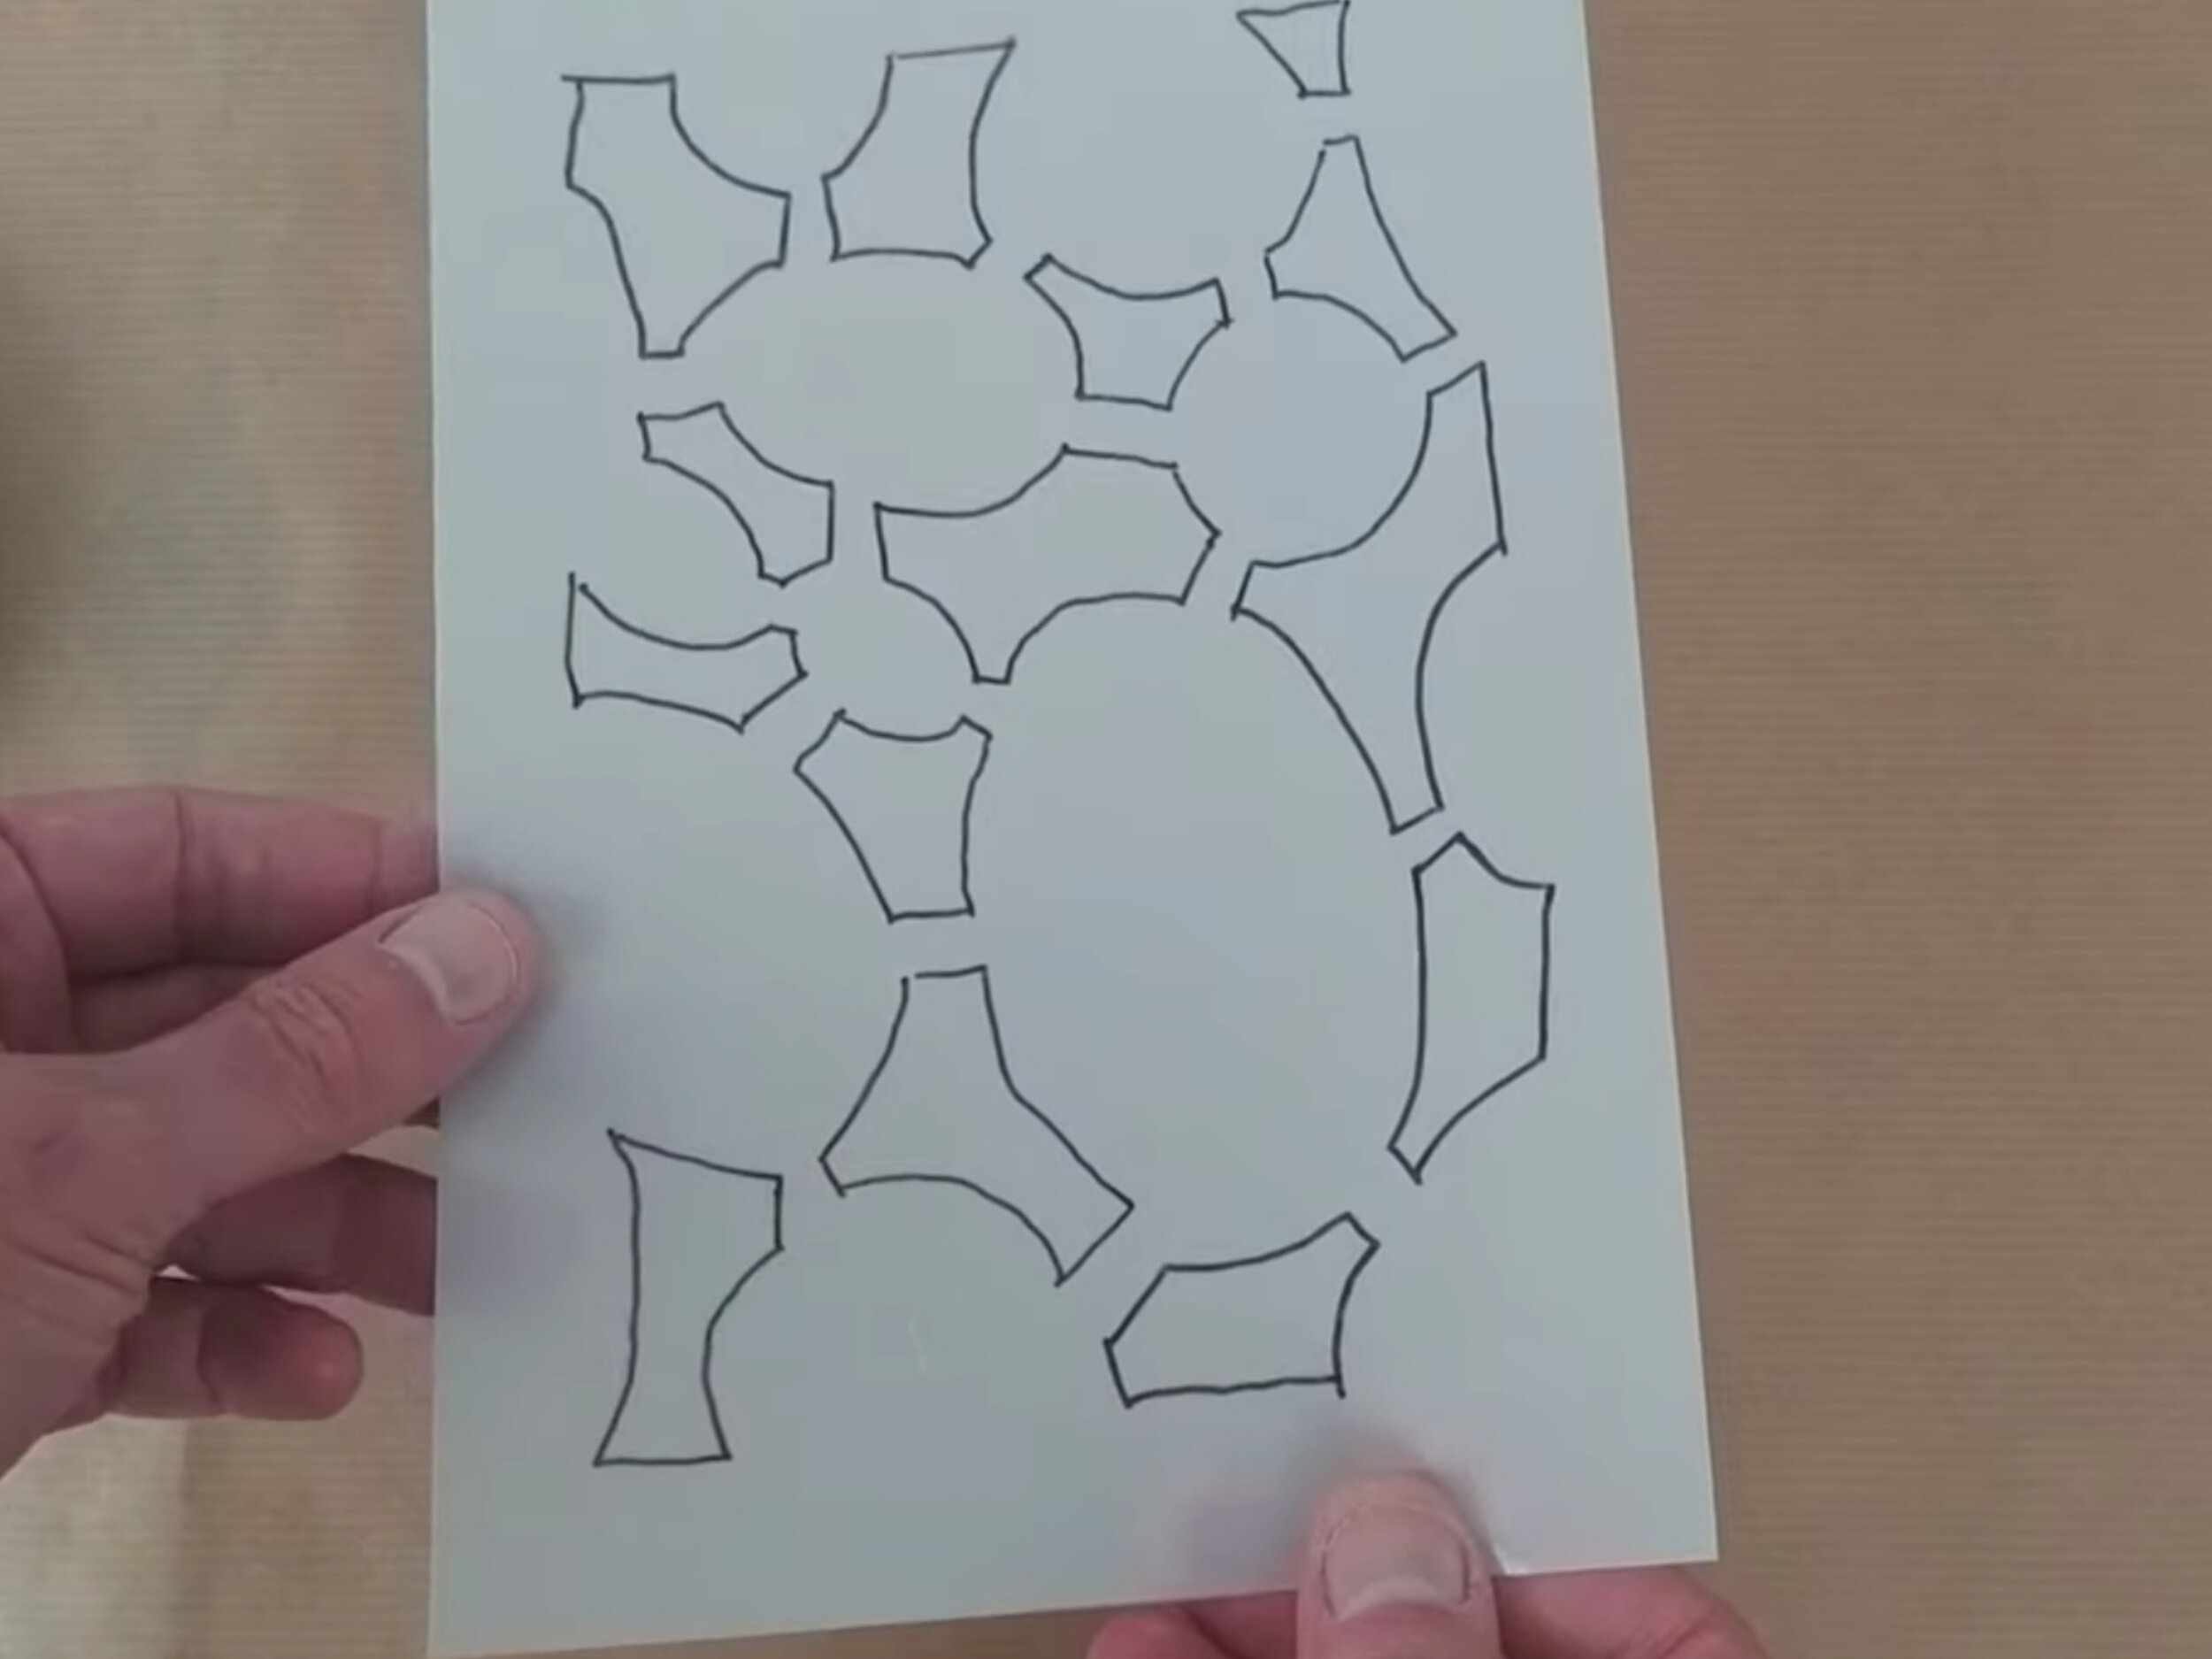
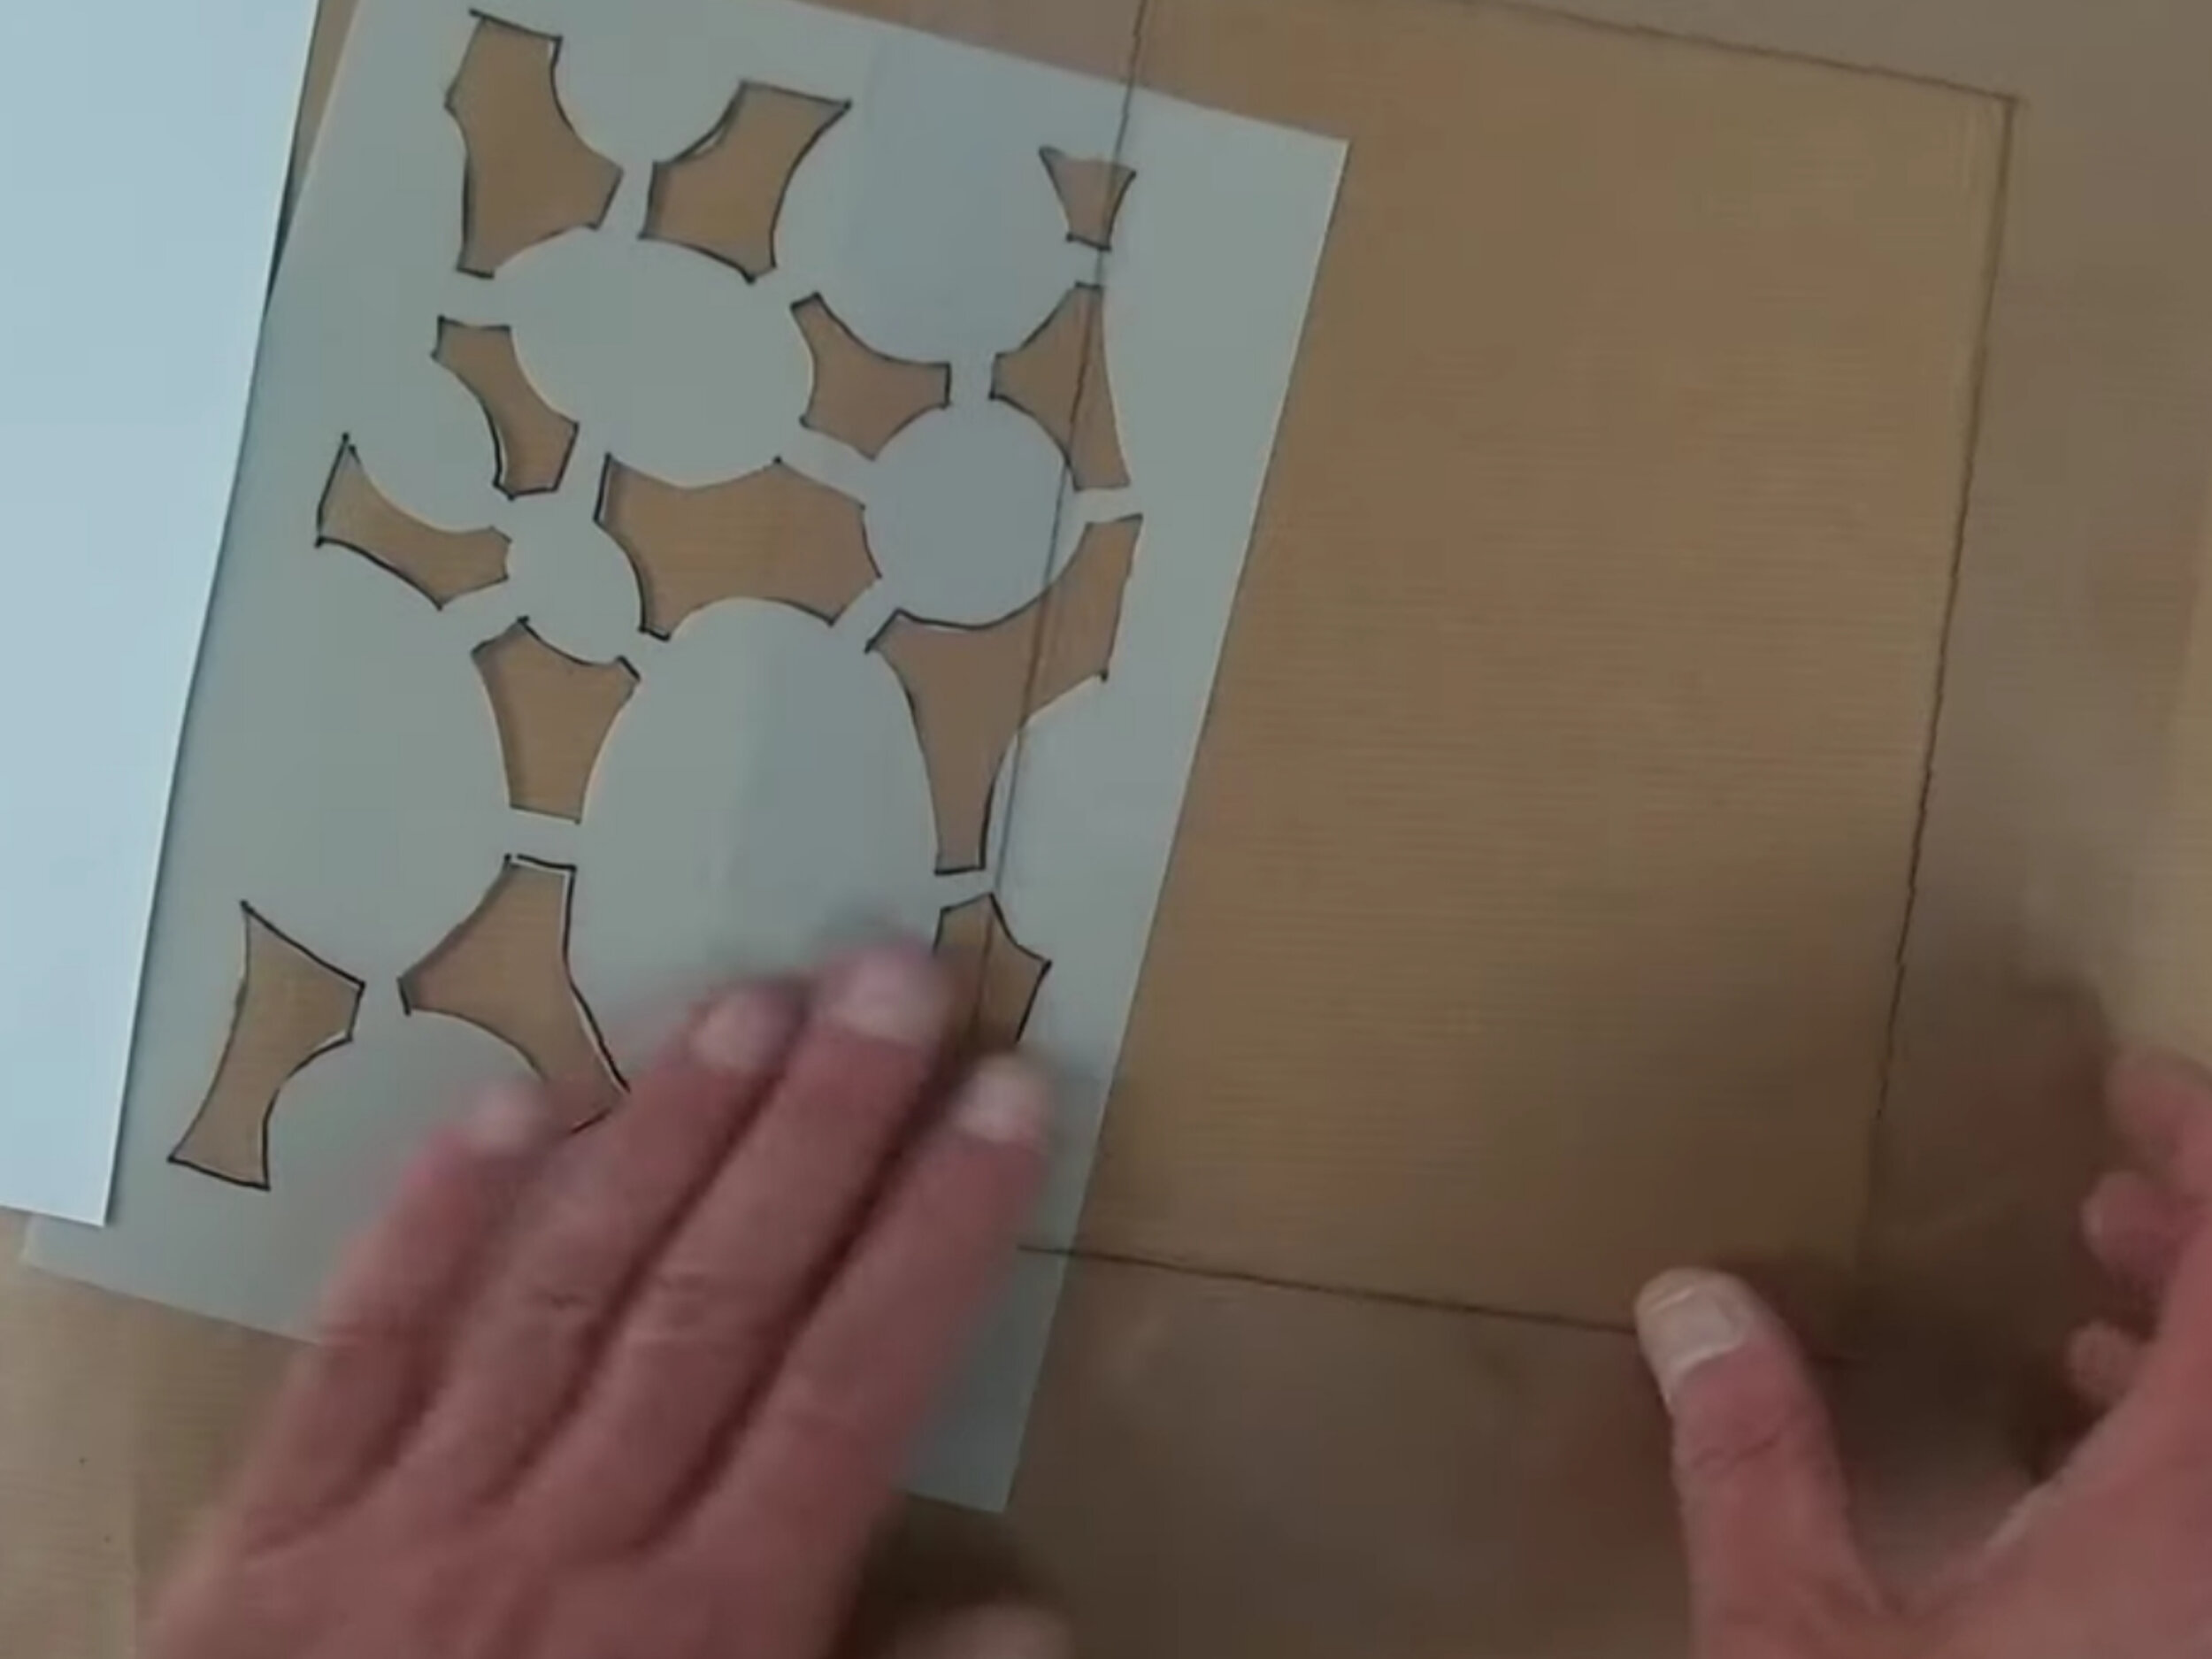
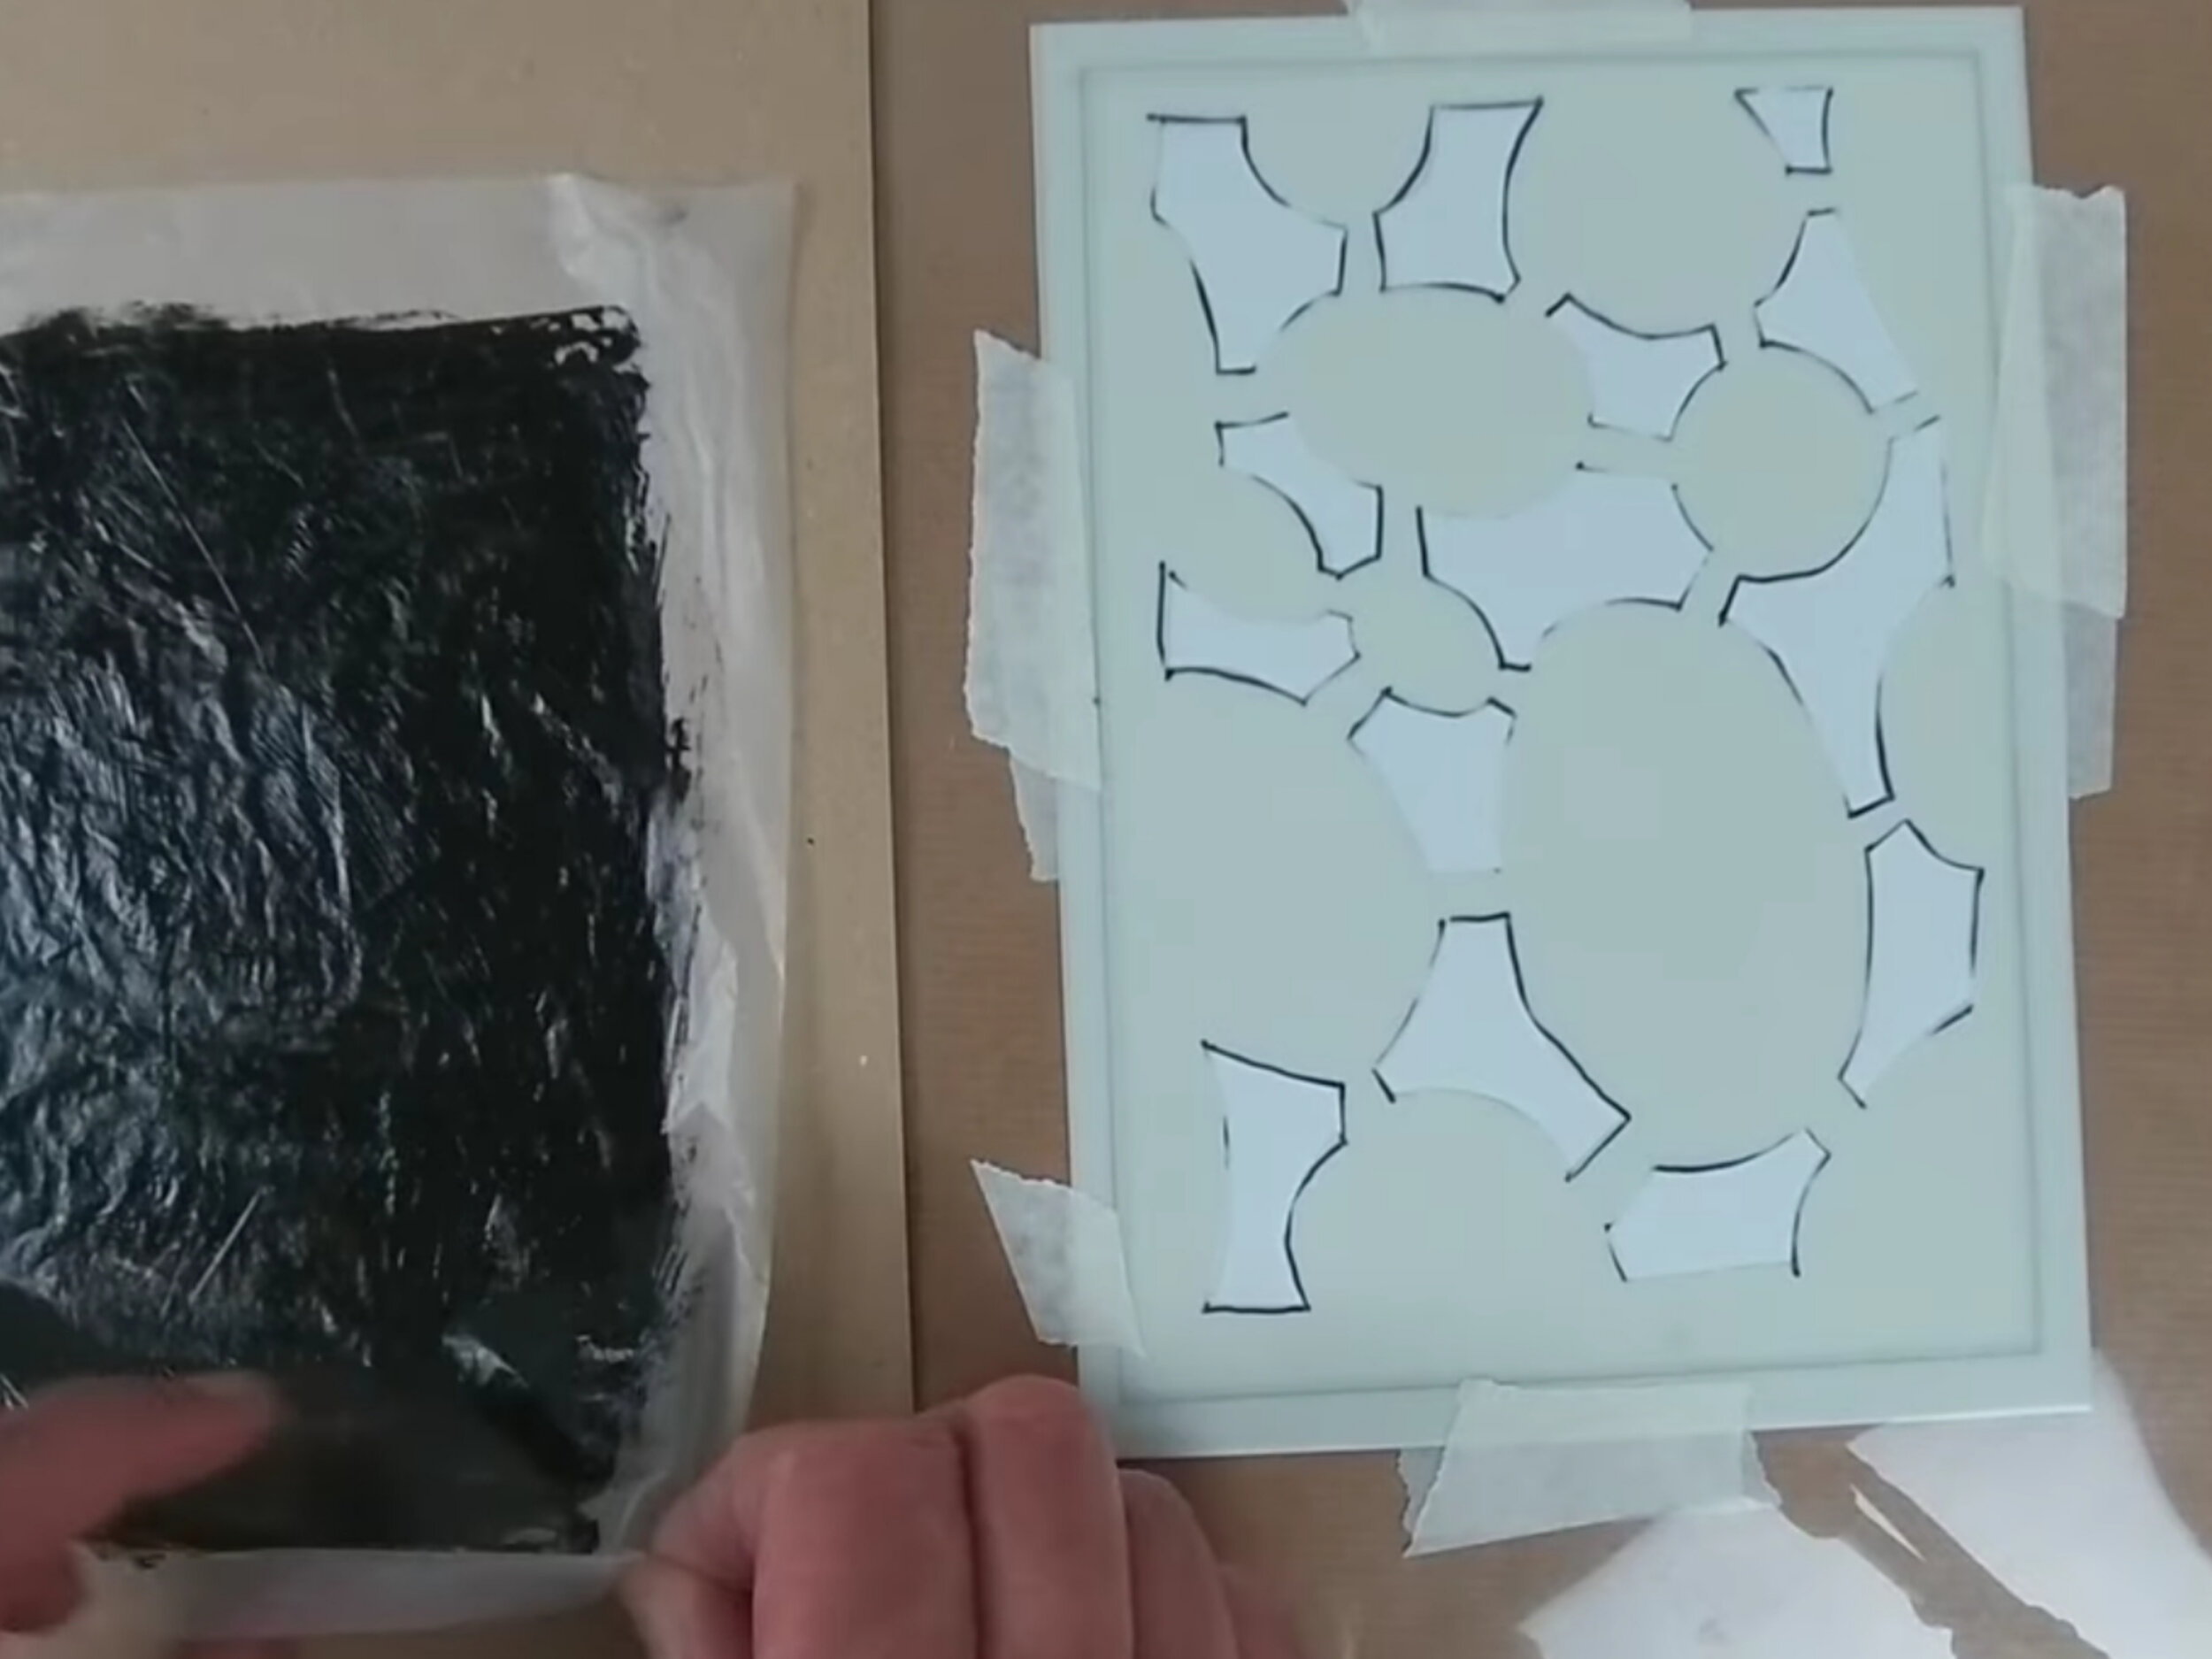
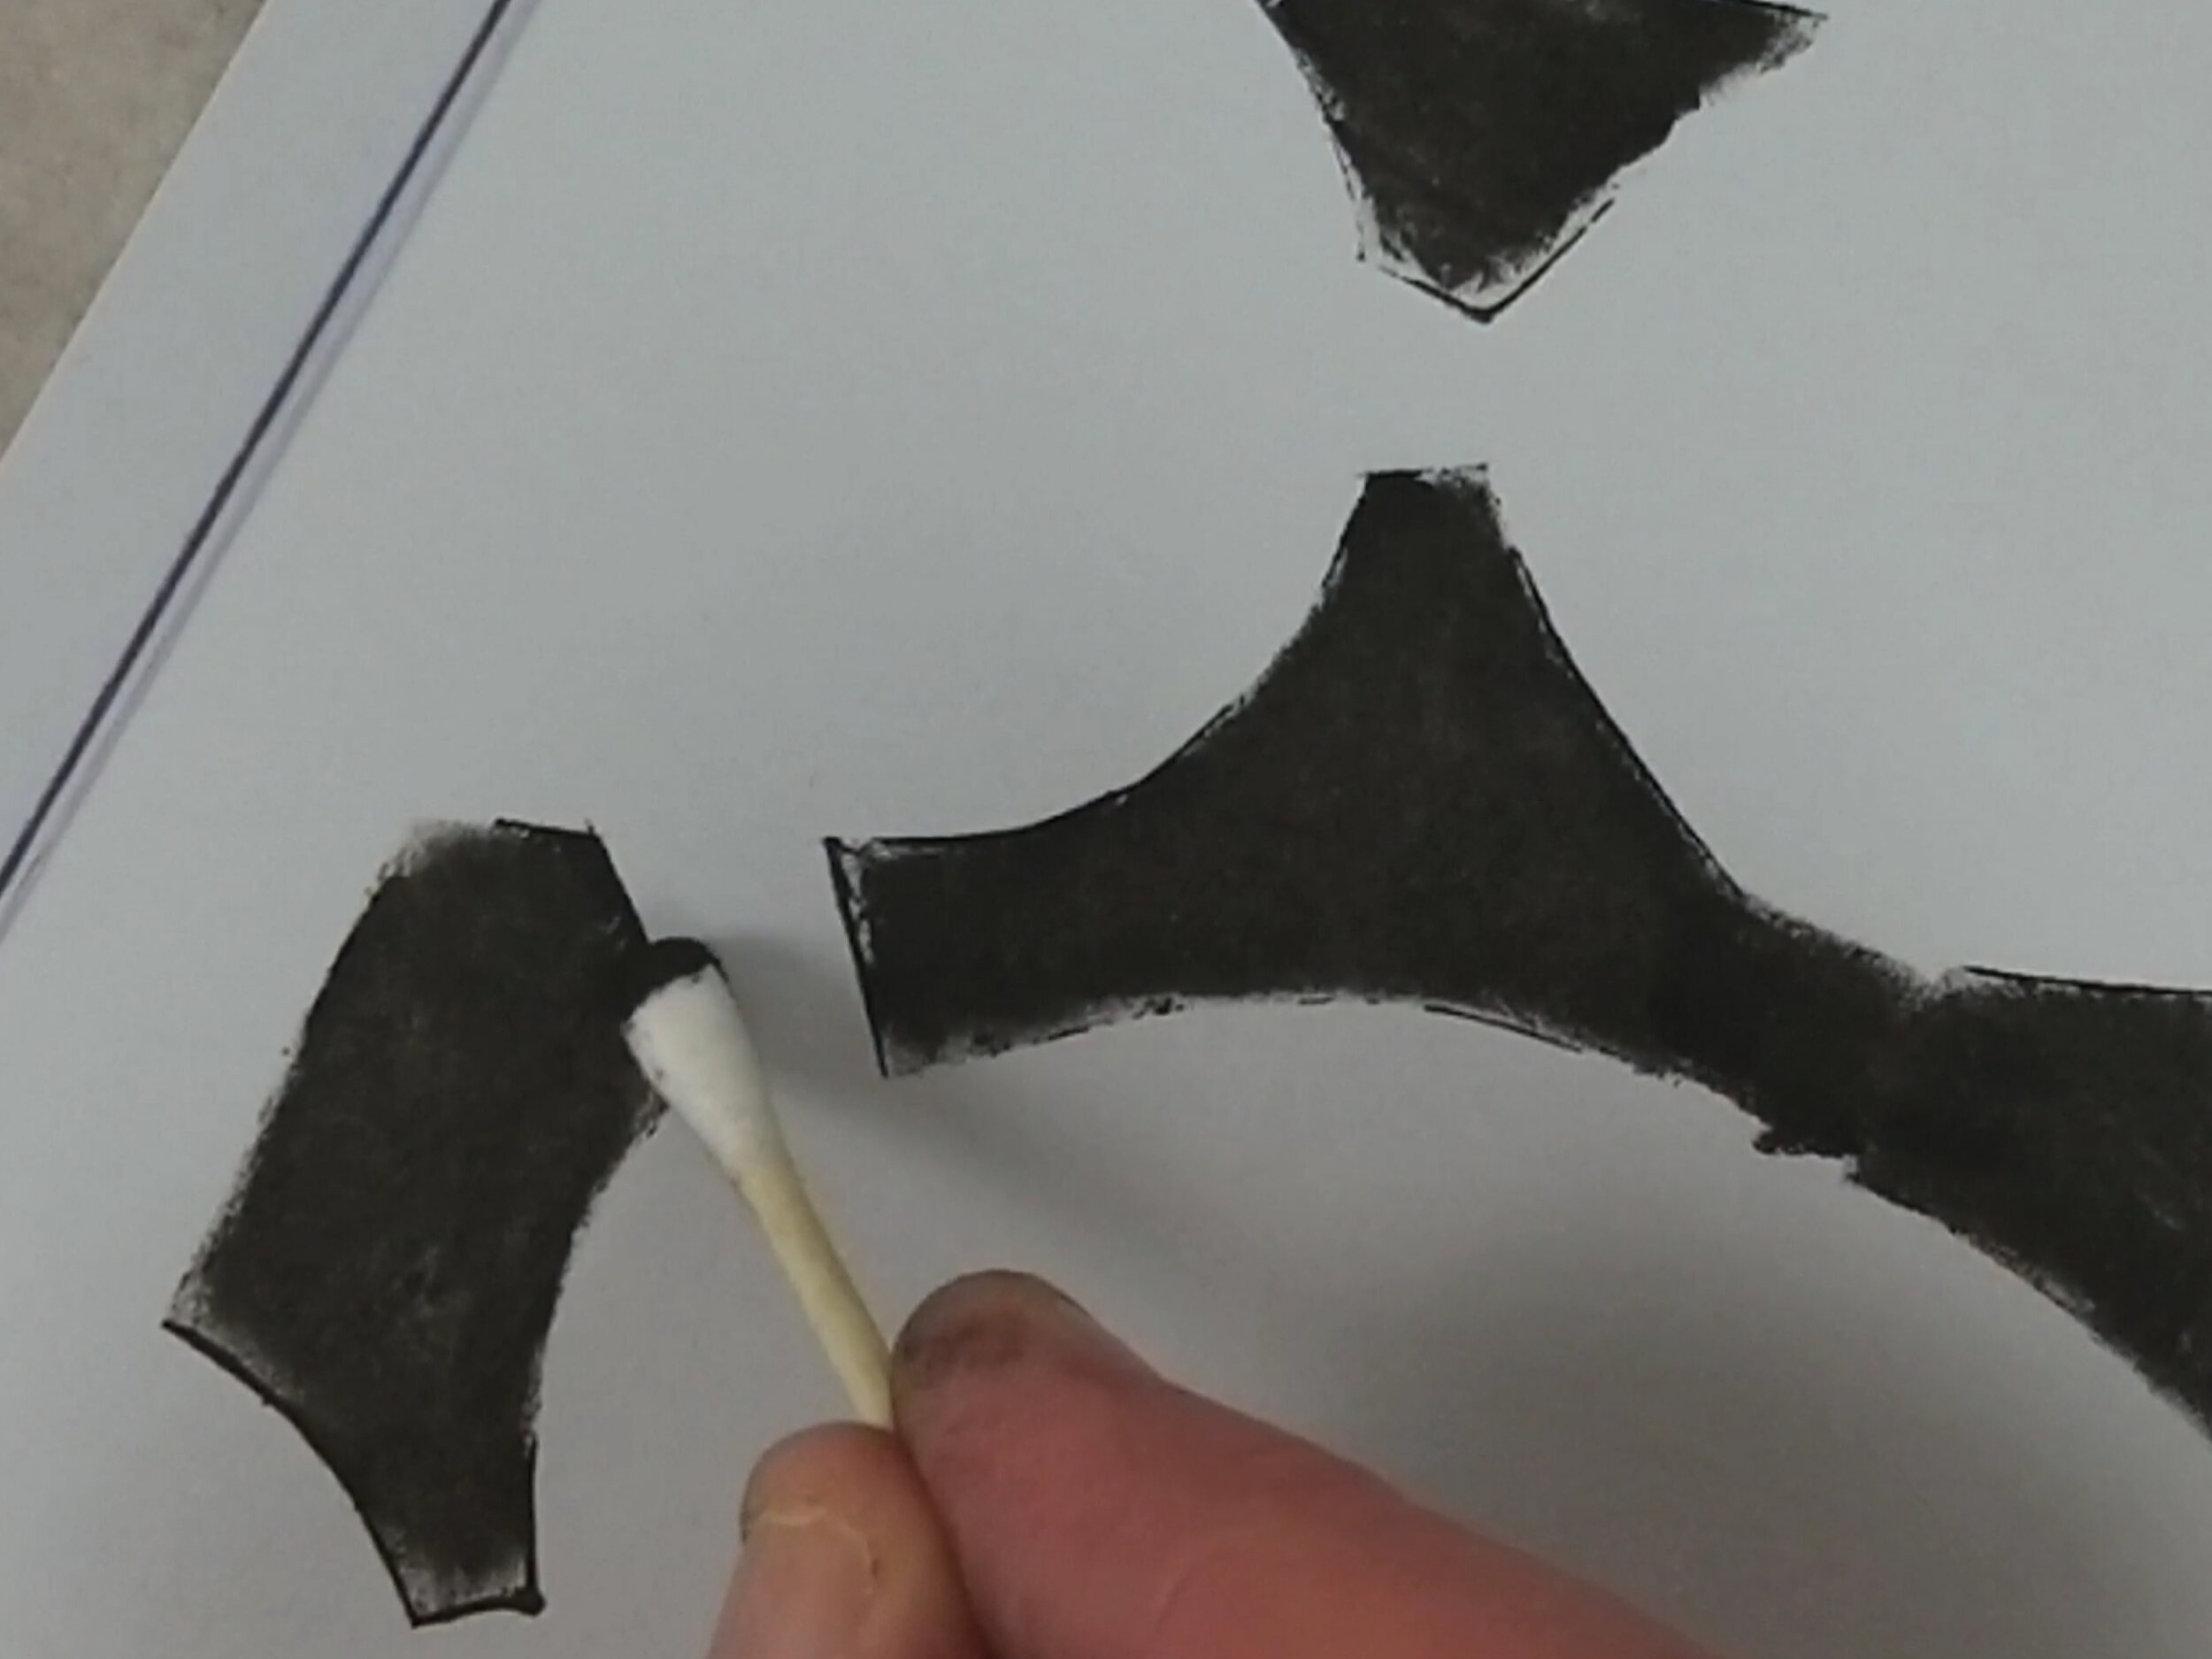
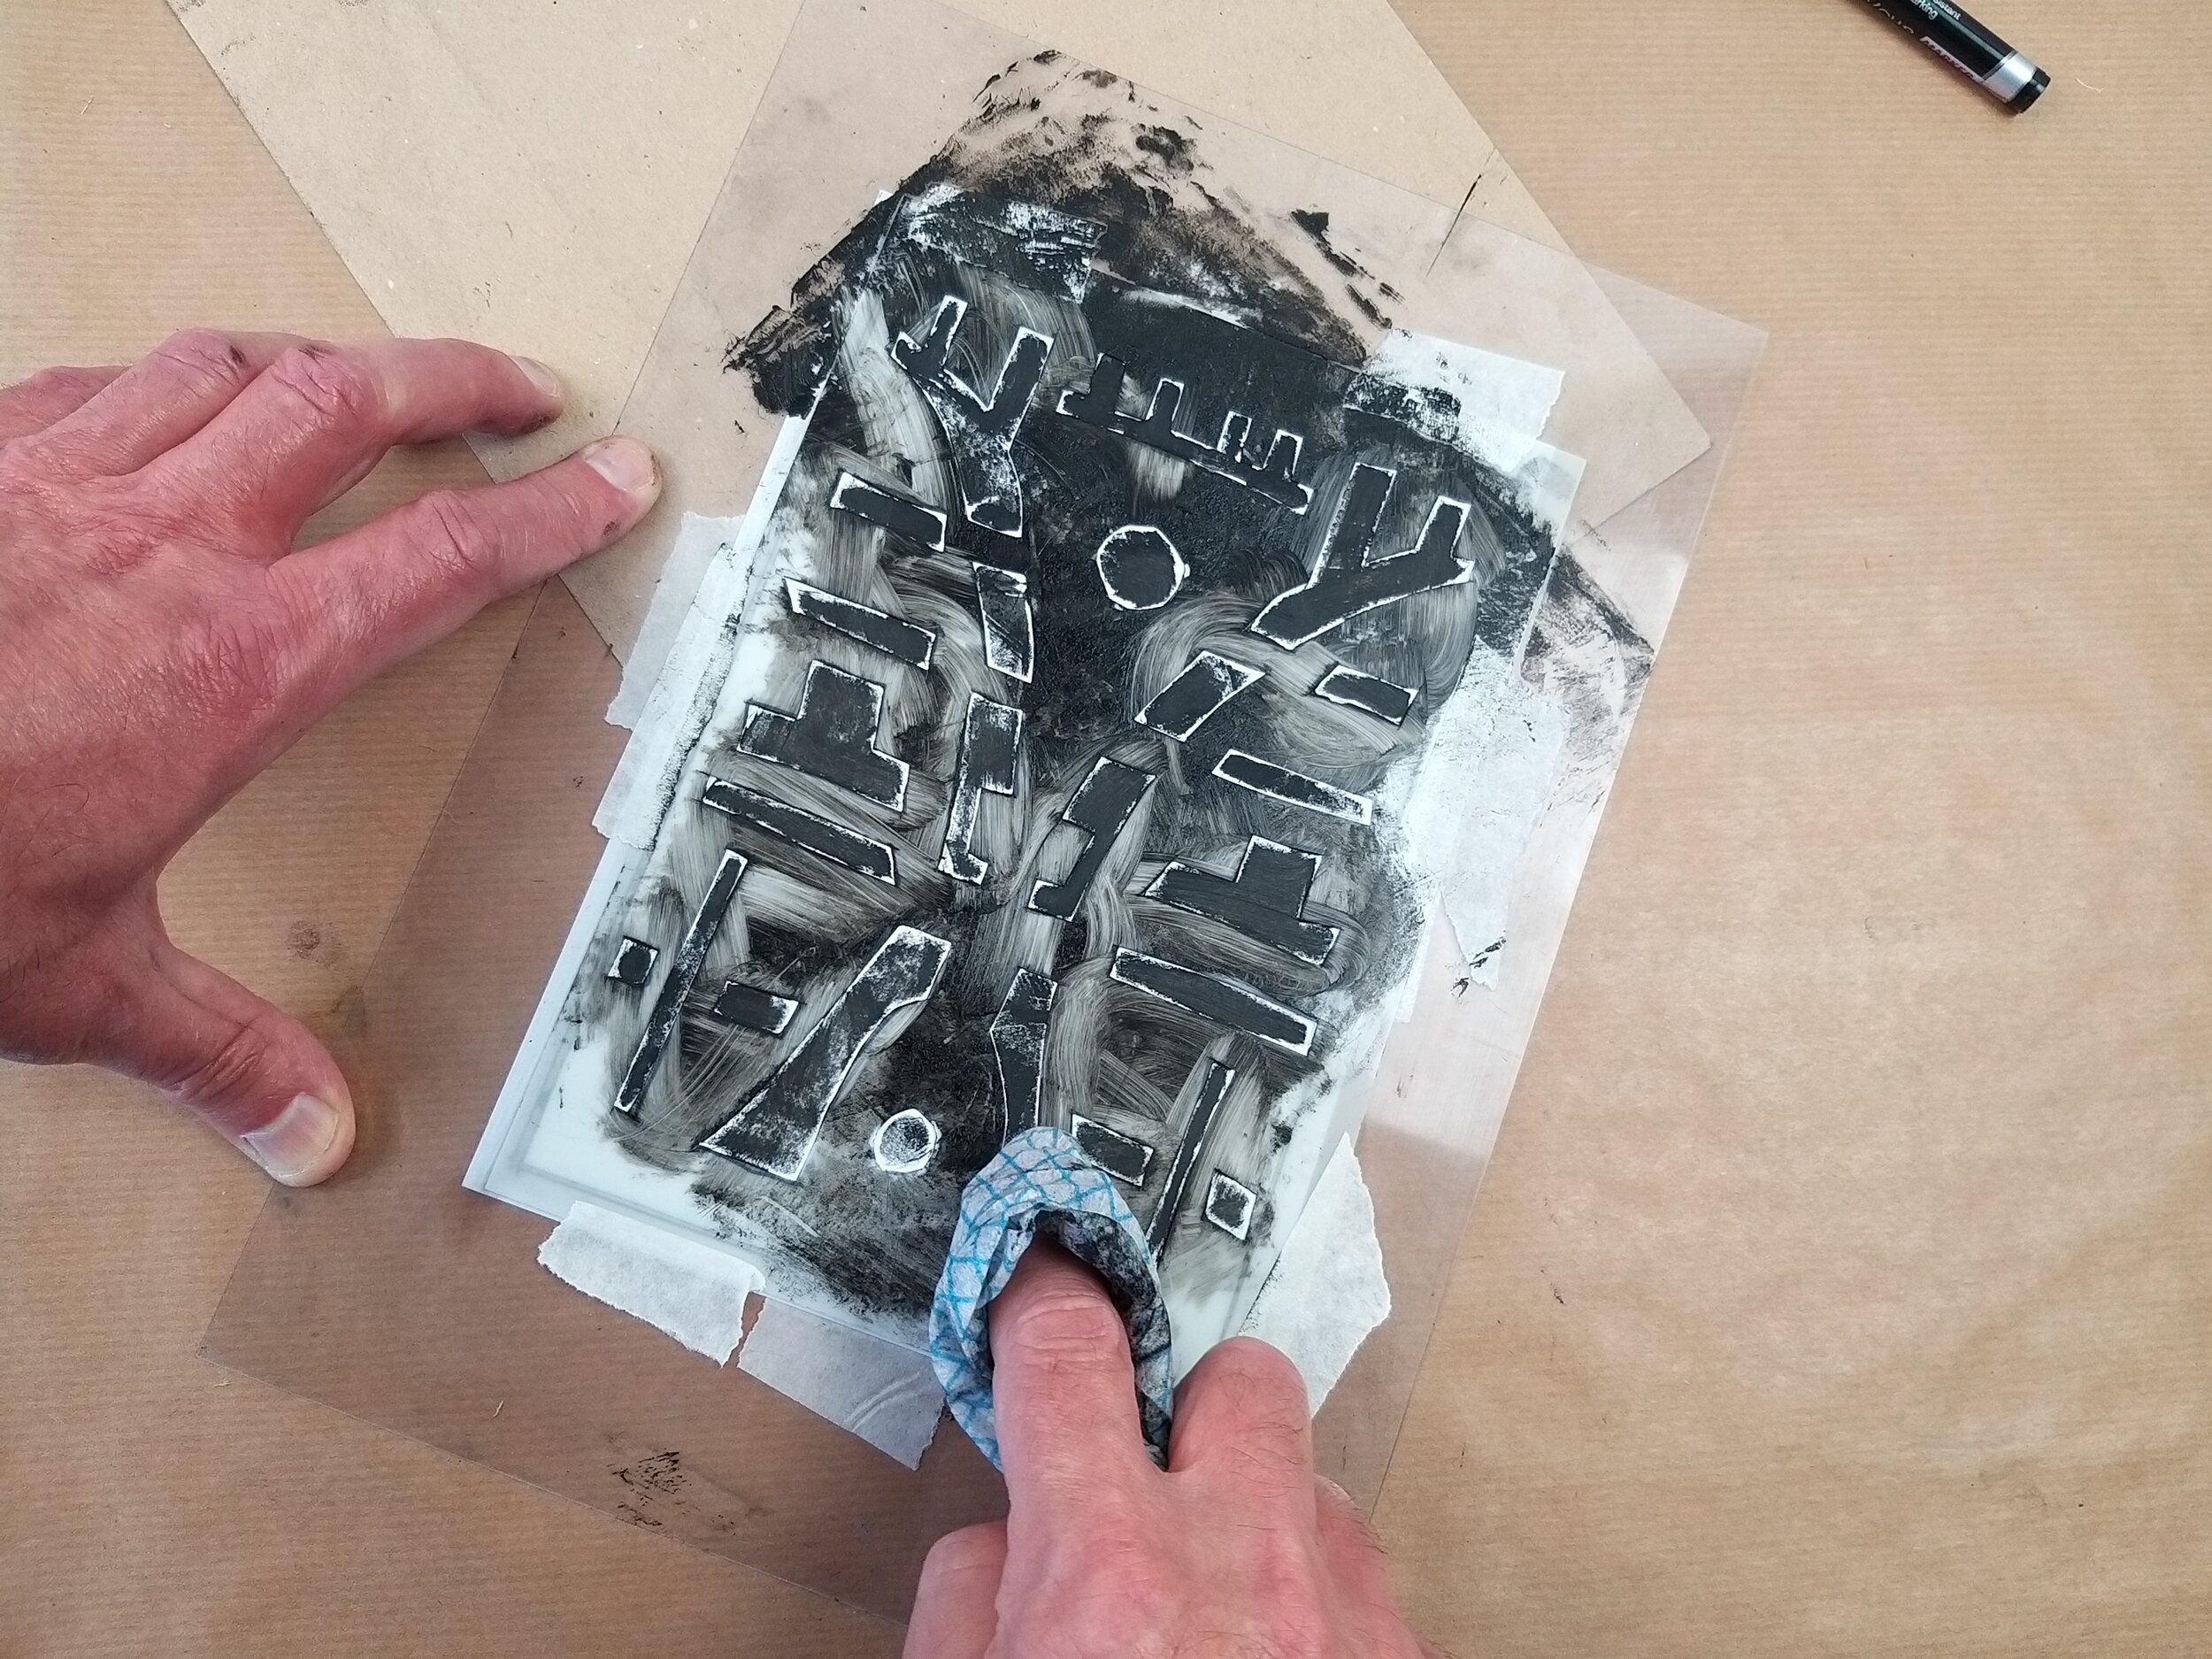
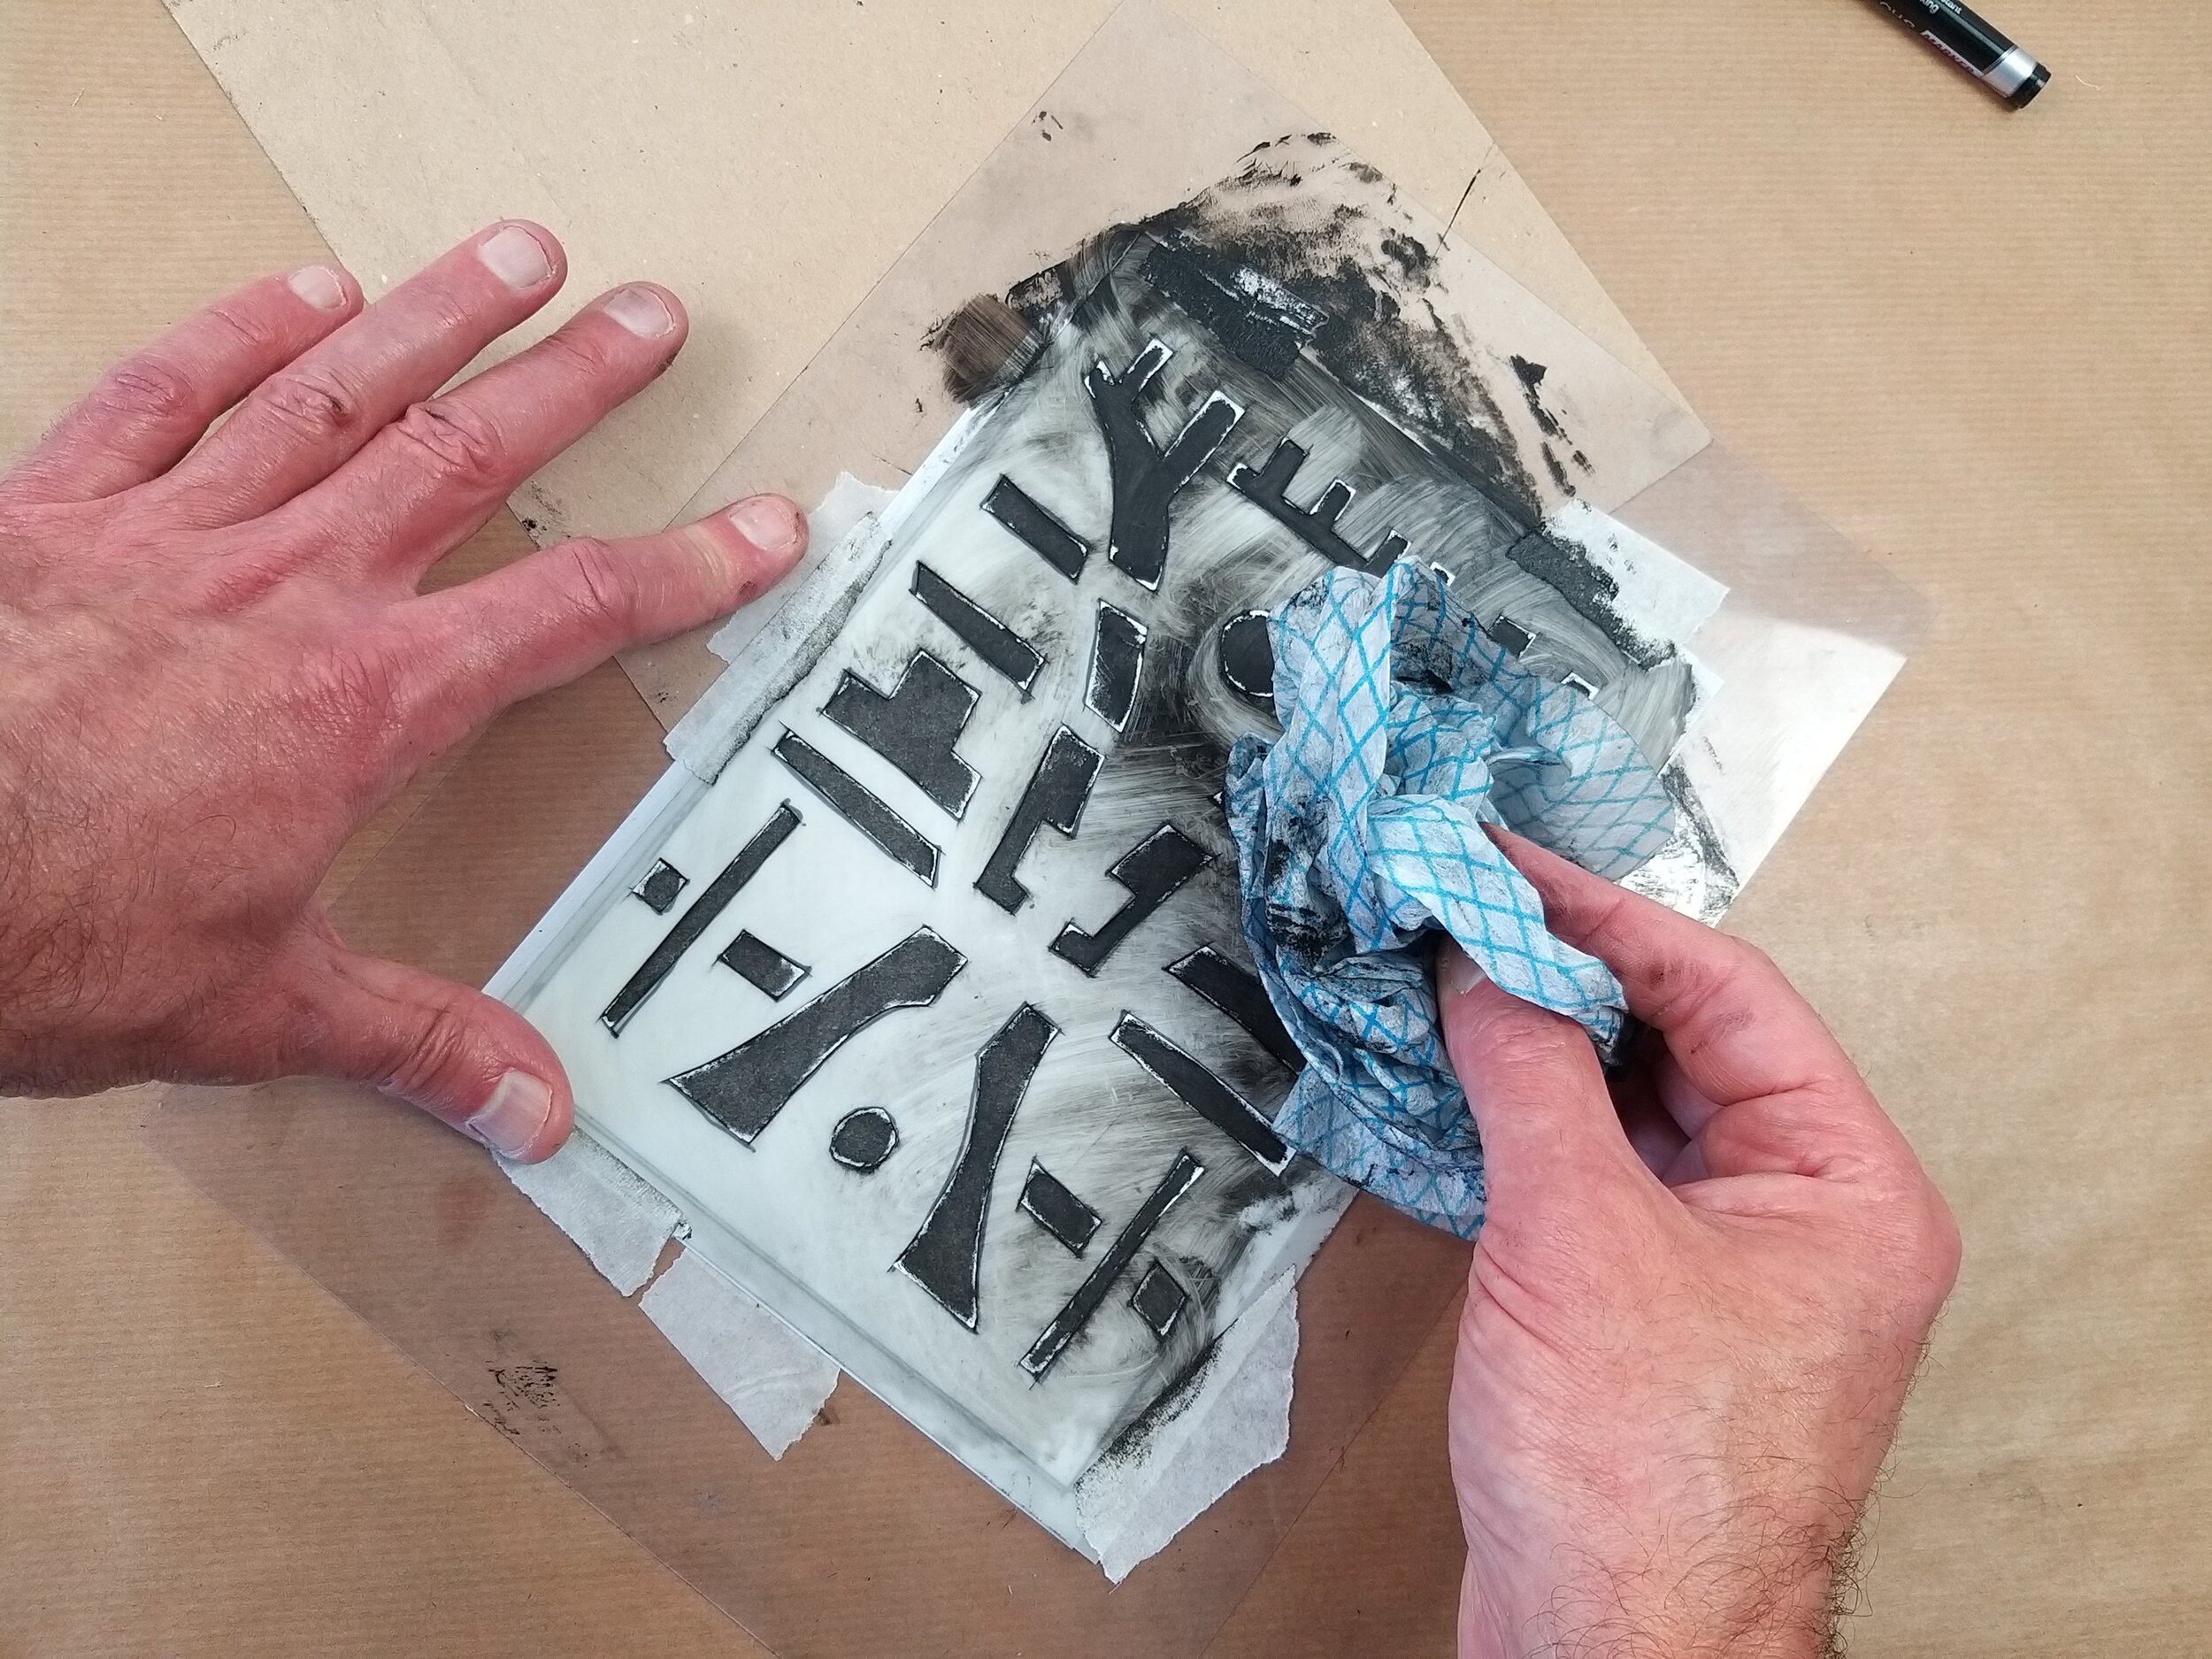
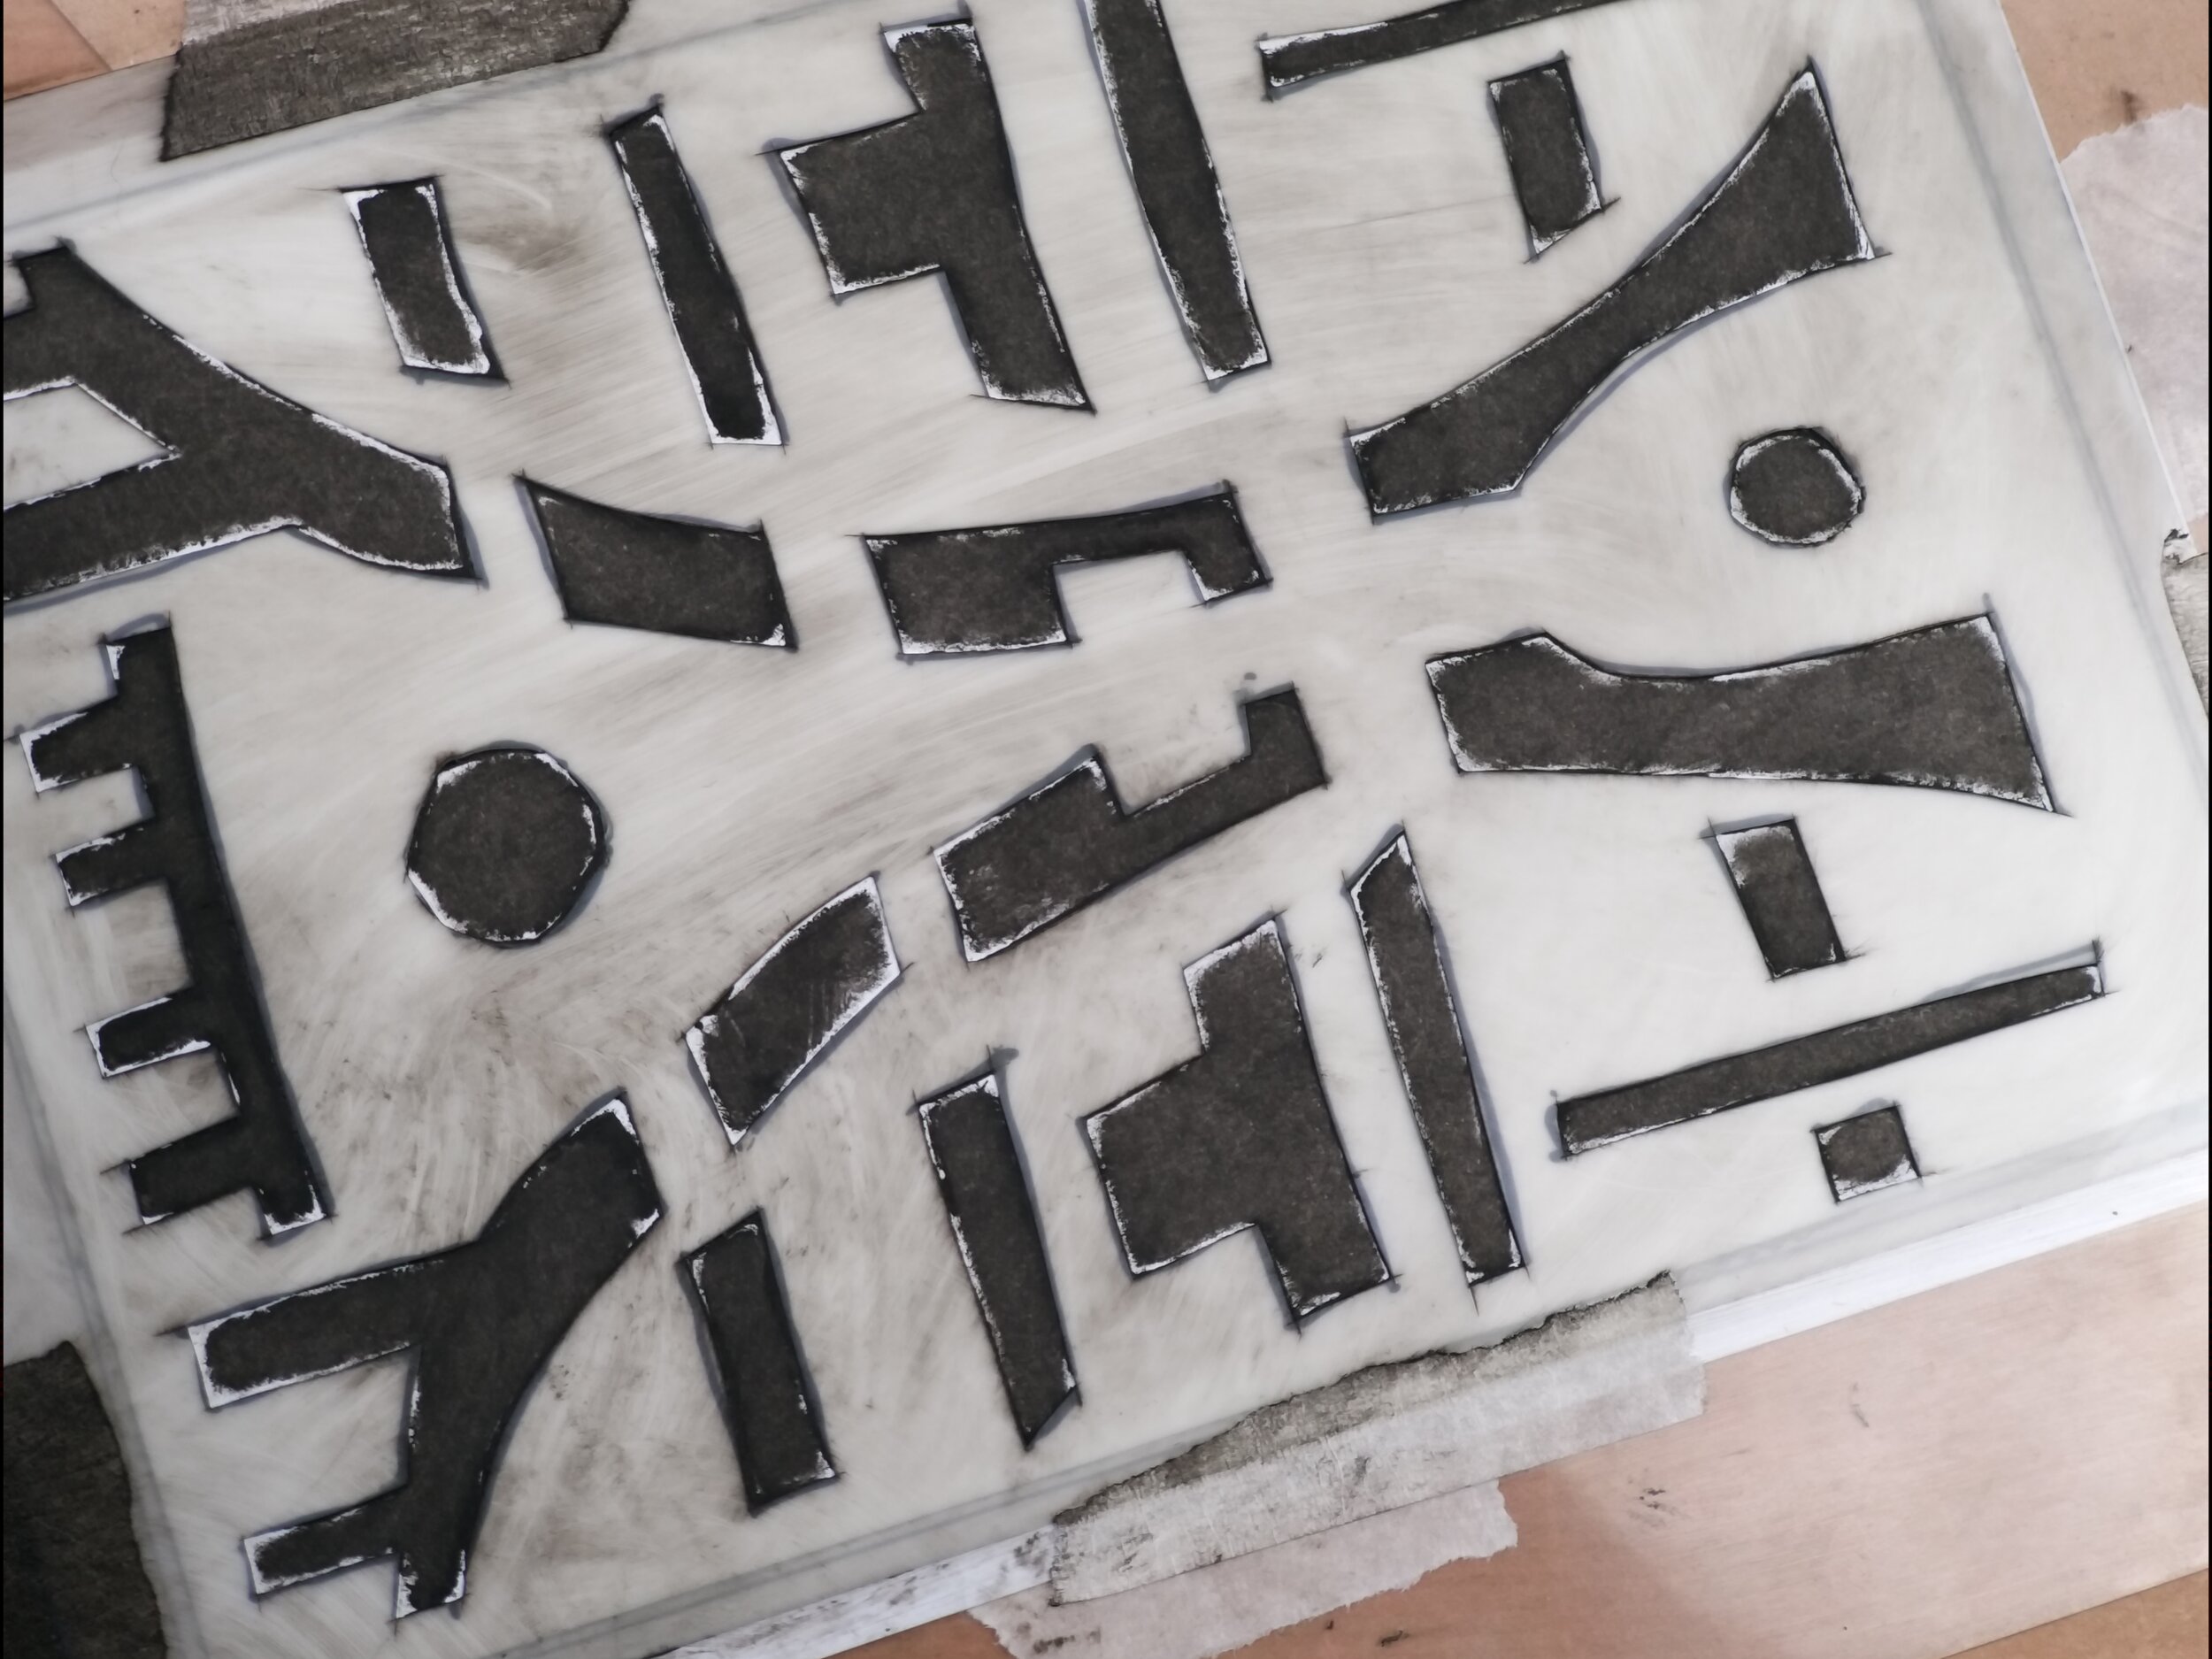
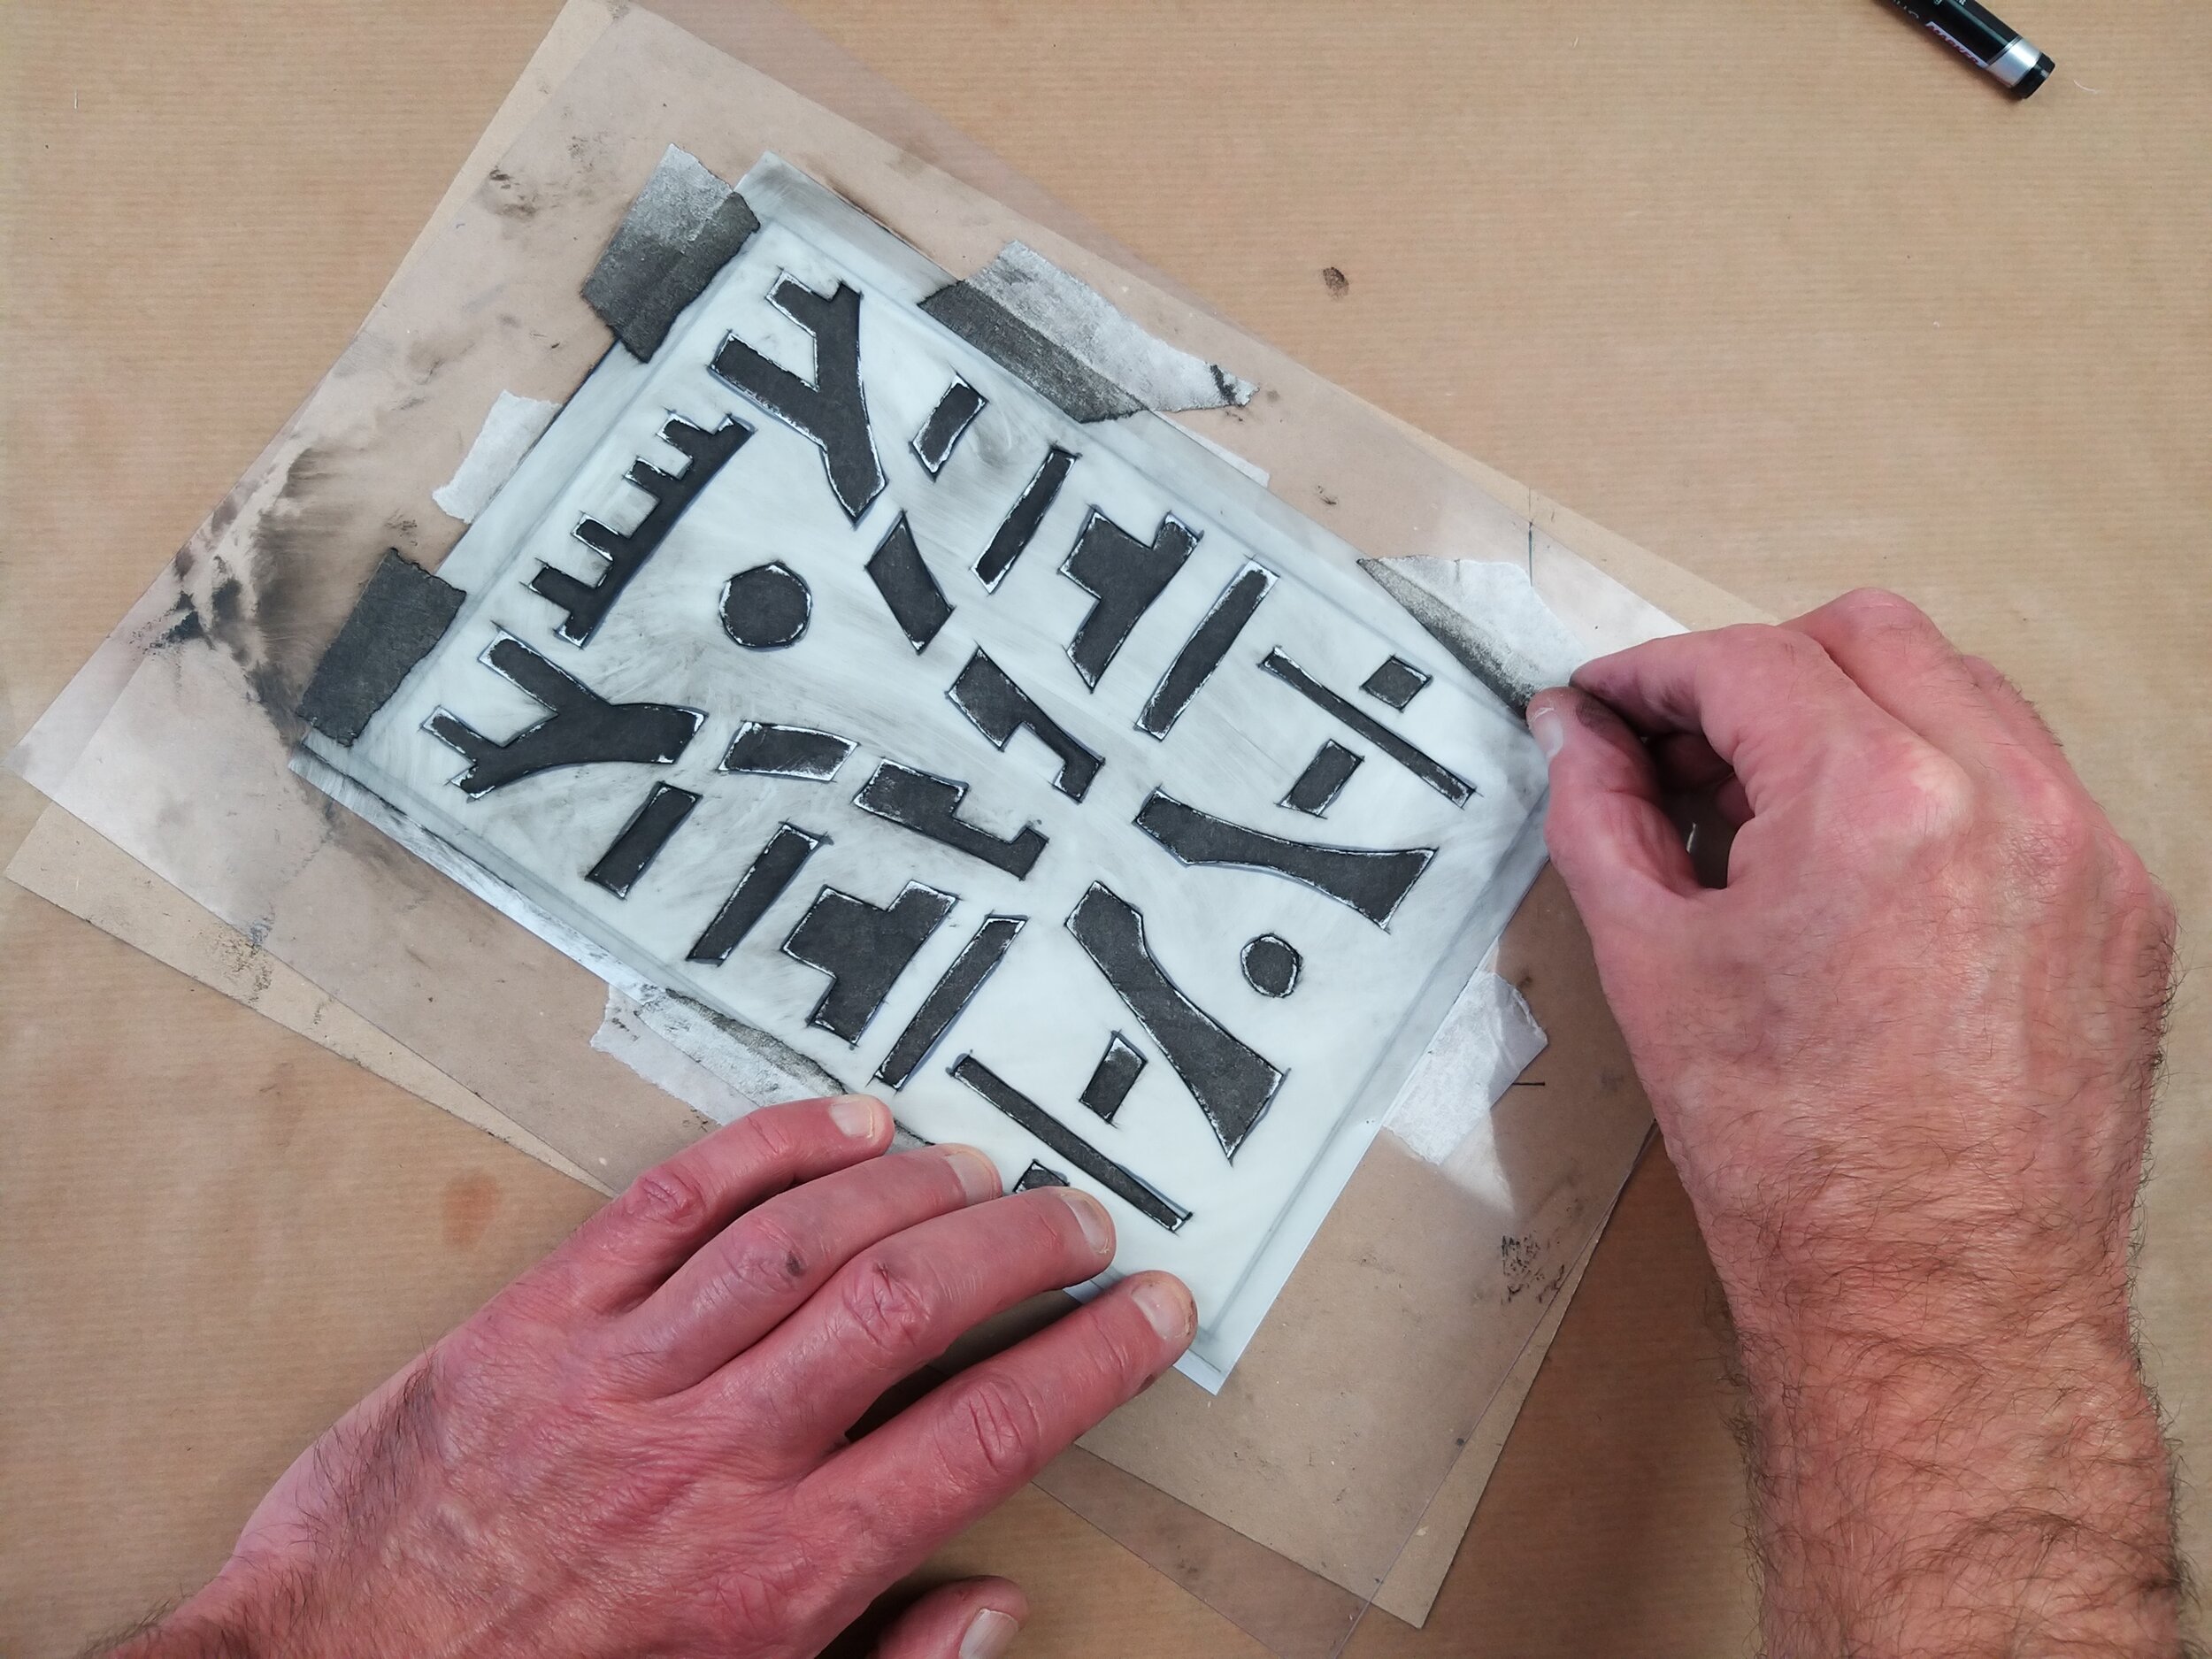
Project 3 : SYMMETRY
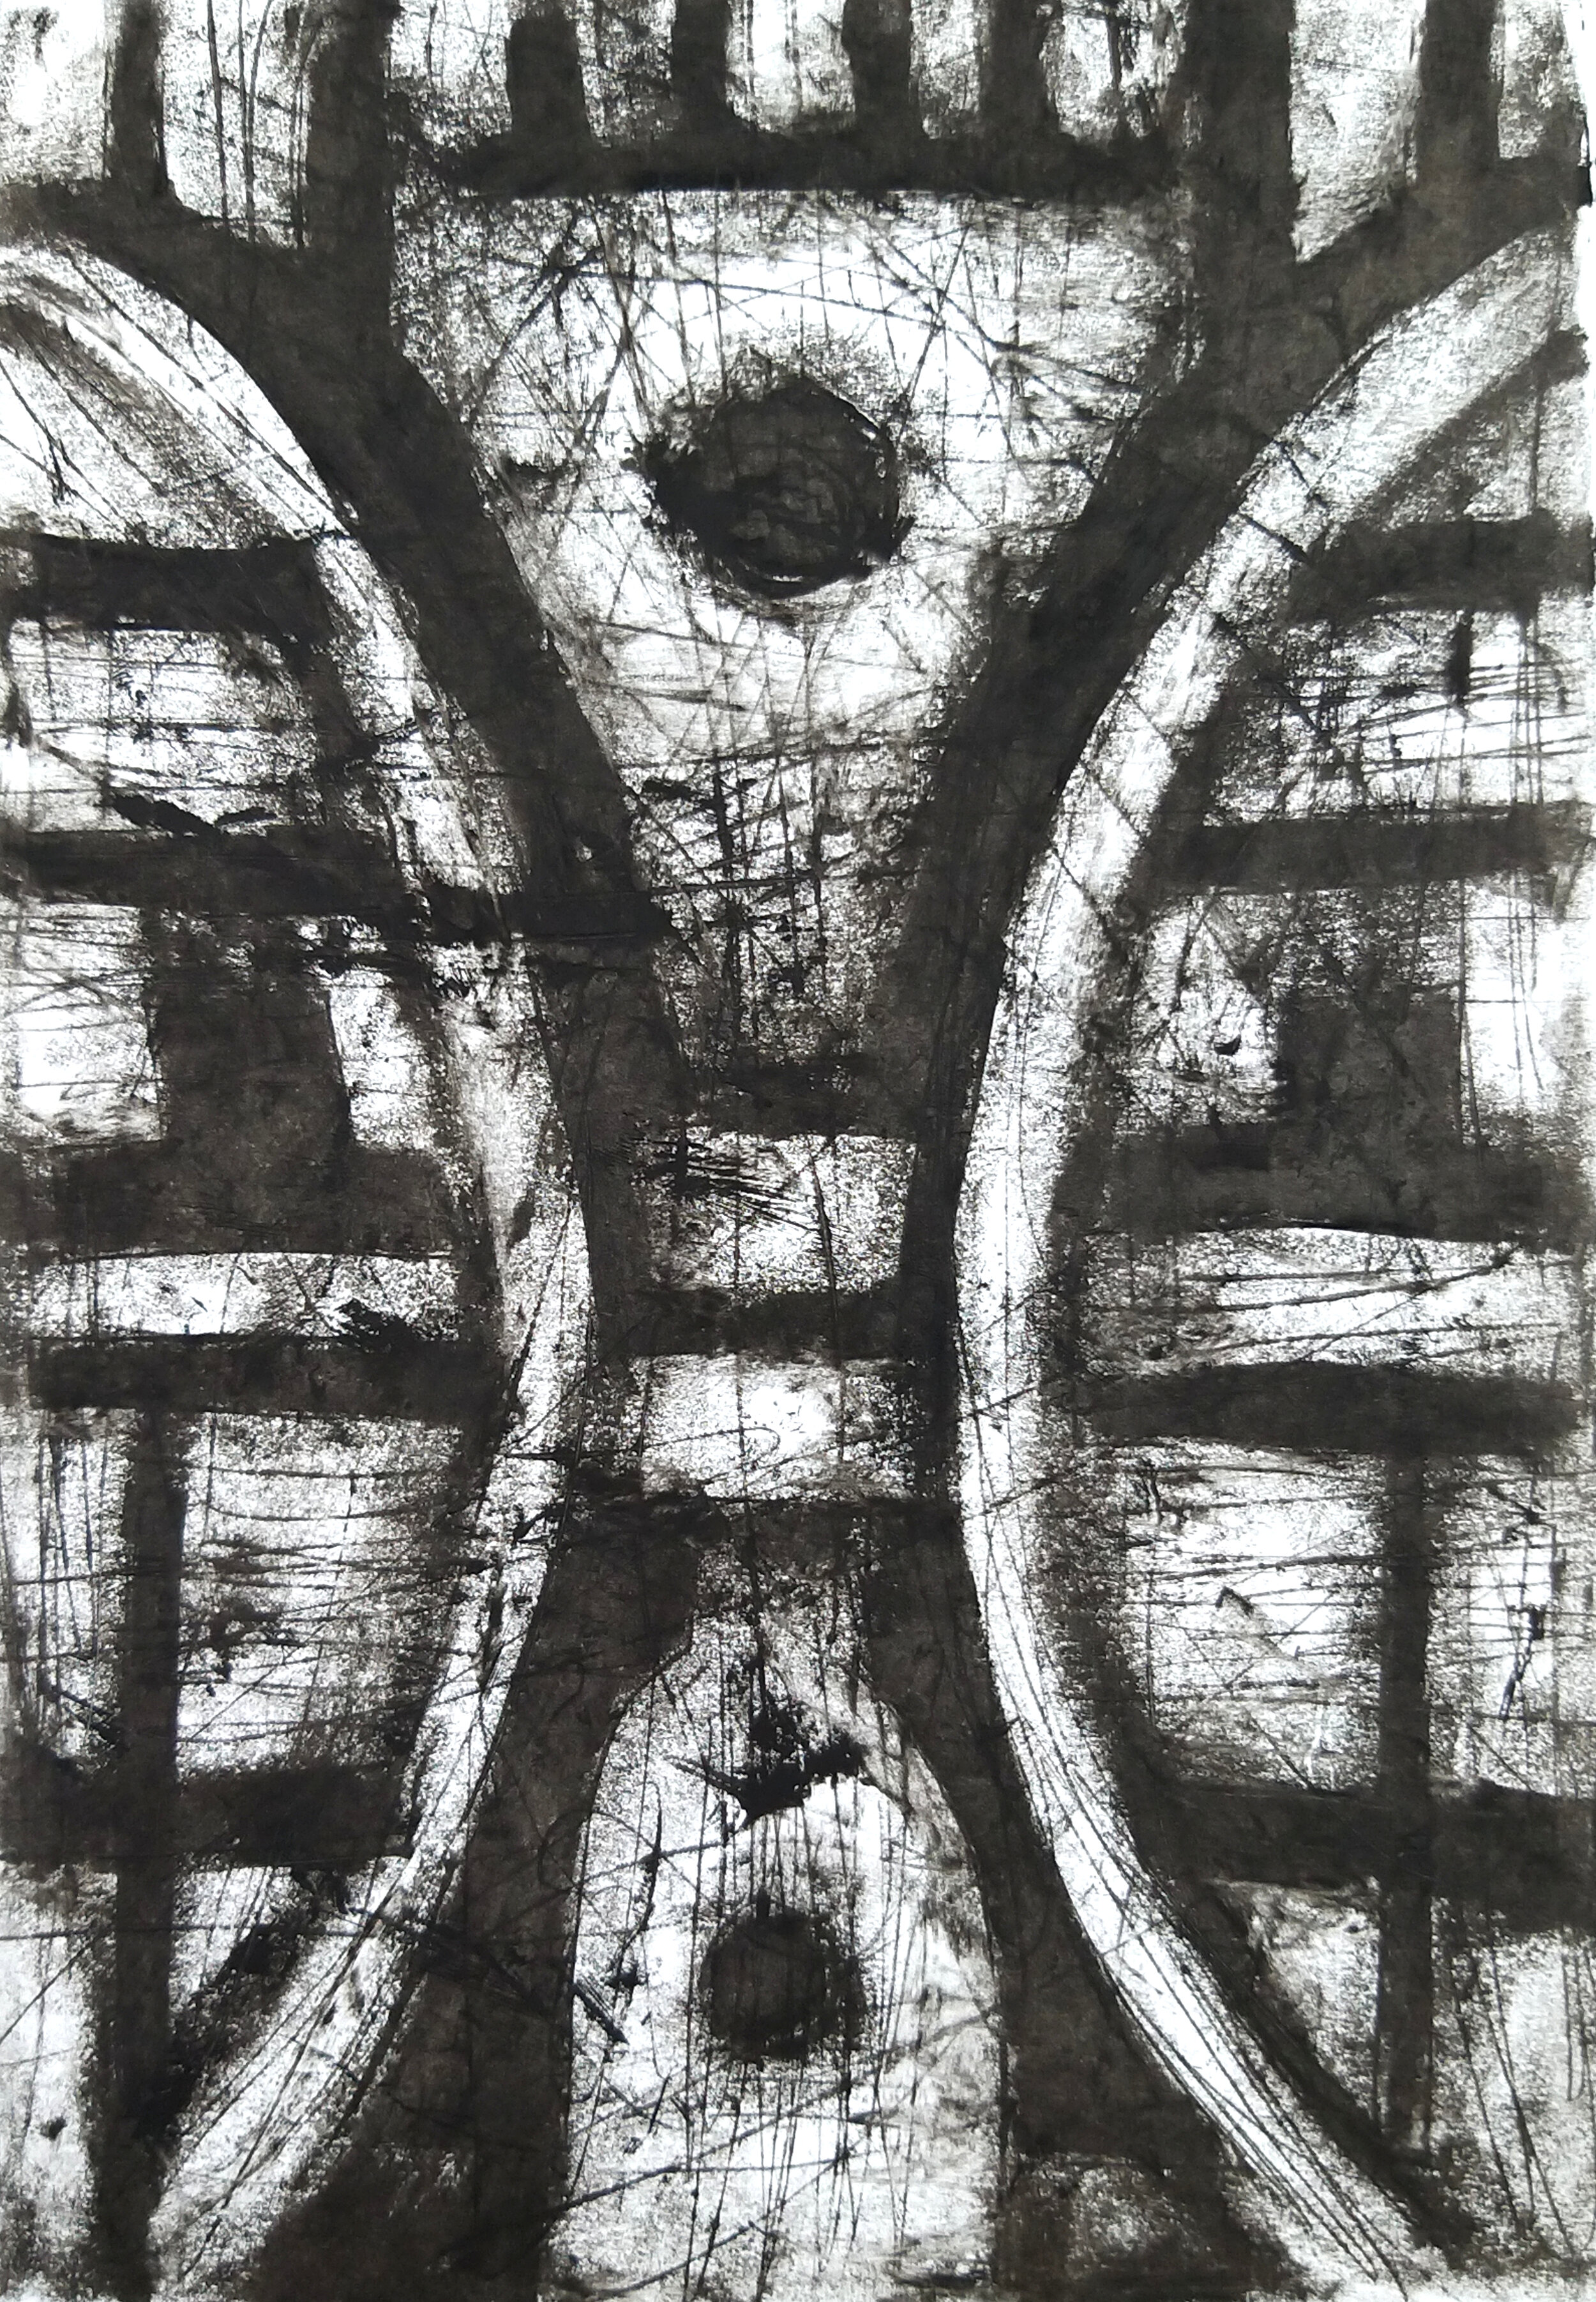

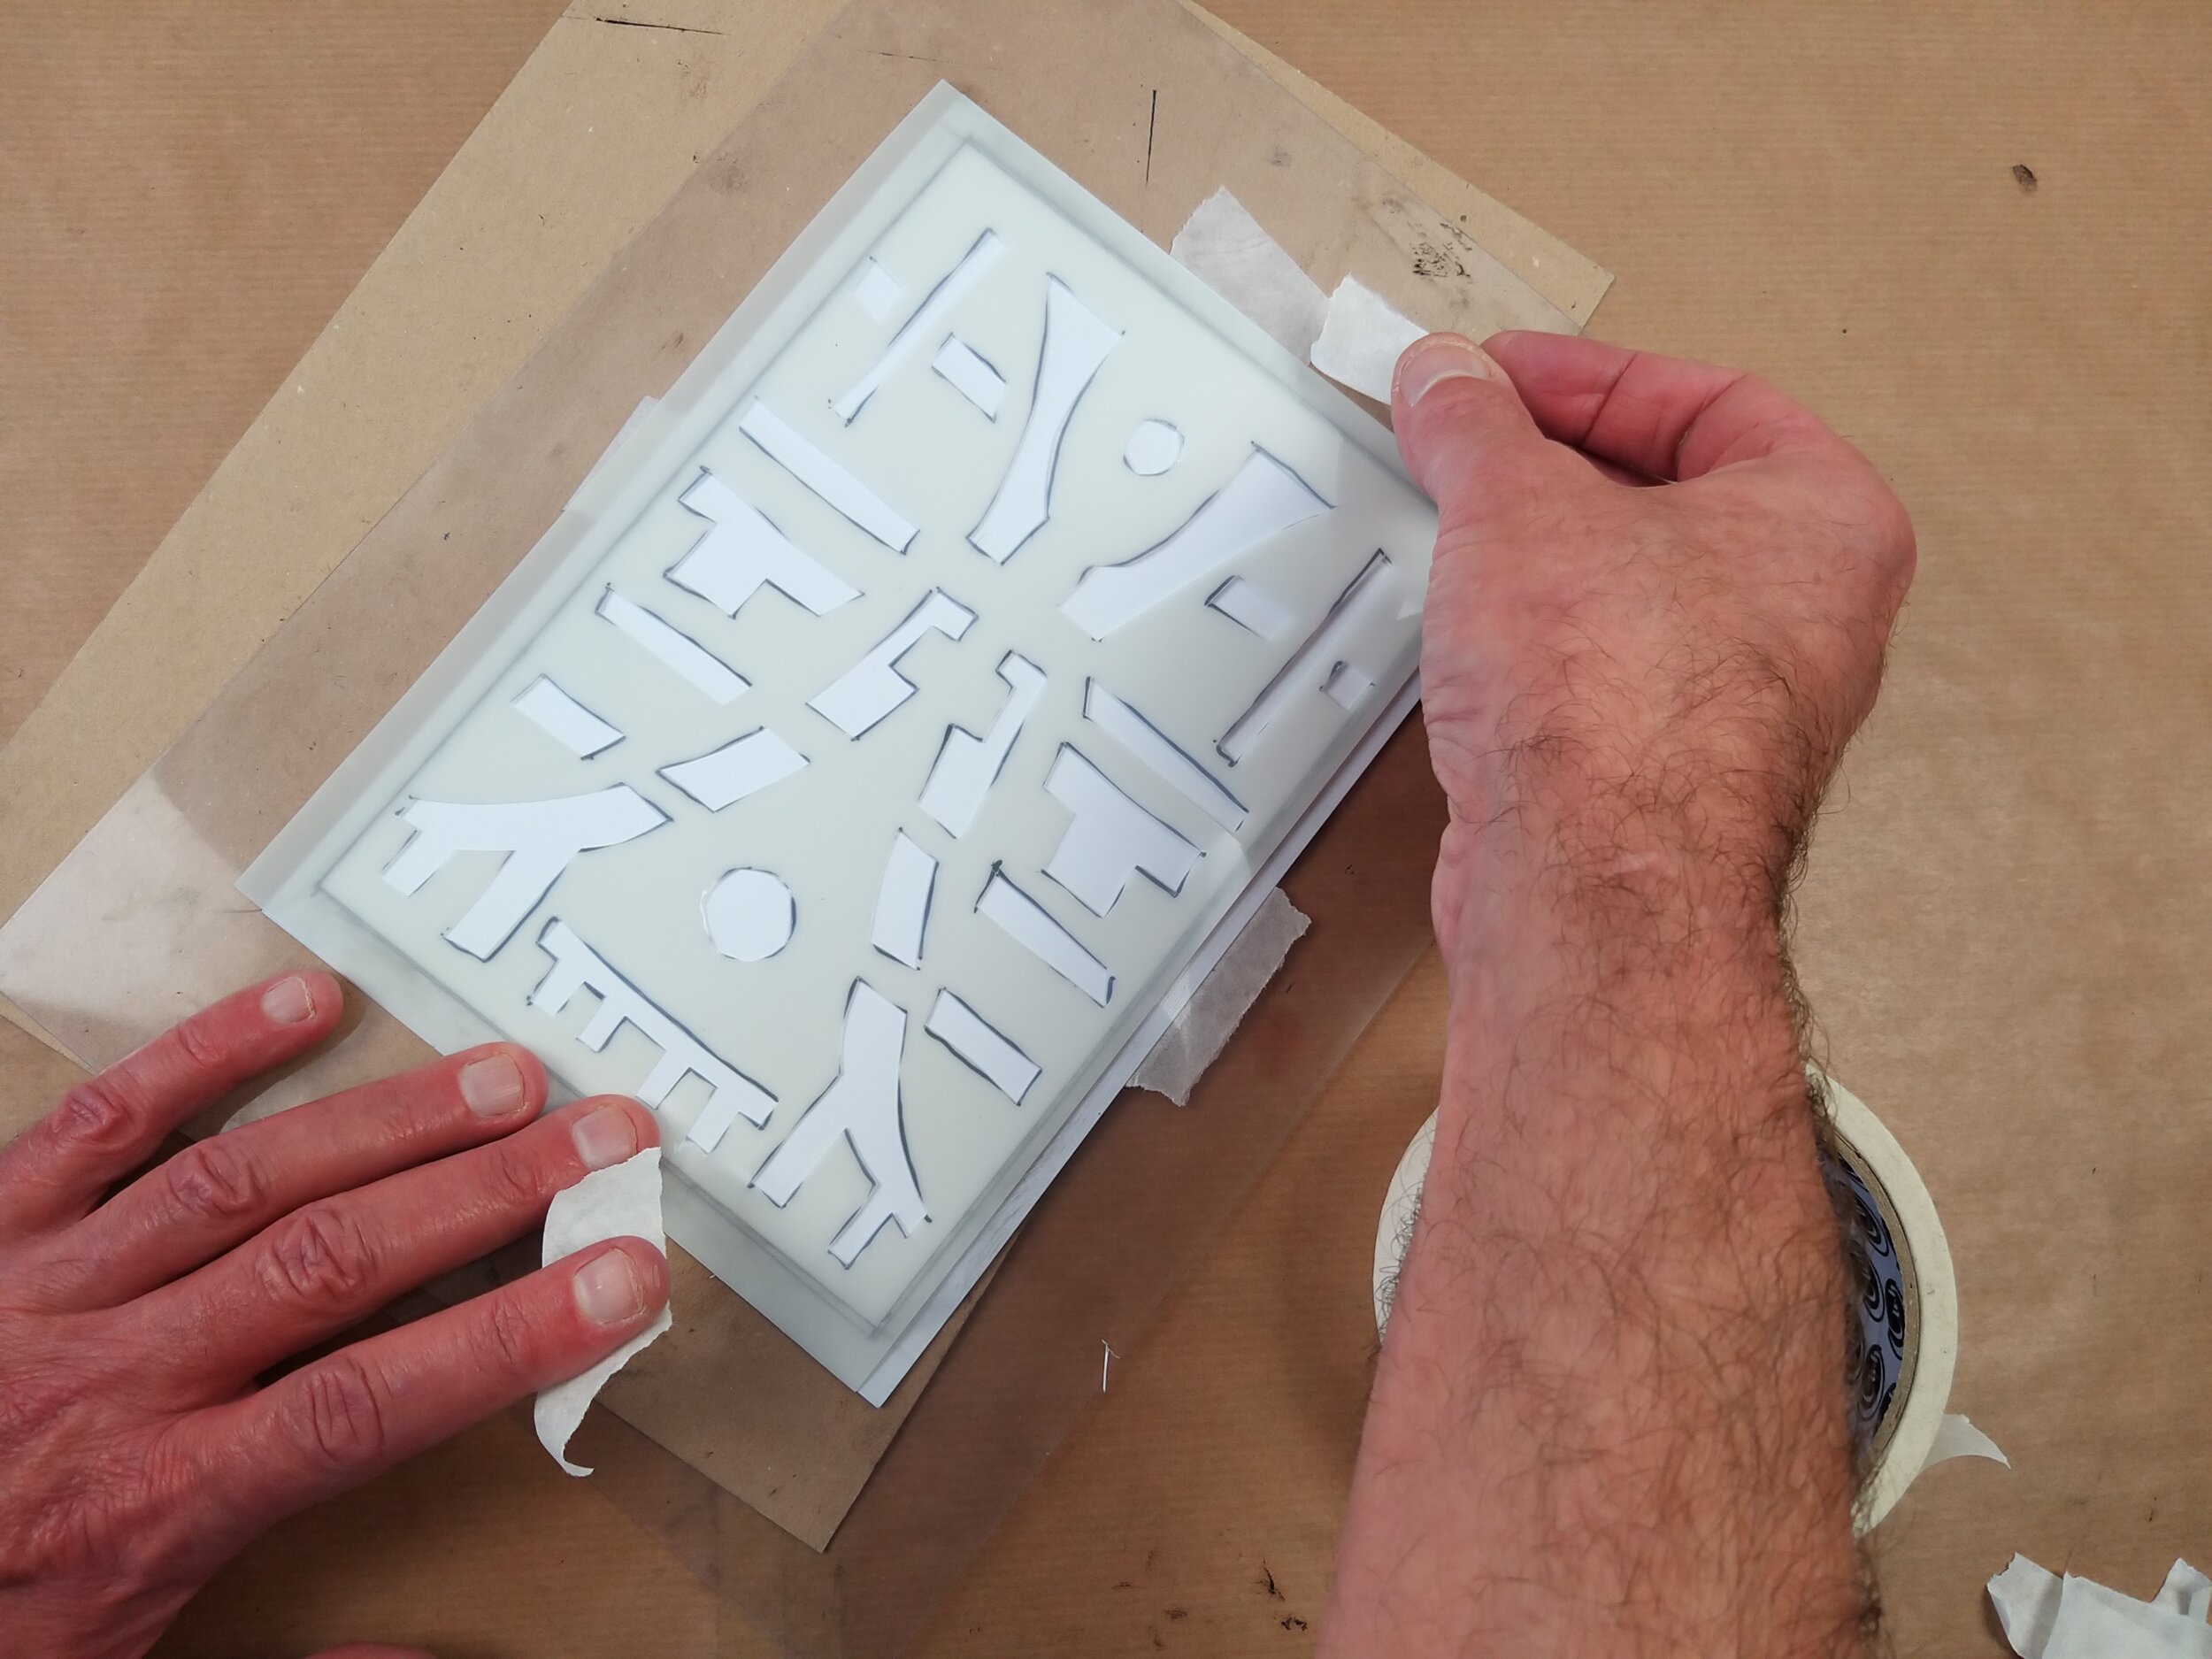
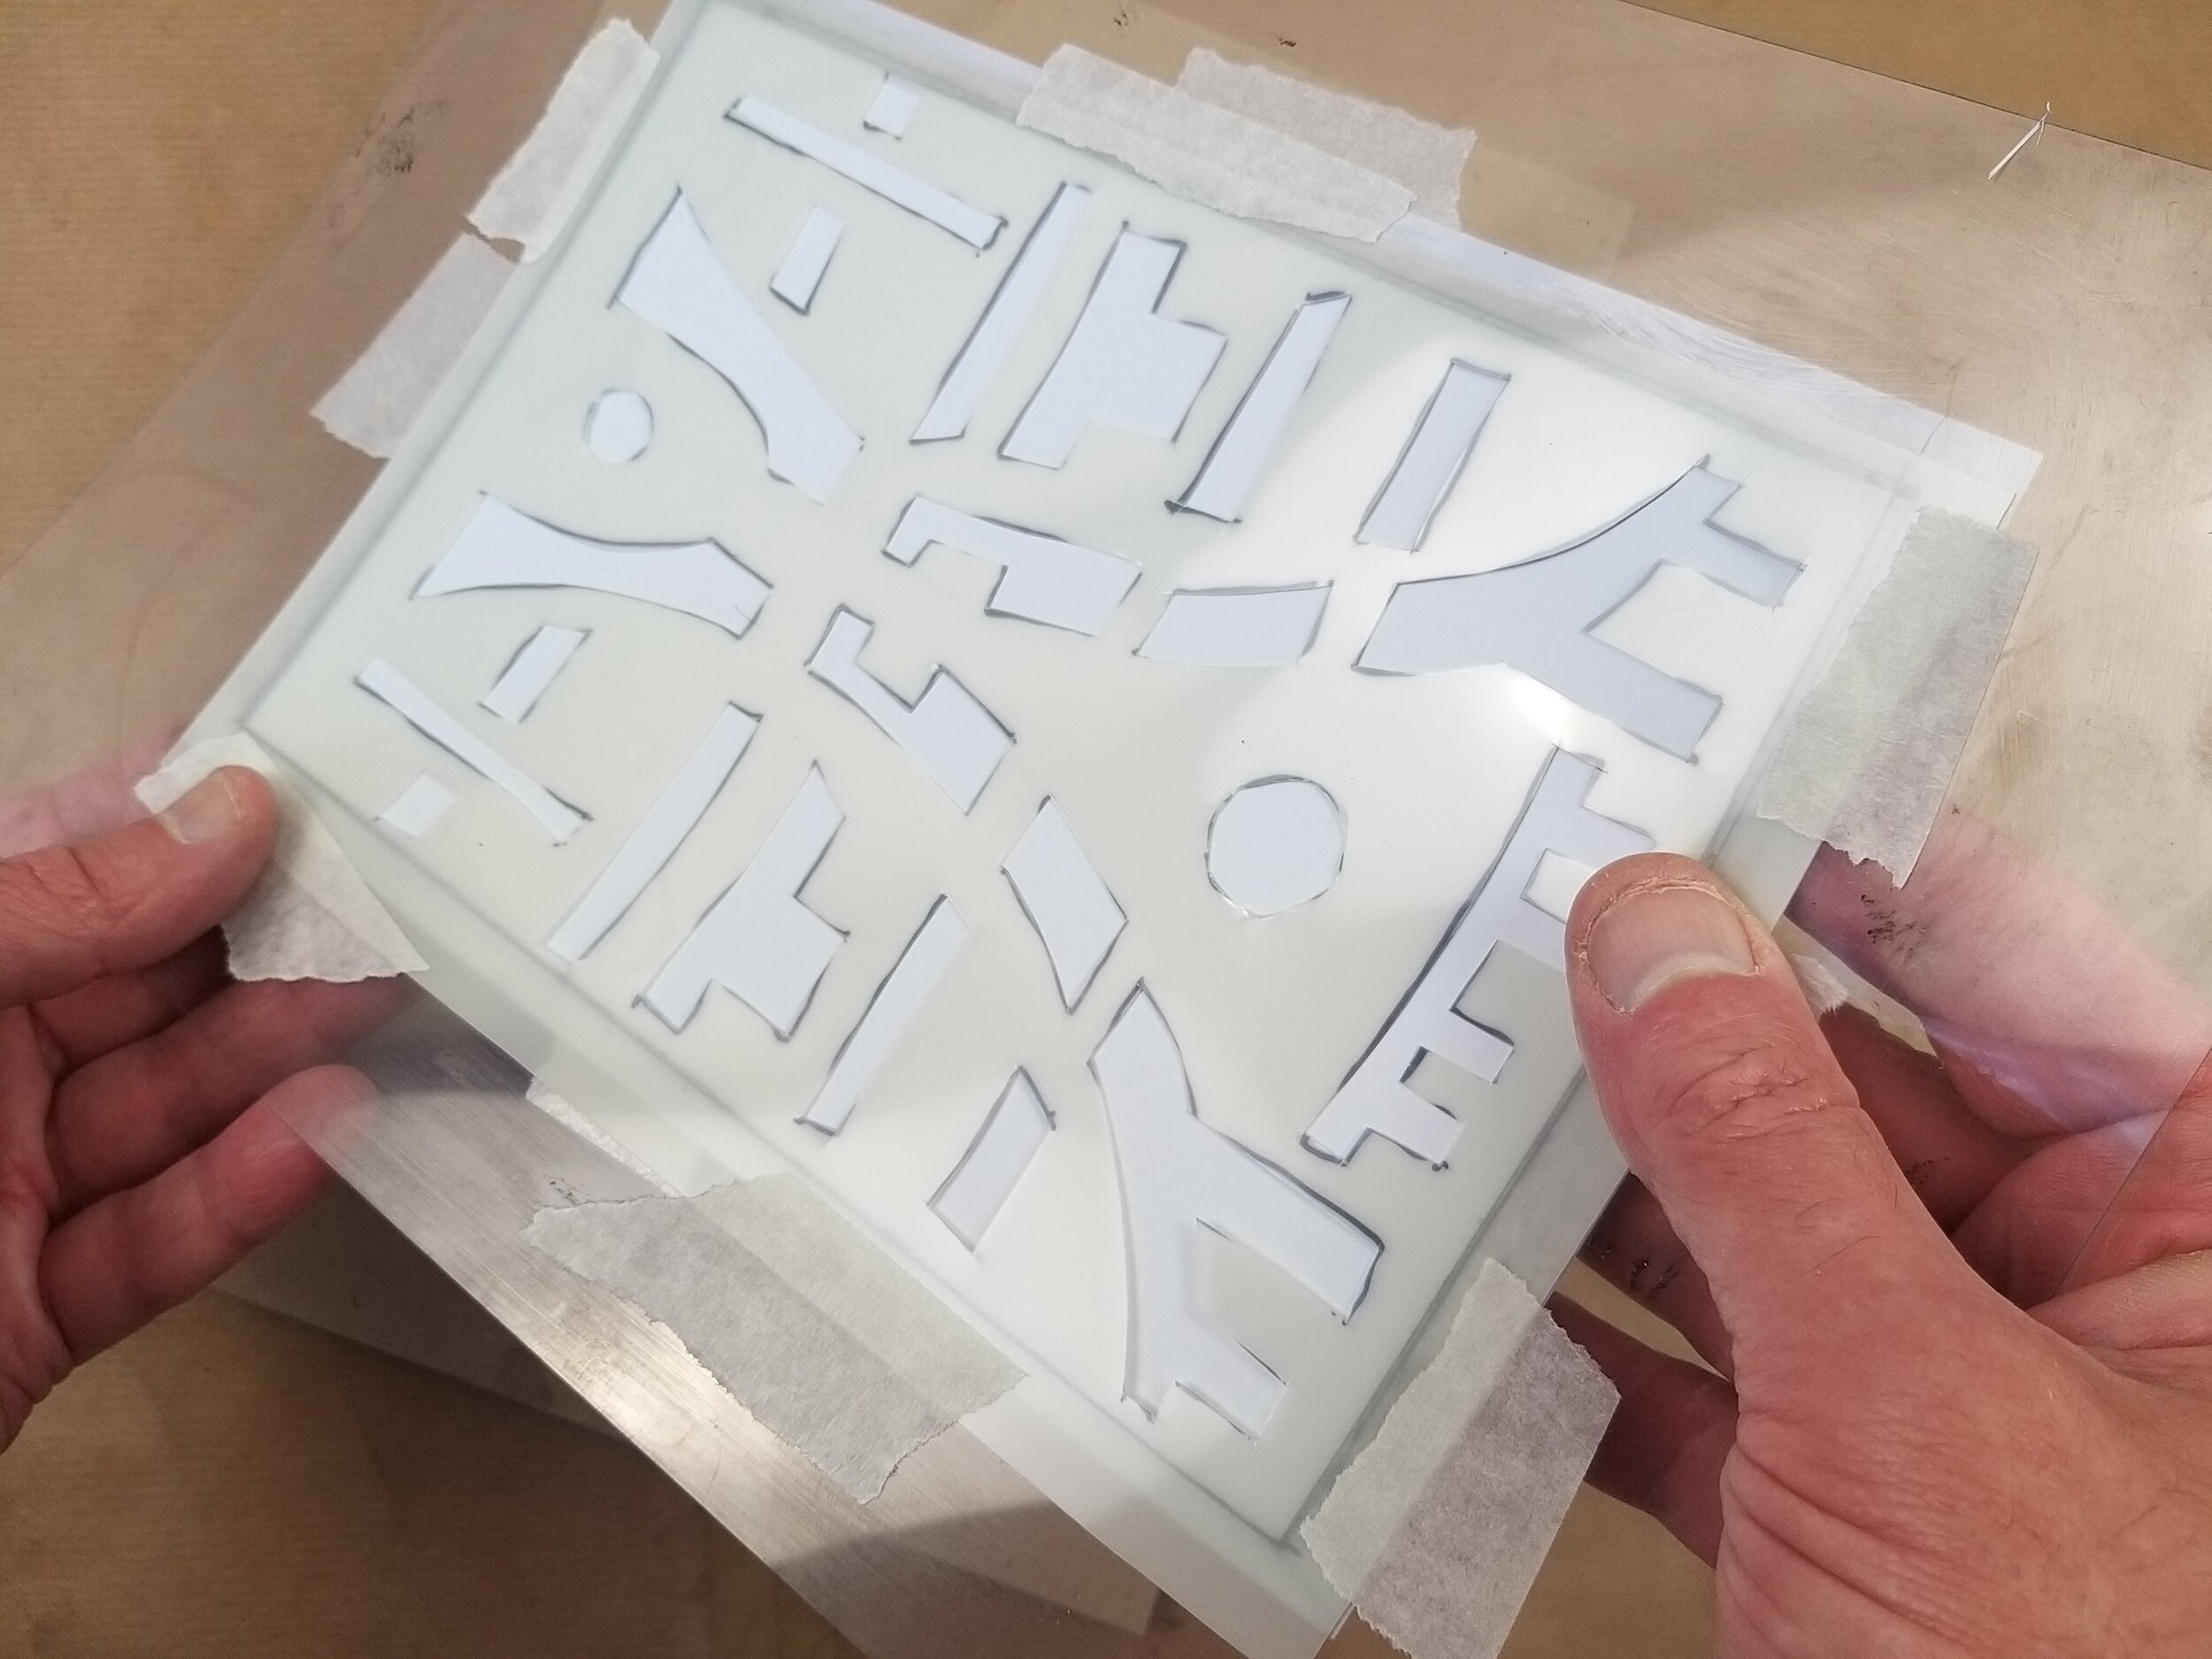


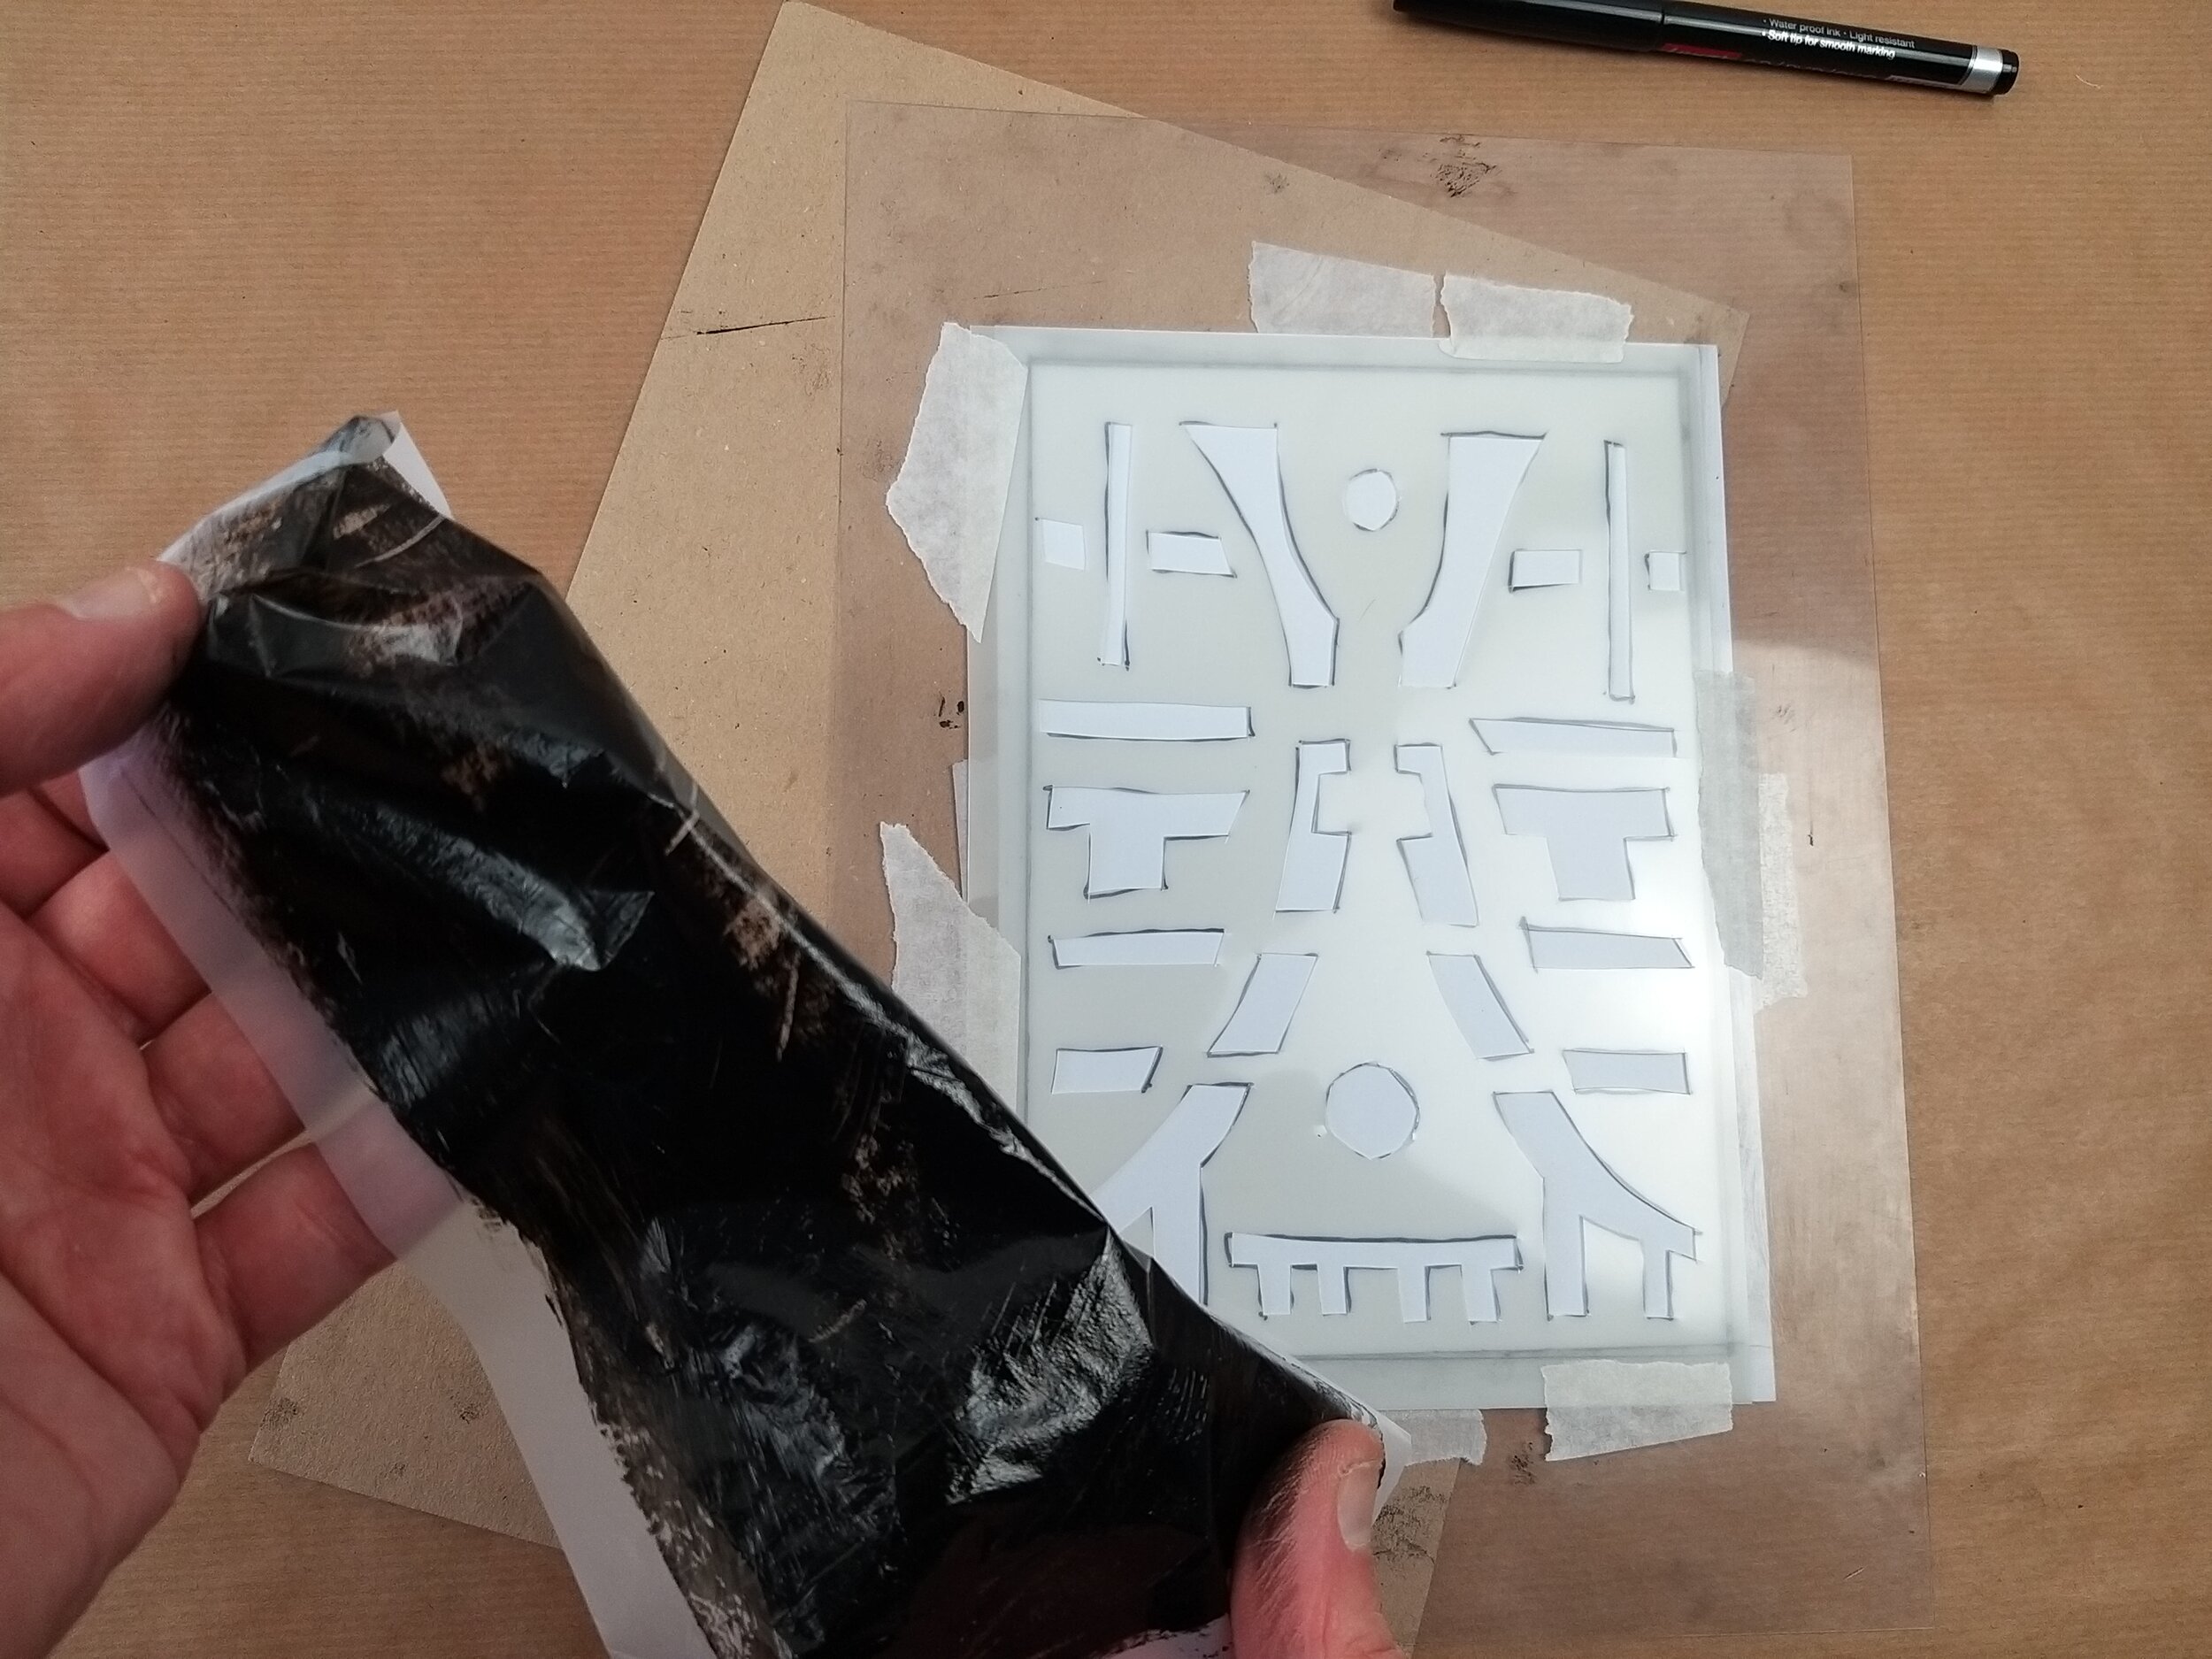
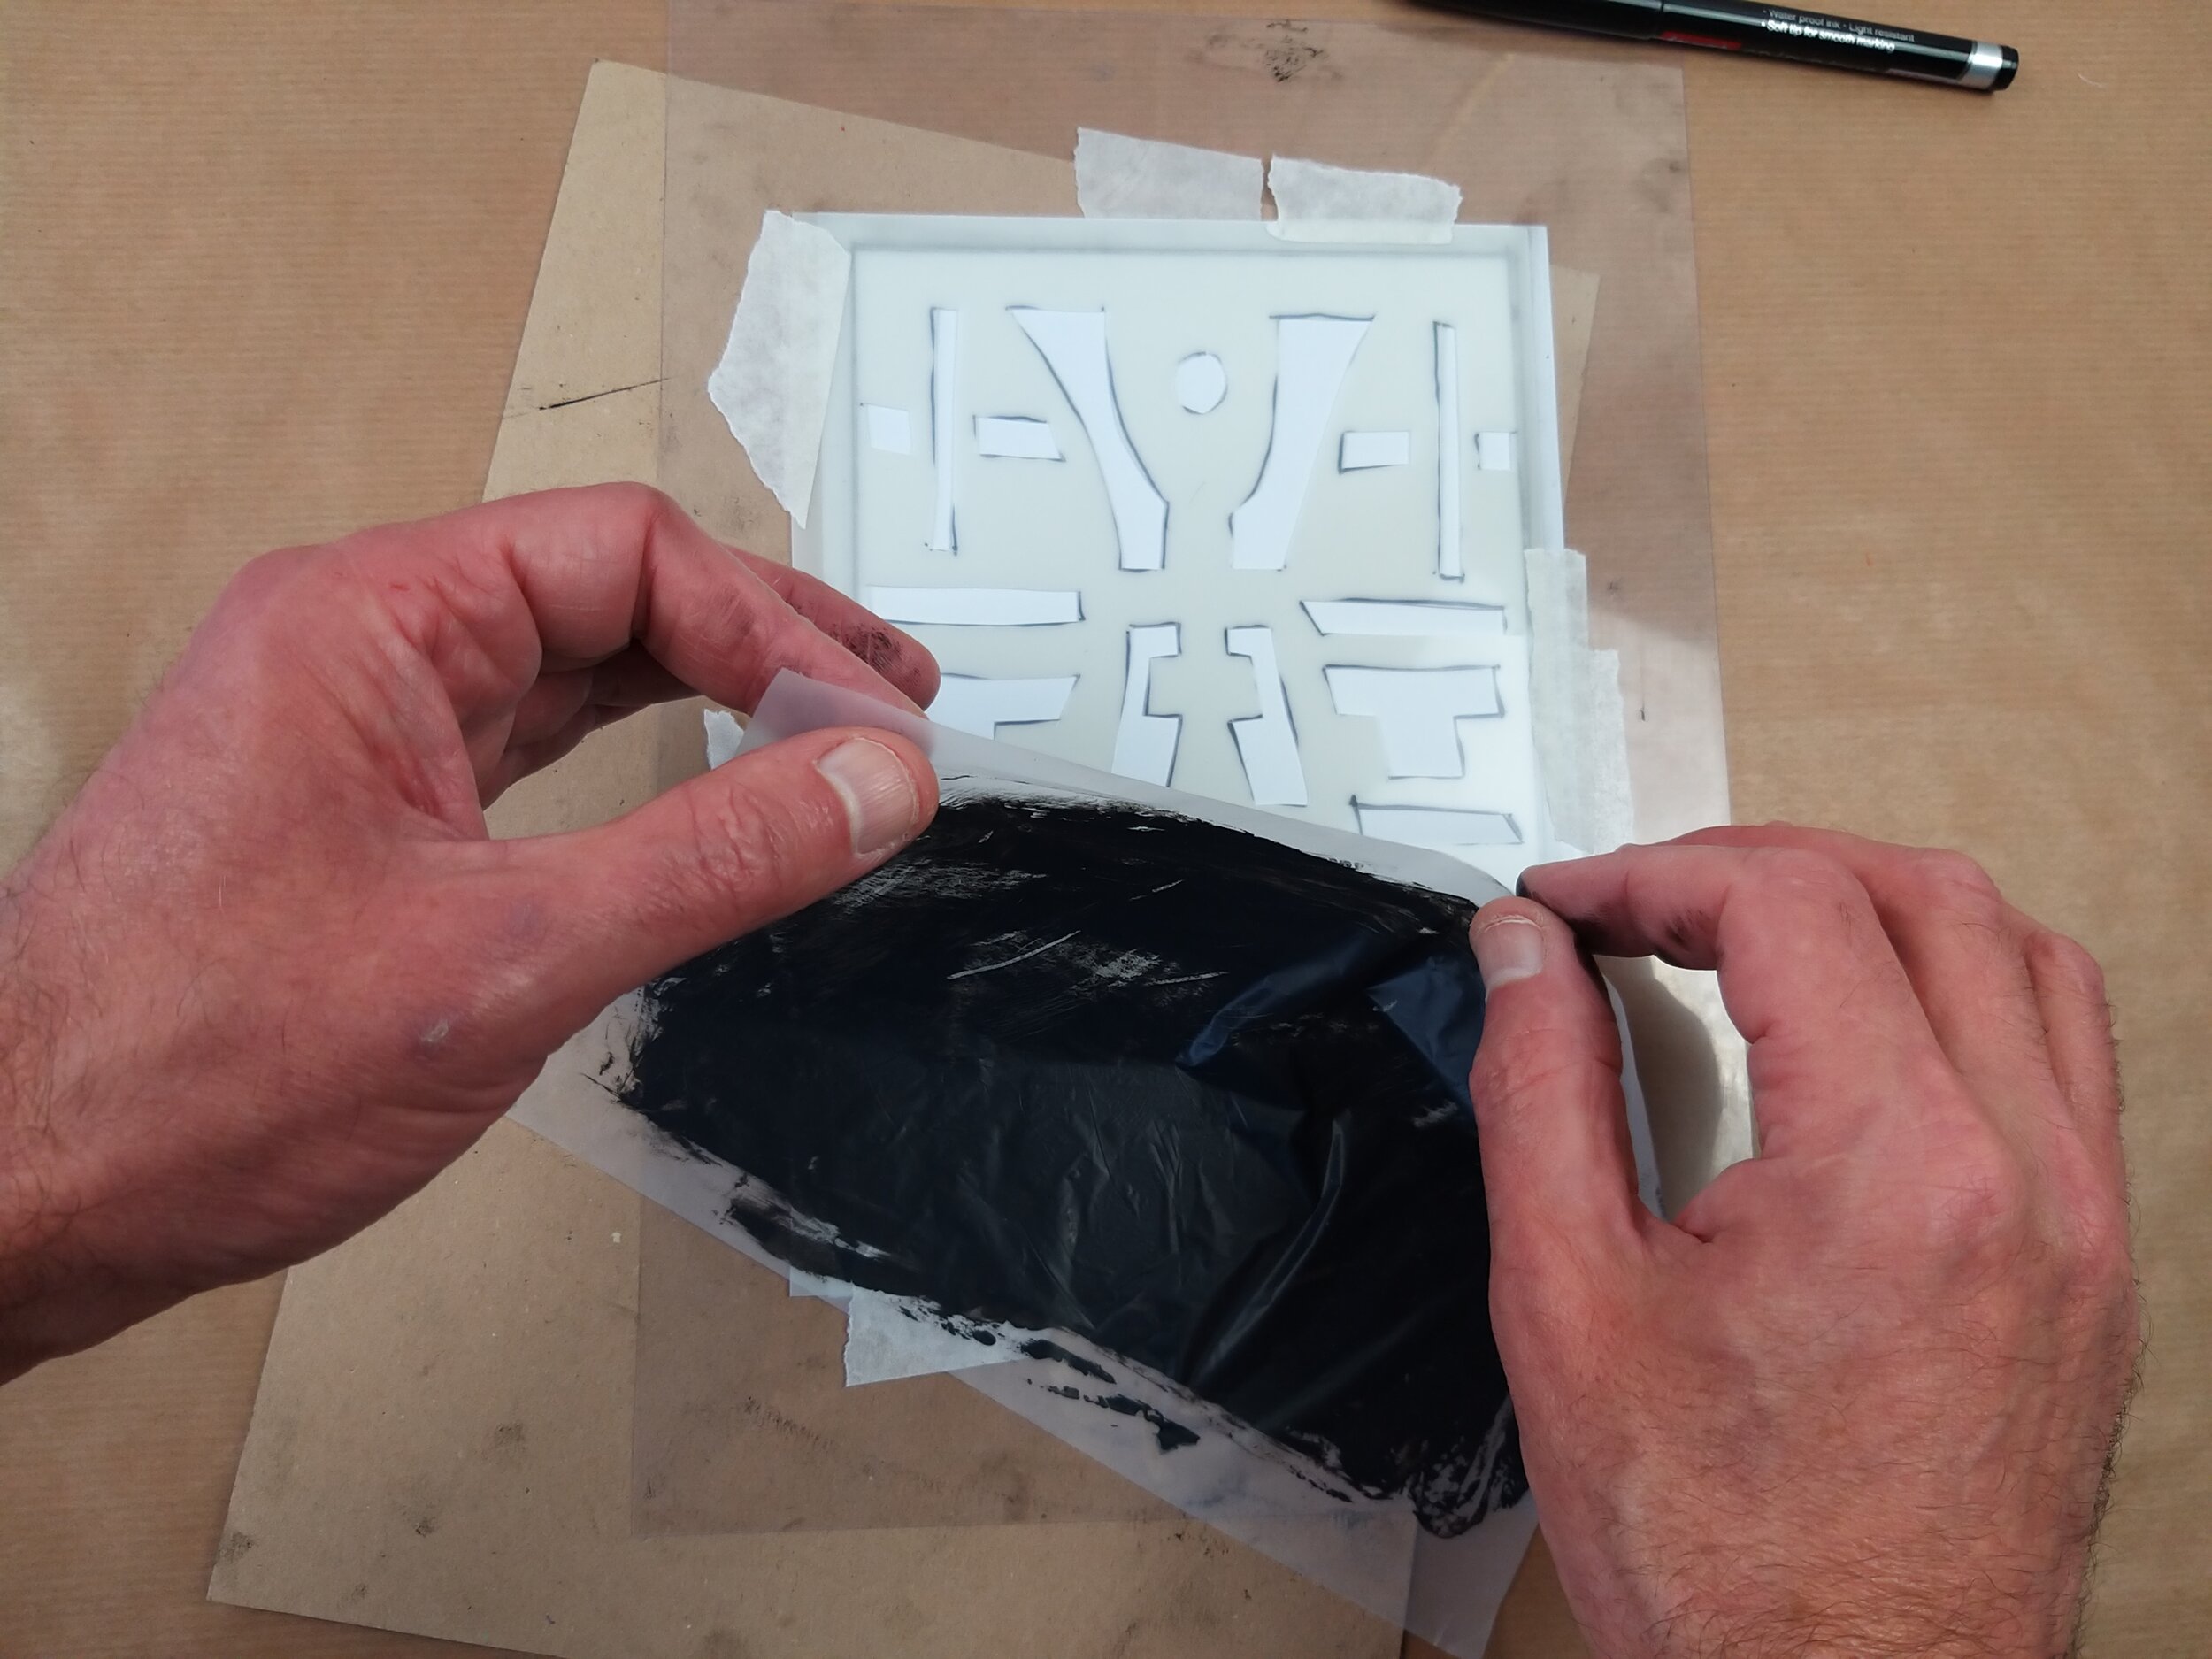


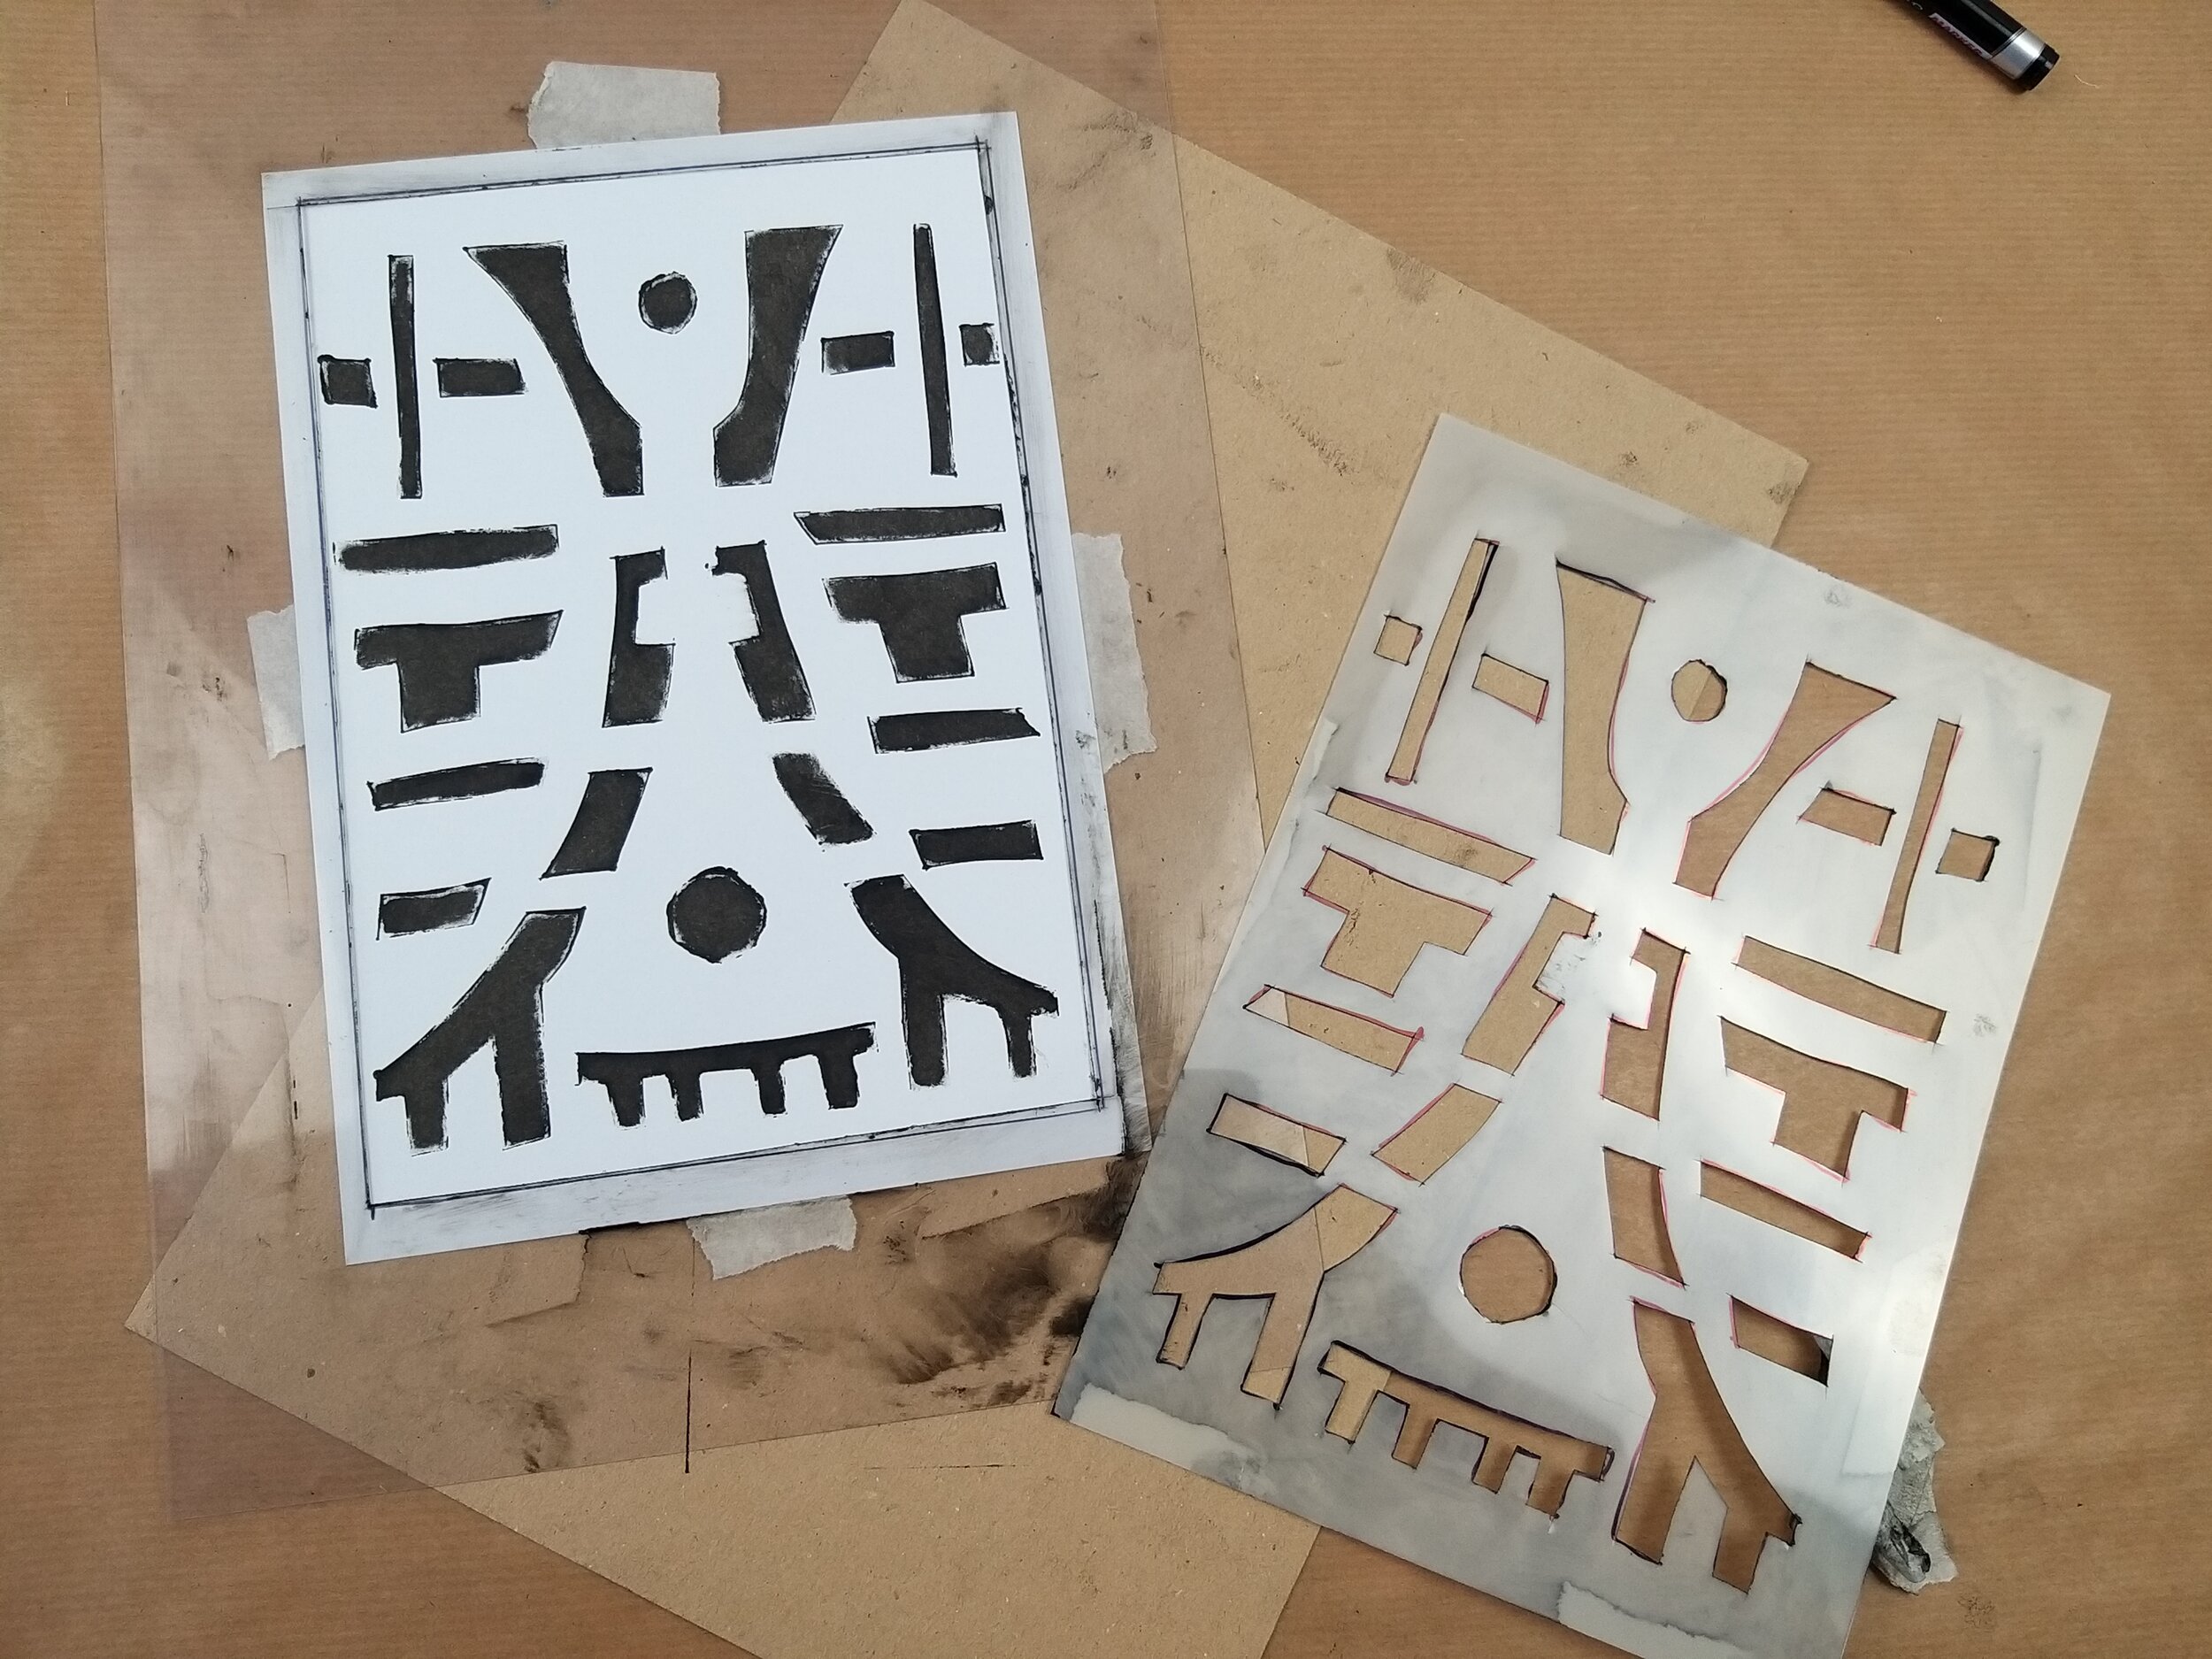
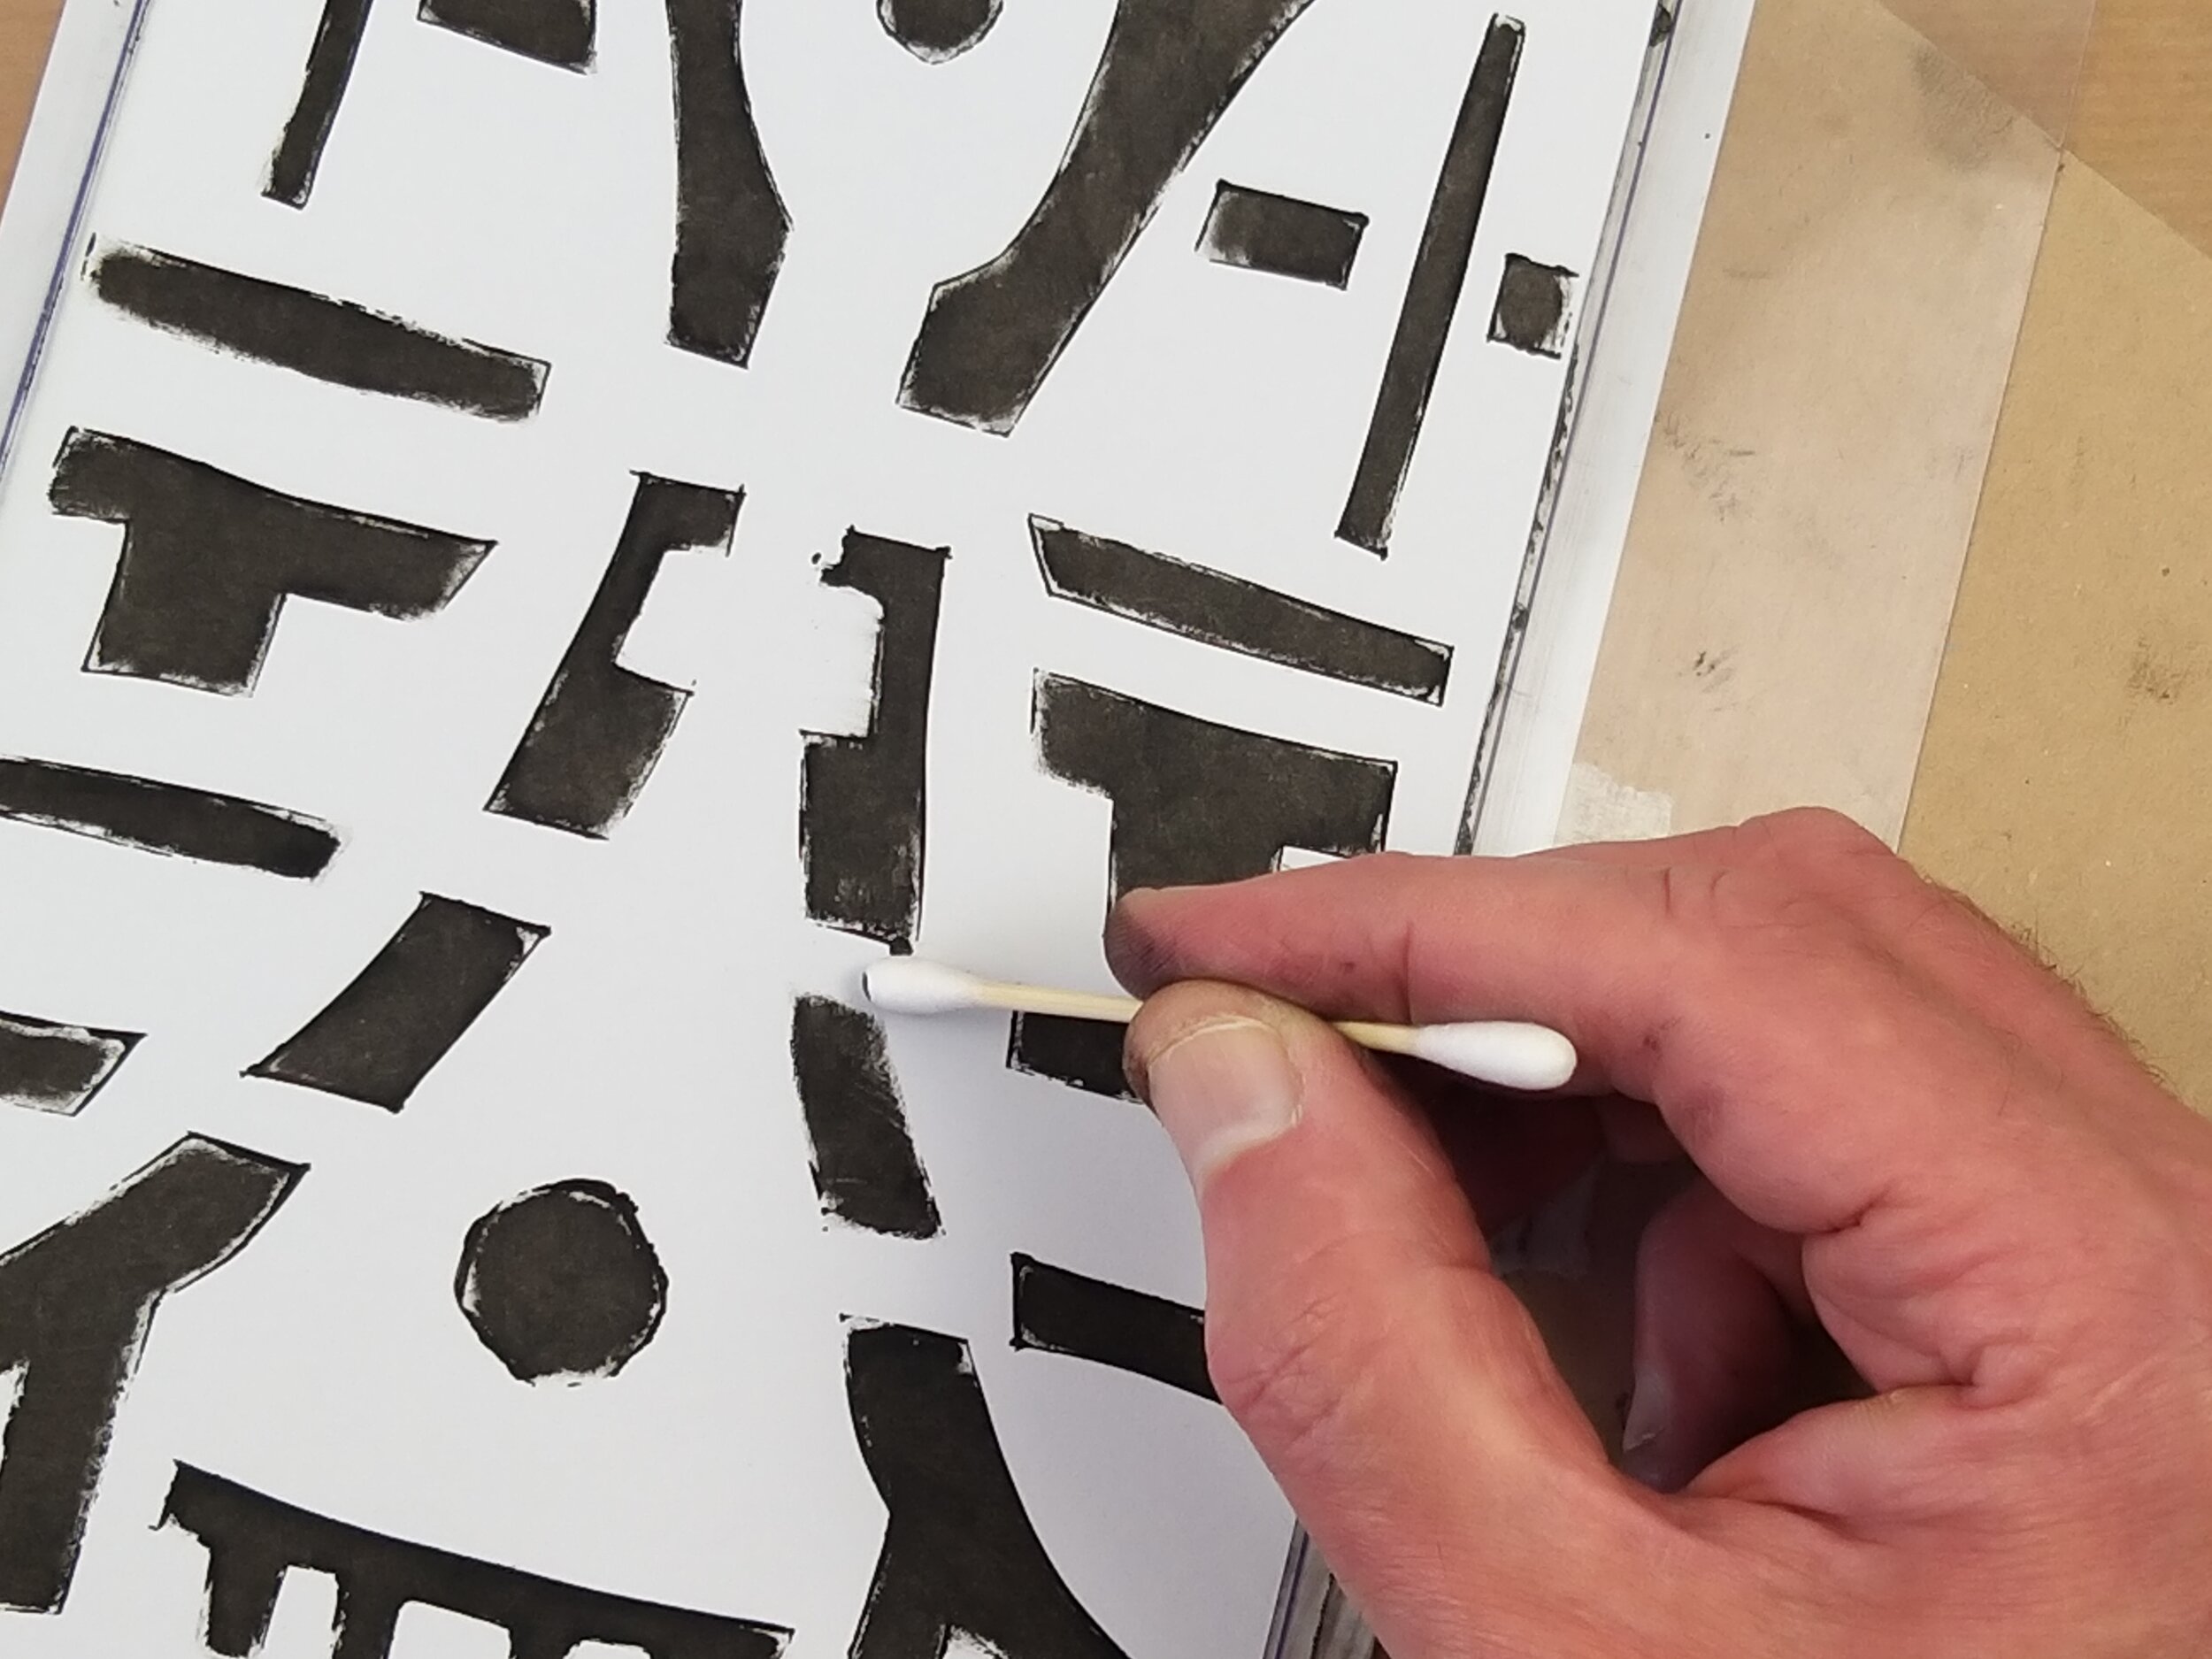

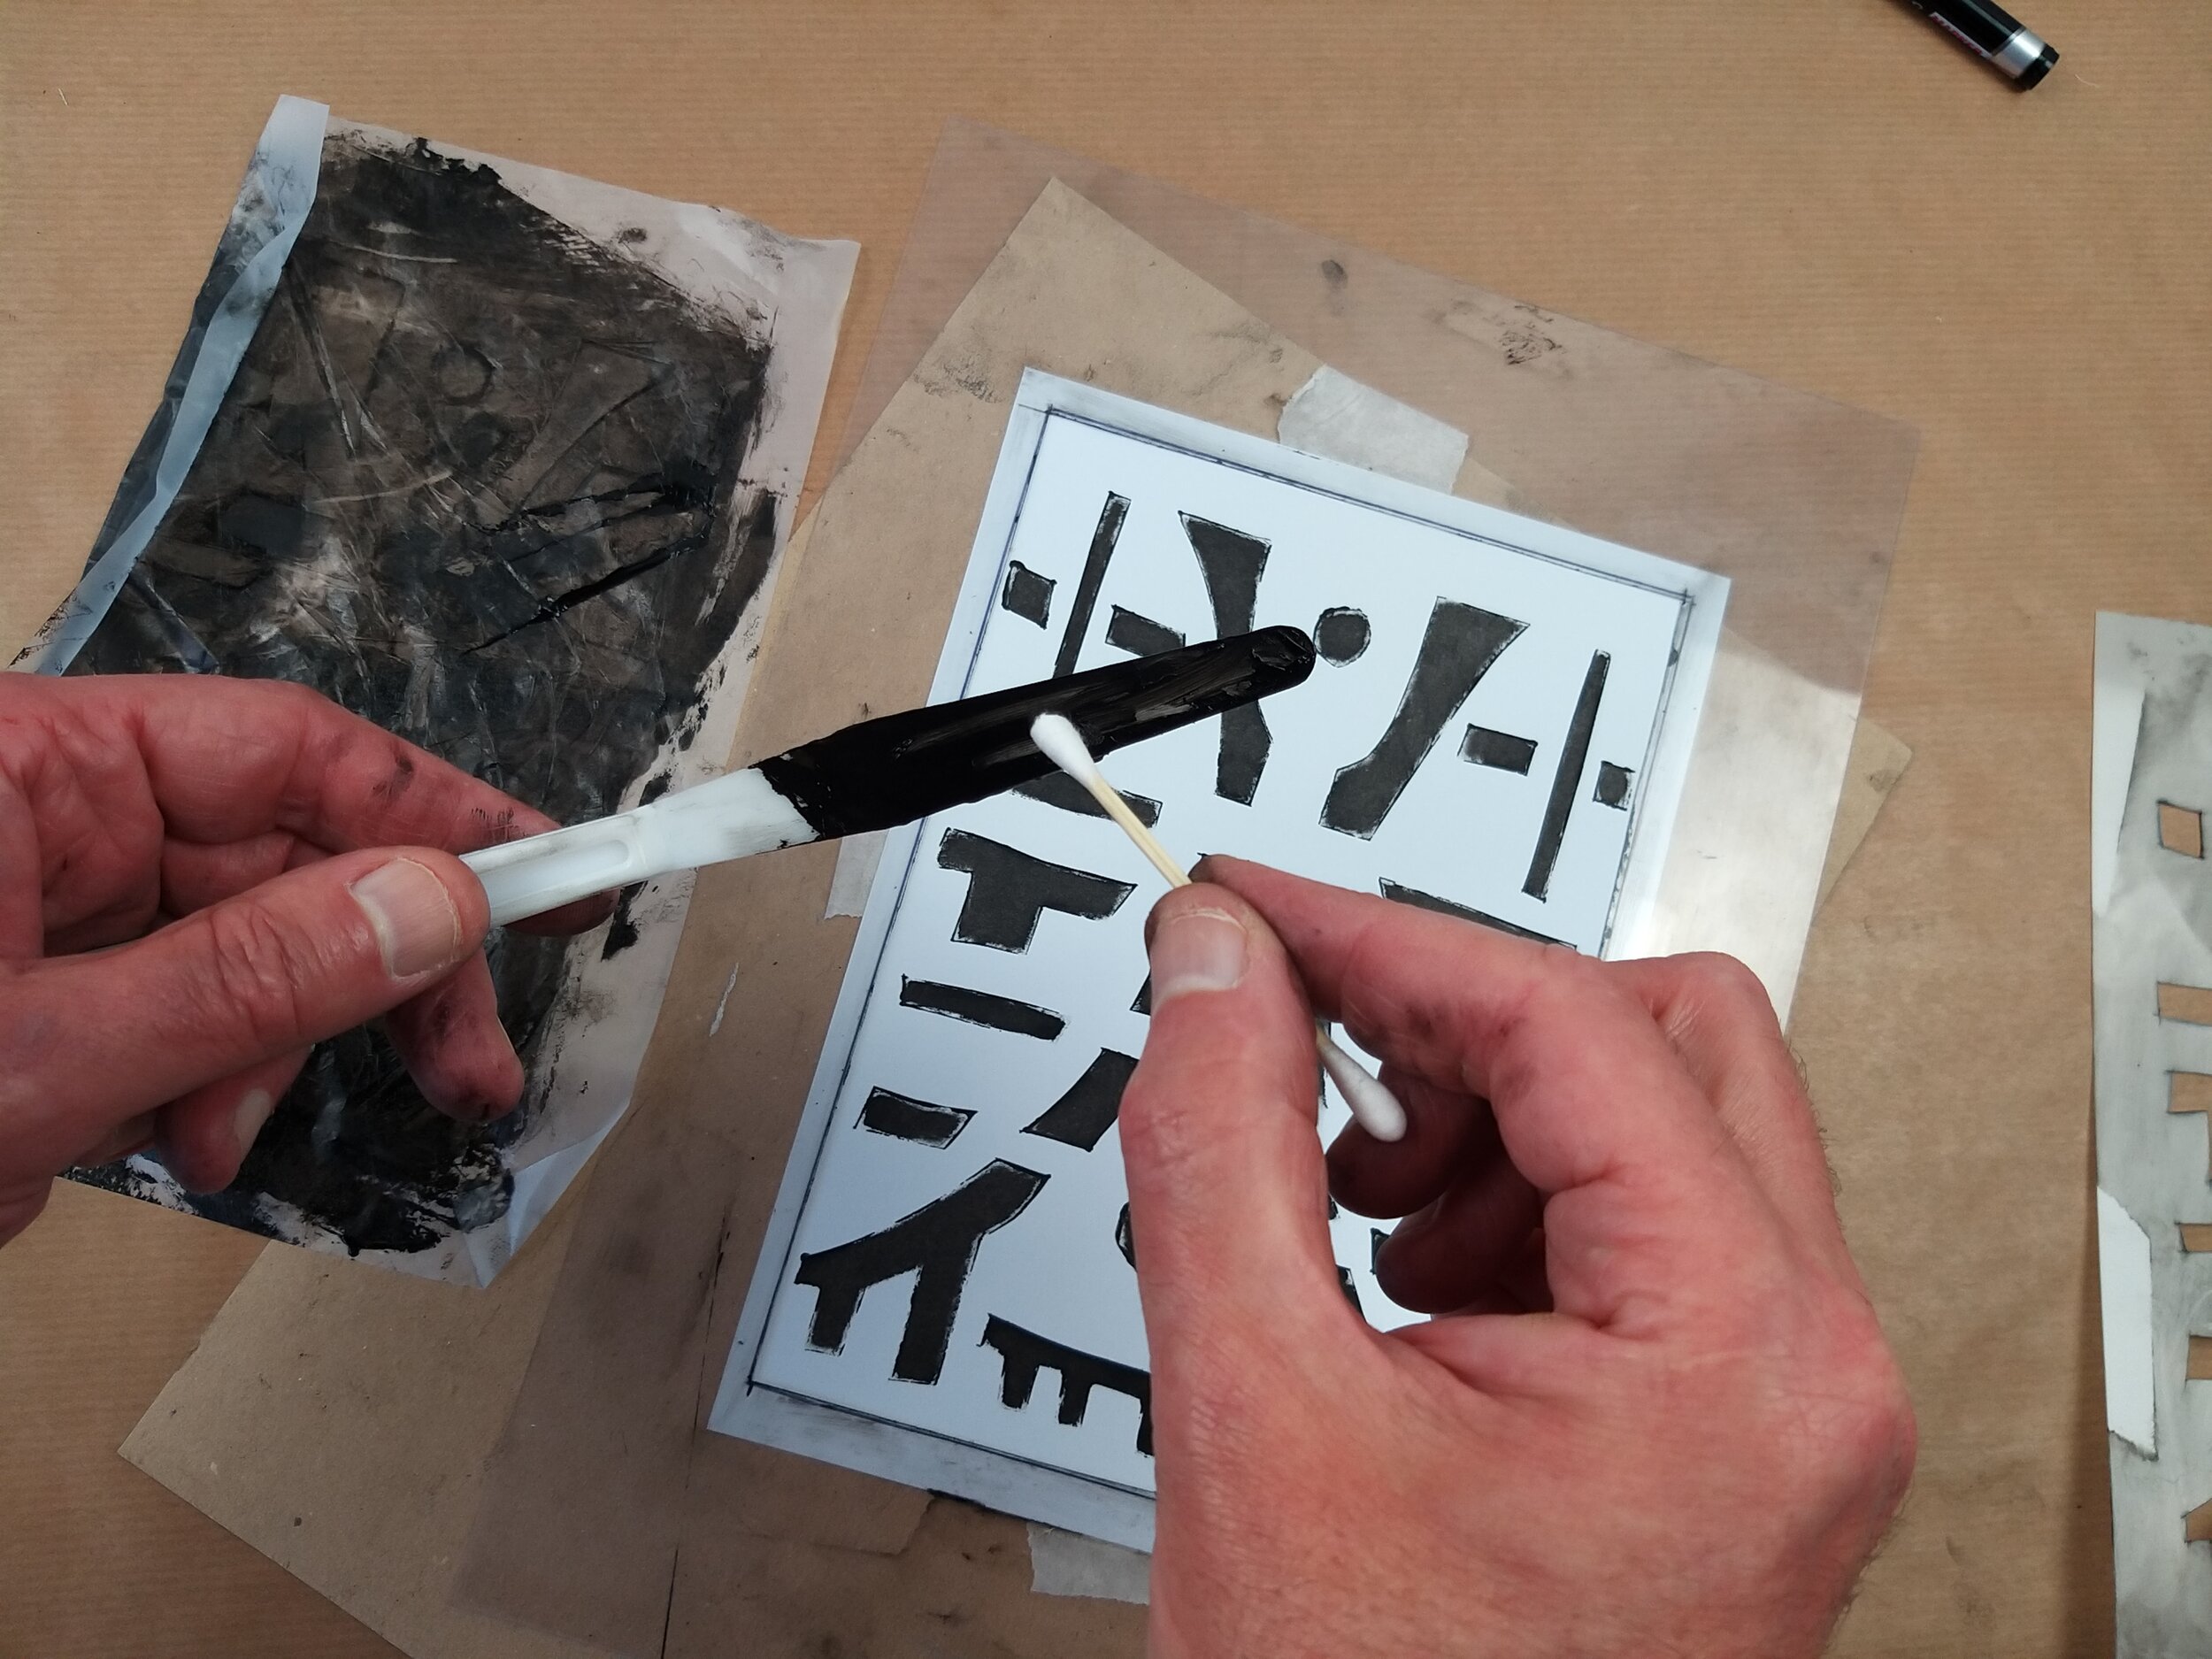
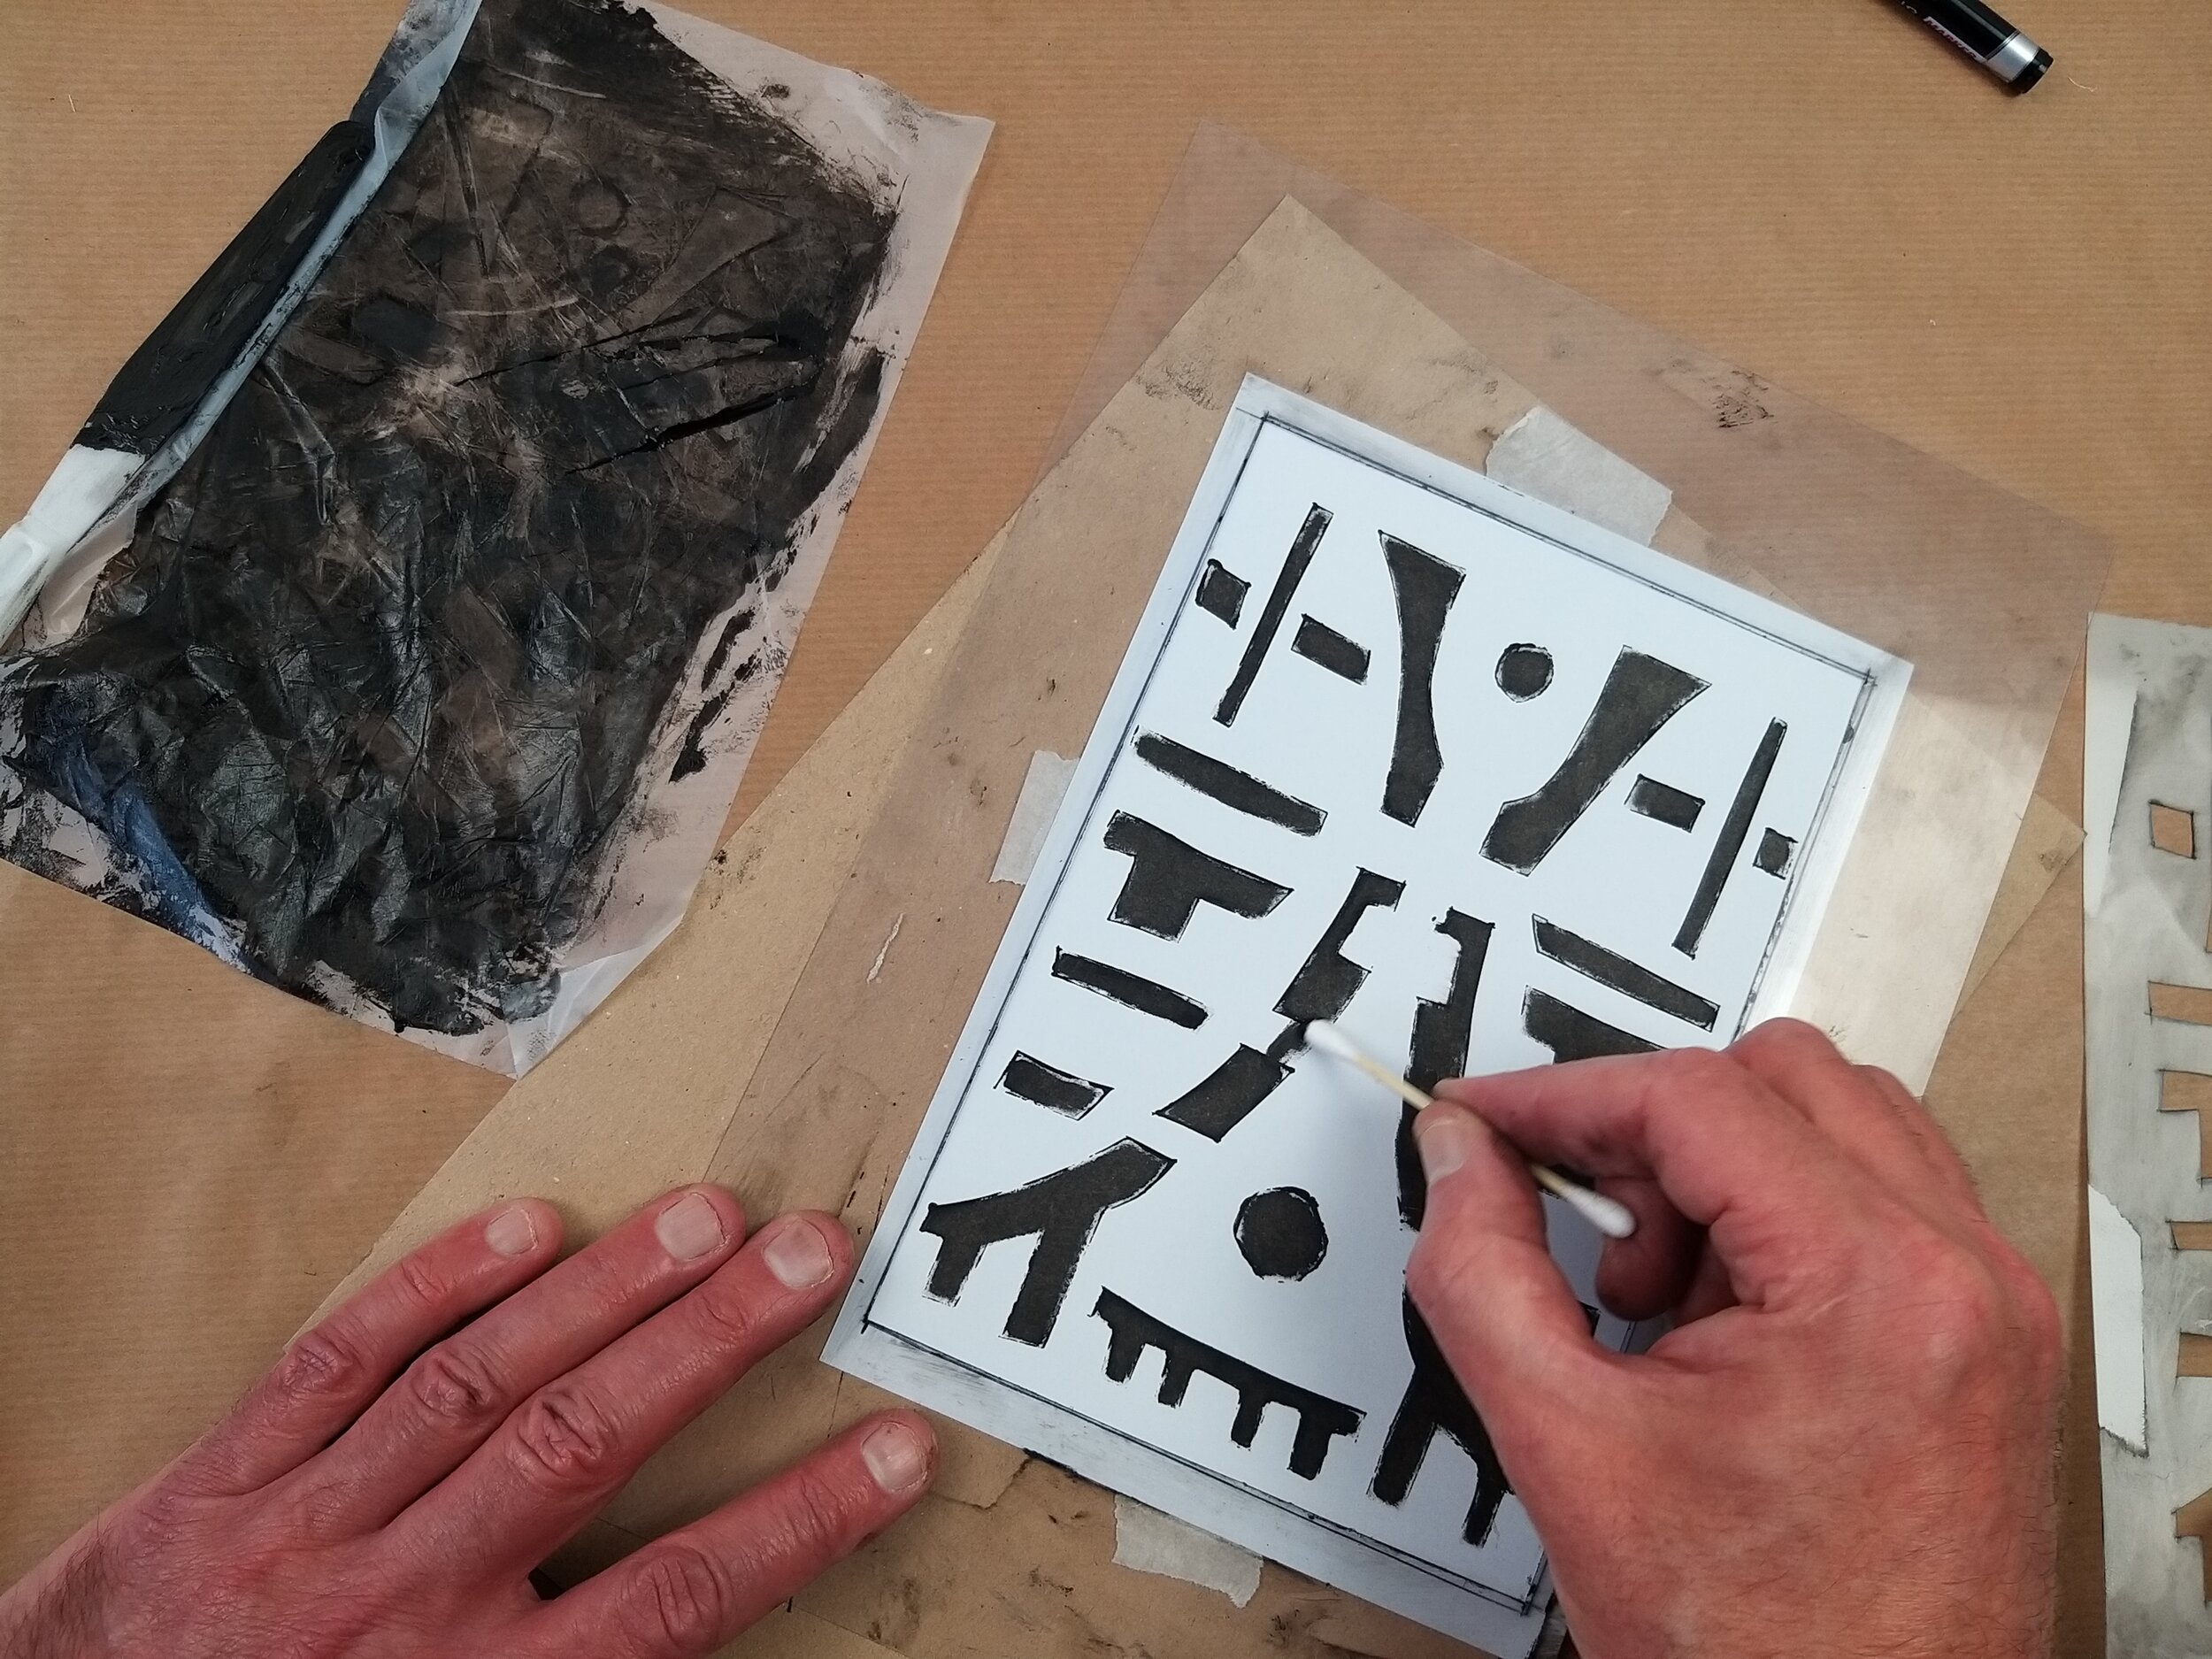
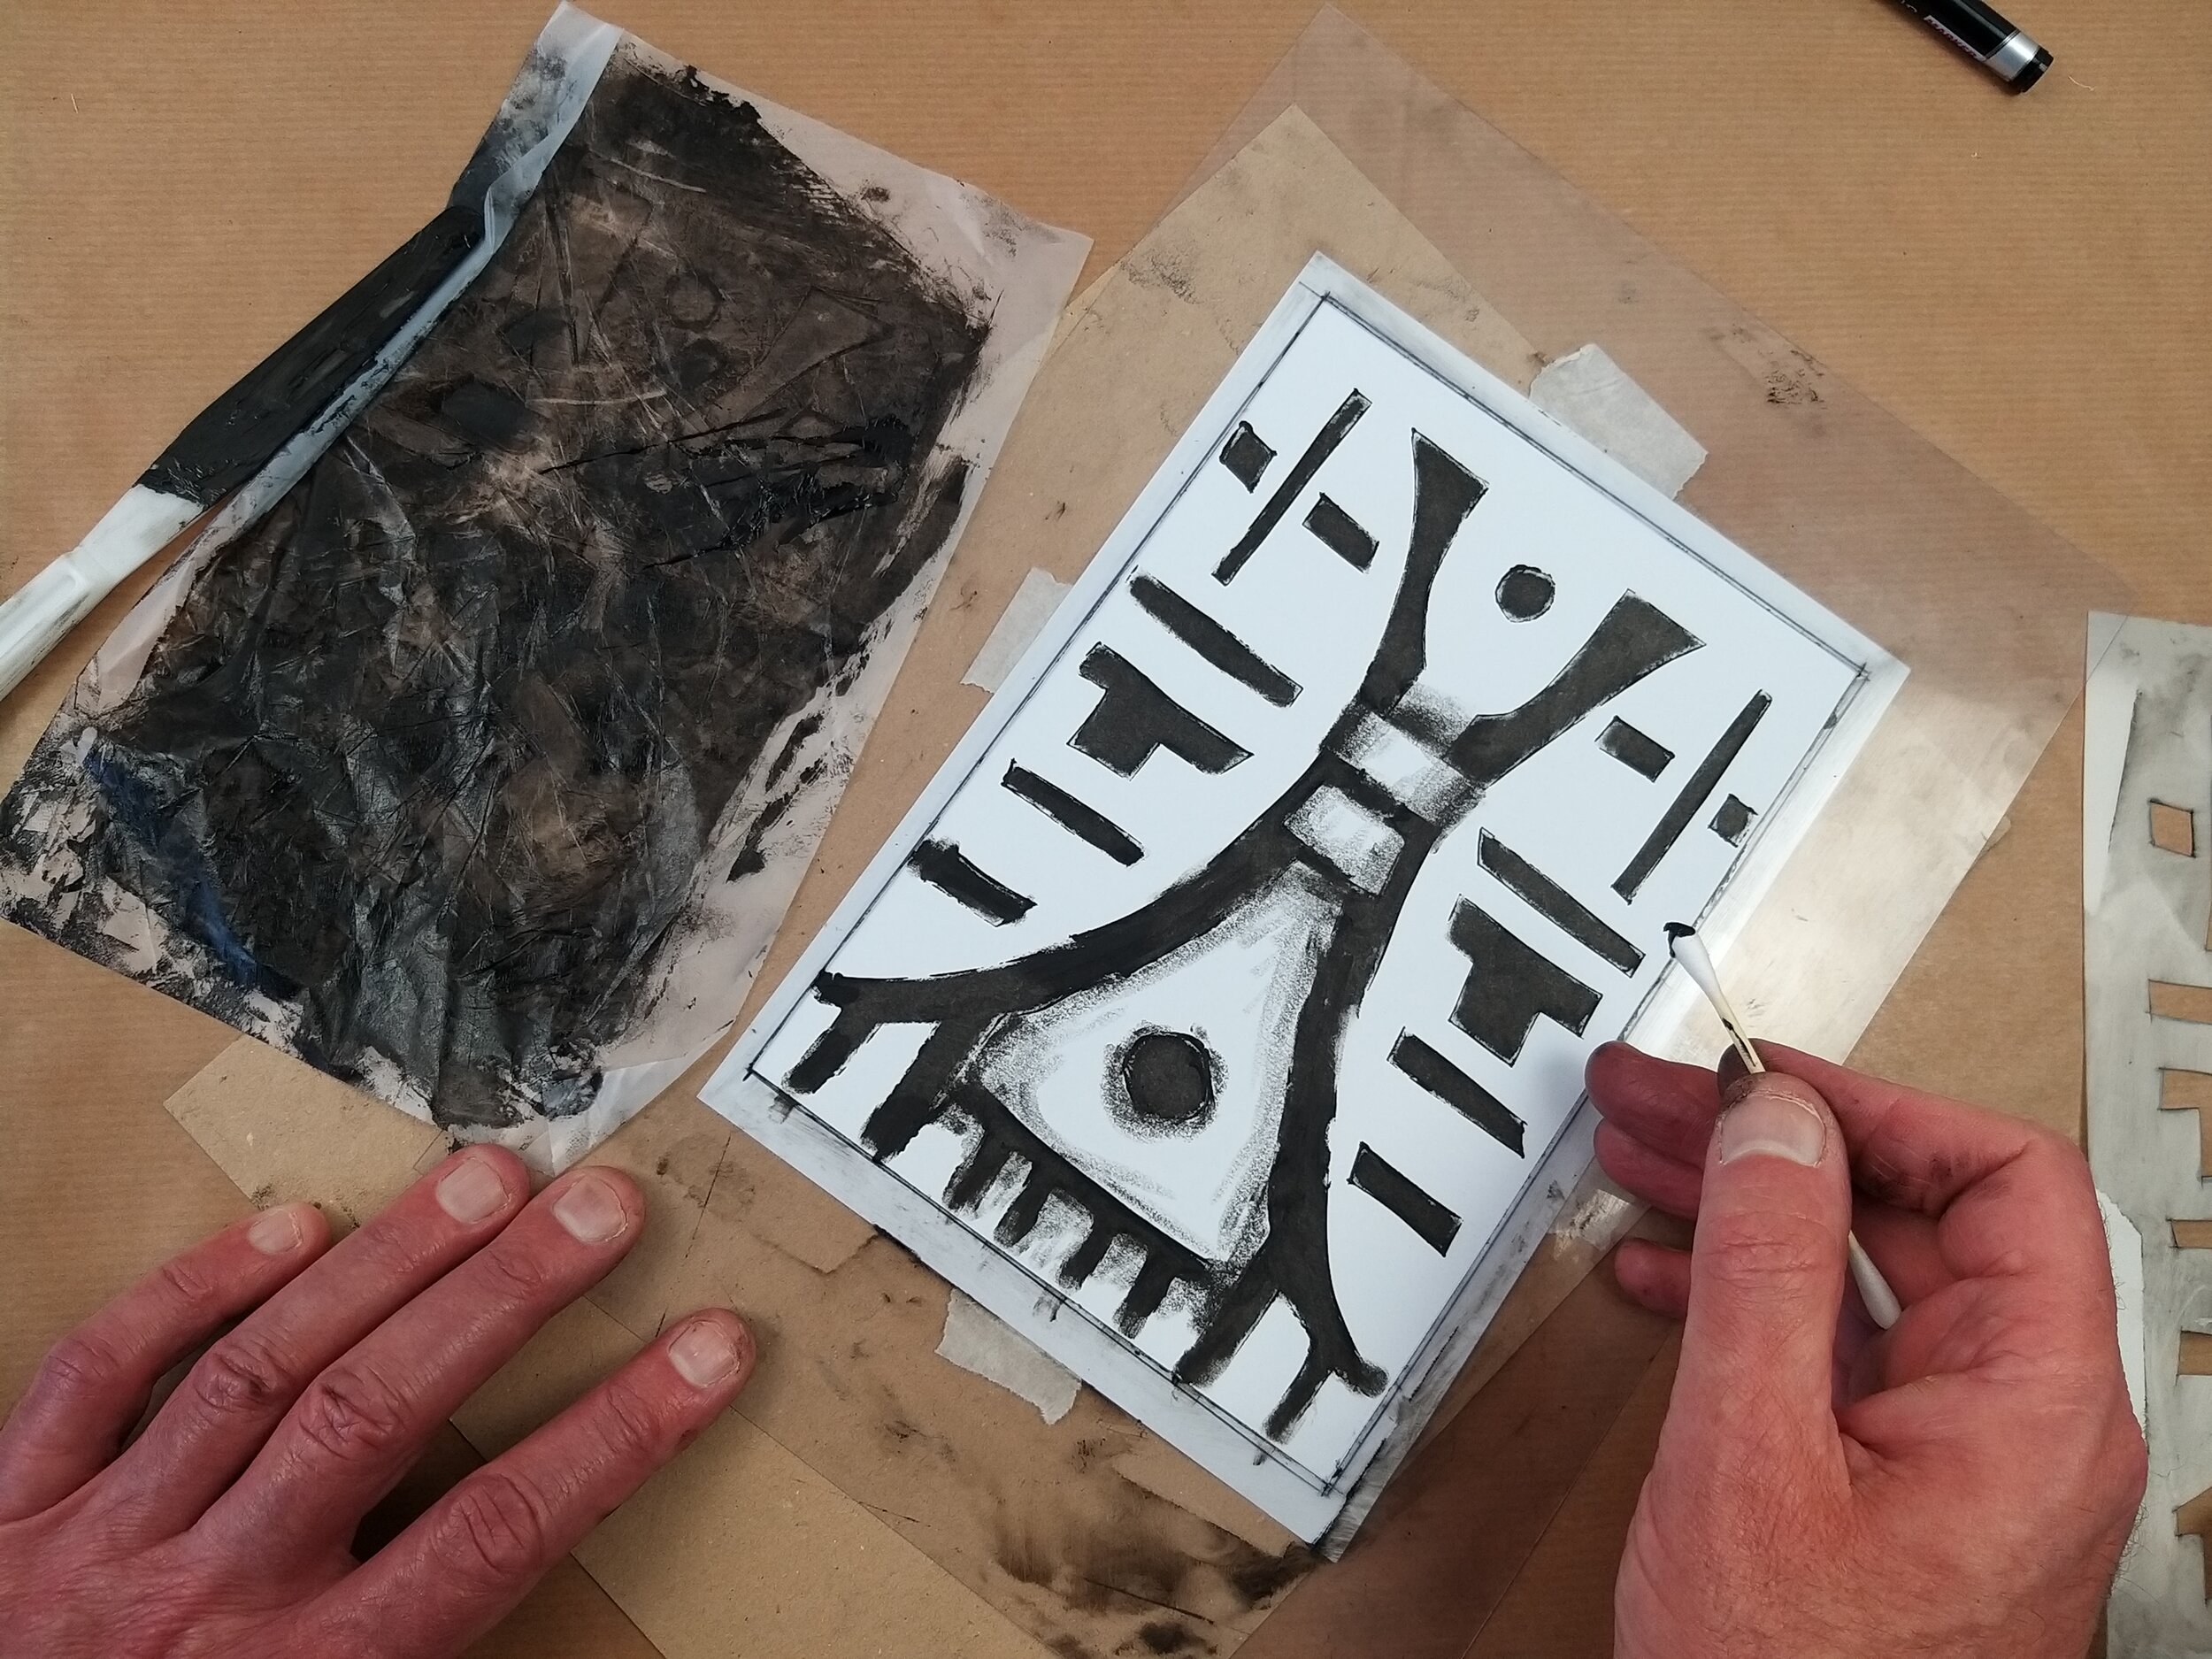
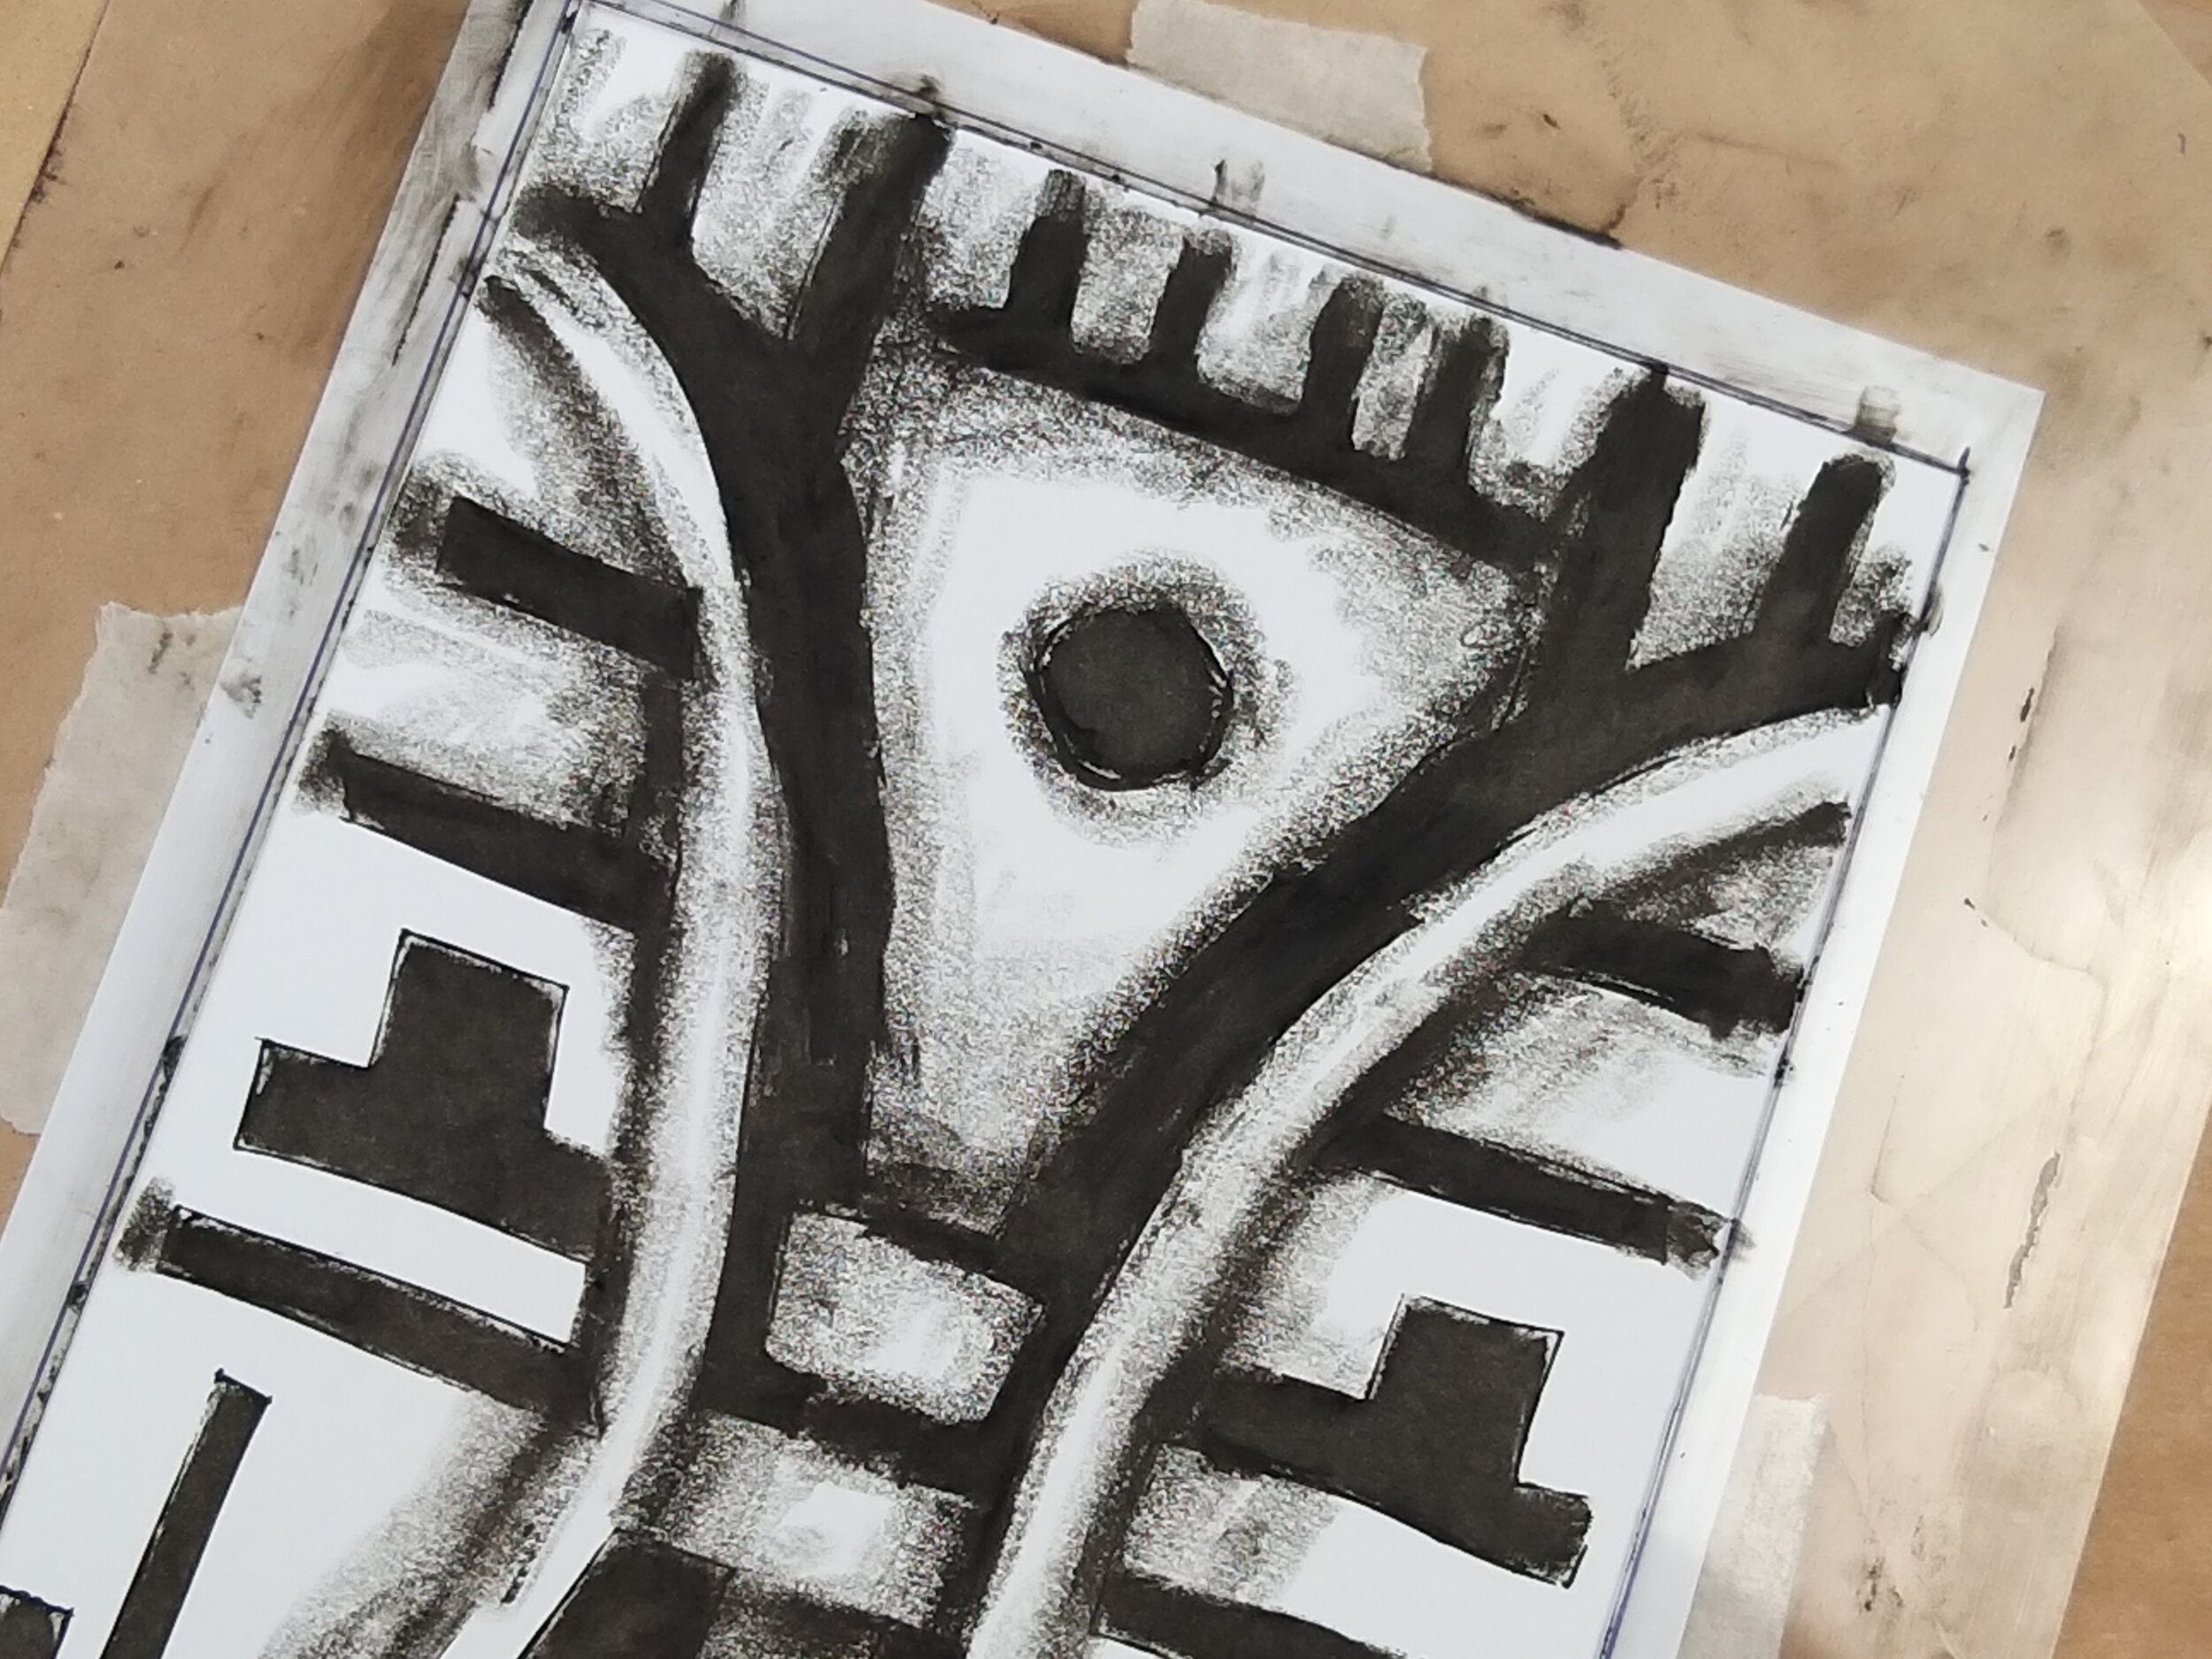
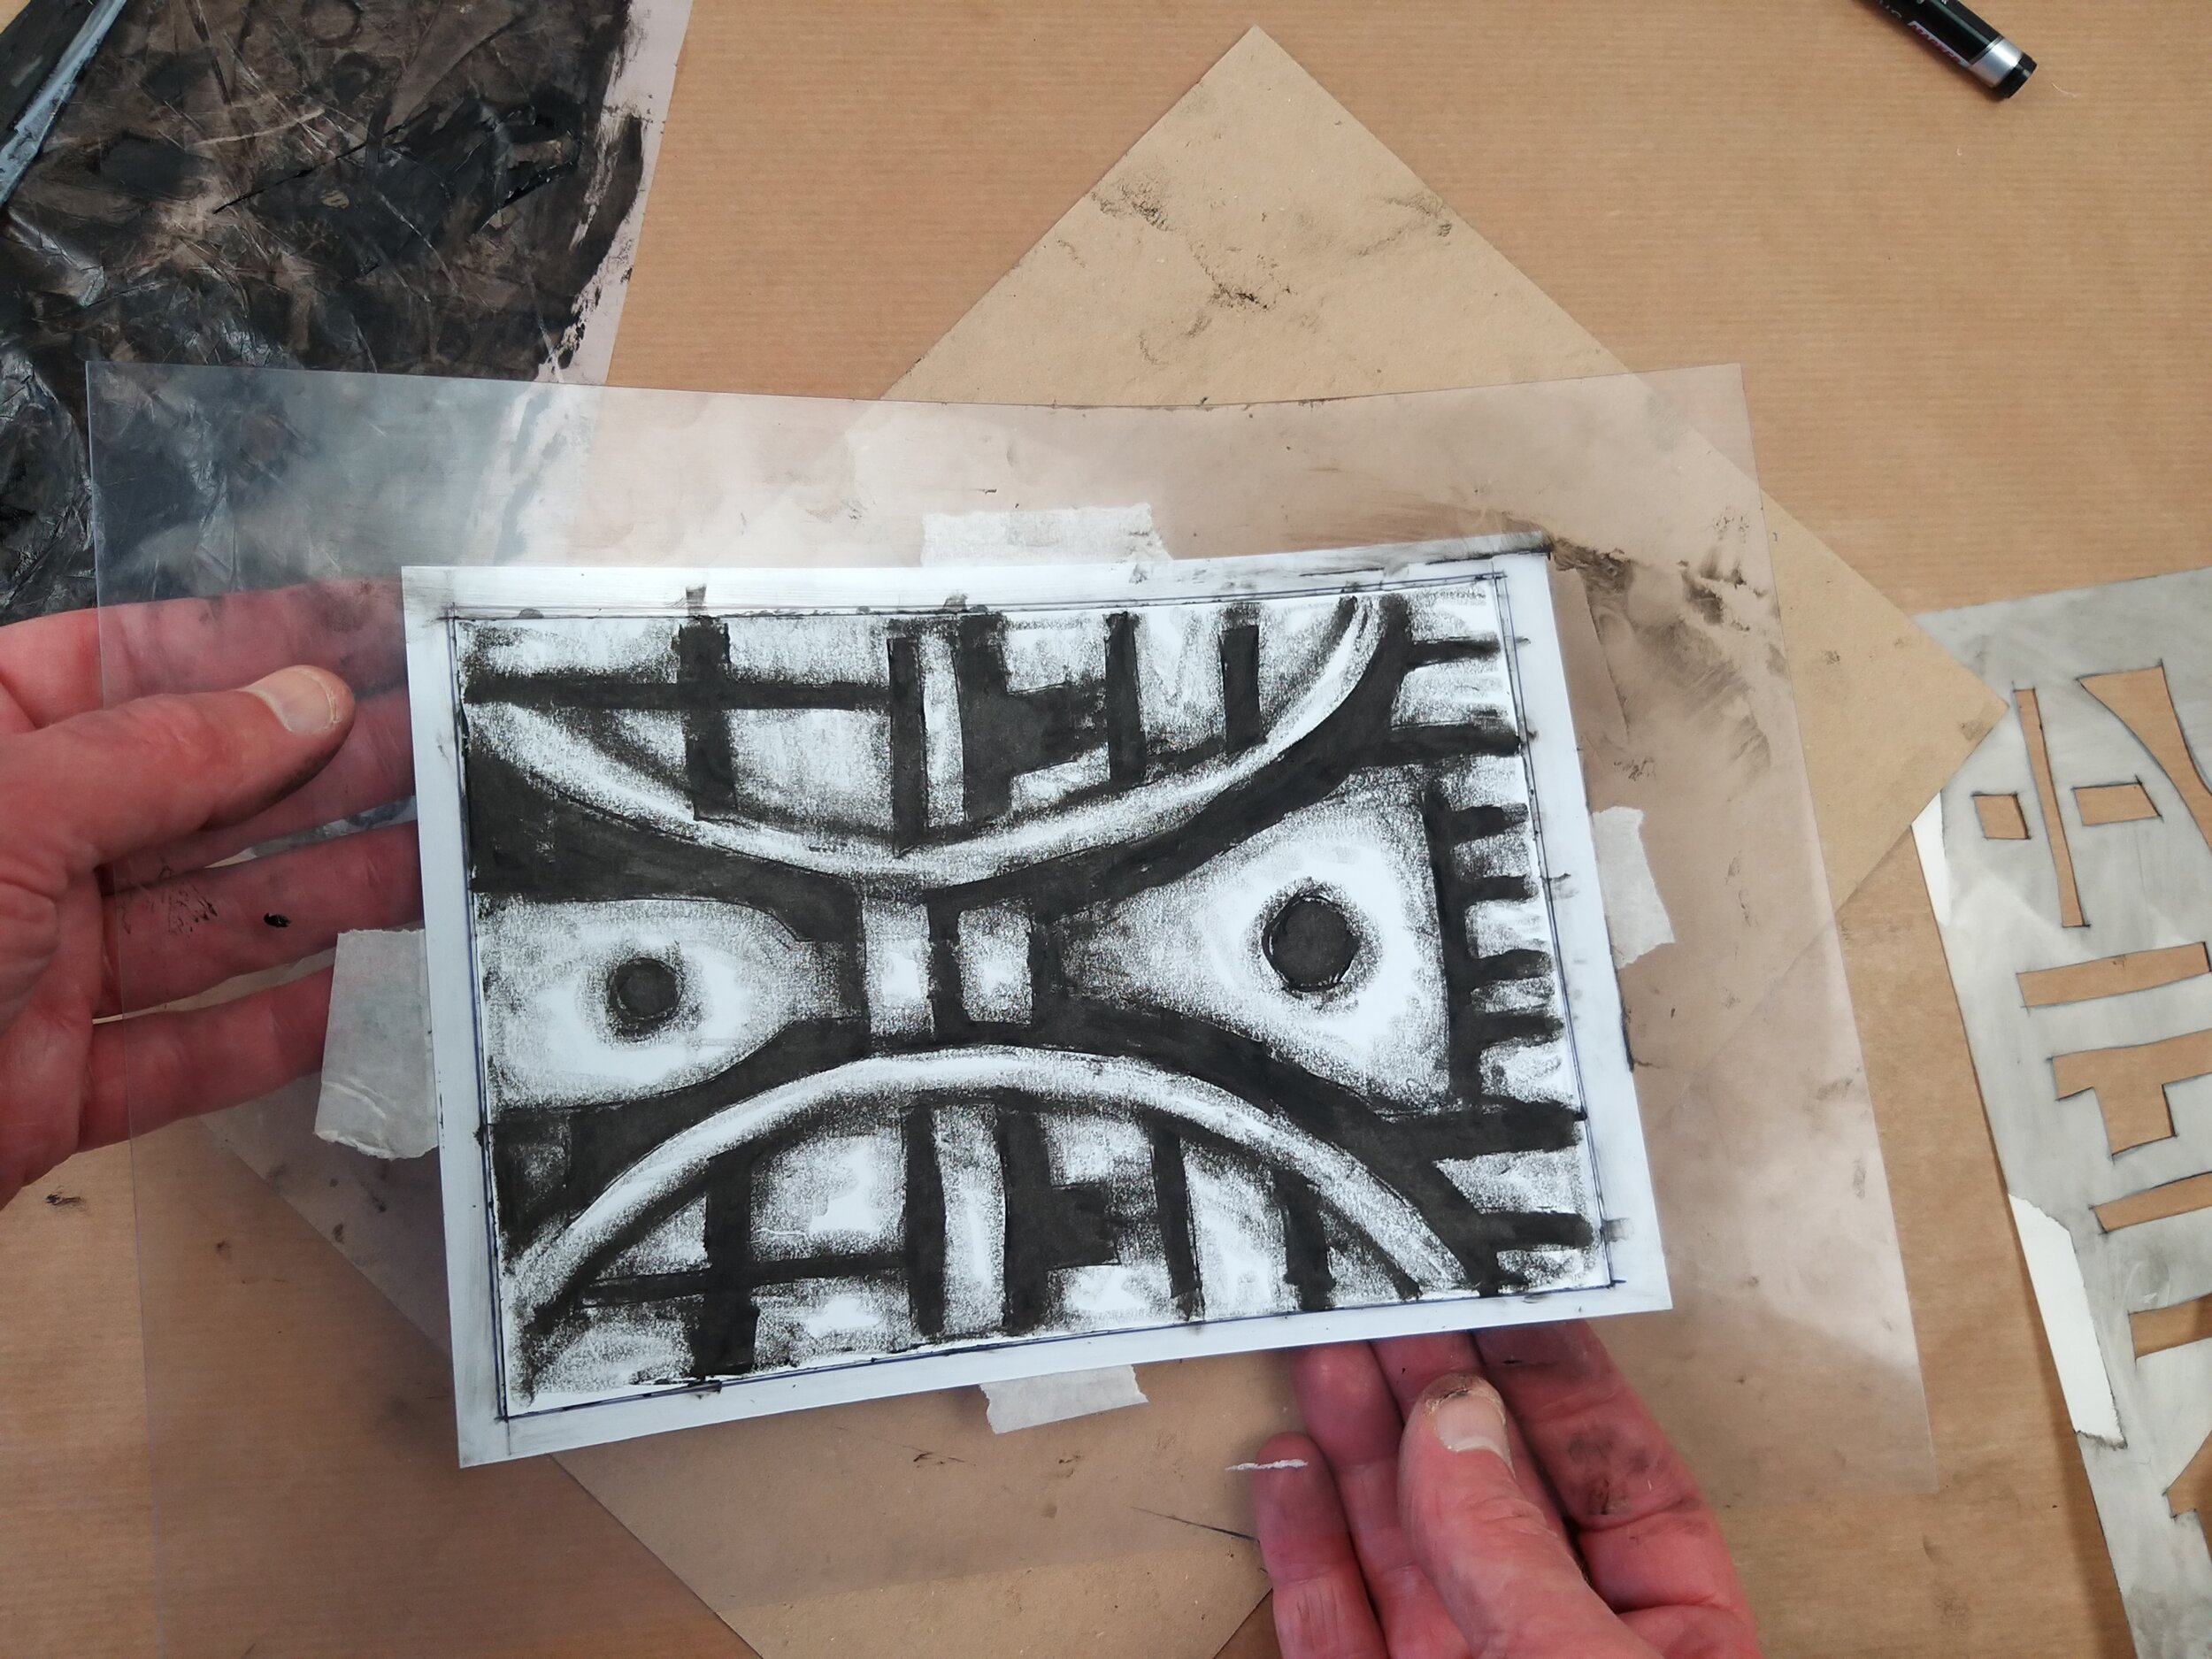
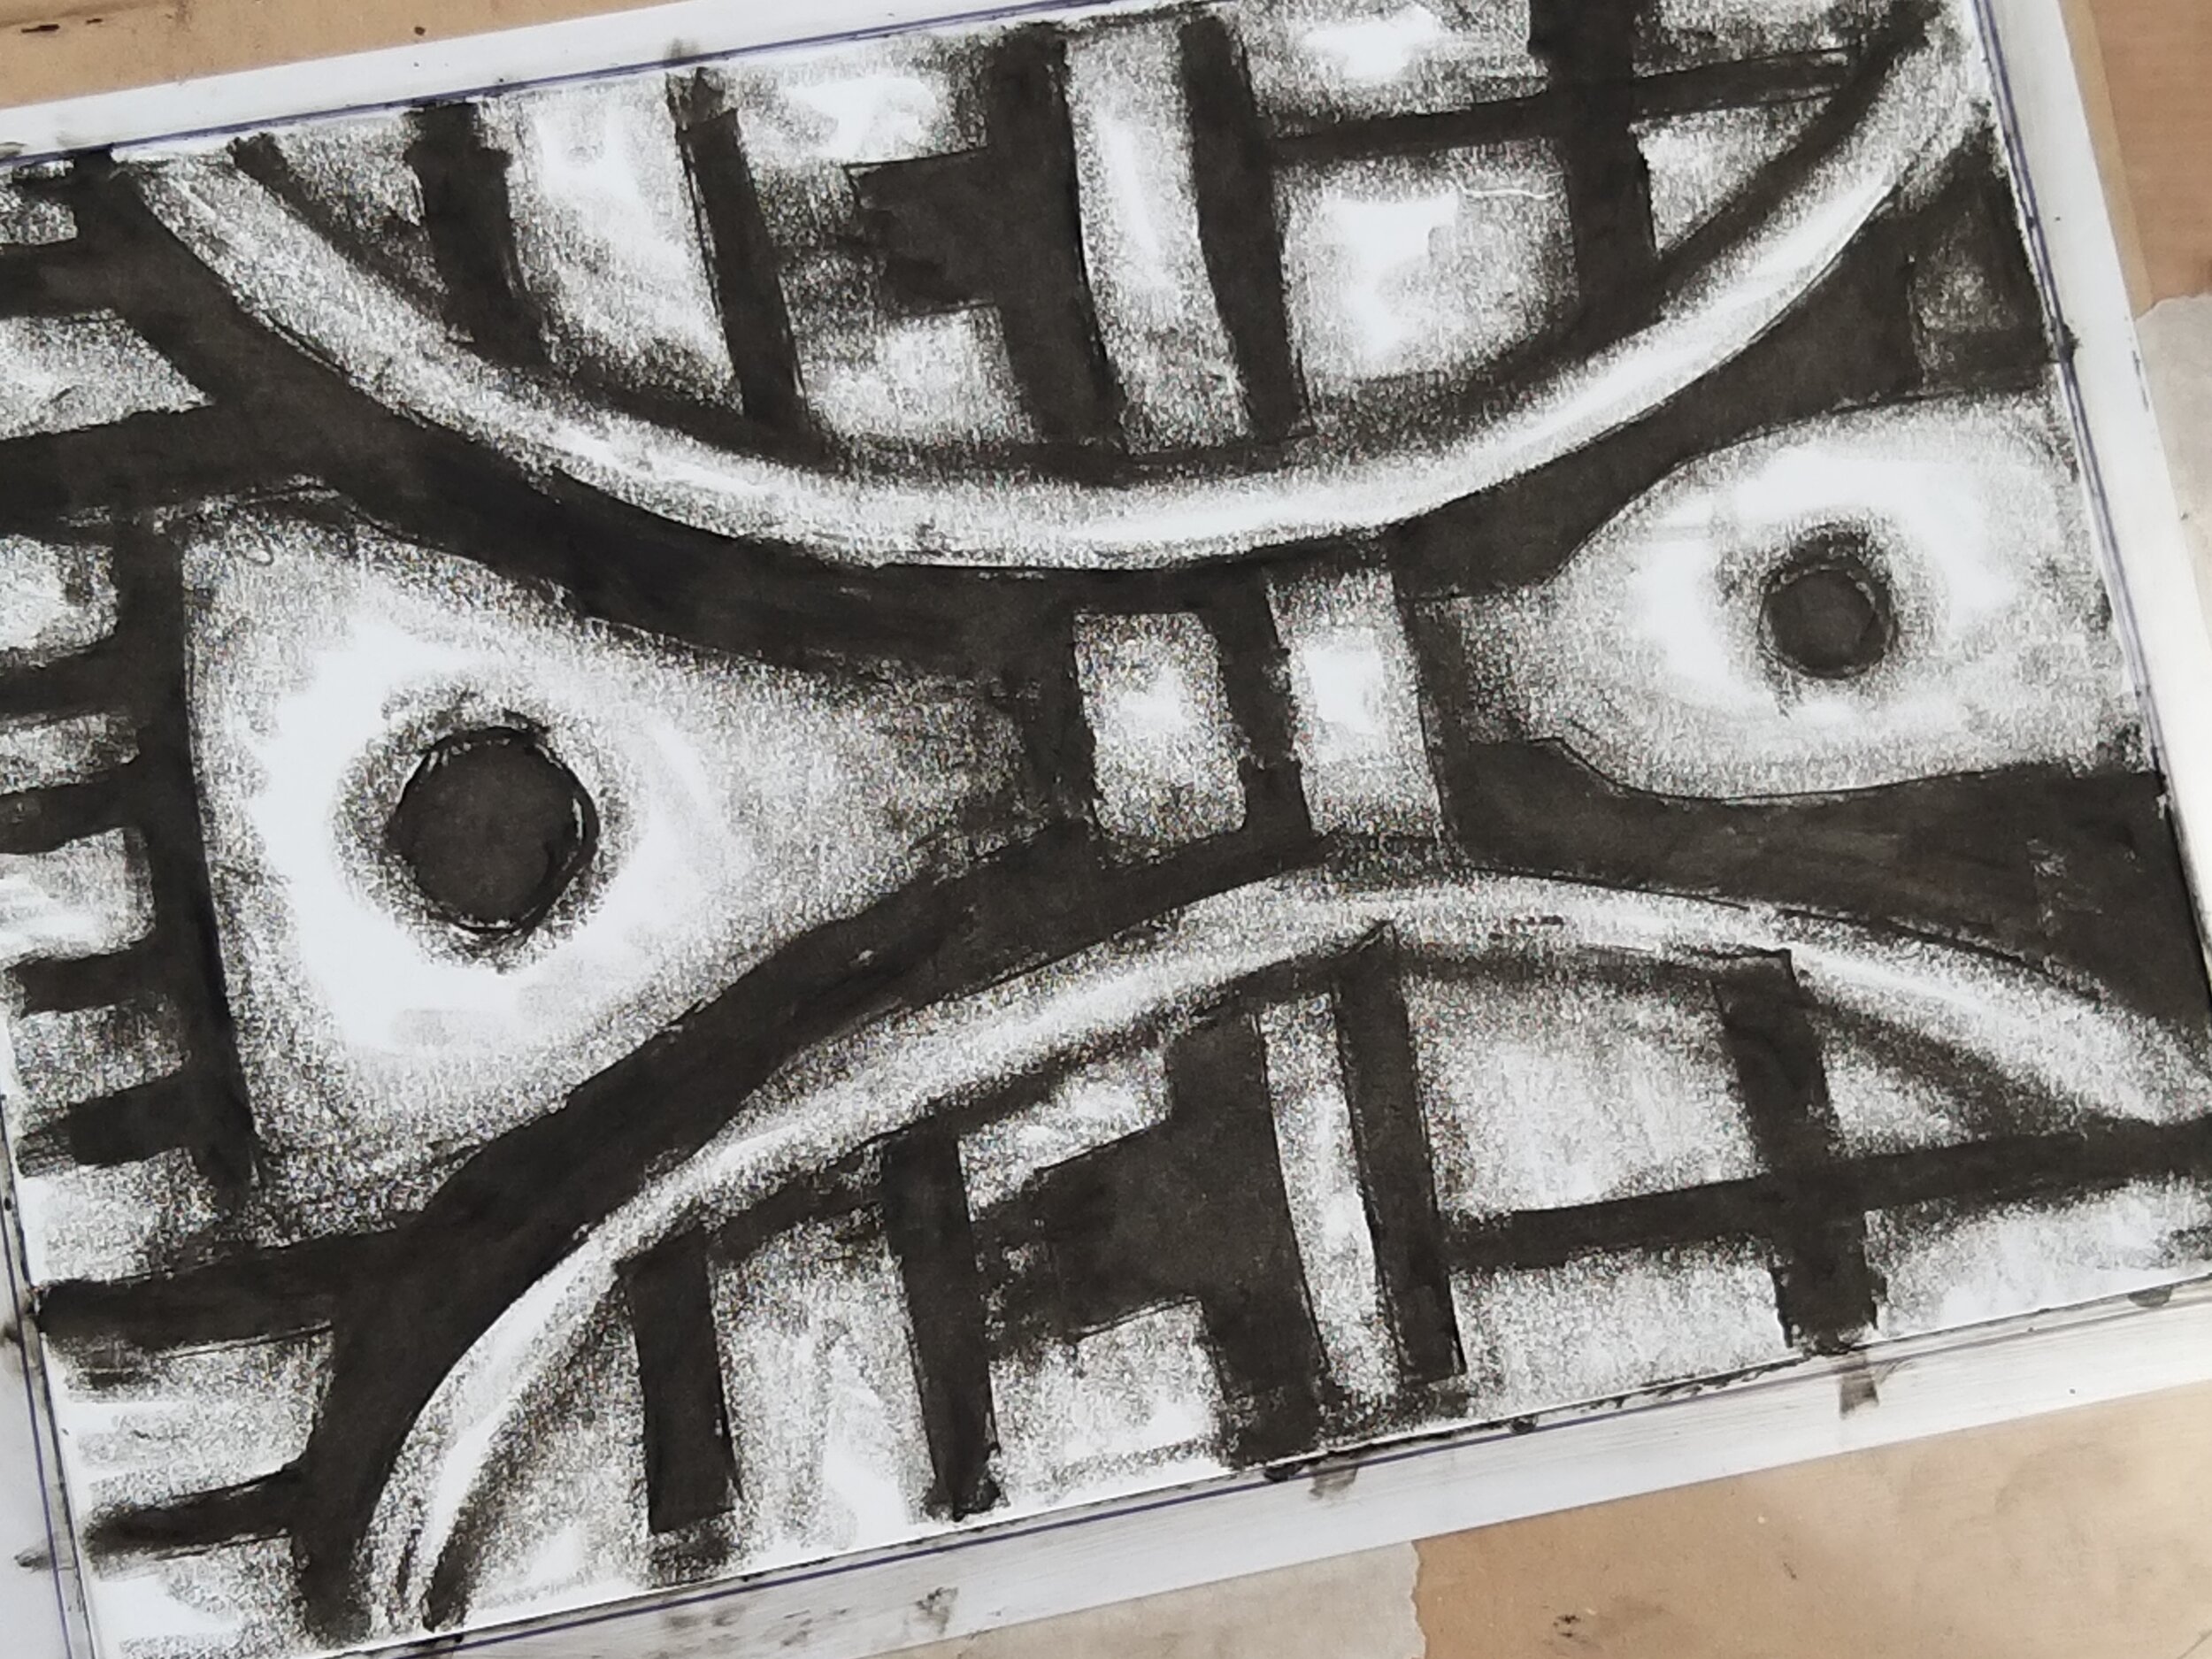
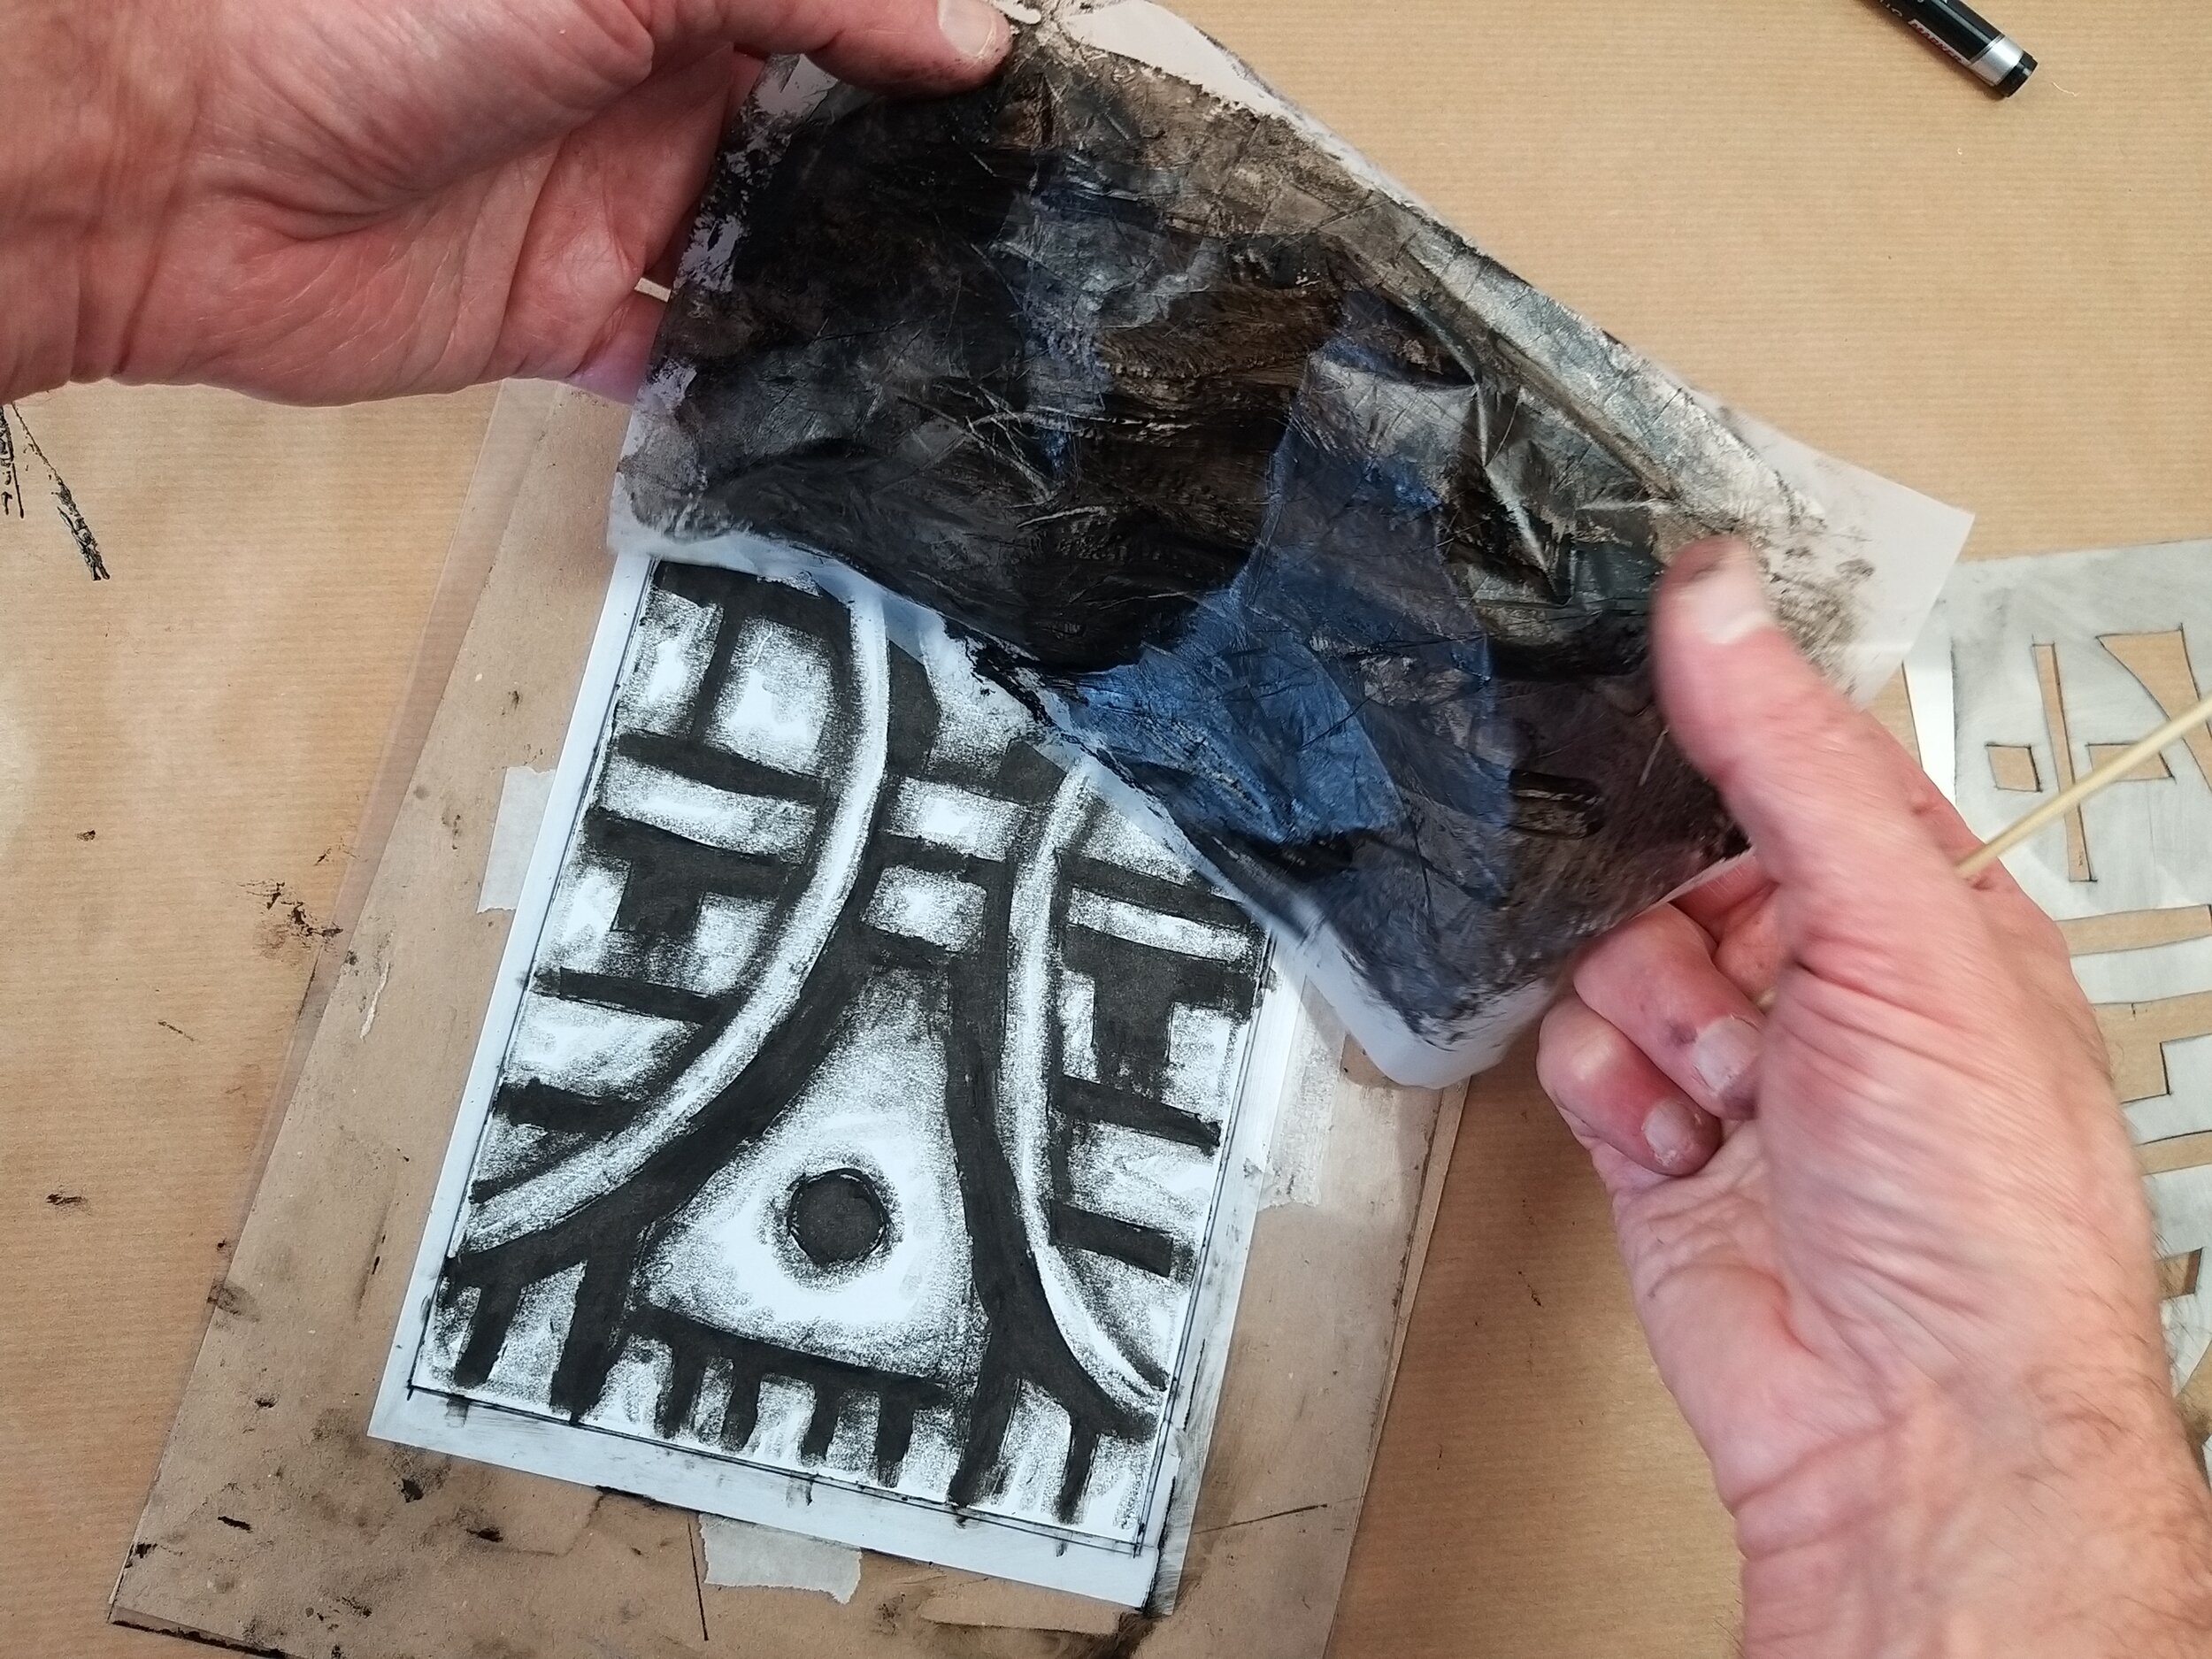
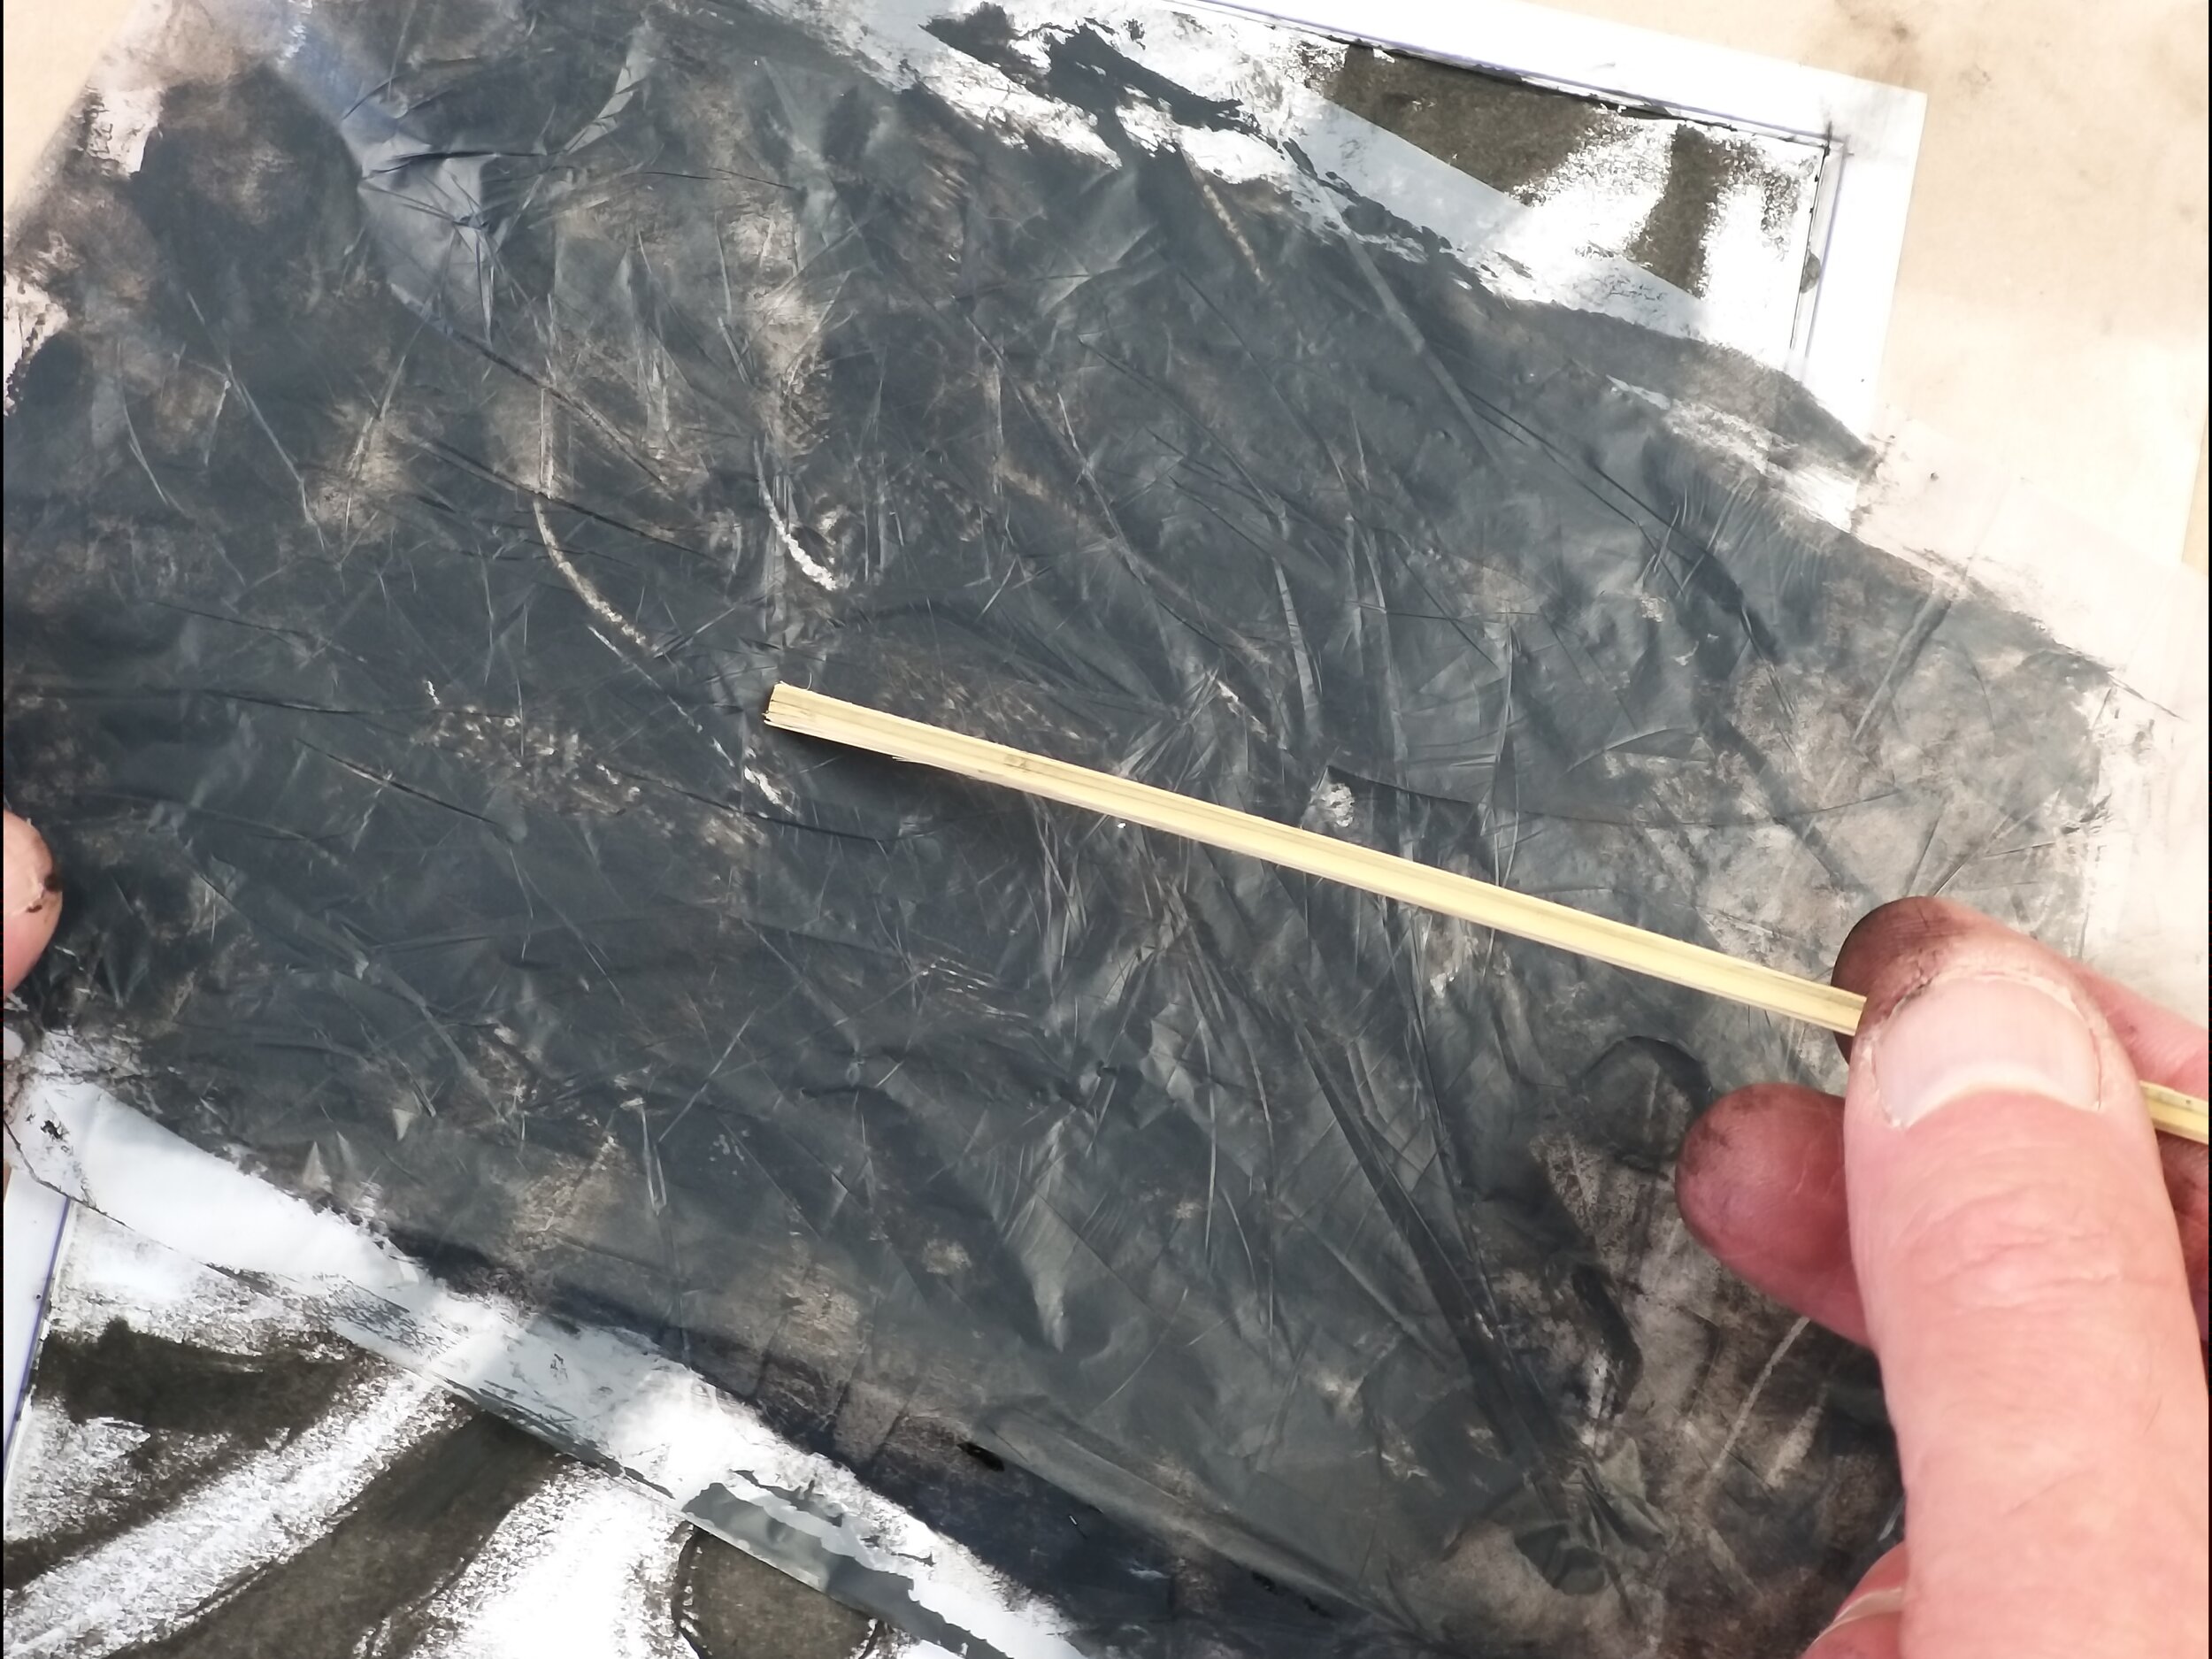

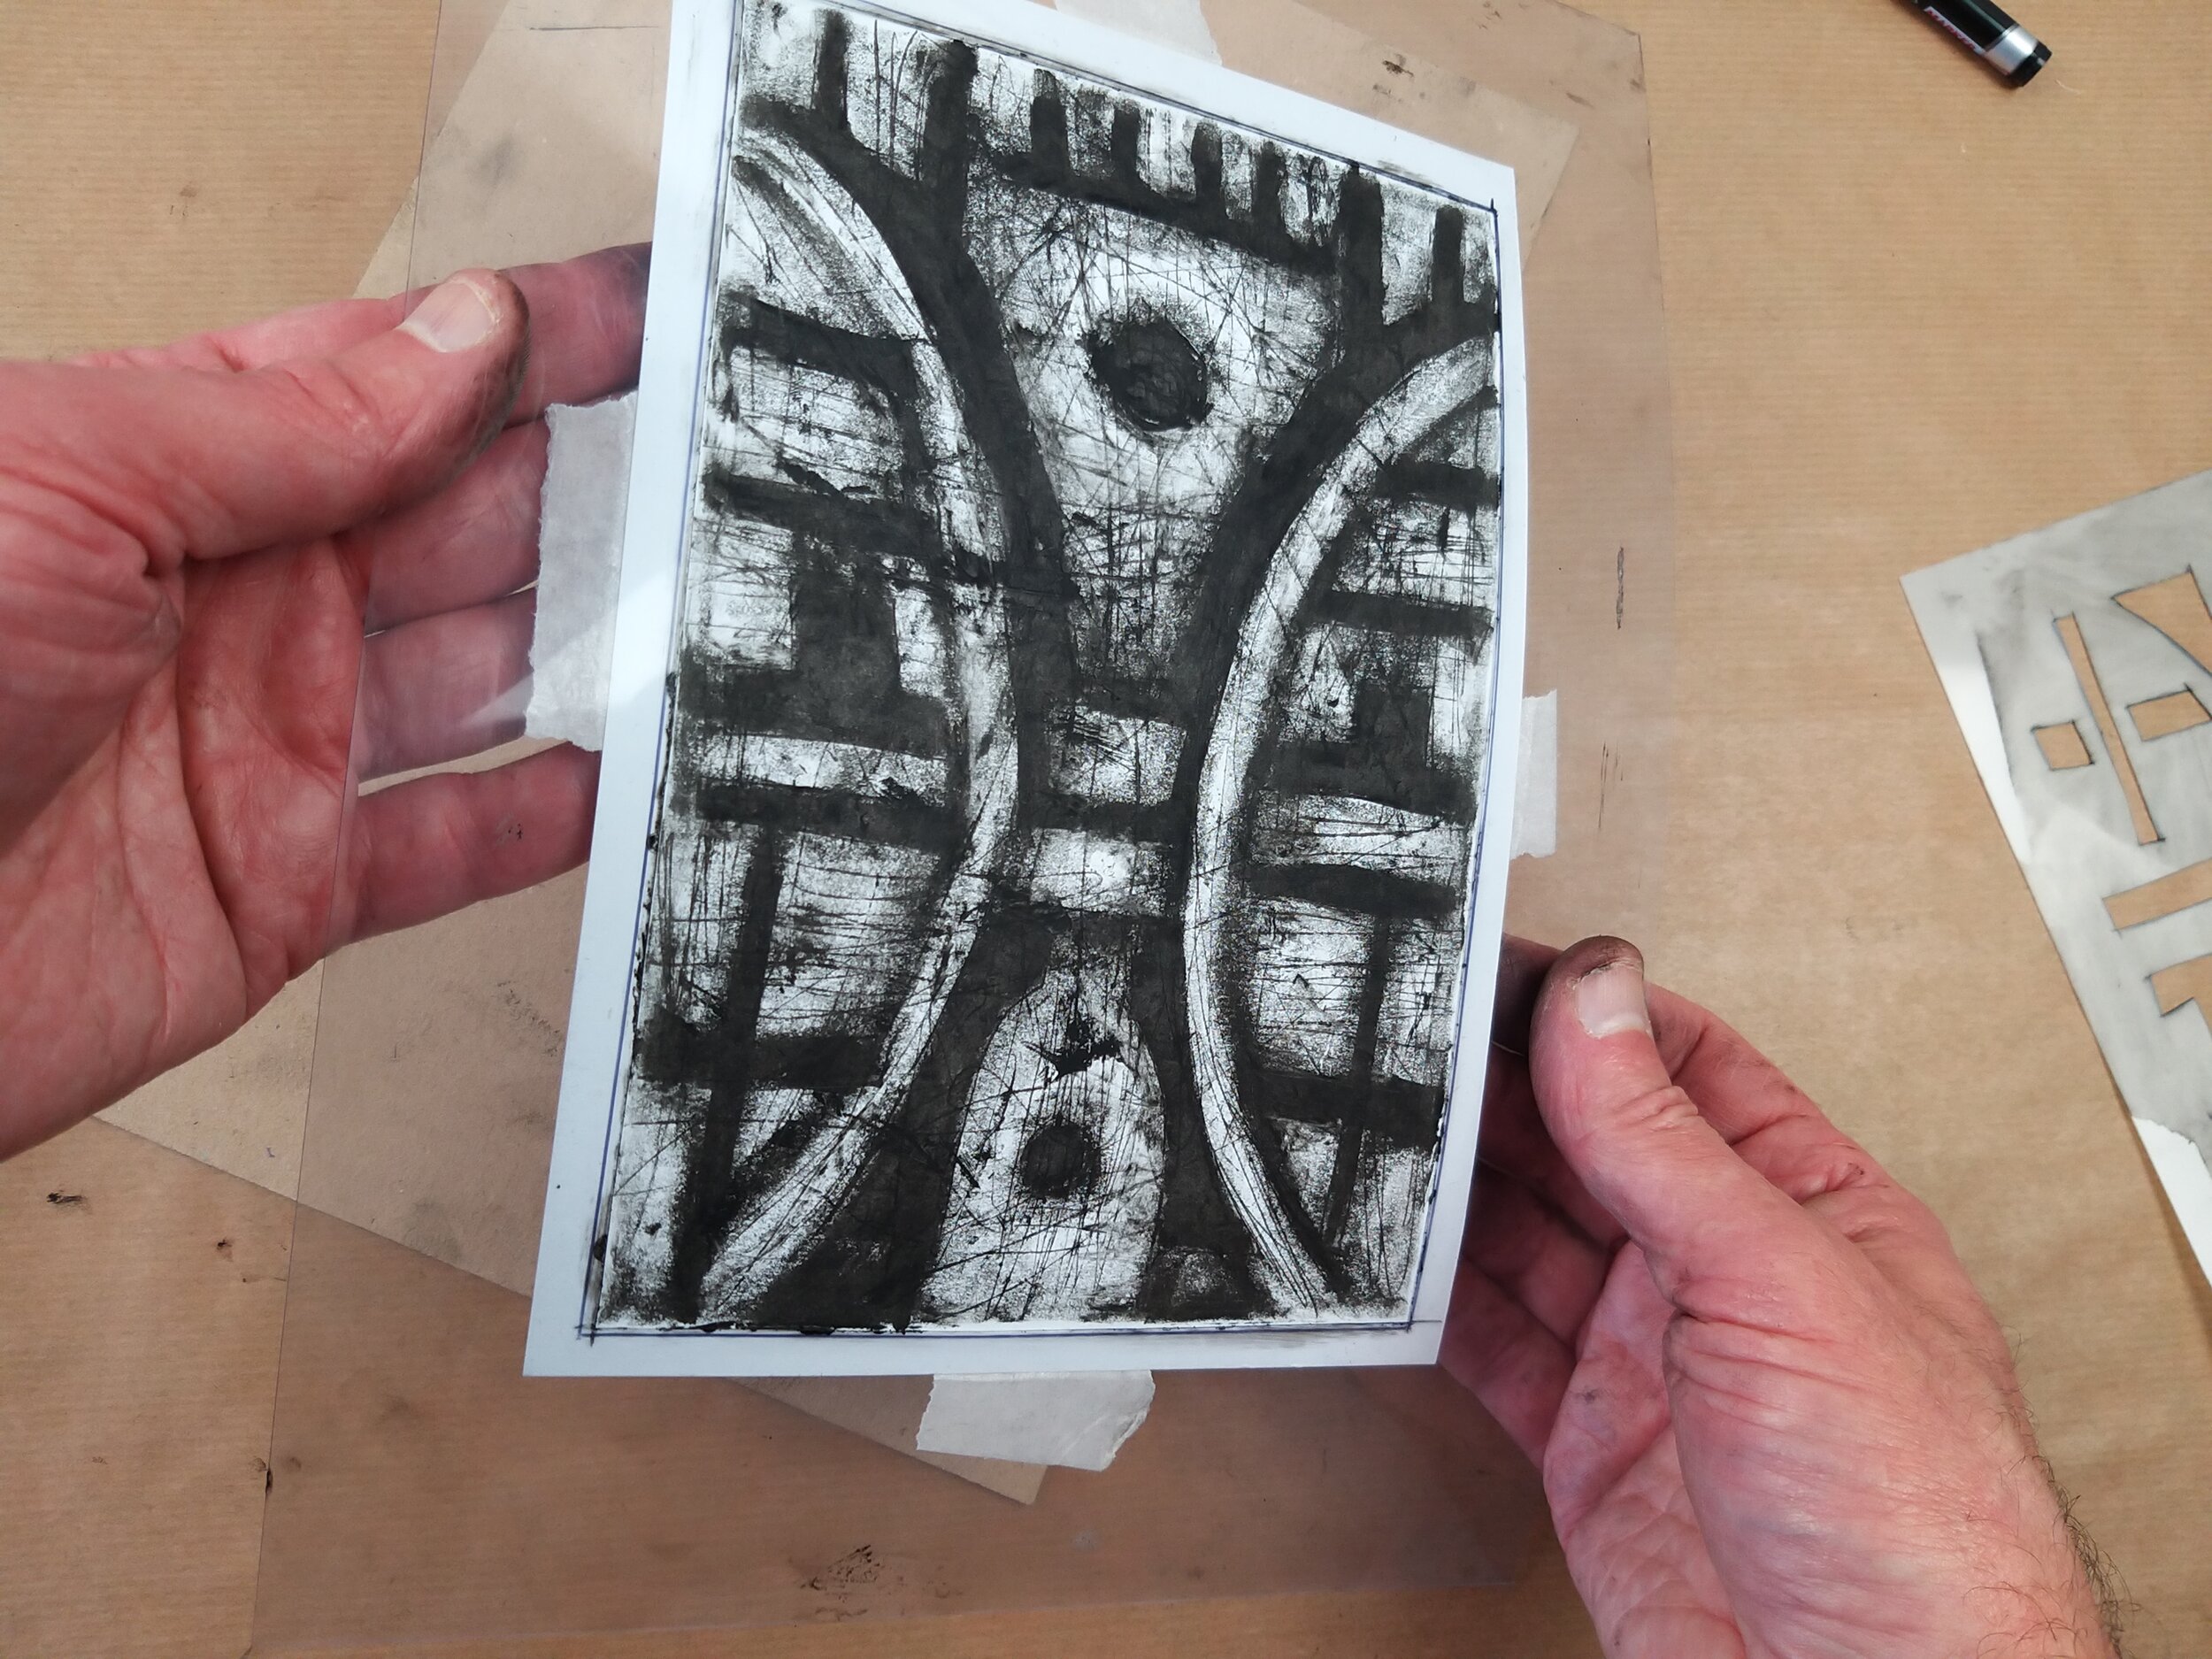
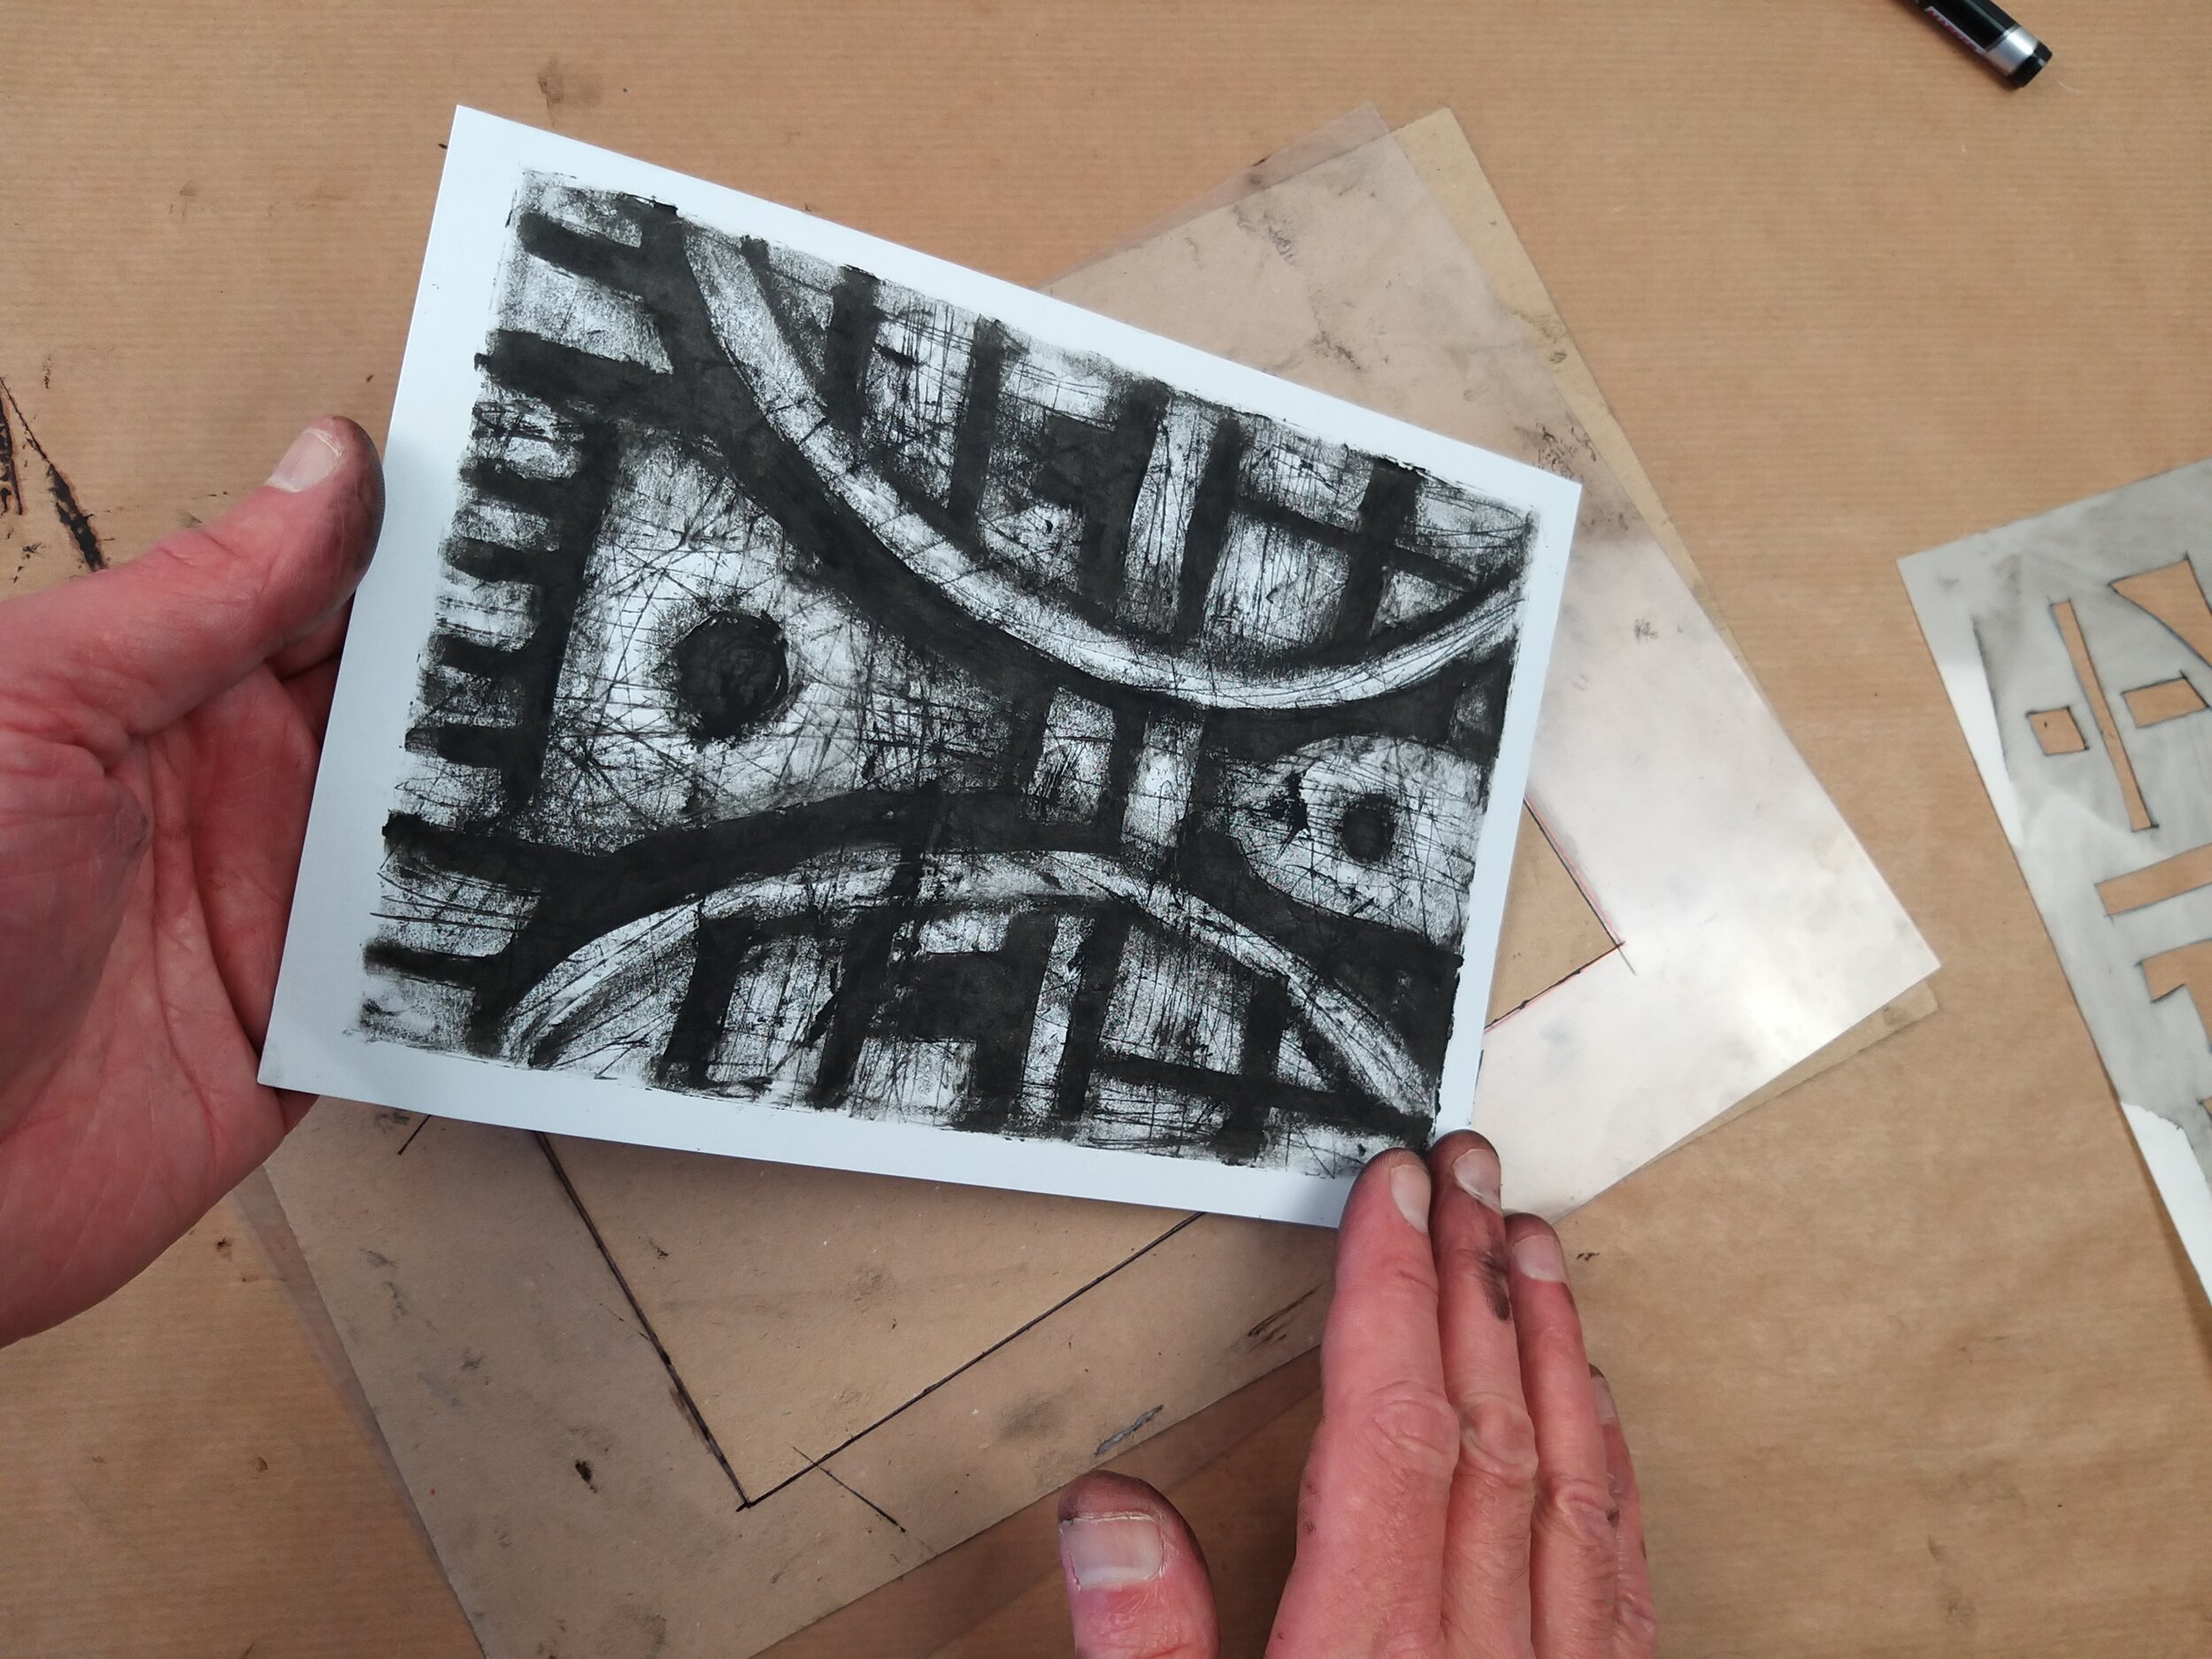
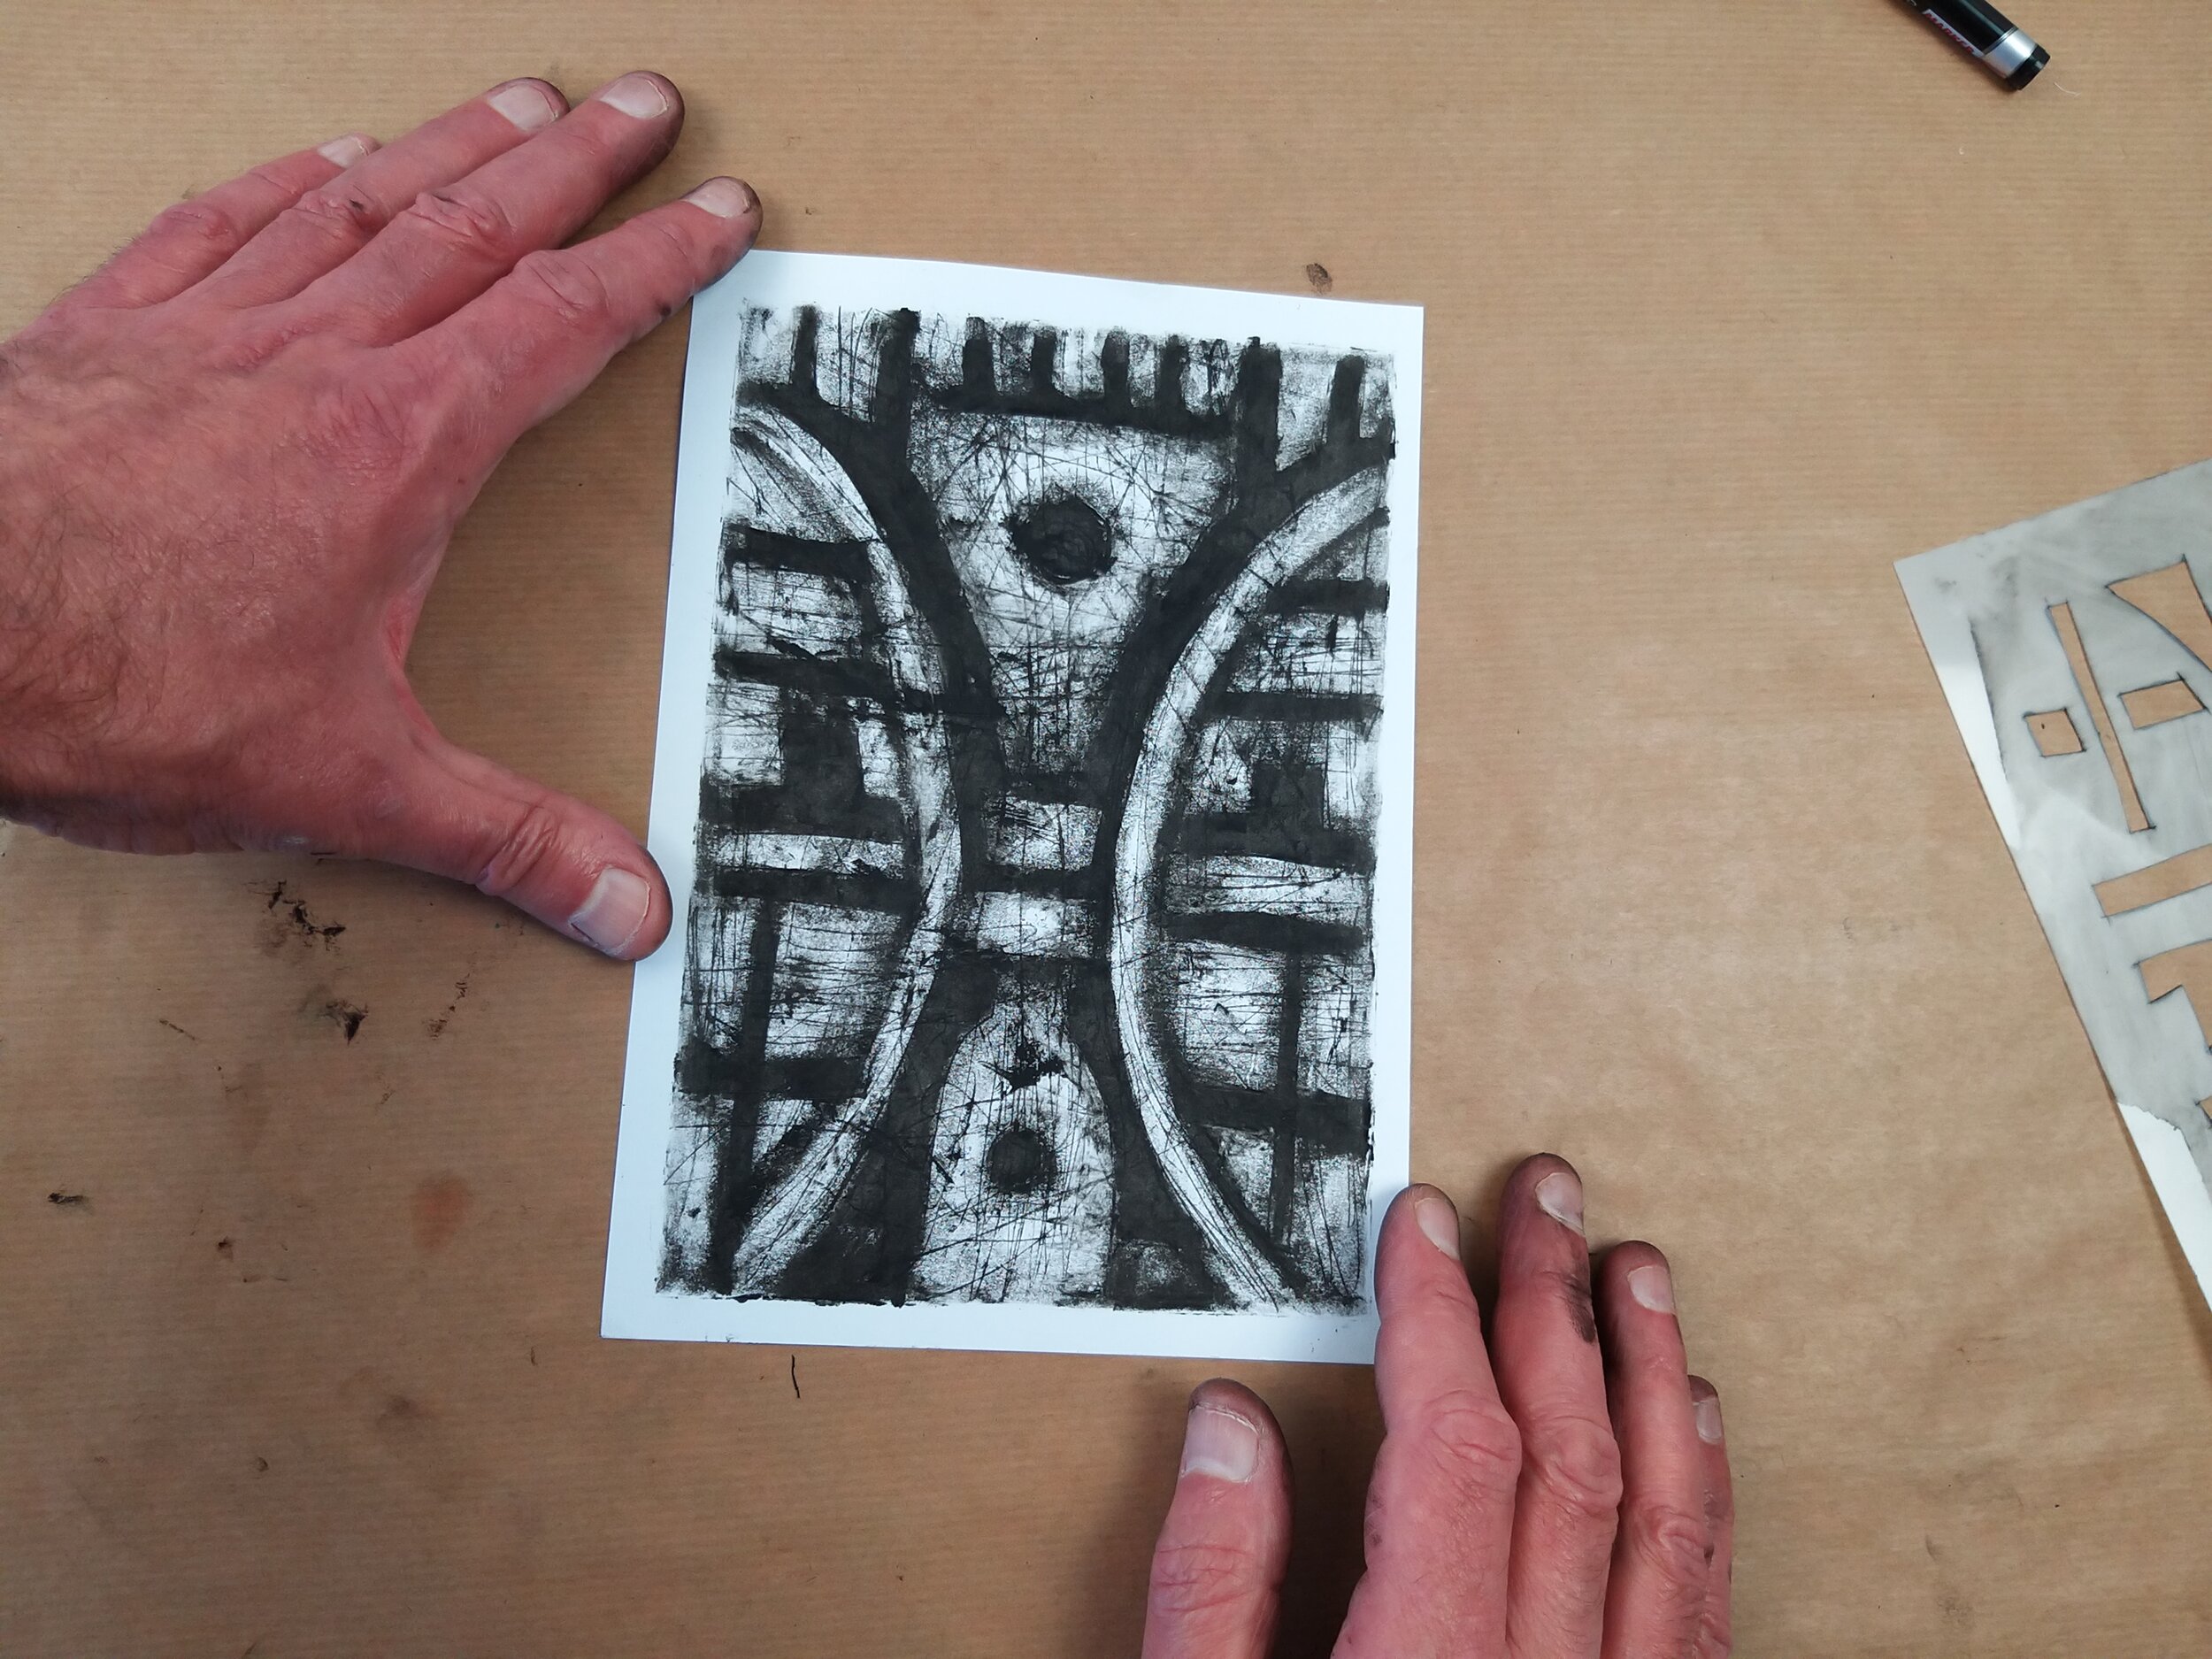
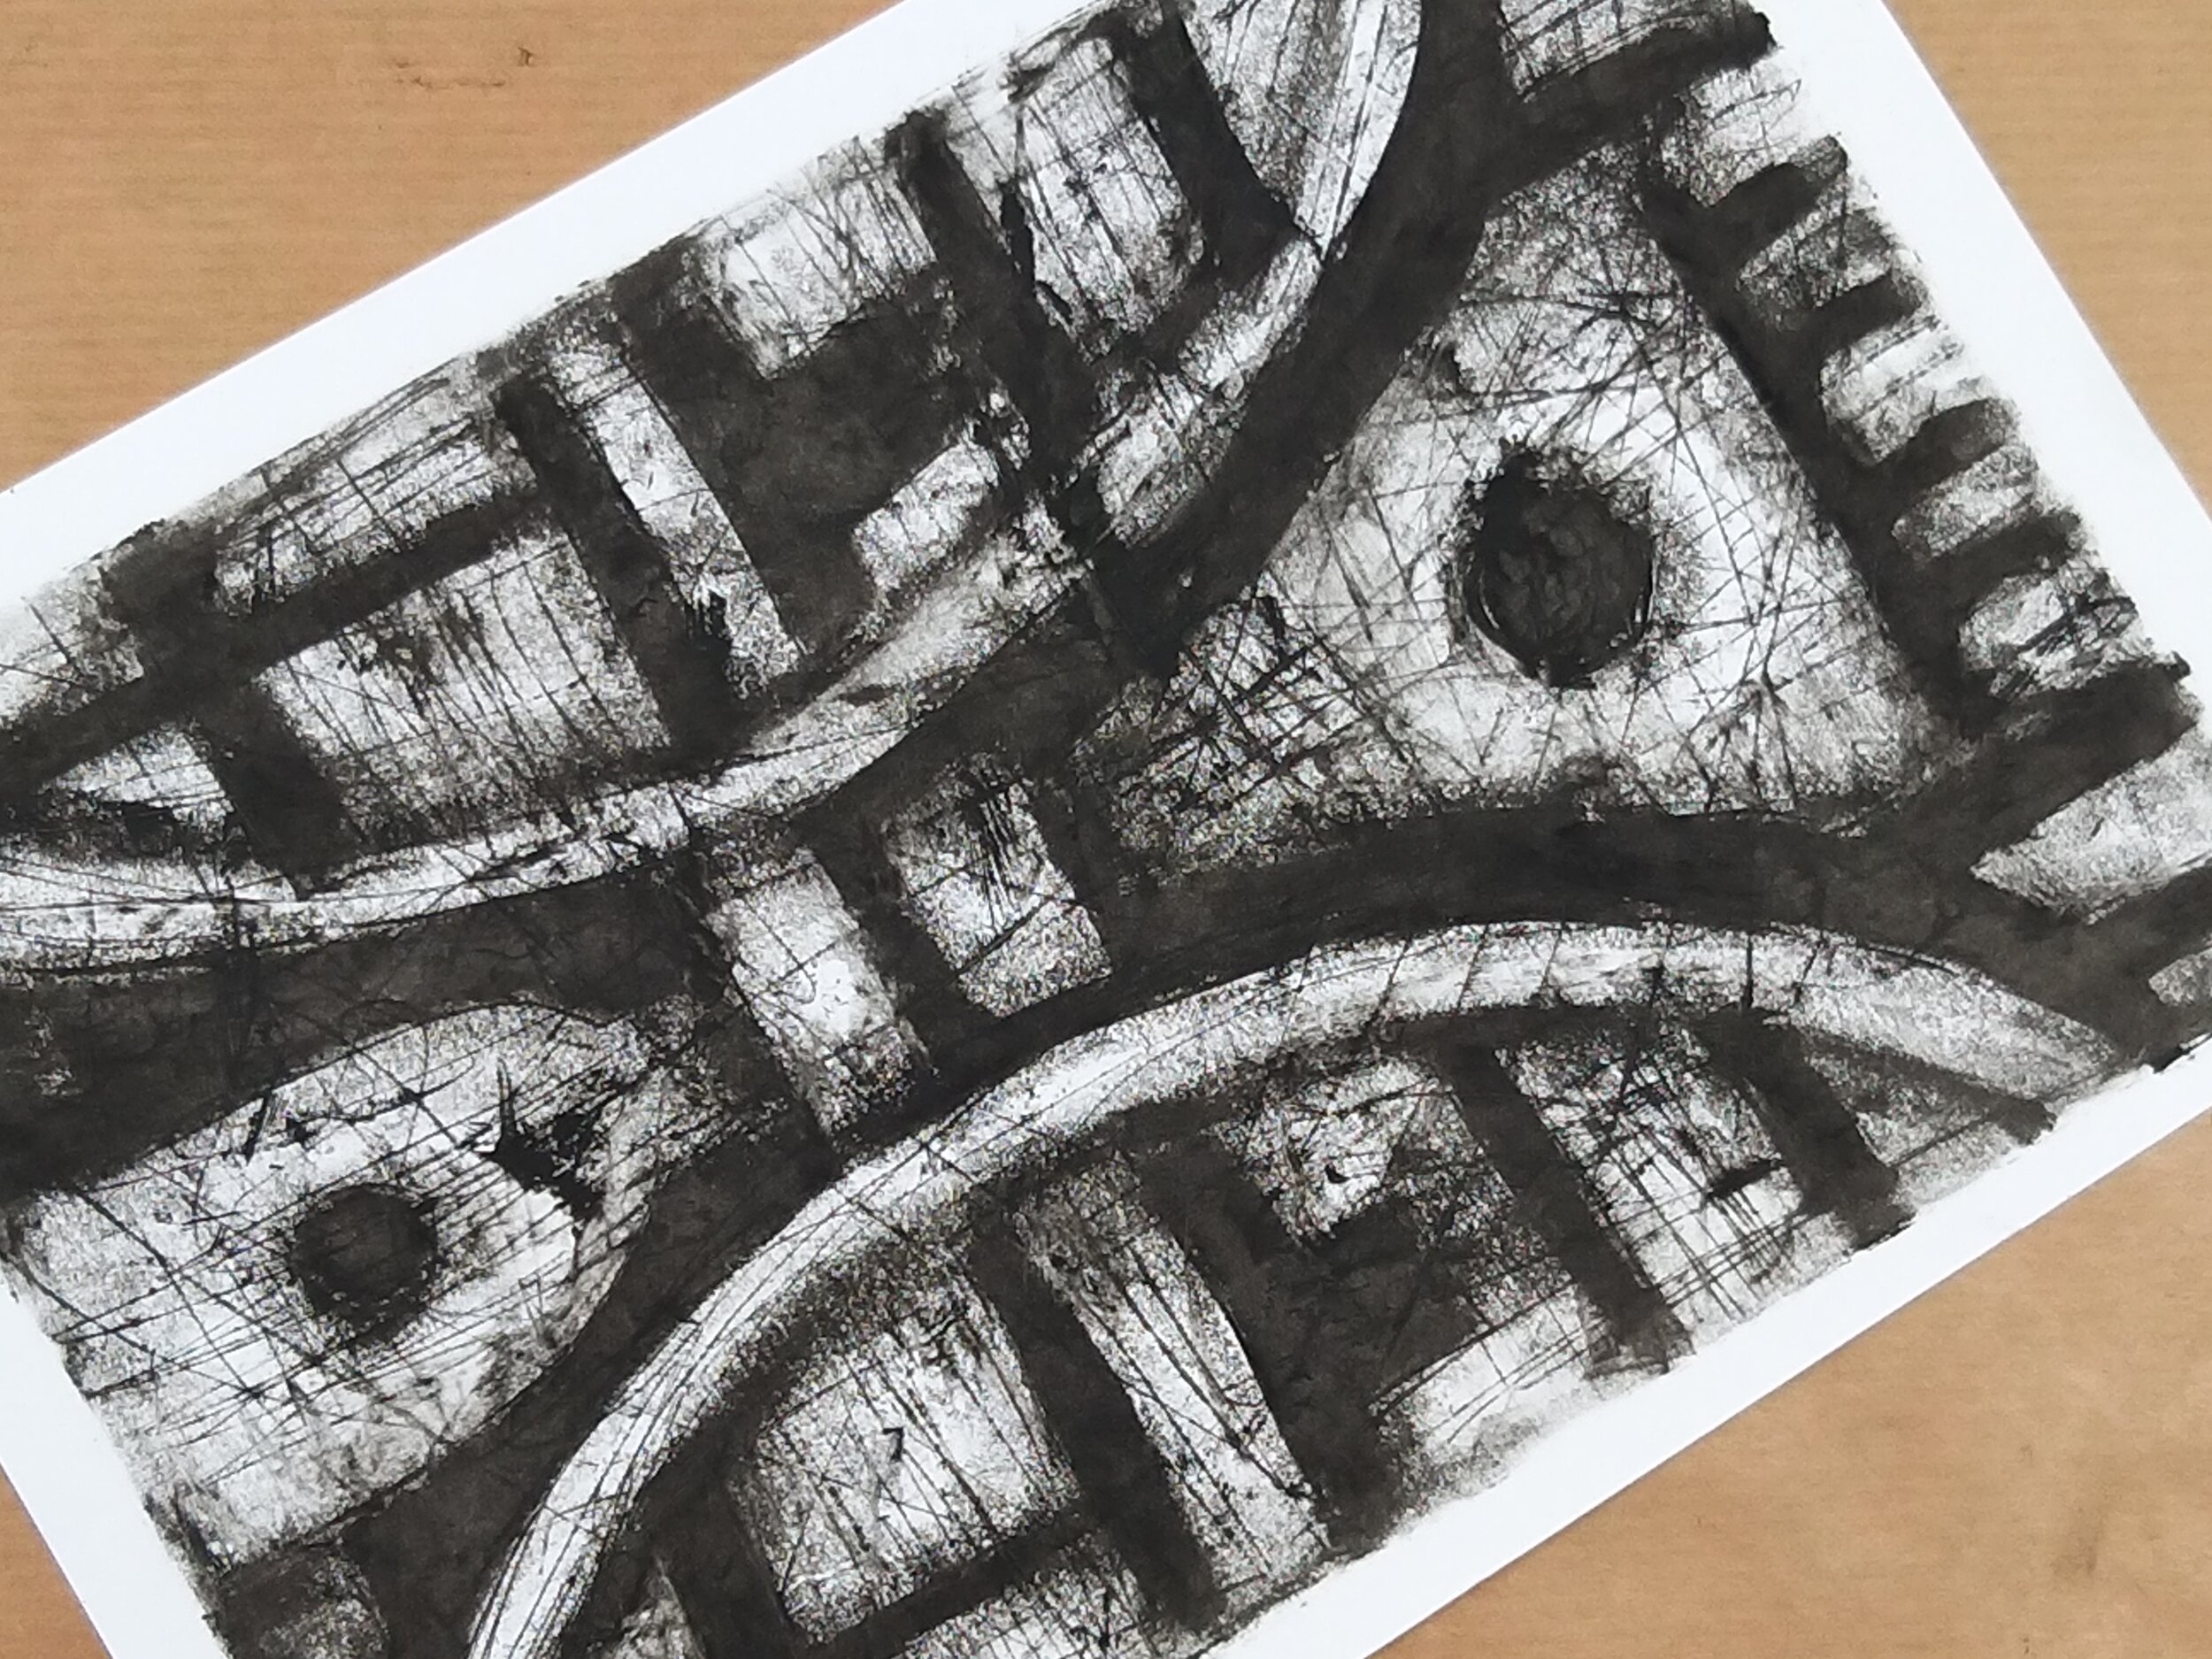
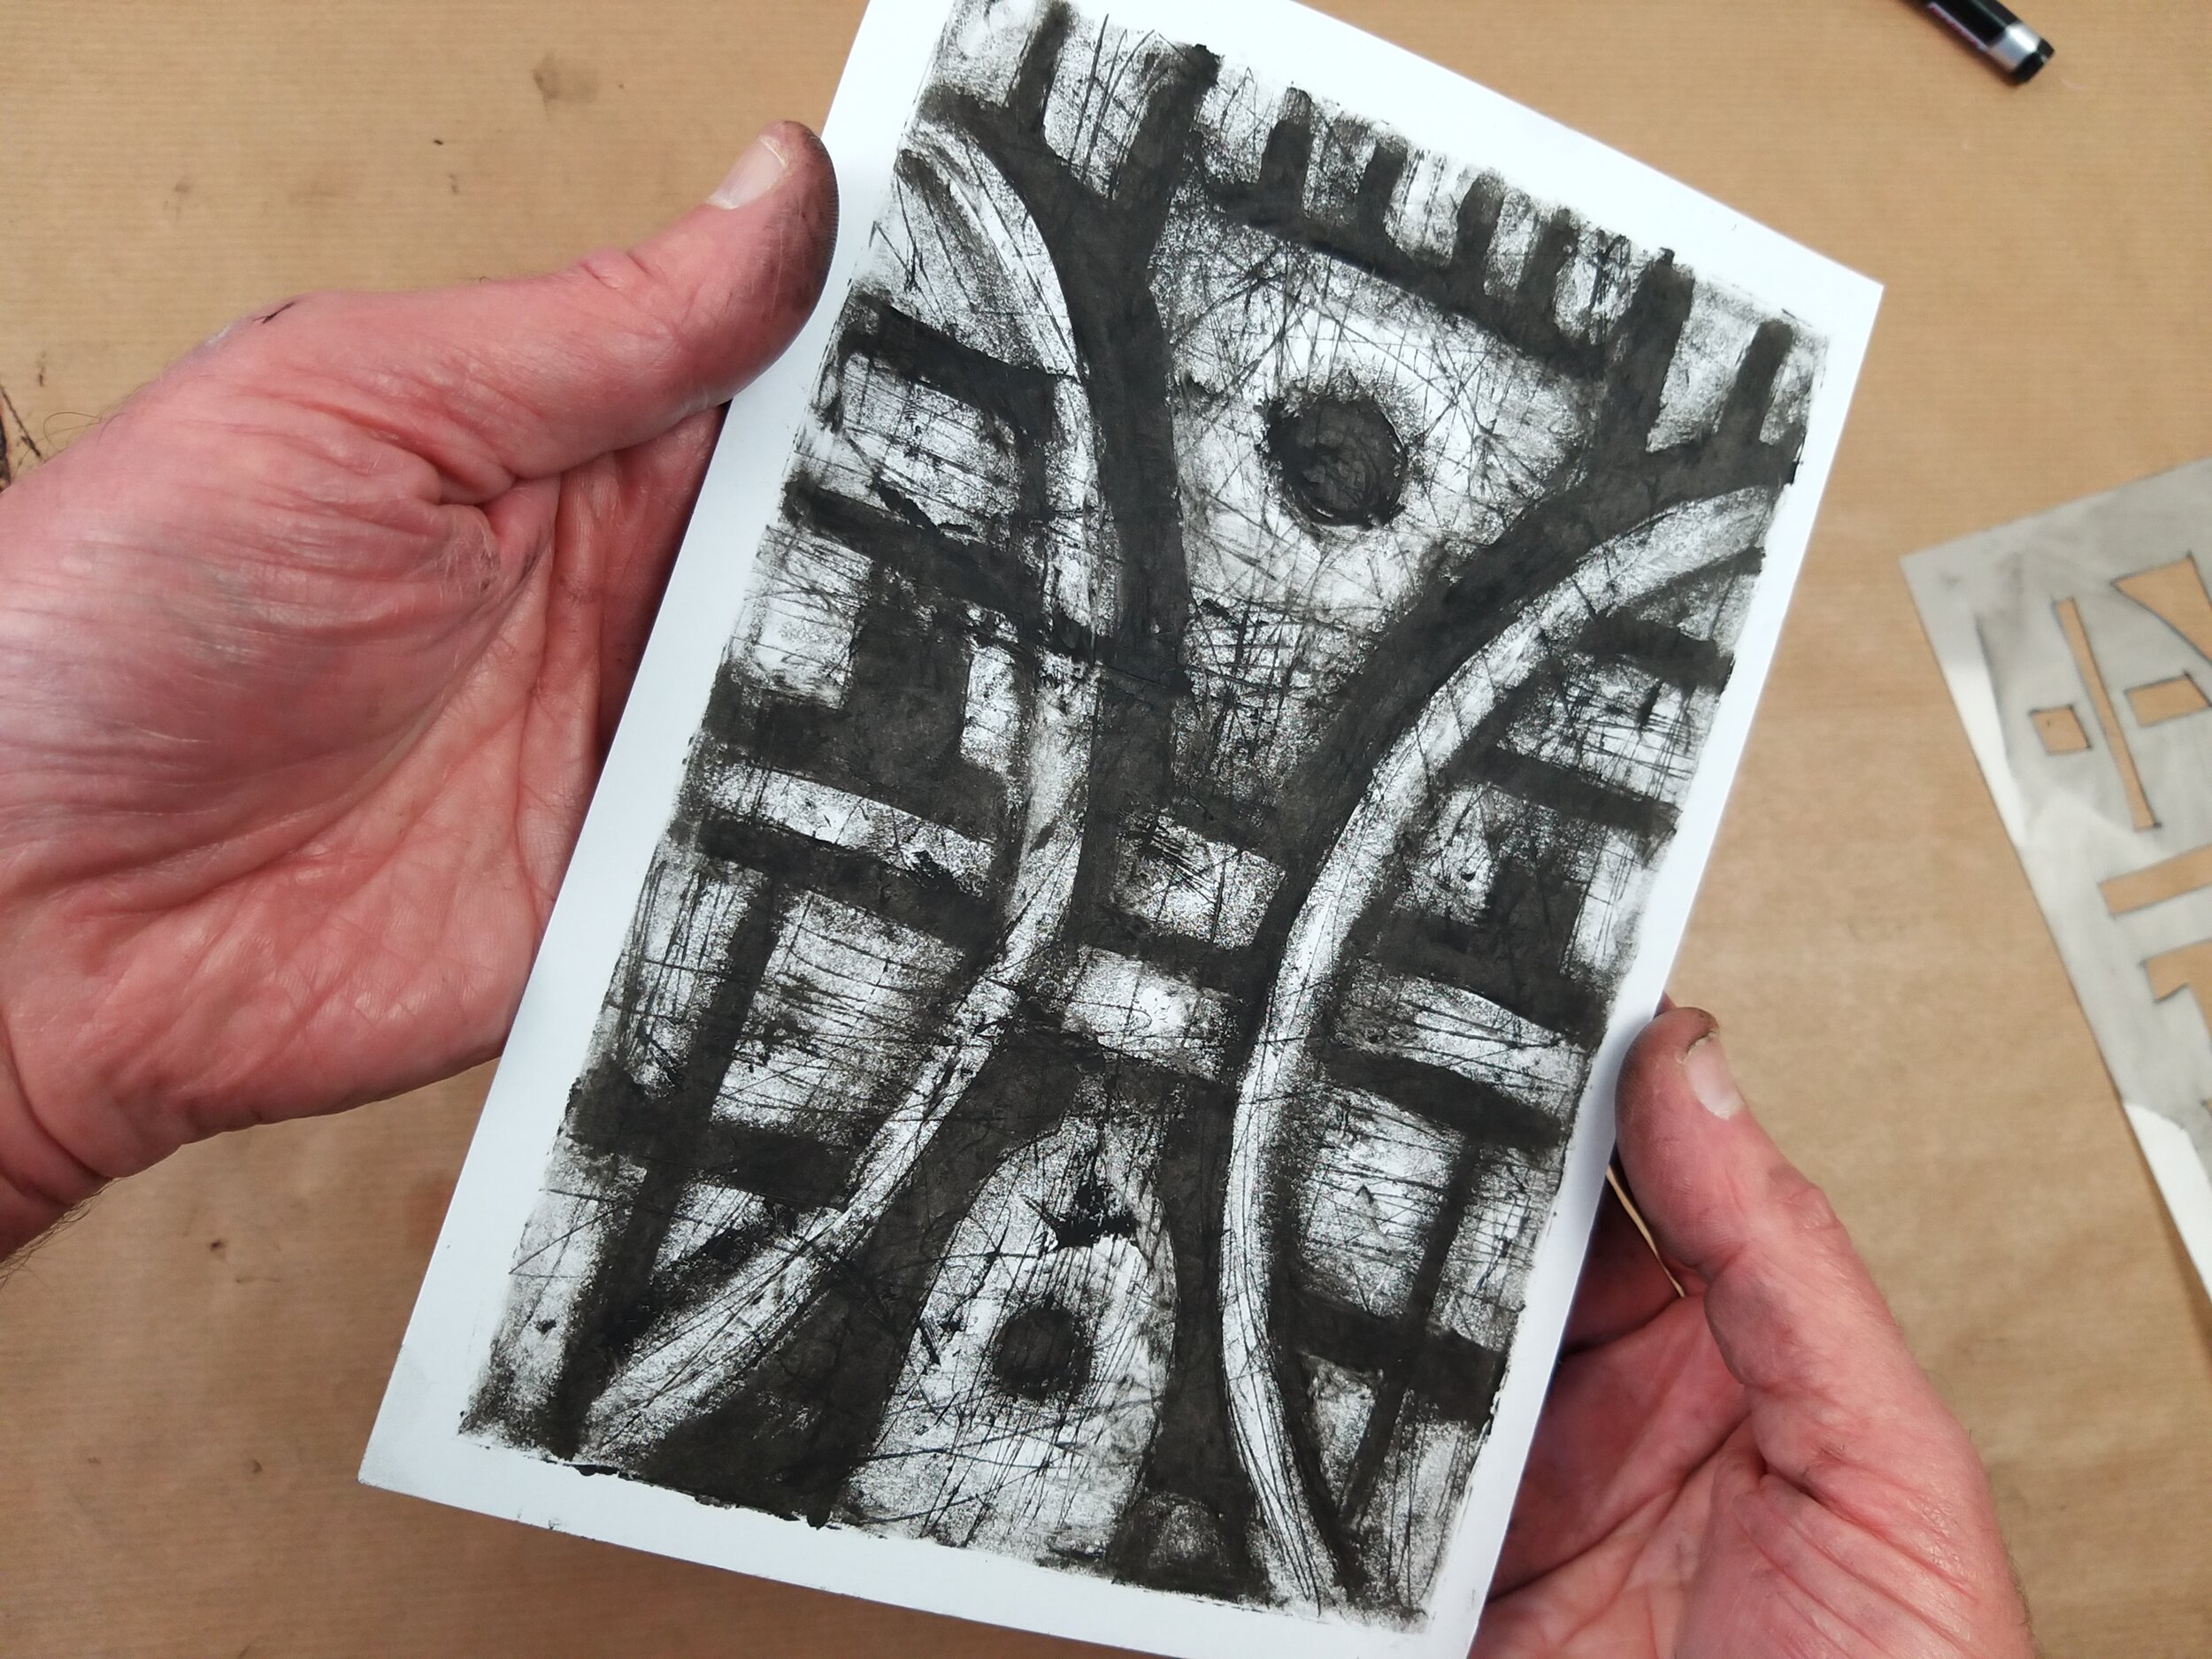
Project 3 : SYMMETRY
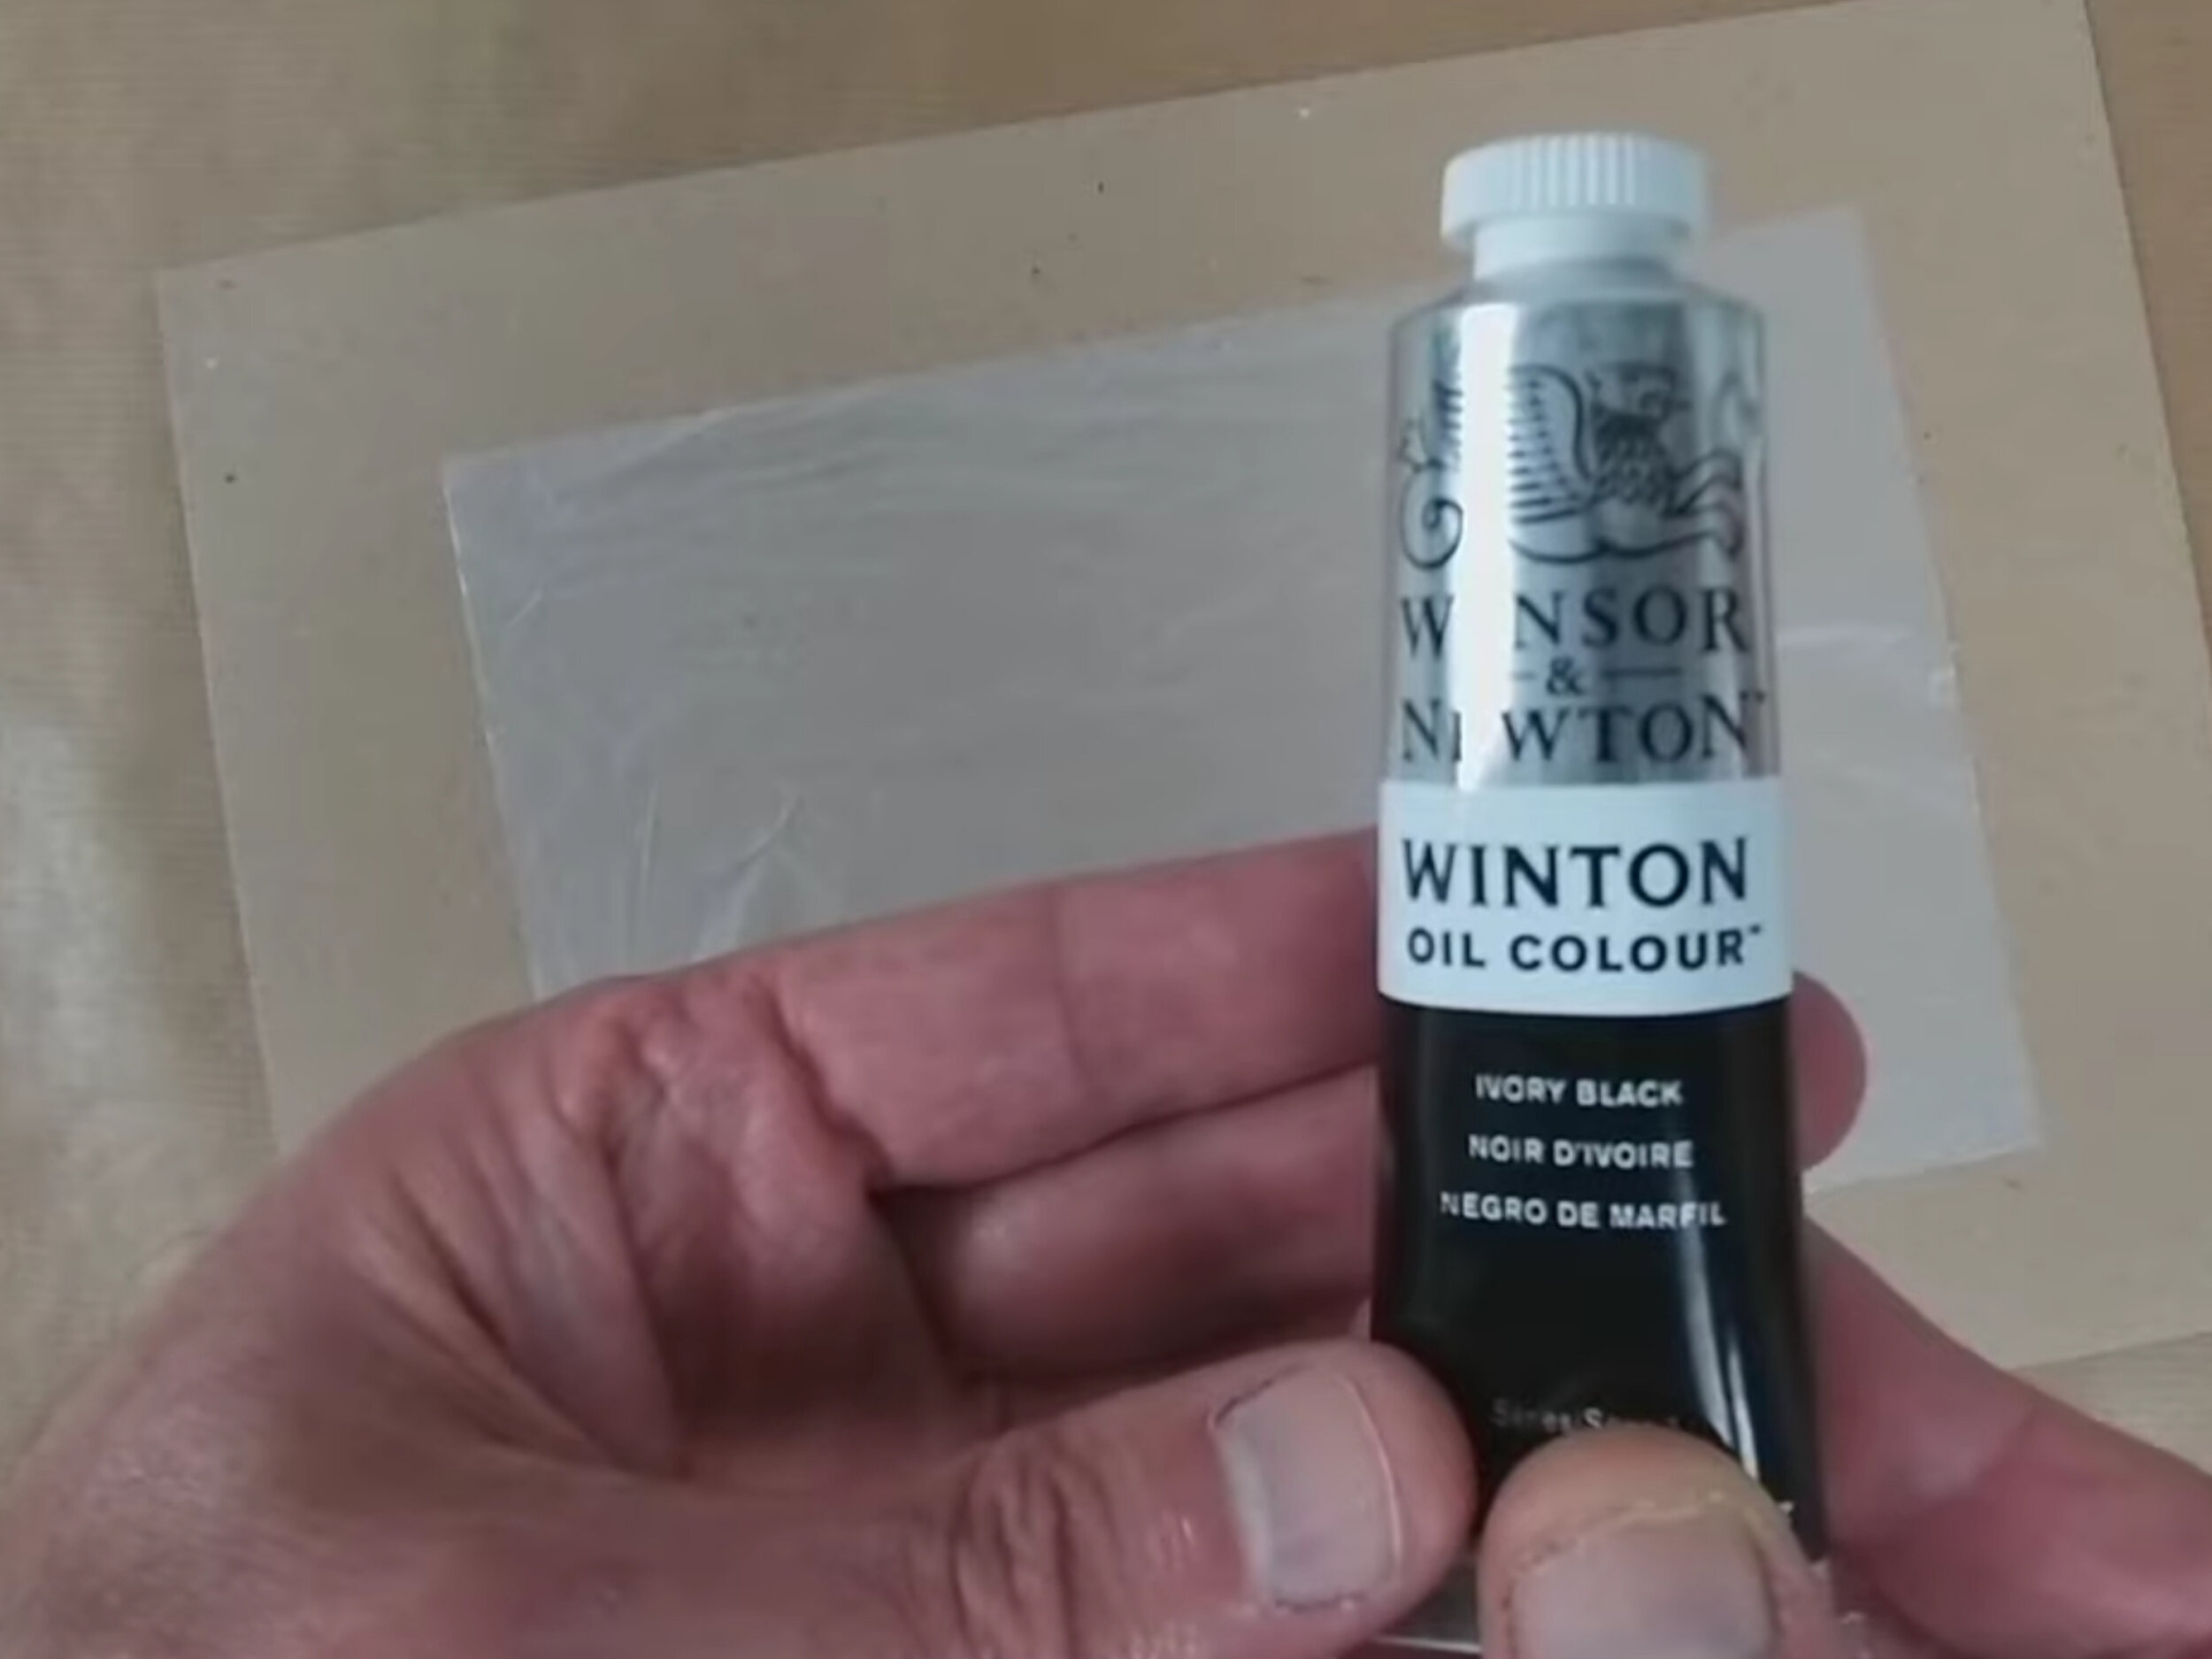
This video will take you through the process of working on the Symmetry project that is included with the kit. Beginning with cutting the stencil, this is a more complex design than the first 2 projects but it will become easier with a little practice. I recommend using a good quality sharp craft knife, a cutting matt will also be useful and will prevent the blade from becoming blunt. Don’t worry if the design is not followed exactly because this stencil is simply used as a guide to the composition, allowing for some of your own interpretation. This is a technique that real will only work with oil paint as you need to take some time to carefully blend the paint to achieve the effect of shading, creating depth.